Step-by-Step Guide to Bathroom Demolition
Renovating your bathroom is one of the most rewarding projects in home improvement.
But before you can install those new tiles, that gorgeous vanity, or the shower of your dreams, there’s one essential step you can’t skip: demolition.
It might sound like a messy, intimidating process, but trust me—it’s not as overwhelming as it seems.
With the right tools, patience, and a good plan, you can demolish your bathroom yourself and save significant money.
I’ve done my fair share of DIY bathroom demolitions, and I can confidently say that taking this step yourself is empowering.
Plus, you’ll better understand your space and prevent unnecessary surprises during the rebuild.
Let’s break it down step by step so you can confidently tackle this project.
Why DIY Bathroom Demolition?
When I started working on my bathroom renovations, the idea of demolishing myself felt like diving into the unknown.
However, after several projects, I realized how simple and cost-effective it can be.
Here’s why you should consider it:
- Save Money: Hiring a contractor to demolish your bathroom can cost hundreds, sometimes thousands, of dollars. You can allocate that money toward materials or upgrades by doing it yourself.
- Control the Process: When you do the demo yourself, you can identify potential issues like mold, plumbing concerns, or structural damage before bringing in professionals for the rebuild.
- Gain Confidence: There’s something deeply satisfying about rolling up your sleeves and doing the work yourself. It’s a chance to learn and appreciate the craftsmanship that goes into home renovations.
Let’s get into the fun part—tearing down that outdated bathroom.
Tools You’ll Need
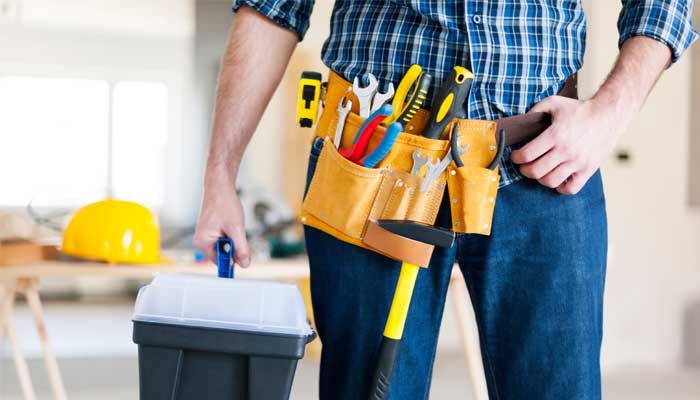
Before you begin, gather all the tools and safety gear you’ll need.
Trust me, having everything ready makes the process smoother and less frustrating.
- Gloves: Protect your hands from sharp edges and debris.
- Safety Goggles: A must for protecting your eyes when tiles and drywall are flying around.
- Dust Mask: Prevent inhaling dust and mold spores.
- Hammer: For breaking tiles and loosening stubborn fixtures.
- Pry Bar: Great for removing stubborn nails and pulling out old cabinetry.
- Utility Knife: Perfect for cutting caulk, grout, and drywall.
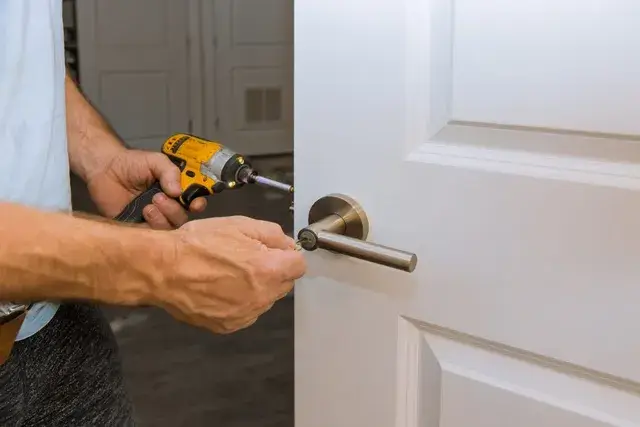
- Drill and Screwdriver Set: To remove screws from fixtures and fittings.
- Reciprocating Saw: Ideal for cutting through drywall or wood if necessary.
- Buckets and Heavy-Duty Trash Bags: These are used to manage debris.
Step-by-Step Guide to Bathroom Demolition
Step 1: Turn Off Utilities
This step might sound obvious, but it’s so crucial that it’s worth emphasizing. Always turn off the water supply to the bathroom.
If you’re dealing with electrical fixtures, cut the power at the circuit breaker.
I remember one of my early projects when I forgot to drain the water lines before removing a faucet. Let’s just say the resulting mini-flood was a humbling moment.
Save yourself the trouble—double-check those valves before you start.
Step 2: Protect Your Space
Before swinging a hammer, protect the surrounding areas for a few minutes.
- Seal Off Nearby Rooms: Use plastic sheeting and painter’s tape to cover doors and vents. This prevents dust from spreading throughout your house.
- Protect Floors: If you’re keeping the bathroom floor, lay down thick cardboard or a drop cloth to shield it from damage.
Step 3: Remove Fixtures and Fittings
Start by removing any mirrors, vanities, towel bars, and faucets.
- Mirrors: If the mirror is mounted with clips, unscrew them carefully. Use a heat gun to loosen the adhesive for glued mirrors before gently prying it off.
- Vanities and Sinks: Disconnect plumbing and remove screws securing these fixtures to the wall or floor. Pry them loose carefully to avoid damaging nearby surfaces.
- Lighting Fixtures: Make sure the power is off. Then, unscrew the fixtures and detach the wiring.
I always recommend labeling wires or pipes as you go. It’s a small step that can save you big headaches later.
Step 4: Remove the Toilet
The toilet might seem intimidating, but removing it is straightforward.
- Turn off the water supply and flush the toilet to empty the tank.
- Use a sponge or towel to soak up any remaining water in the bowl or tank.
- Unscrew the water supply line at the base.
- Remove the bolts securing the toilet to the floor.
- Lift the toilet straight up and place it in a heavy-duty garbage bag to prevent leaks during transport.
A tip from experience: if water’s still in the bowl, use a plunger to force it out before lifting the toilet.
Step 5: Remove the Shower or Tub Surround
Now comes the heavy lifting—removing the shower or tub.
- Cut the Caulk and Grout: Use a utility knife to slice through the caulk and grout around the edges of the surround.
- Detach Fixtures: Remove the showerhead, handles, and faucet. Unscrew the drain with a tub removal tool.
- Remove Panels: Use a reciprocating saw to cut the panels into manageable sections for fiberglass surrounds. Carefully pry them away from the studs.
I once spent hours trying to remove a one-piece surround without cutting it.
My lesson was: don’t hesitate to break it into smaller pieces—they’re much easier to handle.
Step 6: Remove Floor Tiles and Subfloor Layers
The flooring is often the messiest part of the demo, but it’s also where you’ll notice the biggest transformation.
- Break the Tiles: Use a small hammer and chisel to break up the tiles. Work slowly to avoid damaging the subfloor.
- Scrape Adhesive: Use a scraper or oscillating tool to lift any adhesive or mortar.
- Inspect the Subfloor: Check for signs of rot or water damage. Replace any compromised sections.
When I tackled my first tile removal, I underestimated how dusty it would get.
Have a vacuum handy to keep the mess under control.
Step 7: Remove Walls and Drywall
Removing walls is all about precision.
- Mark Studs and Utilities: Use a stud finder to locate studs and utility lines behind the drywall.
- Cut Carefully: Use a utility knife or reciprocating saw to cut drywall into manageable sections. Avoid cutting too deep—you don’t want to hit wires or pipes.
- Dispose of Debris: Place drywall scraps in heavy-duty trash bags or a rented dumpster bag for easy disposal.
Once, I hit an unexpected plumbing pipe because I rushed through this step.
Take your time—it’s worth it to avoid costly repairs.
DOWNLOAD THE ENTIRE DIY Bathroom Demolition FROM THIS PDF
Tips for a Smooth Bathroom Demolition
- Work in Sections: Focus on one area at a time to avoid feeling overwhelmed.
- Stay Organized: Keep screws, fixtures, and reusable items in labeled bags or boxes.
- Clean As You Go: Regularly clear debris to keep your workspace safe and manageable.
- Use the Right Tools: A pry bar works wonders for loosening tiles and baseboards. Don’t try to muscle through with a hammer alone.
- Inspect for Mold: Check behind walls and fixtures for mold. If you find any, wear protective gear and remove it safely or consult a professional.
My Favorite Cleanup Hack
When you’re done, you’ll likely have a pile of debris. One of the best cleanup tools I’ve found is a dumpster bag.
These durable bags hold a surprising weight, and most waste removal services will pick them up for a fee.
It’s an affordable and convenient way to deal with all that garbage.
Wrapping Up
Demolishing your bathroom might sound like a big undertaking, but with the right plan, it’s completely doable.
You’ll save money, gain valuable experience, and know you prepared the space for its transformation.
Every DIY project has challenges, but bathroom demolition is as much about patience and precision as physical work.
Follow these steps, take your time, and don’t fear getting your hands dirty.
Trust me, the sense of accomplishment you’ll feel when the demo is complete will be worth every ounce of effort.
Do you have questions or stories to share? Drop them in the comments—I’d love to hear from you.
When you’re ready to start rebuilding, stay tuned for tips and tricks to bring your dream bathroom to life.
Happy demolishing!
Frequently Asked Questions
What Is the Average Time Required to Complete a Bathroom Demolition?
The time required depends on the size of your bathroom and your level of experience.
For a standard bathroom, it typically takes 1–2 days to complete the demolition if you’re working at a steady pace.
Larger bathrooms or those with complicated features, like built-in tubs or extensive tile work, might take longer.
Do I Need a Permit to Demolish My Bathroom?
In most cases, you don’t need a permit for demolition if you’re simply removing old fixtures and materials.
However, if you’re planning to move plumbing or electrical systems during the rebuild, you may need permits for those changes.
It’s a good idea to check local regulations before starting.
How Do I Dispose of The Debris from My Bathroom Demolition?
You can rent a dumpster bag, which is an affordable and convenient option for smaller projects. For larger projects, you may need a roll-off dumpster.
Many waste removal companies also offer pickup services for demolition debris.
Check with your local waste management provider for the best options in your area.
What Should I Do if I Find Mold During the Demolition?
If you discover mold, stop and assess the situation.
Small areas of mold can often be cleaned with a solution of bleach and water, but larger infestations may require professional remediation.
Always wear protective gear, including gloves and an N95 mask, when dealing with mold to protect yourself from exposure.
Can I Reuse Old Fixtures or Materials After Demolition?
Yes, many items can be reused or repurposed. For example, if your vanity or sink is still in good condition, you can clean and reinstall it.
Additionally, materials like tiles or hardware can sometimes be donated to organizations like Habitat for Humanity.
Carefully remove anything you plan to reuse to avoid damage during the demolition process.


