
Crown Molding Installation: A Step-by-Step Guide
Want to make your rooms look fancier? Crown molding installation might be just what you need! This simple home upgrade can make a big difference.
Crown molding fills the gap where walls meet the ceiling. It gives rooms a clean, finished look that catches the eye. Many people think this job is hard, but with the right tools and steps, you can do it yourself.
In this guide, we’ll show you how to pick, cut, and install crown molding and share tips for fixing common problems.
By the end, you’ll have the know-how to add this nice touch to your home and boost its value, too.
Why Install Crown Molding?
Crown molding is a simple yet effective way to add character and style to any room. It fills the space where walls meet the ceiling, creating a clean, finished look. This small addition makes a big impact on how a room feels.
Adding crown molding can increase your home’s value, as buyers often see it as a sign of quality work. You can choose from many styles to match your home’s design, making it a worthwhile project for any homeowner.
Preparation for Installation
Before you begin installing crown molding, gather these must-have tools:
- Miter saw
- Coping saw
- Tape measure
- Pencil
- Stud finder
- Caulking gun
- Hammer or nail gun
- Ladder
- Level
- Sandpaper
Safety should come first when working with tools. Always wear safety glasses to protect your eyes from wood chips and dust, and use work gloves to guard against sharp edges and splinters.
Note: Never rush when using power tools. Take your time and double-check all settings before cutting.
When measuring your room, start in one corner and work your way around, writing down each wall length. Mark the wall-ceiling line with light pencil marks every few feet to guide your installation.
Note the location of the wall studs, as these will be the secure points for nailing the molding.
Guide to Installing Crown Molding
Installing crown molding is an easy way to improve the look of a room. With just a few steps, you can do it yourself and create a clean, finished look.
1. Cutting Angles and Corners
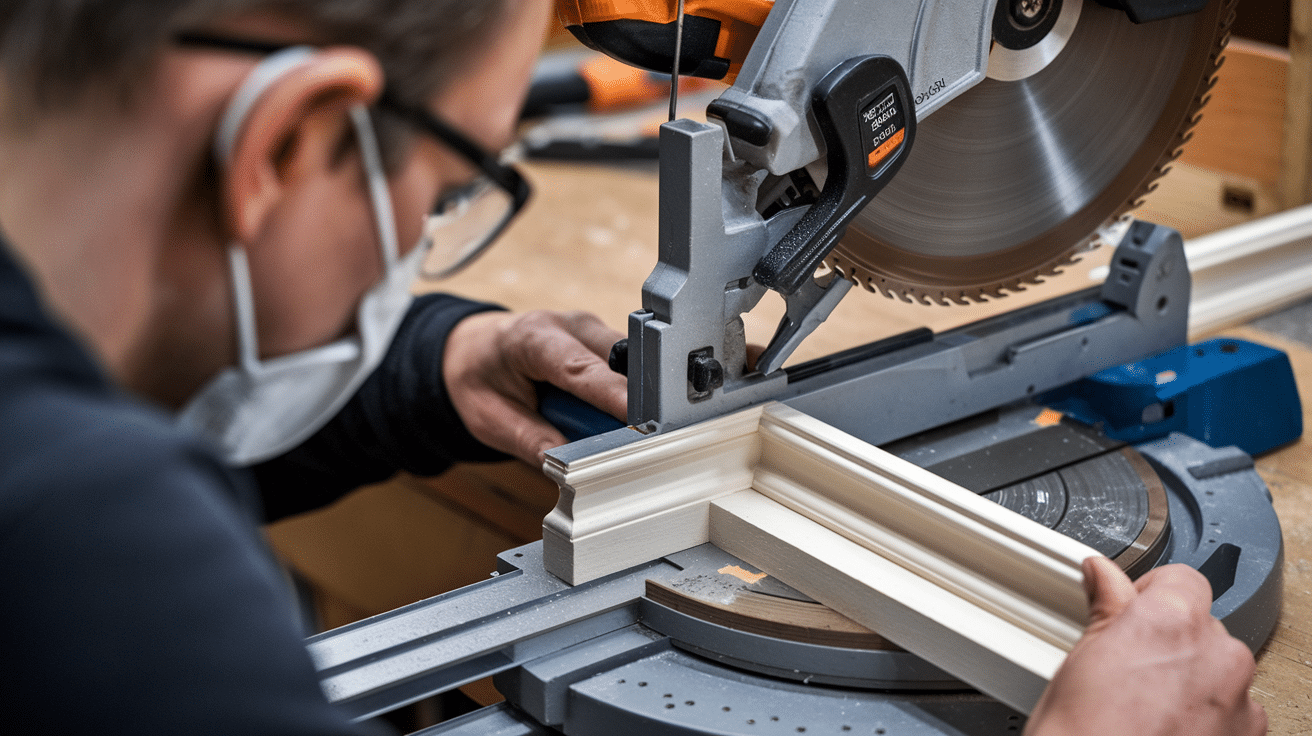
For corners, you’ll need to cut your molding at 45-degree angles. This creates cleanly fitting joints when two pieces meet. Your miter saw is best for this job, but a coping saw works well for inside corners, too.
Take your time to line up each cut carefully. Most rooms in your home have both inside corners (where walls come together) and outside corners (like around doorways).
Each type needs a different cutting approach to make them fit right.
2. Dry Fit the Molding
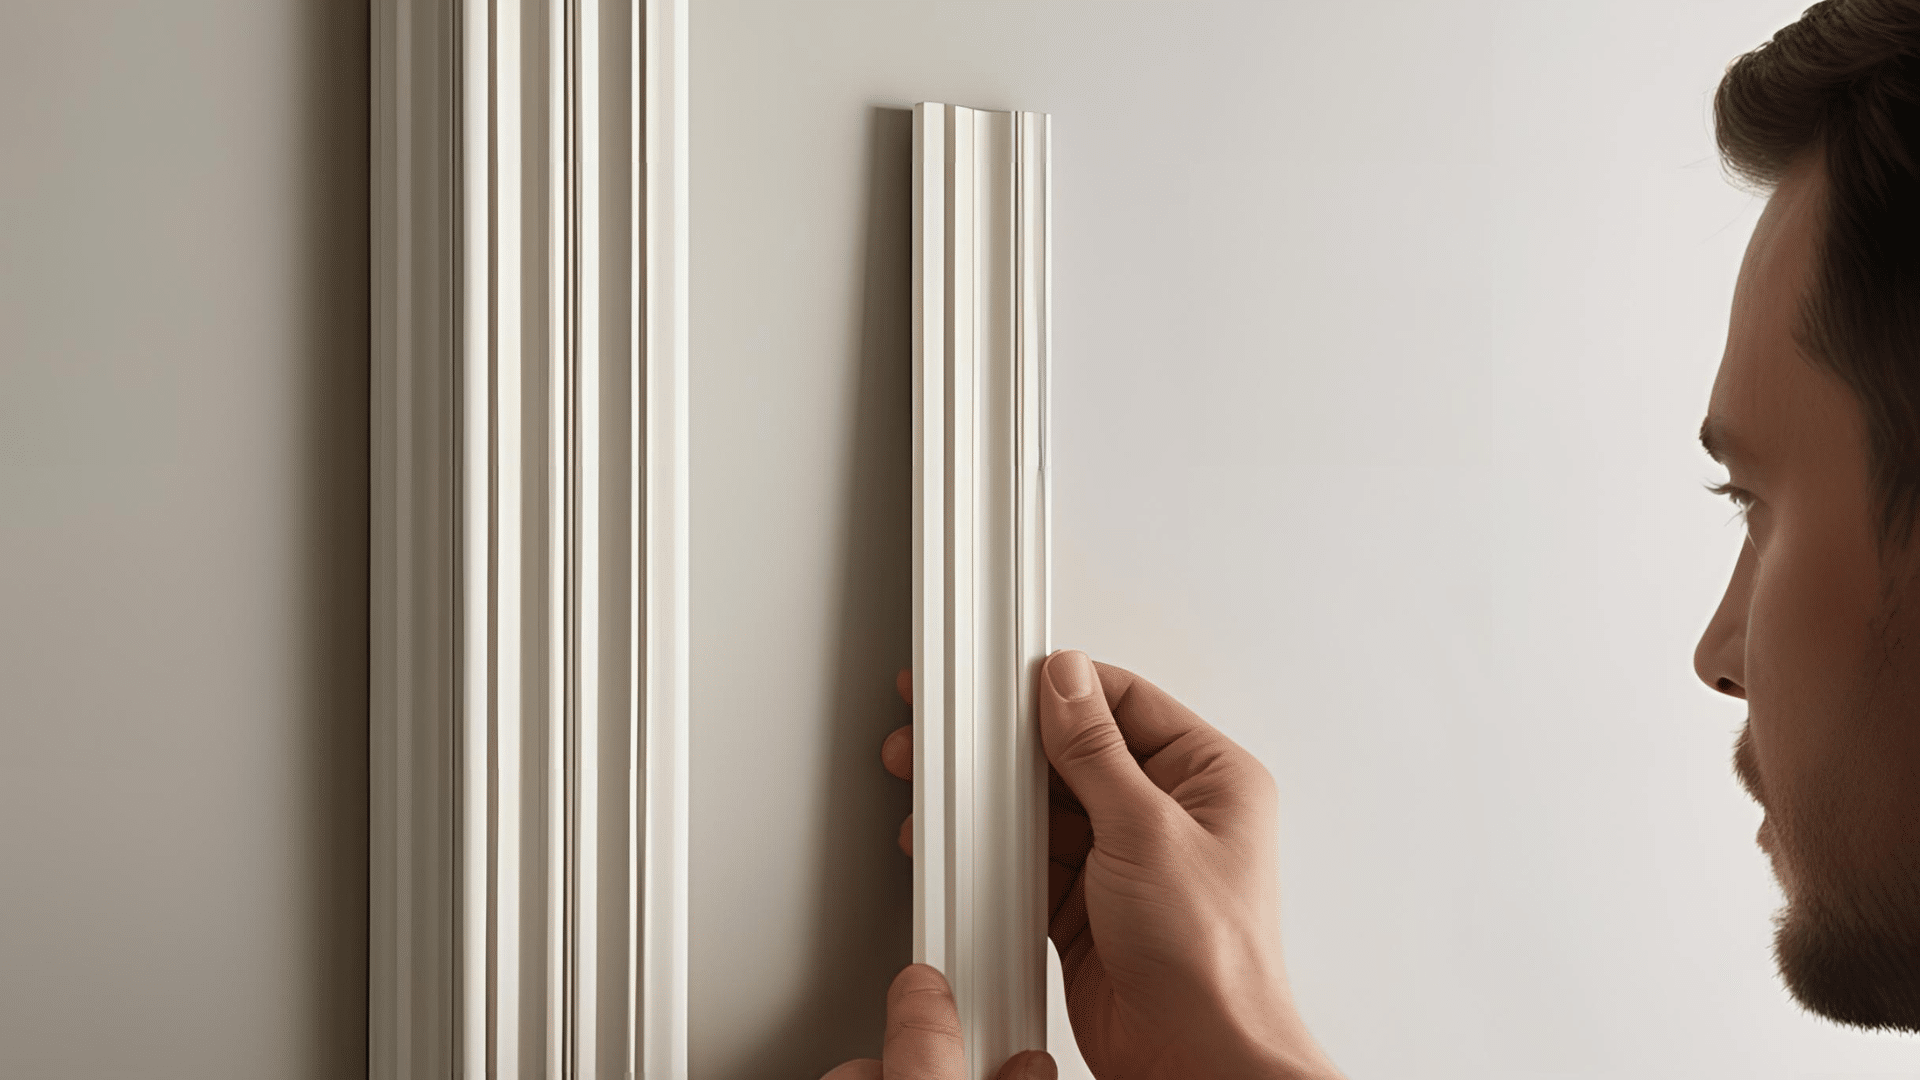
Before you use any nails or glue, place your cut pieces against the wall to check how they fit. This step saves you from making fixes later.
Push the pieces into position where walls meet the ceiling and check that the corners match up well.
Look for gaps or places where the molding doesn’t sit flat. Make small adjustments until everything fits snugly.
This test run helps you spot problems before they become permanent and saves you headaches down the road.
3. Attach the Molding to the Ceiling
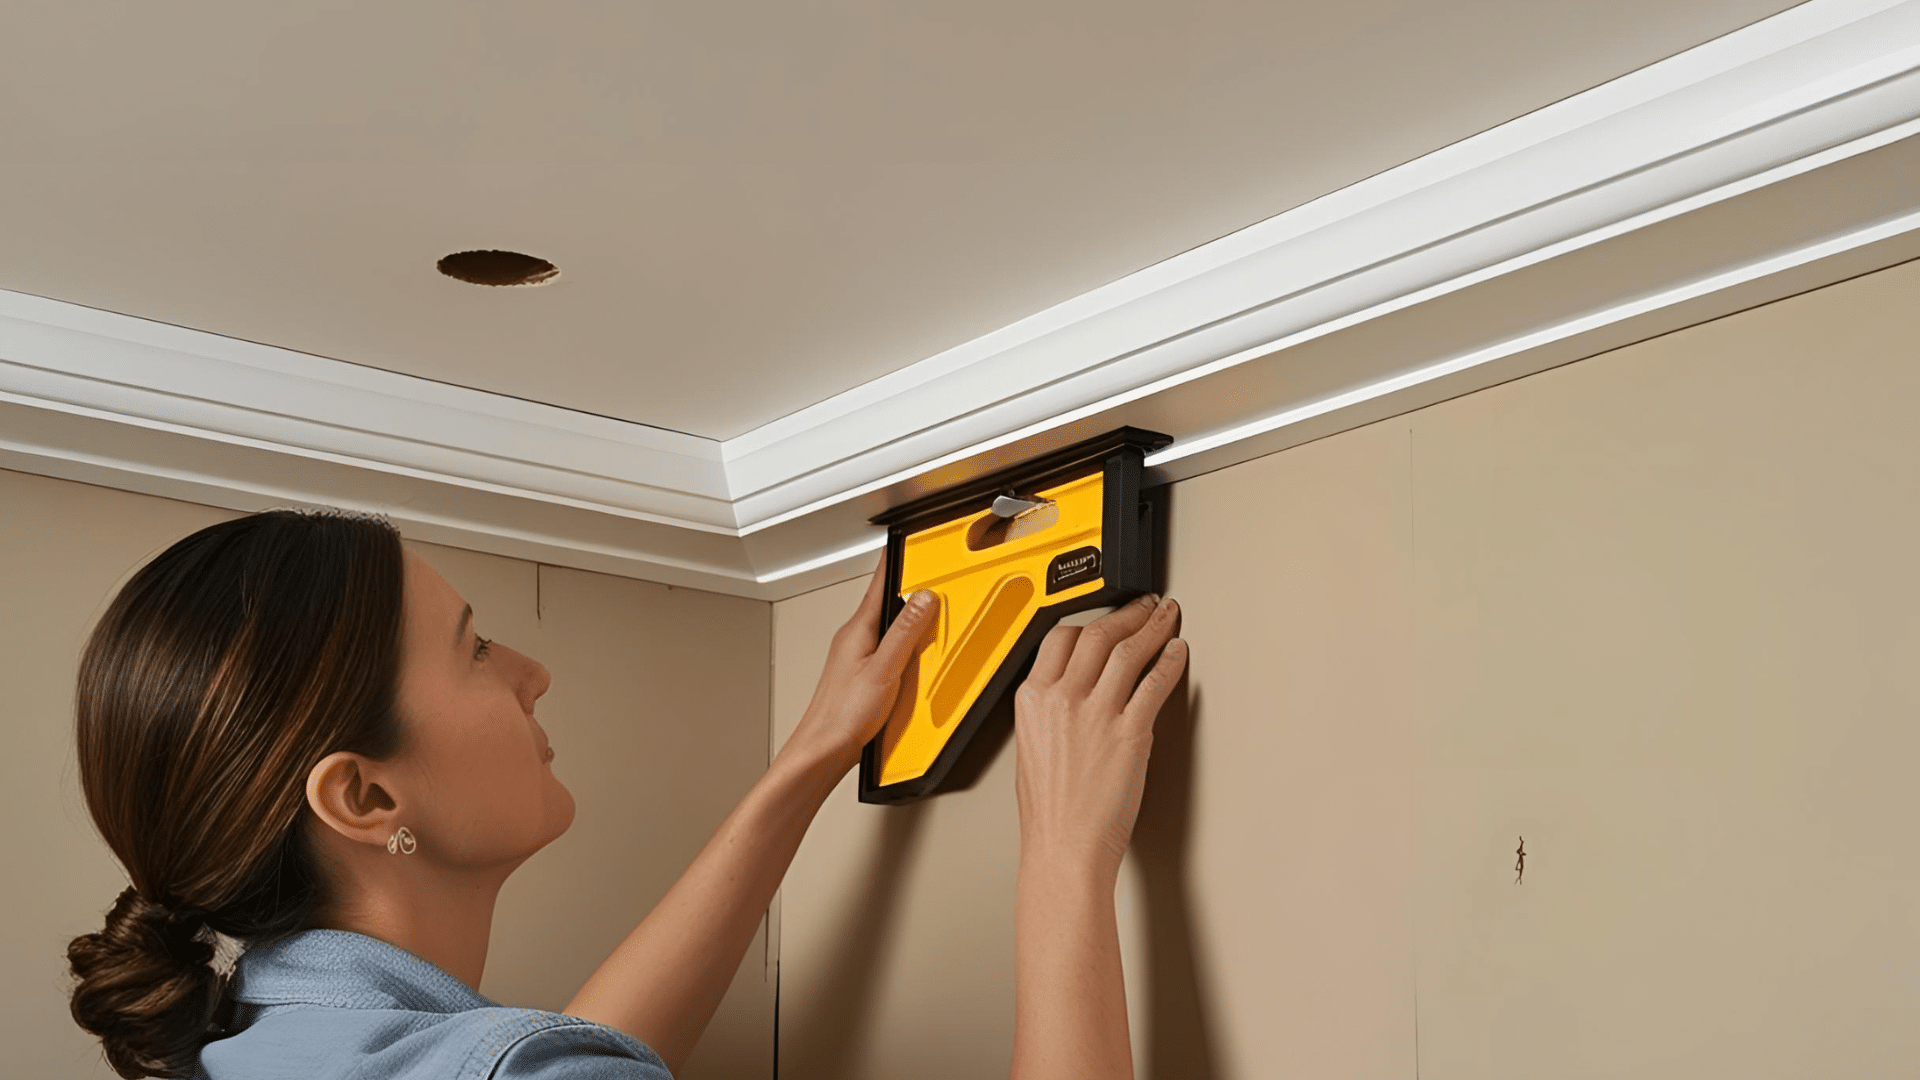
When all your pieces fit properly, it’s time to put up the molding. Hold the first piece in place and nail it into the wall studs.
Space your nails about 16 inches apart for strong support. Keep checking your level as you go to make sure the molding stays straight.
Press firmly against both the wall and ceiling while nailing to avoid gaps. Work in one direction around your room, joining each new piece to the last for a smooth installation.
4. Finishing Touches
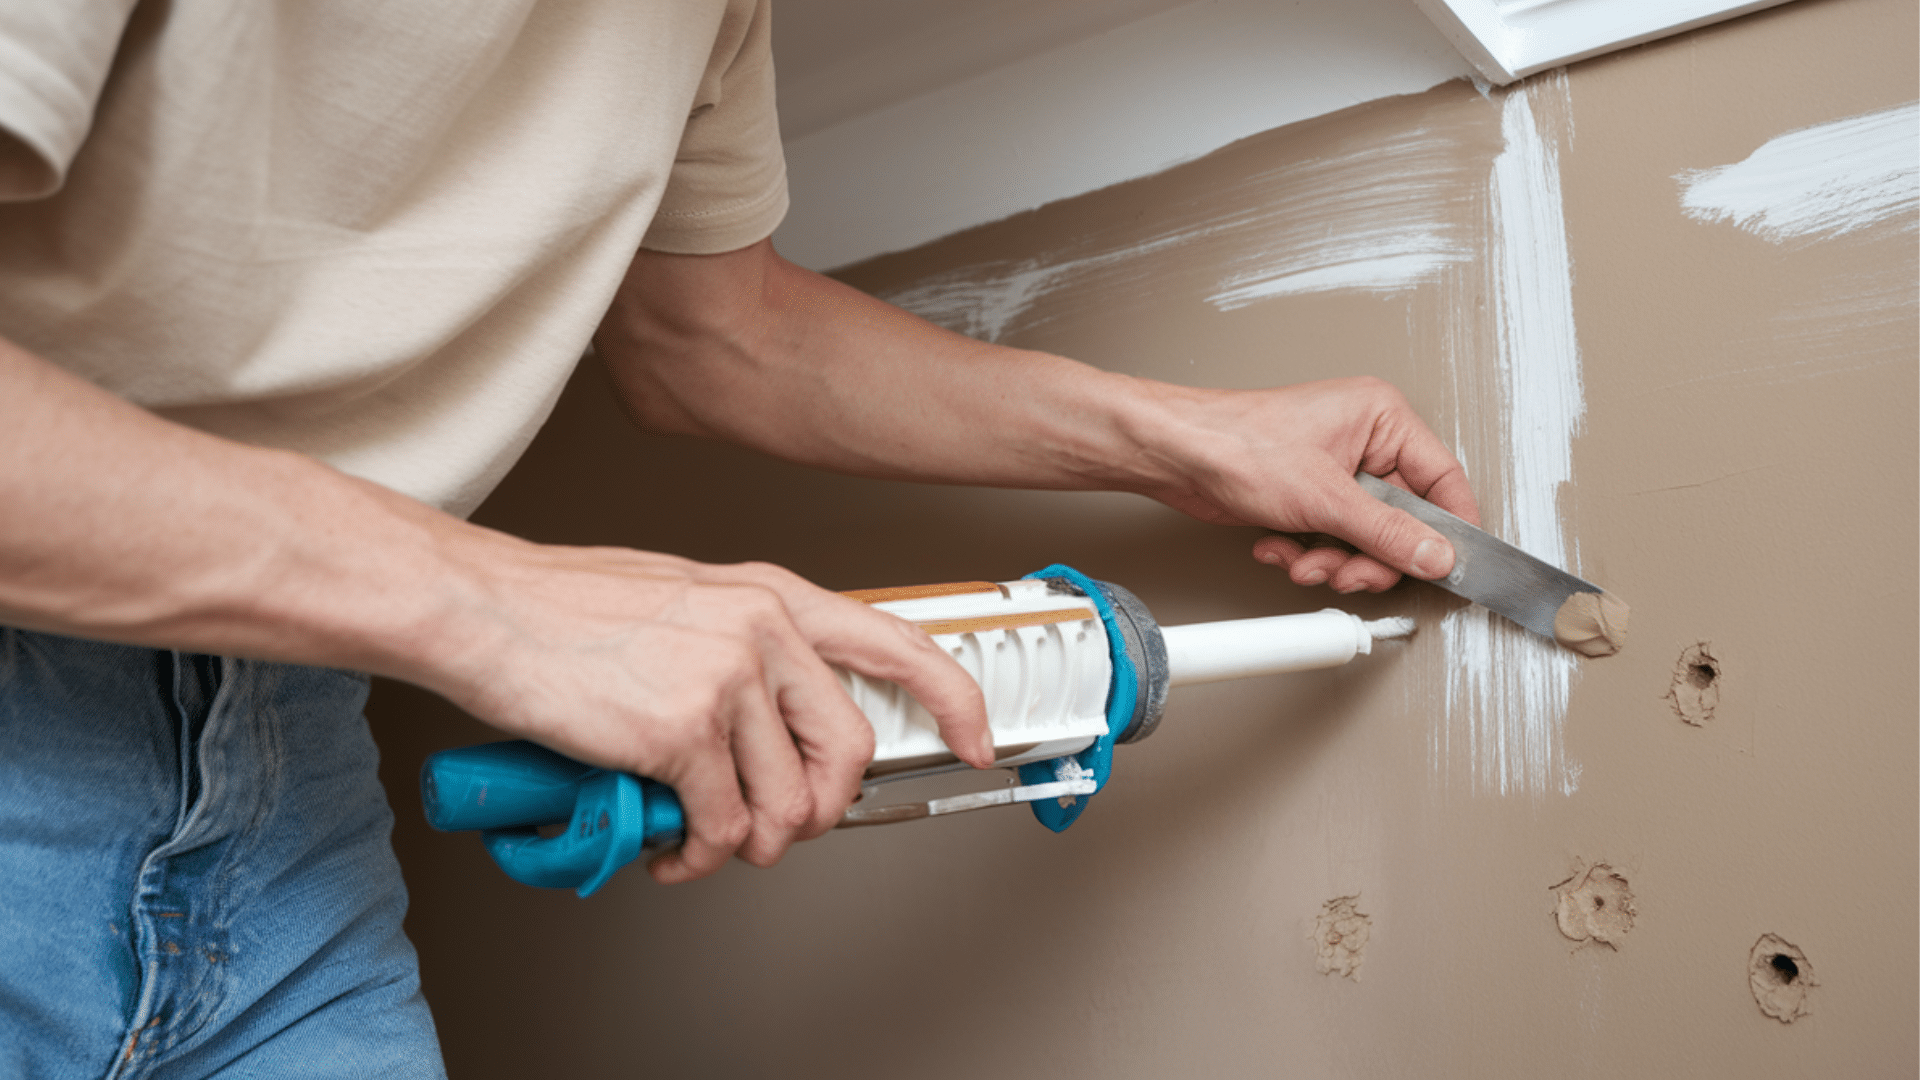
After all your molding is in place, your work needs final steps to look truly professional. Fill nail holes with wood putty that matches your molding color. Apply caulk to all seams where molding meets the wall or ceiling.
Wipe away extra caulk with a damp cloth for clean lines. Let everything dry completely before painting. Apply at least two coats of paint, letting each coat dry between coats.
These small details take your project from good to great and will impress everyone who visits your home.
Painting and Finishing Crown Molding
The final step in your crown molding project is painting and finishing. This process turns raw materials into a polished feature that complements your room’s style.
How to Prepare and Paint the Crown Molding?
Start by filling nail holes with wood putty and sanding them smooth. Apply caulk to all gaps and let it dry completely.
Prime the molding with a good-quality primer to help the paint stick better. Once dry, apply two thin coats of paint rather than one thick coat.
Use a small brush for edges and a mini-roller for flat areas to avoid brush marks.
Tips for achieving a professional finish:
- Sand between coats with fine-grit sandpaper for an extra-smooth surface.
- Use painter’s tape on walls and ceilings to create clean, sharp lines.
- Paint the molding the same color as your ceiling to make a low room feel taller.
- Allow proper drying time between coats to prevent peeling or bubbling.
Common Challenges & How to Solve Them
Even with good planning, you’ll likely face some tricky spots when installing crown molding. Knowing how to handle these common problems can save you time, money, and stress.
Here are some of the common problems that you might face in the installation process:
- Dealing with corners and tight spaces: Use the coping method for inside corners instead of mitering both pieces. Cut pieces slightly longer than needed, then trim gradually for perfect fits. Work with small sections in cramped areas rather than trying to install long pieces.
- Fixing mistakes (e.g., gaps, uneven joints): Fill small gaps with paintable caulk; use wood filler for larger spaces. Sand down high spots at uneven joints with fine-grit sandpaper. Add thin shims behind molding where walls sink in to create even surfaces.
- Dealing with large rooms or ceilings: When connecting pieces along straight walls, create 45-degree scarf joints. Mark all wall studs before starting to ensure secure attachment points. For high ceilings, use a stable platform instead of stretching on ladders.
- Handling different wall materials: Pre-drill holes in plaster walls to prevent cracking during installation. Use construction adhesive instead of nails with concrete walls. Adjust nail length based on wall type to avoid breakthrough or weak holds.
- Working with old house irregularities: Use an angle finder to split the difference in cuts when corners aren’t square, and scribe molding to follow wavy ceilings for a custom fit. Add extra caulk where floors have settled and created uneven ceiling lines.
Wrapping Up
Crown molding installation is a project you can finish in a weekend. It takes some work, but the results are worth it. Your rooms will look more put-together, and your home’s value may go up.
Start with a small room to build your skills. Measure twice and cut once. Take your time with corners; they need extra care. If you run into problems, use our tips to solve them.
Head to your local home store, pick up some molding, and get started. Your home will thank you, and you’ll feel proud every time you look up at your handiwork!


