Staircase Renovation: A Complete Guide and Ideas
Are you thinking about renovating your stairs? You’re in the right place!
Old, worn-out stairs can make your whole house look dated. The good news is that fixing them up doesn’t have to be hard or expensive.
In this guide, we’ll explain simple steps to make your stairs look fresh and new again.
We’ll cover how to check your current stairs, pick the right materials, and try different makeover ideas. From painting to adding new parts, these tips work for both wooden and carpeted stairs.
Let’s get your stairs looking great without spending a ton.
Why You Need a Staircase Renovation
Your home needs better stairs. Old stairways can crack and break, causing falls. New stairs boost your home’s value by 5-10%.
They catch the eye when friends visit. Replace weak steps with strong, safe materials. A staircase fix costs less than many home projects.
Stairs connect your floors and get used 10-15 times daily. Good steps have the right height (7 inches) and depth (11 inches) for safe walking.
They mix safety rules with good looks in one key home part.
Step-by-Step DIY Staircase Renovation Guide
Let’s begin with the complete guide to renovating your staircase. Gather the materials needed and start with the process.
Materials Needed
- Wood Stain or Paint: To improve the appearance of your staircase, choose a high-quality product in your desired color or finish.
- Sealer or Varnish: Apply a clear protective coating to the wood to increase durability and longevity.
- Sanding Supplies: To smooth the wood surfaces, use sandpaper of various grits, sanding blocks, or an orbital sander.
- Wood Filler: Use wood filler or putty to repair cracks, holes, or gaps in the wood.
- Primer: If you plan to paint your staircase, a quality primer will help the paint adhere better to the wood.
- Replacement Components: Depending on your renovation plans, you may need new balusters, handrails, new posts, or treads.
1. Assess and Plan
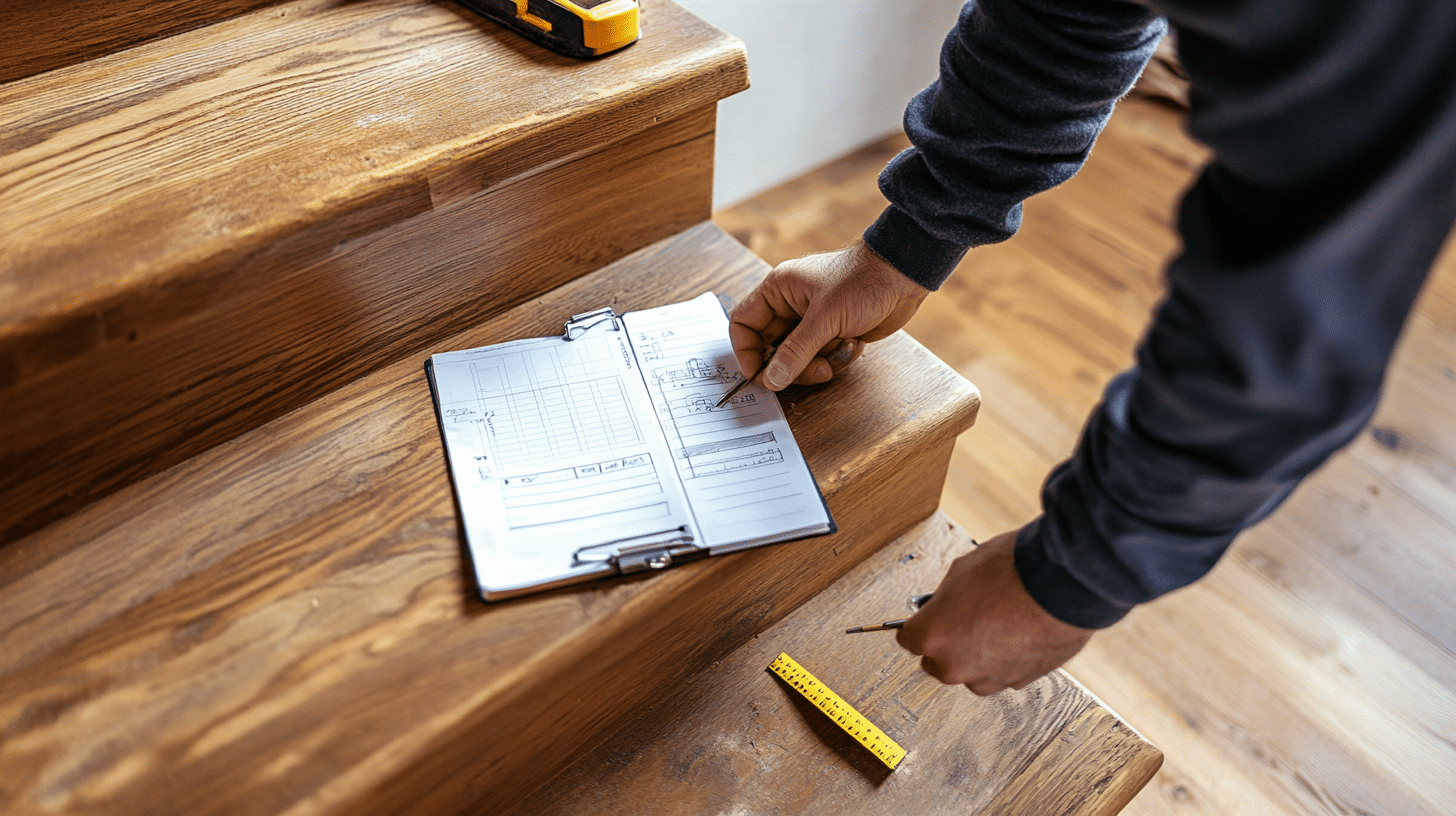
Before starting any work, check your stairs for problems. Look for loose boards, split wood, or wobbly railings.Mark spots that need fixing.
Think about what you want to change—maybe just new paint or all new parts.Having a clear plan saves time and money later.
Before you start, make a list of all the things you’ll need to do during the course of your project so, you won’t have to stop in the middle of your project.
2. Understand Staircase Terminology
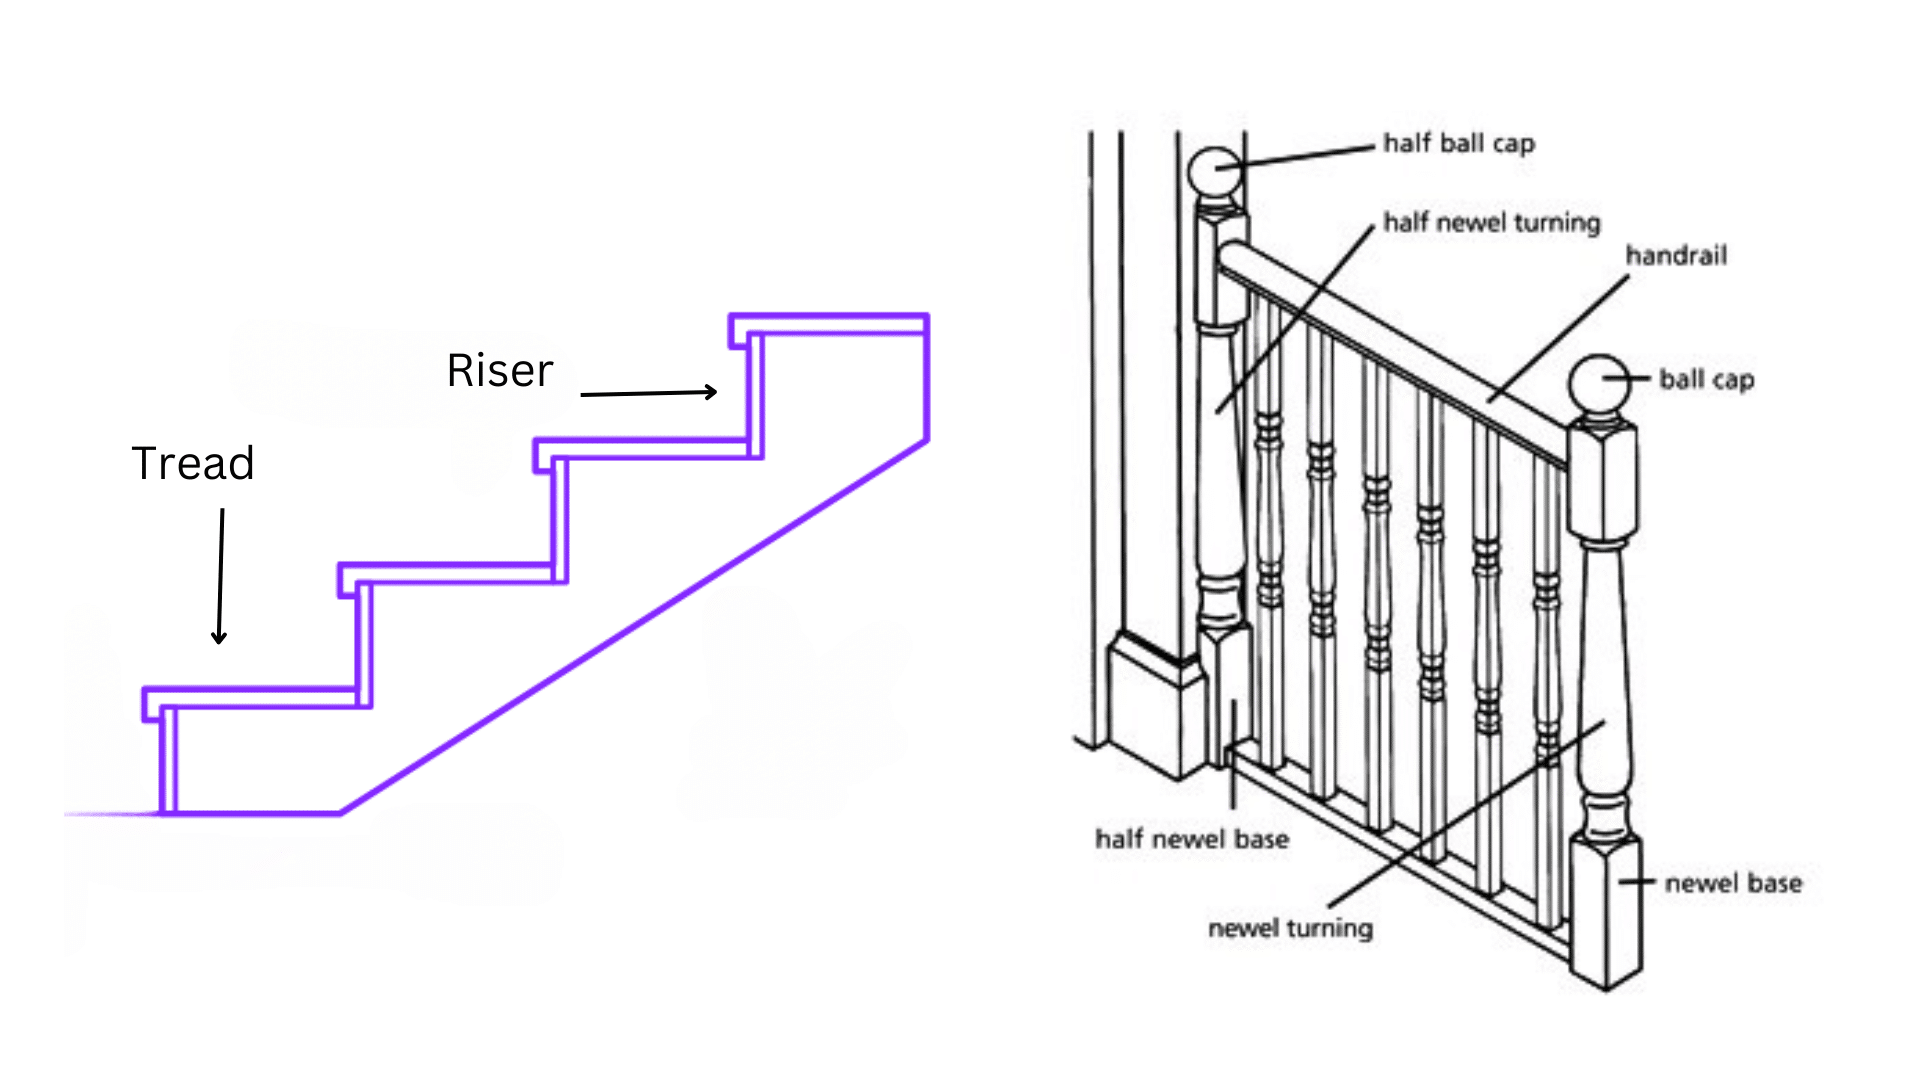
Knowing the names of stair parts helps when buying supplies or talking to workers.
- The tread is the flat part you step on.
- The riser is the upright part between steps.
- Newel posts are the big posts at the top and bottom that hold everything up.
- Balusters or spindles are the smaller upright posts along the stairs.
- The handrail is what you hold onto when going up or down.
Learning these terms makes planning and shopping much easier.
3. Remove Existing Materials
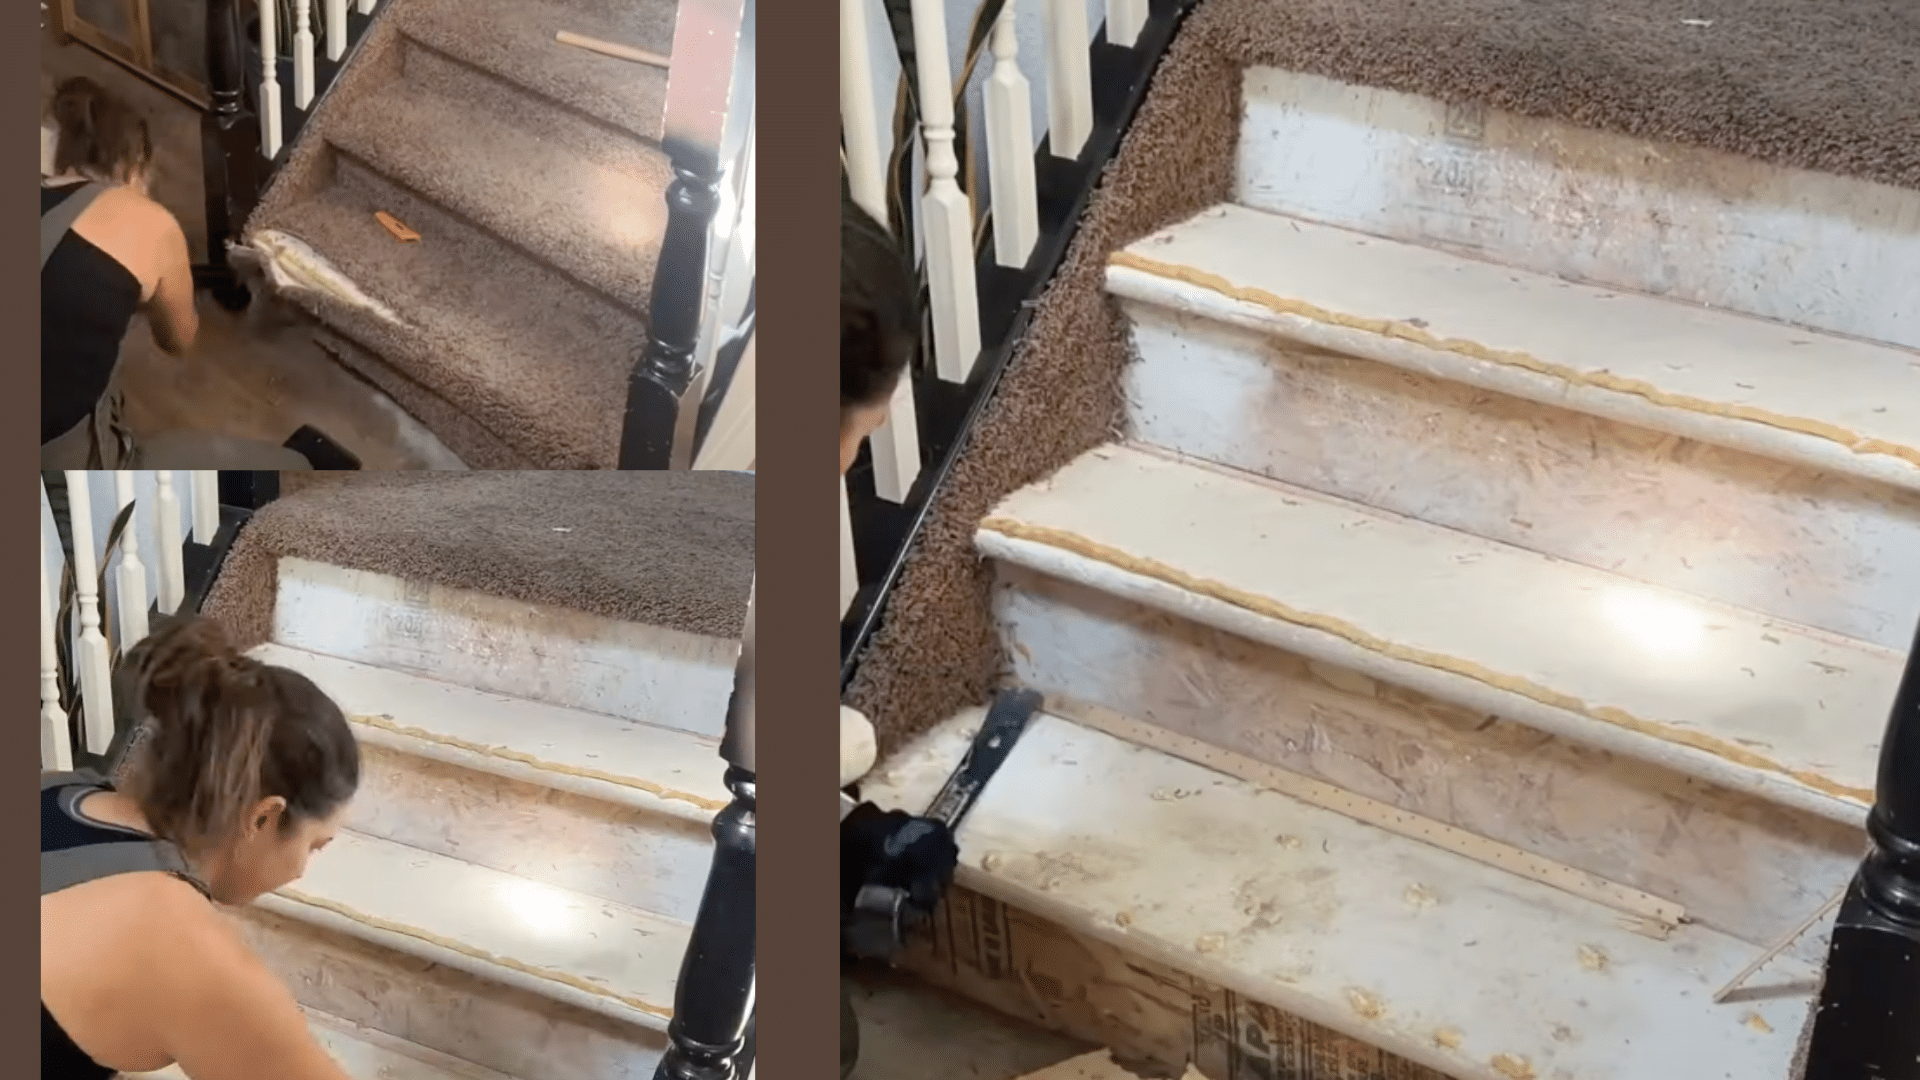
The first step in most stair projects is to remove old stuff.
For carpeted stairs, use pliers to pull up the carpet. Watch out for the many staples hiding underneath—they can hurt your hands. Use a pry bar to remove tack strips along the edges.
If you need to change the front edge of the steps, use a jigsaw or circular saw to cut off the old nose part.
Wear safety glasses and a mask during this dusty work.
4. Prepare the Surface

Good prep work makes the final look much better. Fill any holes with wood filler and let it dry fully.
Sand all the treads and risers until smooth—start with rough sandpaper and finish with fine. Wipe away all dust with a damp cloth.
For uneven spots, especially along the sides, use joint compound and a putty knife to smooth them.
Let everything dry completely before moving to the next step.
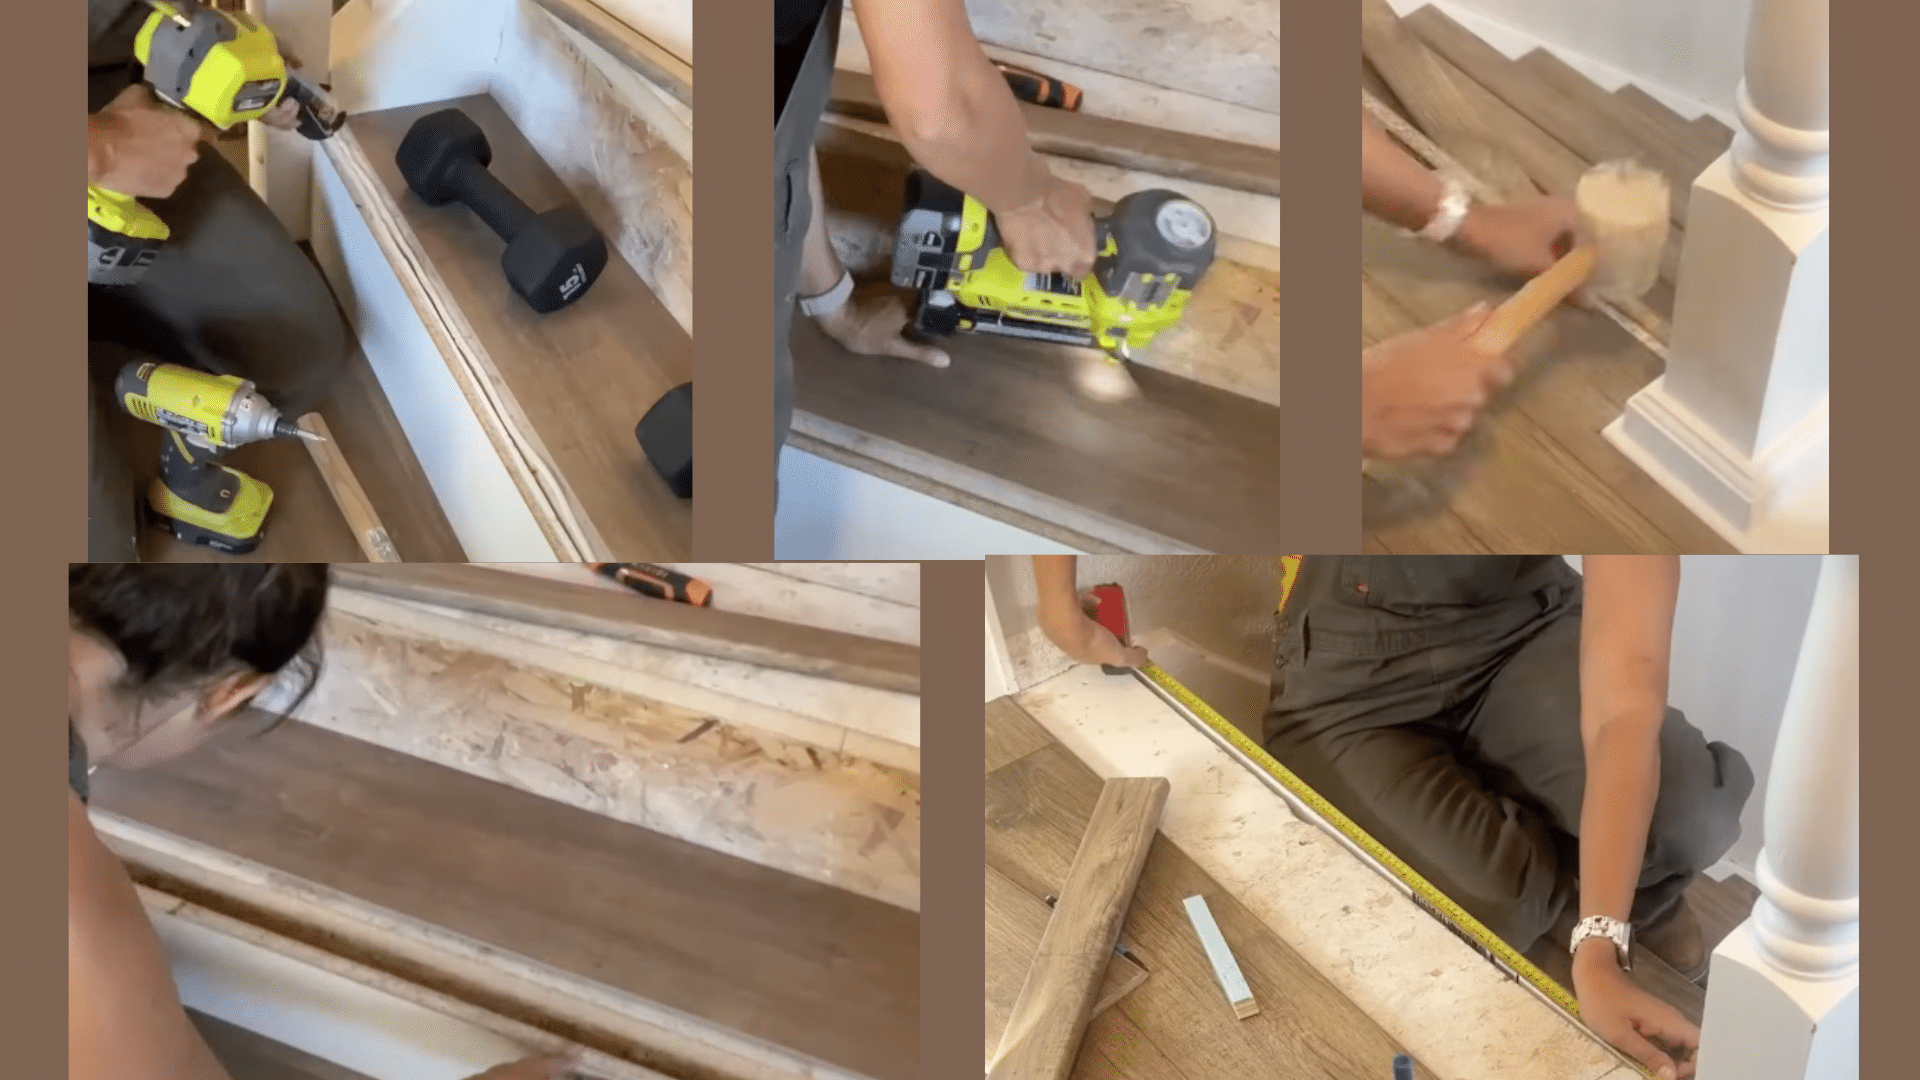
5. Install New Components
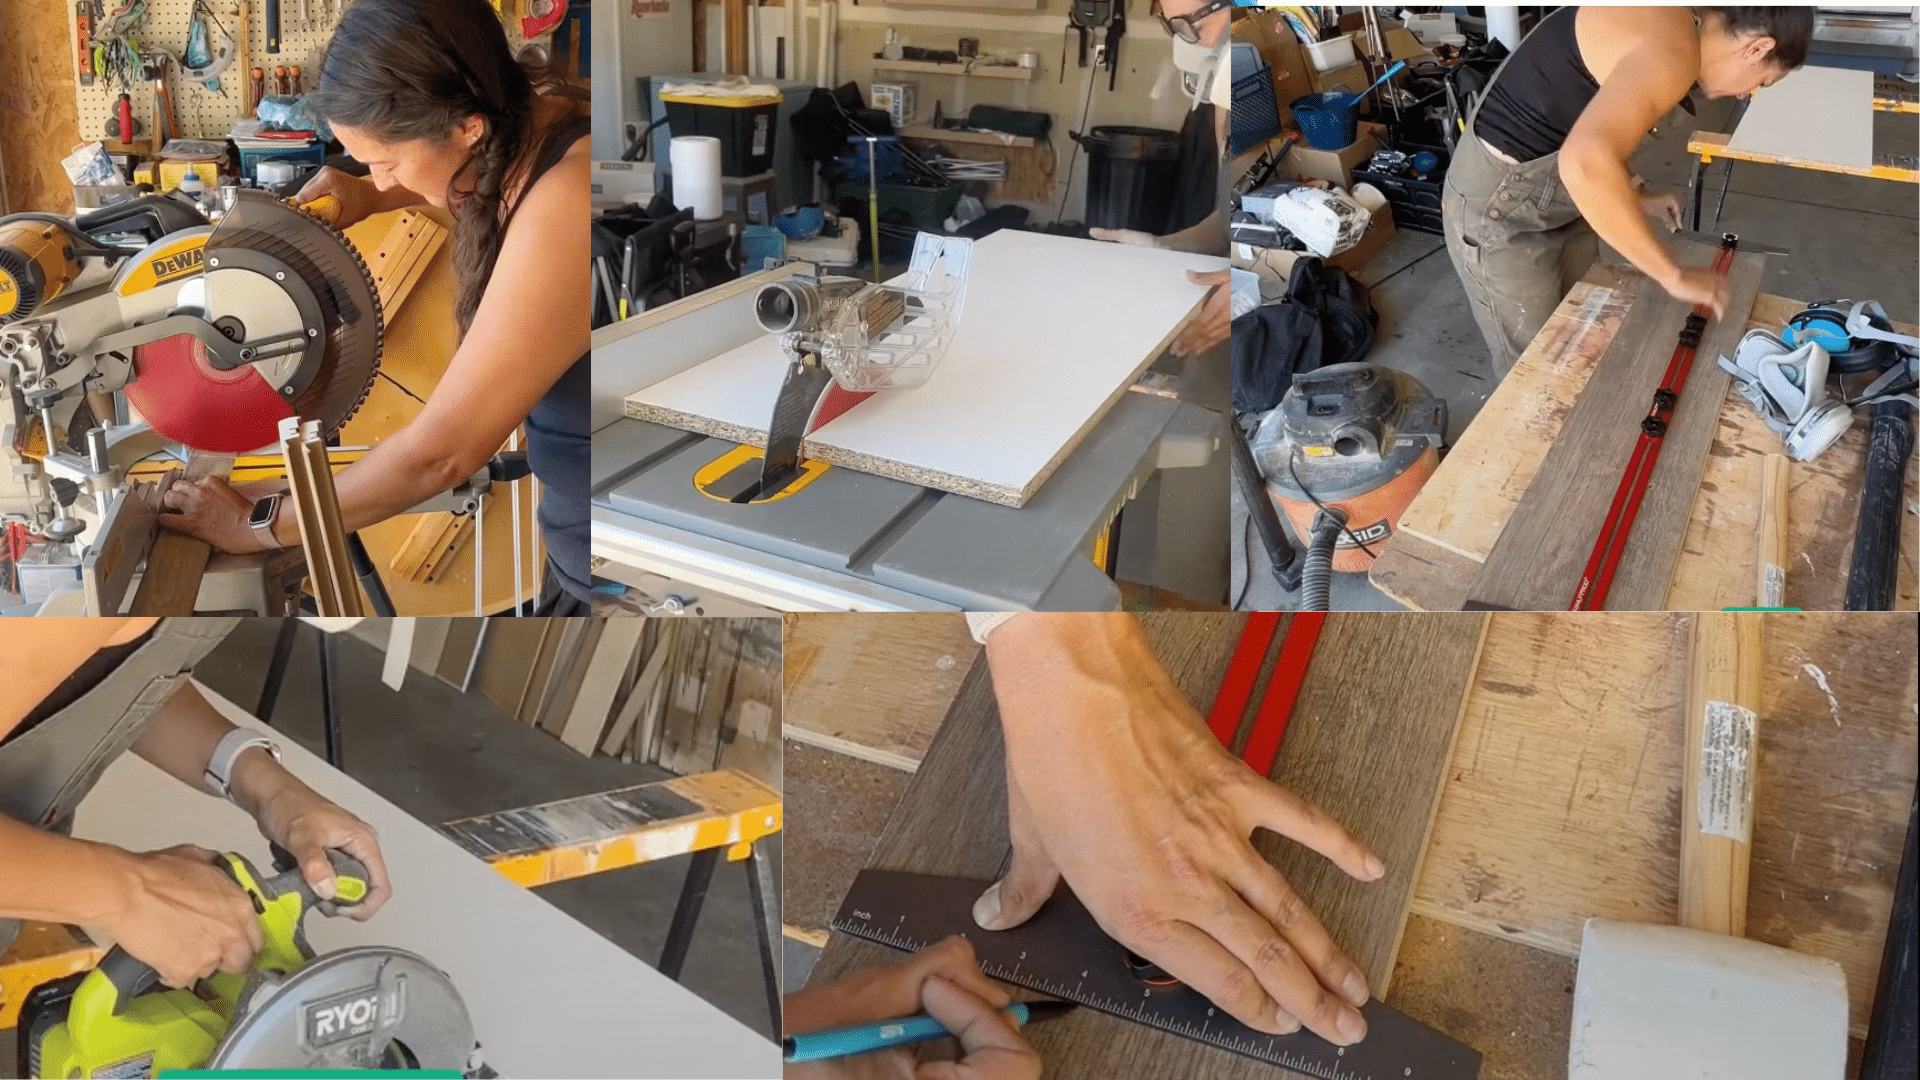
Putting in new parts requires careful measuring. For risers, measure each space separately—stairs are often not all the same size.
Cut melamine or MDF boards to fit, and paint them before putting them up. For treads, make a paper pattern first to get the right shape.
Put construction glue on the base, then press the new tread down and add nails. Add nose pieces to the front edge for a finished look and to make steps last longer.
6. Update Structural Elements
Changing the main support pieces makes a big impact. You can wrap old newel posts with MDF boards and add trim for a new look without removing the whole post.
When working on balusters or spindles, make sure they’re spaced correctly for safety (usually less than 4 inches apart).
Use strong glue and screws to attach them firmly. Check local building rules to make sure your changes meet safety standards.
7. Finishing Touches
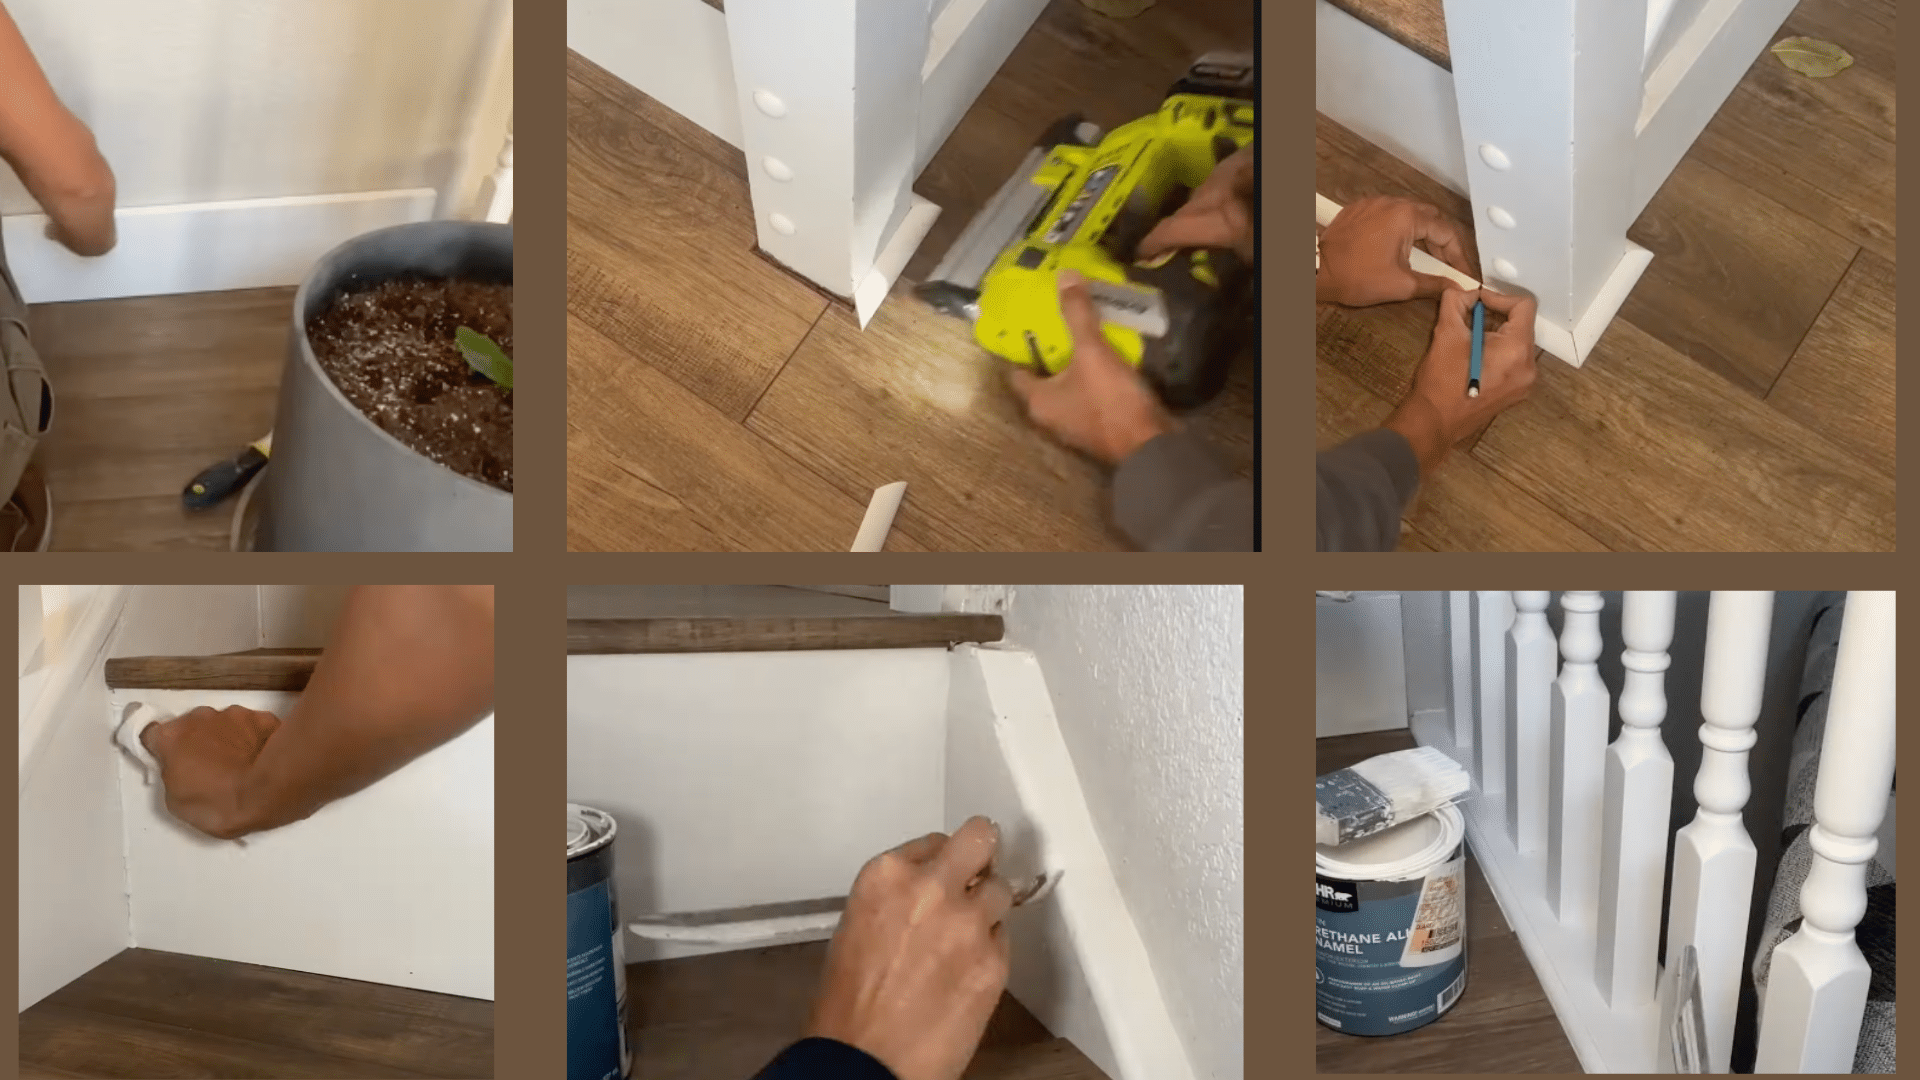
The final steps make your stairs look complete. Apply primer first, then at least two coats of paint or stain.
If you worry about falling, add non-slip material to the treads. Then, put a clear coating over everything to protect it from scratches and spills.
Use a caulk gun to fill small gaps between the stairs and walls. This makes everything look neat. Let all finishes dry fully before using the stairs – usually at least 24 hours.
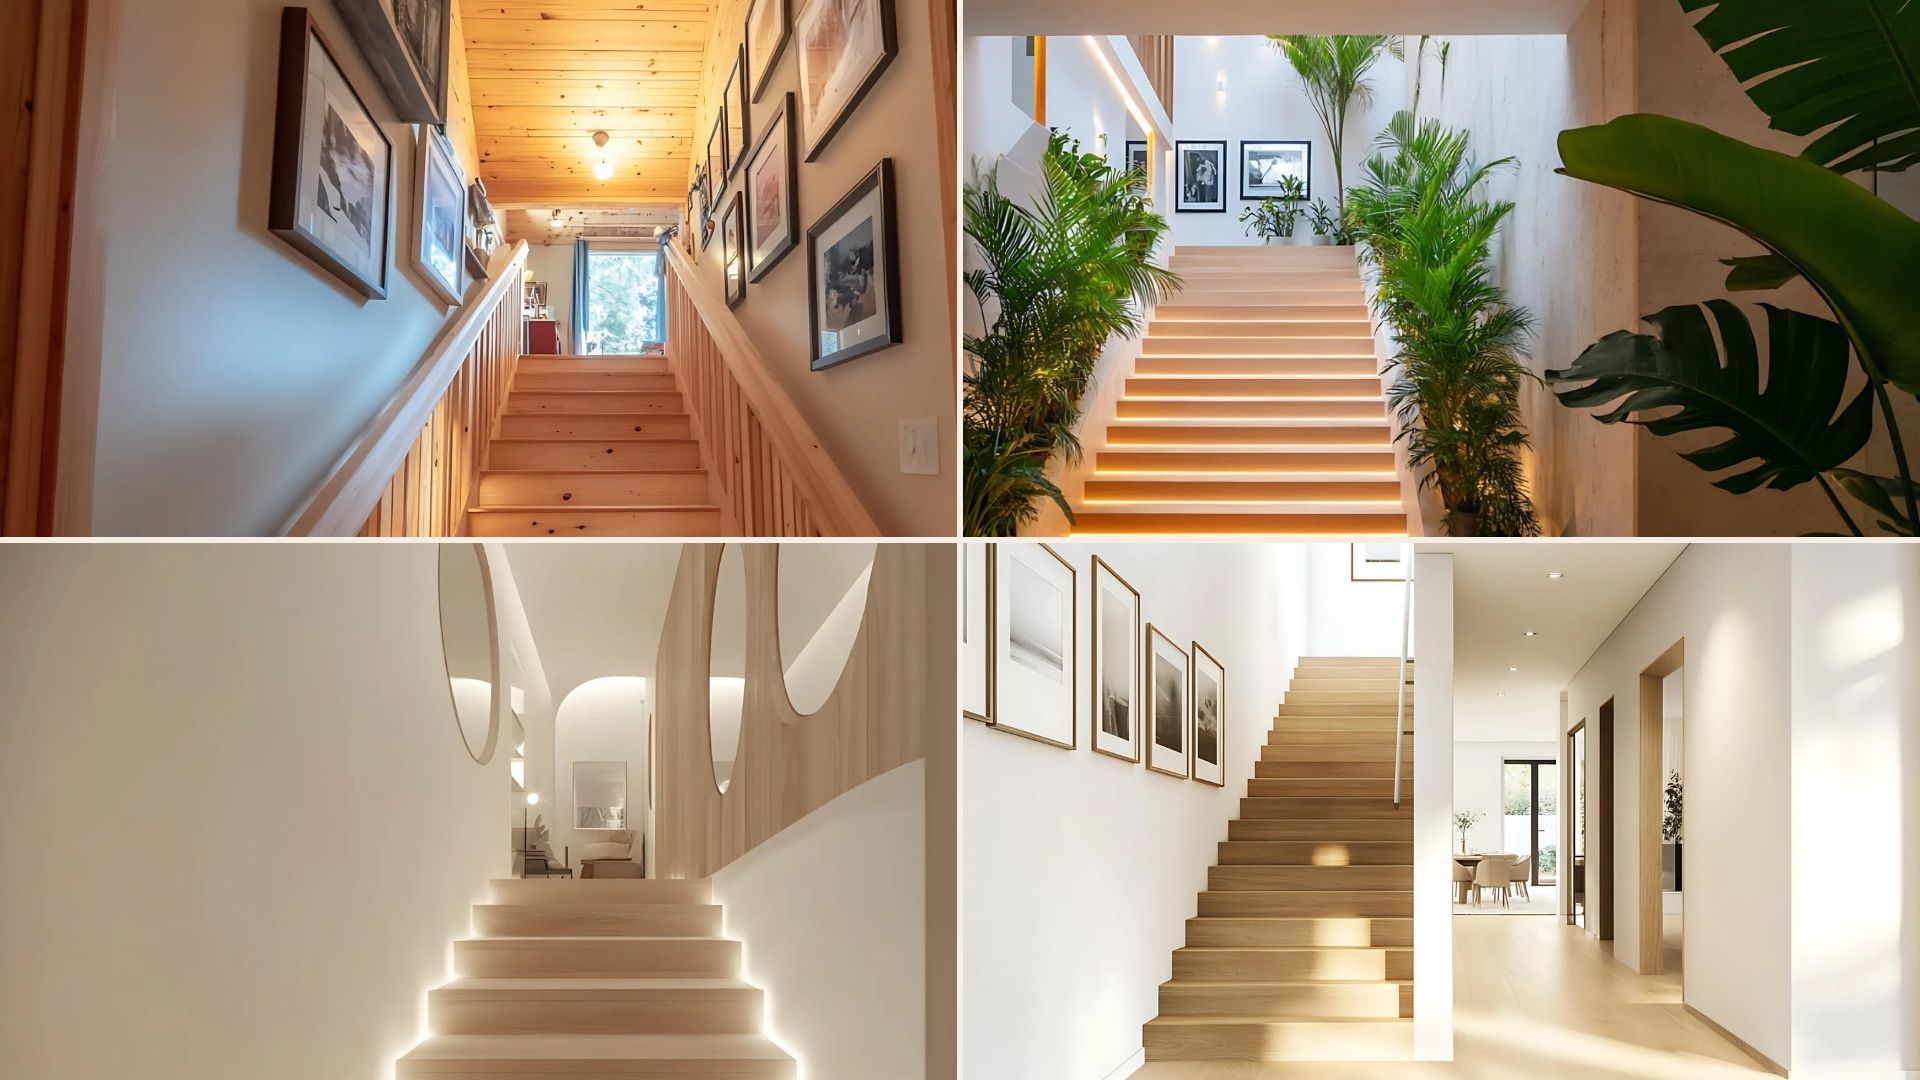
Popular Staircase Makeover Ideas
Try these popular ways to make your stairs look better without spending too much money.
1. Paint or Stain Existing Wood
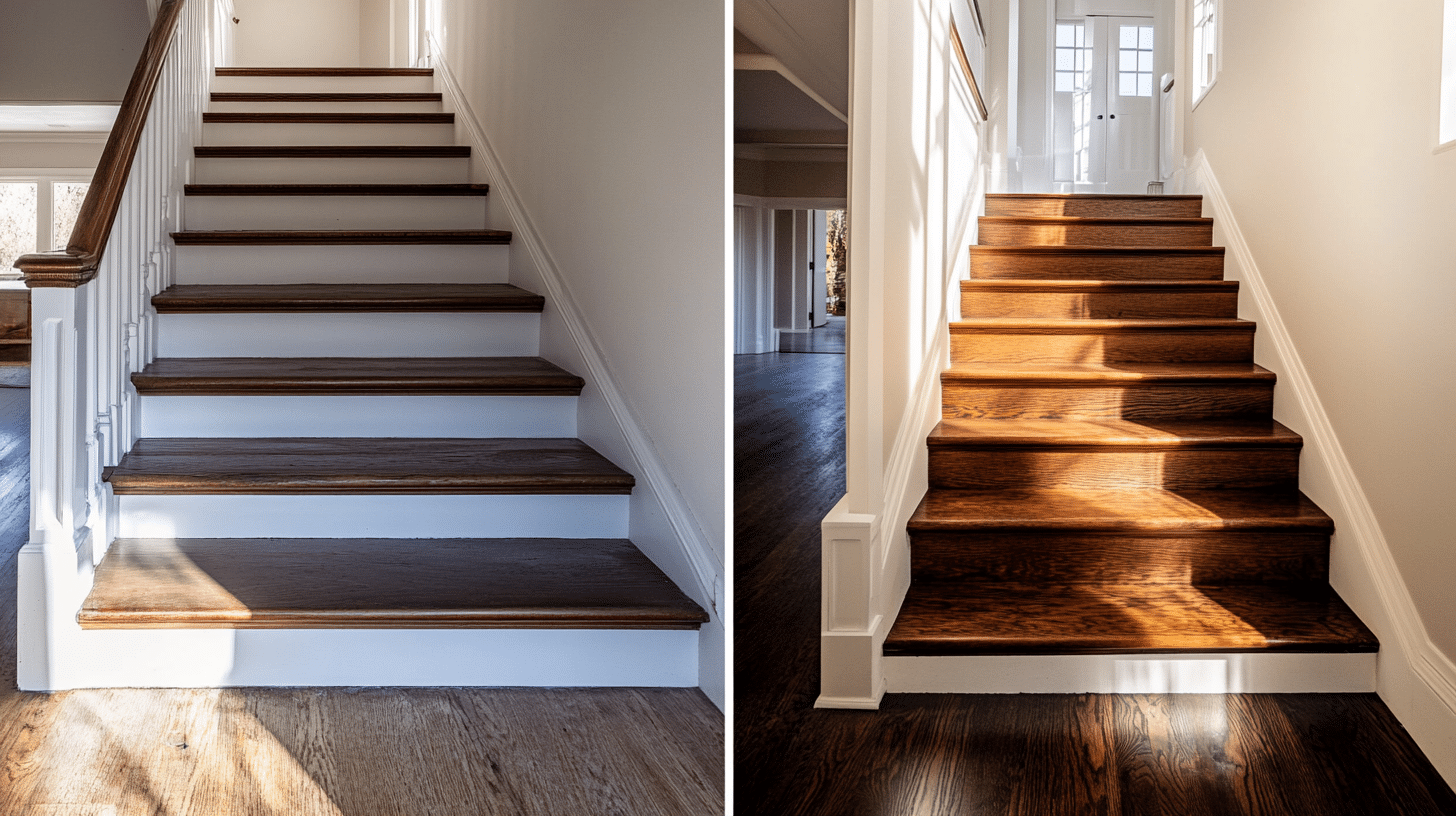
A fresh coat of paint or stain can make old stairs look new again. Paint gives you many color choices and can hide scratches, but it might chip with daily use.
The stain shows the wood patterns while adding color. Light colors like white or gray make spaces feel bigger, while dark browns add a cozy feel.
This job takes about two days but requires good prep work—clean, sand, and prime before adding color for the best results.
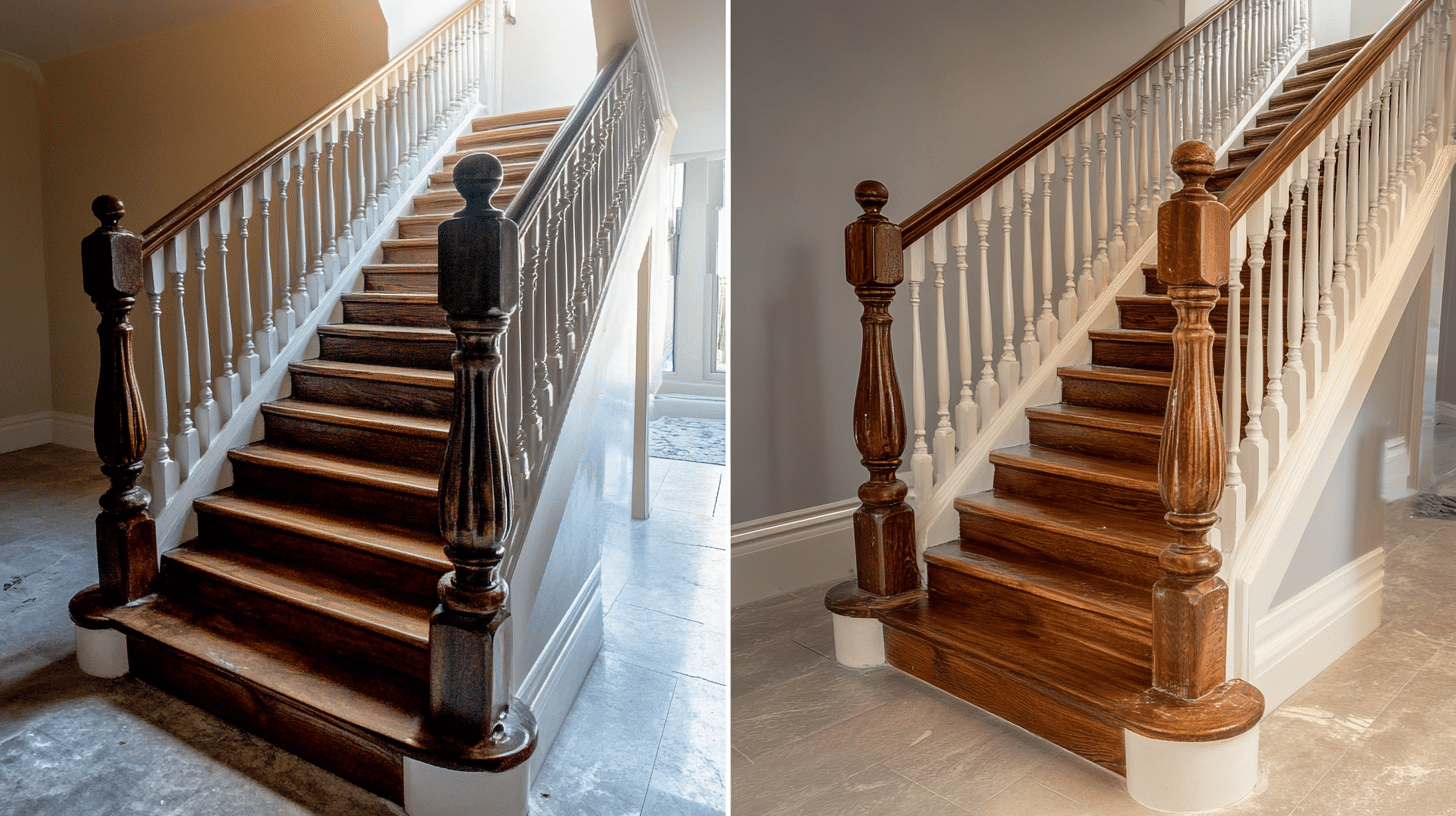
2. Swap Wood Balusters for Iron
Trading wooden posts for iron ones makes a big change in the look of stairs. Each new iron post has its price, plus tools if you do it yourself.
You’ll need a saw to cut out old posts, careful measuring, and strong glue or screws to put in new ones.
Hiring someone costs more but makes sure everything is safe and follows the rules. Simple straight-iron posts cost less than fancy twisted ones.
3. Replace or Refurbish Handrails
A new or fixed-up handrail can change the look of your whole staircase.
Straight, square rails look modern, while round, curved ones feel more traditional. Try to match the color with other wood in your home.
For safety, keep rails 34-38 inches above the step edge. Strong bolts instead of nails should hold rails in place. For extra strength, join pieces with glue and wooden pegs.
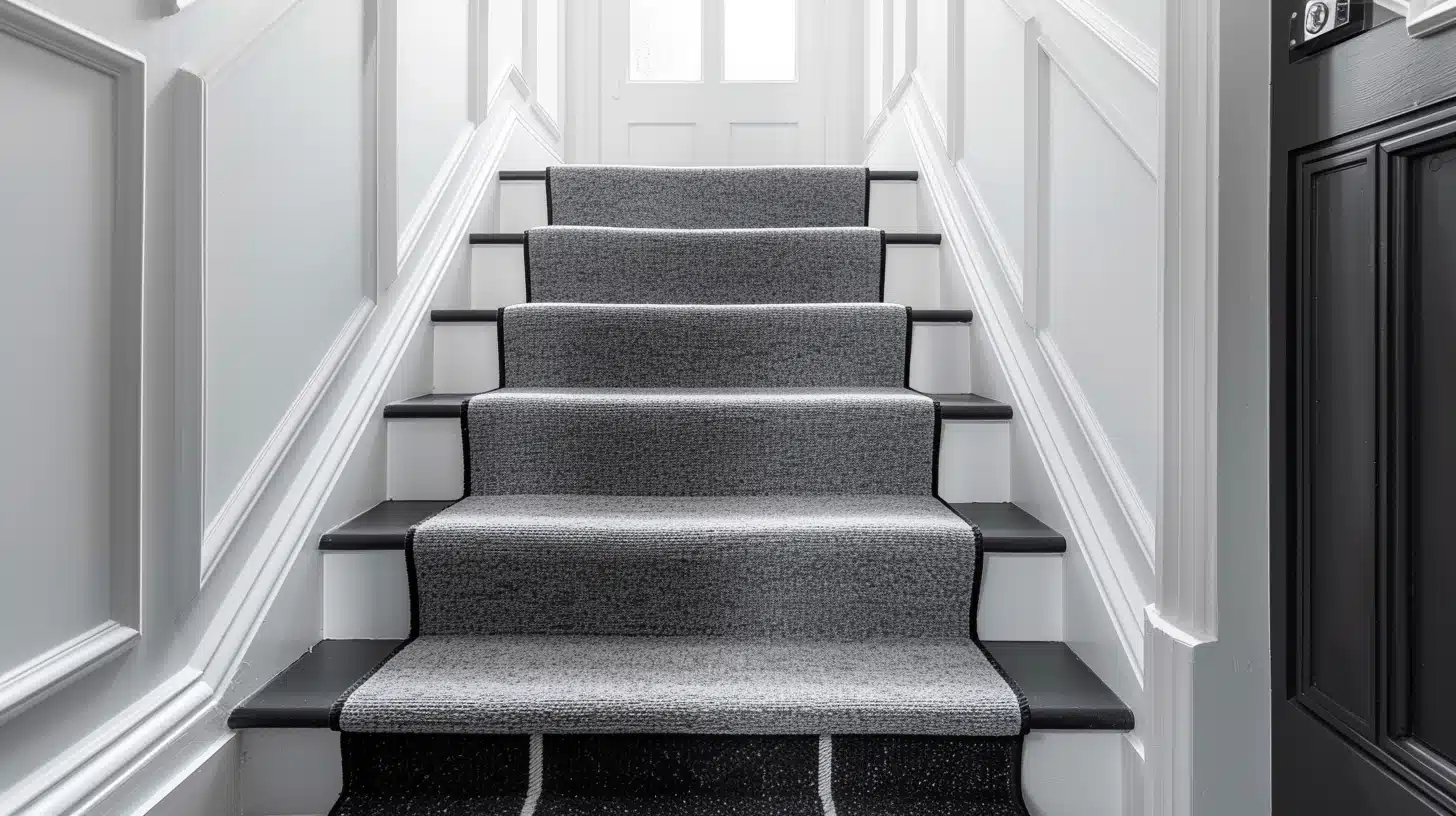
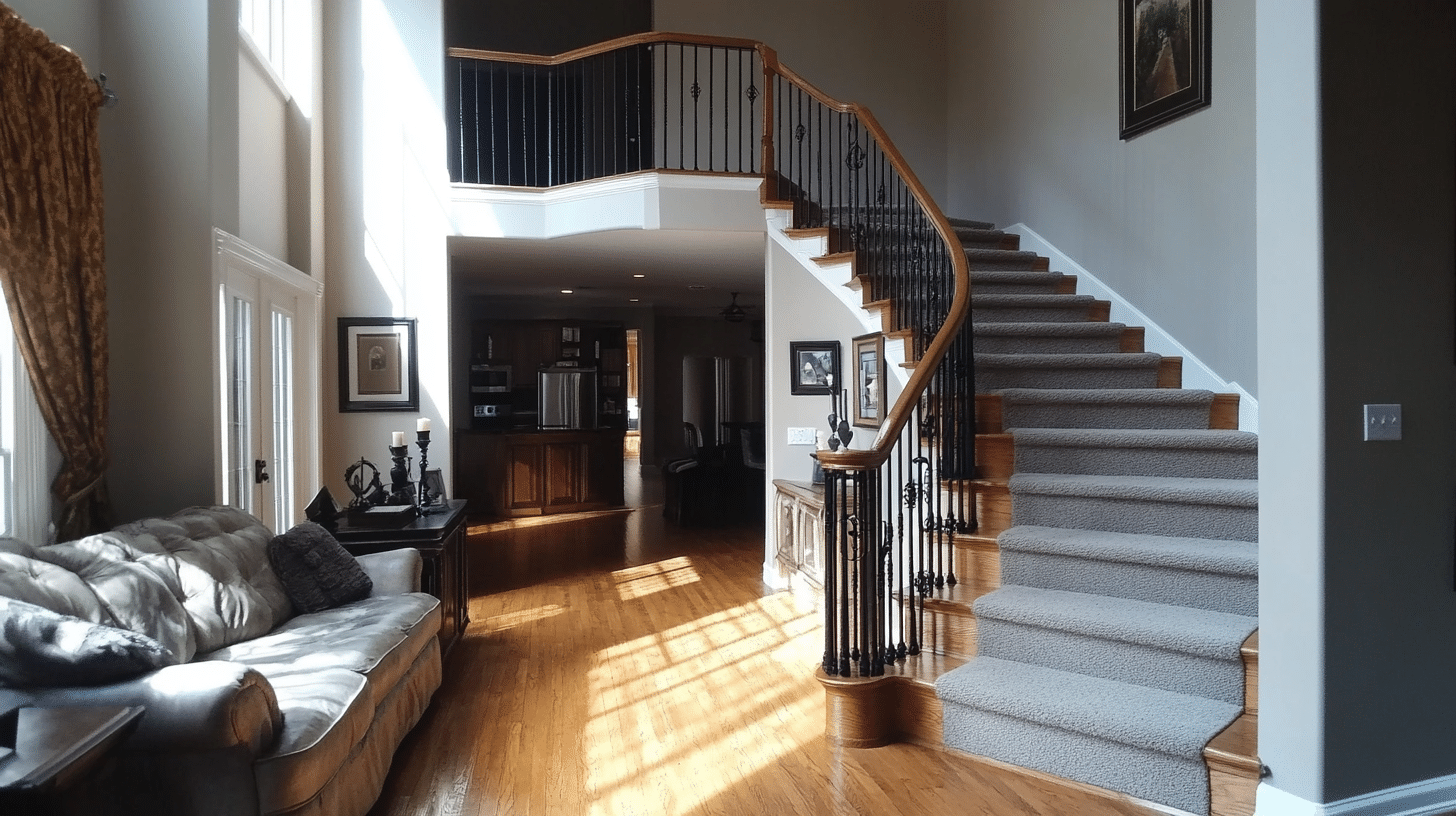
4. Add Trim, Risers, and Runners
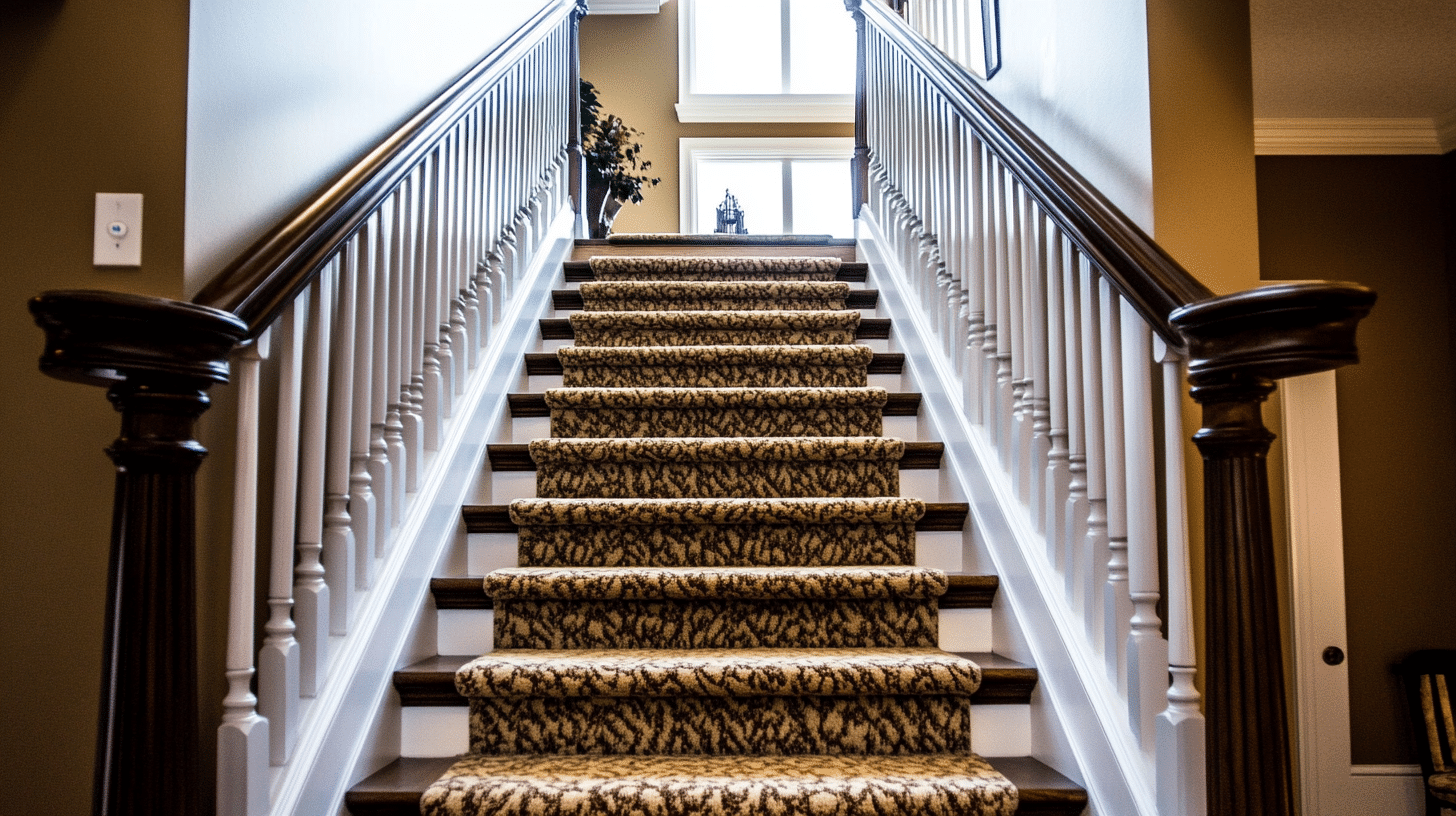
Small additions can make a big impact.
For a fancy touch, put wood trim where the stairs meet the wall. Paint the upright parts white while keeping the steps wood-colored for a clean look.
Add a carpet strip down the middle of wooden stairs for comfort and less noise. Look for flat, washable runners with non-slip backing if you have kids or pets.
5. Style Up with Lighting and Decor
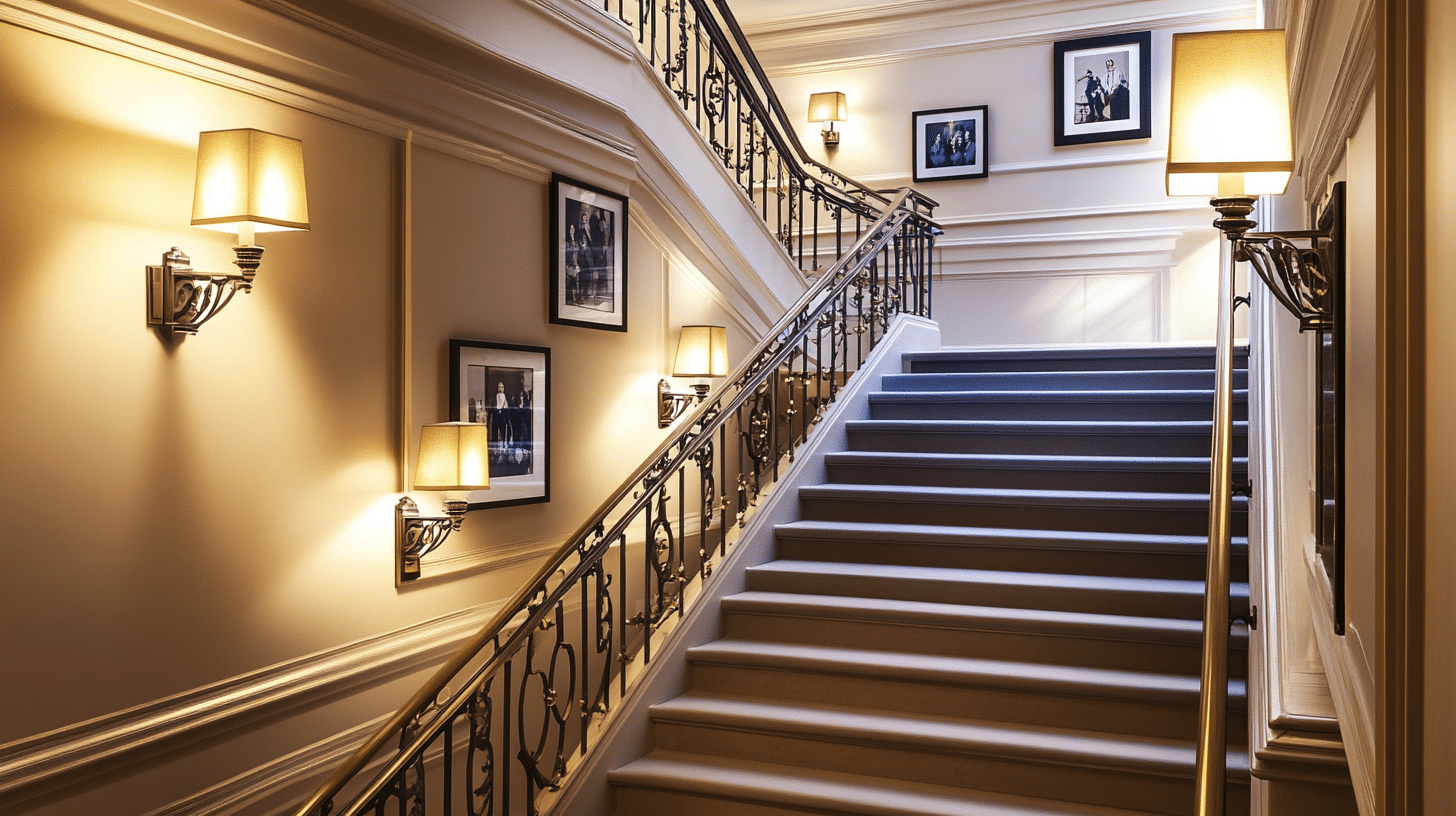
Good lighting makes stairs safer and more attractive. Put wall lights at the same height along your staircase.
For night safety, try LED light strips under steps or along rails. You can also hang family photos or art on your stair wall to make a gallery.
Use different-size frames for a casual look or matching frames if you want things to look more planned.
Maintenance Tips for Renovated Stairs
Regular maintenance preserves the safety and aesthetic appeal of your renovated stairs.
Proper care prevents costly repairs, extends lifespan, maintains property value, and ensures continued safe passage for everyone in your home.
Neglected stairs can quickly deteriorate, compromising both appearance and function. Here are some tips for maintaining your renovated stairs.
- Regular cleaning and inspection routines.
- Addressing wear and tear promptly to prolong the lifespan.
- Tightening loose railings and balusters every few months.
- Use proper cleaning products for your stair material.
- Adding new sealer or finish every 2-3 years for wooden stairs.
Wrapping Up
Stair renovation can change how your whole home looks and feels.
With the tips in this guide, you can turn boring, old stairs into a standout part of your house.
If you’re new to DIY projects, start small — maybe paint or add new trim. As you get more skilled, you can try bigger changes, like new railings or treads.
Don’t forget to keep up with regular care to make your hard work last longer. Even simple cleaning and quick fixes make a big difference. Ready to start your stairs renovation?
Pick one idea from this guide and try it this weekend. Your “new” stairs might just become your favorite part of your home!