Skim Coating: Step-by-Step Guide for Smooth Walls
Your walls look rough, uneven, or just plain tired. Painting over them won’t fix that.
That’s where skim coating comes in. It smooths out imperfections, hides cracks, and gives you a clean, paint-ready surface.
You don’t need to replace your drywall. A few thin layers of joint compound can completely transform any wall. Skim coating saves money, improves your walls, and delivers a professional finish even as a DIY project.
Read on to learn the right tools, a simple step-by-step process, and key tips to get a flawless result every time.
What is Skim Coating and Why Should You Do It?
Skim coating is the process of applying a thin layer of joint compound to walls or ceilings to create a smooth, even surface.
It’s used to repair drywall, remove textured surfaces, or prepare for painting.
The process involves applying joint compound with a paint roller or trowel, then smoothing it out with a taping knife or Magic Trowel.
Skim coating is ideal for removing textures like popcorn ceilings, repairing drywall imperfections, or preparing walls for a fresh coat of paint.
Tools & Materials Required for Skim Coating
Using the right tools ensures smooth application and a professional finish. Focus on these essentials:
| Tool / Material | Purpose / Use |
|---|---|
| Trowel (Flexi or Standard) | Applying and spreading plaster evenly. |
| Whisk / Mixing Tub | Mix plaster to a smooth consistency. |
| Paintbrush | Applying PVA primer to prepare walls. |
| Taping Knife | Smoothing plaster on edges and corners. |
| Multi-Finish Plaster / Joint Compound | Main material for skim coating. |
| Water | Mixing with plaster and PVA. |
With these essentials ready, skim coating becomes more manageable, helping you achieve a smooth, paint-ready wall.
Step-by-Step Guide to Skim Coating Walls
Skim coating requires attention to detail at each step to achieve a smooth, flawless finish, from preparation to sanding the final coat.
Step 1: Prepare the Surface
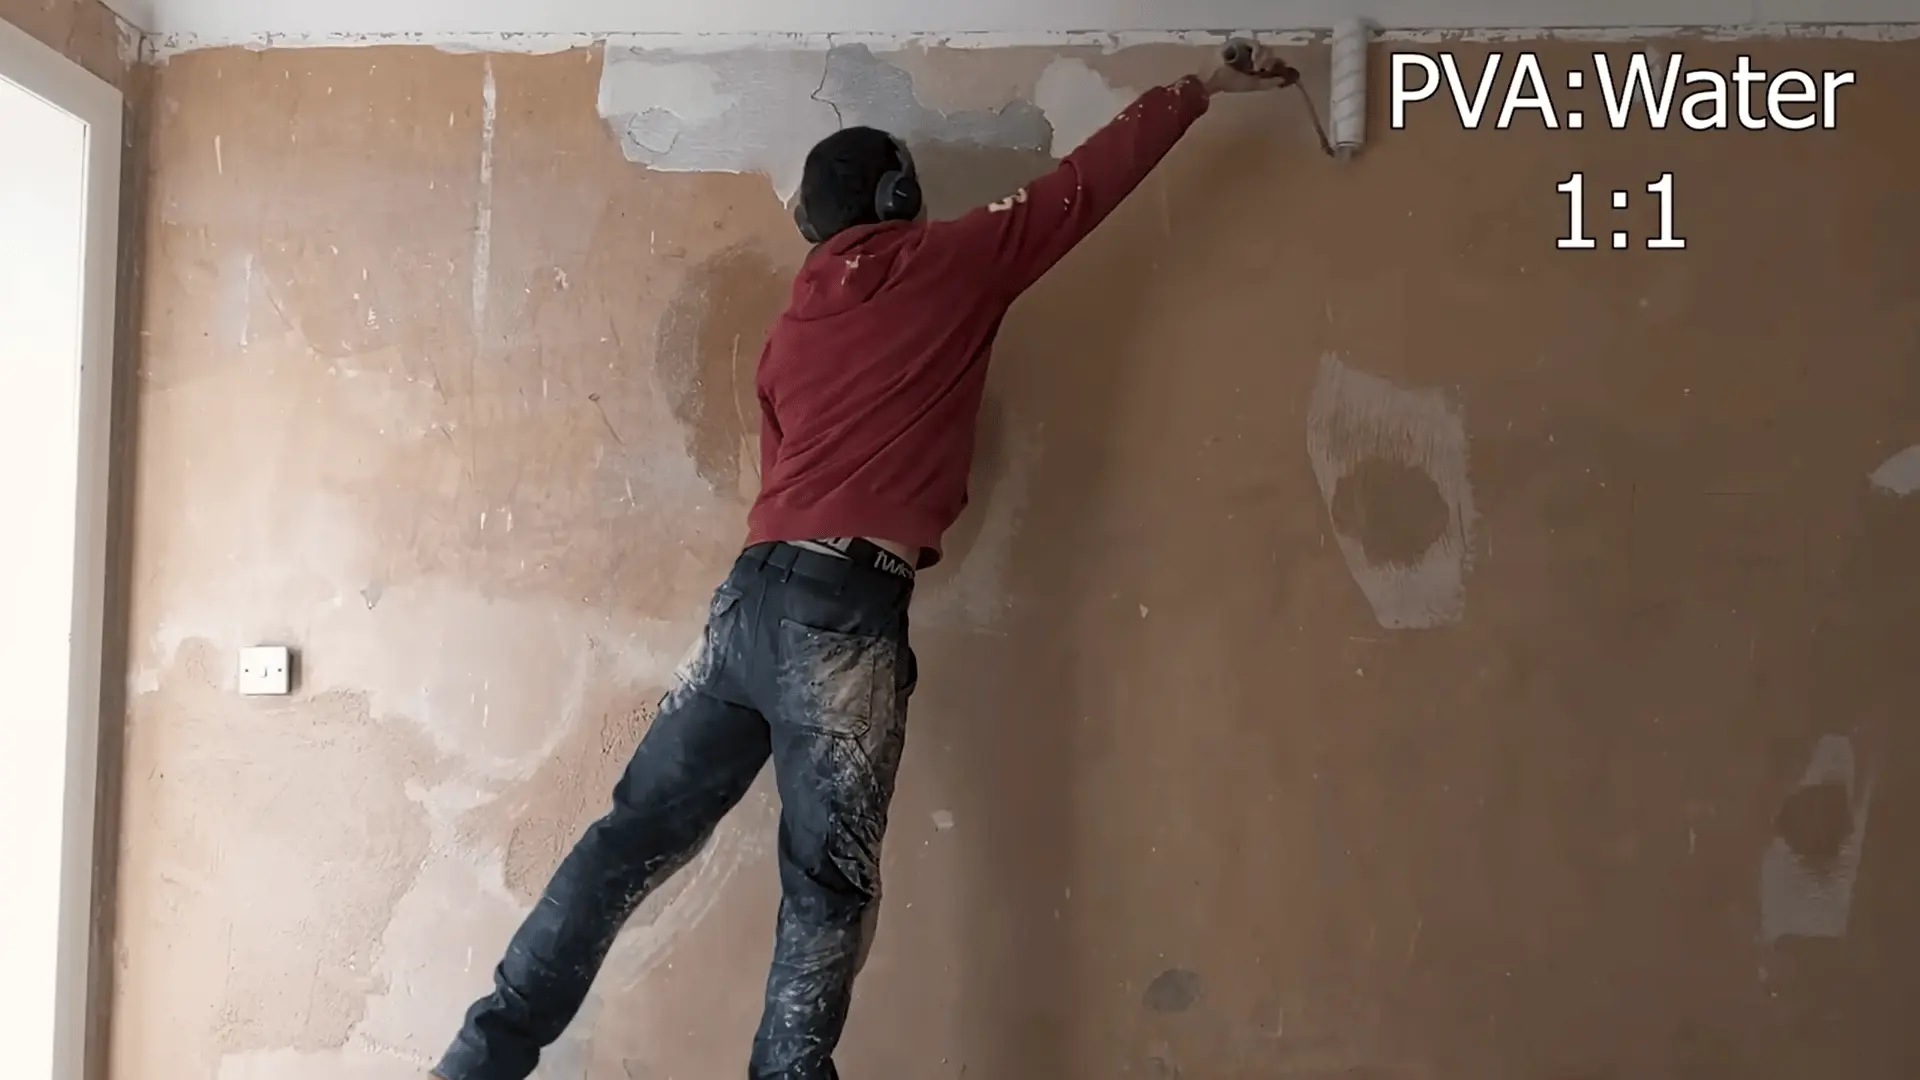
Start by cleaning the wall to remove dust, dirt, and loose particles. A clean, dry surface ensures the plaster adheres properly.
Mix PVA with water in a 1:1 ratio and apply it evenly. Let it dry until tacky to the touch to help the plaster stick and create a smooth finish.
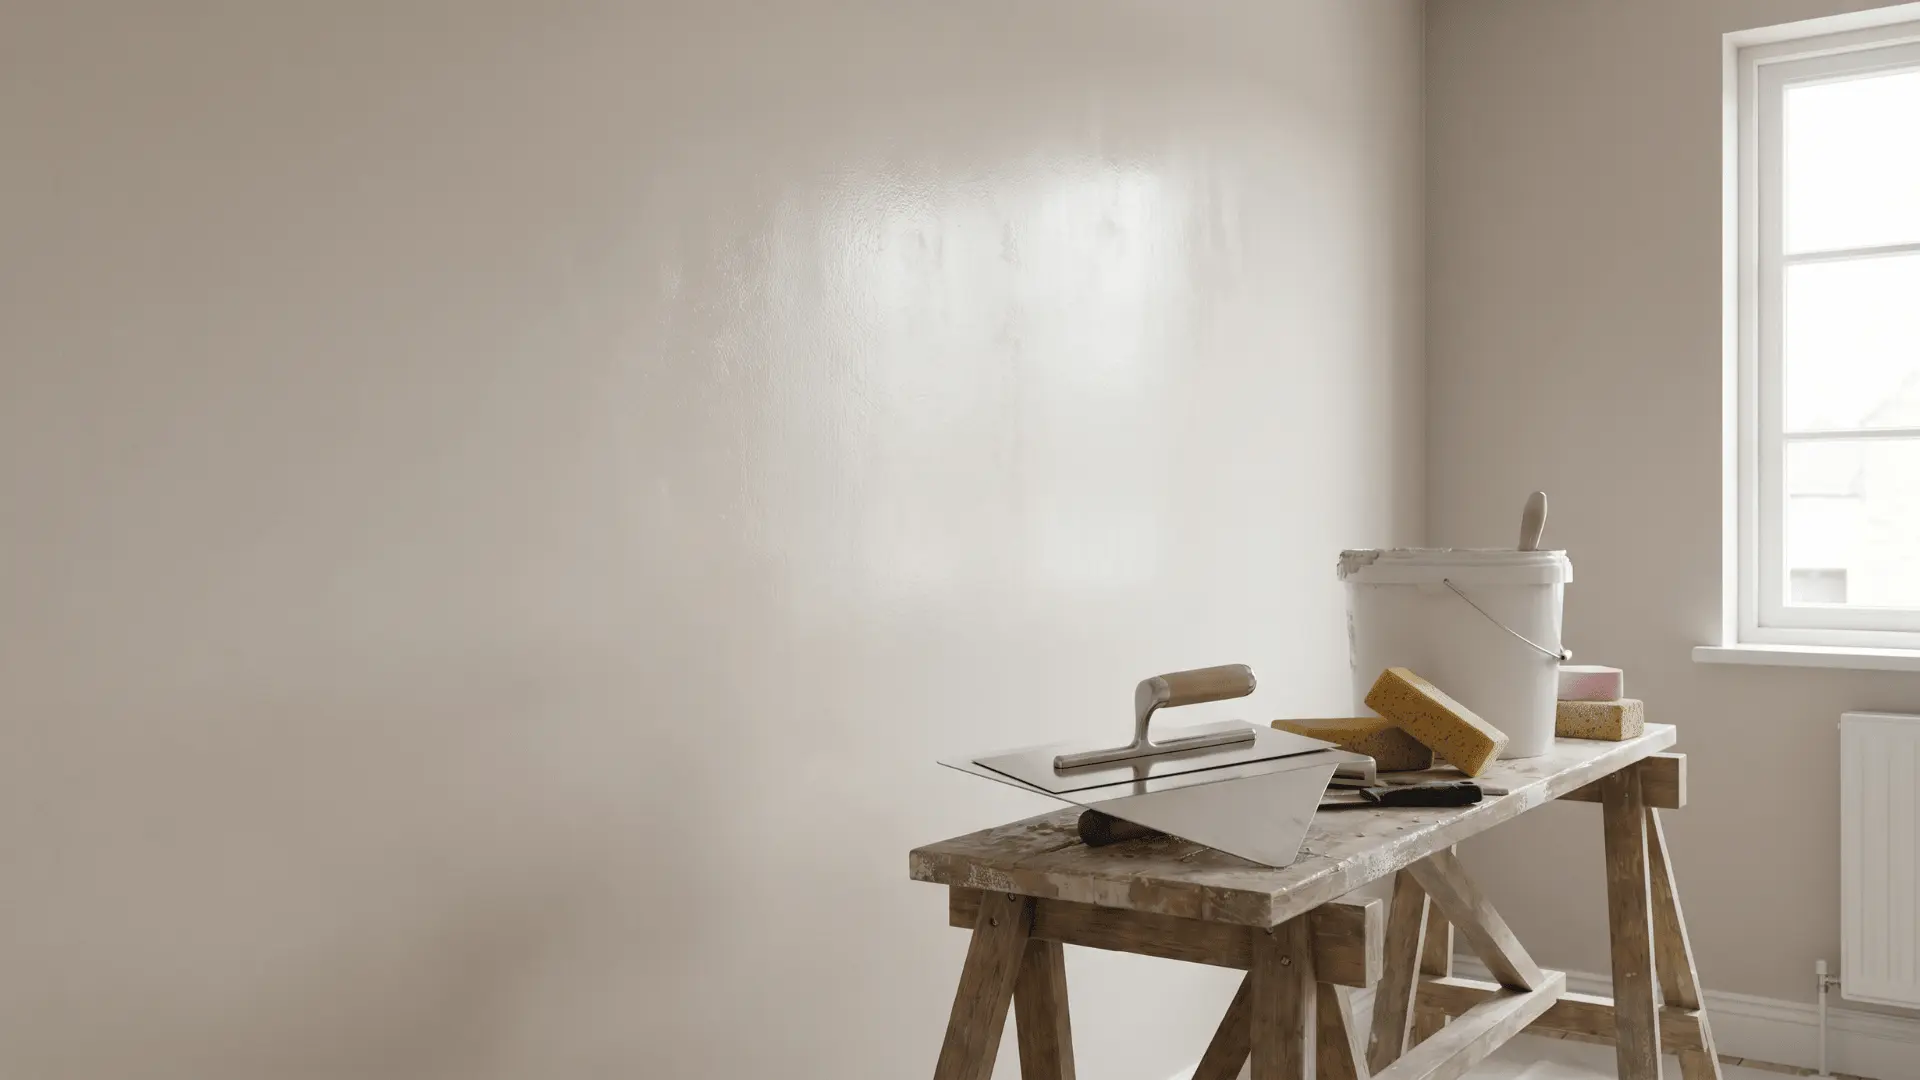
Step 2: Gather the Tools and Materials
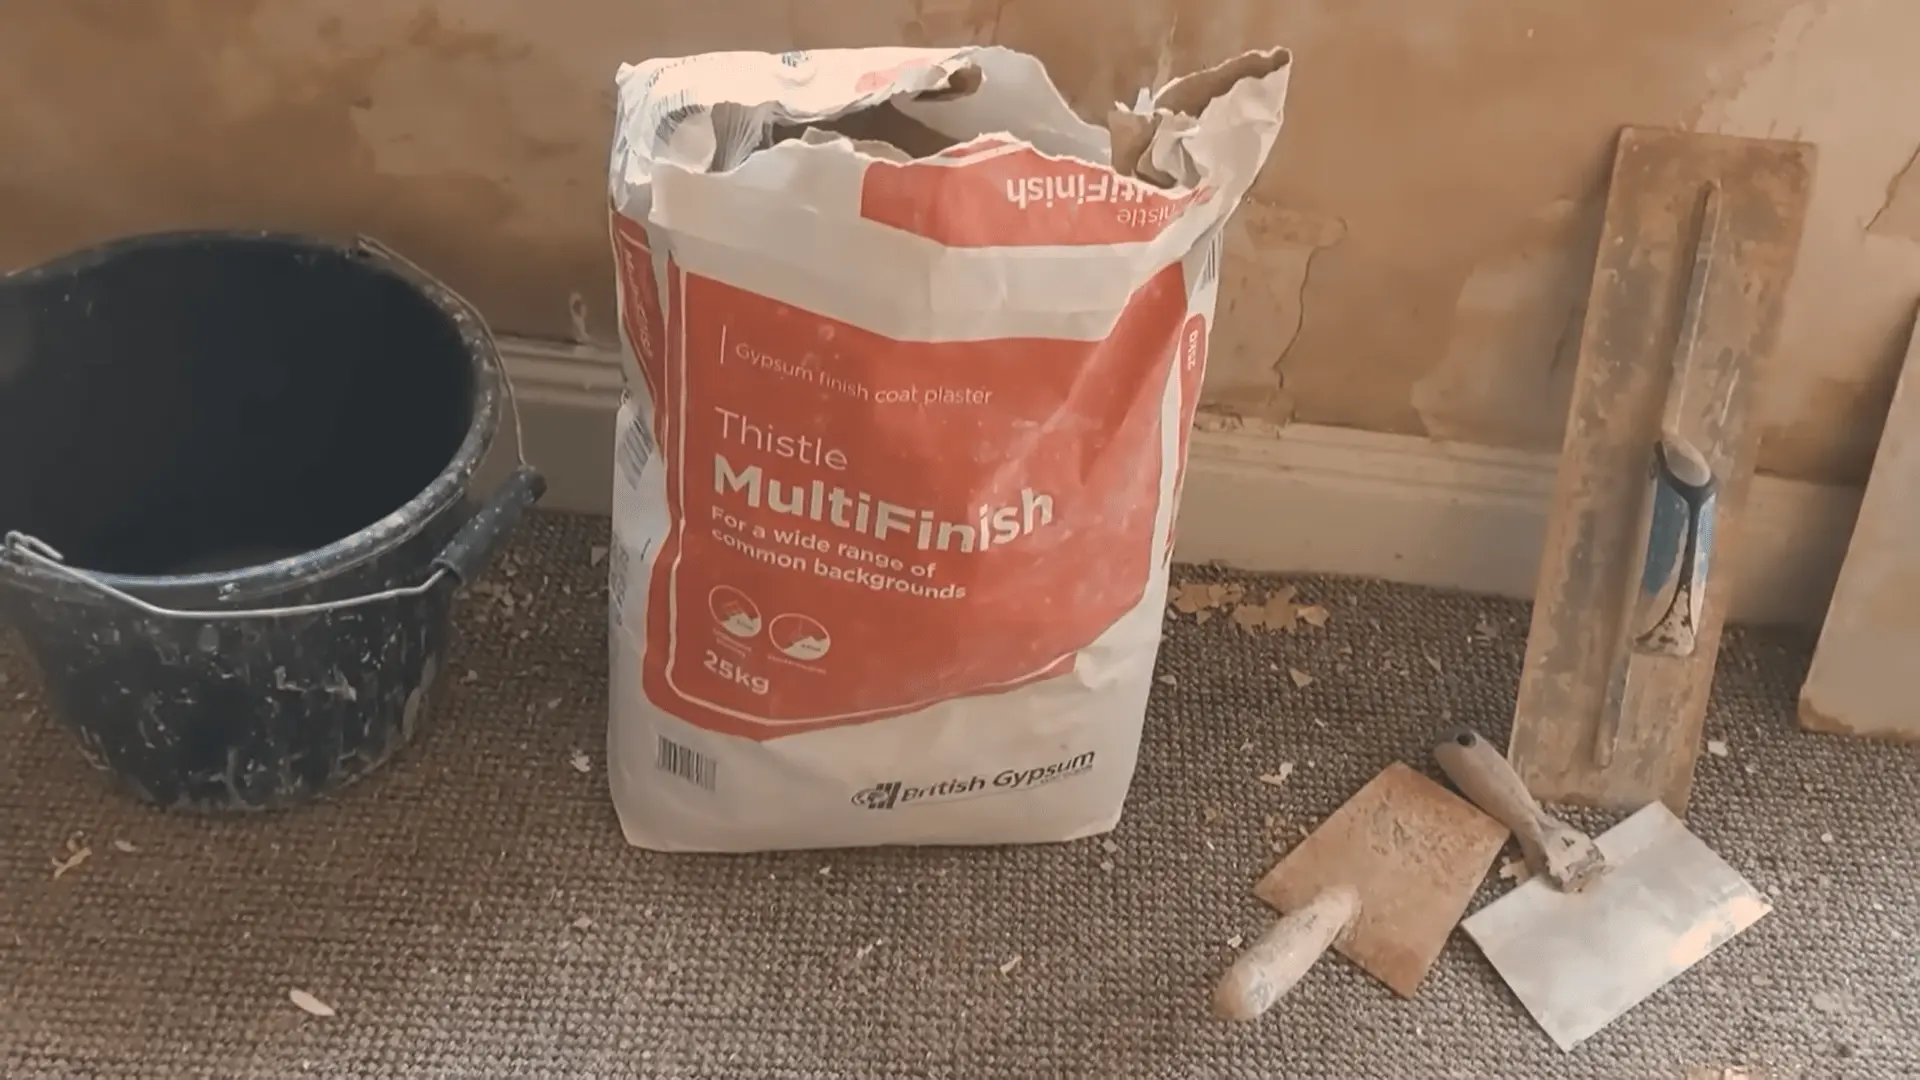
Collect all the necessary tools and materials, including multi-finish plaster, mixing tubs, trowels, a spatula, splash brush, and water buckets.
Have your plaster and mixing whisk ready for the next steps. Make sure all tools are clean and in working order before starting.
Step 3: Mix the Plaster
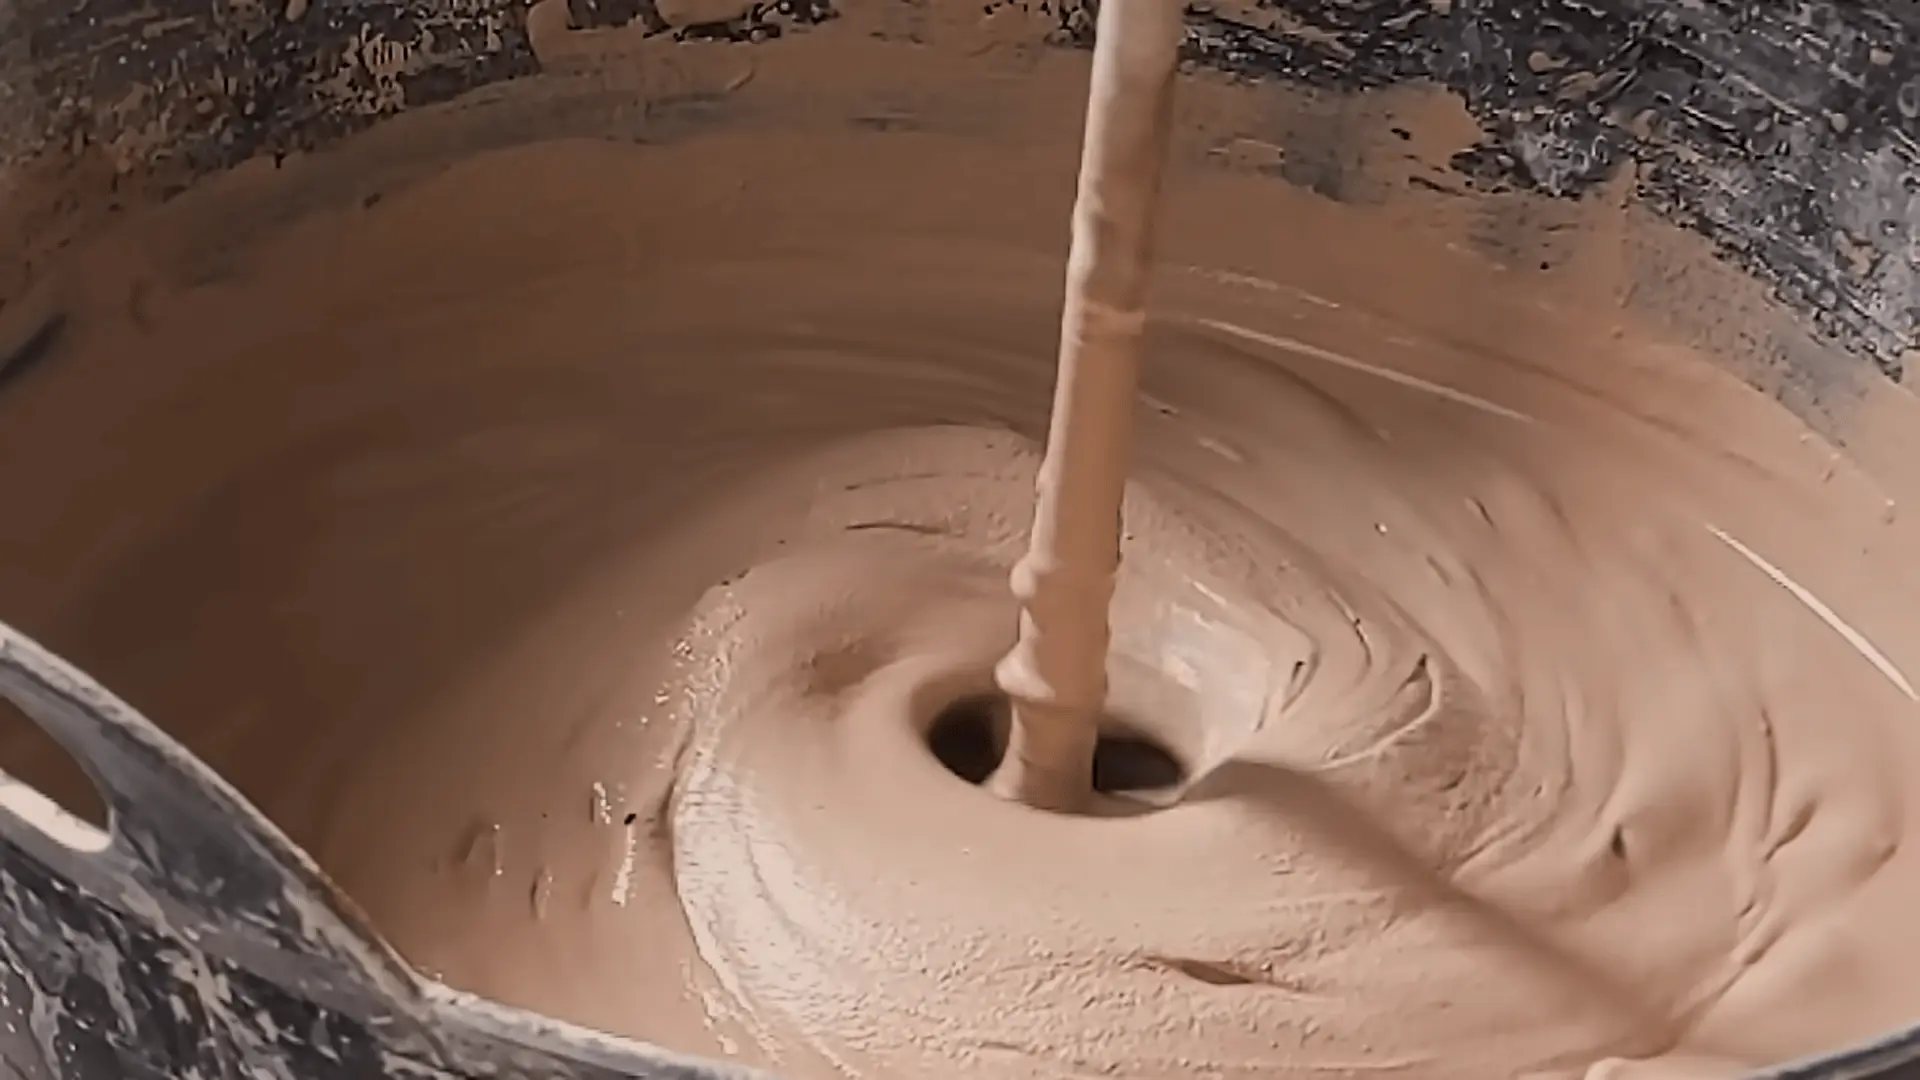
In a mixing tub, slowly add plaster to water and whisk until smooth, like yogurt. Make sure there are no lumps for an even application.
The mixture should be thick enough to stay on the wall without dripping, yet soft enough to spread easily with a trowel. A well-mixed plaster ensures a smooth, even finish and reduces the need for excessive sanding later.
Step 4: Apply the First Coat

Begin applying the plaster from the top left corner of the wall, moving steadily to the right. Work in smooth, even strokes to cover the surface uniformly.
Then apply from the bottom upward to meet the first layer in the middle. Keep this coat about 2 millimeters thick for a solid base.
Step 5: Apply the Second Coat
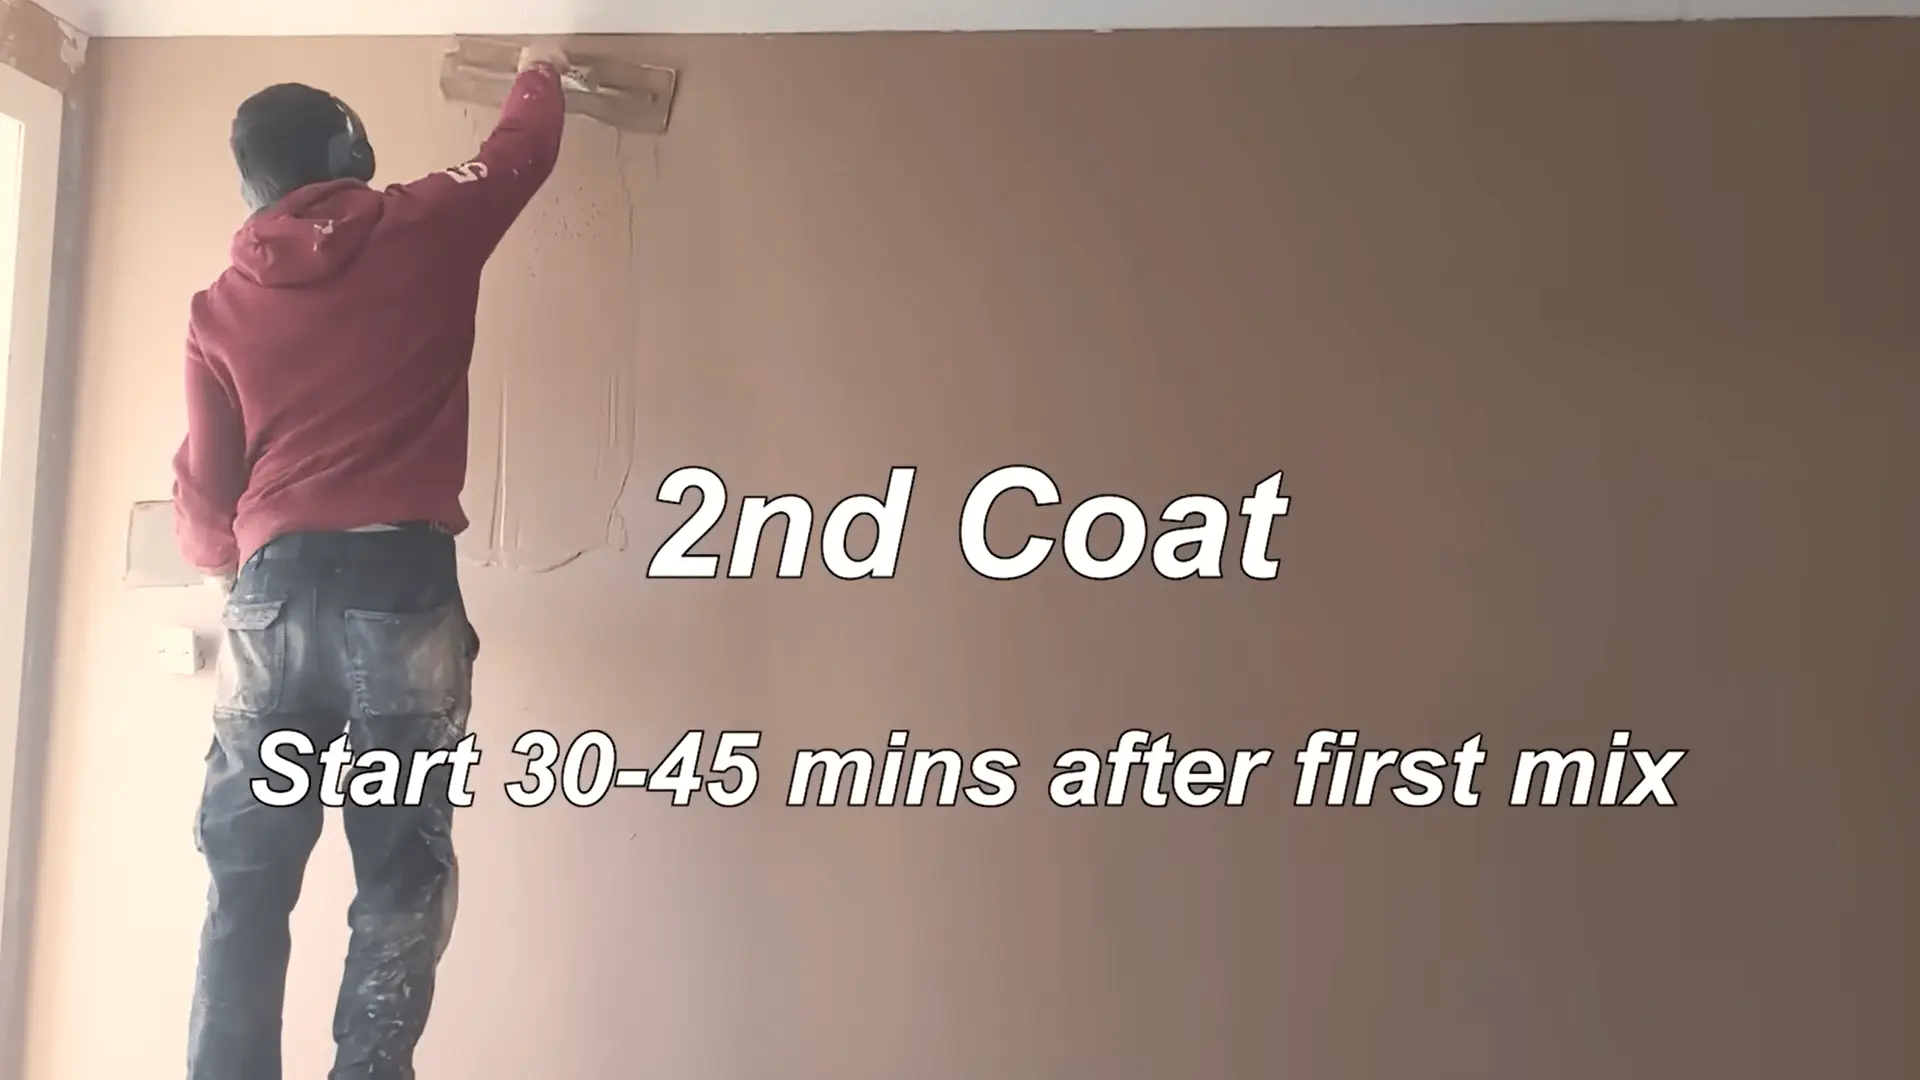
After the first coat dries, mix a slightly thinner plaster mixture for the second coat. Apply this coat in the same manner to ensure a smoother, more precise application for a flat, even finish.
This coat should be around 1 millimeter thick. Take your time to smooth out the plaster to avoid any imperfections.
Step 6: Finish and Polish the Wall
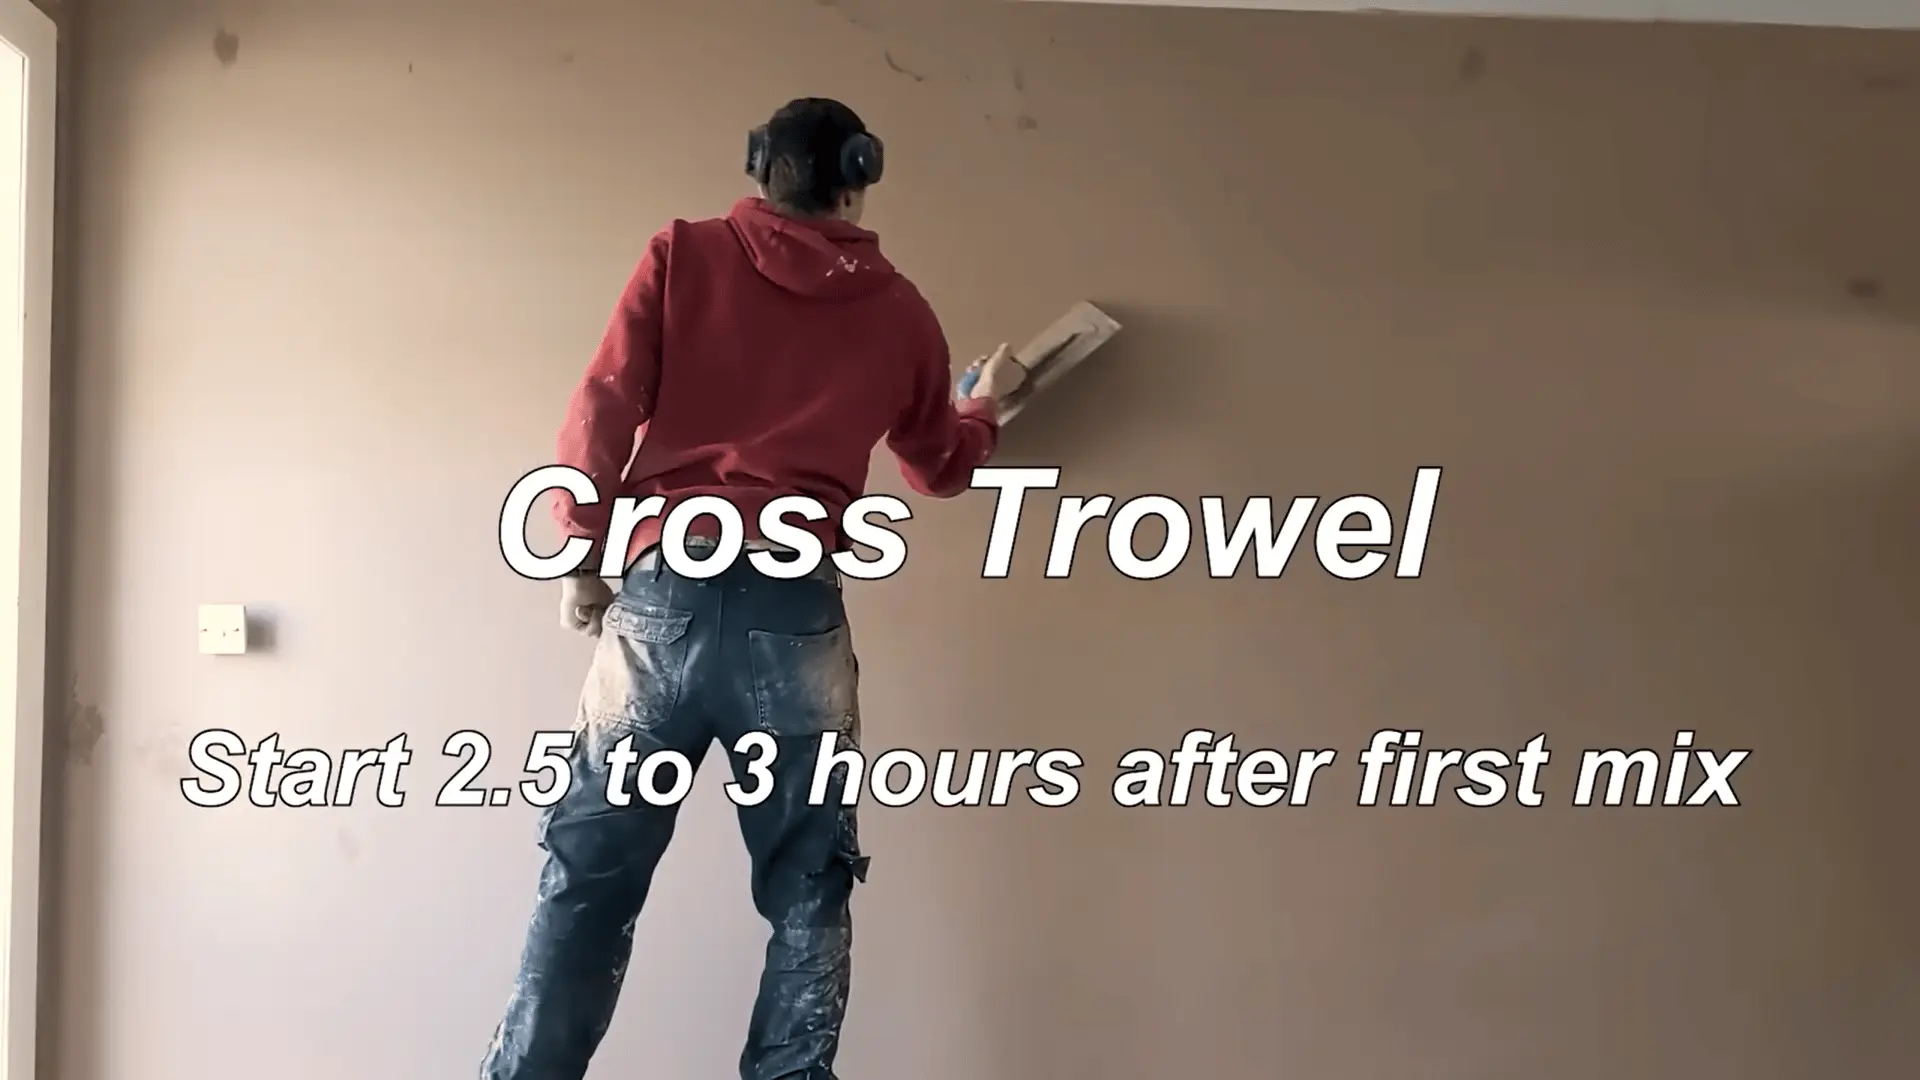
Once the second coat is set but still soft, lightly mist the surface with water to keep it lubricated. Use a trowel at a shallow angle to smooth the surface, removing any imperfections.
Perform a cross-trowel technique for a polished, flawless finish and clean the edges and angles with a brush for a smooth transition.
For a complete walkthrough of the process, check out the video tutorial below by Ryan Seeley Plastering:
Essential Tips for Skim Coating Success
A smooth, professional finish comes from attention to detail and following a few key tips:
- Use a Magic Trowel: Flexible blade helps spread plaster evenly with less effort.
- Choose Quality Joint Compound: High-quality multi-finish compound sands easily and gives a smoother finish.
- Use a Paint Roller: Covers large areas quickly, ideal for the first coat.
- Apply Thin Layers: Multiple thin coats dry evenly and reduce sanding.
- Sand Between Coats: Skipping sanding leads to uneven surfaces.
- Use Proper Tools: Avoid streaks or rough patches by using the right trowel and compound.
Pros & Cons of Skim Coating
Skim coating can be highly effective, but it’s important to understand its advantages and limitations before starting a project.
| Pros | Cons |
|---|---|
| Creates a smooth, even surface ready for painting. | Time-consuming; requires multiple coats and sanding. |
| Hides minor wall imperfections, dents, and cracks. | Needs proper tools and techniques to avoid an uneven finish. |
| Can remove textured surfaces, such as popcorn ceilings. | Mistakes are visible and may require re-sanding or touch-ups. |
| More cost-effective than replacing drywall. | Not ideal for walls with major structural damage. |
| Works on both walls and ceilings. | Drying time can delay painting or further work. |
Common Mistakes in Skim Coating
Even small errors can affect the final finish when skim coating. Knowing what to avoid helps achieve smooth, professional walls.
- Applying coats that are too thick can cause cracks and uneven drying.
- Skipping sanding between layers leads to a rough, uneven surface.
- Using the wrong tools creates streaks or rough patches.
- Rushing the process can make plaster tear or peel.
- Poor surface preparation prevents proper adhesion and a smooth finish.
Conclusion
Skim coating is one of the smartest ways to refresh your walls without a full renovation.
It covers imperfections, removes unwanted textures, and leaves a smooth, professional finish ready for paint.
With the right tools and a little patience, coating walls becomes easier than you think. Thin coats, proper sanding, and good surface prep make all the difference.
Start small, pick one wall, and practice the technique. You’ll be surprised how much better your space looks.
Ready to transform your walls? Grab your tools and start skim coating today; your perfect finish is closer than you think.
Have you tried coating walls before? Drop your experience or questions in the comments below; we’d love to help!
Frequently Asked Questions
How do I Fix Uneven Skim Coating?
If your first coat is too heavy or uneven, sand it down and apply a thinner second coat for a smoother, more even finish and a professional look.
Can I Skim Coat over Painted Walls?
Yes, you can skim coat over painted walls, but it’s important to scuff the surface or prime it first to ensure proper adhesion, especially if the paint is glossy.
How Long Does Skim Coating take to Dry?
Drying times vary depending on conditions, but typically each coat takes 1-2 hours to dry, and the final coat may take longer depending on thickness and room temperature.