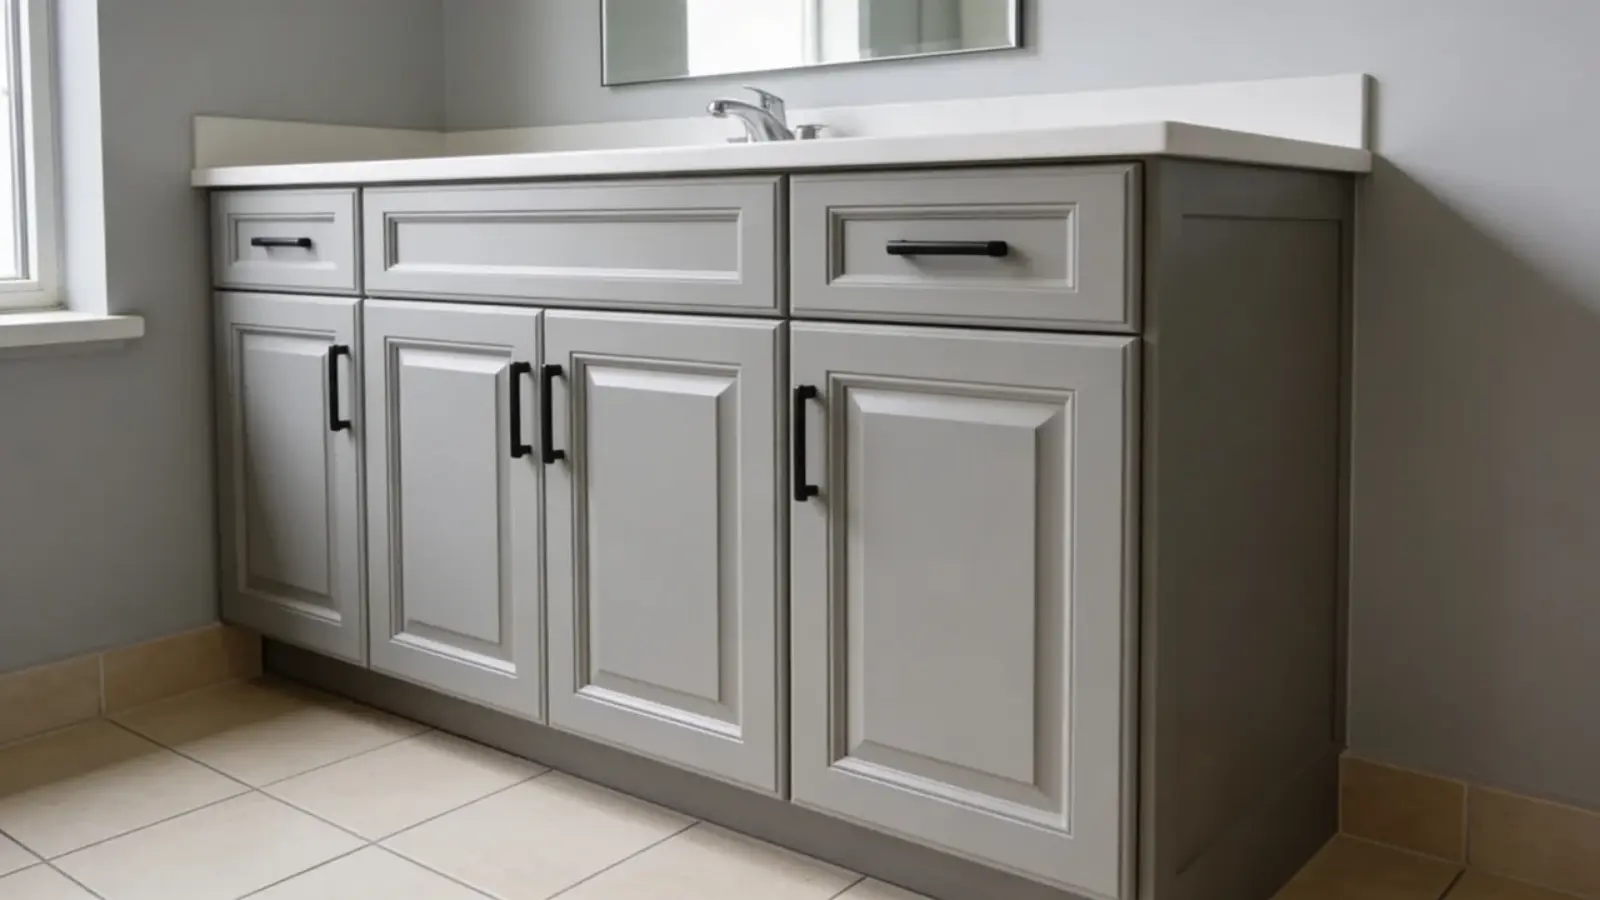
Painting Bathroom Cabinets: Step-by-Step Guide
Bathroom cabinets can start to look tired over time. The color fades, the surface loses its clean look, and the whole space feels a bit off.
Replacing them isn’t always practical, but a fresh coat of paint can help if done carefully. The challenge is getting it right so the finish actually lasts.
Today, I’ll take you through a clear, simple process to paint bathroom cabinets, along with a few key things that make or break the result. This will help you approach the project with more clarity and fewer mistakes.
What You Need Before You Start: Tools and Materials
Before you begin, gather a few basic tools and materials. Keeping it simple helps you work faster and still get a clean, even finish.
- Paint + Thinner (if needed): Latex paint (water-based) + water for thinning, or oil-based + mineral spirits
- Application Tools: High-density foam roller (primary), paint tray
- Surface Prep Basics: Mild cleaner or cloth for wiping dust and residue
- Optional Equipment: Paint sprayer (only if properly thinned and tested)
- Hardware Refresh: Spray paint (matte or preferred finish)
With these items ready, you can move through the process without interruptions. Now you’re set to start painting step by step.
How to Paint Bathroom Cabinets: Step-By-Step Process
Follow these steps in order to get a clean and even finish. Each step builds on the previous one, so taking your time here helps avoid common mistakes later.
Step 1: Remove Hardware and Clean the Surface
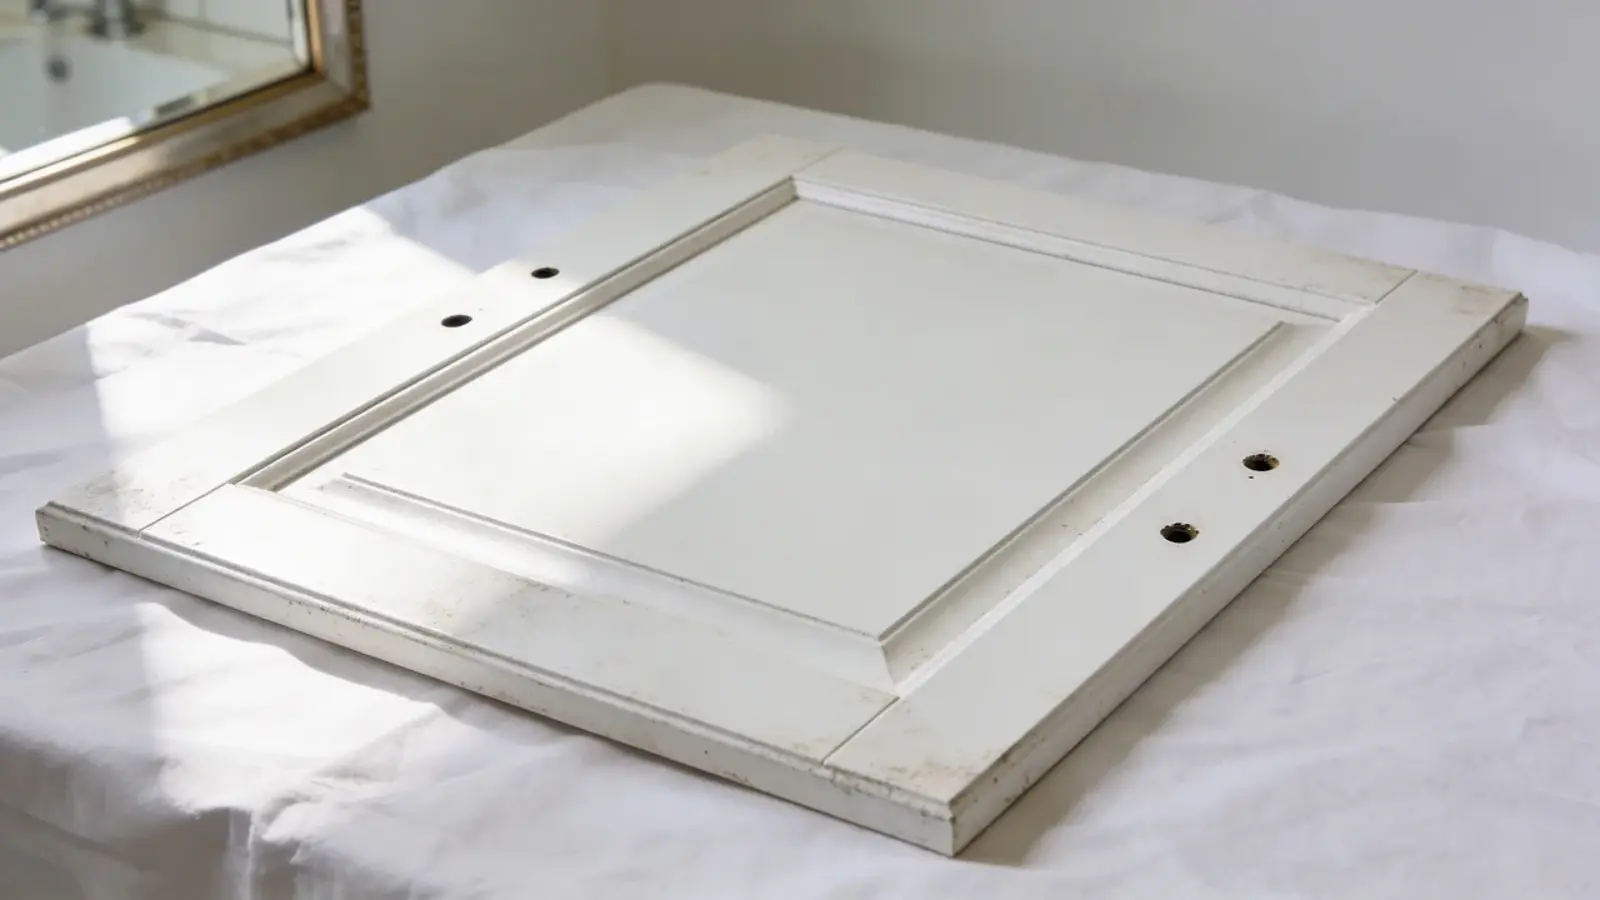
Start by removing doors, drawers, and all hardware for full access. Then clean every surface using a degreaser or mild cleaner to remove oil, dust, and residue.
Paint needs a clean base to stick properly. If you skip cleaning or paint around hardware, you may get uneven coverage, peeling, or paint buildup around edges.
Step 2: Sand and Prep the Surface
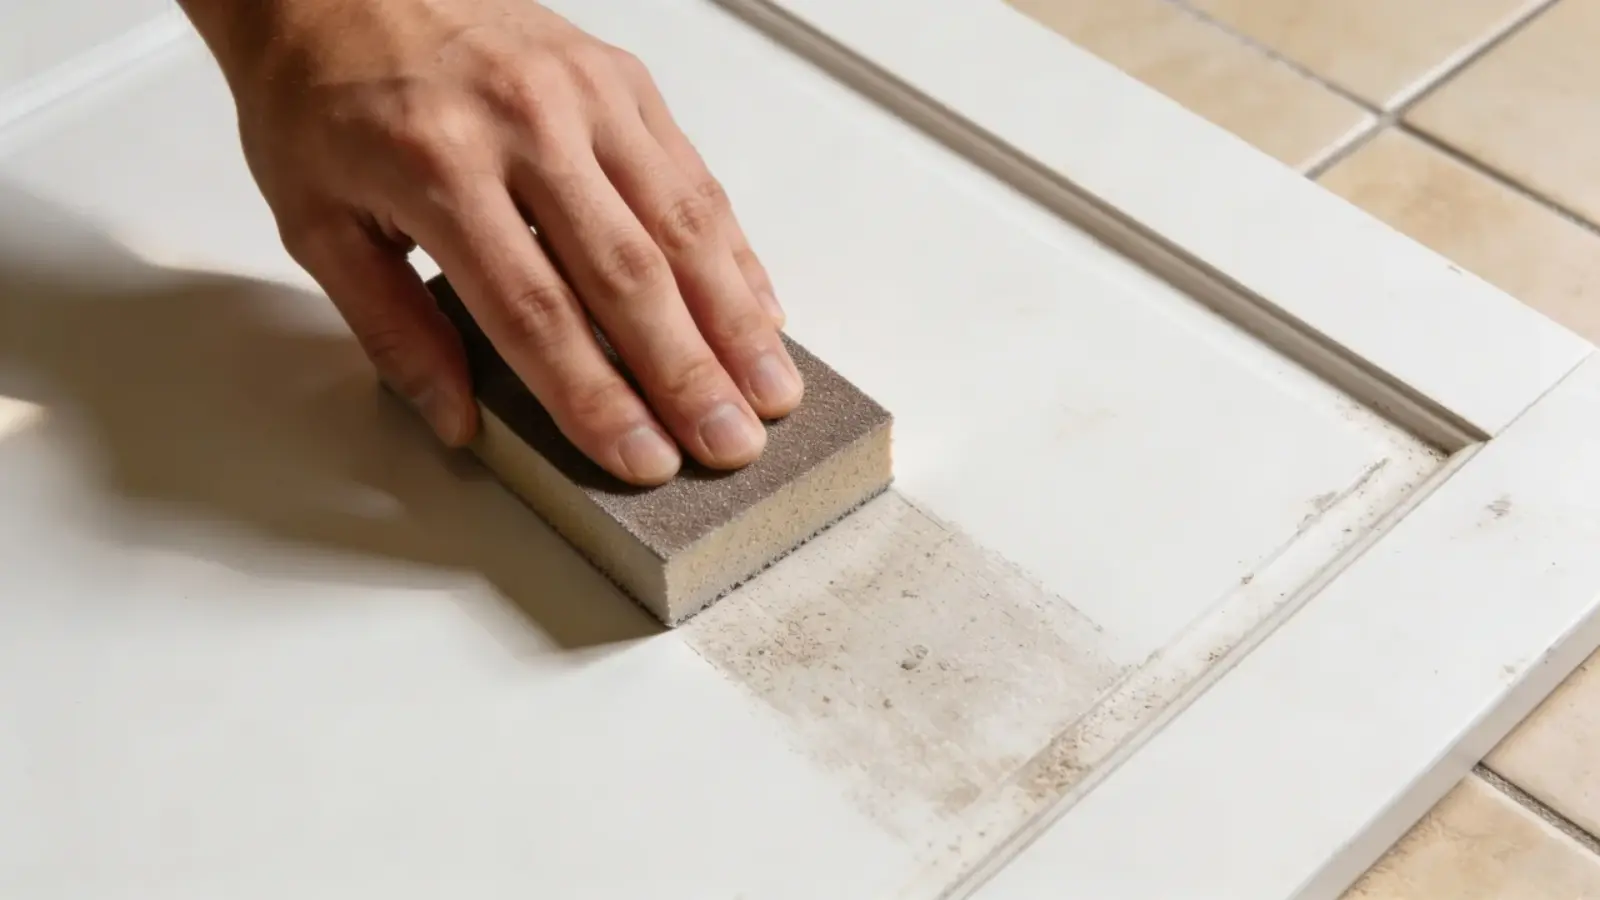
Lightly sand the surface using 120–220 grit sandpaper or use a liquid deglosser to remove shine and create grip for the paint. Focus on smoothing rough spots and dulling glossy areas rather than removing all the existing finish.
If the cabinets have grease buildup, use a kitchen degreaser or a TSP-based cleaner before sanding. This prevents oils from clogging the sandpaper and affecting paint adhesion.
If the surface is too smooth or glossy, paint can chip or peel easily. Proper prep improves both durability and overall finish quality.
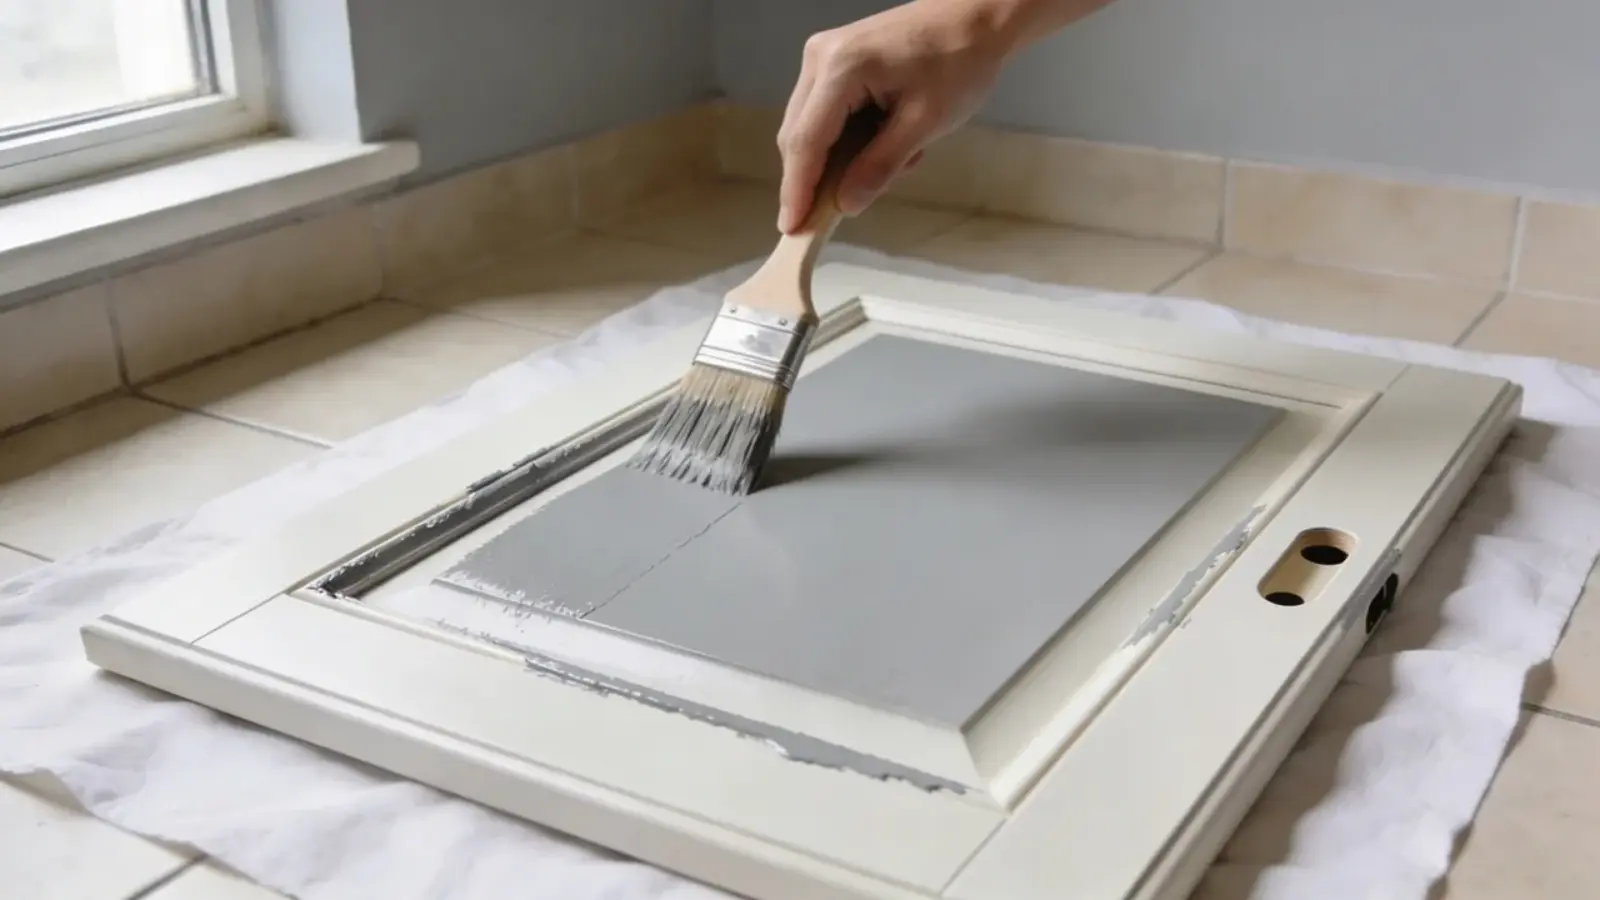
Step 3: Prime If Needed
Apply a primer if the surface is glossy, stained, or uneven. Use a bonding primer for laminate or slick surfaces, or a stain-blocking primer if there are marks or discoloration.
Primer creates a strong base layer that helps paint stick and keeps stains from bleeding through. It also improves color consistency.
Skipping primer in the wrong conditions can lead to poor adhesion, uneven coverage, or discoloration over time, especially in moisture-prone bathroom spaces.
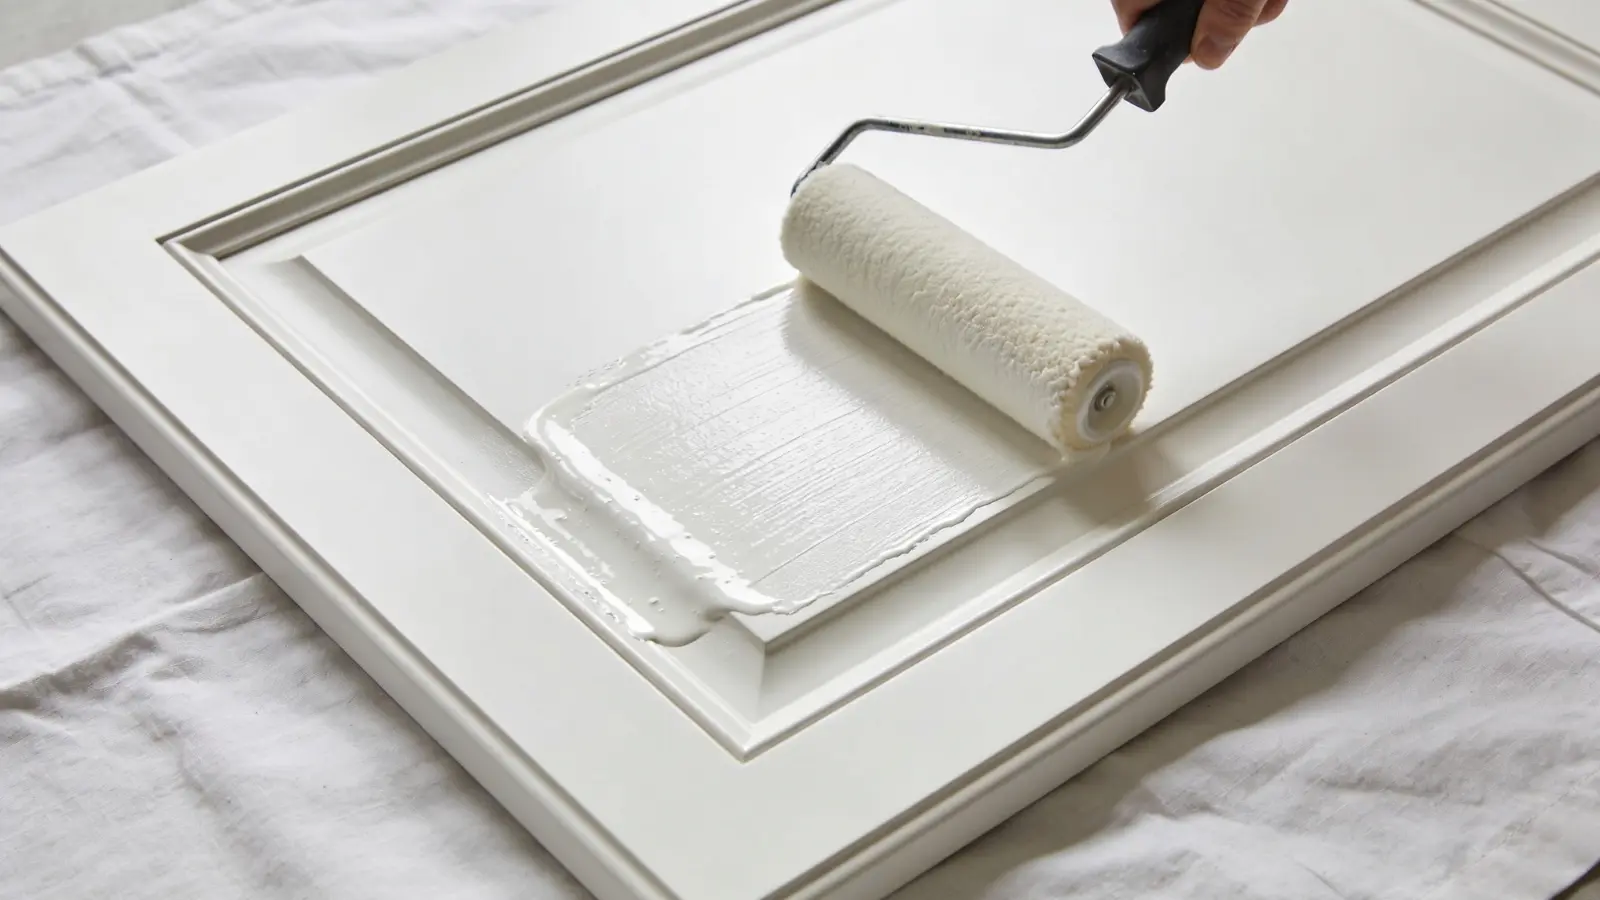
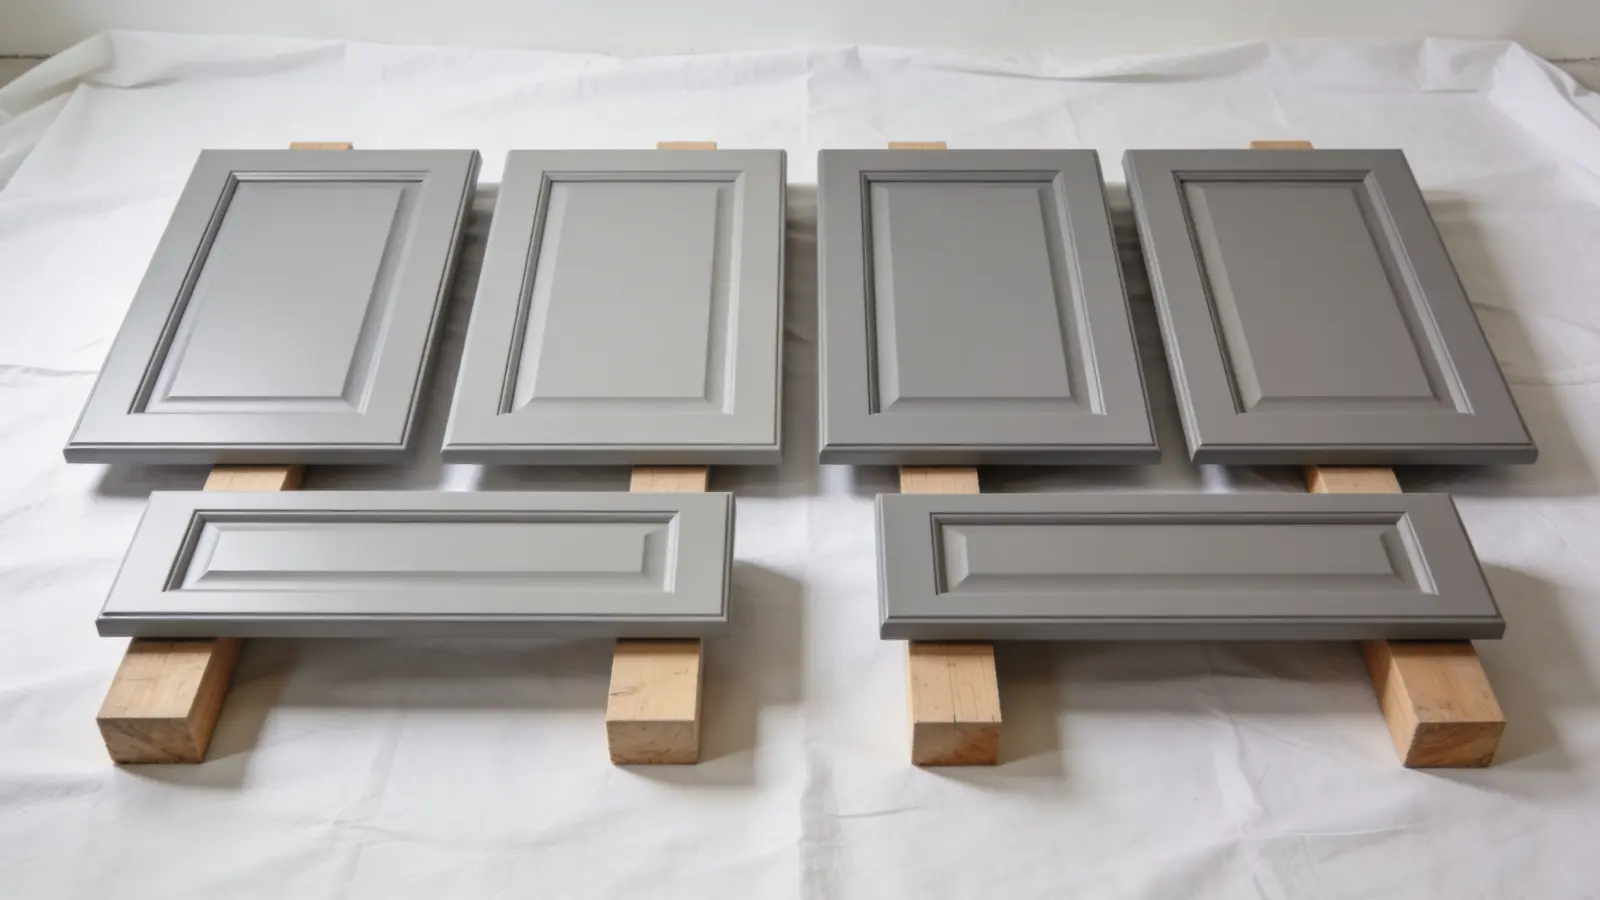
Step 4: Apply Paint in Thin, Even Coats
Apply paint in thin, even coats and avoid overworking the surface. Thin layers dry more evenly and reduce visible marks.
Thick coats may seem faster but often cause drips, uneven texture, and longer drying time, which weakens the final finish.
Step 5: Apply Second Coat and Let It Cure
After the first coat dries (usually 4–6 hours for latex, longer for oil-based), lightly sand if needed and apply a second coat for full coverage. This strengthens the finish and improves appearance.
Once done, allow proper curing time. Drying means the surface feels dry, but curing is when the paint fully hardens. This can take 5–7 days for most paints.
Using cabinets too early can cause dents, scratches, or peeling before the paint fully hardens.
Add a Protective Topcoat (Optional but Recommended)
For extra durability, apply a clear protective topcoat once the paint has dried. This is especially useful for cabinets that get heavy use.
Use a water-based polyurethane or clear acrylic sealer. Choose a satin or semi-gloss finish for easy cleaning and better moisture resistance.
A topcoat helps prevent scratches, stains, and wear over time. It also makes the surface easier to wipe down, which is useful in humid bathroom conditions.
Why This Process Works (and Where It Fails)
This process works because each step builds a strong base for the next. Cleaning removes oils that block paint from sticking. Sanding creates a slightly rough surface, which helps the primer grip. Primer then forms a bonding layer so the paint holds properly instead of sitting loosely on top.
Thin coats also play an important role. Each layer dries evenly and adds strength over time. Thick coats may seem faster, but they trap moisture and lead to drips or soft spots. Over time, this weakens the finish.
Moisture resistance comes from using the right paint. Bathroom cabinets face constant humidity, so durable paints like enamel or waterborne alkyd hold up better and resist peeling.
There are a few common mistakes to avoid. Paint-and-primer-in-one does not replace proper prep in humid areas. Skipping sanding reduces long-term durability. Also, dry paint is not fully cured, so early use can damage the surface.
Conditions that Can Ruin Your Finish
Even if you follow the right steps, the environment can affect your results. Paying attention to conditions helps you avoid issues that show up after painting.
- High humidity: Slows drying and leaves the surface soft or sticky, which can lead to peeling later
- Extreme heat: Paint dries too quickly, causing visible roller or brush marks
- Low temperature: Paint doesn’t level properly and may look uneven or rough
- Poor ventilation: Traps moisture in the air, delaying drying and affecting curing strength
Keeping these conditions in check helps the paint dry evenly and cure properly. A controlled environment makes a big difference in how smooth and durable the final finish turns out.
How Long Do Painted Bathroom Cabinets Last?
Painted bathroom cabinets can last 5 to 10 years if the prep and application are done properly. The lifespan depends on surface prep, paint type, and daily use.
Cabinets painted with enamel or waterborne alkyd tend to last longer because they form a harder finish. Skipping steps like sanding or priming usually shortens that lifespan.
Regular cleaning and avoiding harsh chemicals also help maintain the finish over time.
Quick Checklist Before You Start
- Remove hardware: Take off handles, hinges, and drawers
- Clean thoroughly: Remove grease, dust, and residue
- Light prep if needed: Sand or degloss only if surface isn’t stable
- Use primer if needed: Apply for damaged or glossy surfaces
- Confirm paint type: Use compatible paint (latex over latex)
- Apply thin coats: Build coverage gradually
- Allow full cure time: Let paint harden before use
Wrapping Up
Painting bathroom cabinets is a practical way to update your space without replacing them. When you follow the right steps, use proper materials, and stay patient with the process, the results can look clean and hold up well over time.
You’ve now seen how small details like prep, thin coats, and drying time directly affect the final finish. These are the parts that usually decide whether the paint lasts or starts failing early.
If you’re planning to try painting bathroom cabinets, take it step by step and don’t rush the process. Share your experience or questions in the comments, and check out more guides for your next project
Frequently Asked Questions
Can You Just Paint Over Bathroom Cabinets?
You can paint over bathroom cabinets if the surface is clean, stable, and not peeling. If the old paint is damaged or glossy, the new paint may not stick well and can peel over time.
What Kind of Paint Do You Use to Paint Bathroom Cabinets?
It’s best to use waterborne alkyd or enamel paint. These types create a harder, more durable finish that can handle moisture, stains, and regular use better than standard wall paint.
What I Wish I Knew Before Painting Cabinets?
Many problems come from skipping prep or rushing the process. Proper cleaning, light sanding, and allowing enough drying time between coats make a big difference in how the final finish looks and lasts.
Can I Just Paint Over Already Painted Cabinets?
Yes, you can paint over already painted cabinets if the existing layer is in good condition. Make sure the surface is clean and lightly prepped so the new paint can bond properly and last longer.