Interactive Felt Christmas Tree DIY: Holiday Crafting Made Easy
Want to create a special holiday memory with your little ones? A felt Christmas tree offers the perfect mix of play and holiday spirit.
This soft, child-friendly tree lets kids decorate repeatedly without worrying about broken ornaments.
You can make a tree that lasts many seasons in just one hour.
The best part? Your children can help with everything – from picking colors to placing decorations. They’ll learn colors, shapes, and counting while having fun.
This guide shows you exactly how to create your own felt tree. You’ll find a list of simple materials, clear steps, and useful tips. Plus, we’ve added fun ways to turn this craft into a learning activity for your kids.
What Is a Felt Christmas Tree?
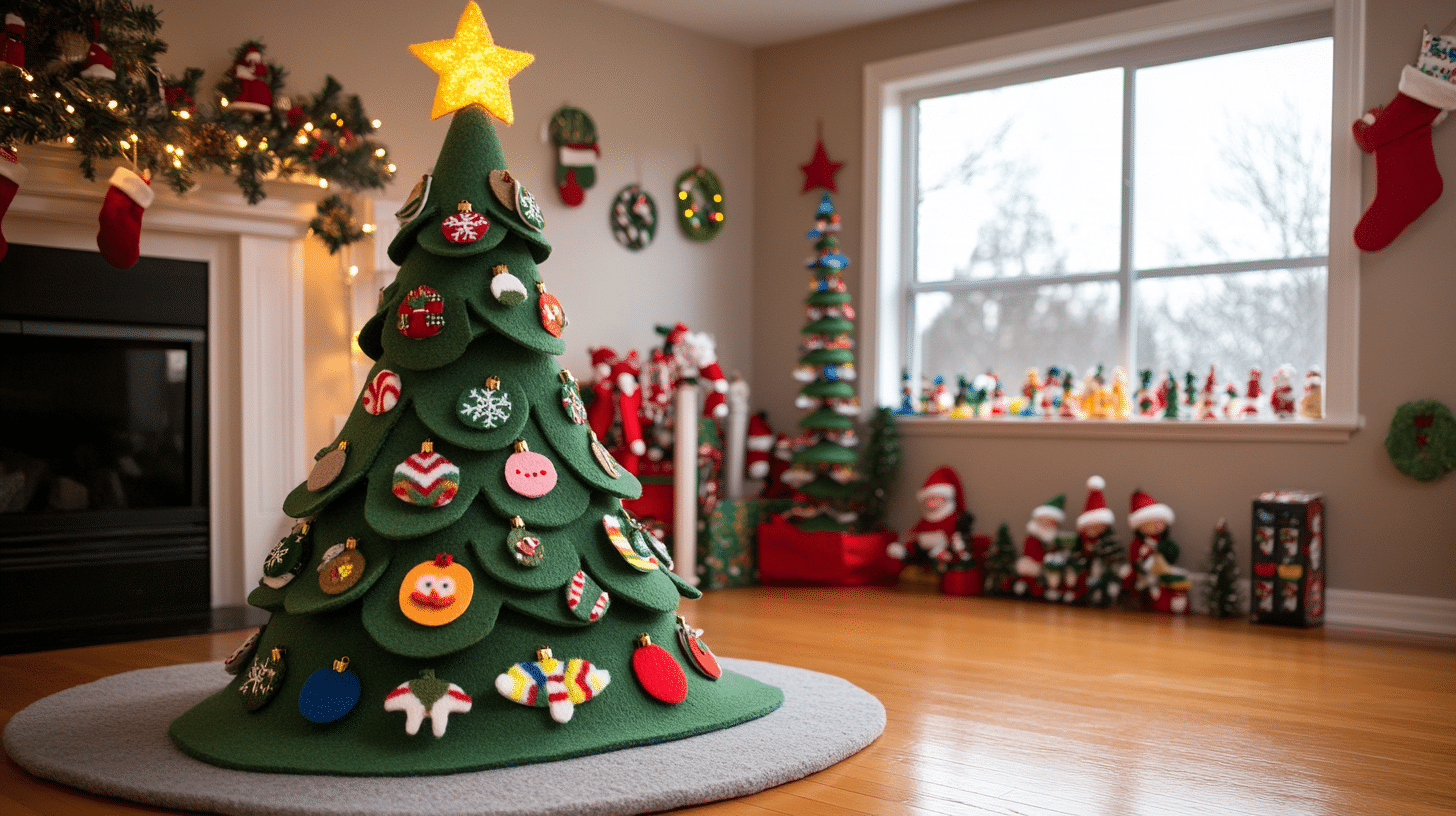
A felt Christmas tree is a child-safe version of a traditional holiday tree made from soft fabric. It’s a flat design that sticks to walls or stands independently, perfect for homes with small spaces and young children.
The tree has colorful ornaments that kids can place and remove as often as possible. Since felt naturally clings to felt, the decorations stay in place but are easy to move around.
Think of it as a festive playboard that keeps little hands busy.
Many parents choose felt trees because they:
- Don’t break or create messes
- Let kids be creative with decorating
- Take up little storage space
- Help teach basic skills
- Stay fresh-looking year after year
At its heart, a felt tree is more than a decoration—it’s a fun tool for bringing families together during the holiday season.
Step-By-Step Instructions on Making a Felt Christmas Tree
Materials and Items Needed

1. Basic Items:
- Large green felt sheet for the tree
- Small felt sheets in various colors for ornaments
- Regular scissors
- Chalk or light-colored marker
- Hot glue gun with glue sticks
2. Extra Items You Might Want:
- Decorative-edge scissors
- Velcro dots for stronger attachment
- Small beads or buttons
- Wall-safe sticky strips
- Craft glue (child-safe option)
3. Cost Considerations:
| ITEM | COST RANGE |
|---|---|
| Felt Sheets | $1 – $3 each |
| Basic Tools | $5 – $10 total |
| Optional Items | $5 – $15 total |
Easy How-To DIY Felt Christmas Tree Process
Step 1
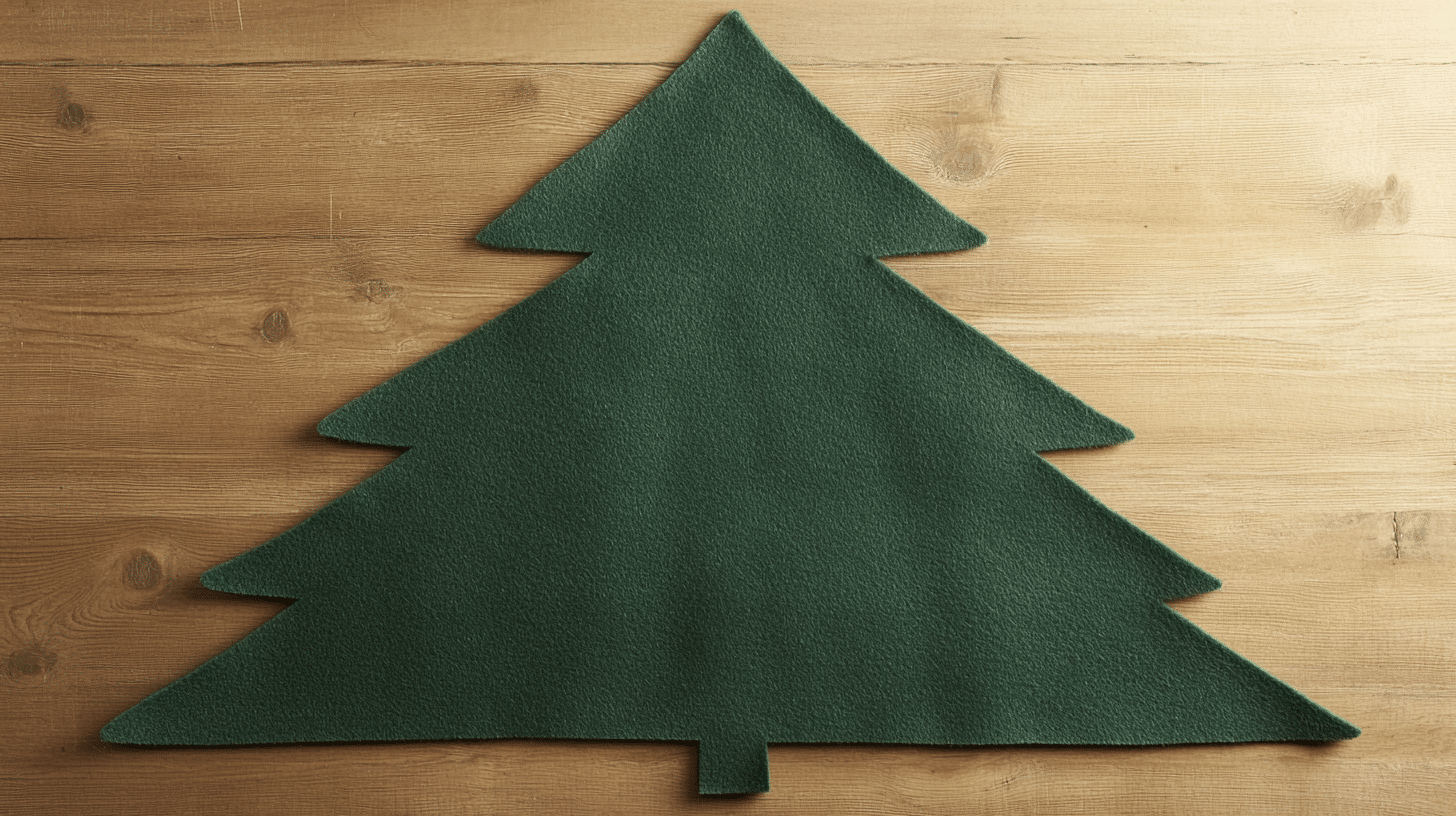
Create the Tree Base Start with your large green felt sheet spread on a flat surface. The key to a perfect tree shape lies in the first fold.
Take your sheet and fold it carefully in half lengthwise. This fold creates a line that helps you match both sides.
With your chalk, outline half a tree along the folded edge. Keep your lines smooth and steady.
Once you’re happy with the shape, hold the felt firmly and cut along your chalk marks. When you open the fold, you’ll see your full tree shape ready for decorating.
Step 2
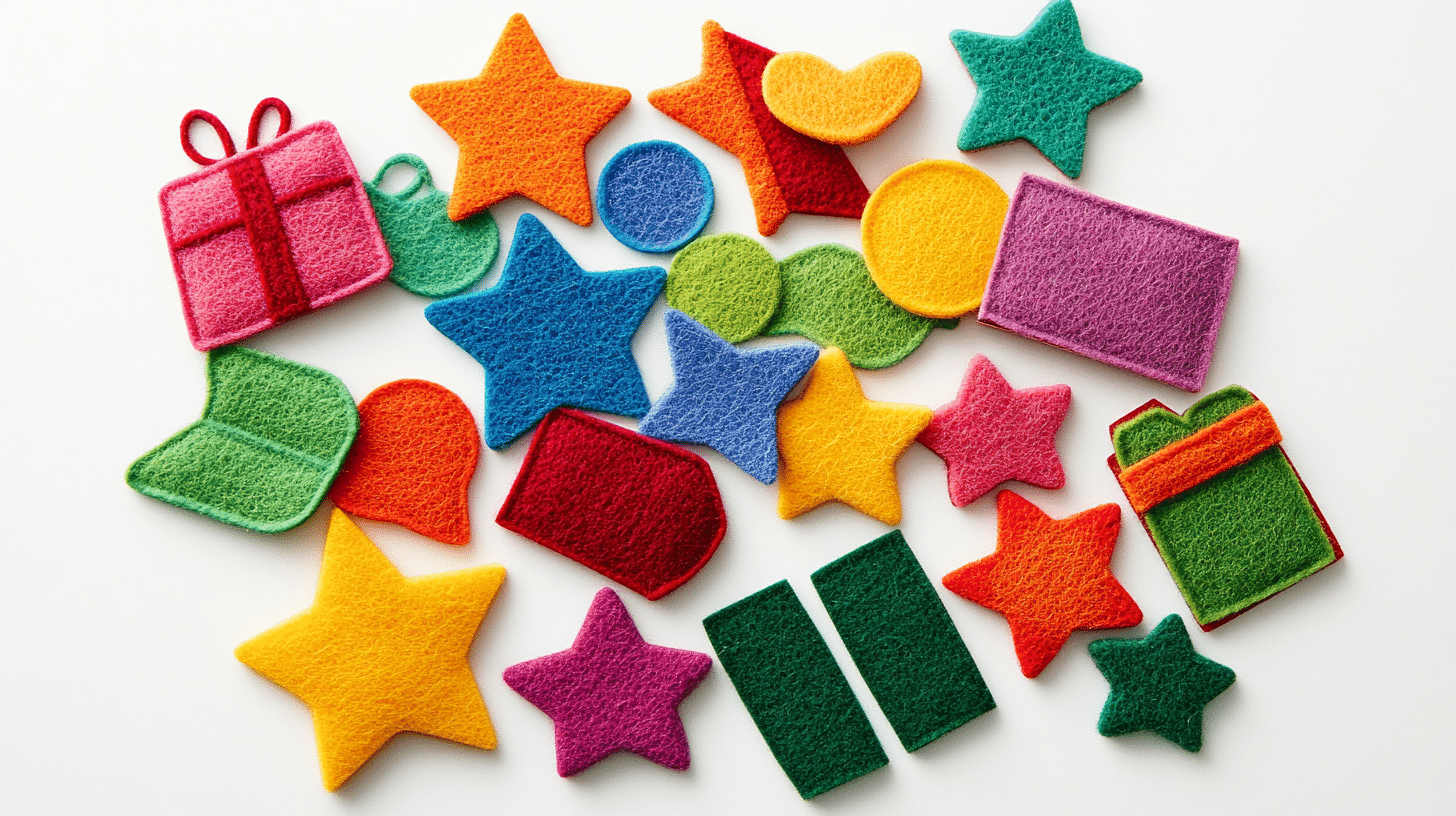
Make Your Ornaments Creating ornaments brings out the fun of this project. Take your colored felt sheets and begin cutting out simple shapes.
A coffee cup makes a perfect guide for round ornaments. For stars, fold a small piece of felt and cut it once, giving you matching sides.
Make squares and rectangles for present shapes. Try to cut at least 15-20 pieces in different sizes. Mix bright colors with softer ones to create nice patterns on your tree.
Step 3

Put It All Together Setting up your tree requires some planning. First, find the perfect spot on your wall where everyone can reach it.
Clean the wall surface and attach your tree using wall-safe strips. Start adding ornaments from top to bottom, leaving enough space between each piece so children can move them easily.
The felt will stick to felt natural, but you can add Velcro dots if you need a stronger hold.
Quick Tips:
- Press felt with a warm iron if wrinkled
- Test ornament stick before hanging
- Keep extra felt for more decorations
For more details, check out the elaborate video tutorial by Owlipop DIY.
Engaging Kids in the Activity
Getting children involved makes this project special. Let them choose colors for the ornaments and help with safe tasks like drawing shapes.
Young ones can sort colors and hand you pieces, while older kids might help cut simple shapes. The fun starts when they place ornaments on the tree – watch as they create their special patterns and designs.
1. Making Learning Fun
Turn decorating time into learning moments without making it feel like a lesson. Count ornaments together as you place them.
Name colors while sorting decorations. Talk about shapes and sizes—bigger stars on the bottom, smaller ones on top. Ask questions like “Can you put a red ball next to a blue one?” or “How many stars did we make?”
2. Customization Ideas
Try different themes to make your tree unique. Create candy-themed ornaments with red and white stripes. Add family photos in felt frames.
Write names on special pieces. You can even change decorations with the seasons—hearts for Valentine’s Day or eggs for Easter.
Use paper patterns to cut exact shapes or trace cookie cutters for a special touch for holiday designs.
3. Storage and Care
Proper storage will keep your tree looking good year after year. Roll it gently with plain paper to avoid creases. Store ornaments in a box with dividers so they stay flat.
Label everything clearly for next year. A gentle brush with a soft cloth works well if the felt gets dusty. Avoid getting the felt wet, as it might lose shape.
Fun Facts Related To Felt Christmas Trees
- Felt fabric sticks to itself without glue or pins
- A felt tree can last 5+ years with proper care
- Children learn 3-4 basic skills while playing with felt trees
- One sheet of felt can make up to 15 small ornaments
- Felt trees date back to the early 1900s as teaching tools
- Parents report 30+ minutes of focused play time with felt trees
- Small felt trees make great travel toys during holiday trips
- Kids often make up their games with felt decorations
- Some schools use felt trees to teach counting to small children
- The oldest felt Christmas tree on record is from 1924
These facts show why felt trees remain a favorite choice for families with young children during the holidays.
Conclusion
Creating a Felt Christmas Tree brings holiday joy to your home in a special way. This simple DIY project takes just an hour but creates memories that last for years.
Not only does it keep your little ones busy and safe during the holiday season, but it also helps them learn while they play.
You can make a tree perfect for tiny hands with basic materials like felt sheets, scissors, and glue. The best part?
Your children get to be part of the process – from choosing colors to placing decorations. Ready to start your own felt tree tradition? Gather your supplies and follow our simple steps.
Share photos of your creation in the comments below, or tell us how you made your tree unique. Let’s spread some holiday cheer together!
Frequently Asked Questions (FAQs)
How Do I Make a Felt Christmas Tree Stick to The Wall?
Use removable wall-safe adhesive strips or hooks. Place them on the back of your tree at the corners and middle. Test the strips first on a small area.
What Are the Benefits of A Felt Christmas Tree for Kids?
Kids learn counting, colors, and motor skills while playing. The tree is safe, doesn’t break, and lets children decorate repeatedly. It builds confidence through creative play.
Can I Add Lights to My Felt Christmas Tree?
Yes, use battery-operated LED string lights. Attach them with small safety pins or stitch them through the felt. Keep battery packs hidden behind the tree.


