How to Whitewash Walls Like a Pro
Are your walls asking for something special? Whitewash might be your answer. This age-old technique brings walls to life with a soft, natural look that paint can’t match. Whitewash creates fresh and lived-in spaces, from rustic farmhouse styles to modern homes.
You might think whitewashing sounds tricky, but it’s simpler than you’d guess. This guide walk you through everything about whitewashing – from basics to finish. You’ll learn why so many homeowners pick this method, how it works, and what makes it stand out from regular paint.
We’ll share real tips that work, clear steps to follow, and ways to keep your walls looking great. When you finish reading, you’ll know exactly how to bring this timeless finish into your home. Ready to start? Let’s explore whitewashing together.
Understanding the Basics of Whitewashing
What Is Whitewashing?
Whitewash is one of the oldest ways to protect and brighten walls. The technique started centuries ago when people mixed lime with water to coat their surfaces. This simple mix served two key purposes: it made homes look clean and strengthened walls.
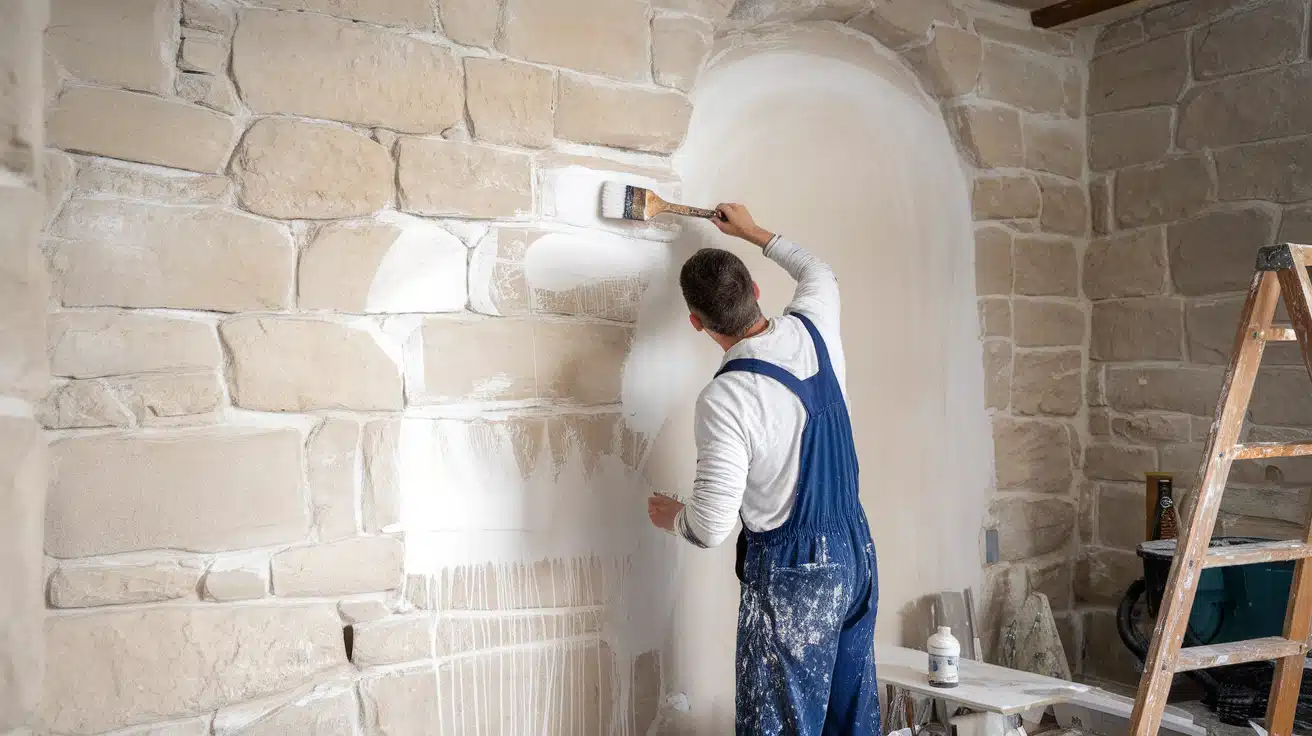
Think of whitewash as paint’s simpler, more natural cousin. Unlike modern paints, whitewash soaks into the surface instead of sitting on top. This gives walls a soft, natural look that many people love. The process lets the wall’s texture show through, creating a warm, lived-in feel.
How Whitewashing Enhances Your Home
Whitewashing can make small rooms feel bigger and dark spaces feel brighter. Light bounces more freely when you whitewash walls, opening up the space. The finish softens harsh shadows and makes rooms more welcoming.
The whitewash look fits many home styles. It works well in farmhouse settings, beach homes, and modern spaces. The technique can hide small wall flaws while adding character. Many homeowners choose whitewash because it creates a clean backdrop for furniture and art.
The Chemistry of Whitewash
The magic of whitewash lies in its basic ingredients. Traditional whitewash uses calcium hydroxide (lime) mixed with water. The mix forms a strong bond with the wall surface when it meets air. The lime reacts with carbon dioxide, creating a hard, lasting finish.
Modern whitewash often includes other materials for better results. Some mixes add salt or minerals to help the coating last longer; others include white paint to improve how well it covers the surface. These additions make today’s whitewash more user-friendly than old recipes.
Comparing Whitewashing to Other Wall Treatments
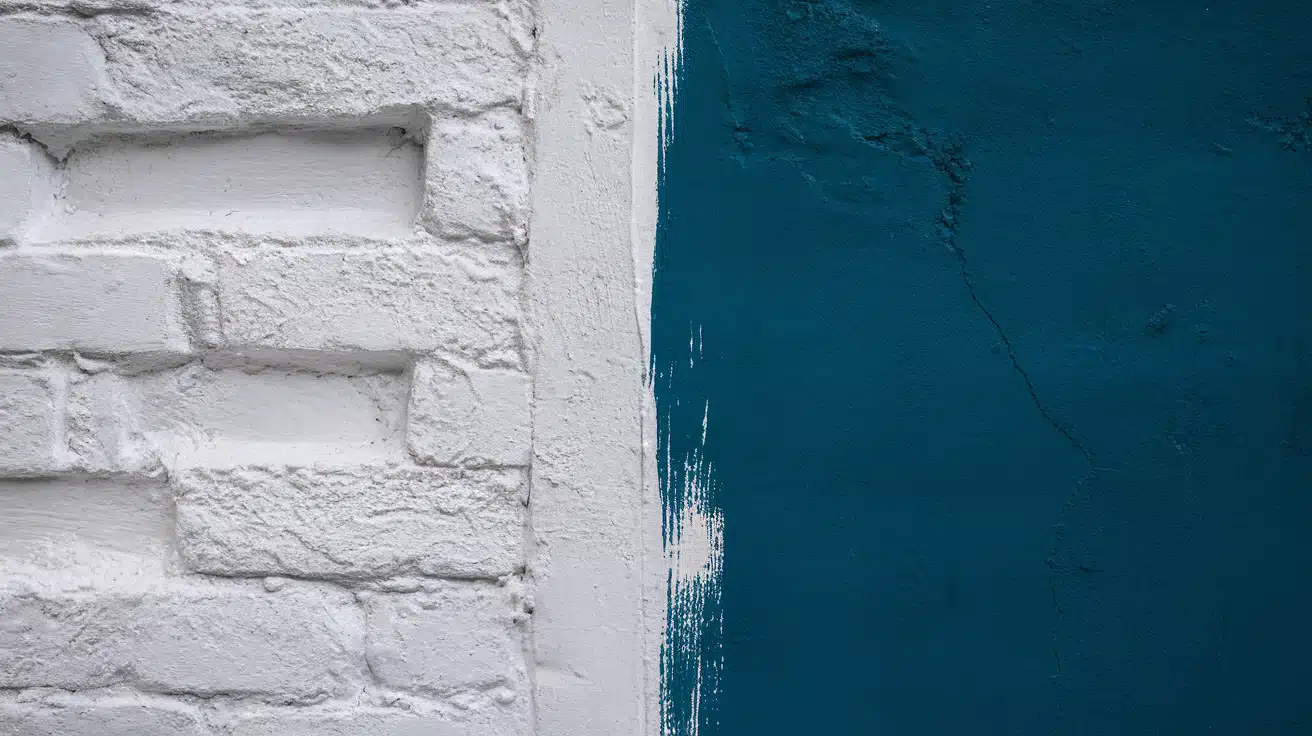
Knowing the differences between whitewash and paint can help you choose the best finish for your walls. Let’s examine how these options compare.
| Feature | White Wash | Regular Paint |
|---|---|---|
| Cost | $5-15 per gallon (DIY mix) | $20-50 per gallon |
| Coverage | 200-300 sq ft per gallon | 350-400 sq ft per gallon |
| Prep Time | Minimal surface prep is needed | Requires thorough surface prep |
| Drying Time | 2-4 hours between coats | 4-6 hours between coats |
| Durability | 3-5 years | 5-10 years |
| Touch-ups | Blends easily | It may show patch marks |
| Texture | Shows surface texture | Covers surface texture |
| Look | Matte, natural finish | Uniform, solid finish |
| Application | Brush only | Brush, roller, or spray |
| Water Resistance | Lower | Higher |
Visual Impact
The look of whitewash stands apart from other finishes in several ways:
- Surface Character: Whitewash lets the wall’s natural texture peek through. Paint covers it up.
- Light Effects: White-washed walls create soft shadows and depth. Painted walls look flat and even.
- Color Depth: Whitewash can show slight color changes as light moves. The paint stays the same all day.
- Age Pattern: Whitewash ages by slowly fading. Paint might chip or peel instead.
A Complete Guide: How to White Wash Your Walls
Let’s walk through each step of whitewashing your walls. This guide will help you create the perfect, light finish.
Step 1: Get Your Supplies Ready
- Must-Have Materials:
- White latex paint (I recommend Ultra Spec 500 by Benjamin Moore)
- Clean water
- Small testing sample board
- Optional: Whitewash stain if you prefer pre-mixed solutions
- Tools You’ll Need:
- Wide brush (4-inch works best)
- Soft cotton rags
- Painter’s tape
- Drop cloths
- Sturdy ladder or platform for high spots
Step 2: Set Up Your Work Area
- Clean your walls with a damp cloth
- Fill any holes with spackle
- Cover your floors with drop cloths
- Tape off trim, windows, and doors
- Open windows for good airflow
Step 3: Mix Your White Wash
- Start with a 1:1 mix of paint and water
- Stir well until smooth
- Test on a spare board
- Add more water if you want to see more wall texture
- Add more paint if you want more coverage
Step 4: Choose Your Application Style
- Light and Airy:
- Brush on the mix
- Wipe off right away with a clean rag
- Perfect for subtle texture
- Medium Coverage:
- Apply the mix
- Wait 2-3 minutes
- Wipe off slowly
- Full Coverage:
- Apply the mix
- Let it dry
- Add a second coat if needed
Step 5: Work in Small Areas
- Start with 3-4 foot sections
- Keep edges wet while working
- Move steadily across the wall
- Check for drips as you go
Step 6: Tackle Height Safely
- Use a steady platform
- Keep supplies within easy reach
- Take breaks to check your work
- Move carefully to avoid splashes
Step 7: Clean Up and Check
- Remove all tape while the finish is damp
- Look for missed spots
- Fix any uneven areas
- Let everything dry fully
Step 8: Protect Your Work
- Wait 24 hours before touching
- Consider a clear top coat for busy areas
- Take photos – you’ll want to remember how it looked fresh!
Pro Tips:
- Keep a spray bottle of water handy to prevent drying
- Work on a cloudy day if possible
- Take your time – rushing shows in the final look
- Save some of your mix for future touch-ups
Watch a full YouTube video tutorial below on how to whitewash wooden walls.
Maintaining Your Whitewashed Walls
Routine Care
Taking care of white-washed walls is simple and requires regular attention. Use a soft brush to remove dust daily. Clean marks quickly with a dry cloth. Good airflow keeps walls fresh, so open windows when possible.
Use plain water and a soft cloth for weekly cleaning, then pat dry. Monthly checks help catch problems early.
Touch-Up Tactics
Save some white wash mix in a sealed container for future fixes. Small repairs need a tiny brush and a gentle touch. Clean faded spots first, then add thin layers of the saved mix. Let each coat dry between applications.
Conclusion
Whitewashing stands the test of time for good reason. This simple mix of lime and water brings a unique beauty to walls that modern finishes can’t copy. From choosing your tools to maintaining the finish, each step plays a key role in creating lasting results.
Your walls tell your home’s story. Whitewash adds a gentle chapter to that tale. The soft, natural finish brings room light and warmth while letting surfaces breathe. As you’ve seen, the process needs care but rewards patience.
Remember that whitewash welcomes imperfection. Each wall receives the treatment differently, creating a one-of-a-kind look. The small marks and subtle changes that come with time only add to its appeal.
Your white-washed walls will grow with your home, creating fresh and comfortable spaces.
Frequently Asked Questions
Can You Whitewash Over the Existing Paint?
Yes, you can whitewash over painted walls. Clean the surface first, lightly sand it, and ensure the old paint isn’t glossy. Test a small area before doing the whole wall.
What Kind of Paint Do You Use for Whitewash?
For whitewash, use flat latex paint mixed with water. You’ll need basic white paint—Benjamin Moore Ultra Spec 500 works well. Some stores also sell ready-made whitewash stains.
Does Whitewash Come Off in The Rain?
Traditional lime-based whitewash can wear away with heavy rain exposure. Use modern whitewash formulas with water-resistant additives for outdoor surfaces, or add a clear sealer for protection.

