How to Take Care of Hydrangeas for Healthy Blooms
Hydrangeas are some of the most rewarding flowering shrubs you can grow, but getting them to thrive takes more than just sticking them in the ground and hoping for the best.
This blog walks through everything you need to know – from understanding the different hydrangea varieties to planting them correctly, watering them the right way, and keeping up with the maintenance.
If you’re planting your first hydrangea or trying to get better results from one you already have, this blog covers the basics and beyond.
What are Hydrangeas and Their Main Varieties
Hydrangeas are woody flowering shrubs known for producing large, clustered blooms in shades of pink, blue, white, and purple.
The flower color often depends on soil conditions, especially pH levels, as well as the plant variety. These plants come in different shapes and sizes and respond strongly to climate, soil quality, and consistent care.
Hydrangeas come in different varieties, each with its own flower shape, growth habit, and blooming style.
- Mophead Hydrangeas: Large, round flower clusters with a full, bushy growth habit.
- Lacecap Hydrangeas: Flat blooms with small center flowers surrounded by larger outer petals.
- Panicle Hydrangeas: Cone-shaped flower heads on sturdy stems that change color as they mature.
- Oakleaf Hydrangeas: Cone-shaped blooms with distinctive oak-like leaves that turn colorful in fall.
- Smooth Hydrangeas: Hardy shrubs with large, rounded flower clusters and reliable blooms.
Planting Hydrangeas the Right Way
Proper planting sets the foundation for long-term growth and steady flowering. Each step below explains exactly how to plant hydrangeas in the ground to promote healthy root development.
Step 1: Select the Right Spot
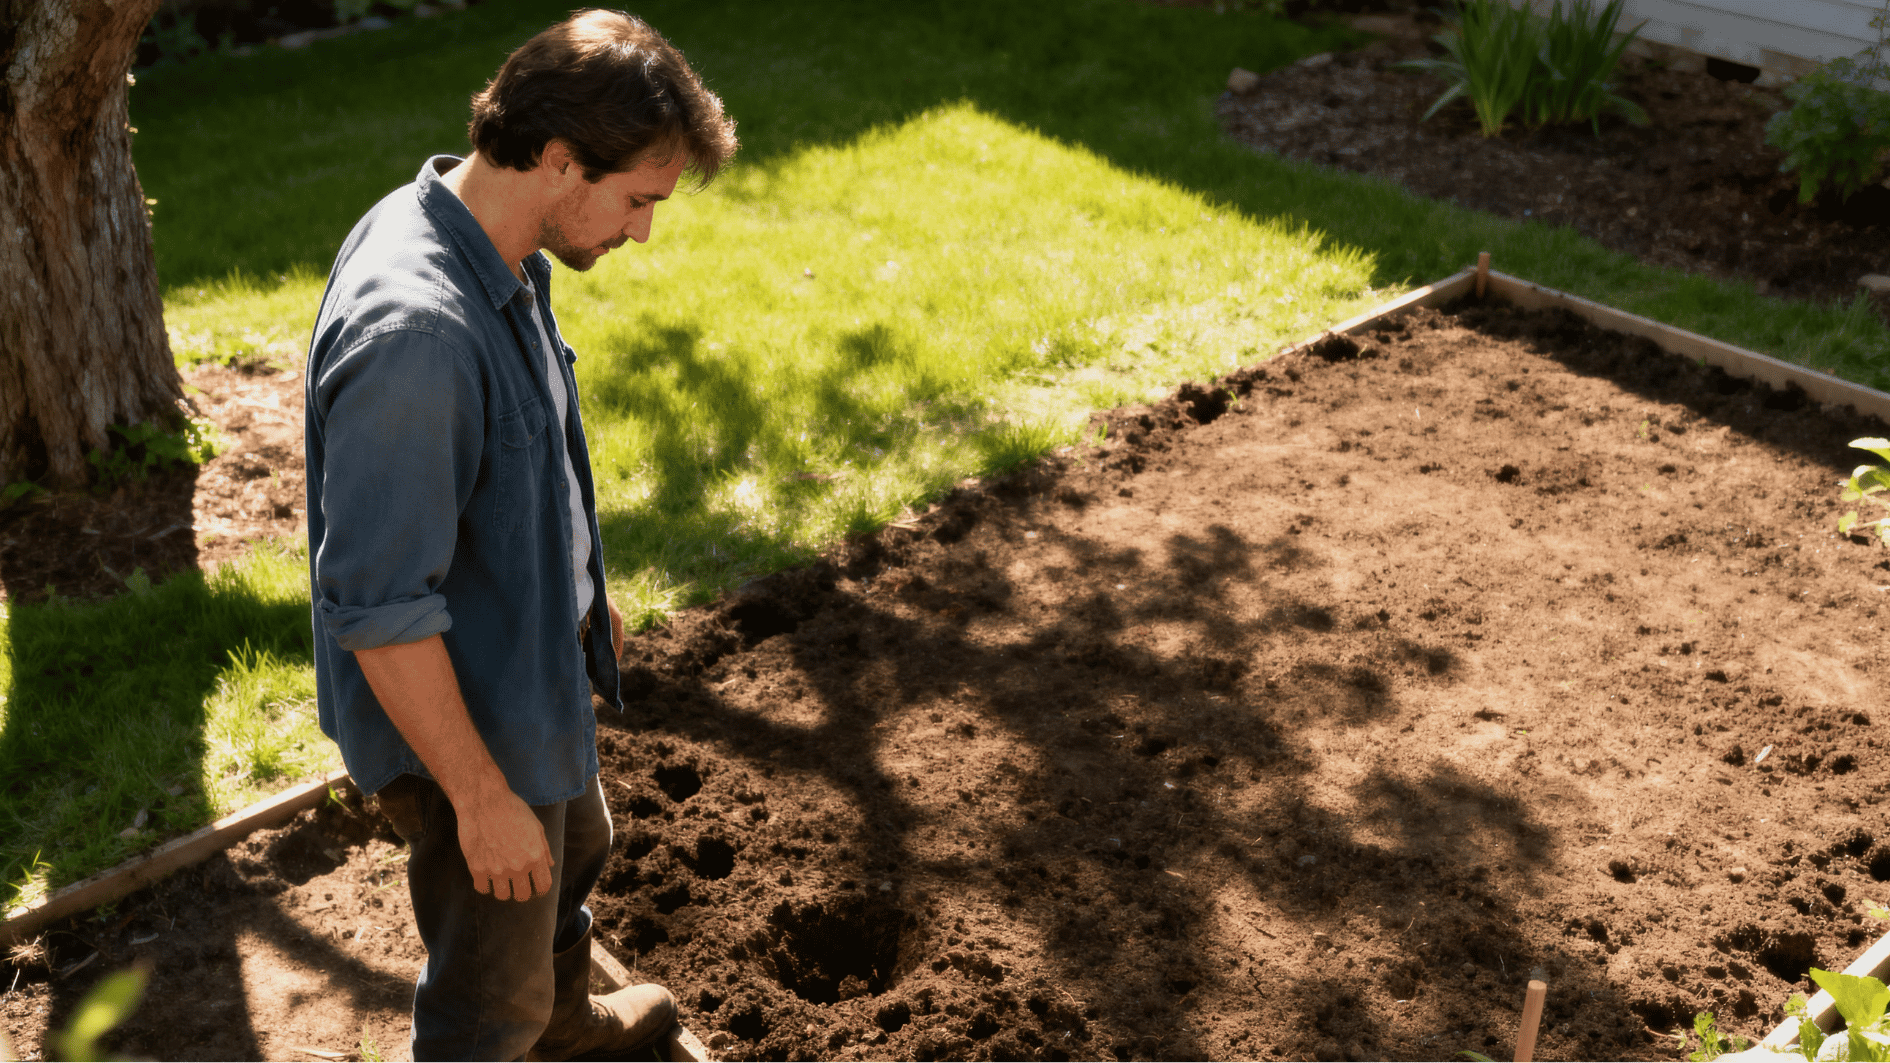

Choose a location that gets morning sunlight with partial shade in the afternoon. Avoid areas with full-day exposure to harsh sunlight, open, windy corners, and low-lying spots where water collects.
Check drainage before committing to a spot – poor drainage is one of the most common reasons hydrangeas struggle after planting.
Step 2: Ensure Enough Space and Prepare the Soil

Hydrangeas need room to grow freely, so leave enough space around each plant for expansion and airflow. Avoid overcrowding with other shrubs.
For soil, use a mix that retains moisture without becoming soggy – avoid heavy, compacted clay.
Mix compost and organic matter evenly into the planting soil before placing the plant, and test the pH if possible. Slightly acidic soil conditions support stronger flowering and overall plant performance.
Step 3: Dig the Hole and Prepare the Roots

Dig a hole at least twice the width of the root ball and equal in depth to the plant container. Loosen the soil at the base of the hole before placing the plant.
Gently loosen any tightly bound or circling roots and spread them slightly so they can establish faster in the new soil.
Step 4: Place and Plant at the Right Depth

Position the plant at the same depth it sat in its container – not deeper, not shallower. Keep the stem base just above the soil line.
Fill the hole gradually, pressing lightly around the roots as you go to remove air pockets and ensure firm contact between the roots and the surrounding soil.
Step 5: Water Thoroughly After Planting

Water deeply right after planting so the soil settles evenly around the roots. Check that no dry patches remain and that the soil has settled firmly around the root ball.
This first watering helps the plant adjust quickly and supports early root establishment in its new location.
Watering Habits That Support Hydrangea Growth
Hydrangeas grow better with steady watering instead of a fixed, strict routine. Deep watering helps roots grow stronger because moisture reaches deeper into the soil.
Always water at the base of the plant to keep leaves dry and reduce the chance of fungal issues. Morning watering works best because it gives the soil time to absorb moisture before daytime heat sets in.
Container plants usually dry out faster than plants in garden soil, so they may need more frequent checks.
Most important is maintaining balanced soil moisture, avoiding both dryness and overwatering, as both can stress the plant and affect growth.
Seasonal Watering Guide:
| Season | Watering Frequency | Soil Condition |
|---|---|---|
| Spring | 2–3 times per week | Lightly moist |
| Summer | 3–5 times per week | Consistently moist |
| Fall | 1–2 times per week | Slightly moist |
| Winter | Occasional watering | Mostly dry |
Maintenance Tips for Healthy Hydrangeas
Ongoing care helps hydrangeas stay strong, grow steadily, and produce consistent blooms. Simple attention to feeding, pruning, and plant health reduces common issues and supports long-term growth.
1. Feeding and Soil Care Basics
Good soil nutrition supports balanced growth without affecting flowering quality.
- Apply balanced fertilizer during active growing periods
- Avoid too much nitrogen, as it leads to leafy growth instead of blooms
- Mix compost into soil to improve structure and moisture balance
- Stop feeding late in the season to prevent weak new growth
2. Pruning Practices and Growth Control
Pruning helps manage plant shape and encourages better flowering in future cycles. Remove dead or damaged stems as needed, and for varieties that bloom on old wood, prune right after flowering rather than waiting.
Avoid cutting buds that will form next season’s flowers, and keep pruning light overall to support strong, steady branch growth.
3. Pest and Disease Management
Regular observation helps prevent small issues from turning into bigger problems.
- Check for aphids on fresh shoots during active growth
- Powdery mildew may appear in humid conditions with limited airflow
- Spider mites are common in dry and warm environments
- Root rot can develop from excess water or poor drainage
- Early detection helps limit spread and plant damage
Getting More Reliable Hydrangea Blooms Each Season
Hydrangea blooms improve when care stays steady and simple through the growing cycle. Picking the right variety for the climate is a good first step, since not all types flower the same way.
It also helps to know if the plant blooms on old or new wood before pruning, so flower buds are not removed by mistake.
Young plants usually need time to build strong roots before they start producing full blooms.
Keeping the plant in a spot with morning light and avoiding sudden changes in care also supports more regular flowering over time.
Conclusion
Hydrangeas reward patience and consistency more than constant intervention. Choosing the right variety for your climate, planting with care, and watering steadily all build the foundation for healthy growth.
Knowing whether your hydrangea blooms on old or new wood is essential before pruning, since one wrong cut can mean a season without flowers.
Beyond technical steps, success often comes down to simple habits: morning sunlight, balanced feeding, and avoiding sudden changes in care.
With time and steady attention, even young plants will mature into reliable, vibrant bloomers that brighten the garden season after season.
Frequently Asked Questions
Why Do Hydrangea Leaves Turn Brown at the Edges?
This often happens due to heat stress or uneven moisture levels in the soil.
Can Hydrangeas Be Grown Indoors?
They can be kept indoors for a short time, but they grow and bloom better outdoors.
Do Hydrangeas Need Companion Plants Nearby?
They do not require companion plants, but spacing them well helps avoid competition for light and space.
Why Do Hydrangea Stems Sometimes Bend Down?
Heavy flower heads or weak stem strength can cause branches to droop during peak blooming.