How to Stain Wood Furniture for Long-Lasting Results
Most wood staining projects fail before a single drop of stain is applied. The real problem is rarely about technique; it is about a fundamental misunderstanding of how wood behaves during the process.
Learning how to stain wood furniture correctly starts with preparation, not application. Skipping even one prep step is enough to produce a blotchy, sticky, or peeling finish.
Refinished pieces that fail within months almost always share the same root causes: rushed drying, skipped sanding, or excess stain left sitting on the surface too long.
The process is straightforward, but the order and timing of each step matter more than most people expect. What follows breaks down exactly what to do, why it works, and where things go wrong.
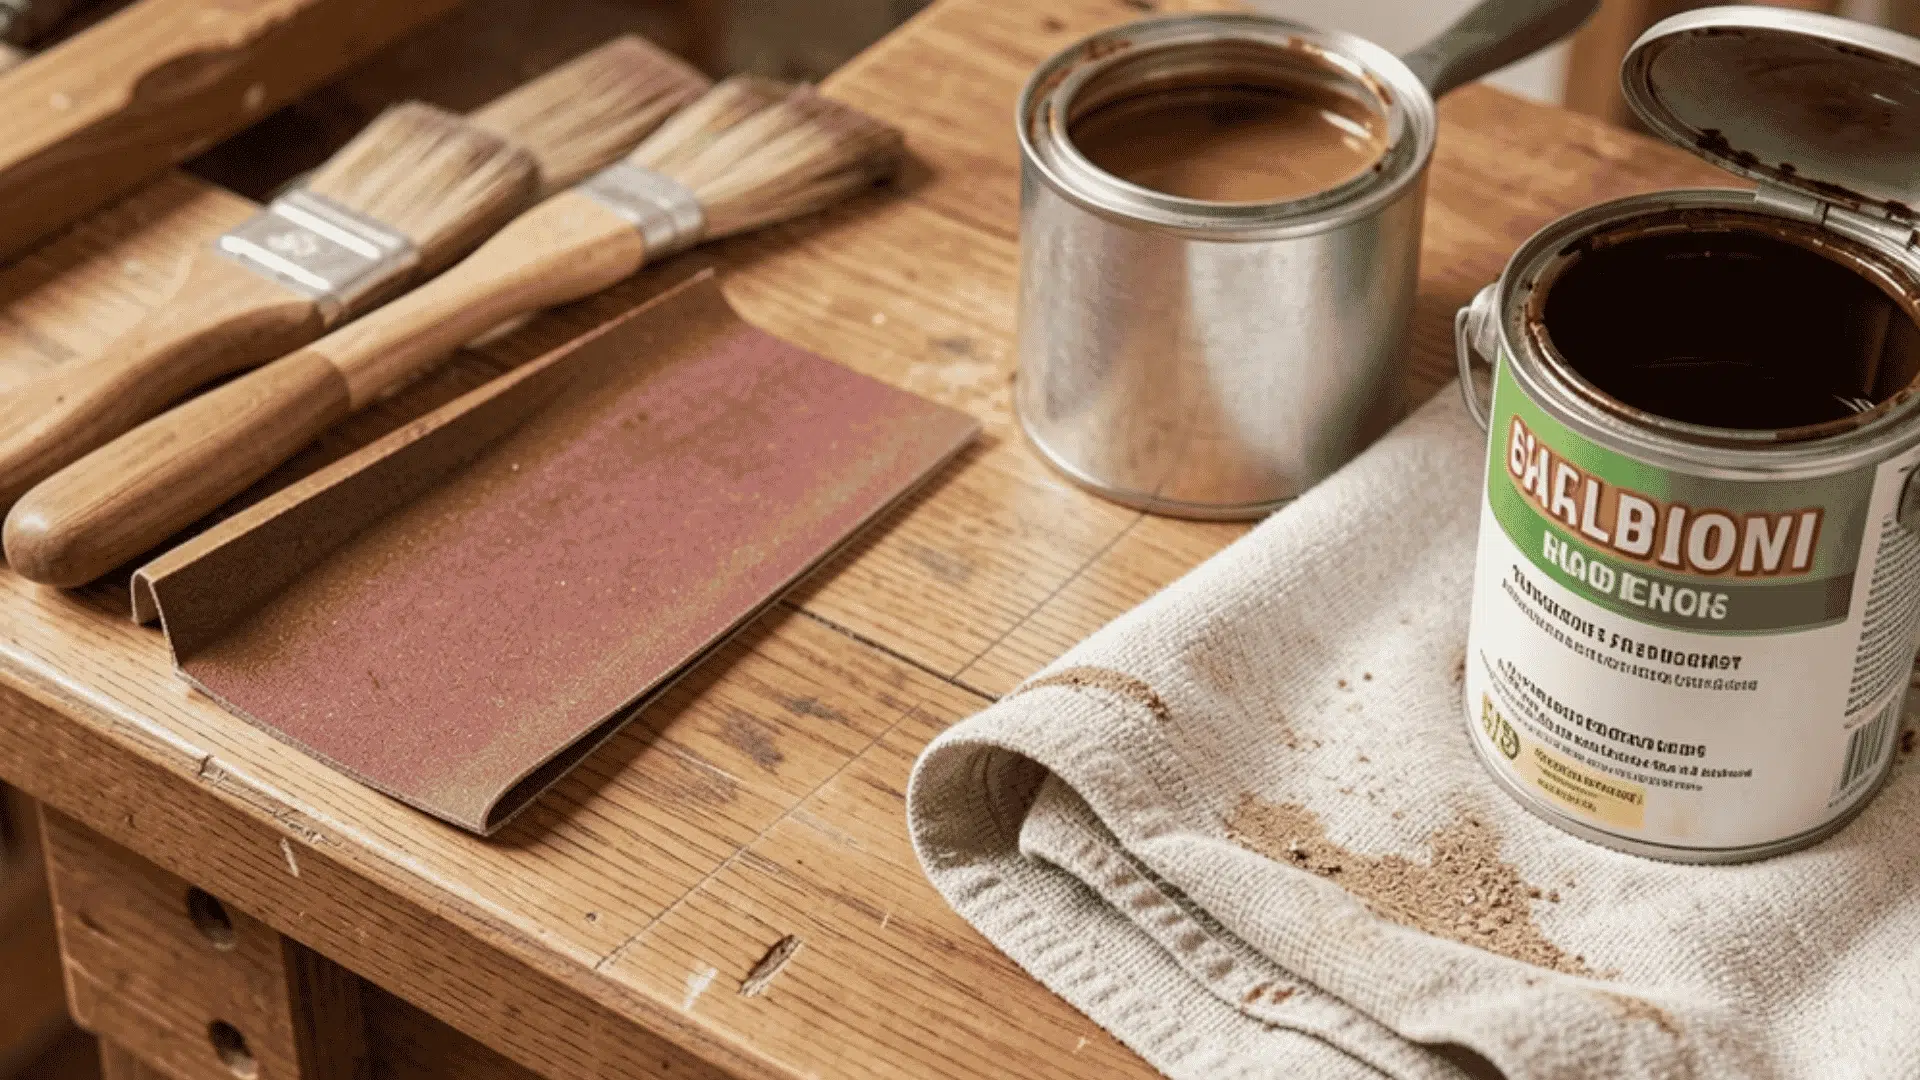
Materials Needed
Having the right materials ready before starting prevents mid-process mistakes and keeps the workflow moving without interruption.
- Wood Stain (oil-based or water-based, depending on preference)
- Pre-Stain Wood Conditioner (for softwoods or uneven grains)
- Protective Topcoat (polyurethane, lacquer, or varnish)
- Sandpaper (progressive grits: 80, 150, 220)
- Cloth or Brush (for stain and conditioner application)
- Tack Cloth (for cleaning dust after sanding)
- Vacuum (for dust removal)
- Screwdriver (for removing hardware)
- Clean Rags (for wiping excess stain and applying topcoat)
Step-by-Step Guide on How to Stain Wood Furniture Correctly
Staining wood furniture correctly comes down to following the right steps in the right order. Skip one, and the entire finish can turn upside down.
Step 1: Remove Hardware and Clean the Surface

Start by removing all knobs, handles, and hinges before doing anything else. Hardware obstructs stain application and traps product underneath, creating uneven patches across the finished surface.
Wipe the entire piece with a clean cloth to remove grease, dirt, and residue. A clean surface gives you consistent stain contact across every section of the furniture.
Step 2: Sand Down to Bare Wood Using Progressive Grits
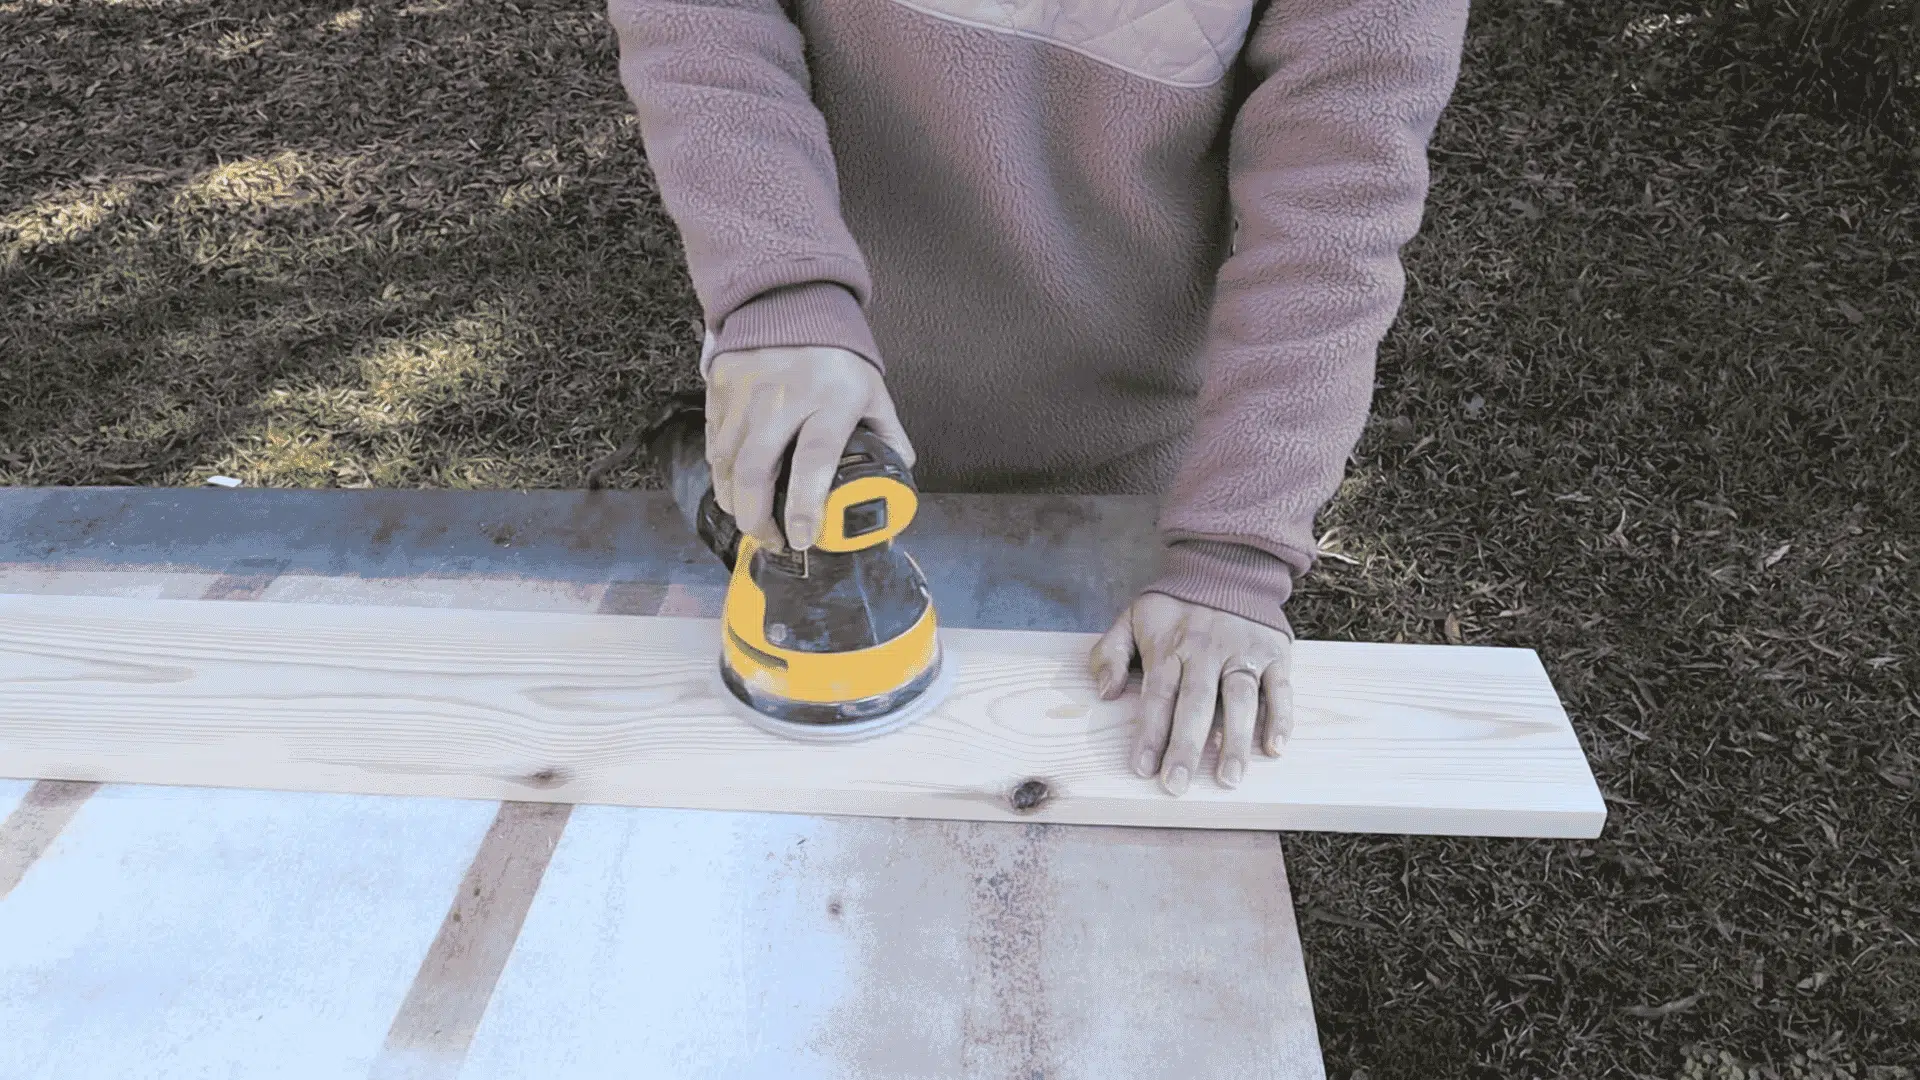
Sanding is what opens the wood pores and allows stain to penetrate properly. Start with coarser grit like 80 or 100, then work up to 150 and finally 220 for a smooth finish.
Skipping this step is one of the most common mistakes. Without sanding, stain sits on the surface instead of absorbing into the wood, resulting in patchy, uneven color.
Step 3: Clean All Dust Completely Before Moving Forward
After sanding, dust particles remain on the surface and inside the grain. If left behind, they mix with the stain and create dark specks and a rough, gritty texture.
Use a tack cloth or vacuum followed by a damp rag to remove every trace of dust. Only move to the next step once the surface feels completely smooth and clean.
Step 4: Apply Pre-Stain Wood Conditioner If Needed
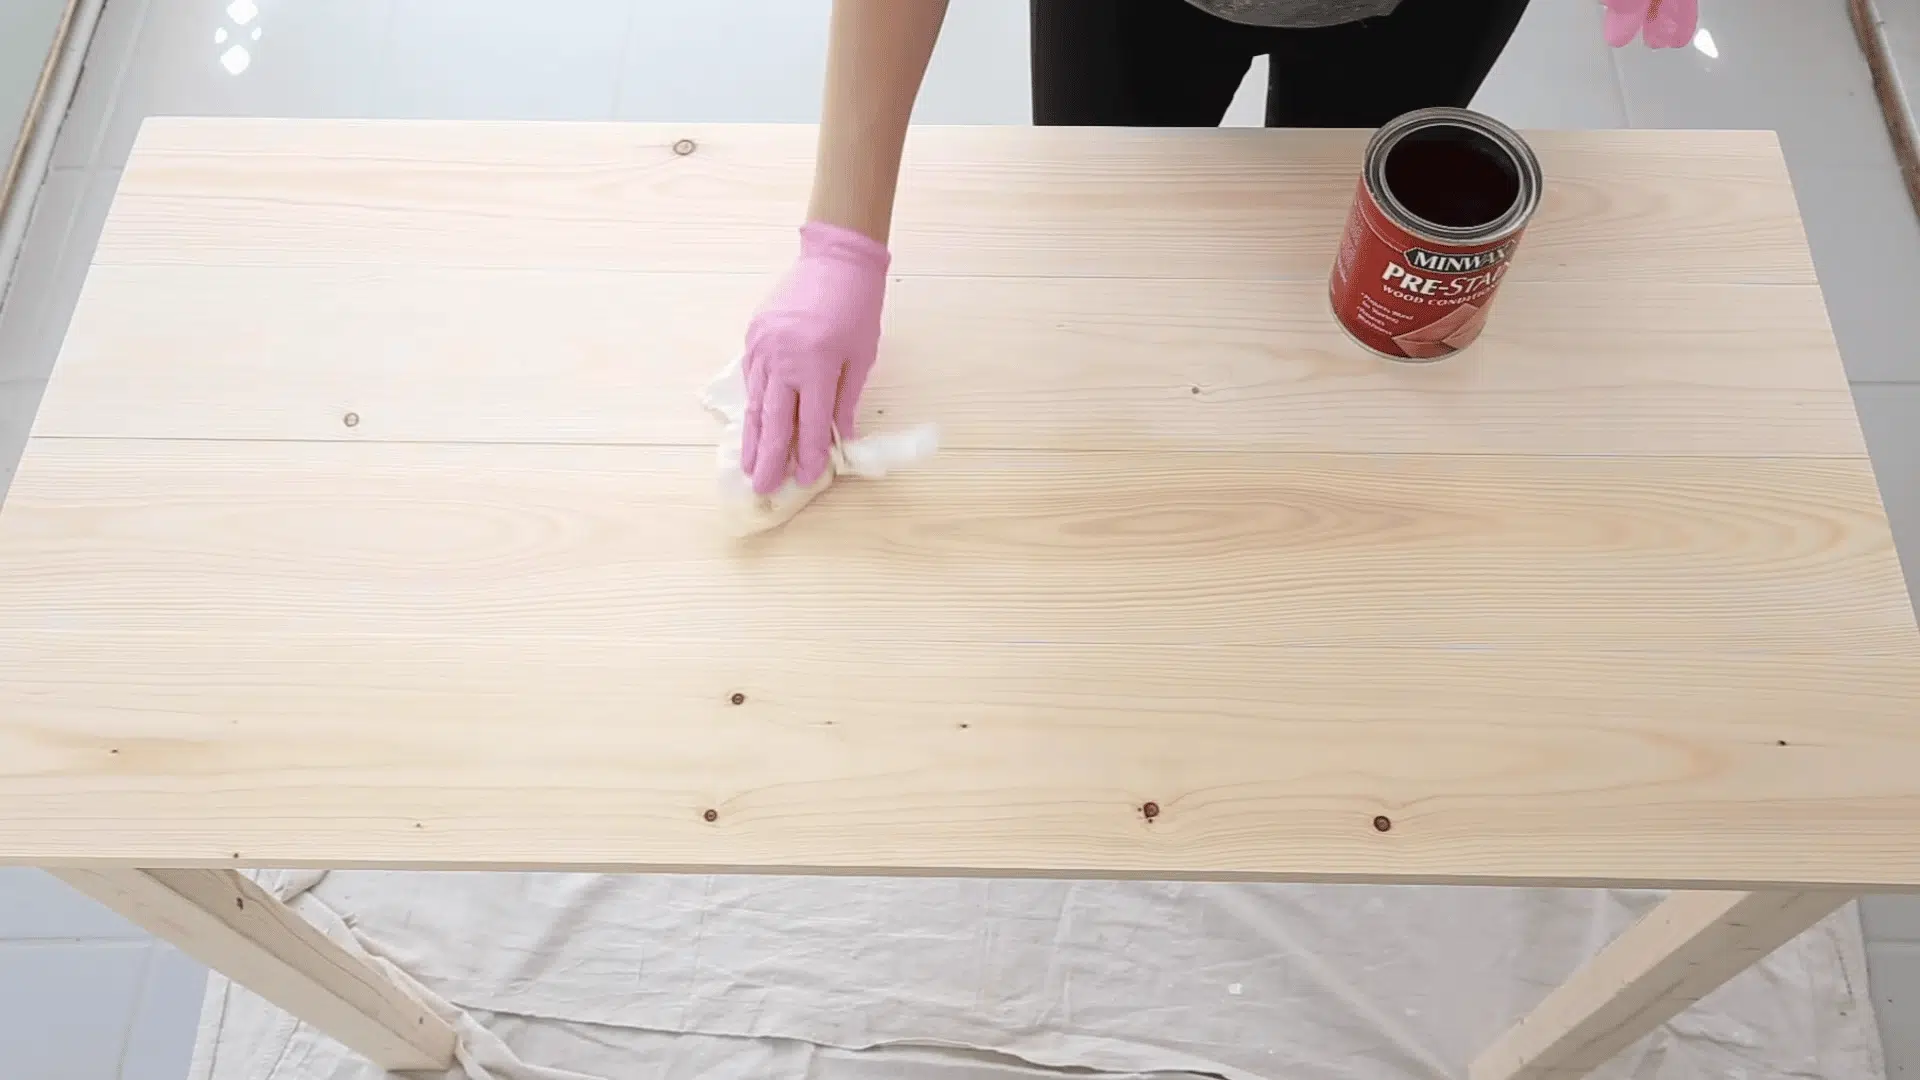
Pre-stain conditioner regulates how the wood absorbs stain, especially in areas where grain density varies. It is most useful on softwoods like pine or birch that tend to absorb unevenly.
Keep in mind that conditioner can slightly darken the wood or reduce color contrast in the final result. Always test on a hidden area first to see how your specific wood responds.
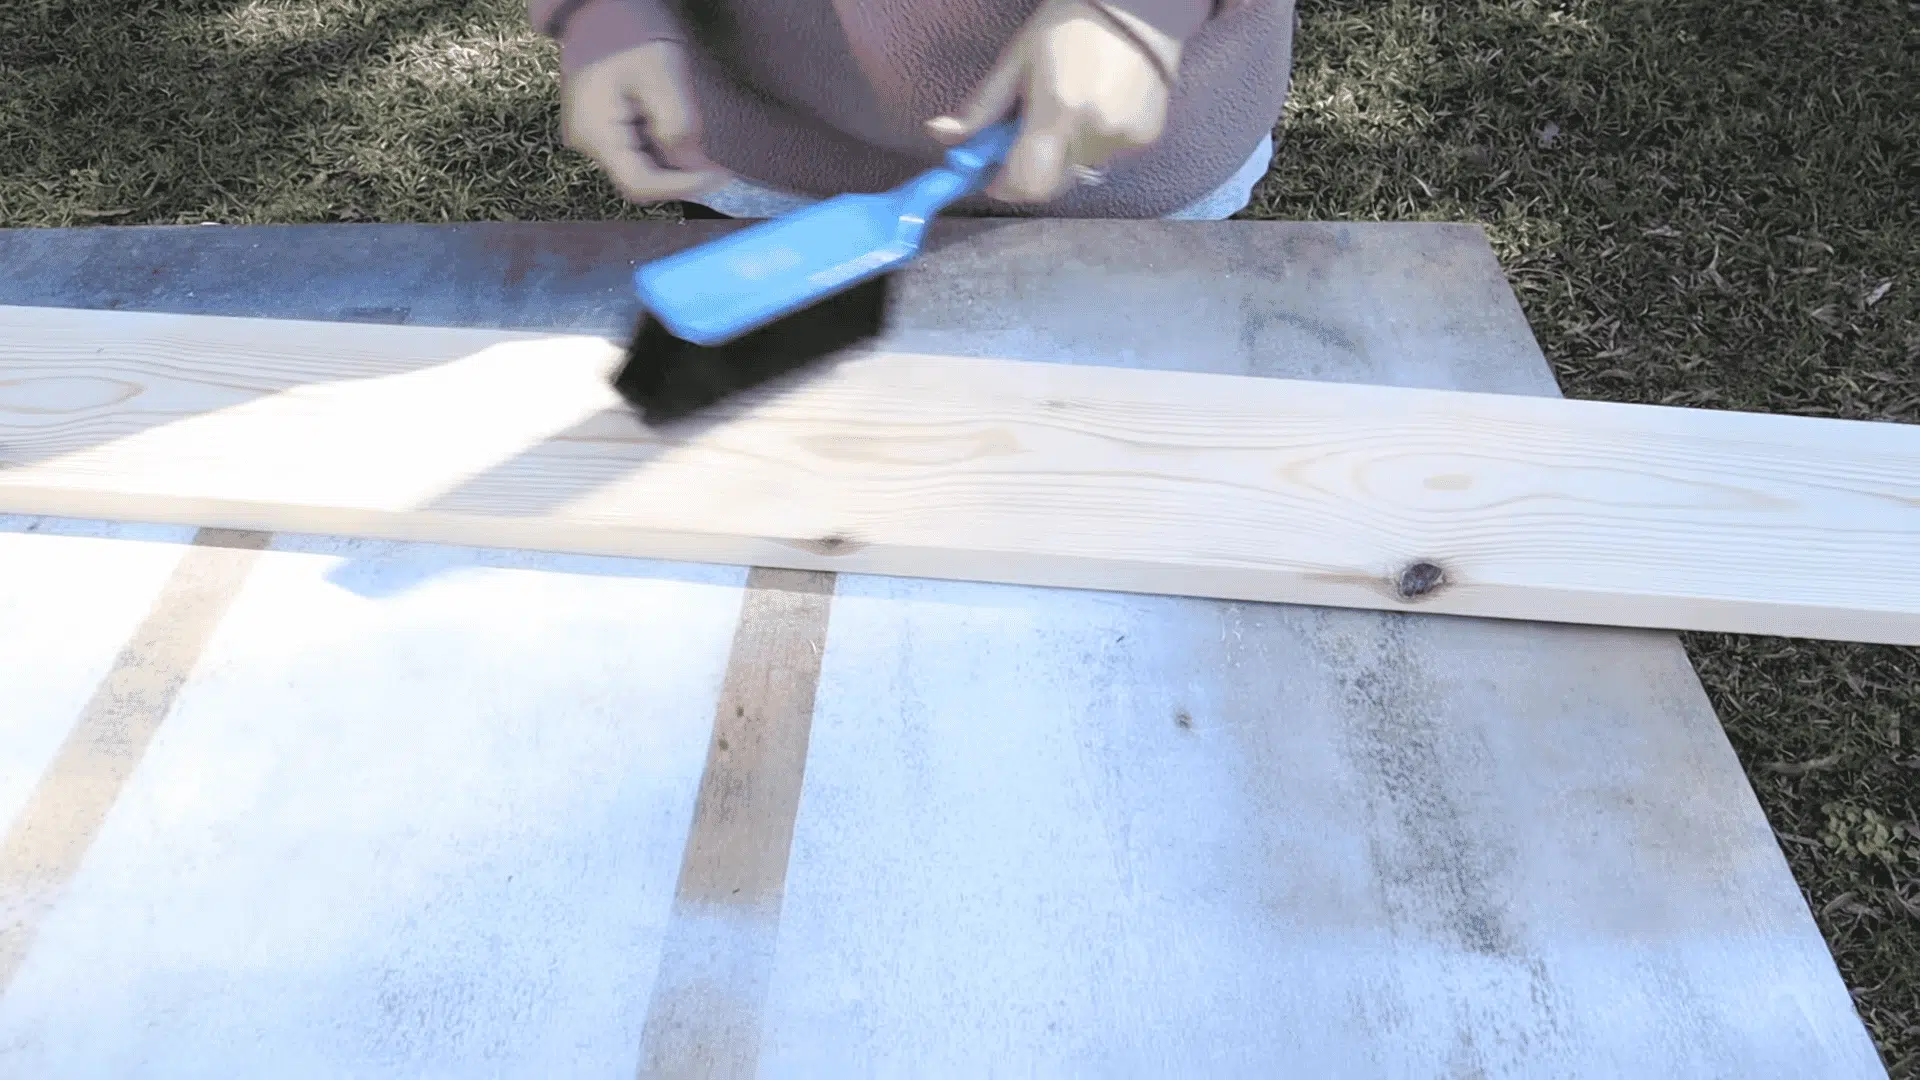
Step 5: Apply Stain in the Direction of the Grain
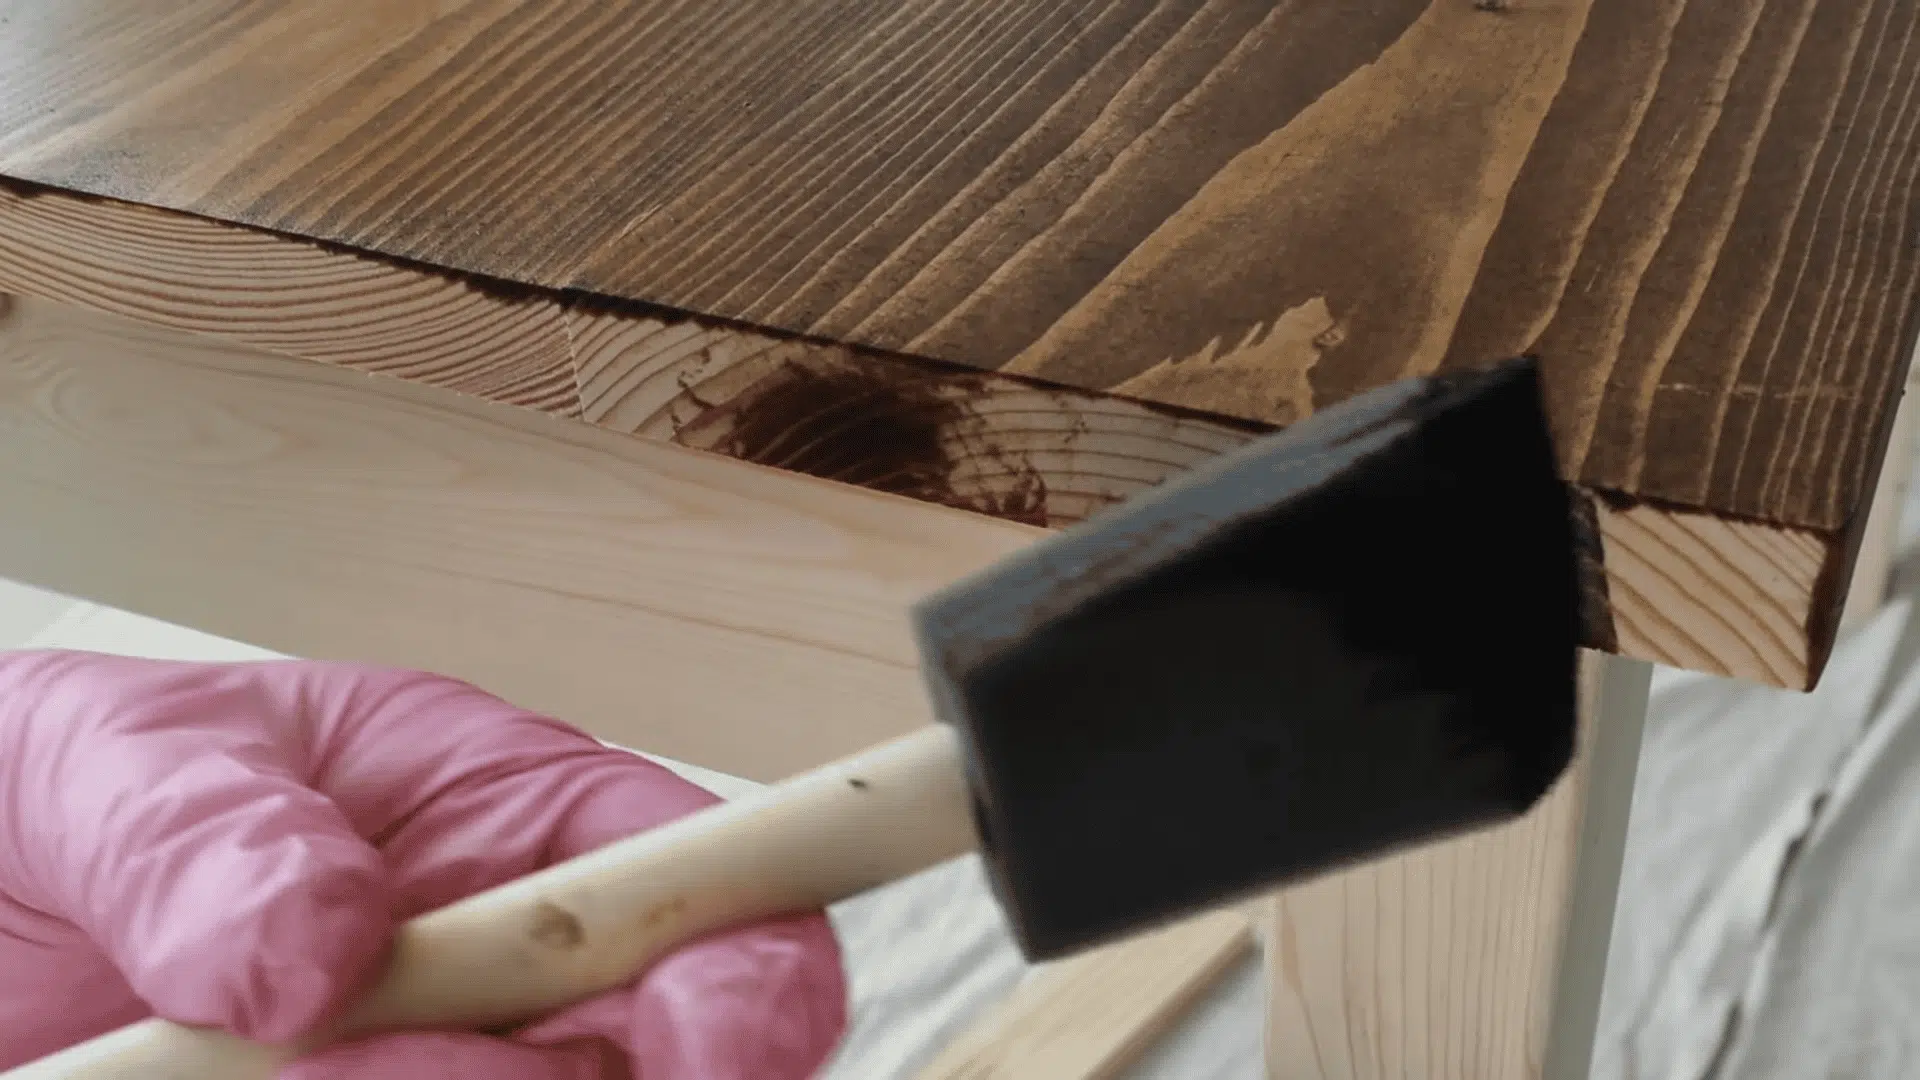
Use a brush or cloth to apply stain in long, even strokes that follow the wood grain. This allows the stain to enter through open pores rather than sitting on top of the surface.
Applying against the grain forces product into areas it does not absorb well, creating streaks. Working with the grain gives you a natural, consistent look that resembles the wood’s original character.
Step 6: Wait Briefly, Then Wipe Off the Excess
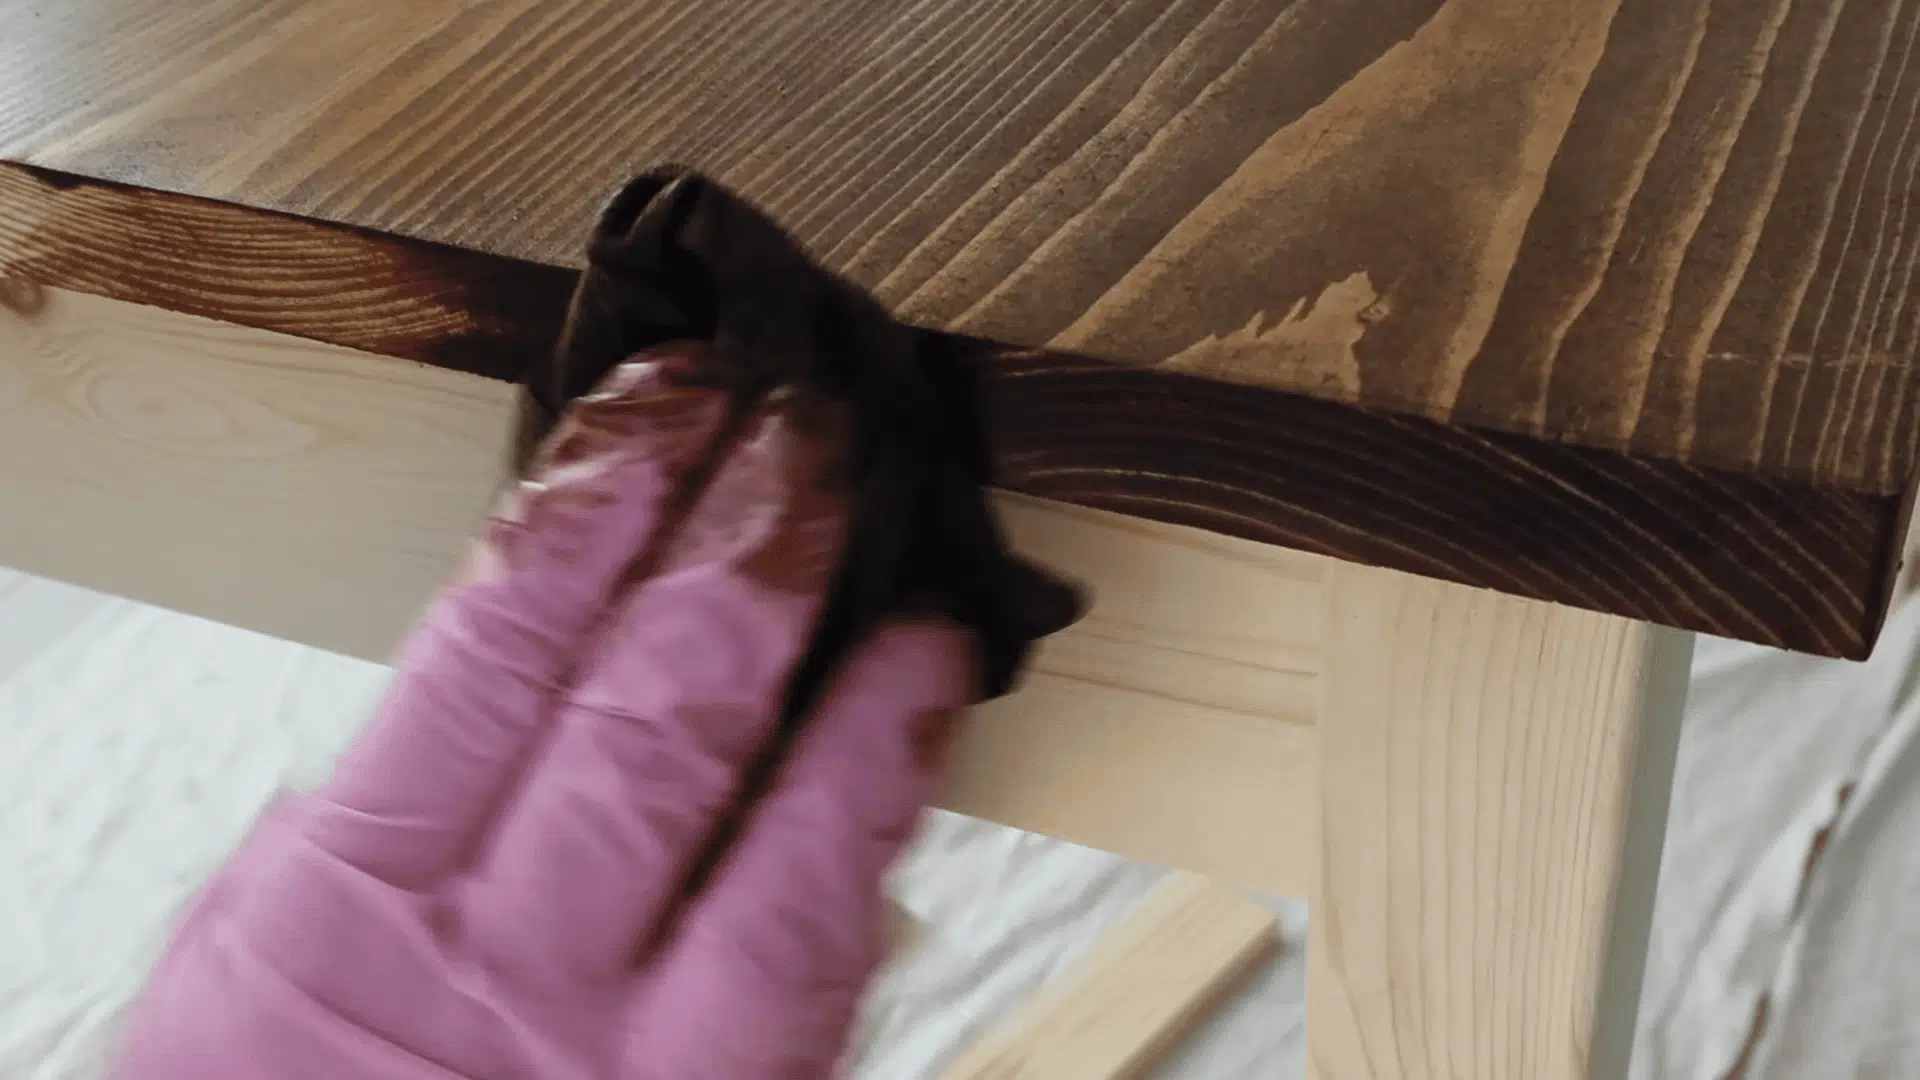
After applying the stain, let it sit for the time recommended on the product label, typically two to five minutes. This gives the wood time to absorb as much color as it can hold.
Wipe off all excess stain with a clean cloth before it dries on the surface. Leaving too much stain on top causes a sticky, tacky layer that blocks proper drying and weakens topcoat adhesion.
Step 7: Allow the Stain to Dry Completely
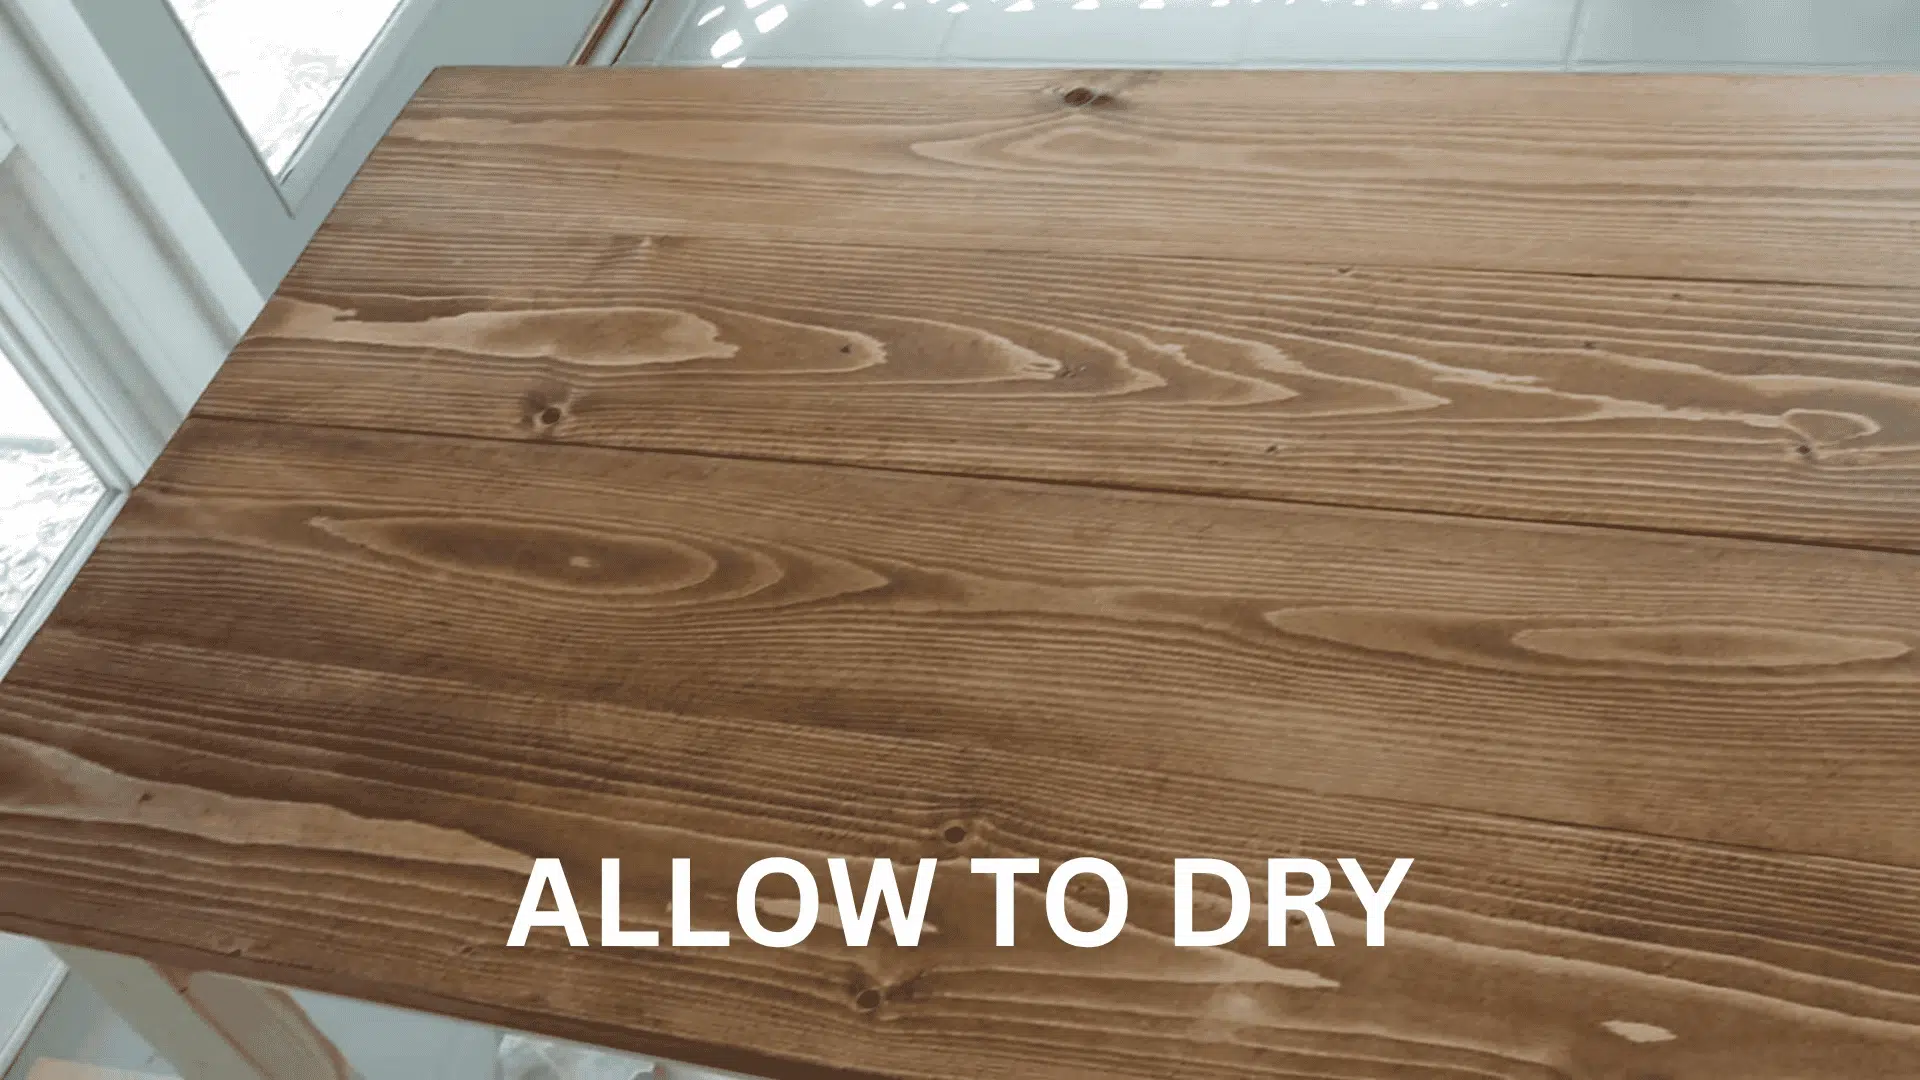
Drying time allows the solvents in the stain to fully evaporate from the wood. Rushing this step is a critical mistake that many beginners make without realizing the consequences.
If you apply a topcoat before the stain dries, the finish pulls stain out of the pores and ruins the color. Always follow the manufacturer’s recommended drying time, usually 24 hours minimum.
Step 8: Apply a Protective Topcoat in 2–3 Layers
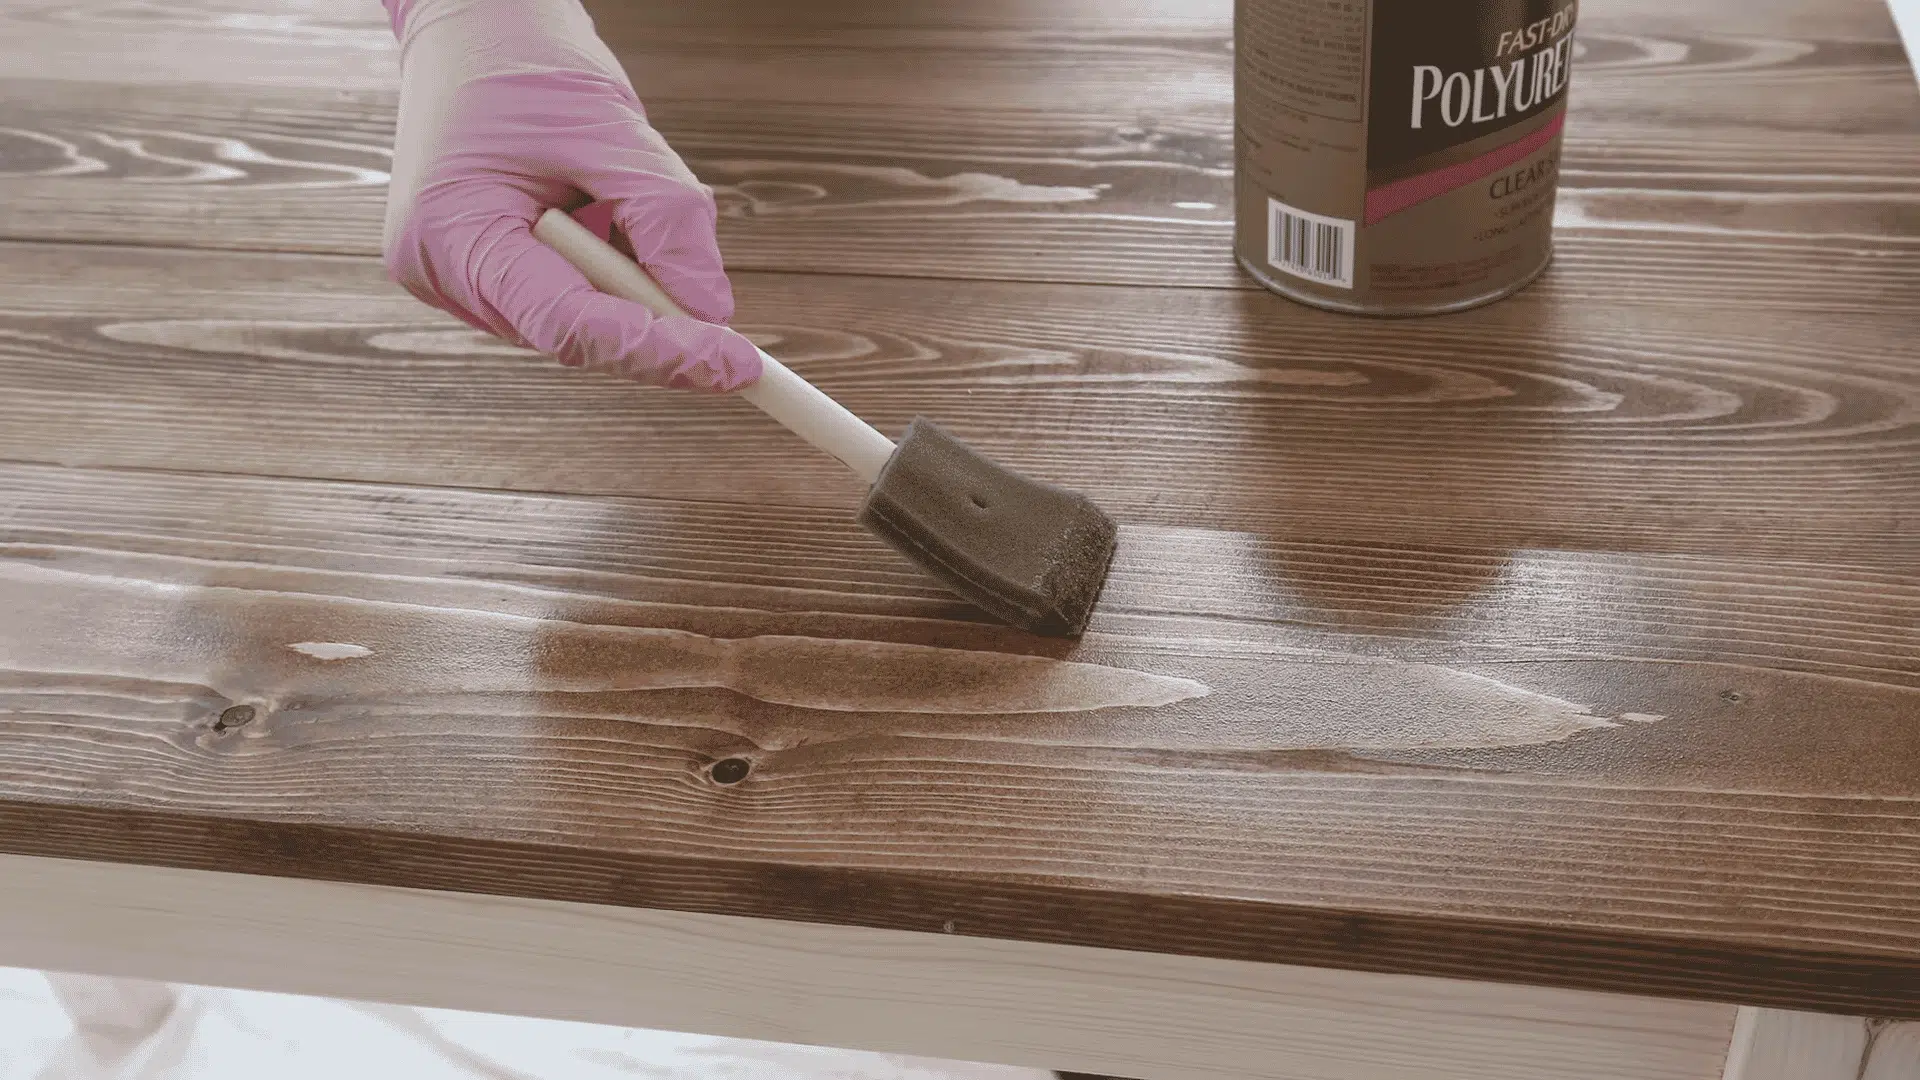
Stain adds color to wood but provides no protection against moisture, scratches, or daily wear. A topcoat like polyurethane, lacquer, or varnish is what actually protects the finished surface.
Apply two to three thin coats, allowing each layer to dry fully before adding the next. Thin, even layers bond better than thick ones and give you a smooth, durable finish that lasts.
Watch here:
How Wood Absorption Affects Staining Results
Wood staining works by soaking into the wood’s pores, not by sitting on the surface like paint. Because every wood type absorbs stain differently, the final color and finish can change based on grain density, sanding, and application timing.
Softwoods like pine and birch absorb stain unevenly, which often leads to blotchy patches unless a pre-stain conditioner is used first.
Hardwoods such as oak and walnut absorb more evenly, but they still need proper sanding to open the pores and prepare the surface.
Many staining problems happen when stain is applied too heavily or left sitting too long. Excess stain cannot fully cure on the surface, which causes sticky finishes, uneven color, and poor topcoat adhesion.
Tips to Control Color Depth and Finish Quality
Getting the color and finish you want is not about guessing or applying more product. These techniques give you direct, intentional control over your final result.
- Layer coats instead of applying heavily: Multiple thin coats build color gradually and reliably. Thick single applications dry unevenly, trap solvents underneath, and create blotchy, inconsistent results across the surface.
- Always test on a hidden area first: Wood type and prep level both affect final color outcome. Testing on an underside or hidden panel prevents unexpected results on visible furniture surfaces.
- Sand lightly between topcoats: Use 220-grit after each dried coat to remove dust nibs, improve adhesion, and prevent imperfections from accumulating across layers into a rough final surface.
Do’s and Don’ts for Consistent Results
Getting consistent results with wood stain comes down to a few non-negotiable habits. Small mistakes in application and timing are what separate a clean finish from a failed one.
| Do’s | Don’ts |
|---|---|
| Sand with the grain to prevent scratches from showing through the stain. | Do not let stain dry on the surface because it can peel and ruin the finish. |
| Stir the stain thoroughly so pigments stay evenly mixed during application. | Do not seal stain before it dries fully or the topcoat may fail. |
| Work in small sections to control absorption and wipe excess evenly. | Avoid over-applying stain to darken color because it creates sticky buildup. |
| Test stain on a hidden area first to check the true color of your wood type. | Do not skip prep work since poor sanding often leads to blotchy results. |
| Apply thin, even coats for smoother and more consistent color. | Avoid rushing drying time between coats or the finish may become uneven. |
| Sand lightly between topcoats using fine-grit sandpaper for better adhesion. | Do not use dirty brushes or rags because they can leave marks and debris behind. |
Wrapping Up
Learning how to stain wood furniture correctly is not about applying more product or working faster. It comes down to preparation, timing, and understanding how wood absorbs stain.
Every problem covered here, blotching, stickiness, or peeling, all trace back to a skipped step or rushed timing. The fix is almost always in the prep, not the application.
Now you know exactly what separates a clean, lasting finish from one that fails within months. The difference is smaller than most people think.
Frequently Asked Questions
What is the Best Stain for Indoor Furniture?
Oil-based stain gives rich color, while water-based stain dries faster and has lower odor.
Can You Mix Two Wood Stain Colors?
Yes, but mix the same stain type and brand when possible. Test the blend first before using it on furniture.
Can You Stain Veneer Furniture?
Yes, but veneer is thin, so sand very lightly. Heavy sanding can cut through the veneer layer.


