How to Refinish Wood Furniture for a New Look?
I discovered the art of furniture repair when I inherited my grandmother’s old oak dresser.
What started as a simple scratch repair became a passion for bringing old pieces back to life.
After seven years of working on everything from delicate antiques to sturdy farmhouse tables, I’ve learned that most wood furniture problems have simple solutions.
Each repair tells a story, and knowing how to fix these pieces helps preserve their history while saving money.
This guide shares everything I’ve learned through countless projects, mistakes, and successes.
Step-by-Step Wood Furniture Repair Guide
Step 1: Basic Surface Cleaning
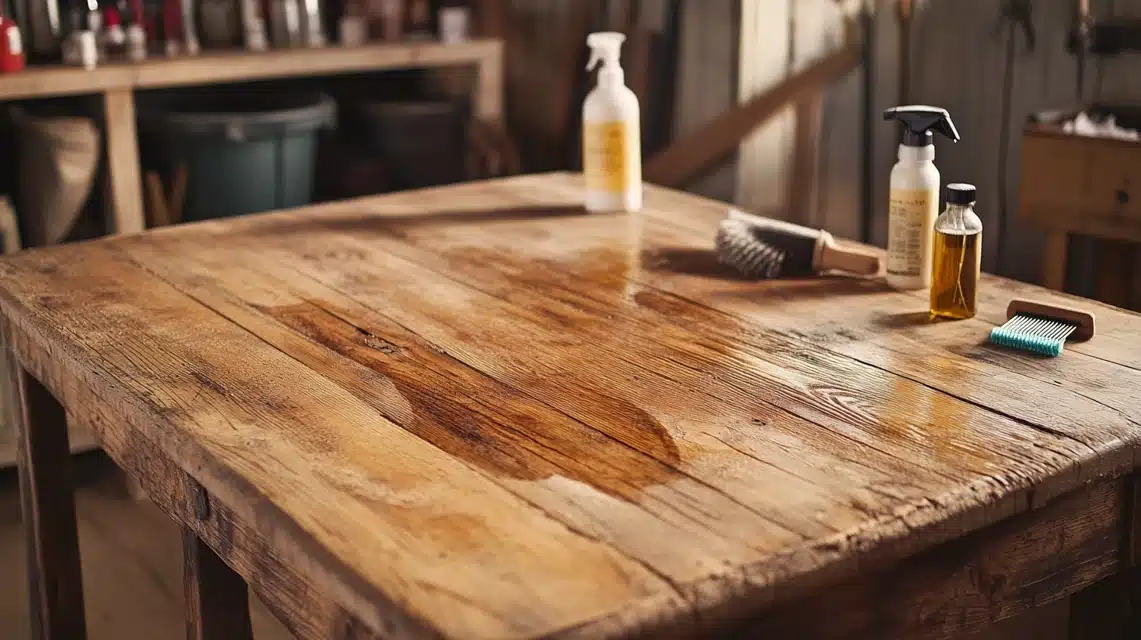
I always start by removing years of dirt that can hide real damage.
Every piece needs this step, no matter what repair comes next.
The right cleaning method changes how repairs bond to the wood.
I’ve learned that rushing this step leads to problems later.
Clean wood tells you exactly what needs fixing.
Detailed Cleaning Steps
- Remove all handles and hardware, storing them in labeled bags.
- Mix equal parts white vinegar and water in a spray bottle.
- Test the cleaning solution on a hidden spot first.
- Wipe in the direction of the wood grain using soft cloths.
- Change clothes often as dirt transfers.
- Let the surface dry completely for at least 2 hours.
- Check for any sticky residue and remove it with mineral spirits.
- Use a soft brush in carved areas and corners.
- Dry thoroughly with clean, lint-free cloths.
- Inspect the surface under good lighting.
Things I’ve Learned
- Warm water cleans better than cold
- Old toothbrushes work great for details
- Some finishes react badly to water
- Good ventilation speeds, drying time
- Take photos between cleaning stages
Step 2: Surface Repair Preparation
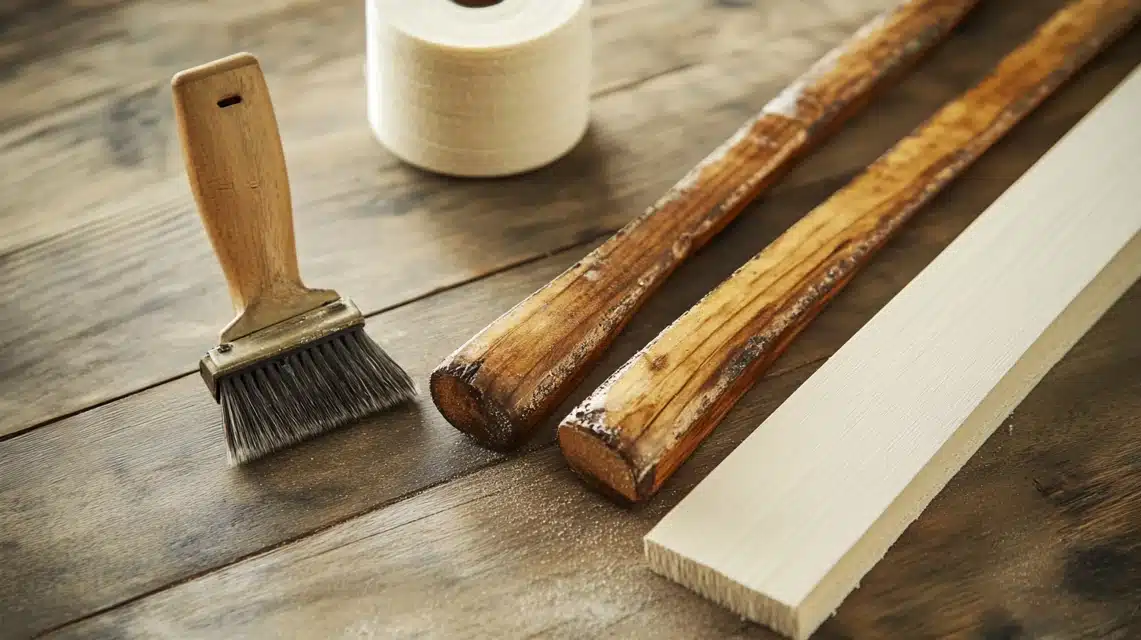
After years of restoring furniture, I’ve learned proper preparation determines your success.
This stage sets up every repair that follows, whether you’re fixing scratches or deeper damage.
I spend more time on prep than repair work – it’s that important.
The right preparation can make even complex repairs look professional.
Good lighting during this stage helps spot issues you might miss.
Detailed Preparation Steps
- Remove any loose finish with fine steel wool.
- Sand damaged areas lightly with 220-grit paper.
- Vacuum all dust using a brush attachment.
- Wipe surfaces with mineral spirits to reveal true wood color.
- Mark repair areas with blue painter’s tape.
- Fill holes from old hardware if replaced.
- Check joints for movement or gaps.
- Test wood hardness in repair areas.
- Look for grain direction changes.
- Clean sanding dust with a tack cloth.
Key Tools Needed
- Different grits of sandpaper (150, 220, 320)
- Clean white rags
- Mineral spirits
- Steel wool (0000 grade)
- Tack cloths
- Painter’s tape
- Good work light
- Dust mask
- Safety glasses
Things I’ve Learned
- Morning light shows flaws better than artificial light
- Keep sandpaper fresh – dull paper damages wood
- Work in small sections to maintain control
- Taking breaks helps you spot missed areas
- Temperature affects how the wood accepts repairs
Step 3: Basic Scratch Repair
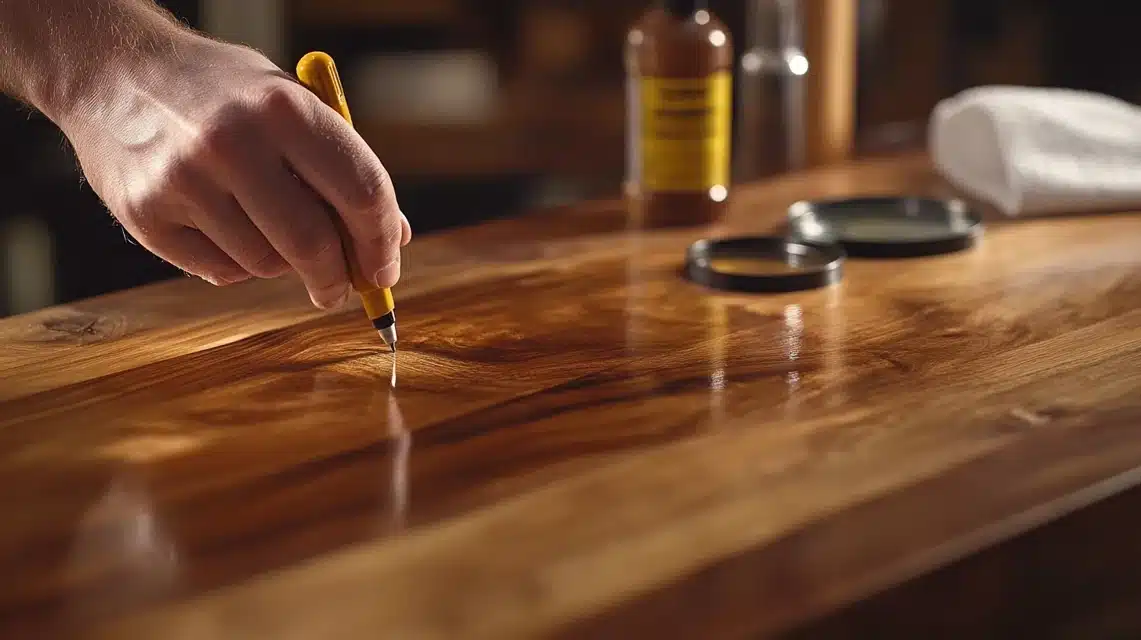
This step requires patience – rushing scratch repair leads to visible mistakes.
I’ve fixed thousands of scratches; each type needs a slightly different treatment.
Light scratches need different care than deep ones that reach raw wood.
Understanding scratch depth helps choose the right repair method.
Your room lighting can affect how visible repairs will be later.
Types of Scratches
- Surface Scratches – Only in the finish
- Color Scratches – Through finish but not into wood
- Deep Scratches – Into the wood itself
- Grain Scratches – Following wood grain pattern
- Cross-grain Scratches – Against wood grain direction
Detailed Repair Steps
- Test scratch depth using a fingernail test.
- Clean inside scratch with denatured alcohol.
- Match wood tones using repair markers or sticks.
- Apply color in thin layers, building up slowly.
- Let each layer dry completely.
- Check color match from different angles.
- Blend edges with fine steel wool.
- Apply finish touch-up over repair.
- Level repair with the surrounding area.
- The buff the entire area to blend sheen.
Things I’ve Learned
- Natural light shows true color-matching
- Work in short sessions for better focus
- Keep repair materials at room temperature
- Different woods need different techniques
- Some scratches add character – don’t fix everything
Special Techniques
- For white scratches, use walnut meat
- Deep scratches might need wood filler first
- Cross-grain scratches need extra attention
- Multiple light coats work better than one heavy coat
- Some scratches look worse after cleaning, but repaired better
Step 4: Deeper Damage Repair
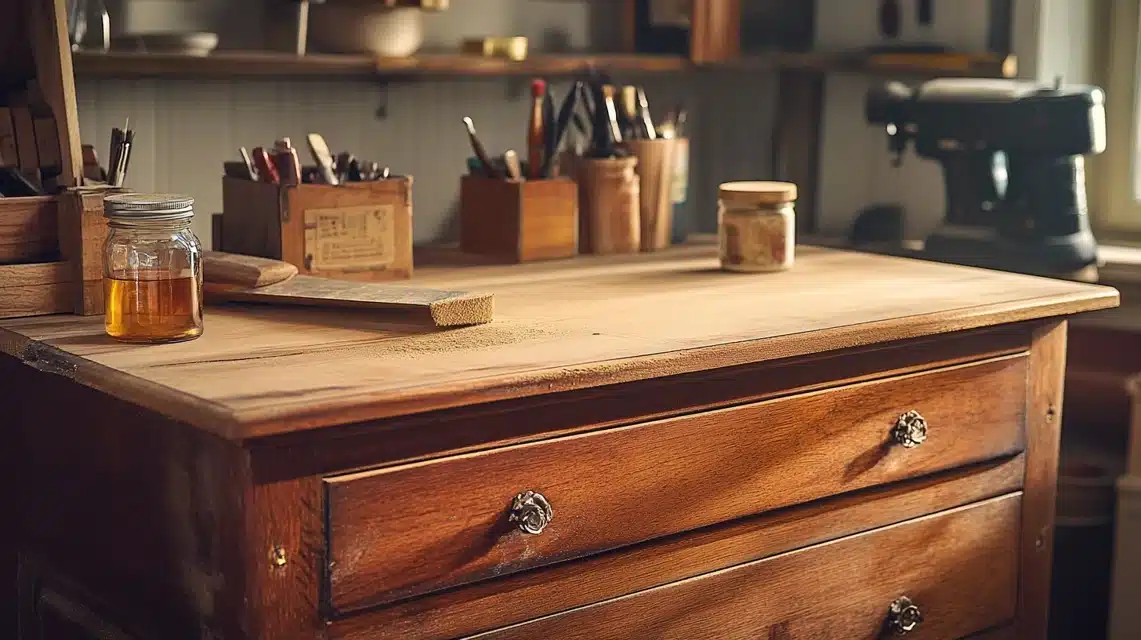
When I started, deep damage scared me, but now I know it’s often easier to fix than surface scratches.
These repairs need building up in layers rather than quick fixes.
I’ve learned that patience here saves time fixing mistakes later.
The right tools make deep repairs look almost invisible.
Understanding wood grain direction becomes crucial at this stage.
Types of Deep Damage
- Gouges – Wood torn out
- Dents – Wood compressed
- Chips – Pieces missing
- Water Damage – Raised grain
- Heat Marks – White rings or dark spots
Detailed Repair Steps
- Clean damaged area thoroughly with mineral spirits.
- Remove any splinters or loose wood fibers.
- Steam dents using a damp cloth and iron if possible.
- Apply wood filler in thin layers.
- Build up filler slightly higher than the surface.
- Let each layer dry completely.
- Sand with progressively finer grits.
- Match the wood colors with stains or markers.
- Seal repair with finish.
- Level and blend edges.
Critical Tools for Deep Repair
- Two-part wood filler
- Putty knives in different sizes
- Selection of stain markers
- Steam iron for dents
- Sharp chisel for cleaning edges
- Extra fine sandpaper
- Rubber gloves
- Magnifying glass
- Good task light
Things I’ve Learned
- Wood moves with the weather – plan repairs accordingly
- Temperature affects drying time
- Keep tools spotlessly clean
- Take breaks to check the progress
- Some repairs need overnight drying
Step 5: Joint and Structure Repair
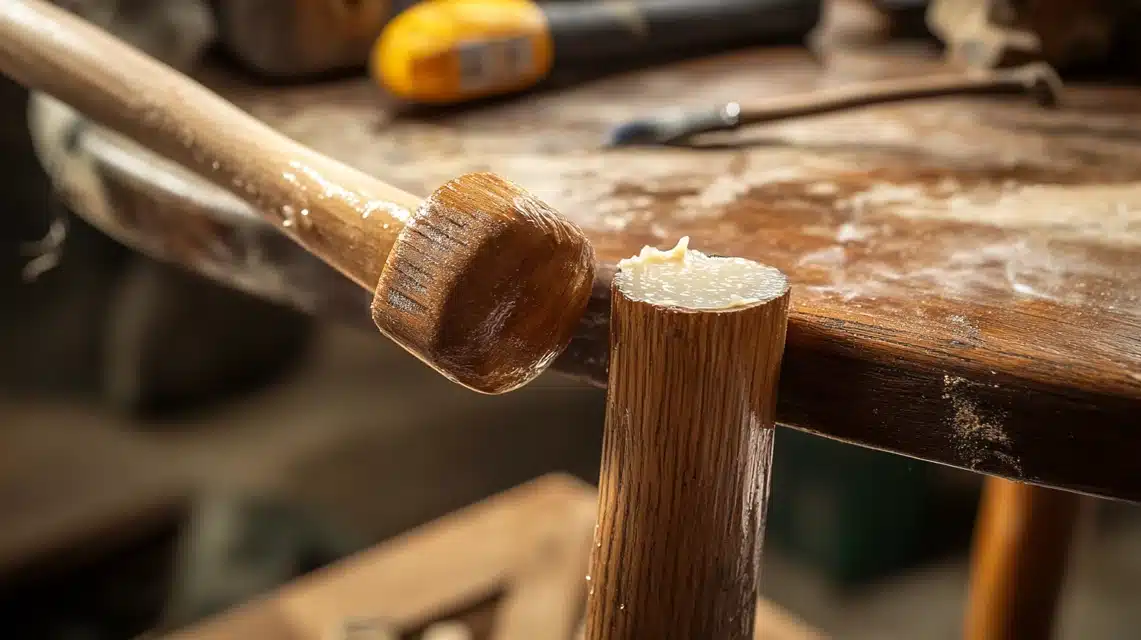
Loose joints caused my biggest headaches until I developed this systematic approach.
Fixing wobbly chairs and tables brings immediate satisfaction when done right.
I’ve learned that most joint problems come from failed glue, not broken wood.
Taking joints apart seems scary at first, but it often gives the best results.
Good clamps make the difference between success and failure.
Types of Joint Problems
- Loose Chair Rungs
- Wobbly Table Legs
- Split Chair Backs
- Loose Table Tops
- Separated Dovetails
Detailed Repair Steps
- Test joint movement to understand the problem.
- Mark joint positions before taking them apart.
- Remove old glue with chisel and sandpaper.
- Clean inside joints with a narrow brush.
- Test fit pieces without glue first.
- Apply wood glue to all contact surfaces.
- Clamp firmly, but don’t crush wood.
- Clean excess glue with a damp cloth.
- Let cure for 24 hours minimum.
- Test joint strength before using.
Essential Tools
- Quality wood glue
- Various size clamps
- Rubber mallet
- Small chisels
- Cleaning brushes
- Right angle clamps
- Joint jigs
- Wood blocks for clamping
- Glue syringes
Things I’ve Learned
- Dry fit always before gluing
- More clamps are better than too few
- Temperature affects glue drying time
- Mark clamp positions beforehand
- Some joints need reinforcement
Step 6: Finish Repair and Protection
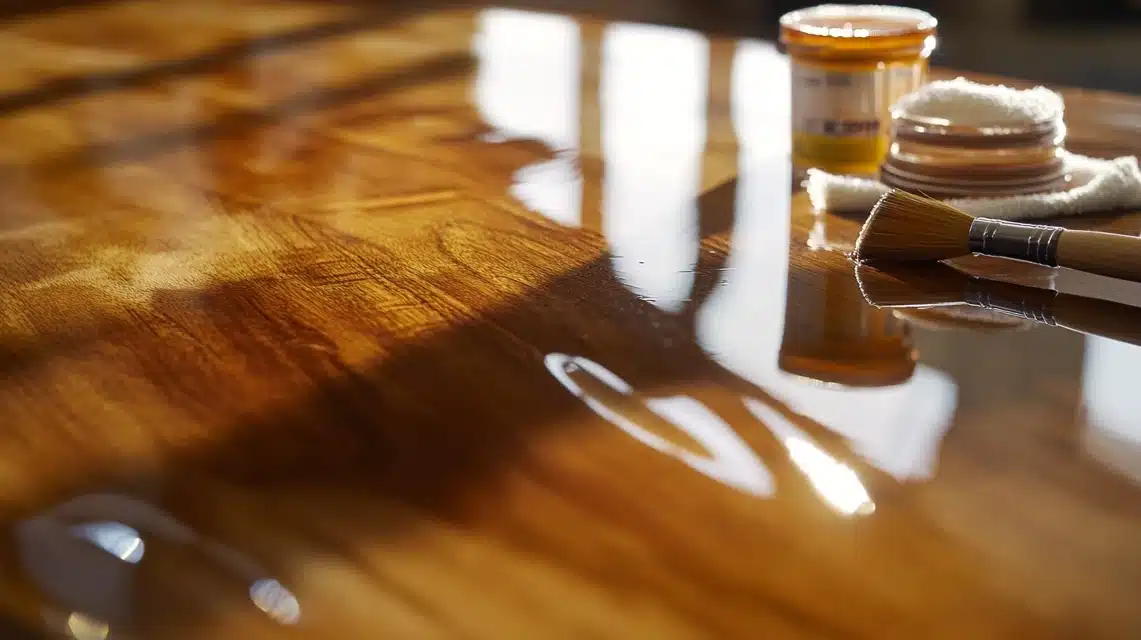
The final finish makes or breaks all your previous repair work.
I’ve spent years learning how different finishes age and protect wood.
This step needs the most patience but gives the most satisfying results.
Proper finishing turns repairs invisible and protects your work.
Understanding wood grain patterns helps achieve professional results.
Types of Finishes
- Oil-Based
- Water-Based
- Shellac
- Lacquer
- Hand-Rubbed Oil
Detailed Finishing Steps
- Test finish type in hidden spot.
- Sand repaired areas to match surrounding finish.
- Remove all sanding dust completely.
- Apply finish in thin, even coats.
- Let each coat dry fully.
- Sand lightly between coats.
- Build up layers gradually.
- Match surrounding sheen.
- Protect edges and details.
- Allow final coat to cure completely.
Critical Tips For Success
- Work in dust-free space
- Check temperature and humidity
- Use proper ventilation
- Keep brushes perfectly clean
- Watch for drips and runs
- Maintain wet edge while working
- Filter finishes before using
- Use quality brushes or applicators
- Take photos to check progress
- Allow proper cure time
Things I’ve Learned
- Early morning offers best finishing conditions
- Strain finishes even when new
- Thin coats dry better than thick
- Some repairs need blending techniques
- Weather affects drying time significantly
Maintenance and Care for the Wooden Furniture
After restoring hundreds of pieces, proper care keeps repairs looking fresh for years.
Every piece needs different attention based on its use and environment.
I’ve developed these care schedules through years of follow-up with clients.
Regular maintenance prevents most common furniture problems.
Let me break down exactly what needs doing and when.
1. Daily Care Table
| Task | Method | Tools Needed | Warning Signs |
|---|---|---|---|
| Dust Removal | Soft cloth in wood grain direction | Microfiber cloth | Dust buildup |
| Spill Check | Immediate blotting | Clean white cloths | Water rings |
| Surface Wipe | Dry cloth only | Lint-free cloth | Sticky residue |
| Position Check | Avoid direct sun | Window coverings | Fading spots |
| Heat Protection | Use coasters/pads | Protective items | White marks |
| Movement Check | Listen for squeaks | None | Loose joints |
2. Weekly Care Table
| Task | Process | Time Needed | Prevention Notes |
|---|---|---|---|
| Deep Clean | Furniture cleaner | 15-20 minutes | Avoid excess moisture |
| Joint Check | Gentle movement test | 5 minutes | Note any wobbles |
| Hardware Check | Tighten loose pieces | 10 minutes | Keep tools handy |
| Finish Inspection | Close visual check | 10 minutes | Note scratch areas |
| Wood Feed | Apply wood oil if needed | 30 minutes | Match wood type |
| Leg Protection | Check floor pads | 5 minutes | Replace if worn |
3. Seasonal Care Table
| Season | Special Tasks | Products Needed | Focus Areas |
|---|---|---|---|
| Spring | Humidity check, full polish | Hygrometer, polish | Joint stability |
| Summer | Sun protection, moisture control | UV filters, dehumidifier | Direct sun areas |
| Fall | Deep feeding, scratch repair | Wood oil, repair kit | Dry areas |
| Winter | Humidify, heat protection | Humidifier, pads | Near heat sources |
4. Annual Maintenance Table
| Type of Piece | Major Tasks | Time Investment | Professional Check |
|---|---|---|---|
| Tables | Re-wax, joint check | 2-3 hours | Every 3 years |
| Chairs | Tighten all joints | 1-2 hours | Every 2 years |
| Cabinets | Hinge service, shelf check | 2 hours | Every 5 years |
| Antiques | Full condition review | 3-4 hours | Yearly |
| Outdoor | Weather protection | 4-5 hours | Twice yearly |
Conclusion
After thousands of hours restoring furniture, I’ve learned that patience leads to mastery.
Each piece teaches something new, from simple scratch fixes to complex joint repairs.
The joy of bringing old furniture back to life never gets old.
My workshop still fills with excitement when a challenging repair succeeds.
These skills grow with every project you tackle.
Key Takeaways
- Start with simple repairs to build confidence
- Keep basic tools ready for quick fixes
- Document your repairs with photos
- Learn wood types and grain patterns
- Practice on less valuable pieces first
Remember that even experts started as beginners. Your repair skills will improve with each project.
The satisfaction of fixing something yourself makes the learning process worthwhile.
Keep this guide handy, take your time with each repair, and don’t be afraid to try new techniques.
Frequently Asked Questions
How Can I Fix Scratches, Dents, or Gouges in My Wooden Furniture?
Light scratches often improve with walnut meat rubbed into the mark, while deeper scratches need wood filler and careful color matching.
For dents, I use the steam method – place a damp cloth over the dent and apply a warm iron carefully.
Gouges require wood filler built up in layers, followed by careful color matching and finishing.
What Is the Best Method to Repair a Cracked Piece of Furniture?
Start by cleaning the crack thoroughly. Apply wood glue deep into the crack using a thin brush or syringe.
Clamp the piece firmly for 24 hours minimum. For long cracks, I sometimes add reinforcement with small dowels.
Always test the repair strength before regular use. Never rush the glue drying time.
How Do I Restore the Finish After Repairing Damage?
Test the existing finish first in a hidden spot. Match the sheen and color carefully using similar products.
Apply thin coats rather than one thick layer. Build up the finish gradually, sanding lightly between coats.
Let each layer dry completely. The final coat needs several days to cure fully.
What Materials and Tools Do I Need for DIY Furniture Repair?
Basic repairs need wood glue, sandpaper (various grits), wood filler, putty knife, and clean cloths.
Add clamps, wood markers, and finish repair products for more complex work.
I suggest starting with quality basic tools rather than buying everything at once.
Good lighting and a clean workspace matter more than fancy tools.
Are There Professional Services Nearby that Can Repair My Furniture?
While many areas have furniture repair services, try simple fixes yourself first. Look for professionals who specialize in your furniture type.
Ask to see examples of similar repairs they’ve done. Get written estimates and time frames.
Remember that some repairs cost more than the furniture’s value – weigh your options carefully.

