How to Refinish Outdoor Furniture: A Step-by-Step Guide
Tired of faded chairs or rusty tables messing up your outdoor space? The weather can really wear down your patio setup.
But the good news is, you don’t need to throw anything out. This guide will show you how to refinish outdoor furniture step by step, without fancy tools or high costs.
You’ll learn how to clean, sand, repaint, and protect wood, metal, plastic, and wicker furniture using things you can grab from any hardware store.
With just a little effort, your old pieces can look almost new again. Ready to fix up your backyard the easy way? Let’s get started.
Refinishing Outdoor Furniture: A DIY Guide
With a little time and the right tools, you can bring them back to life. This guide covers the steps for cleaning, sanding, painting, and protecting various types of furniture, including wood, metal, and plastic.
It’s made for real homes, using supplies you can find at any hardware store, no need for fancy gear or special skills.
Just follow each step, and your outdoor space will look better without needing to buy anything new.
Material Required to Refinish Outdoor Furniture
You don’t need anything fancy to get started. Most of these supplies are easy to find at any local hardware store.
- A bucket of warm water and mild soap
- Scrub brush or sponge
- White vinegar or oxygen bleach (for mold)
- Sandpaper (80 to 220 grit, based on material)
- Wire brush (for rust on metal)
- Paint stripper or heat gun (if stripping old finish)
- Outdoor paint, stain, or wood oil
- Primer (rust-resistant for metal)
- Paintbrush or sprayer
- Wood filler (for cracks in wood)
- Clear sealant or water-repellent topcoat
- Gloves and safety glasses
- Waterproof covers (for ongoing protection)
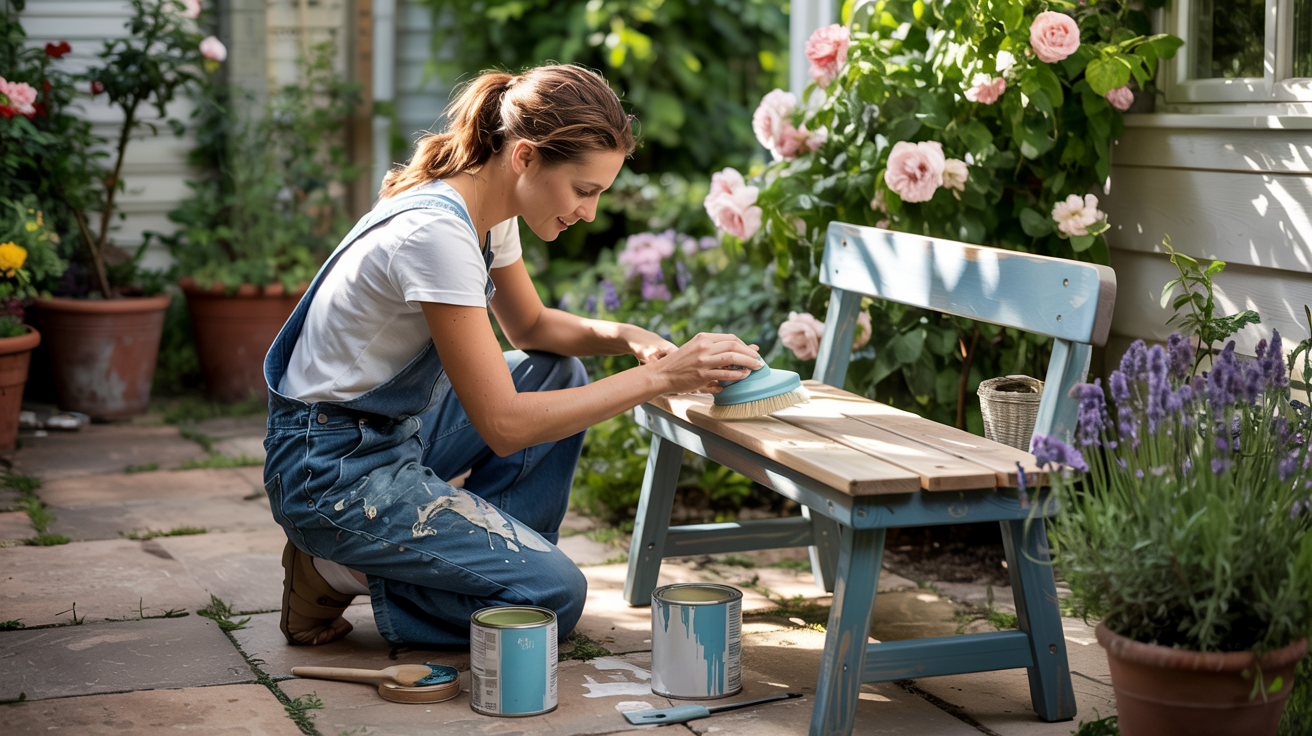
Step 1: Clean Thoroughly

A deep clean is the first and most important step. Dirt, mold, and old paint can hide damage or keep repairs from sticking.
No matter the material, cleaning helps you start with a fresh surface. This step also helps you determine how much repair work is needed before you proceed.
Start with a bucket of warm water and mild soap. Use a scrub brush or sponge to wipe down all surfaces, paying extra attention to corners and crevices where grime builds up.
For mold, mix water with white vinegar or oxygen bleach. Rinse everything well and let it dry completely. Don’t forget the undersides and legs—mold and dirt love to hide there, too.
Step 2: Sand or Strip the Surface

Once your furniture is clean and dry, the next step is to smooth out the surface. This helps new paint or stain stick better and removes peeling layers, splinters, or rust.
Depending on the condition and material, you’ll either sand lightly or strip off the old finish completely. Here’s how to decide what works best.
Step 3: Choose Your Finish

Now that the surface is clean and smooth, it’s time to pick a finish that protects and lasts. Your choice depends on the material and the look you want.
Paint provides strong coverage, stain brings out wood grain, and oil helps preserve the natural feel. Each option works differently, so choose what best suits your piece.
Paint is great for bold color and full coverage, especially on metal or plastic. It hides flaws and offers strong protection from the weather.
Stain works best on wood when you want to keep the natural look while adding color and water resistance.
Oil is ideal for hardwoods like teak; it soaks in and protects from within without forming a surface layer.
Step 4: Apply the Finish Like a Pro

Once you’ve picked your product, it’s time to apply it correctly. A clean, even finish helps protect your furniture and keeps it looking good through all kinds of weather.
Whether you use a brush or sprayer, the goal is smooth coverage, proper drying, and enough coats to seal everything in.
Step 5: Protect and Maintain

Even the best finish won’t last forever without a little care. Sun, rain, and temperature changes can wear down your hard work.
Protecting your outdoor furniture year-round helps it last longer and saves you time on future repairs. Use covers, sealants, and regular checkups to keep everything in good shape.
Maintenance Tips to Keep Furniture Looking Good
A little care goes a long way when it comes to outdoor furniture. These small habits can help your pieces last much longer.
- Cover furniture when not in use to protect it from the sun and rain
- Store cushions indoors to prevent mold and fading
- Wipe down surfaces regularly to remove dirt and moisture
- Reapply sealants or protective coats once a year
- Keep furniture off wet grass or soil to avoid rot and rust
- Tighten bolts and check joints every few months
- Touch up paint or finish as soon as you notice chips or cracks
Why You Should Refinish Instead of Replace
Replacing outdoor furniture can get expensive fast, especially for larger sets or solid materials like wood or metal.
If the frame is still strong, there’s no reason to throw it out. Refinishing gives you the chance to fix small issues, change the look, and extend the life of what you already have.
It also saves time; you won’t need to shop around, wait for delivery, or haul anything away. A few hours of work can give you the same fresh result for a lot less effort and cost.
Plus, you get full control over color and finish. It’s simple, satisfying, and worth doing.
Wrapping Up
Bringing life back to your old chairs, tables, or benches doesn’t take much, just the right steps and a little time.
This guide walked you through how to refinish outdoor furniture, from cleaning and sanding to painting and sealing.
Now you’ve got what you need to make each piece look good and last longer. Follow seasonal care, use the right products, and store things properly to avoid starting over next year.
Want more simple fixes and smart ideas for your home? Check out our other how-to blogs and keep making your space work better for you.


