How to Plan and Build a Basement Wet Bar
A basement wet bar does more than look good, it makes your space actually usable. Hosting game nights or winding down after work, having a fully functional bar downstairs changes how you use your home.
But building one the right way takes more than picking cabinets and a sink. You need the right layout, proper plumbing, smart material choices, and a setup that fits your space.
Skip any of those, and you’ll end up with something that looks fine but fails in daily use.
This blog breaks down every part of the process, from planning and plumbing to layout and materials, so you can build a basement wet bar that works as good as it looks.
Step-by-Step Process to Build a Basement Wet Bar
Building a basement wet bar takes more than picking out cabinets. Each step builds on the last, so skipping one can cause real problems down the line.
Step 1: Define the Purpose of Your Wet Bar
Start by deciding how you’ll actually use the bar. A setup for weekend hosting looks very different from one used for casual evening drinks.
Hosting means you’ll need more counter space, extra storage, and seating for guests. Casual use lets you keep things smaller and simpler.
This decision shapes everything: the size, the appliances, and how much storage you’ll need. Get clear on this first before you spend a dollar on anything else.
Step 2: Choose the Right Location
The best spot for your wet bar is close to existing plumbing. Running new water and drain lines a short distance keeps costs low and the job simple.
The farther you go from existing pipes, the more complex the drainage and venting become. That adds time, labor, and money to the project.
Step 3: Plan Your Layout
A good layout makes the bar easy to use and comfortable. The key is that the work triangle, sink, prep area, and storage should all flow together naturally.
Think about how you’ll move while making drinks. Poor spacing causes you to bump into things or walk back and forth more than you should.
Step 4: Install Plumbing and Drainage
Your wet bar needs a cold water supply line and a drain line. The supply brings water to your sink, and the drain carries it away.
According to plumbing standards, a vent pipe regulates air pressure in the drain system, preventing trap siphoning and allowing waste to flow smoothly while keeping sewer gases from entering living spaces.
Venting helps maintain the proper pressure within the system, preventing clogs and ensuring smooth water flow.
Local venting and drain requirements vary, so consult local codes or a licensed plumber to ensure compliance.
Step 5: Set Up the Electrical
A wet bar typically needs outlets for a mini fridge, under-cabinet lighting, and general use. Each of these draws power; ensure outlets near the sink use GFCI protection and have adequate capacity as verified by a licensed electrician.
Overloading a circuit can trip breakers and create safety hazards; ensure outlets near wet areas are GFCI‑protected and that a licensed electrician checks load requirements. If you’re adding a full-size fridge or multiple appliances, consider a dedicated circuit.
Step 6: Install Cabinets and Countertop
Standard bar cabinets are about 36 inches high, but you can adjust them to fit your space. Make sure there’s enough clearance between upper and lower cabinets for comfortable use.
Choose a countertop material that handles spills and moisture well. Quartz and laminate are both solid, budget-friendly options for a basement bar.
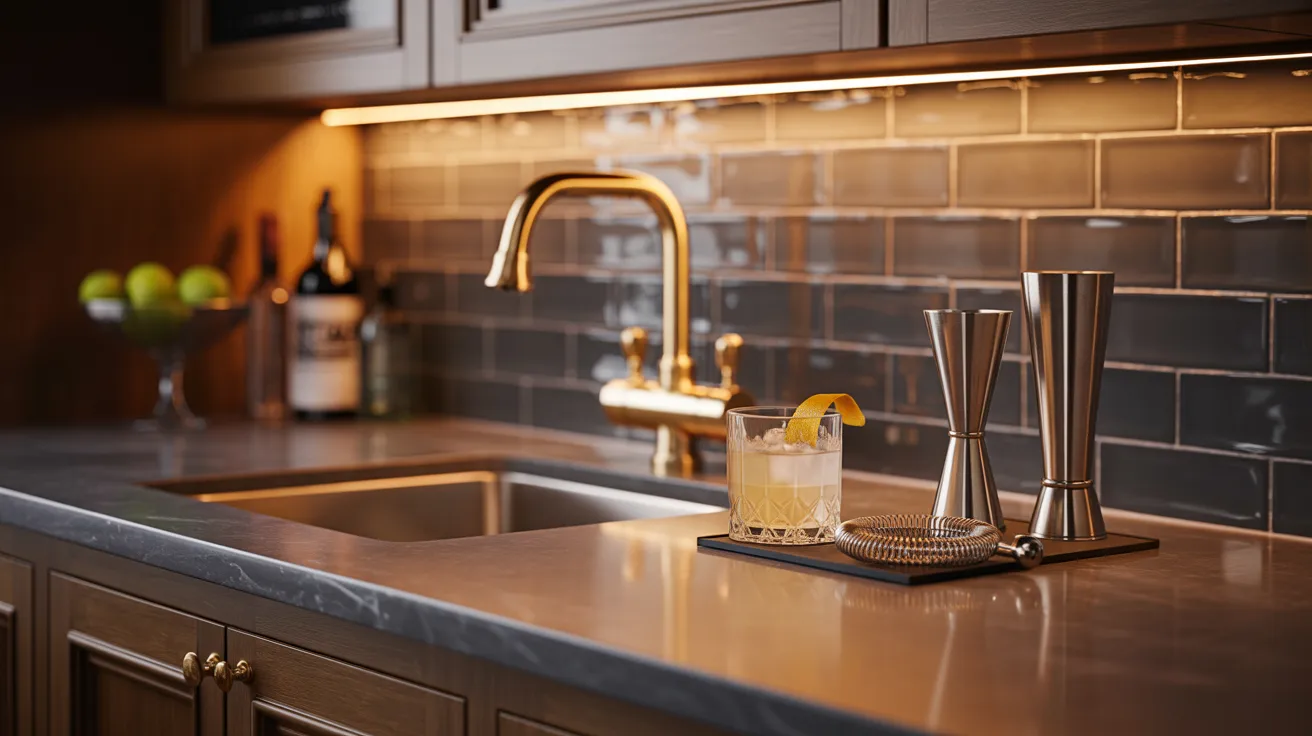
Step 7: Final Setup, Sink, Fixtures, and Appliances
Once the cabinets are in, drop in the sink and connect it to your supply and drain lines. Add your faucet, then install the fridge and any other appliances.
Do a full check before calling it done. Run the water, check for leaks under the sink, and test every outlet. Small issues are much easier to fix before the bar is fully stocked.
How to Choose the Right Wet Bar Layout
Your layout decides how well the bar actually works day to day. Choosing the wrong one for your space leads to cramped movement and a frustrating experience every time you use it.
Linear Layout (Against the Wall)
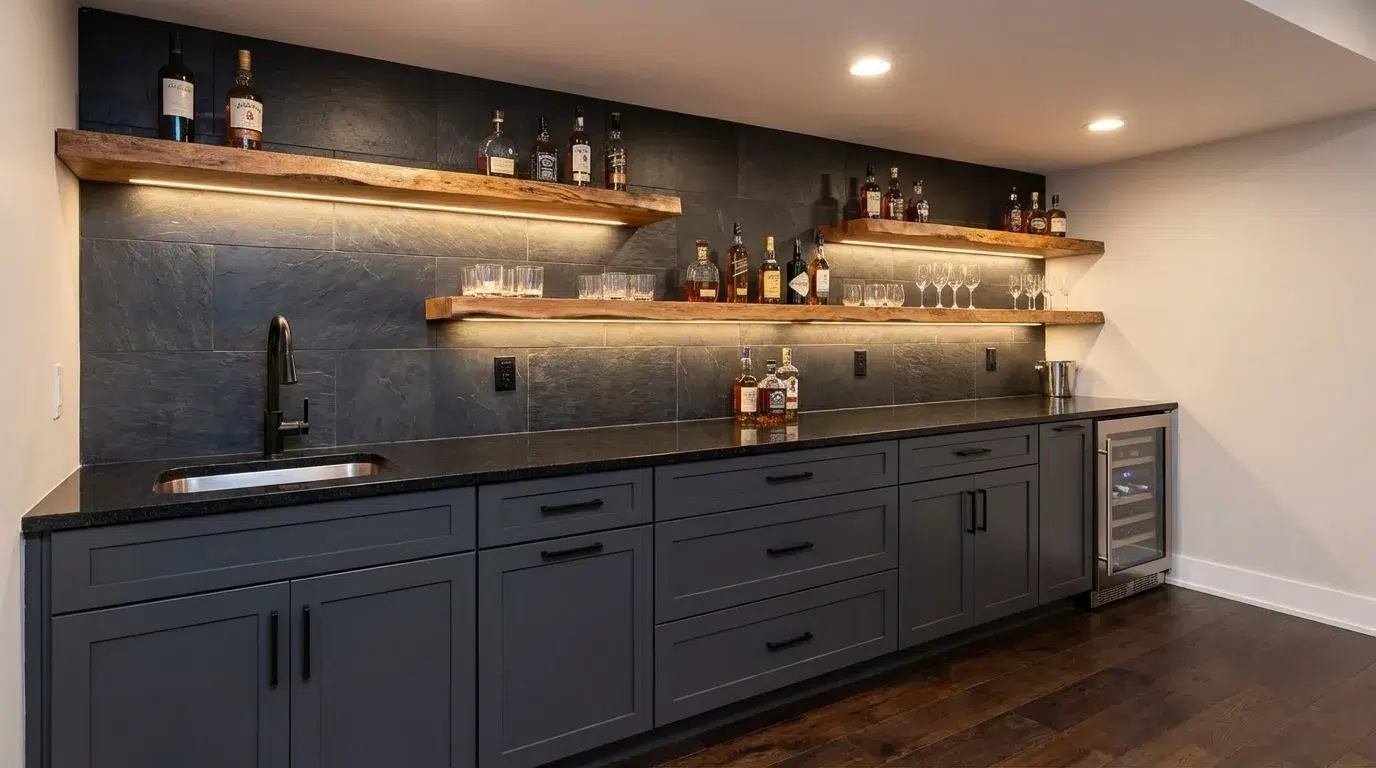
A linear layout places everything along a single wall, offering a clean and simple design. It’s a great option for smaller spaces, especially basements with limited floor area.
The straightforward setup features a single counter run, which keeps the layout easy to build and manage. While movement is somewhat restricted, the design remains tidy and functional, perfect for spaces that prioritize simplicity.
L-Shape Layout

The L-shape layout utilizes two connected walls to provide more surface area and improved workflow. This setup helps separate the sink from the prep area, making it easier to handle different tasks.
By adding extra counter space without occupying too much room, the L-shape layout also creates a natural division between drink prep and serving areas.
Compared to a linear setup, this design enhances movement and workflow, making it a smart choice for those who need more space to work.
U-Shape Layout
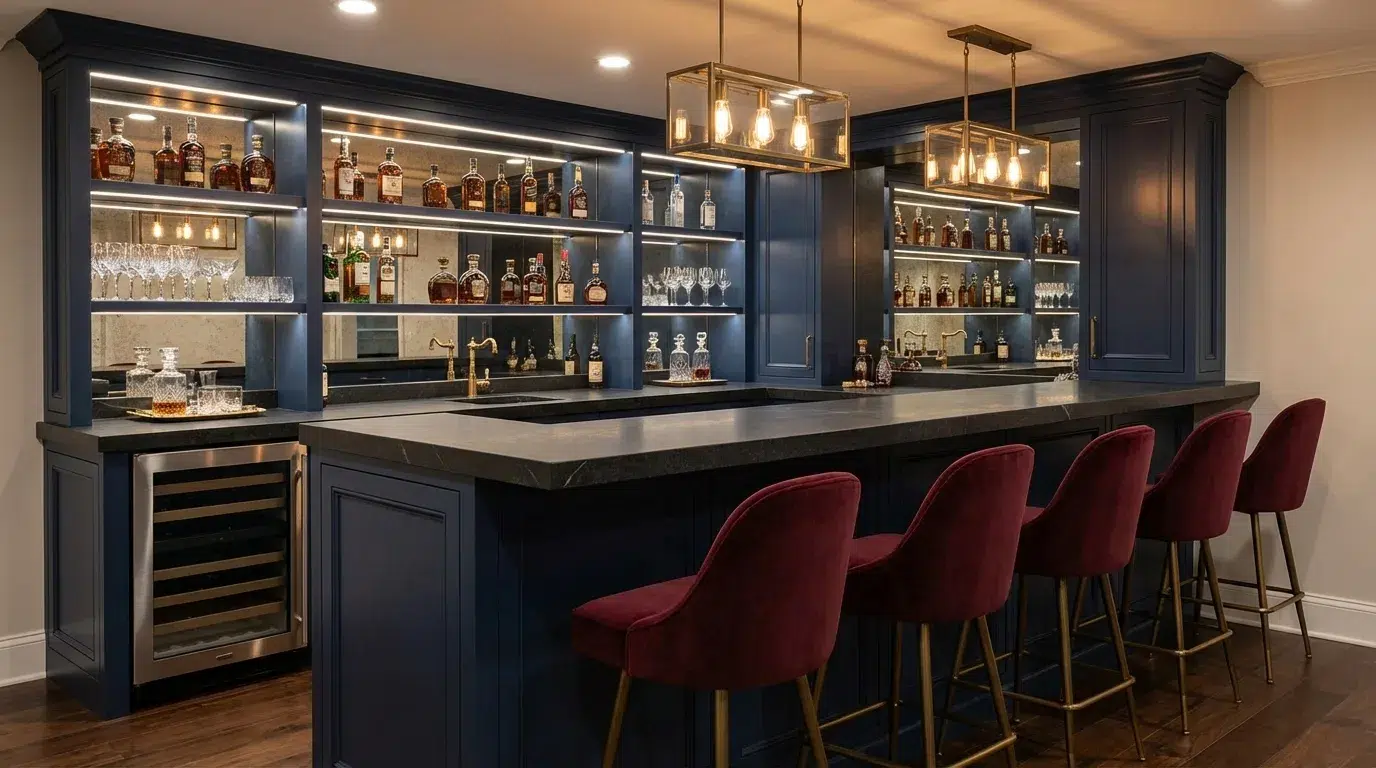
The U-shape layout expands across three walls, offering maximum counter space, storage, and organization. This layout is ideal for larger basement bars, where there’s enough room to move around freely.
It provides ample prep space, keeps everything within easy reach, and allows for efficient appliance placement. While the U-shape maximizes functionality, it does require a spacious area to prevent the setup from feeling cramped or congested.
Once you’ve picked your layout, it’s time to consider the components that will make your space functional. The right materials and appliances will complement your layout and enhance how efficiently the bar works.
Essential Components of a Functional Wet Bar
A wet bar is only as good as the parts that make it up. Every component below plays a specific role; leave one out, and the whole setup feels incomplete.
- Sink: The core of any wet bar; it enables rinsing, cleaning, and everyday use.
- Plumbing system: Supply lines bring water in, drain lines carry it out, and venting keeps the flow smooth.
- Countertop space: You need room to prep drinks, set down bottles, and serve without crowding.
- Cabinets and shelves: Organized storage keeps everything accessible and prevents clutter on the counter.
- Mini fridge or wine cooler: Keeps drinks cold at the bar so you don’t have to run back to the kitchen.
Together, these components turn a basic cabinet setup into a fully self-contained bar. Each one reduces friction in a different way, and skipping even one creates a gap you’ll notice every time you use it.
Plumbing and Drainage
Plumbing is the part most people get wrong, and the most expensive to fix after the fact. Every wet bar needs two supply lines, a drain line, and a vent.
The closer your bar is to the main plumbing stack, the simpler and cheaper the setup will be. Basement drainage doesn’t always work on gravity alone.
If your floor sits below the main sewer line, you’ll need an upflush pump to push wastewater out. Without it, water has nowhere to go. Venting is non-negotiable.
Without it, air pressure builds up in the drain, causing slow flow, gurgling, or a sewer smell. A small sink still needs a full plumbing setup, size doesn’t change the requirement.
How to Adapt a Wet Bar for Small Basement Spaces
A small basement doesn’t mean you have to give up on a wet bar. The right choices let you fit everything you need without making the space feel tight or cluttered.
- Go vertical with storage: Wall-mounted cabinets and open shelves free up counter and floor space below.
- Choose compact appliances: An under-counter mini fridge fits neatly below the countertop without taking up space.
- Stick to a single-wall layout: Running everything along one wall keeps the footprint small and movement clear.
- Make your countertop work harder: Use the same surface for prep, serving, and storage to get more out of less space.
- Avoid oversized cabinets: Bulky cabinetry cuts into your movement area, making a small space feel even smaller.
- Match proportions to your space: Every piece, cabinet, appliance, and shelving should be sized for the room, not for a larger bar.
Small spaces reward smart planning. Stick to the right scale, use your walls, and keep the layout simple, and even a compact basement bar can feel completely functional.
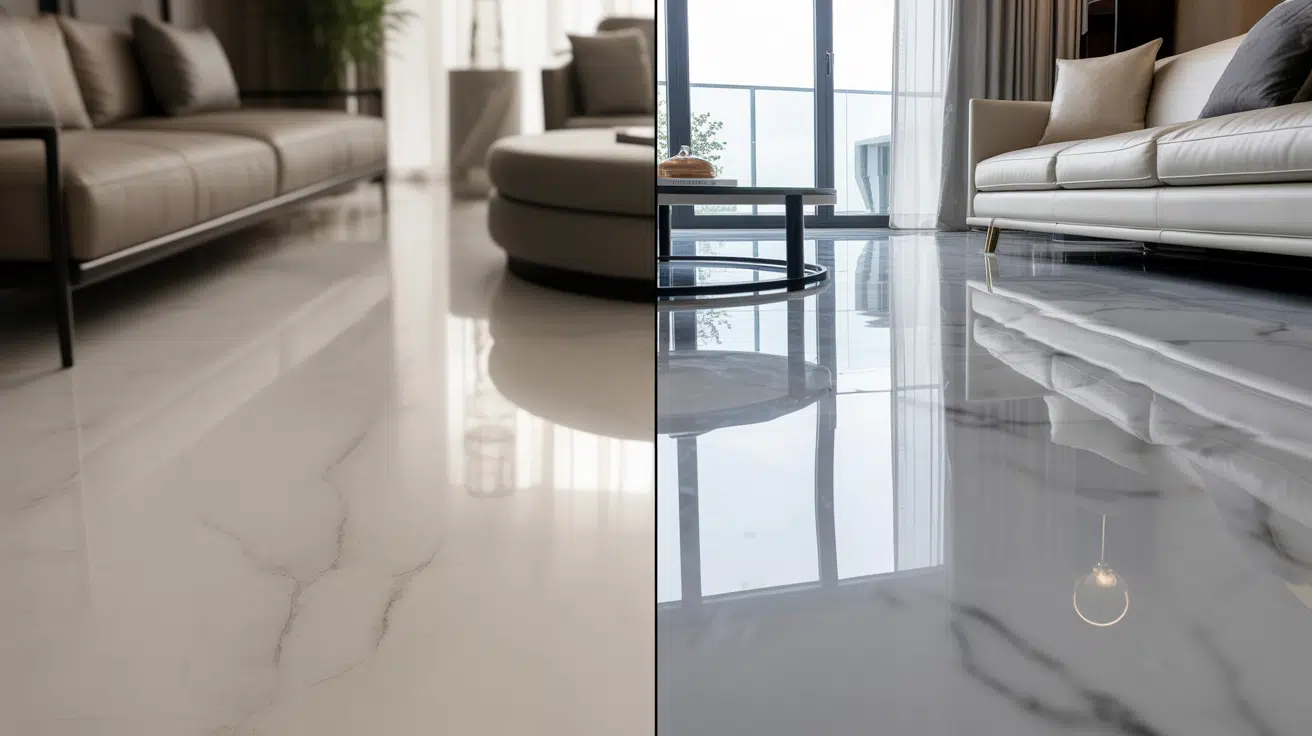
Material Selection Based on Function (Not Just Looks)
In a basement bar, looks matter less than durability. Humidity, spills, and moisture exposure will test every surface, so choosing the right materials from the start saves you from replacements down the line.
| Component | Best Options | Why It Works | What to Avoid |
|---|---|---|---|
| Countertop | Quartz, laminate | Moisture-resistant, easy to clean, holds up to spills | Unsealed wood or marble stains and absorbs water easily |
| Cabinets | Plywood | Handles humidity better, resists warping over time | MDF absorbs moisture and swells in basement conditions |
| Flooring | Ceramic tile, vinyl plank | Spill-resistant, easy to wipe down, moisture-tolerant | Hardwood warps and buckles with water exposure |
Every material choice in a basement bar should pass one test, can it handle moisture? Get that right, and everything else holds up the way it should.
Common Mistakes That Break Wet Bar Functionality
Most wet bar problems don’t show up during the build, they show up the first time you actually use it. These are the mistakes that cause the most damage, and the easiest to avoid with a little planning upfront.
- Skipping plumbing planning early: Waiting until the cabinets are installed to plan for plumbing can lead to costly rerouting and rework. Always map out the plumbing before finalizing your layout to avoid these common pitfalls.
- No dedicated prep space: A layout without a clear prep zone forces you to work in a cramped, inefficient area every time.
- Too few electrical outlets: Running a fridge, lighting, and appliances off one outlet overloads the circuit and trips breakers.
- No drainage slope or ventilation: Water drains slowly or not at all, and sewer smell becomes a constant problem.
- Over-designing for the wrong use: Building a large, complex bar for occasional casual use wastes space and budget without adding real value.
Conclusion
Building a basement wet bar is more than just a fun addition to your home; it’s a functional upgrade that can change how you use your space.
Remember, it’s about balancing aesthetics with functionality, especially in a smaller basement where smart storage and space-saving design matter.
Don’t overlook the essential components like proper ventilation and countertop materials, which are key to longevity.
Ready to build your dream wet bar? Start by planning your space and choosing the right materials today!
Frequently Asked Questions
Do I need a permit to install a basement wet bar?
Yes, in most areas. Permits are typically required for plumbing and electrical work. Check with your local building department for specific requirements, as they vary by location. Skipping permits could lead to code violations and issues during home resale.
How much does a basement wet bar typically cost?
The cost can range from $1,000 for a basic setup to $10,000 or more for a custom build. The total cost depends on factors like plumbing distance, appliance choices, cabinet quality, and countertop material. Set a budget early to ensure you spend wisely.
Can a basement wet bar add value to my home?
Yes, a well-built basement wet bar can increase your home’s appeal and resale value. Buyers consider it a finished, functional feature. The return on investment depends on the quality of the build and how well it integrates into the overall basement space.