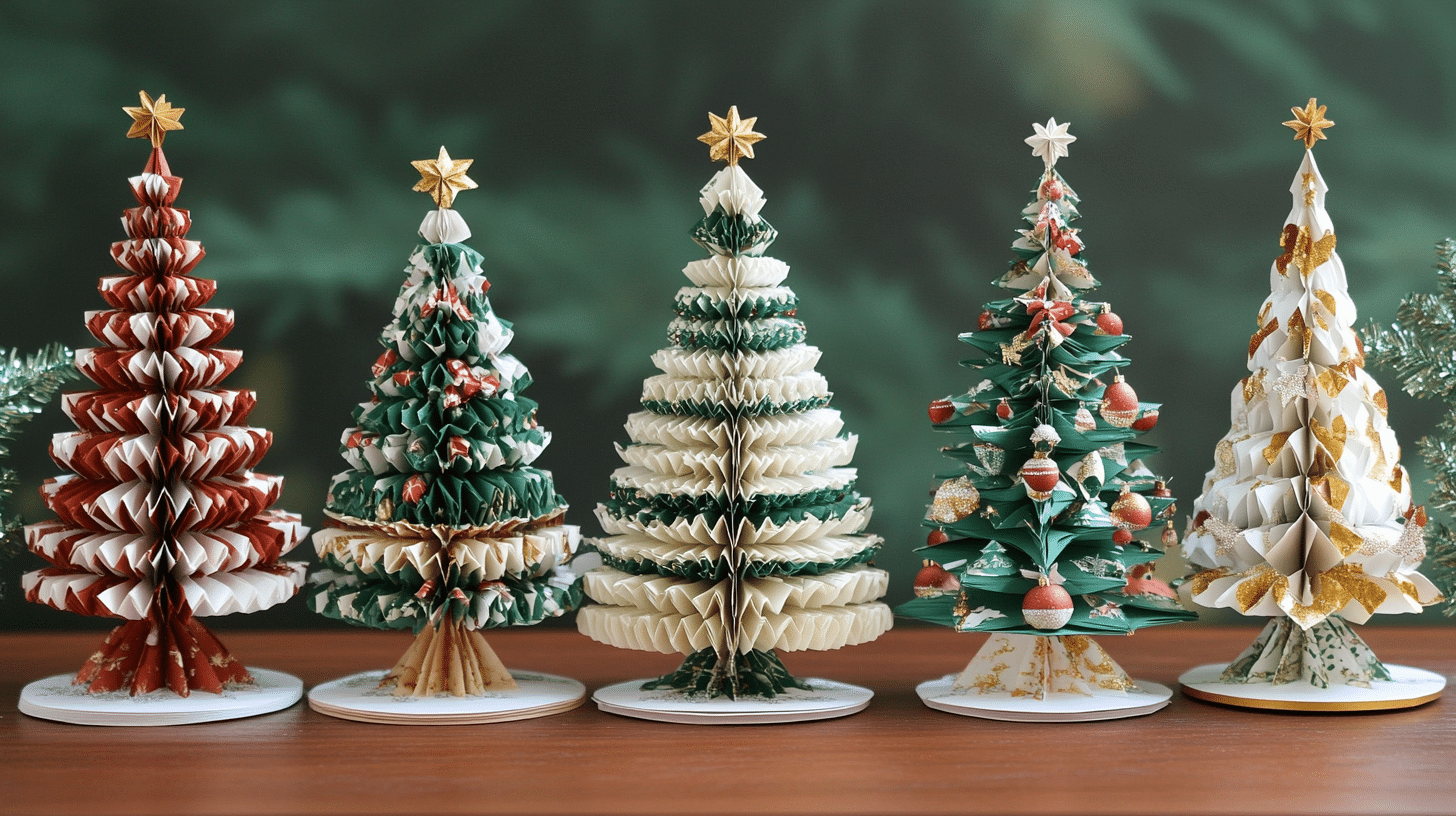
How to Make DIY Paper Christmas Tree Easily
Making a DIY paper Christmas tree sounds fun, but it can be tricky without the right guidance. Many of us want to add a personal touch to our holiday decor yet worry it might be too complex or time-consuming.
I get it – I’ve been there too! But don’t worry, I’ve got you covered. In this post, I’ll show you how to create a beautiful paper Christmas tree that’s both easy and enjoyable.
You’ll learn simple steps to craft a festive centerpiece that will wow your family and friends.
Let’s get started on this crafty adventure together!
Step-by-Step Guide to Make DIY Paper Christmas Tree
Materials & Tools Required
1. Cardstock (65-80 lb weight, solid core)
2. Bamboo skewers
3. Quick-dry tacky glue or hot glue
4. Scissors
5. Cricut cutting machine (or similar)
6. Cutting mat
7. Scraper tool (for cleaning the cutting mat)
8. Optional: Ribbon for decoration
9. Optional: Glitter, stickers for additional decoration
Step-by-Step Guide
1. Prepare the SVG file
- Upload the SVG to Cricut Design Space
- Adjust the size if needed (default is about 8 inches tall)
2. Cut the pieces
- Set your Cricut to cut cardstock
- Cut all the tree layers and separator tabs
3. Organize the cut pieces
- Separate branches by size
- Stack them in order of size
- Sort separator tabs (4 small, 3 medium, 3 large)
4. Assemble the base
- Apply glue to one side of the slit in the base piece
- Fold to form a cone shape and hold until set
- Glue the bottom circle to the cone
5. Prepare the separator tabs
- Curl all tabs around a bamboo skewer
6. Attach the skewer to the base
- Apply glue to the flat end of the skewer
- Insert it through the hole in the base
- Add glue around the top for extra security
7. Assemble the branches
- Apply glue to one side of the slit in each branch
- Fold to form a cone shape and hold until set
- Repeat for all branches except the top piece
8. Construct the tree
- Start with a large separator tab on the skewer
- Add the largest branch, curling the edges upward
- Apply glue to the center of the branch before sliding it down
- Repeat with alternating separator tabs and branches, working from largest to smallest
9. Finish the top
- Trim excess skewer if needed
- Glue the top piece to cover the skewer
10. Optional decorations
- Add ribbon around the base for a “tree skirt” effect
- Decorate branches with glitter or stickers if desired
Remember to let the glue dry completely between steps for the best results. Enjoy your 3D paper Christmas tree!
A Minimal Investment Required for Making Christmas Tree
| Item | Approximate Cost | Quantity Required | Total Cost |
|---|---|---|---|
| Colored Paper/Cardstock | $5 – $7 (per pack) | 1 pack | $5 – $7 |
| Scissors | $2 – $4 | 1 pair | $2 – $4 |
| Glue/Glue Stick | $1 – $3 | 1 tube | $1 – $3 |
| Ruler | $1 – $2 | 1 | $1 – $2 |
| Pencil | $0.50 – $1 | 1 | $0.50 – $1 |
| Decorations (optional) | $3 – $5 | Small set | $3 – $5 |
Total Estimated Cost: $12.50 – $22
What is the Best Type of Paper to Use?
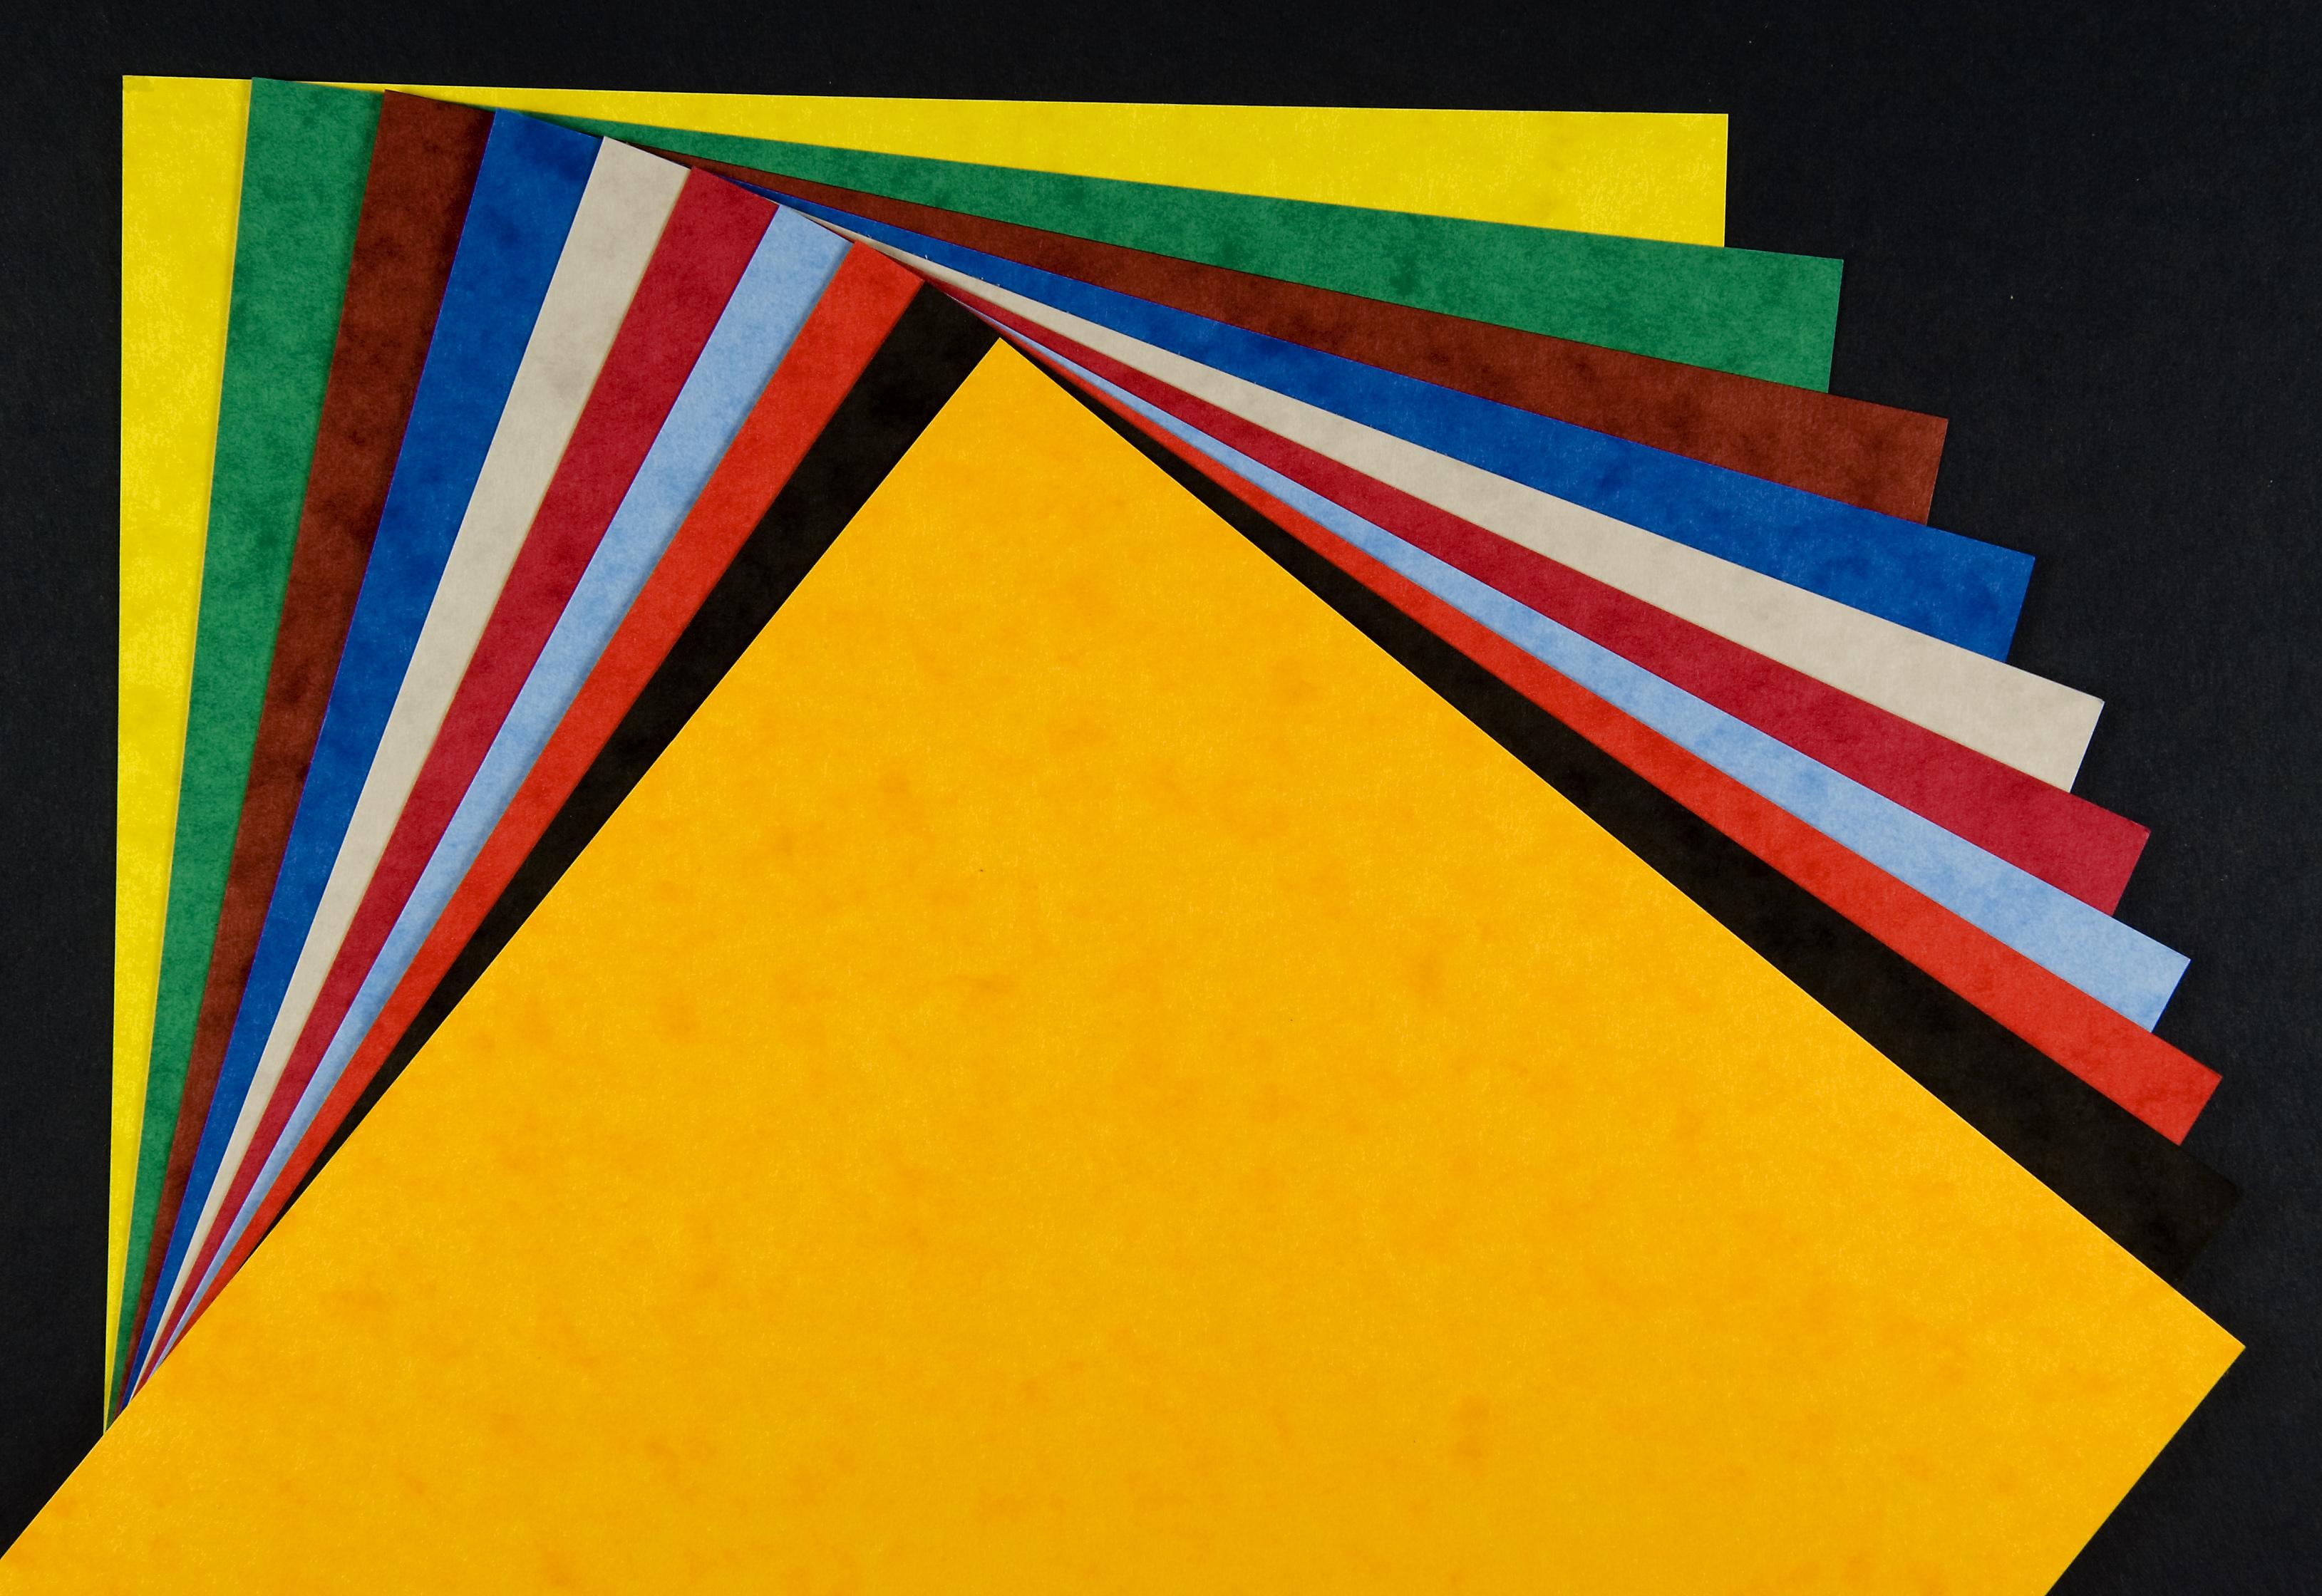
Based on the information provided in the video transcript, here are the best types of paper to use for this DIY 3D paper Christmas tree project:
1. Cardstock
- The recommended weight is 65 to 80 pounds (lb)
- It should be solid core cardstock
2. Paper Size Options
- 12×12 inch sheets (requires about 3 sheets)
- 8.5×11 inch sheets (requires about 4 sheets)
Key Points About the Paper Choice:
- Solid Core: This ensures the paper looks good on both sides and is sturdy enough for the 3D structure.
- Weight: The 65-80 lb range provides enough sturdiness without being too thick to cut or fold easily.
- Color: You can choose any color you like for your tree. The video shows examples in green, but you could use other colors for different effects.
- Compatibility: For best results, make sure the paper you choose is compatible with your cutting machine (like a Cricut).
- Quantity: The amount needed depends on the size of your tree and the paper size you’re using.
Remember, the quality of the paper can affect the final look and durability of your tree, so choosing a good cardstock within these specifications will help ensure the best outcome for your project.
How Can I Make My Paper Tree More Durable?
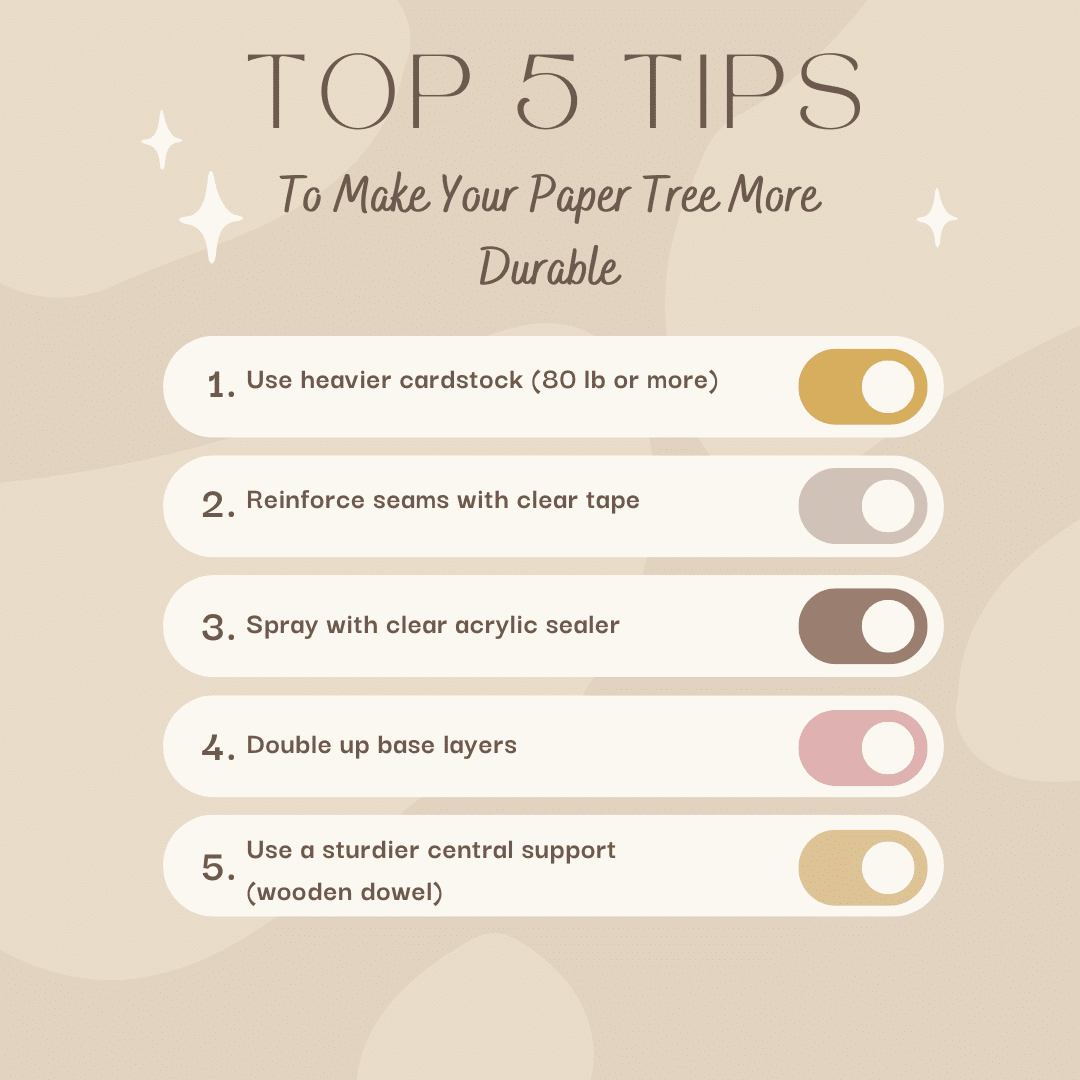
How to Decorate & Personalize Your Paper Christmas Tree
Here’s how I approach this fun part of the process:
- I start by gathering small, lightweight ornaments. Think tiny baubles, paper stars, or even little pom-poms. These work great because they won’t weigh down the delicate paper branches.
- Next, I attach these decorations with clear tape or glue dots. It’s easy and mess-free.
- For a personal touch, I love adding family photos. I print them in small sizes and hang them with thread. It’s like a mini family tree!
- Glitter is another fun option. I sprinkle a little on the edges of the paper “branches” for some sparkle. Just be careful – it can get messy!
- Don’t forget a tree topper! A paper star or angel works perfectly. I make mine from colored paper to match the tree.
- Lastly, I sometimes wrap a thin ribbon around the tree like a garland. It adds a nice finishing touch.
Remember, the key is to have fun and let your creativity shine!
Top Options to Buy
Let’s explore where to find materials and ready-made options for paper christmas trees. I’ll share some of my favorite places to shop!
1. Where to Buy Materials
For craft supplies, I often visit local stores like Michaels or Hobby Lobby. They have a great selection of paper, glue, and decorations. Online, I’ve had good luck with Amazon And Etsy For specialty papers and tools.
2. Ready-Made Options
If you’re short on time, pop-up card trees are a fun choice. I found some beautiful ones on Lovepop’s website. They’re intricate and fold flat for easy storage.
For a unique twist, I came across 3D puzzle trees on Amazon. They’re made of cardboard and come in various designs. It’s like building a model and decorating a tree all in one!
3. Supporting Small Businesses
Etsy is my go-to for handmade paper trees. I love browsing shops like “Paper trees by maria” or “Green door handmade.” they offer one-of-a-kind designs you won’t find in big stores.
Remember to check out local craft fairs, too. I’ve found some gems there, and it’s a great way to support artists in your community.
Remember, choose what fits your style and budget, whether you’re buying supplies or a finished product.
Conclusion
I hope you’re feeling inspired to create your festive masterpiece. Whether you’re crafting from scratch or picking up a ready-made option, remember that the joy is in the process.
Here’s a fun fact: The tallest paper christmas tree on record stood at 42 feet tall And was made from Over 1,000 recycled magazines!
Imagine your paper tree as a time capsule of holiday cheer. Each fold and cut captures a moment of joy, like snowflakes of creativity settling on branches of imagination. Your tree isn’t just decor – it’s a story waiting to be told with every ornament and garland.
Why not start your own paper tree tradition? I’d love to see your creations! Share a photo in the comments or ask any questions you have.
Let’s sprinkle some paper magic into our holidays together.
Happy Crafting!

