
How to Make DIY Chalkboard Wall Ideas On a Budget
Want to add a fun touch to your home without spending too much?
Chalkboard walls are becoming a favorite choice for many homeowners.
They offer a perfect mix of style and purpose, turning plain walls into spaces where you can write notes, draw, or share daily messages.
What makes chalkboard walls special?
They’re budget-friendly and can work in any room – from kitchens and home offices to children’s bedrooms.
In this guide, you’ll learn:
- How to make your own chalkboard wall step by step
- Tips to pick the right wall and materials
- Simple tricks to maintain your chalkboard wall
I’ve tested these methods and helped many others create chalkboard walls.
Every tip and suggestion comes from real experience, ensuring you’ll get reliable advice that works.
Essential Materials You’ll Need for a DIY Chalkboard Wall
Let me share what you’ll need to start your chalkboard wall project.
I’ve picked these items based on what works best while keeping costs low.
Must-Have Items
- Chalkboard paint (1 quart covers about 100 square feet)
- 2-inch paint roller and tray
- Small paintbrush for edges
- Blue painter’s tape
- Drop cloth or old newspapers
- Sandpaper (medium-grit)
- Primer
- Basic cleaning supplies
- Regular chalk for first use
Here’s a money-saving tip: Check your local hardware store’s “oops paint” section. Sometimes, chalkboard paint is half-priced due to mixing errors.
The color will still be black, but you’ll pay less.
A note about quality: While saving money is good, don’t buy the cheapest paint you find.
I learned this the hard way.
Good chalkboard paint costs a bit more but lasts longer and writes better.
Step-by-Step Guide to Creating a Chalkboard Wall on a Budget
I’ll guide you through the process I’ve used many times to create lasting chalkboard walls.
Let’s break it down into simple steps.
1. Get Your Wall Ready
Start by cleaning the wall. Wipe it down with warm water and soap, then let it dry fully.
Look for bumps or holes—fill these with spackling paste.
Once dry, sand the wall until it feels smooth.
Wipe away any dust with a damp cloth.
2. Set Up Your Work Area
First, Put down your drop cloth.
Then, use painter’s tape to mark off your chalkboard area.
Press the tape edges firmly to prevent paint from seeping under.
3. Prime Time
- Roll on your primer
- Use your small brush for corners and edges
- Wait 4 hours for it to dry completely
- Sand lightly if you notice any rough spots
4. Paint Application
Roll on your first coat of chalkboard paint using even strokes.
Work from top to bottom in small sections.
Don’t worry if it looks thin – that’s normal.
5. Between Coats
- Wait 6 hours before the second coat
- Keep the room well-aired
- Don’t touch the wall while it’s drying
6. Second Coat and Fixes
Apply your second coat the same way as the first.
If you spot drips, smooth them out right away with your roller.
For missed spots, wait until the wall is slightly dry (about 30 minutes) before touching up.
7. Final Steps
- Wait 24 hours before removing the tape
- Pull the tape off at a 45-degree angle
- If you find rough edges, carefully sand them
Money-saving tip: Paint in the morning when it’s cooler – your paint will dry better, and you won’t need extra coats.
DIY Chalkboard Paint: Tips and Tricks for a Smooth Finish
Let me show you how to make your own chalkboard paint at home.
I’ve tested several methods, and this one gives excellent results while keeping costs down.
Make Your Paint Mix
- 1 cup of flat latex paint (black or dark gray)
- 2 tablespoons of unsanded tile grout
- Small plastic container for mixing
- Paint stirrer or wooden spoon
Mixing Your Paint
Pour the paint into your container.
While stirring, add the grout bit by bit. Keep mixing until the grout blends in completely.
If you see clumps, strain the mixture through a paint strainer—this costs about $1 at hardware stores.
Getting That Smooth Finish
I’ve found that the key to a perfect finish is how you apply the paint.
Use a foam roller instead of a regular one—it prevents bubbles from forming.
Roll in one direction, then cross-roll (go perpendicular to your first stroke).
Budget-Smart Solutions
- Flat black latex paint works just as well as special chalkboard paint
- Sample-size paint pots often have enough for small projects
- Clean your rollers to reuse them for the second coat
- Make small batches to avoid waste
Fixing Common Problems
- For streaks: Light sanding between coats helps
- For bubbles: Roll slower and don’t press too hard
- For rough patches: Add a drop of water to your mix if it’s too thick
Remember: The smoother your wall, the better your chalk will write.
Take time with prep work – it saves money by getting it right the first time.
Creative Chalkboard Wall Ideas for Every Room
Let me share some of my favorite ways to use chalkboard walls in different parts of your home.
Each room offers unique chances to make your space more useful and fun.
1. Kitchen Magic

Make a space near your fridge for weekly menus and shopping lists.
I like to draw boxes for each day’s meals.
Add a spot for family members to write down items they use up.
This saves paper and keeps everyone in the loop about meals.
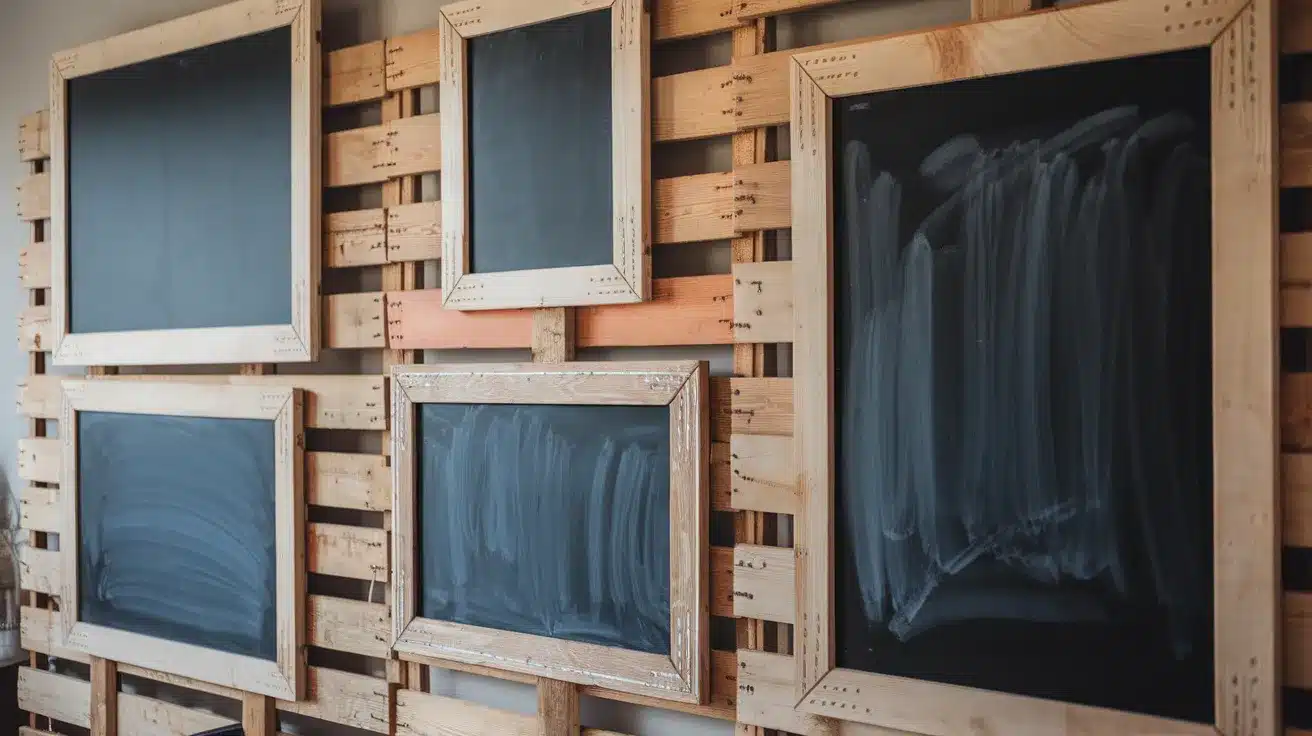
2. Living Room Art
Turn one wall into an ever-changing art gallery.
Draw frames of different sizes on your wall.
Fill them with seasonal art, quotes, or family doodles.
This gives your room a personal touch that you can change whenever you want.
3. Kids’ Room Fun

Split the wall into sections:
- Learning zone for ABCs and numbers
- Artspace for free drawing
- Height chart for tracking growth
- Weekly reward charts
- Homework reminder area
4. Home Office Organization
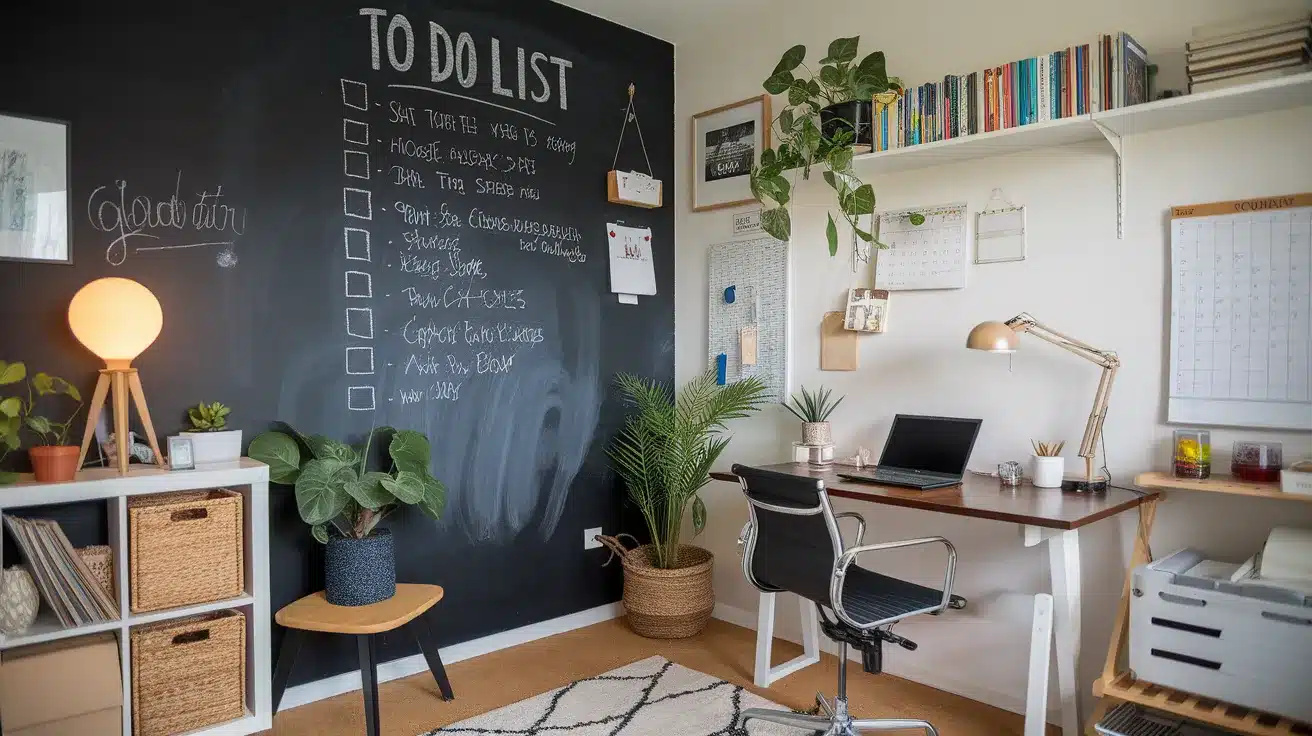
Create sections on your wall for:
- Monthly Calendar
- Project deadlines
- Quick notes
- Phone numbers
- Meeting times
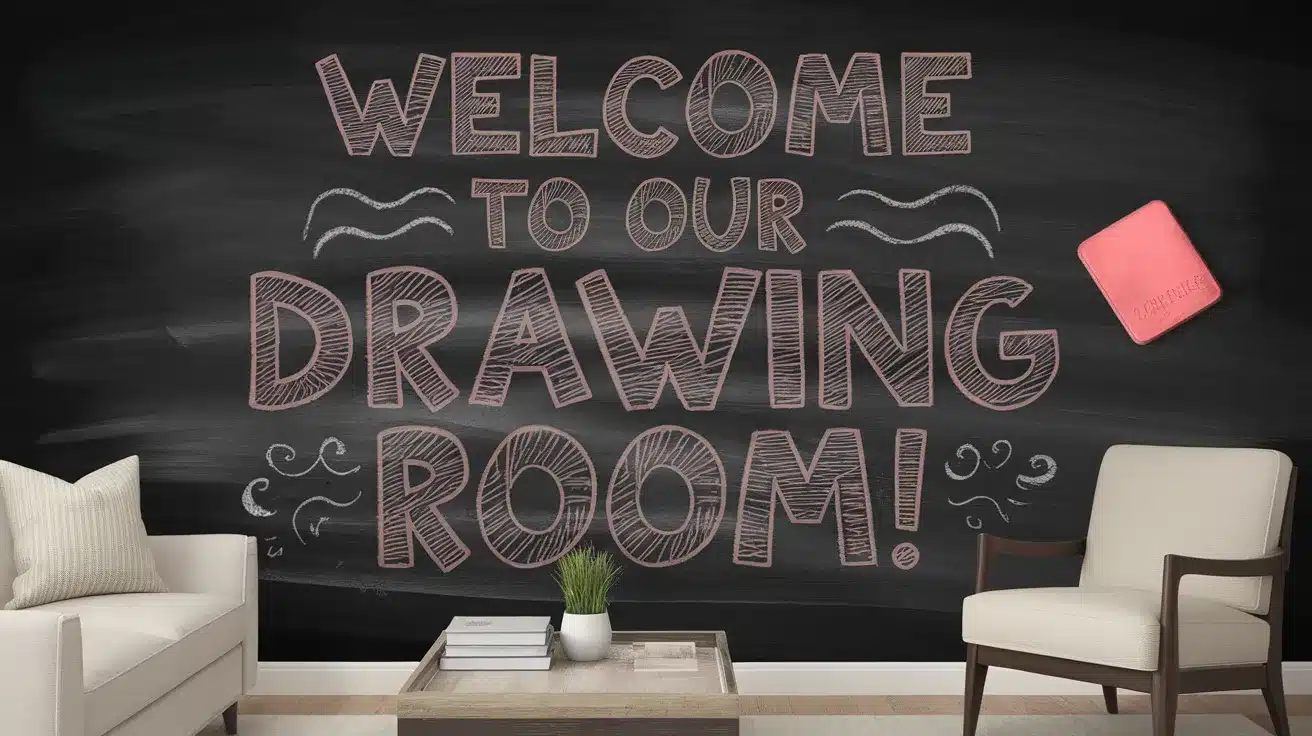
5. Hallway Communication

Make your hallway walls work harder with:
- Daily reminders
- Welcome messages for guests
- Weather updates
- After-school activity schedule
- Family achievements board
Money-Saving Tip: Instead of doing full walls, try creating smaller chalkboard panels.
This uses less paint and still gives you plenty of writing space.
How to Maintain and Clean Your Chalkboard Wall
Let me share the best ways to keep your chalkboard wall looking fresh and clean.
After making dozens of these walls, I’ve learned what works best for long-term care.
Daily Cleaning
- Use a soft, dry eraser for regular cleaning
- Wipe in one direction, then the other
- Keep a microfiber cloth handy for quick touch-ups
- Clean your erasers by clapping them outside
Weekly Care
Make a simple cleaning mix:
- 1 part warm water
- 1 part white vinegar
- Soft cloth or sponge
Wipe the wall gently with this mix.
Don’t soak the wall – a damp cloth works best. Let it dry fully before writing again.
Smart Tips for Long Life
- Use regular chalk, not oil-based markers
- Keep an old sock nearby to wipe small marks
- Dust the bottom edge weekly where chalk builds up
- Clean areas you use most more often
Fixing Problem Areas
If you see stubborn marks:
- Try a Mr. Clean Magic Eraser (use gently)
- Make a paste with baking soda and water
- Clean in small circles
- Rinse with plain water
Money-Saving Tricks
- Cut up old T-shirts for cleaning clothes
- Make your erasers from felt scraps
- Use white vinegar instead of special cleaners
- Keep chalk in a covered container to prevent dust
Remember: Clean your wall regularly – this takes just minutes but adds years to its life.
A well-maintained chalkboard wall can last for many years without needing a fresh coat of paint.
Personalizing Your Chalkboard Wall: Fun and Functional Designs
Simple Border Ideas
- Draw straight lines with a ruler and chalk
- Make dots along the edges
- Create basic wave patterns
- Add simple flower designs in corners
- Use painter’s tape to make stripes
Useful Sections
Split your wall into parts that help you stay on track:
- Weekly schedule boxes
- Note spaces for each family member
- Weather section for daily updates
- Monthly calendar grid
- Meal planning area
Making Templates
You can create basic templates using:
- Cardboard sheets
- Paper plates for circles
- Rulers for straight lines
- String for curved designs
- Old folders for shapes
Budget-Friendly Add-Ons
- Make chalk holders from tin cans
- Use washi tape for removable borders
- Create eraser stations with cup hooks
- Add small shelves from scrap wood
- Make message clips from clothespins
Style Tips
Keep your design clean and simple.
I’ve found that less is more – too many sections can make your wall look messy.
Pick one main use for your wall and add small helpful areas around it.
Quick Design Ideas
- Family message center
- Growth chart with decorative edges
- Sports scoreboard
- Quote of the day: space
- Homework station
Remember: Your wall should work for you.
Start with a basic design and add more as you see what you need most.
Common Mistakes to Avoid When Installing a Chalkboard Wall
I’ve seen many people make these mistakes while creating chalkboard walls.
Let me help you avoid these common problems so you can get the best results.
Wall Preparation Problems
- Not cleaning the wall first
- Skipping the sanding step
- Using old or dirty paint supplies
- Starting with bumpy or damaged walls
- Not filling in small holes
Paint and Tool Issues
I often notice people picking the wrong items:
- Using regular wall paint instead of chalkboard paint
- Picking cheap brushes that leave marks
- Using old or hardened rollers
- Mixing different brands of paint
- Not buying enough paint for multiple coats
Coating Mistakes
Getting the coating right matters most:
- Putting on thick layers that drip
- Not waiting between coats
- Skipping the second coat to save time
- Using different rolling patterns
- Not checking for missed spots
Time Management
Take your time with these steps:
- Let each coat dry fully (24 hours is best)
- Don’t rush the taping process
- Check whether – humidity affects the drying
- Plan for proper ventilation
- Wait three days before the first use
Long-Term Planning
Think about these points before starting:
- Where kids can reach
- How often you’ll need to clean
- Amount of natural light
- Distance from water sources
- Future room changes
Quick Fix Tips: If you notice problems, stop and fix them right away.
Waiting only makes them harder to solve later.
Keep extra paint for touch-ups – you’ll thank yourself later.
Conclusion
Making a chalkboard wall doesn’t need to cost much or take too long.
You’ve learned how to pick the right spot, get your materials at good prices, and create a wall that works for your needs.
I’ve shared my methods, and they really do work well.
The best part?
Your wall can change as often as you like.
Write notes today, draw pictures tomorrow, or make lists for the week ahead. It’s your space to use as you want.
Have you tried making a chalkboard wall?
I’d love to see what you create.
Share a photo in the comments below, or ask any questions you have about starting your project.
Let’s learn from each other and make something useful for our homes.
Frequently Asked Questions
How Long Does a Chalkboard Wall Last With Regular Use?
Proper care and cleaning ensure your chalkboard wall lasts 3-5 years before needing a fresh coat.
Daily cleaning and gentle use help extend its life.
Can I Paint a Chalkboard Wall on Textured Walls?
Yes, but you must sand and apply the wall compound first.
Smooth the surface completely, let it dry, then sand again before painting.
What’s the Best Way to Remove a Chalkboard Wall?
Sand the surface lightly, apply primer, then paint over it with regular wall paint.
You might need 2-3 coats to cover dark chalkboard paint completely.


