How to Make a Clematis Trellis: A Step-by-Step DIY Guide
A clematis trellis is a simple way to help your climbing flowers grow tall and beautiful. Clematis vines love to climb, and giving them a strong reliable trellis keeps them healthy looking in your garden.
The best part? You don’t need to spend a lot of money or be an expert to build one by yourself.
In this guide, we’ll show you how to make a DIY clematis trellis step by step. You’ll learn what materials to use, how to set it up, and tips to keep your plants happy.
Whether you want a small trellis for a pot or a larger one for your yard, this project is easy and fun. It also adds a nice touch to any garden, so let’s learn how to make one!
Understanding Clematis: What You Need to Know
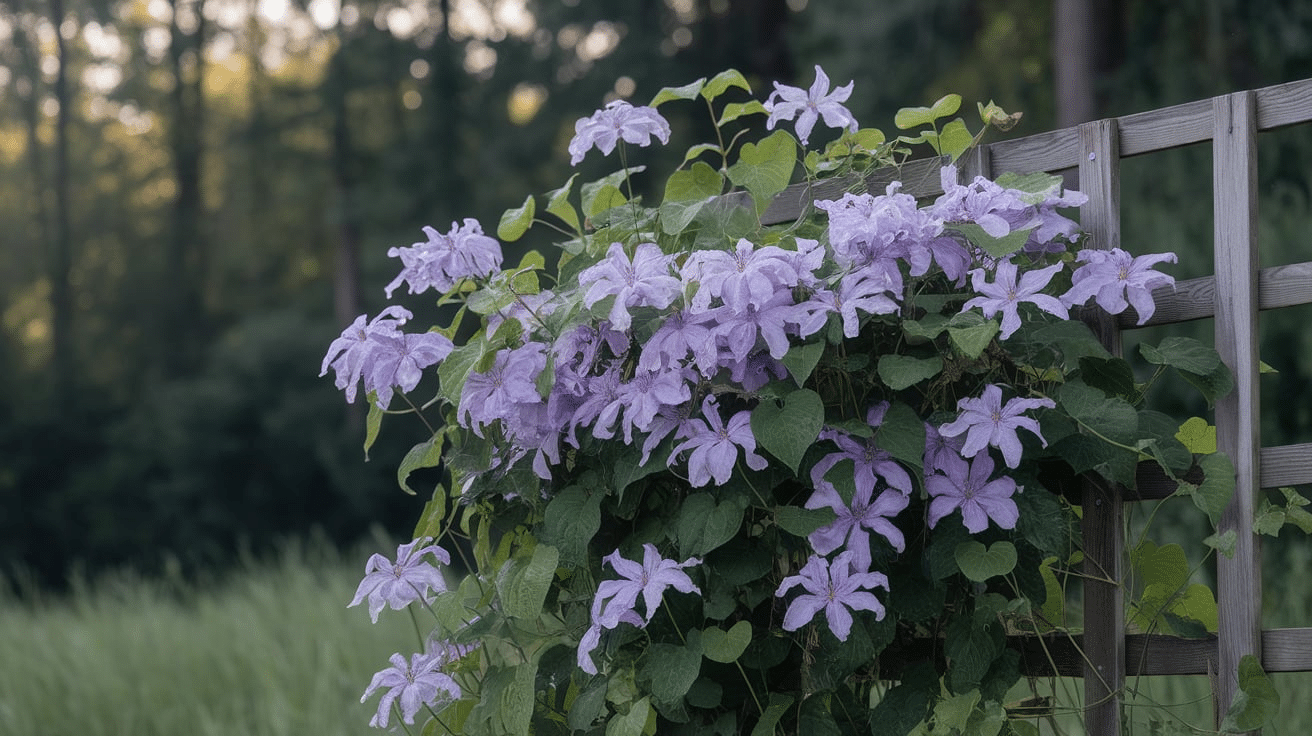
Clematis is a beautiful flowering vine that loves to climb. It comes in many colors, from deep purples to bright pinks and soft whites.
These plants can grow tall, wrapping around fences, trellises, or even other plants. That’s why giving them a strong support system, like a trellis, is so important.
Clematis is a fast grower, but it needs a little help to start climbing. The vines don’t have sticky tendrils like ivy, so they grab onto thin wires, twigs, or string. Once they latch on, they’ll keep climbing on their own.
Most clematis plants love sunny spots but prefer cool roots, so planting them near other low-growing plants or adding mulch can help. With the right setup, your clematis will get pretty blooms for many years.
Choosing the Right Trellis Materials
Picking the right material of trellis for your clematis is important because it gives the vine the support it needs to grow strong and healthy. Here are the best Materials for a Clematis Trellis:
- Wood: A natural choice that blends well with gardens. It can be painted or stained but may need sealing to prevent rot.
- Metal: Strong and long-lasting. Great for a modern look but can get hot in the sun, so choose coated metal to protect the plant.
- Bamboo: Lightweight, eco-friendly, and gives a rustic feel. Works well for smaller trellises.
- Wire or String: Easy to set up and perfect for training vines, but may need frequent adjustments.
Picking the Perfect Trellis Design for Your Clematis
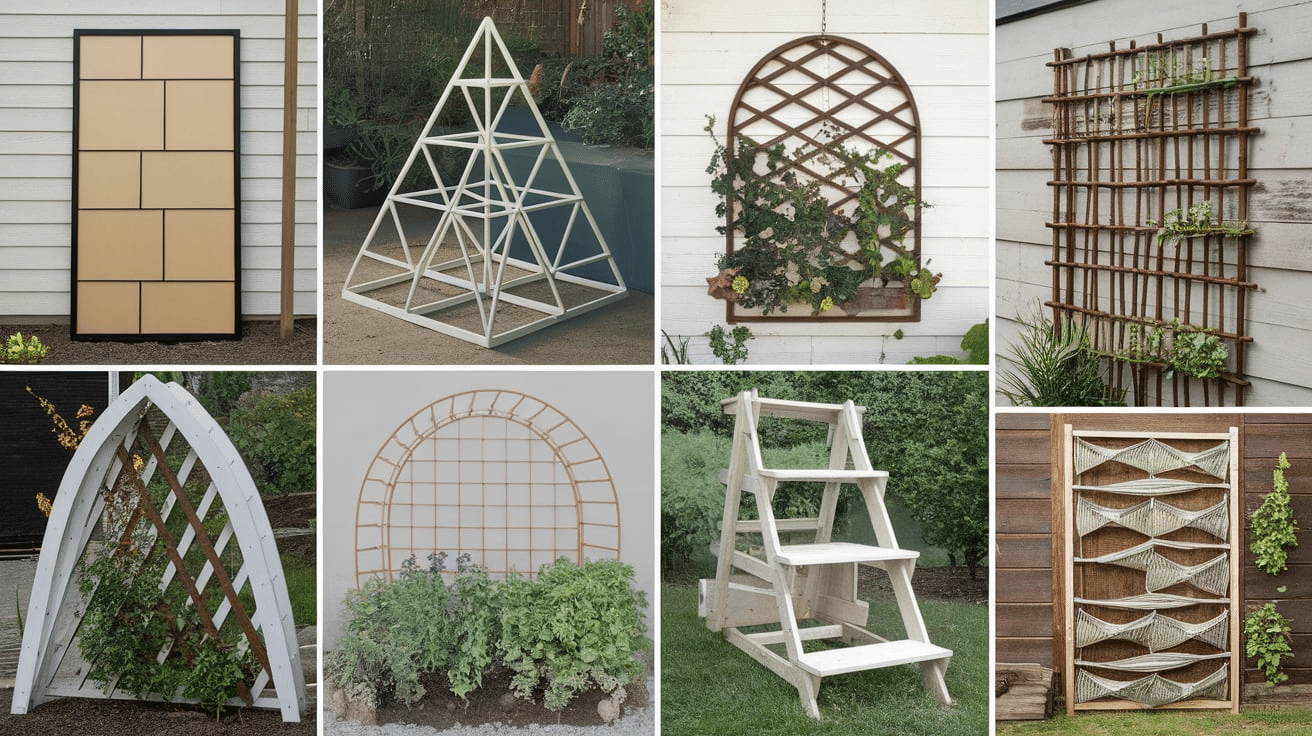
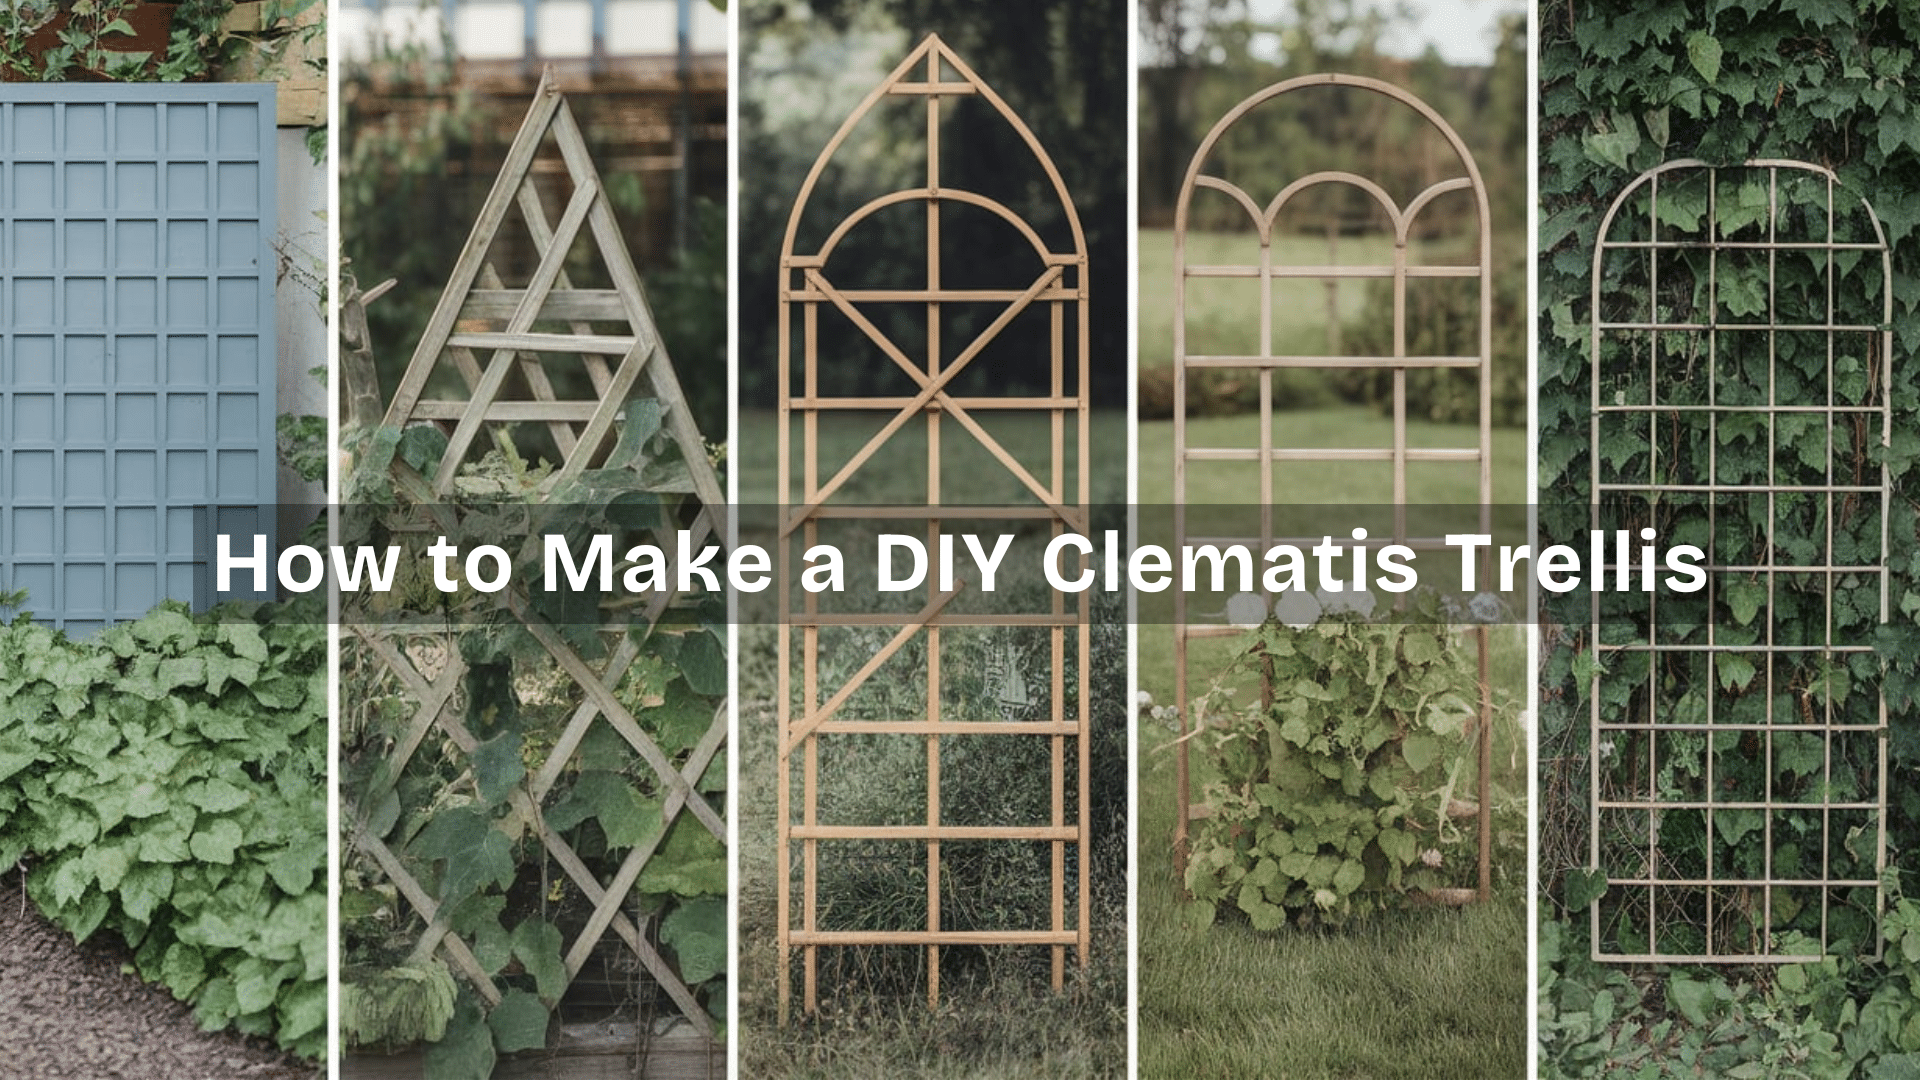
A well-designed trellis not only supports your clematis but also adds style to your garden. When picking a design, consider the size of your space, the look you want, and how your clematis climbs.
Since clematis vines wrap their tendrils around thin structures, the trellis should have narrow supports (less than ½ inch thick) for easy gripping.
1. Flat Panel Trellis (Wall-Mounted or Fence Trellis)
Best for: Small gardens, patios, or areas against walls.
- A simple, vertical trellis that attaches to a fence, wall, or structure.
- Works well with wire grids, wooden slats, or metal panels.
- Provides a tidy, organized look while saving space.
2. Obelisk or Pyramid Trellis
Best for: Standalone garden accents, large pots, or flower beds.
- A freestanding structure that adds height and depth to your garden.
- Made from wood, metal, or bamboo, forming a triangular or tower shape.
- Great for growing clematis in a container or in the middle of a flower bed.
3. Arch Trellis (Garden Entryway or Pathway Trellis)
Best for: Creating a dramatic and elegant entrance.
- A curved trellis that allows clematis to grow over and form a flowering canopy.
- Can be made from metal, wood, or a combination of both.
- Pairs well with climbing roses for a classic cottage-style garden.
4. Fan or Ladder Trellis
Best for: Clematis varieties that spread wide.
- Starts wide at the bottom and narrows at the top, allowing the plant to spread naturally.
- Commonly made from wood or metal rods.
- A great decorative choice that offers strong support.
5. Wire Grid or String Trellis
Best for: Budget-friendly and DIY gardeners.
- Uses thin wires or strings stretched between two poles or along a wall.
- Super easy to install and expand as needed.
- Works well for young clematis plants that need gentle training.
Choose a design depending on your garden space and how much structure your clematis needs. If you want a simple and functional trellis, go for a flat panel or wire grid.
For a decorative look, an arch or obelisk would be a better option. No matter what, make sure the trellis is well-made and has thin supports to help your clematis climb easily.
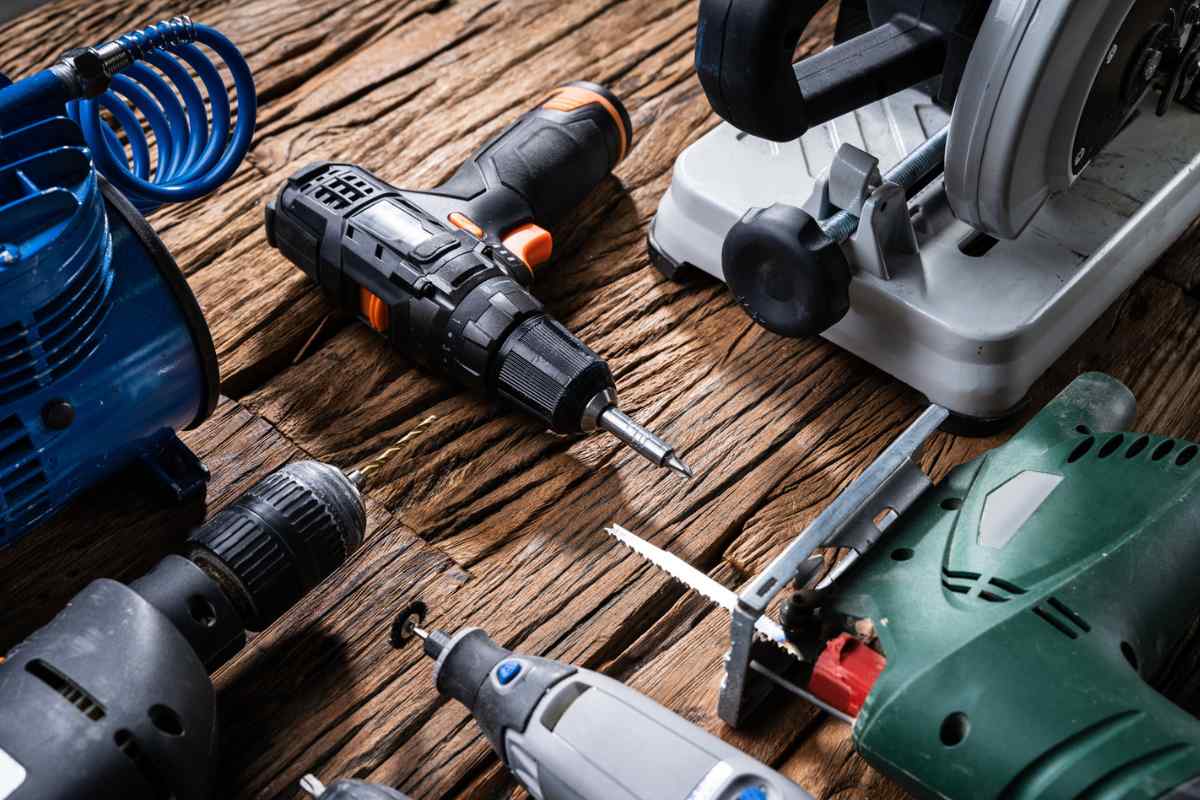
Tools You’ll Need:
- Measuring tape (to size your trellis correctly)
- Saw (for cutting wood or bamboo)
- Drill with drill bits (for making holes)
- Screwdriver (to fasten screws)
- Hammer (if using nails)
- Level (to keep the trellis straight)
- Pencil (for marking)
Step-by-Step Guide to Building a DIY Clematis Trellis
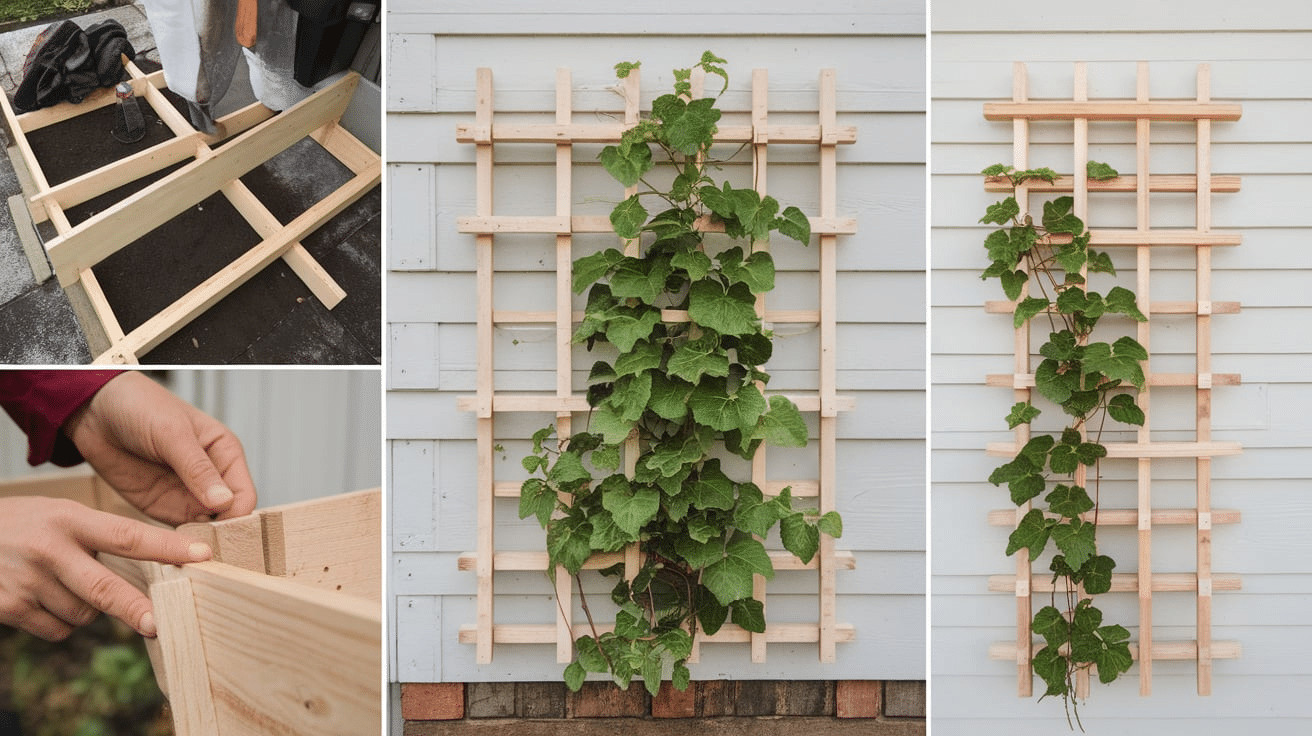
Step 1: Measure and Plan
- Decide where you want to place the trellis (against a wall, in a pot, or freestanding).
- Measure the area to determine the size of your trellis.
- Sketch a simple design with the height and width you need.
Step 2: Cut and Prepare the Materials
- Cut the wood, bamboo, or metal to your desired size for the frame.
- If using wood, sand the edges for a smooth finish.
- Apply wood preservative or paint to protect from weather damage.
Step 3: Build the Frame
- Lay out the cut pieces on a flat surface.
- Use screws or nails to attach the sides, creating a rectangle or square frame.
- Make sure everything is sturdy and use a level to check alignment.
Step 4: Add the Climbing Structure
- For wooden trellises: Nail or screw thin slats across the frame in a grid or fan pattern.
- For wire trellises: Attach metal wires vertically or in a crisscross design using staples or screws.
- For string trellises: Tie strong garden string between two wooden supports, creating a climbing net.
Step 5: Install the Trellis
- For freestanding trellises:
- Dig two small holes for the legs of the trellis.
- Place the trellis inside and fill with soil or cement for stability.
- For wall-mounted trellises:
- Hold the trellis against the wall and mark where to attach it.
- Drill pilot holes into the wall.
- Secure the trellis using wall brackets or screws.
Step 6: Train the Clematis
- Plant your clematis at the base of the trellis.
- Gently guide the vines towards the trellis by tying them loosely with garden ties.
- Water and care for your clematis as it grows.
How to Maintain Your Clematis Trellis?
To keep your clematis trellis strong and your plant healthy, regular maintenance is key. Here are some simple tips to make sure both your trellis and clematis thrive for years to come.
1. Check for Damage: Inspect your trellis every few months for loose screws, nails, or weak spots. If using wood, look for signs of rot, cracks, or splinters, especially after rainy seasons. If using metal, check for rust and repaint or seal as needed.
2. Repaint or Seal When Needed: Wooden trellises should be sealed or repainted every 1-2 years to prevent weather damage. Metal trellises may need a rust-resistant spray to keep them from corroding.
3. Keep It Secure: If your trellis is freestanding, check that it’s still stable in the ground. Add extra stakes if needed. If it’s wall-mounted, make sure screws or brackets are still tight.
4. Prune Your Clematis: Spring-blooming varieties need to be pruned right after flowering. Summer-blooming varieties are pruned in late winter or early spring before new growth appears. Remove dead or tangled vines to keep the plant from getting too heavy on the trellis.
5. Guide New Growth: Check on your clematis every few weeks and gently tie new vines to the trellis with garden ties. If some vines aren’t attaching well, use soft twine or wire to help them grip.
6. Keep Pests and Diseases Away: Watch out for aphids and spider mites, which can damage clematis leaves. A gentle spray of soapy water helps. Avoid overwatering to prevent root rot and mildew. Clematis likes moist but well-drained soil.
Conclusion
Building a DIY clematis trellis is a simple and rewarding project that helps your climbing flowers grow easily while adding style to your garden.
Whether you choose a flat panel, obelisk, arch, or wire trellis, the key is to make sure it’s well-built and gives your clematis the right support.
Once installed, remember to train your clematis vines, keep your trellis in good shape, and prune your plant when needed. With regular care, your clematis will remain green and healthy.
Now that you have all the steps, it’s time to grab your materials and start building! Aclematis trellis is a fantastic addition to any garden for an added unique touch.
Frequently Asked Questions
How tall should a clematis trellis be?
Most clematis varieties grow between 6 to 12 feet tall, so a trellis should be at least 5-7 feet high to give the plant enough room to climb.
Can I attach a clematis trellis to a wall or fence?
Yes! You can mount a trellis on a wall, fence, or post using brackets or screws. Just leave a small gap between the wall and the trellis so air can circulate and vines can weave through.
When should I install a trellis for clematis?
It’s best to install the trellis before planting so you don’t disturb the roots later. If your clematis is already growing, install the trellis carefully and train the vines gradually.
How do I keep my trellis from falling over?
For freestanding trellises, dig the posts at least 12 inches into the ground or use concrete for extra stability. For wall-mounted trellises, secure them with strong screws and brackets.
Can I grow clematis in a pot with a trellis?
Yes! Use a tall, sturdy trellis in a large pot (at least 18 inches deep) so the roots have room to grow.

