How to Install an Arched Doorway?
The arched doorway is an eye-catching architectural element, transforming your living space with its elegance and charm. While the idea of an arched doorway uplifting your living room is exciting, the installation part might seem like a daunting task.
However, no job is daunting if planned correctly. To install your arched doorway, there needs to be proper planning, precise execution, and the right tools; you can achieve a stunning result that adds a touch of sophistication to your home.
This guide will walk you through a detailed step-by-step process to successfully install an arched doorway that becomes a captivating focal point in your interior. Continue reading to discover the hows of installing an arched doorway.
Materials and Tools You’ll Need
The following are the materials and tools you will need to install an arched doorway.
- Safety Gear: Safety gear like goggles, gloves, and dust masks are a must while installing an arched doorway as they ensure your safety during the process.
- Measuring Tools: You will need accurate measurements to install the doorway. Have the tape measure, level, and pencil on hand.
- Wooden Boards: Choose high-quality, sturdy wood like plywood or MDF for crafting the arched frame.
- Cutting tools: You will need a jigsaw or router to cut the wood into the desired arched shape skillfully.
- Construction Adhesive: The arch needs to be held securely in place. And for that, you will need a construction adhesive.
- Fasteners: It’s crucial that you have enough nails or screws to reinforce the attachment of the arch to the walls.
- Drywall Compound: There are places where you should fill gaps for a seamless finish, and drywall compound helps with that.
- Sandpaper: To achieve a polished finish, you will need sandpaper to smooth out rough edges and surfaces.
- Paint: You will need a finish that complements your interior design for a cohesive look.
- Arch Template: This tool is optional. Craft a template out of paper or cardboard to guide you with the creation of the arched shape.
- Sawhorses: While cutting the wood for the arch, having the sawhorses helps create a stable work surface.
- Securing Tools: A hammer, nail gun or screwdriver helps secure the arch to make necessary adjustments.
Step-By-Step Installation
Step 1: Measuring and Planning
Before installing, ensure you have accurate measurements to guide the process.

- Carefully measure the dimensions of the existing doorway, noting down the height and width.
- Now you must use the arch template to guide you in cutting the wooden arch.
Step 2: Cutting the Arch
The most important factor to consider while cutting an arch is precision and attention to detail.
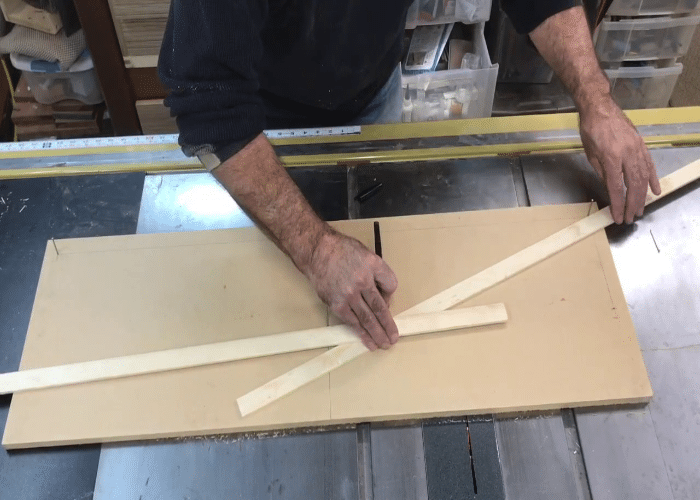
- Place the wooden board on the sawhorses because as you cut the arch, you’ll need a stable workstation.
- Place the arch template onto the wooden board and use it as an outline to cut along the lines using a jigsaw.
- Now, use sandpaper to achieve smooth edges and surfaces.
Step 3: Preparing the Doorway
This step ensures that the doorway is ready to accommodate the new arched design.
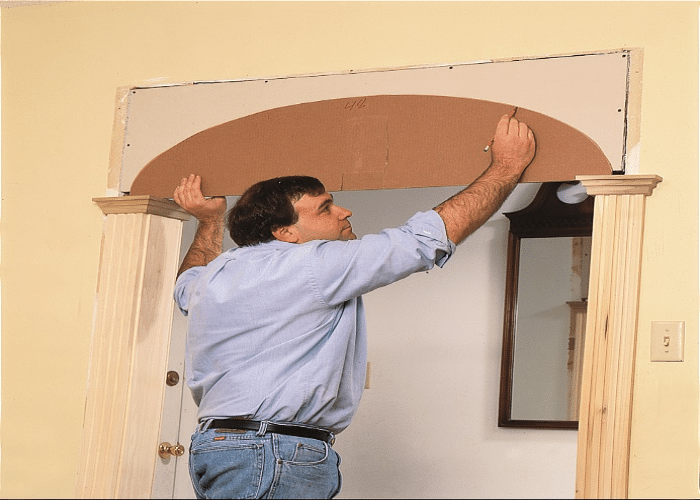
- Remove your door and frame to create space for the new arch.
- Use a level and pencil to mark the outline of the arch on the wall. After outlining, check if it’s centered and leveled.
- Now, use a saw to cut the wood along the marked arch outline.
Step 4: Attaching the Arch
Your arch should be in place for stability and longevity.
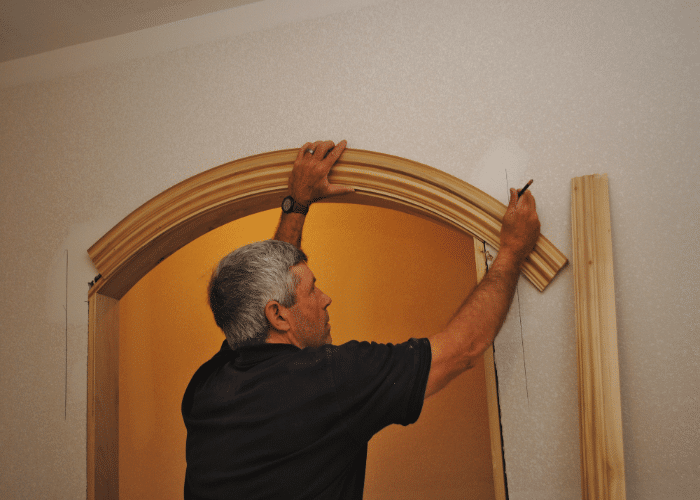
- Apply construction adhesive to the back of the wooden arch, ensuring complete coverage.
- Position the wooden arch at the center of the doorway, opening
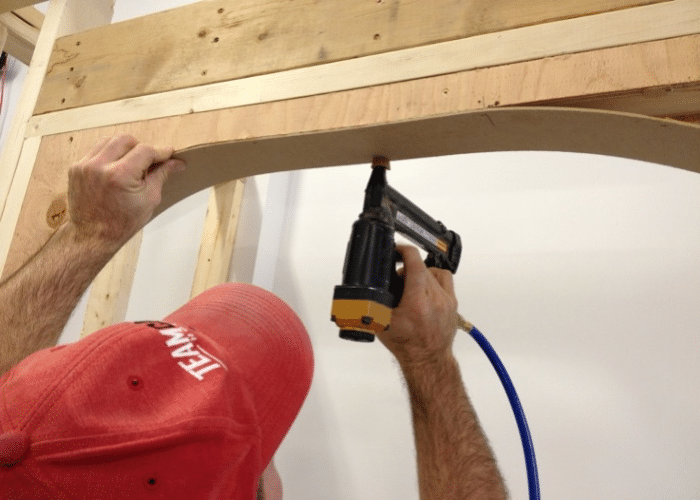
- To reinforce the attachment, use nails or screws to fasten the arch to the wall studs.
- Allow the adhesive to sit for some time, as per the manufacturer’s recommendations.
Step 5: Final Touches
- Use a drywall compound to fill any gaps or spaces between the arch and the wall for a polished appearance.
- Employ sandpaper to smoothen the patched areas until they blend seamlessly with the surrounding surfaces.
- If needed, apply a primer to the wooden arch and patched areas before proceeding to paint.
- Apply paint in layers, allowing each coat to dry before applying the next. This is to ensure that the finish is consistent and professional.
Step 6: Reinstalling the Door
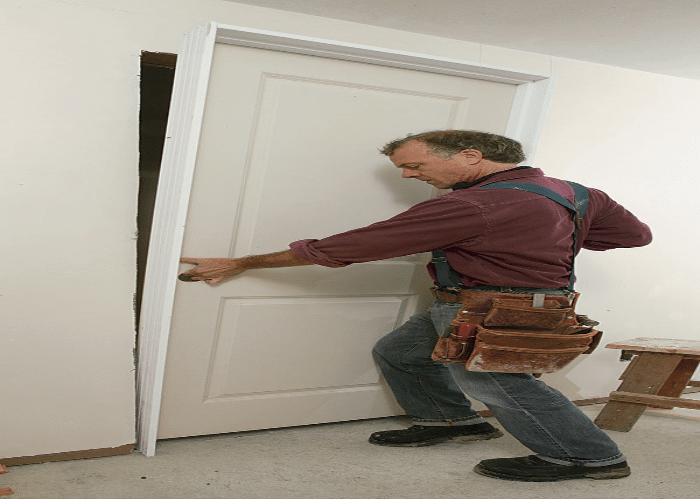
- Since the arch is securely in place, it’s time to reattach the door to restore the doorway functionality.
- Once the paint has fully dried, reinstall the door using the appropriate hardware.
- Adjust the door carefully to ensure it operates smoothly within the newly created arched doorway.
Step 7: Final Inspection
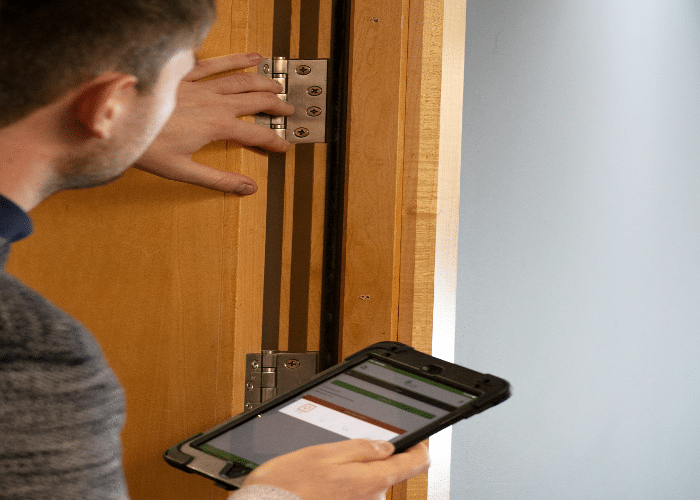
- Scrutinize the completed arched doorway for any imperfections, gaps, or inconsistencies.
- Make any necessary adjustments to guarantee that the doorway not only looks impeccable but also functions in a way you just imagined.
Conclusion
How do you see the daunting task of installing a doorway now? Hoping it’s actually doable with the guide you just read.
Carefully following each step in this guide, you can confidently undertake this project, ultimately resulting in a stunning arched doorway that showcases your craftsmanship and design sensibilities.
It’s important for you to remember that precision, attention to detail, and safety are paramount throughout the process. All you need is a bit of dedication and patience; you will successfully create an arched doorway that becomes a source of admiration in your home’s interior.

