How to Fix a Hole in a Door Step by Step
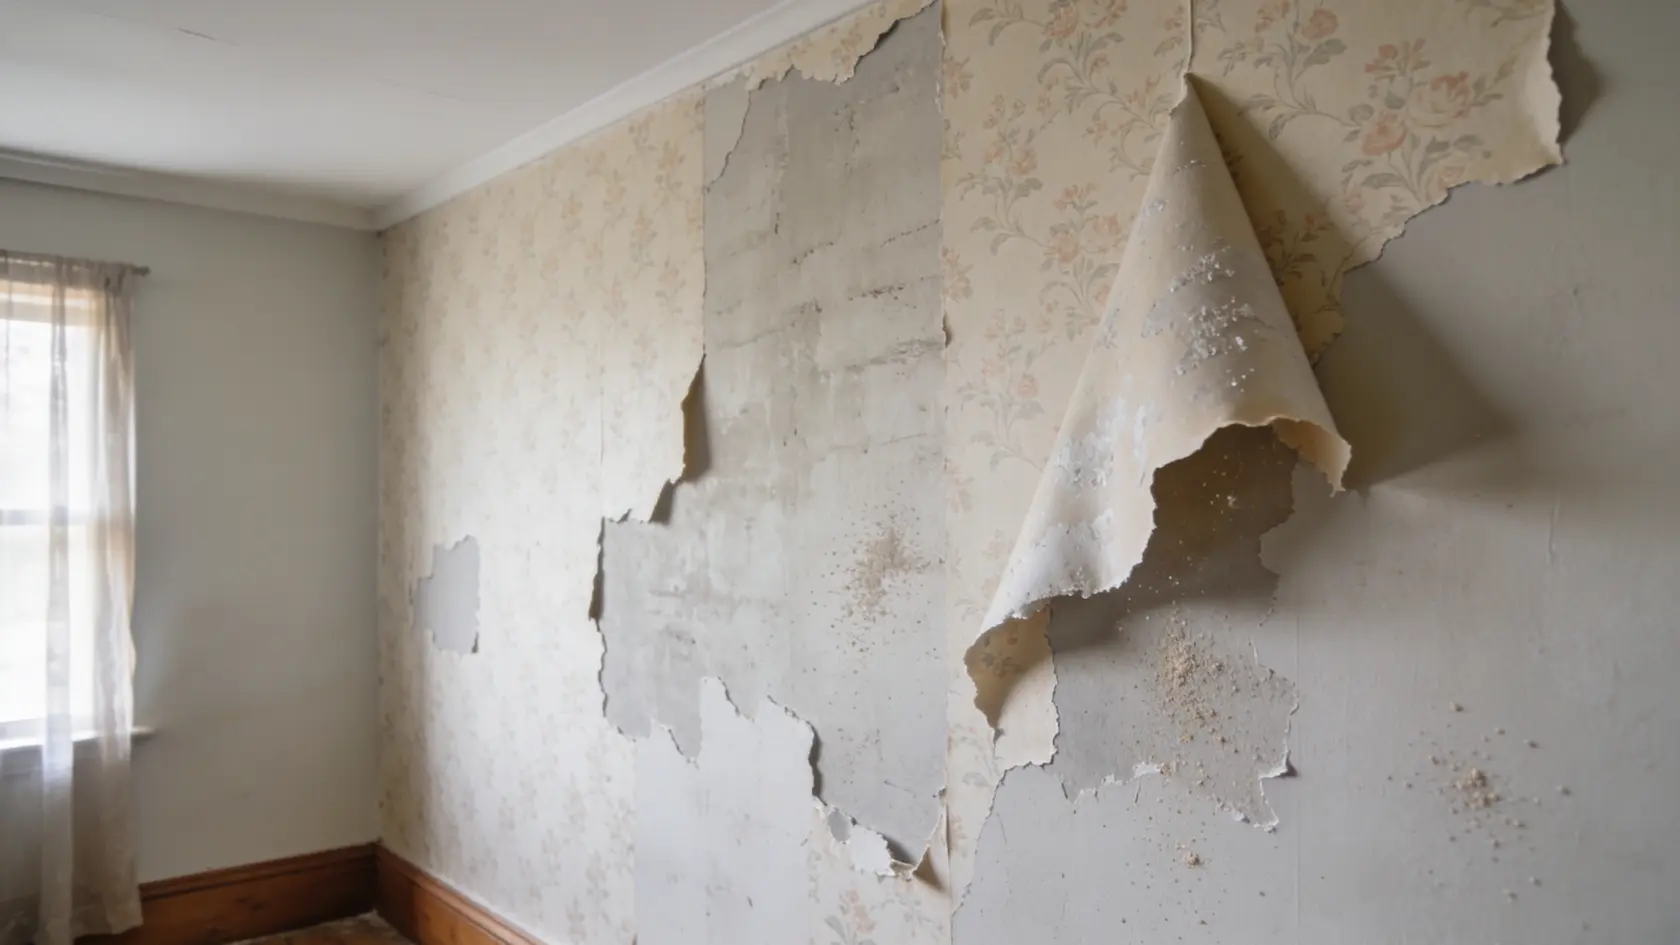
Got a hole in your door and wondering if it needs replacing? It might look like a big problem, but in most cases, it’s easier to fix than you think. This kind of damage is pretty common, especially with hollow doors, and it doesn’t always mean a costly repair.
With the right method and a few basic tools, you can patch it up yourself and get a clean finish.
In this guide, you’ll learn how to fix a hole in a door step by step, along with what changes depending on the type of door you’re working with.
Supplies You Need Before You Start
Before you begin, it helps to have all the tools and materials ready. This saves time and keeps the repair smooth from start to finish.
| Category | Items |
|---|---|
| Surface Prep | Clean cloth, mild cleaner |
| Filling | Expanding polyurethane foam (spray) |
| Cutting & Shaping | Utility knife (cutter/trincheta), putty knife or spatula |
| Sanding | Sandpaper (medium to fine grit) |
| Finishing | Wood filler or putty (matching color), varnish or paint (white/door color) |
| Optional | Gloves for handling foam |
You can also remove the door and place it flat for easier handling, but this step is optional. Once everything is ready, you can move straight into the repair process without interruptions.
How to Fix a Hole in a Door Step-by-Step
This process fixes damaged or hollow sections and brings the surface back to a smooth, usable state. Follow each step in order to get a clean, solid repair that is ready for finishing.
Step 1: Clean and Prep the Area
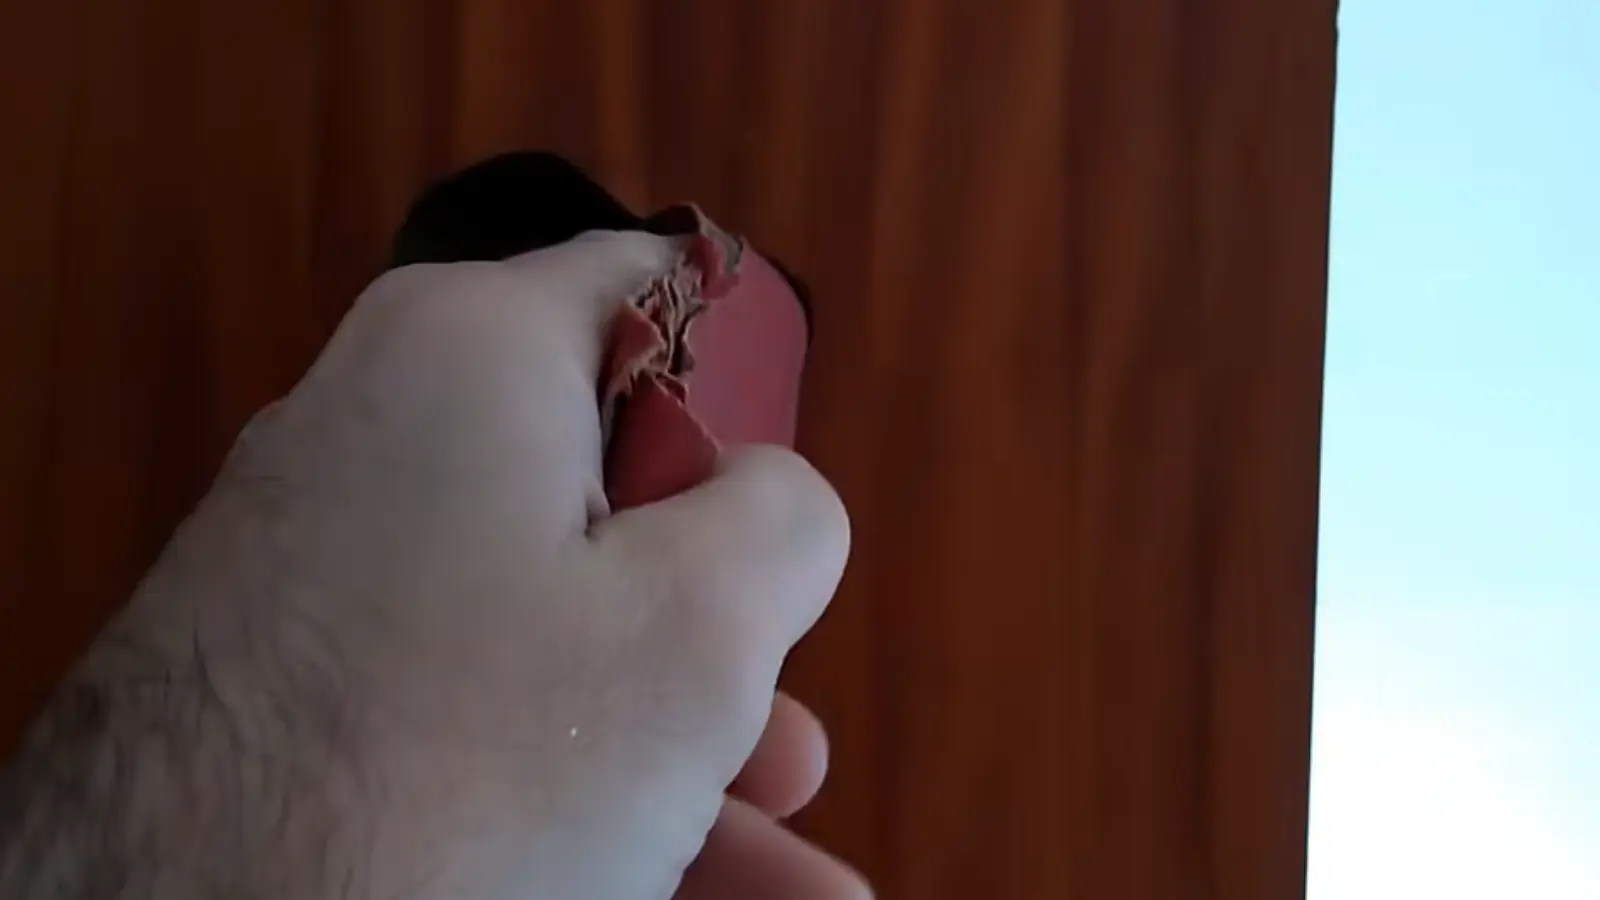
Start by wiping the damaged section using a clean cloth and mild cleaner. Remove all dust, grease, or loose debris so nothing interferes with adhesion.
Let the surface dry fully before moving ahead. A clean base helps the foam grip better and prevents future cracks or weak bonding in the repaired area.
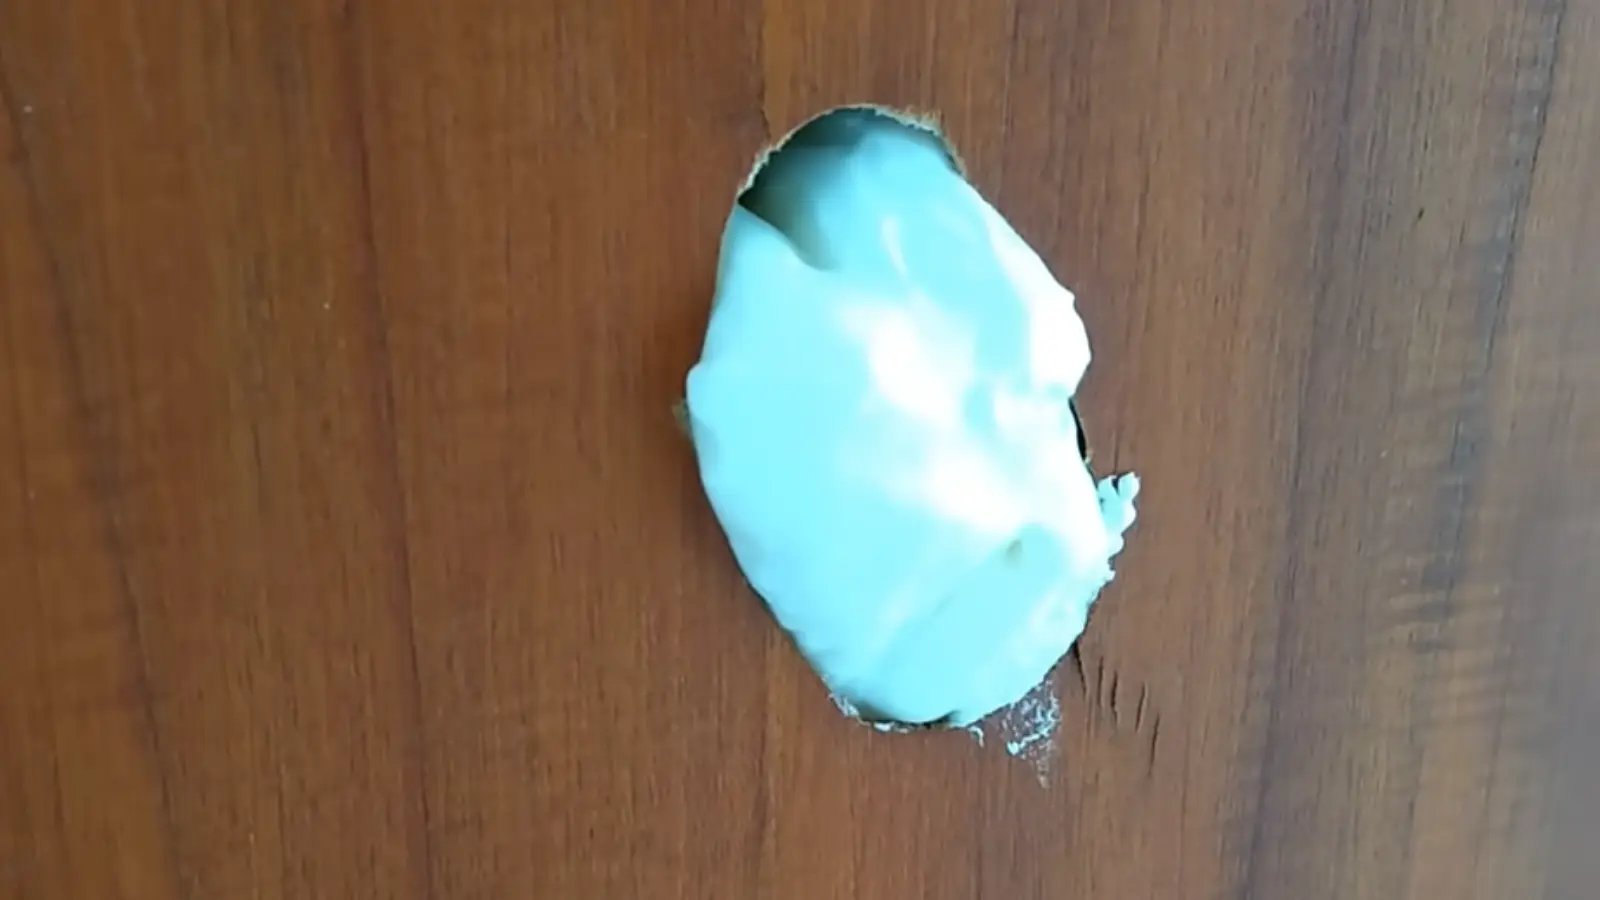
Step 2: Apply Polyurethane Foam
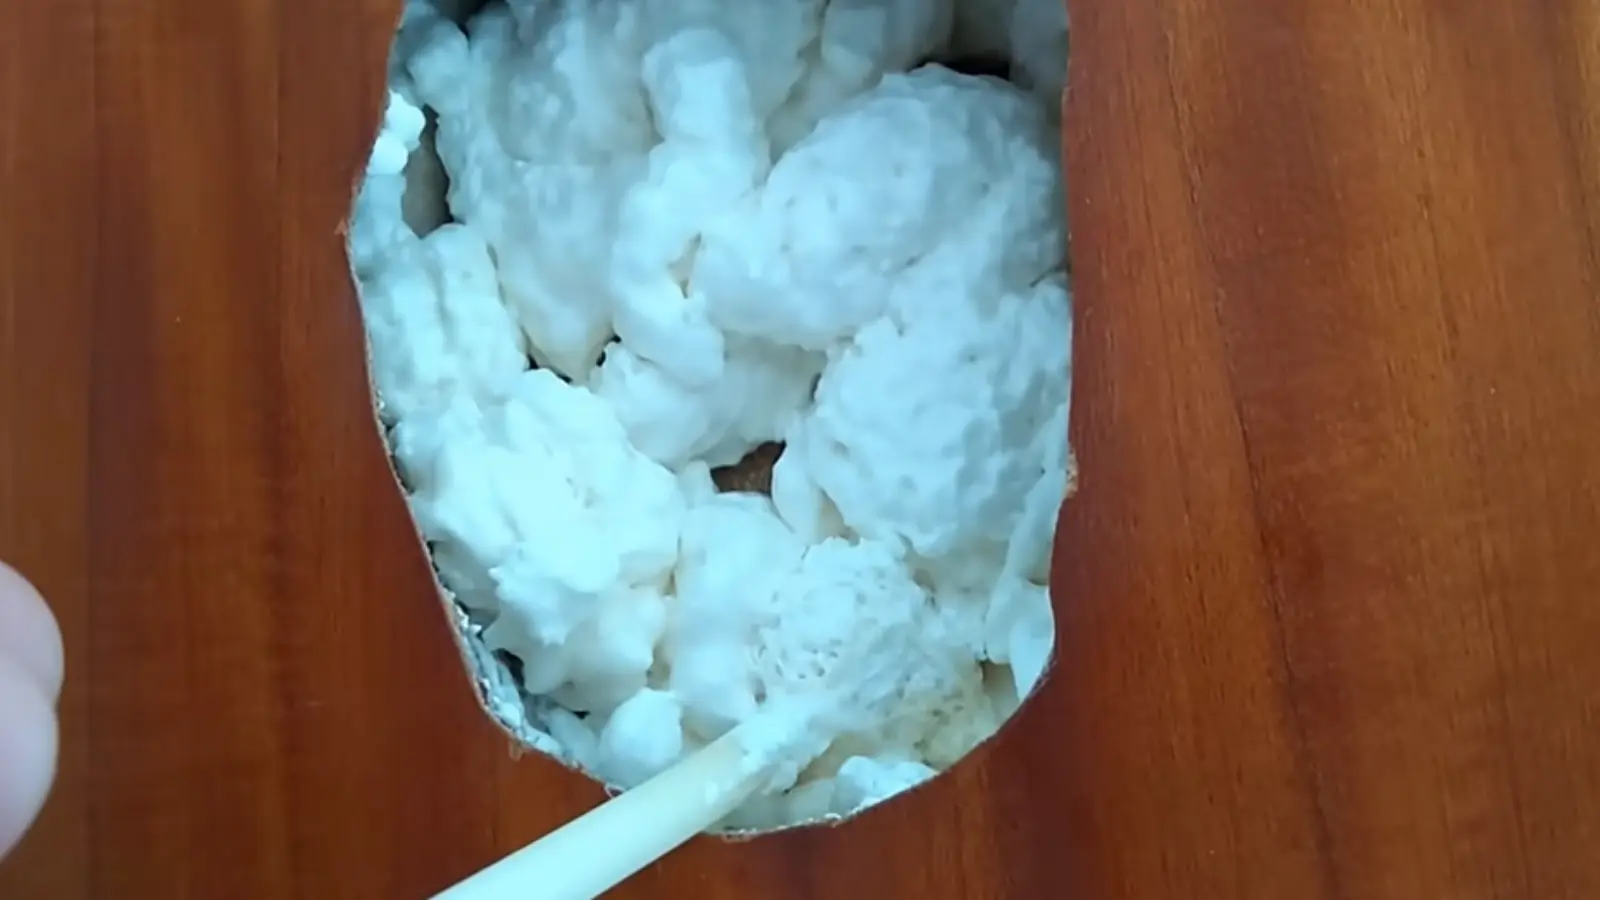
Shake the foam can well before use. Apply the foam slowly into the gap, filling from the deepest part outward. Avoid overfilling too much, but leave a slight excess since it expands.
Keep your hand steady and control the flow so the foam spreads evenly and does not spill excessively outside the repair zone.
Step 3: Let the Foam Expand and Adjust
Allow the foam to expand for around ten minutes. As it rises, gently guide or press it using a spatula or your hand to spread it evenly.
Focus on areas that look uneven or underfilled. This small adjustment step helps ensure better coverage and reduces the amount of trimming needed later.
Step 4: Allow Full Drying
Leave the foam untouched for one to two hours so it can fully cure. Avoid pressing or cutting during this time, as it may ruin the structure.
Proper drying ensures the foam becomes firm and stable, which is important before trimming and finishing. Rushing this step can weaken the repair and affect the final look.
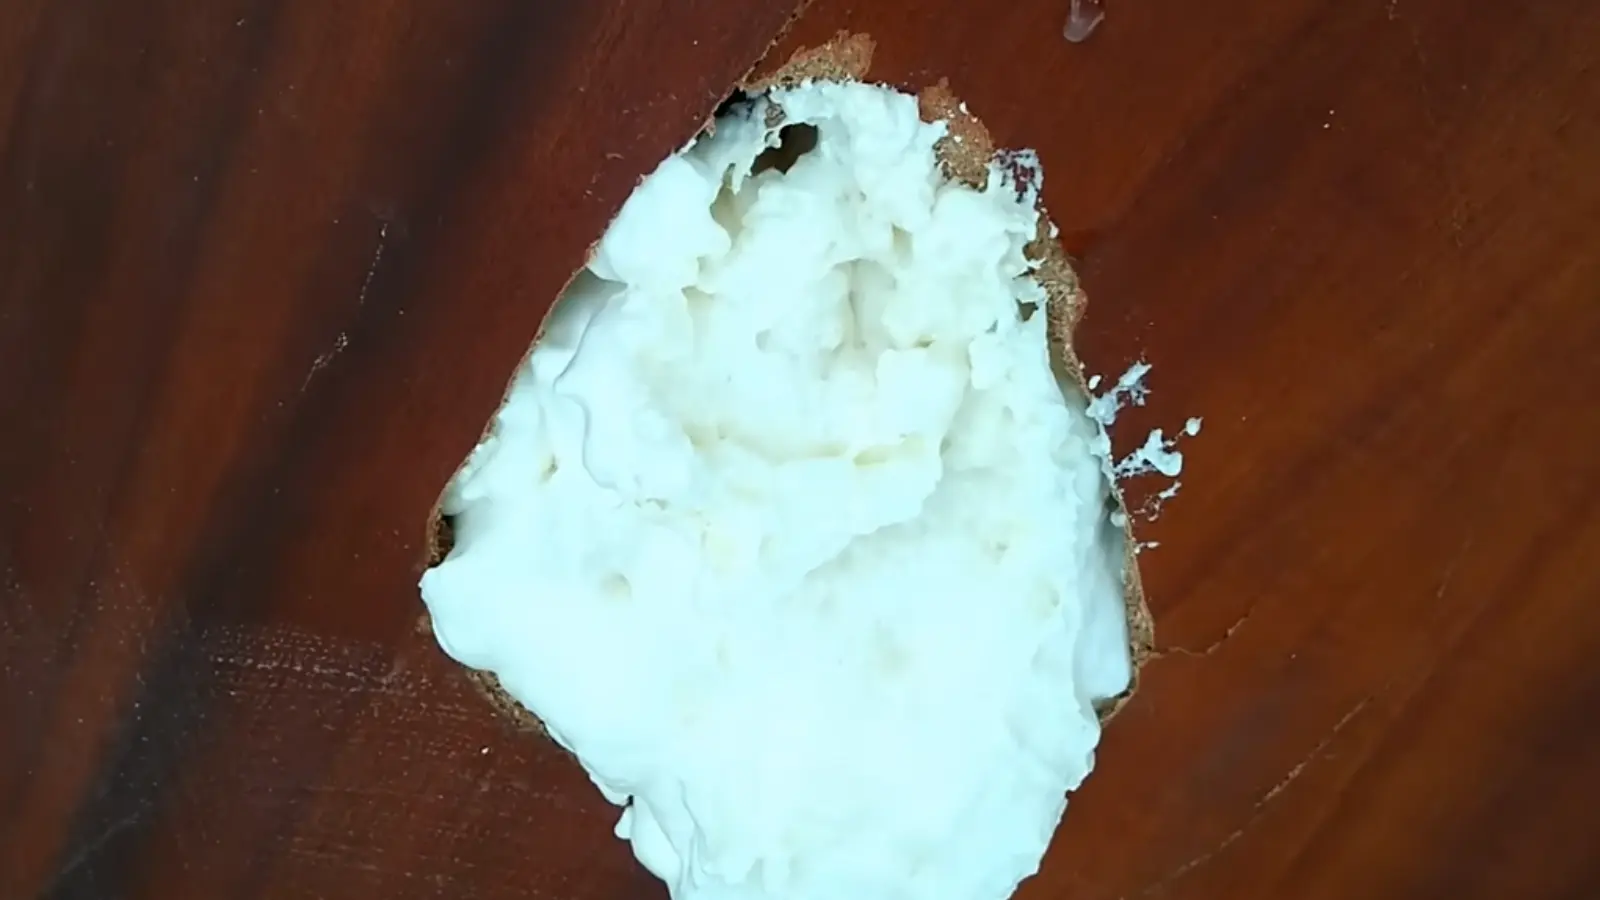
Step 5: Trim and Sand Smooth
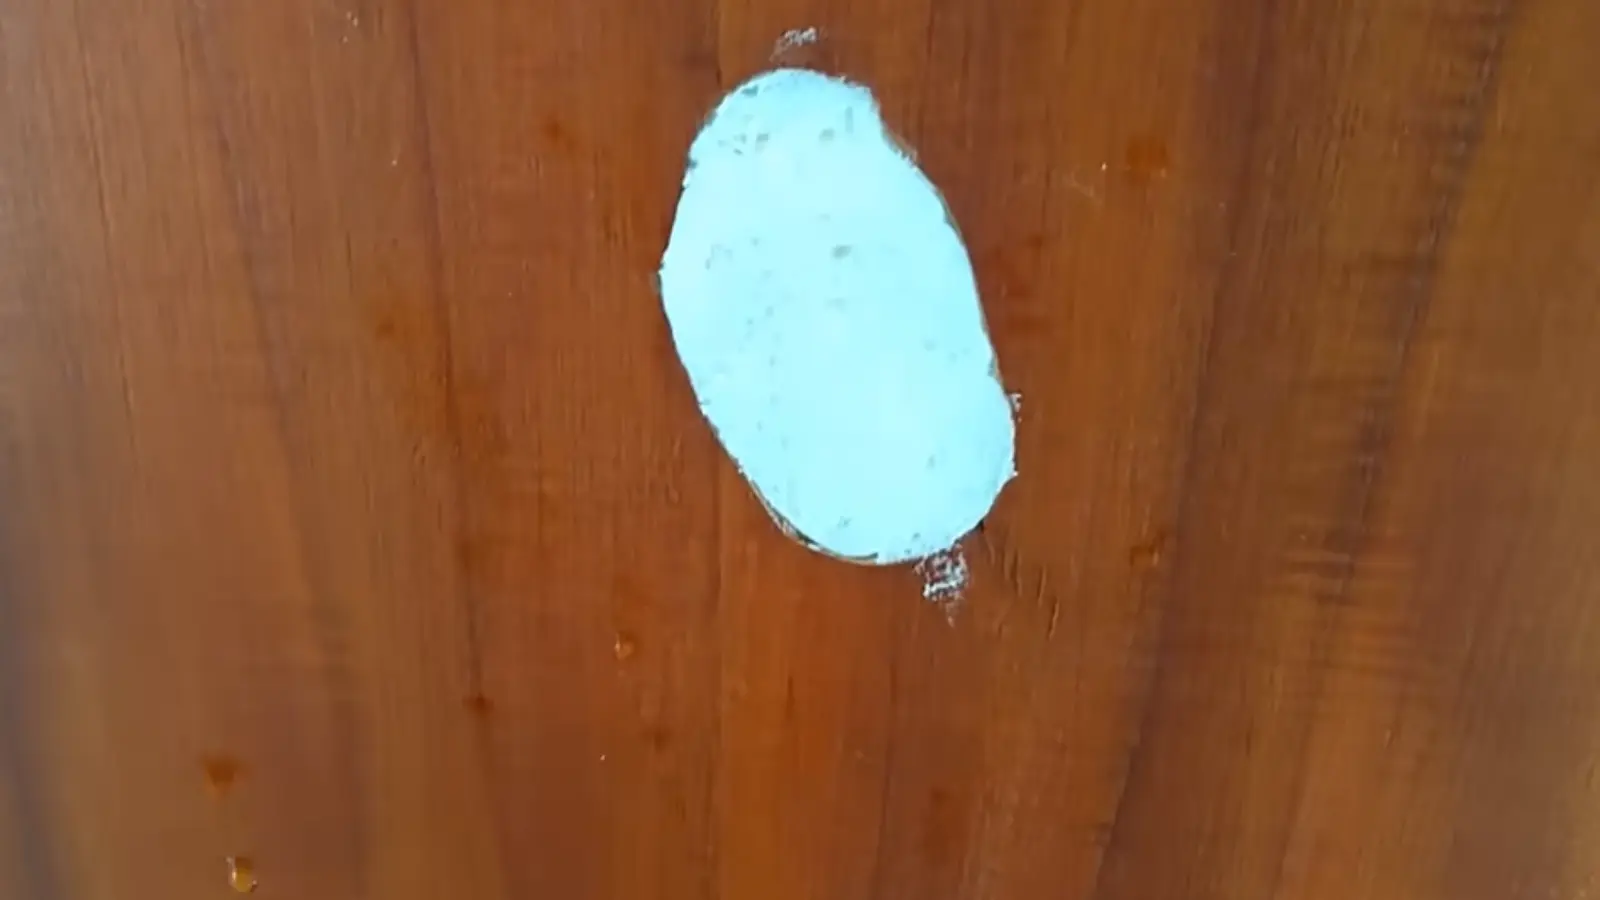
Once the foam is fully dry, level the surface so it sits flush with the door. Lightly sand the area to remove uneven spots and smooth it out.
Focus on blending the repaired section with the surrounding surface to prepare it properly for the finishing layer.
Step 6: Apply Putty and Finish
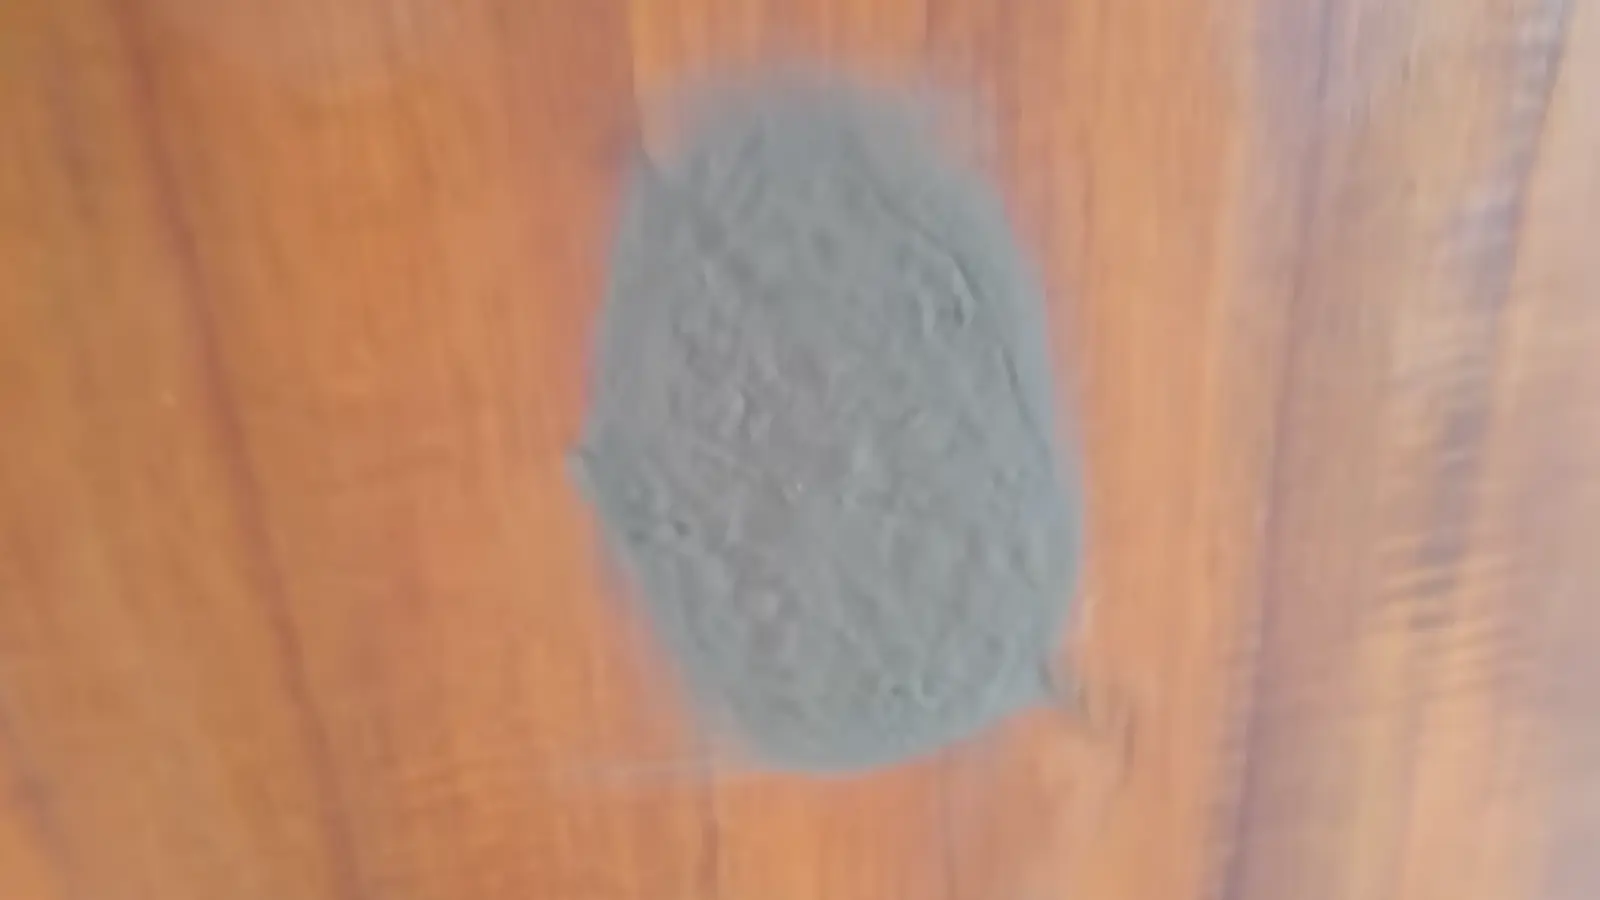
Spread wood filler or putty over the repaired section using a spatula. Smooth it out so it matches the surface level and texture. Let it dry completely, then sand lightly if needed.
Finish by applying varnish or paint to match the door color. Even if the color is slightly off, final painting will improve the result
Once you finish these steps, the repaired area should look smooth and blend in with the rest of the door. Take your time with drying and sanding, since that’s what makes the repair last and look clean.
For an in-depth walkthrough of the whole process, check out the complete video tutorial below:
How Door Type Affects the Repair
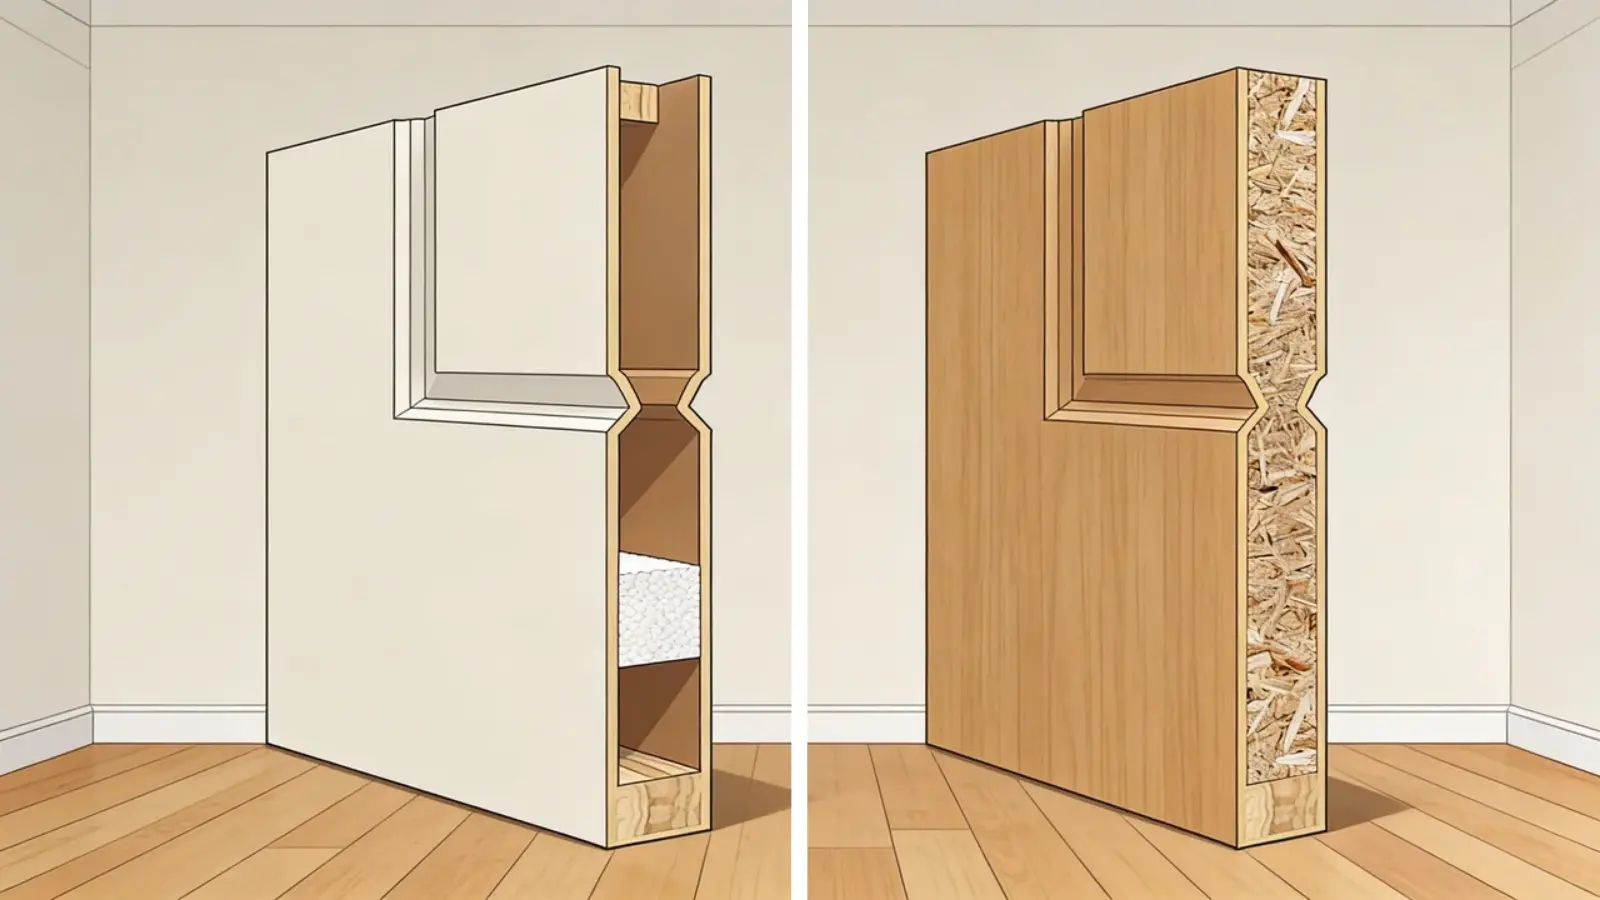
Before you move on, it helps to understand why the process changes slightly depending on the door type.
| Feature | Hollow Core Door | Solid Wood Door |
|---|---|---|
| Structure | Thin outer layer, empty inside | Dense and fully solid |
| Support Needed | Yes, requires backing or foam | Not needed for small holes |
| Filler Application | Needs base before filler | Can apply filler directly |
| Risk if Done Wrong | Filler sinks or cracks | May fail only on large holes |
| Best Use Case | Most interior doors | Heavier, solid doors |
The repair works by rebuilding both structure and surface. Hollow doors need both, while solid doors already have internal strength. Using the wrong method leads to weak or uneven repairs.
Common Mistakes to Avoid
Even small repair jobs can turn messy if you miss a few key steps. Here are the mistakes that usually cause weak or visible patches.
- No Internal Support: Skipping support inside hollow doors can make filler sink or crack later, so add cardboard, mesh, or foam backing before filling.
- Too Much Filler At Once: Overfilling creates bumps and extra sanding work, so apply filler in small amounts and build it up gradually.
- Thick Filler Layers: Heavy layers tend to crack, so use thin coats and let each one dry before adding more.
- Rushing Dry Time: Not letting layers dry weakens the repair, so give proper drying time between each step.
- Rough Sanding: Poor sanding leaves uneven spots, so sand in stages using medium, then fine grit for a smooth finish.
- Skipping Primer Before Paint: Paint may not blend well, and the patch can stand out, so apply a primer before painting for an even look.
Fix these small things, and your repair will look cleaner and last longer.
When You Should Replace Instead of Repair
Most holes in a door can be repaired with the right method, but there are situations where replacement is the better choice.
If the damage is very large, located near hinges or locks, or the door feels weak, cracked, or crushed, a repair may not hold properly over time.
In these cases, even if you fix the surface, the internal structure may remain unstable. Also, if the cost of materials, tools, and time starts getting close to the price of a new door, replacing it can be more practical.
Knowing when to stop helps you avoid wasting effort on a repair that won’t last.
Quick Repair Checklist
If you want a quick recap before starting or while working, use this checklist to stay on track and avoid missing any important step.
- Clean and prep the hole
- Check door type
- Add support (if hollow)
- Fill the hole
- Apply filler in layers
- Sand smooth
- Prime and paint
Following this sequence helps keep the repair smooth, strong, and clean.
Conclusion
Knowing how to fix a hole in a door saves you the cost of a replacement and gives you a repair you can be proud of.
The key is taking your time with each step, especially drying, sanding, and priming. Skip those, and the patch shows. Do them right, and it disappears.
Whether you’re working with a hollow core or a solid wood door, the process is the same: prep it clean, build it back up, and finish it smooth. You’ve got everything you need to get it done.
Got a question or dealing with a tricky repair? Drop it in the comments.