
How to Cut Beadboard: A Complete Guide
Cutting beadboard might seem tricky if you’ve never done it before. Maybe you’re not sure which tool to use or how to keep the edges from splintering.
The good news? It’s easier than it looks, especially when you’ve got the right steps in front of you.
This guide will explain beadboard, which tools work best, how to measure and cut it clean, and how to deal with corners or outlets.
You’ll also get tips for cutting indoors, avoiding mistakes, and getting smooth results.
Want to get started without the stress or guesswork? Let’s break it down together and see how simple cutting beadboard can be.
What is a Beadboard?
Beadboard is a type of paneling that adds texture and interest to walls. It’s often used in bathrooms, kitchens, mudrooms, and even on ceilings.
You’ll usually find it in long panels with evenly spaced grooves, which give it a neat, lined appearance.
There are a few types of beadboard:
- MDF (medium-density fiberboard): Budget-friendly and smooth but not water-resistant.
- Plywood beadboard: Stronger than MDF and works well in many settings.
- PVC beadboard: Lightweight and water-resistant, ideal for damp areas.
Panels commonly come in 4-foot by 8-foot sheets, but you can also find smaller pre-cut sections for quick projects.
People like using beadboard because it’s simple to work with, fits a wide range of home styles, and adds a finished feel to a room without needing a big budget.
Choosing the Right Equipment to Cut Beadboard
The tool you use can depend on what you have on hand, how thick your beadboard is, and how precise you want the cut to be.
Here are the most common tools:
- Circular saw: This works well for long, straight cuts. Use a fine-tooth blade for better results.
- Table saw: Also good for straight cuts and gives you more control if you’re cutting narrow pieces.
- Jigsaw: Handy when you need to make curved or custom cuts, like around outlets or corners.
- Utility knife: Best for very thin or PVC beadboard. Needs multiple passes and a steady hand.
- Dremel or multi-tool: Useful for detailed or small area cuts, especially where other tools won’t fit.
- Hand saw: Good for small jobs or if you want to avoid using power tools.
- Scissors: Only suitable for very thin PVC panels.
Choose based on what kind of beadboard you have and how confident you feel with each tool.
Tools and Materials Needed
Before you begin, gather everything in one place so you don’t have to stop halfway through.
| Item | Purpose |
|---|---|
| Beadboard panel | The main material you’ll be cutting |
| Pencil and ruler/tape | For marking your cut lines accurately |
| Clamps and straight edge | To hold the panel steady and guide your cuts |
| Cutting tool and blade | Use a saw or knife that fits your project needs |
| Safety gear | Protects your eyes, lungs, and hands while cutting |
Step-by-Step Guide to Cut Beadboard
Cutting beadboard takes a steady hand and a little care, but it’s not as hard as it might seem. You just need the right tools and a plan before you start.
Follow these steps to make sure your cuts are clean and your panels fit the way they should. Let’s break it down one step at a time.
Step 1: Measure and Mark
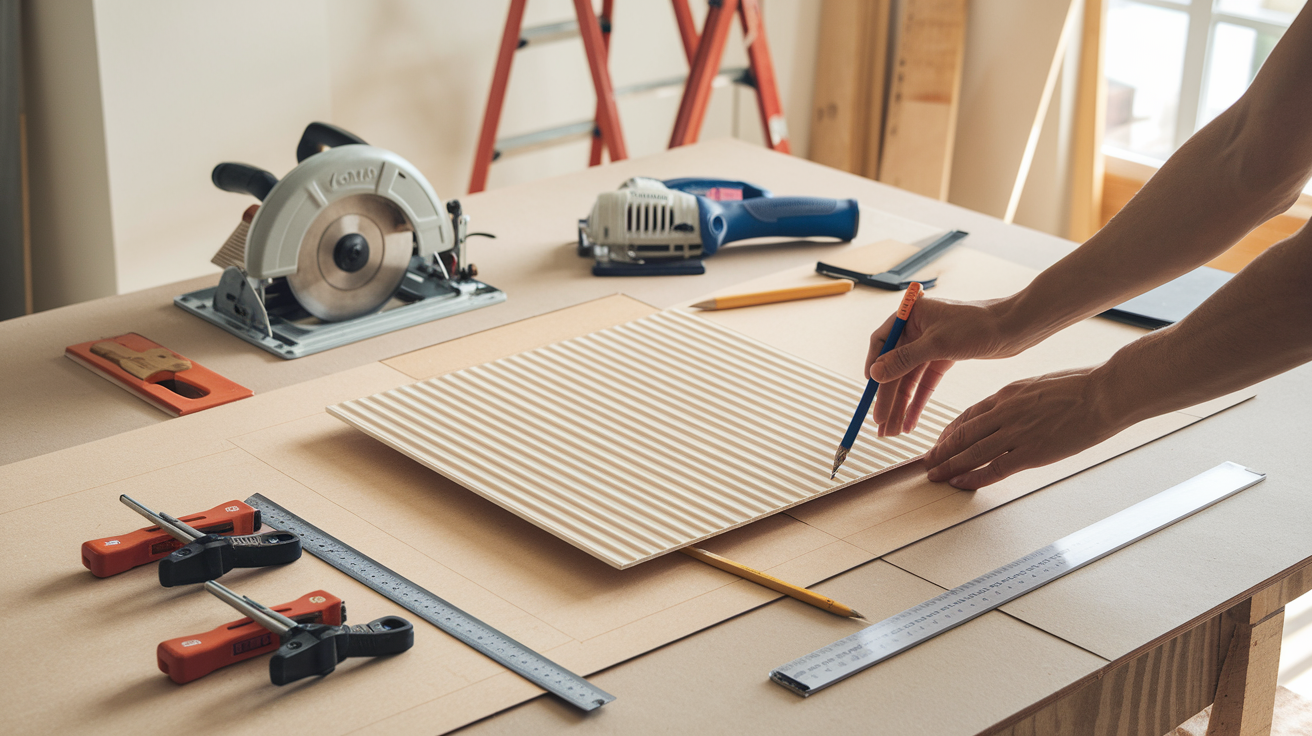
Before you make any cuts, take time to measure carefully. Start by holding the beadboard up against the wall or the surface where it will be installed.
Use a pencil and a ruler or tape measure to mark your cut lines.
If you’re working with a large panel, use a straight edge like a long level or a piece of scrap wood to draw the line across the board.
Always make your marks on the back of the beadboard—this helps protect the front face from splinters during the cut.
For unusual shapes, like an outlet or a pipe, it’s helpful to make a template out of paper or cardboard. Trace that shape onto the board once you’re sure it fits the space.
Step 2: Secure the Panel
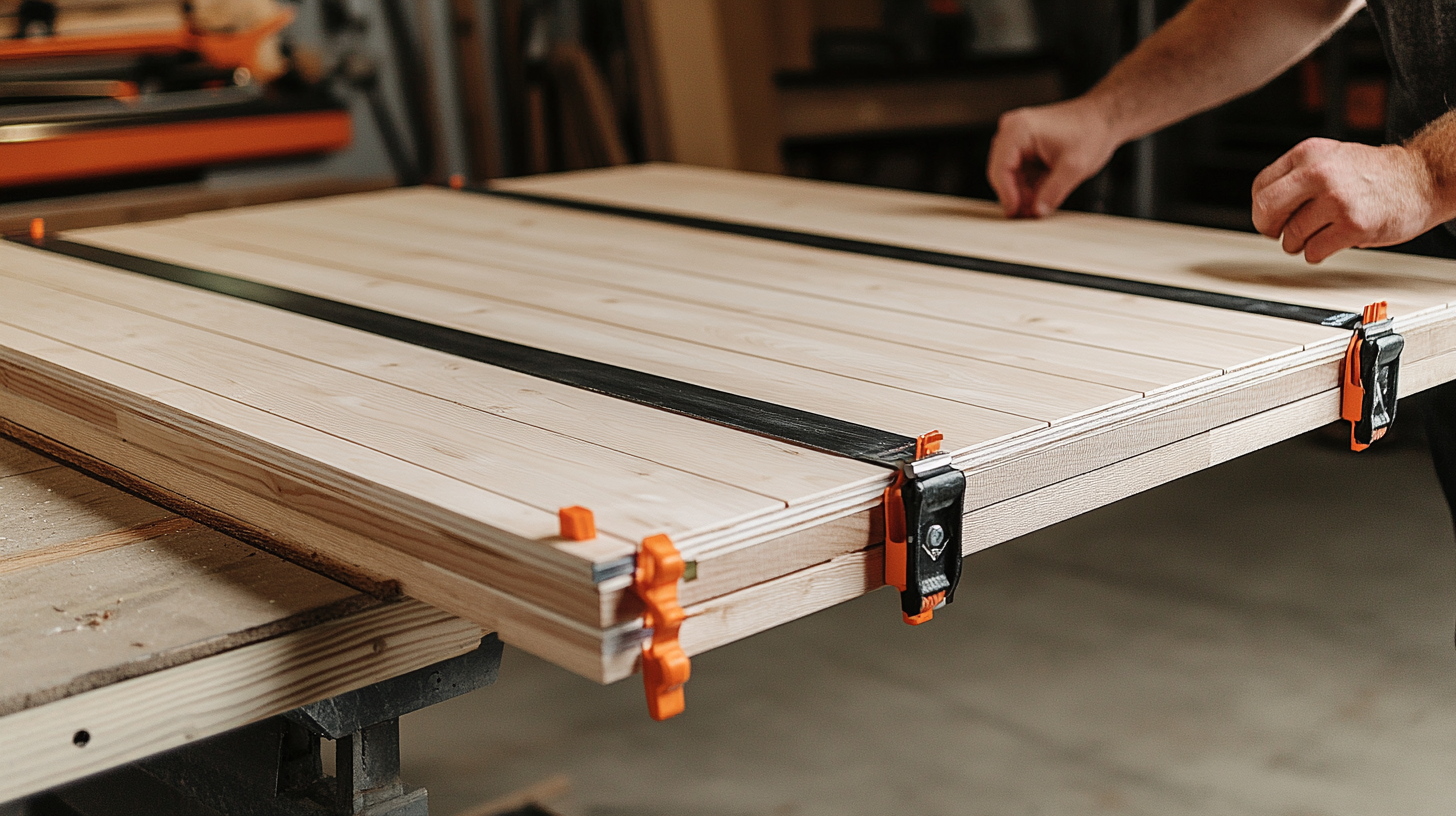
Place your panel on a solid, level surface. A workbench or a pair of sawhorses works great, but a clean floor can do the job, too.
Make sure the panel is fully supported, especially near the cutting line.
If you have clamps, use them to hold the panel in place. This keeps the board from shifting while you cut.
If you don’t have clamps, ask someone to help hold it steady. Movement during cutting can lead to rough edges or uneven lines.
Also, take a moment to double-check that your cut line is still visible and straight before you move on.
Step 3: Make the Cut

Now it’s time to cut. Pick the tool that suits your setup—like a circular saw for straight lines or a jigsaw for curves and corners. No matter the tool, go slow and steady.
Start the cut a little before the line, then move along it with even pressure. Don’t force the blade—let it glide through the board. Pressing too hard can cause the board to chip or splinter.
If the board is long, support both ends so it doesn’t bend or snap as the cut finishes. Use your non-cutting hand or ask someone to help.
Step 4: Smooth the Edges

After cutting, the edges might feel rough or look a little jagged. That’s totally normal.
Use a piece of sandpaper to gently smooth out the edge. A sanding block or a file also works well for cleaning up small bumps or uneven spots.
For thin beadboard, you can also run a utility knife along the edge to shave off splinters.
Smoothing the edges helps the panel fit snugly against the wall and gives a cleaner look when you apply paint or caulk later.
Don’t skip this step—it makes a big difference in how neat the final result looks.
How to Cut Beadboard Without a Circular Saw
If you don’t have a circular saw, that’s okay. There are a few other tools you can use that still give you a clean result.
A jigsaw is a solid option, especially for smaller spaces or cuts that aren’t perfectly straight. It’s easier to control and works well for curves or cutouts.
A hand saw takes more time and effort, but it can work if you’re patient. It also creates less mess, which helps if you’re cutting indoors.
A utility knife can cut very thin panels. Score along the same line a few times, then snap the board carefully. And if you’re doing a bigger job, renting a tool from a local hardware store is a smart choice.
Tips for Cleaner Cuts
Getting a smooth cut on beadboard isn’t just about the tool. It’s also about the small steps you take before and during the cut.
Paying attention to how the blade moves, how the panel is supported, and how the surface is prepped can help reduce chips along the edge.
Even little things, like tape or cutting direction, can make a big difference in how neat the finish looks.
Helpful tips for cleaner cuts:
- Use a fine-tooth blade or a reverse-tooth blade to reduce tearing along the cut edge.
- Place masking tape directly over the cut line to help keep fibers from lifting as you cut.
- Make your cut from the back side of the panel to keep the front edge looking neat.
These steps take only a few extra minutes but help your finished board look cleaner and more polished once it’s in place.
How to Cut Around Outlets and Corners
When working around outlets, pipes, or corners, it’s a good idea to make a test shape before cutting your actual panel.
A paper or cardboard template helps avoid small mistakes that can lead to gaps or extra trimming.
After marking your shape on the beadboard, take your time with the cut. Use a steady hand and double-check that everything lines up before proceeding.
A little patience here makes the whole project go smoother.
- Trace the shape onto paper or cardboard first.
- Cut it out and hold it against the wall to check the fit.
- Once it matches, place the template on the back of your beadboard.
- Mark the shape clearly using a pencil.
- Use a jigsaw or utility knife to cut out the marked section.
- Go slowly and stay along the lines.
Indoor vs. Outdoor Cutting
Cutting beadboard outside is usually the better choice, especially if you’re working with power tools.
It helps keep dust and small debris out of your home, making cleanup easier and keeping your indoor air cleaner.
But if you need to work indoors, take a few steps to stay safe and tidy. Start by laying down a drop cloth or an old sheet to catch falling dust.
Keep a vacuum nearby, ideally one with a hose, so you can clean up as you go. It also helps to wear a dust mask to protect your lungs.
If possible, open a window to keep the air moving and reduce buildup from sawdust.
Final Thoughts
Now you know how to cut beadboard the right way, with tools, tips, and steps that make the job easier and cleaner.
Take a moment to think about what you’ve learned and how you can apply it to your next project. Even if you’re new to DIY, this guide gives you a clear path to follow without the stress.
Remember, take your time, measure carefully, and don’t skip the small steps; they make a big difference in the final result.
If this helped you feel more confident, check out our other blogs for more home project tips and how-tos. There’s always something new to learn and try.


I have a fixture that the wires are to short to move. How do I cut the board to go around it and it look right