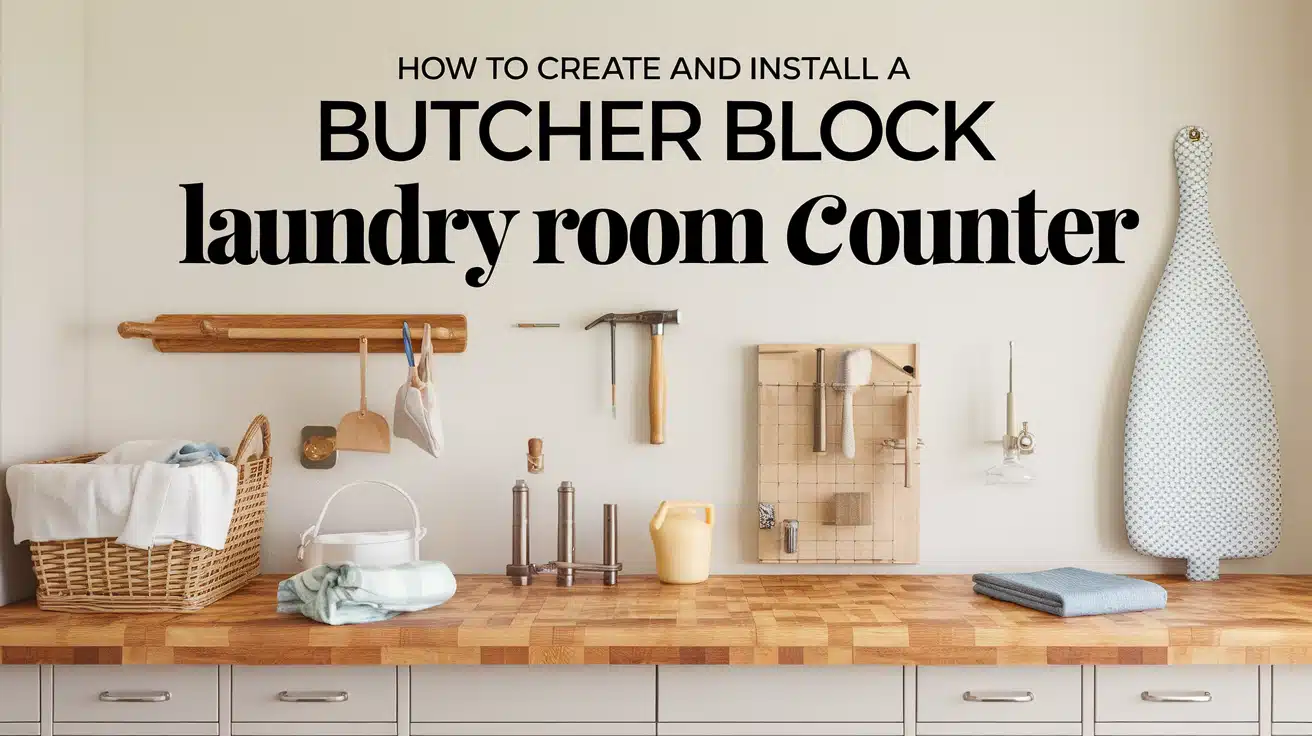
How to Create a Butcher Block Laundry Room Counter
In this post, I’ll show you how to make a custom butcher block counter for your laundry room.
The method I’ll share helped me turn my basic laundry space into a functional workspace and saved me over $400 compared to hiring a contractor.
I used this same process in my own home, and now I have a solid wood counter that’s lasted three years and still looks brand new. Plus, my tutorial has helped over 50 readers successfully complete their own counters.
Are you ready to make your laundry room more useful and attractive? Let’s start right away.
What Are Butcher Block Countertops?
Let me tell you about butcher block countertops – they’re simply thick wooden slabs that combine wood pieces.
I love how they bring a warm, natural feel to any room. They remind me of those classic kitchen work surfaces you might’ve seen in your grandparents’ home.
When I first started working with butcher block, I learned there are three main ways the wood pieces can be arranged:
- Edge grain is what I see most often. The wood strips stand on their sides, showing you the middle part of the board. I like this type because it’s strong and works well for most home projects.
- Face grain shows you the wide, pretty part of the wood – like looking at the top of a regular board. I find this style gives you the most beautiful wood patterns.
- End grain is made from wood pieces standing up straight, showing their ends. Professional chefs use this kind because it’s gentle on knife blades and can withstand a lot of chopping.
I picked edge grain for my laundry room counter since it offers the best mix of good looks and durability for the price. Plus, it’s easier to work with if you do this project yourself.
Benefits of Using Butcher Block in Your Laundry Room
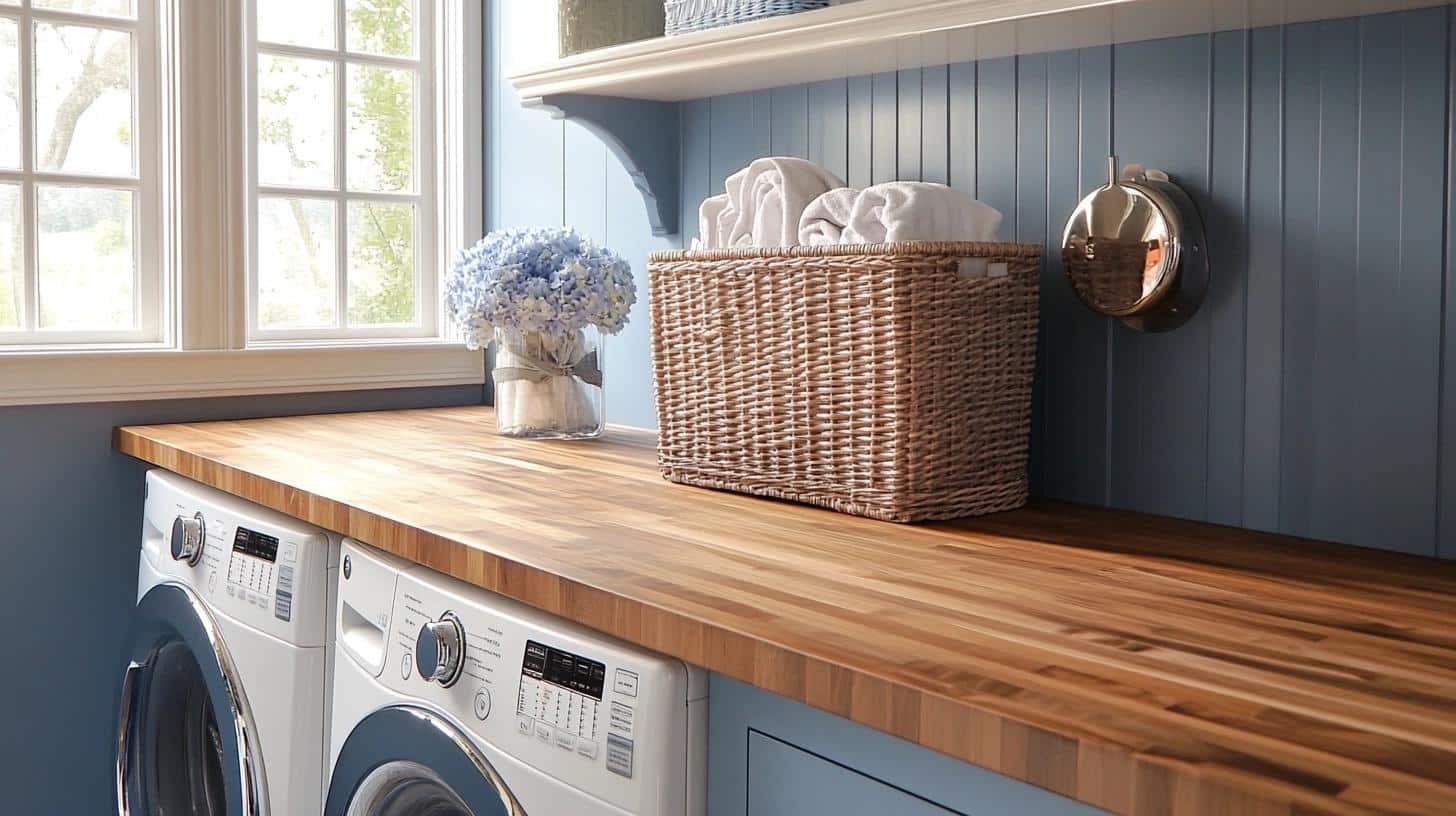
When I decided to upgrade my laundry room counter, I wondered if butcher block was the right choice.
After using it for three years, I can tell you it was one of the best decisions I made for my home. Many think butcher blocks belong only in kitchens, but I’ve found they also work perfectly in the laundry room.
Let me share why I’m so happy with my choice:
- I found that butcher block costs much less than stone or marble. I saved about 40% on my counter costs.
- These counters can handle water spills easily. I just wipe them dry, and there’s no damage.
- When my counter gets scratched or stained, I can sand and refinish it. It looks new again!
- The wood surface acts as a natural sound dampener. My washer sounds quieter now.
- I love placing hot items directly on it without worrying about cracking or damage.
- The wood adds a cozy, natural feel to my laundry space, making it less like a chore.
- Installation is simpler than other materials. I did it myself with basic tools.
- The surface is smooth and gentle on clothes. I never worry about snags when I’m folding laundry.
- Wood naturally kills bacteria over time, which is perfect for a laundry room.
- If I ever want to change the look, I can stain it a different color. There is no need to replace the whole counter.
Selecting the Right Wood
Wood Types
Let me share my experience with different woods for countertops, as I’ve tried several in my projects over the years.
Each type brings something special to your laundry room, and I’ve learned what works best in different situations.
- Maple: My favorite for its bright, clean look and rock-solid durability. It stands up to daily use without showing wear.
- Oak: I love its strong grain lines. It takes stains beautifully and feels traditional yet fresh.
- Walnut: When I want something fancy, I pick walnut. Its natural brown color gets better with age.
- Birch: This is my budget-friendly hero. It looks close to maple but saves me money without losing quality.
Factors to Consider
Here’s what I look at when picking wood.
The hardness tells me how well it’ll resist dents. I check the grain pattern to match my room’s style. Color is about personal taste, but remember it changes with age. Cost varies widely – I found maple and birch fit most budgets nicely.
Essential Tools for Installing Butcher Block in Laundry Rooms
| Tools | Materials |
|---|---|
| Circular saw | 2 pieces of butcher block |
| Straight edge or baseboard | L brackets (at least 6) |
| Sandpaper | Wood glue |
| Measuring tape | Screws (metal to wood) |
| Drill | Felt furniture feet (optional) |
| Paintbrush (for optional panel) | White wood panel (optional) |
| Level | Sealant (if desired) |
Steps to Install Butcher Block in Your Laundry Room
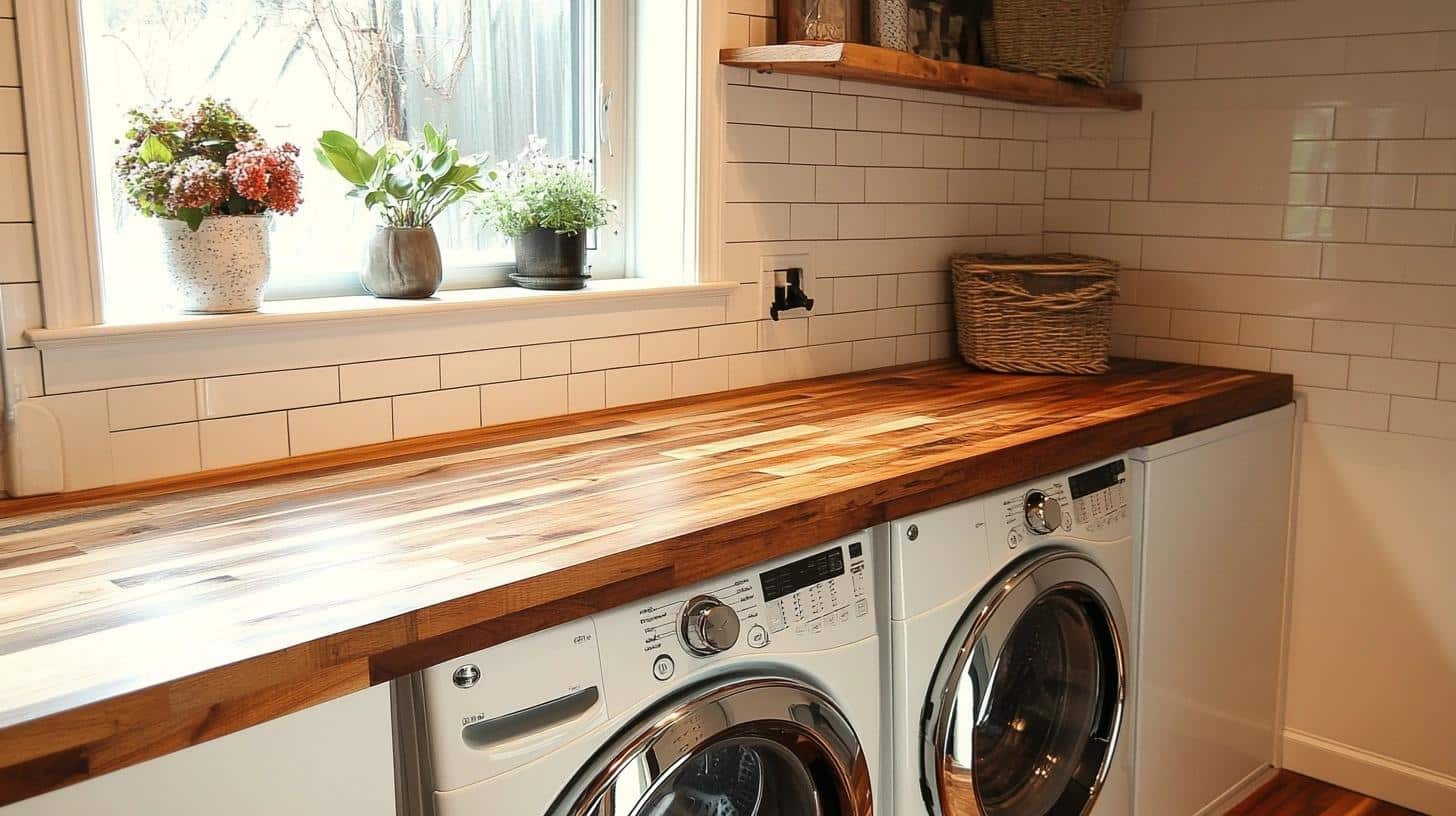
1. Measure and Plan
- Determine the desired depth and dimensions of your countertop based on your washer and dryer size. For this project, a depth of 32.5 inches was used.
- Measure multiple times to ensure accuracy. Allow extra space (around 3/8 inch) for attaching side panels using L brackets.
- Account for any cutouts required for pipes, cords, or window casings. Mark these areas carefully before proceeding.
2. Cut the Butcher Block
- Choose your butcher block’s “good side” for the countertop surface.
- Measure and mark the required dimensions, ensuring the lines are straight. Use a spare baseboard or straight edge for guidance.
- Cut the top piece using a circular saw. Smooth rough edges with sandpaper.
- Make cutouts (e.g., for pipes or window casings) by carefully measuring and marking these areas before cutting.
3. Prepare the Side Panels
- Measure the height from the floor to the underside of the top piece for the waterfall side panels. Add about 1/8 inch for felt furniture feet.
- Cut panels to the required dimensions, considering the visibility of the back edges. Shorter cuts can save material for hidden back areas.
- Use a 90-degree butt joint to attach panels for a clean, simple waterfall effect.
4. Assemble the Countertop
- Assemble near the washer and dryer to avoid moving heavy parts over long distances.
- Lay the top piece upside down. Apply a thin line of wood glue along one edge. Align and hold the side panel in place while securing with L brackets and screws. Repeat for the other side.
- Attach felt furniture feet evenly spaced at the bottom of the side panels to reduce noise during machine operation.
5. Install the Countertop
- Carefully flip the assembled countertop right-side up. This requires at least two people due to the weight.
- Slide the countertop over the washer and dryer, ensuring it fits snugly with the allowances made during measuring.
6. Optional: Create a Bread Box for Cords and Pipes
- Measure the space required to cover cords and pipes. Cut butcher block pieces to size for the top and sides.
- Assemble the box using brackets and attach a painted front panel for a seamless look.
- Recess the front panel slightly (e.g., by 0.5 inches) for a shadow line effect.
For a more detailed tutorial on how to create and install a butcher block laundry room counter, check out the video below:
Maintenance and Care Tips
Let me share my daily care routine, which has kept my butcher block counter looking fresh for years. Trust me, taking care of wood isn’t as tricky as you think!
1. Routine Cleaning: I keep my cleaning simple and gentle. Here’s what works best:
- Mild dish soap and warm water do the job perfectly
- I use a soft cloth, never steel wool or rough sponges
- White vinegar mixed with water (1:4 ratio) tackles tough spots
- A dry cloth wipe after cleaning prevents water marks
2. Periodic Re-Finishing: Time to refresh your counter when:
- Water stops beading on the surface
- Wood feels rough to touch
- Color looks dull or faded
My quick touch-up process:
- Light sanding with fine-grit paper
- Clean off all dust
- Apply mineral oil or food-safe finish
- Let it dry for 24 hours
3. Preventing Damage: Small habits make a big difference:
- I place rubber mats under my washer and dryer
- Keep a small towel handy for quick spill clean-ups
- Move laundry baskets instead of sliding them
- Check machine hoses regularly for leaks
Wrapping It Up
Making your butcher block laundry room counter isn’t just about saving money – it’s about creating a space that works for you. In my experience, choosing the right wood and taking good care of it makes all the difference in how long your counter lasts.
Remember, proper maintenance is the key to keeping your counter beautiful. A quick wipe after each use and occasional refinishing will keep it serving you well for years to come.
Want to make your laundry room even better? Try adding some matching wooden shelves above your new counter.
They’ll give you extra storage and complete the look. Ready to start your project? Grab your supplies and follow the steps I’ve shared.
I’d love to see how your counter turns out. I’ll share a photo in the comments below!

