How to Clean Cabinets Before Painting?
I recently painted my kitchen cabinets, and let me tell you – cleaning them properly beforehand made all the difference.
After seeing my friend’s peeling cabinet paint job, I knew I had to get the preparation right. Through trial and error (and yes, some mistakes), I learned that thorough cleaning is the foundation of a lasting paint finish.
In my experience, many people rush through the cleaning step, eager to start painting. I get it – I almost did the same.
But grease, food splatters, and years of sticky fingerprints can ruin even the highest quality paint job. After researching and testing different methods, I found a cleaning process that works.
In this guide, I’ll share the exact steps I used, including which cleaners actually work, the spots most people miss, and how to know when your cabinets are truly ready for paint.
If you’re planning to paint your cabinets, I’ve made the mistakes so you don’t have to. Trust me – a little extra time cleaning now will save you from having to redo the entire project later.
Essential Supplies for Cleaning Cabinets Before Painting
After many trips to the hardware store and some trial and error, I’ve put together the perfect list of supplies that worked for my cabinet project.
I’ll share what I found most useful and why.
Cleaning Solutions and Degreasers
I tried several cleaners before finding what worked best. My top pick was trisodium phosphate (TSP) – it cut through years of kitchen grease like nothing else.
I also keep a spray bottle of white vinegar mixed with water handy for spot cleaning. For stubborn stains, I use mineral spirits, but I make sure to work in a well-ventilated area when using it.
I learned that regular household cleaners weren’t strong enough for this job – they left behind residue that interfered with the paint.
Tools You’ll Need
The right tools made a huge difference in my cleaning process. I use microfiber cloths for most of the work – they don’t leave lint behind like paper towels do.
For getting into corners and around hardware, I found that an old toothbrush works perfectly. I also keep plenty of lint-free rags around for the final wipe-down.
One tool I wish I’d bought sooner was a scrubbing pad with a handle, it saved my hands from fatigue while scrubbing those large cabinet doors.
Protective Gear
I learned the hard way that protecting myself was crucial. My hands were dried out after one day of not wearing gloves.
Now I always use chemical-resistant gloves – the regular cleaning gloves weren’t strong enough for the heavy-duty cleaners.
I also wear an N95 mask when using strong cleaners like TSP. For eye protection, I use safety glasses because splashes happen more often than you’d think.
I also put on an old long-sleeve shirt and keep my hair tied back – cabinet cleaning can get messy!
Tip: Keep a box of disposable shop towels nearby. They’re perfect for quick cleanups and much stronger than paper towels.
I wasted money on cheap supplies at first, but investing in quality tools actually saved me time and gave better results.
Step-by-Step Guide to Cleaning Cabinets Before Painting
I want to share details of my cleaning process before painting the cabinets. I’ve recently completed this project in my own kitchen, and I’ll break down exactly what worked for me at each stage.
Step 1: Remove All Cabinet Hardware
The first thing I did was take off all the hardware. I grabbed my screwdriver and created a small labeling system using ziplock bags.
Each bag was marked with the cabinet’s location – “upper left,” “lower right,” etc. This might seem like overkill, but trust me, it saved me hours during reassembly.
I took photos of everything before removal, which turned out to be super helpful. One mistake I made initially was mixing up some similar-looking hinges – now I know to label everything meticulously.
Step 2: Dust and Remove Loose Debris
For this step, I started with my vacuum brush attachment to get rid of the big stuff. Those tiny breadcrumbs and coffee grounds really hide in the corners.
Then I wiped everything down with a barely damp microfiber cloth. I found that working from top to bottom prevented dust from falling onto already-cleaned surfaces.
The trickiest spots were those corners where the cabinet meets the wall – I used a dry paintbrush to sweep out these areas.
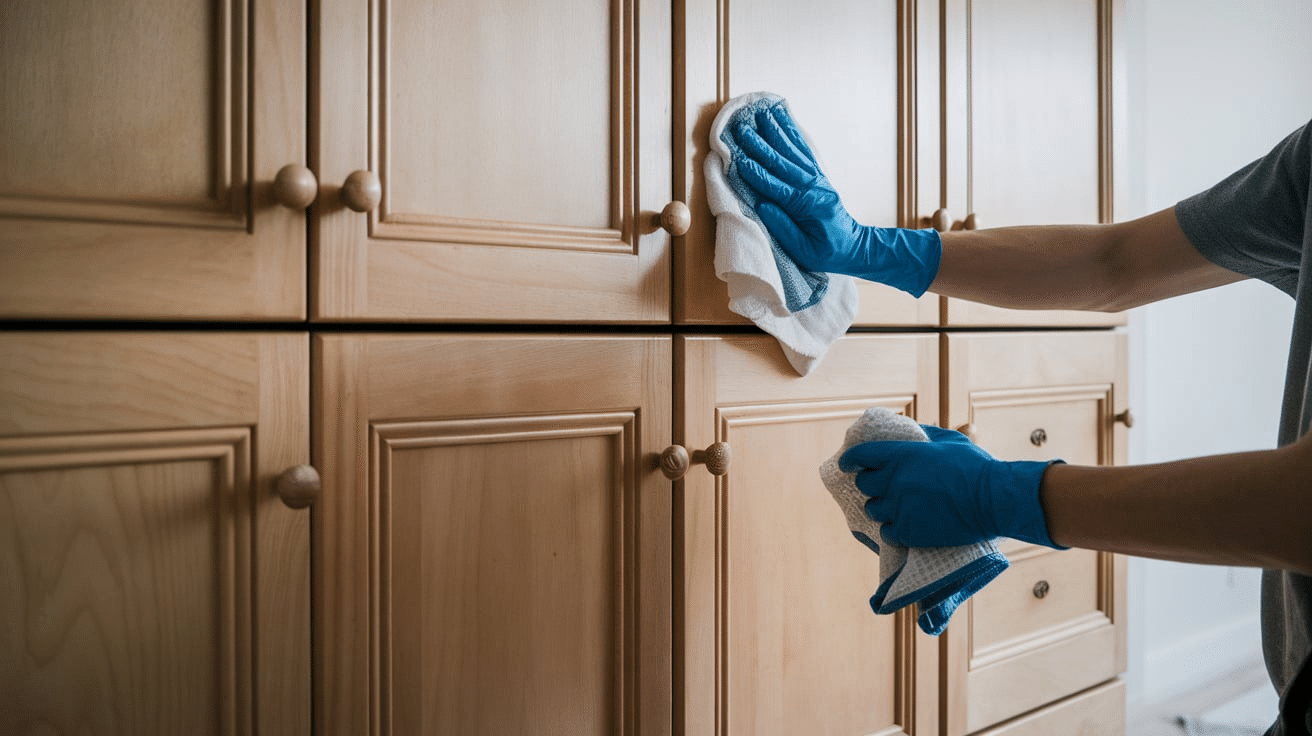
Step 3: Degrease and Clean the Surfaces Thoroughly
This was the most crucial step in my experience. I put on my gloves and safety glasses and mixed my TSP solution in a bucket. Starting with the upper cabinets, I applied the degreaser with a sponge, working in small sections.
I learned that food splatters near the stove needed extra attention. For really tough spots, I let the cleaner sit for about 5 minutes before scrubbing.
Some areas needed two passes, especially around the cabinet handles where oils from hands had built up over the years.
Step 4: Wash with Soap and Water to Remove Residue
After degreasing, I filled a clean bucket with warm water and a few drops of dish soap. Using a fresh microfiber cloth, I wiped down every surface to remove any chemical residue.
I changed my water frequently – dirty water just spreads dirt around.
I learned to pay special attention to the inside edges where cleaners can pool. A clean toothbrush helped get into all the detailed areas and grooves.
Step 5: Dry Cabinets Properly Before Sanding and Painting
Patience was key here. I used clean, lint-free cloths for the initial drying, but then I let everything air dry for a full 24 hours. I set up some fans to help with air circulation and kept the windows open.
I learned that checking for moisture with the back of my hand was more effective than just looking, some spots can appear dry but still be damp to the touch.
Any moisture left behind would have ruined the paint job, so this waiting period was essential.
Tip: The drying time might seem excessive, but I ruined one door by rushing this step. The paint bubbled because moisture was still trapped in the wood.
Now I always give it extra time, especially in humid weather.
Remember these spots I found often get missed:
- The edges where doors meet the cabinet frame
- Inside corners of raised panels
- Areas around hinges
- The bottom edges of the upper cabinets
- The top edges of the base cabinets
Special Considerations for Different Types of Cabinet Materials
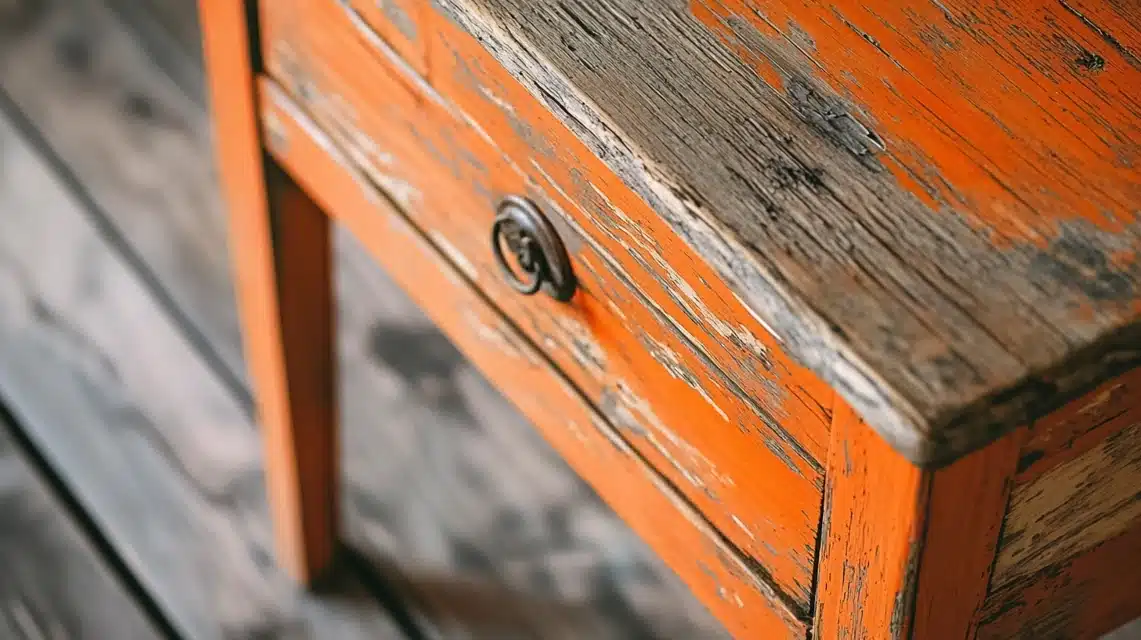
Cleaning Wood Cabinets
When I tackled my oak kitchen cabinets, I found that wood requires gentle but thorough cleaning. I started with a wood-specific cleanerthat didn’t saturate the surface.
A mistake I made at first was using too much water, which made the wood swell slightly – not good!
I learned to work with the grain using soft cloths, not against it. This prevented tiny scratches from appearing.
For my older cabinets with deep grease stains, I used a mixture of baking soda and water to make a paste. I applied it gently and let it sit for about 2-3 minutes before wiping it clean.
Natural oils from handling had built up around the edges of my cabinet doors. For these spots, I used mineral spirits very carefully, testing them first in a hidden area.
The key was to avoid soaking the wood – just quick, light cleaning motions worked best.
Cleaning Laminate Cabinets
My laundry room has laminate cabinets, and they needed a different approach. I found that laminate is more forgiving with water but can be scratched easily.
I avoid any abrasive cleaners or rough sponges – they left permanent marks when I tried them initially.
A solution of dish soap and warm water worked perfectly for regular dirt. For tougher spots, I used a plastic scraper (like an old credit card) to gently lift sticky residue.
One trick I learned was using rubbing alcohol on a soft cloth to remove stubborn marks – it worked like magic and didn’t damage the surface.
The edges and seams needed special attention because moisture can cause peeling. I always dried these areas immediately with a clean cloth after cleaning.
Cleaning Painted Cabinets
My bathroom had previously painted cabinets that needed cleaning before repainting. This required the most gentle touch of all.
I learned to test any cleaner in a hidden spot first because some solutions can soften old paint.
I found success using a mild all-purpose cleaner diluted with water.
Working in small sections helped me control the amount of moisture on the surface.
For sticky spots, I held a damp cloth against the area for a minute to soften the residue instead of scrubbing, which could have damaged the existing paint.
An important lesson I learned is to around the handles and frequently touched areas, the old paint was more worn and absorbed by cleaners differently.
I had to be extra gentle here to avoid lifting the paint. A soft microfiber cloth worked much better than any kind of scrubber.
What really helped was keeping track of which cleaning methods worked best on each surface. I actually made notes on my phone because some techniques that worked great on wood were disasters on laminate.
Now I know exactly what to use where, and it’s made maintaining all my cabinets much easier.
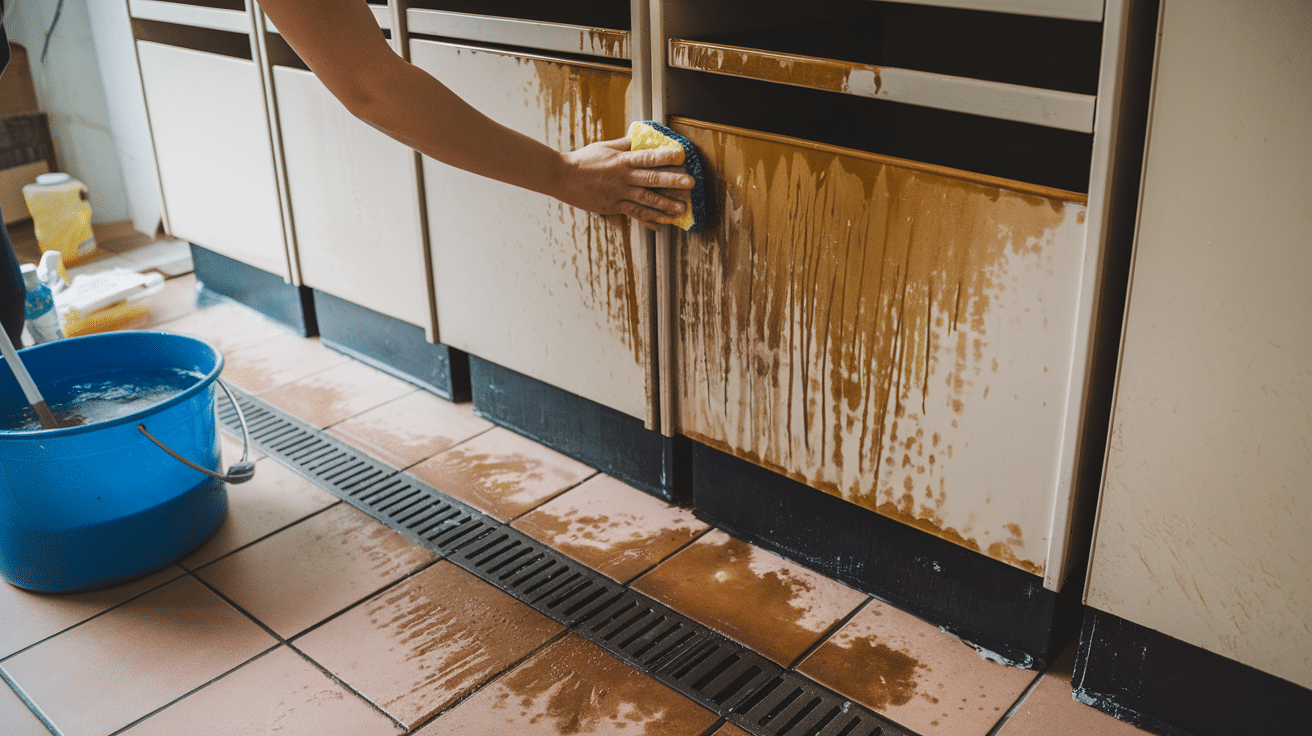
How to Handle Stubborn Grease and Stains?
After battling some seriously grimy cabinets in my kitchen remodel, I’ve got some tried-and-true methods to share.
What I’m about to tell you comes from hours of testing different cleaning methods on my 15-year-old cabinets that had never been deep cleaned.
Using Baking Soda and Vinegar for Stubborn Grease
My cabinets above the stove were covered in old cooking grease that seemed impossible to remove.
After several failed attempts with regular cleaners, I found a natural solution that actually worked.
My process: I mixed baking soda with just enough water to make a thick paste.
The consistency should be like toothpaste – not too runny.
I spread this on the worst grease spots and let it sit for about 15 minutes. For really tough areas, I sprayed white vinegar over the baking soda paste. The fizzing reaction helped break down the grease!
One thing I learned by accident: warm vinegar works better than cold.
I heated mine in the microwave for 30 seconds before using it. Just be careful not to get it too hot.
The paste might look messy while it’s working, but trust me – it’s worth it.
Tip: For vertical surfaces, I made the paste slightly thicker so it would stick better. I also put old towels on the floor to catch any drips.
How to Tackle Sticky Residue with Commercial Cleaners?
Those sticky spots from years of fingerprints and cooking spray overspray were a whole different challenge. After some trial and error, I found that citrus-based adhesive removers worked amazingly well.
I started by applying a small amount of the remover to a clean cloth – never directly on the cabinet. Rubbing in circular motions, I watched the sticky residue dissolve away.
Some spots needed a second application, but I made sure to wait about 5 minutes between attempts.
For really stubborn areas, I created this three-step process:
- Apply the commercial cleaner and let it sit for 2-3 minutes
- Gently scrape with a plastic putty knife (metal will scratch!)
- Wipe clean with a damp microfiber cloth
After using any commercial cleaner, I always wipe the area with a clean, damp cloth, then dry it immediately.
When I skipped this step once, the paint didn’t adhere properly in those spots.
The trickiest spots were around the cabinet handles – years of hand oils had created a gummy buildup.
For these areas, I found that a paste of baking soda mixed with lemon juice worked better than commercial cleaners.
The mild abrasiveness of the baking soda combined with the natural degreasing power of lemon made a noticeable difference.
Remember: always test any cleaning solution on a hidden spot first. I learned this the hard way when I accidentally dulled a small patch of finish using a too-strong cleaner.
Additional Tips for Preparing Cabinets for Painting
After cleaning my cabinets thoroughly, I learned some crucial steps that made a huge difference in the final result.
I’ll share what I learned about the finishing touches before painting.
Lightly Sanding the Cabinet Surfaces After Cleaning
Once my cabinets were completely clean and dry, I moved on to sanding. Using 220-grit sandpaper, I lightly went over every surface.
I thought I could skip this step on some smoother areas, but I’m glad I didn’t – even those needed scuffing for the paint to stick properly.
I found that using a sanding block helped me apply even pressure. For the detailed areas and grooves, I wrapped sandpaper around a paint stirrer stick – this trick helped me get into tight spots.
The goal wasn’t to remove the finish but to create a slightly rough surface that paint could grip.
I used a tack cloth to wipe away dust between sandings. Paper towels just pushed the dust around, but the tack cloth grabbed everything. This made a huge difference in the final paint finish.
Priming Cabinets for a Smooth, Long-Lasting Finish
After making a mess with a regular primer on my first cabinet door, I switched to a shellac-based primer. What a difference. It stuck to everything and dried incredibly fast.
I applied thin coats using a high-quality foam roller and a small foam brush for corners.
My process evolved to:
- Prime one side
- Wait 1 hour
- Lightly sand with 320-grit
- Remove dust with a tack cloth
- Apply a second coat if needed
Time-saving tip: I set up a workstation in my garage using sawhorses and wooden boards. This let me prime multiple pieces at once and keep my workspace organized.
Ensuring Proper Ventilation During the Cleaning Process
The importance of ventilation hit me hard when I got a headache from cleaning fumes on day one. After that, I created a proper ventilation system.
I set up two fans – one blowing in fresh air from a window, another exhausting air out through another window.
For my small kitchen, I also:
- Opened all windows fully
- Removed window screens for better airflow
- Used a box fan in the doorway
- Took frequent breaks in fresh air
Safety note I learned that even with good ventilation, I wore a mask when using strong cleaners. My eyes started burning one day when I skipped it – never made that mistake again!
What really helped was planning my work around the weather. I picked cooler, less humid days when possible.
The cleaning solutions evaporated better, and the whole process was more comfortable.
When I had to work on humid days, I ran a dehumidifier in the room, which helped surfaces dry more quickly.
Remember this surprising fact I learned is proper ventilation isn’t just about safety – it actually helps the cabinets dry more evenly, which means better paint adhesion later. Who knew?
Conclusion
After painting hundreds of cabinet doors in my kitchen and bathrooms, I can say with certainty that the cleaning stage makes or breaks your project.
Through my own successes and mistakes, I’ve seen how proper cleaning leads to paint that sticks and looks amazing years later.
I know it’s tempting to rush through the cleaning phase – I wanted to do that too! But trust me, taking time to clean properly saved me from having to redo the whole project.
The steps I’ve shared above are exactly what worked in my kitchen. They’re simple but effective.
Ready to start your cabinet painting project? Take it one step at a time, and don’t skip the cleaning phase.
If you have any questions about specific cleaning challenges, leave a comment below – I’d love to help you avoid the mistakes I made.
Frequently Asked Questions
How Long Should I Wait After Cleaning Before I Start Painting?
Based on my experience, I waited 24 hours after cleaning to ensure the cabinets were completely dry. In humid conditions, you might need up to 48 hours.
I found that testing with the back of my hand helps detect any remaining moisture that could affect the paint.
What Are the Most Important Areas to Focus on When Cleaning?
I learned that cabinet handles, areas around the stove, and lower corners need extra attention. The greasiest spots are typically above the stove and around frequently touched areas.
Don’t forget the edges where cabinet doors meet the frame – these spots often hide years of buildup.
What if My Cabinets Still Feel Sticky After Cleaning?
When I encountered sticky residue after cleaning, I used a mixture of equal parts white vinegar and warm water for a second cleaning.
If stickiness persists, try wiping with mineral spirits on a clean cloth, followed by a thorough rinse with clean water.
Can I Skip Sanding if I Clean the Cabinets Really Well?
Even with thorough cleaning, I learned that light sanding is essential. It creates a surface that paint can grip onto.
I tried skipping it on one door, and the paint didn’t adhere as well. A quick scuff with 220-grit sandpaper makes a huge difference.
What’s the Best Way to Clean Inside Corners and Detailed Areas?
For those tricky spots, I used an old soft toothbrush with my cleaning solution. It reaches into corners and grooves where clothes can’t get.
Just be gentle to avoid damaging the surface, and make sure to dry these areas thoroughly with a clean cloth.