
How to Spray Paint Wood the Right Way
Thinking about painting a piece of wood furniture, but not sure how to go about it?
Spray paint might be just what you need. It’s fast, easy to use, and gives a smooth finish if you follow the right steps.
Maybe you’re fixing up an old chair or adding color to a plain shelf. No matter the reason, a fresh coat of paint can make a big difference.
This guide walks you through every step in plain language. You’ll learn how to prep the surface, pick the right paint, and apply it without stress.
It’s made for beginners, so you don’t need to feel overwhelmed. Just take your time and follow along.
Can You Spray Paint Wood?
Yes, you can spray-paint wood. But the way you prep it matters.
- Raw wood: Needs sanding and priming to stop paint from soaking in unevenly.
- Painted wood: You’ll need to clean and lightly sand the surface to help the new paint stick.
- Treated wood: This kind of wood (like pressure-treated lumber) may resist paint unless it’s properly primed.
What You’ll Need
Before you begin, gather your supplies. Here’s a basic list:
- Spray paint (pick one made for wood)
- Primer (optional but often helpful)
- Sandpaper (fine and medium grit)
- Drop cloth or plastic sheeting
- Painter’s tape (if needed)
- Tack cloth or microfiber cloth
- Safety gear (mask, gloves, goggles)
- Clear topcoat (optional)
Step-by-Step: How to Spray Paint Wood
Spray painting wood isn’t hard, but following the right steps makes a big difference. A clean, smooth surface helps the paint stick better and last longer.
With the right tools and a bit of care, you can get even coverage without drips or rough patches. Let’s walk through it one step at a time so you can feel confident as you go.
Step 1: Prepare Your Workspace
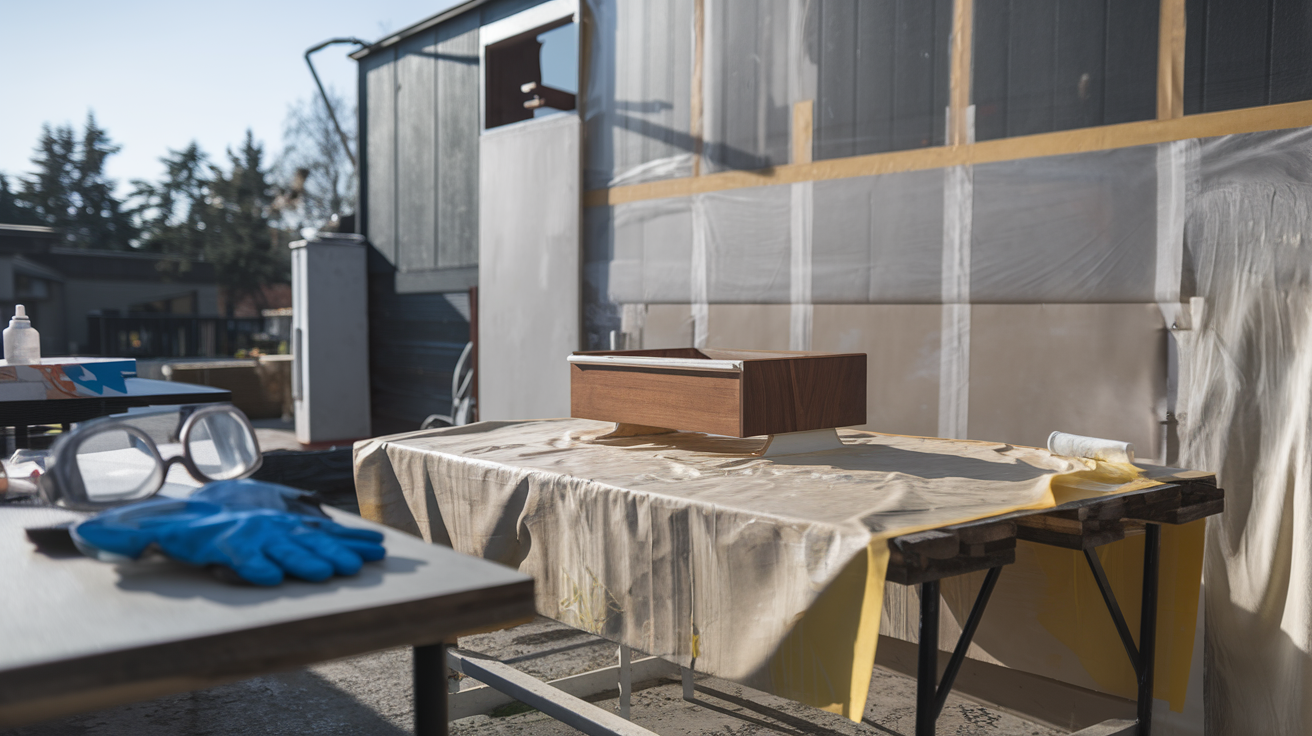
Pick an open area where air moves freely. Painting outside is best, but if that’s not possible, open windows and use a fan to push fumes out.
Lay down a drop cloth or old sheet to protect the floor or ground from paint mist. Tape off anything nearby you don’t want painted.
Wear a mask to protect your lungs, goggles to keep paint out of your eyes, and gloves to keep your hands clean. This step keeps both you and your space safe.
Step 2: Clean the Surface
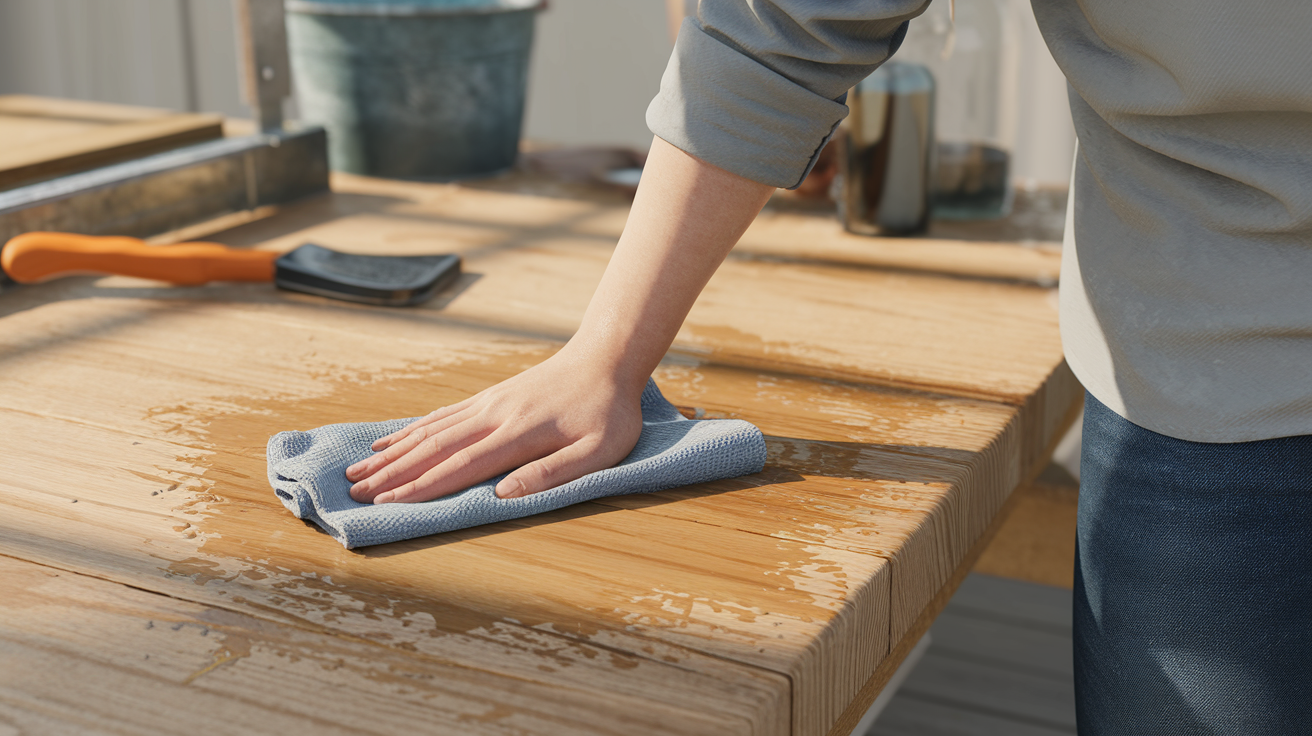
Use a damp cloth to wipe away dust, dirt, or grease. For sticky spots, use mild soap or a little vinegar mixed with water.
Let the surface dry fully before moving on. Paint won’t stick well if the wood is dirty or damp. Cleaning first helps the next steps work better.
Step 3: Sand the Wood
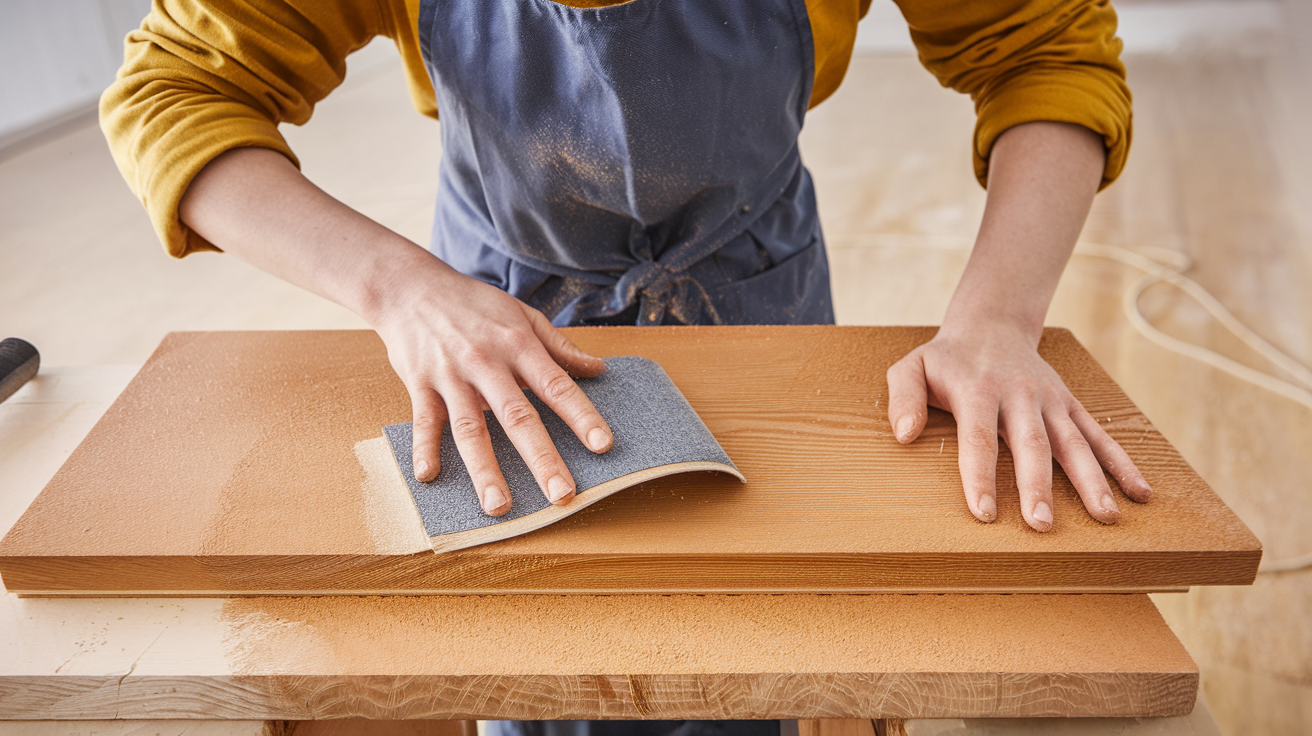
Sanding helps the paint stay on and look smooth. Start with medium-grit sandpaper, like 120 or 150. This removes rough patches or old paint.
Then, use fine-grit sandpaper, like 220, to smooth things out. Always sand in the same direction as the wood grain.
After sanding, wipe off all the dust with a tack cloth or a clean, dry rag. Don’t skip this step—it makes a big difference in the end result.
Apply Primer (If Needed):
Primer helps the paint hold better and look more even. It also blocks stains from bleeding through the paint, which can happen with old or dark wood.
Use a primer that’s made for spray paint and works with wood. If the wood is bare, stained, or has been painted before, primer is usually a good idea.
Let it dry fully before painting. Follow the time listed on the can.
Step 4: Choose the Right Spray Paint
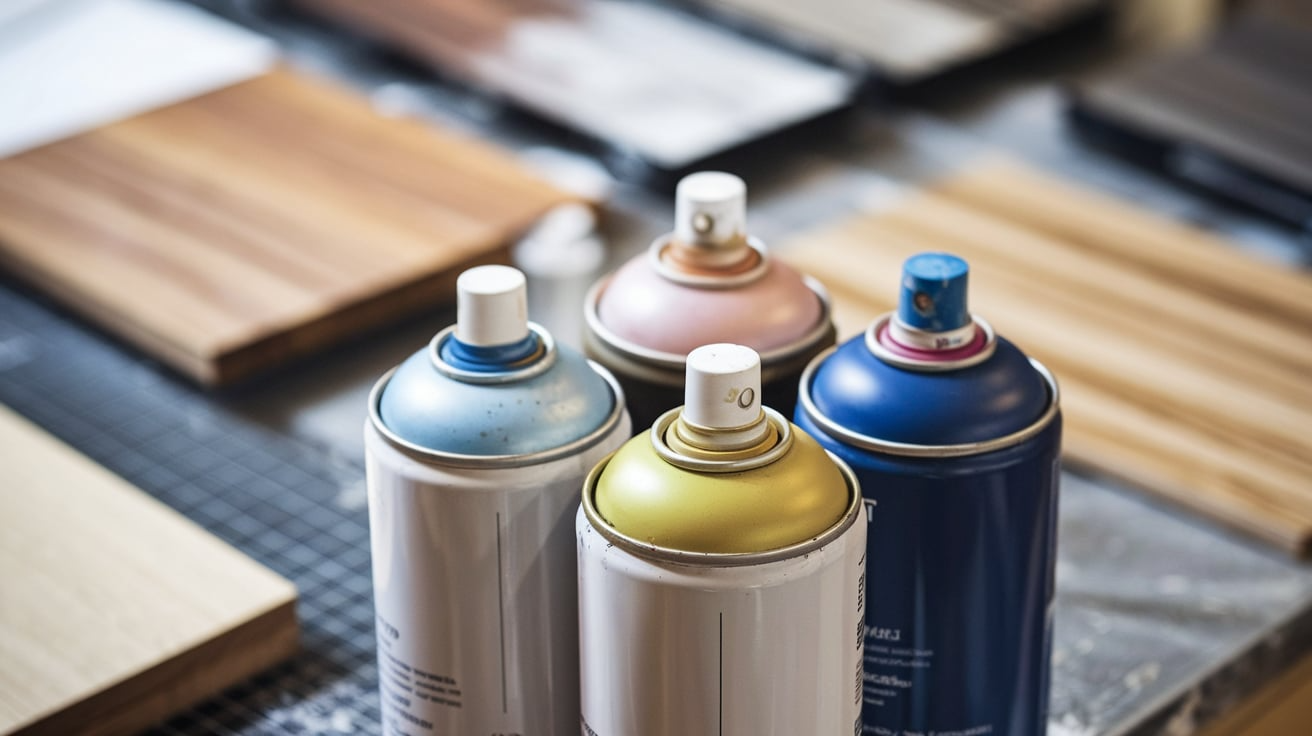
Pick a spray paint that works on wood. Read the label to make sure it’s a good fit. Here are a few common types:
- Enamel: Dries hard and holds up well
- Acrylic: Dries quickly, water-based, and easier to clean
- Chalk: Has a matte finish and works well for furniture
Spray paints come in different finishes, too. The most common are matte, satin, and gloss. Pick one based on the look you want. Also, check if it’s meant for indoor or outdoor use, depending on your project.
Step 5: Apply the Paint
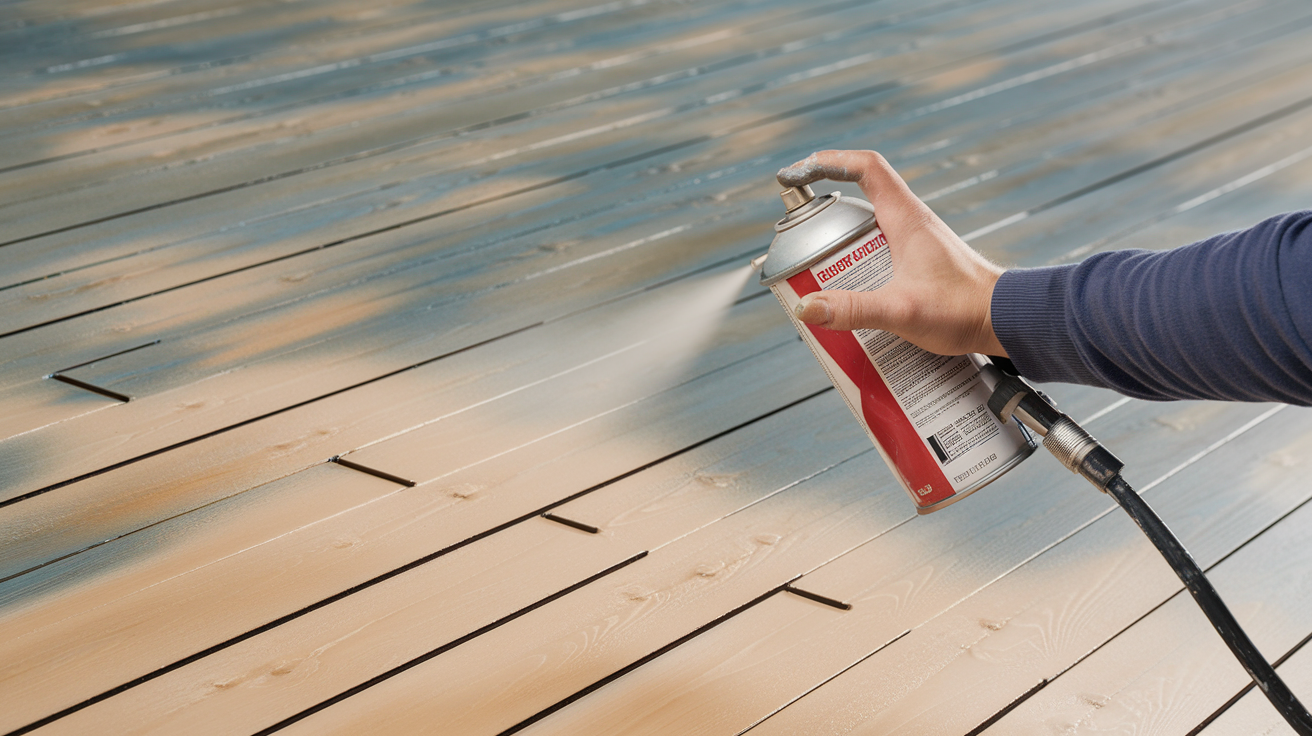
Shake the can well—keep shaking for about a minute after the mixing ball starts moving. Hold the can 8 to 12 inches away from the surface.
Use long, even strokes, and move your arm steadily across the wood. Don’t stay in one spot too long, or it can drip. Overlap each stroke slightly to avoid thin spots.
Start with a light coat. Let it dry, then add another. Two or three light coats work better than one heavy coat. Heavy coats take longer to dry and are more likely to drip or run.
Step 6: Apply a Clear Topcoat
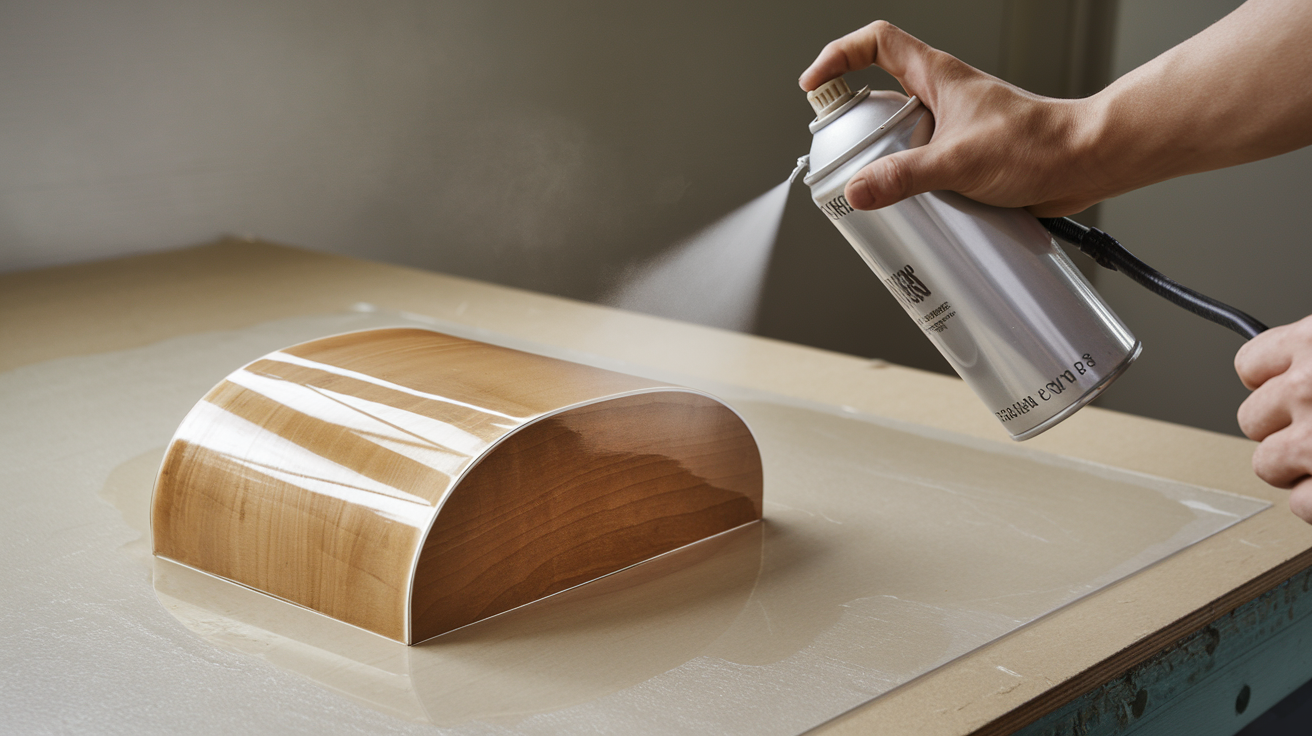
Once the color looks even and fully dry, you can add a clear topcoat if you like. This helps protect the surface from scratches, moisture, and daily use.
It’s a good step for things like tables, chairs, or anything that gets touched often. Spray-on polyurethane and spray lacquer are two good options.
Make sure the topcoat is safe to use with the type of paint you used.
Let each layer dry before applying the next one. Two light coats are usually enough.
Step 7: Let It Cure Fully
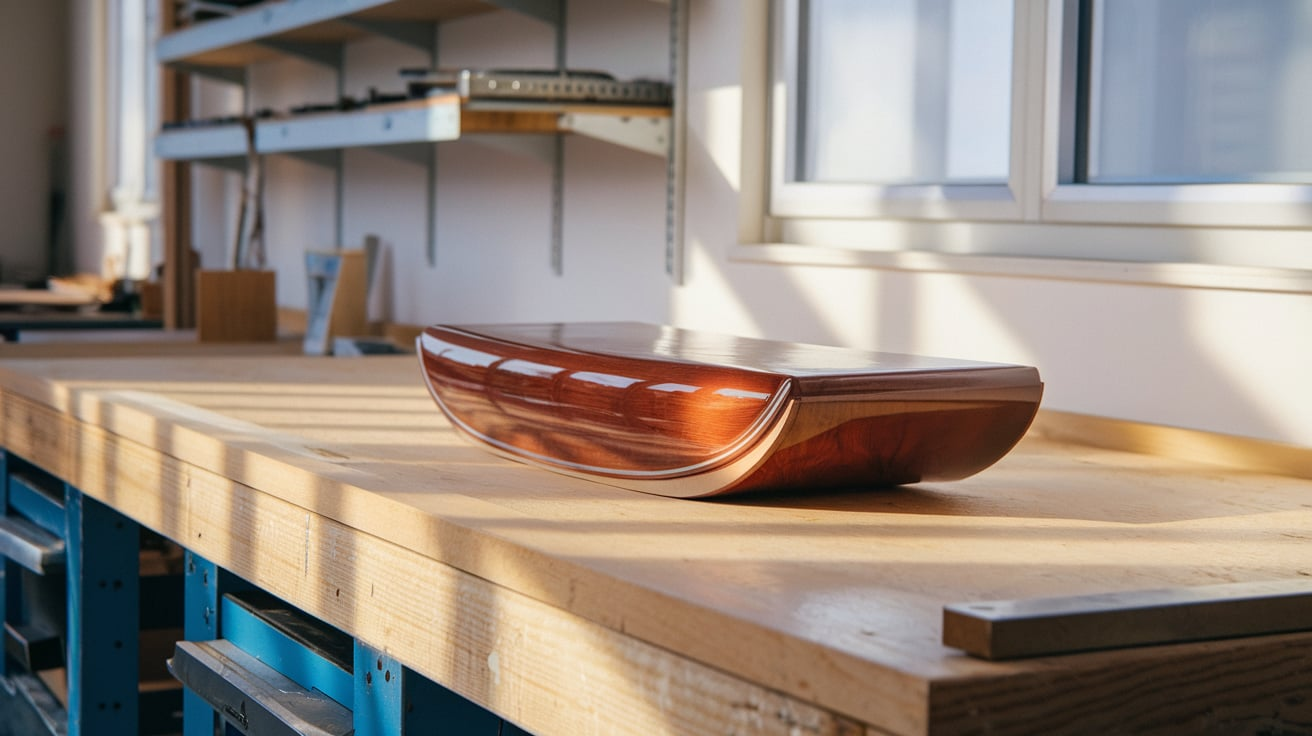
Even if the paint feels dry to the touch, it has not fully cured. Curing means the paint has hardened all the way through.
This can take 24 to 48 hours or more, depending on the paint type, the number of coats, and the weather.
Avoid placing objects on the surface or using it heavily until it’s fully cured. If you rush it, the paint could dent or peel.
Tips for a Smooth, Even Finish:
- Use several light coats instead of one heavy one.
- Avoid painting in high humidity or extreme heat.
- Keep the spray nozzle clean. If it clogs, turn the can upside down and spray until only air comes out.
Spray Painting Wood Without Sanding
You can spray-paint wood without sanding it, but it depends on the surface and the paint you use. Some spray paints are made to stick to smooth surfaces and say “paint and primer in one” on the label.
These are made for quick jobs where you want to skip sanding. Another option is using a liquid deglosser, which helps paint stick by dulling glossy surfaces.
It’s easy to wipe on and doesn’t leave dust behind. Still, sanding gives you a cleaner base and better long-term results.
If the surface is rough or has peeling paint, a quick sanding is worth the time. It helps your project last and look better.
Common Challenges When Spray Painting Wood
- Blotchy finish: Often caused by uneven spray distance. Keep steady and overlap each pass.
- Bubbling/cracking: This happens if you spray too thick or paint over uncured layers.
- Sticky surface: Usually means it hasn’t fully dried or cured.
- Runs or drips: Let dry, then sand lightly and re-coat with a light spray.
Project-Specific Tips
- Furniture (tables, dressers): Light sanding and primer help paint last longer.
- Small decor items: Use a turntable or a lazy Susan to reach all sides evenly.
- Outdoor wood: Use weather-resistant paint and topcoat for durability.
Safety Tips and Cleanup
Spray paint can release strong fumes, so always work in a space with fresh air. Wear a mask and gloves to keep yourself safe.
When you’re done, toss empty cans properly and clean up any mess with the right materials.
- Always wear a mask to avoid inhaling fumes.
- Keep paint away from kids and pets.
- Clean overspray on hard surfaces with paint thinner or rubbing alcohol if safe.
Conclusion
You’ve now covered all the basics, from surface prep to choosing the right spray paint to fixing common problems.
This guide helps you take the guesswork out of the process and gives you clear, simple steps you can follow.
It’s not about getting it perfect on the first try. It’s about feeling more comfortable each time you pick up the can. A little time and effort go a long way, especially when you want your project to last.
If you’re looking for more paint ideas, how-tos, or product comparisons, check out the other blogs on the site. There’s plenty more to learn and try.


