How to Build a Simple Cabinet Box: A Beginner’s Guide
Building your cabinet box is easier than you might think. It’s a basic woodworking project that anyone can handle with the right tools and know-how.
These boxes work great in kitchens, garages, or as extra storage throughout your home. You don’t need fancy equipment – just some simple materials and clear directions.
In this guide, we’ll walk through everything: what materials work best, the tools you’ll need, step-by-step instructions, and how to keep your cabinets looking good for years.
Let’s start building!
Why Build Your Cabinet Box?
You control the exact size to fit your space perfectly. Store-bought options often come in limited sizes. Making cabinets yourself costs much less than buying pre-made ones. There’s something special about knowing you built those cabinets with your own hands.
When you make your cabinet box, you control the exact size to fit your space perfectly. Store-bought options often come in limited sizes that might waste space or not fit at all.
Making cabinets yourself costs much less than buying pre-made ones, especially for larger projects. A typical DIY cabinet can cost 50-70% less than retail options.
There’s also something special about looking at your kitchen or garage and knowing you built those cabinets with your own hands. Plus, you choose exactly the type of wood, finish, and style that matches your home.
Tools & Materials Needed for Your Cabinet Box
You don’t need fancy tools to build great cabinets. A circular saw, drill, and pocket hole jig handle most of the work.
Good materials matter – get cabinet-grade plywood and the right screws for strong joints. The right materials make all the difference in how your cabinets look and last.
Tools
- Circular saw or table saw
- Power drill
- Pocket hole jig
- Tape measure and pencil
- Clamps (helpful but optional)
- Safety gear (glasses, gloves)
Materials
- ¾” plywood (cabinet-grade, birch, maple, oak, or pre-primed)
- 1¼” pocket hole screws
- Wood glue
- Edge banding (if not using face frames)
- Sandpaper (120 and 220 grit)
- Paint or stain for finishing
Wood Choices
Most cabinet makers choose plywood. Look for birch, maple, or oak options, which offer a good balance of looks and strength. Birch tends to be more affordable and has a light, consistent grain.
Maple costs more but has a smoother, more uniform appearance that beautifully takes paint. Oak plywood has a strong grain pattern that looks great when stained. Baltic birch, with its multiple thin layers, offers superior strength for cabinet boxes.
MDF provides a very smooth surface that’s great for painting, but it weighs more and doesn’t handle moisture well. Some builders use MDF for cabinet doors while using plywood for the boxes.
Pre-primed plywood saves time on painting projects since it is ready for the final coat without extra prep work. Each type has its place, depending on your budget and the look you want for your finished cabinets.
Other Considerations
The thickness of your wood matters a lot. Most experts suggest a ¾” thickness for the sides, top, and bottom of your cabinet to make sure it stays strong and doesn’t bend.
For the back panel, you can use either ¼” plywood with supports or full-thickness wood. The thinner option saves money, while the thicker back adds strength.
When it comes to putting everything together, you can use regular screws, pocket hole systems, or metal brackets. Pocket holes look cleaner since they hide on the inside of your cabinet.
Planning Your Cabinet Box Build
Good planning prevents mistakes and wasted materials. Measure your space carefully and decide on exact dimensions. Think about how you’ll use the cabinets and what style fits your home. Draw a simple sketch before cutting any wood.
Good planning saves time and reduces waste. Start by carefully measuring your space. Write down the exact height, width, and depth you need for each cabinet. Remember to account for countertops (usually 1.5″ thick) when planning kitchen cabinets.
Draw a simple sketch showing all your cabinets. You can use graph paper or try free online planning tools. Mark where each cabinet will go and what size it needs to be.
Think about how you’ll use each cabinet. Will you need shelves, doors, or drawers? Plan this now so you can build the right support. Also, decide if you want face frames (the wood border around the front) or a more modern look without frames.
Step-by-Step Guide to Building a Simple Cabinet Box
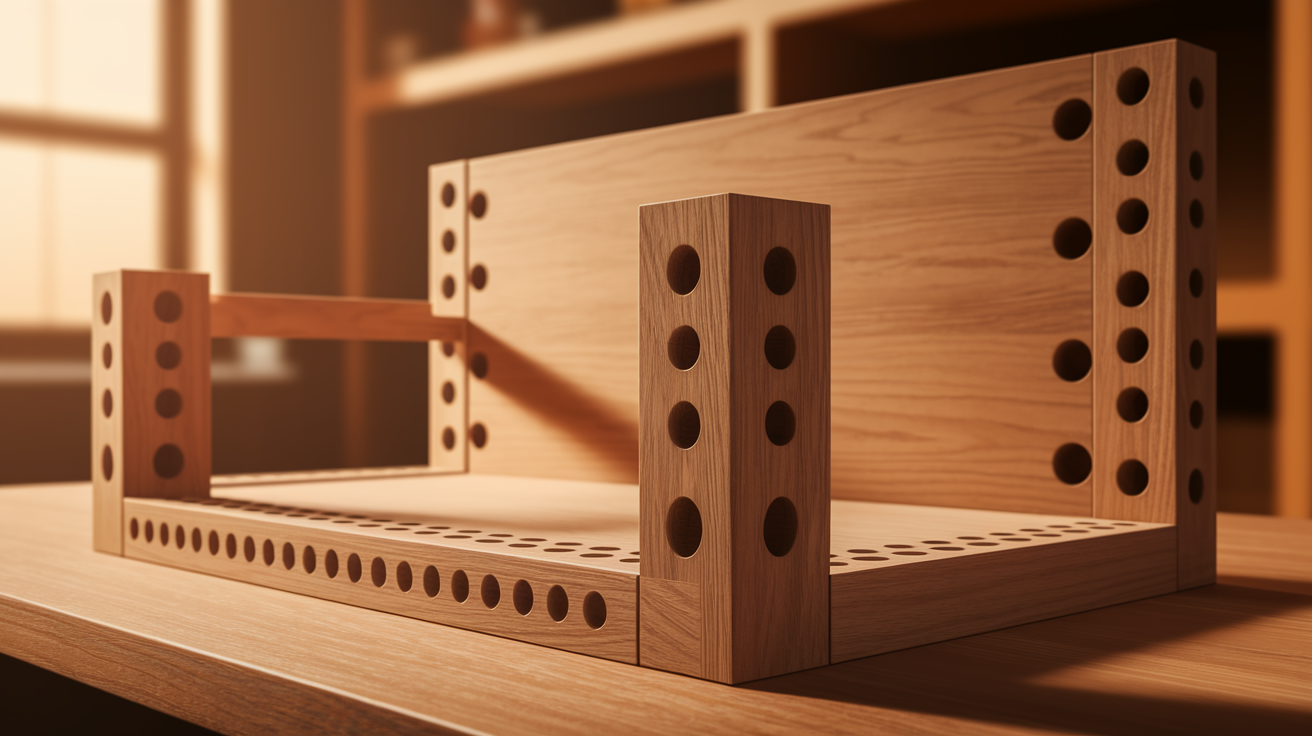
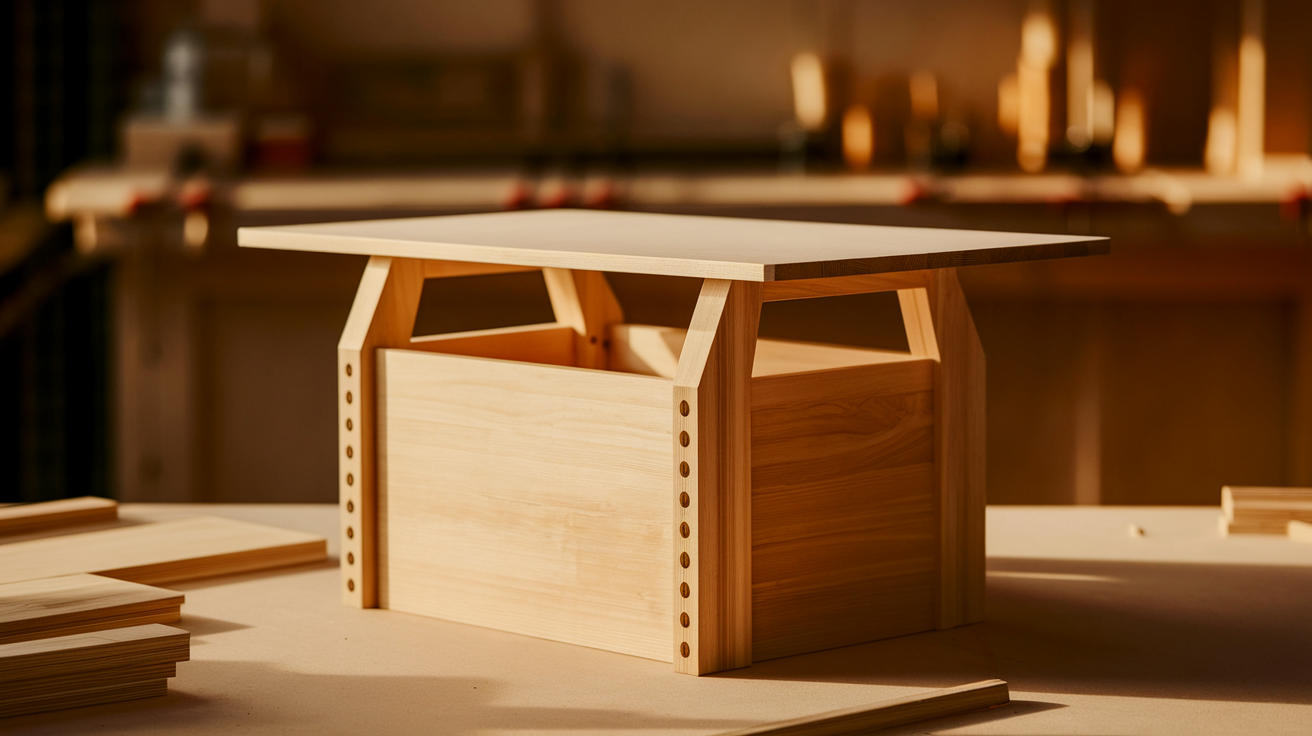
Building a cabinet box follows a simple pattern. Cut the pieces, drill pocket holes, attach the bottom to the back, add the sides, and finish with top supports. Check that it’s square before finishing.
Step 1: Cut Your Plywood Pieces
Get your measurements right the first time – measure twice, cut once. For a standard base cabinet (36″ wide × 24″ deep × 34.5″ high), you’ll need to cut: two sides at 24″ × 31″, one back at 34.5″ × 31″, one bottom at 34.5″ × 23.25″, and two top stretchers at 34.5″ × 3.5″.
When cutting large sheets, have the store make the first cuts to make them easier to handle, or use a straight edge as a cutting guide with your circular saw.
Label each piece as you cut it to avoid confusion later. The cleaner your cuts, the better your cabinet will fit together. If you’re using a circular saw, cut with the good side down to prevent splintering on the visible surface.
For multiple cabinets of the same size, create a cutting template to ensure consistency across all pieces.
Step 2: Drill Pocket Holes
Place pocket holes along the edges that will connect to other pieces. Drill holes along both height sides of the back panel. For the bottom panel, add holes on both depth sides and one width side.
Put two pocket holes on each end of your top stretchers. Space holes about 6-8 inches apart, with the first hole about 1 inch from each end. These holes create strong joints that stay hidden inside your cabinet.
Set your pocket hole jig to the correct depth for ¾” material. Vacuum away sawdust between drilling holes to keep your work clean.
Test your pocket hole settings on scrap wood first if you’re new to this technique. The right depth ensures screws pull the pieces together without poking through the other side.
Step 3: Assemble the Box Frame
Start by placing the back panel on your work surface with the pocket holes facing down. Apply wood glue along one edge and attach the bottom panel, making sure the edges align perfectly.
Secure with pocket hole screws. Next, add glue to the connecting edges of your side panels and attach them to the back and bottom. Make sure the front edges line up well.
Finally, attach your top stretchers at the front and back of the top opening to keep the box stable and provide something to attach a countertop to later.
Work on a flat surface to prevent warping as you build—drive screws at a medium speed to avoid stripping the holes or splitting the wood. Wipe away excess glue right away with a damp cloth before it dries. Let the glue set for at least an hour before moving the cabinet.
Step 4: Check for Square
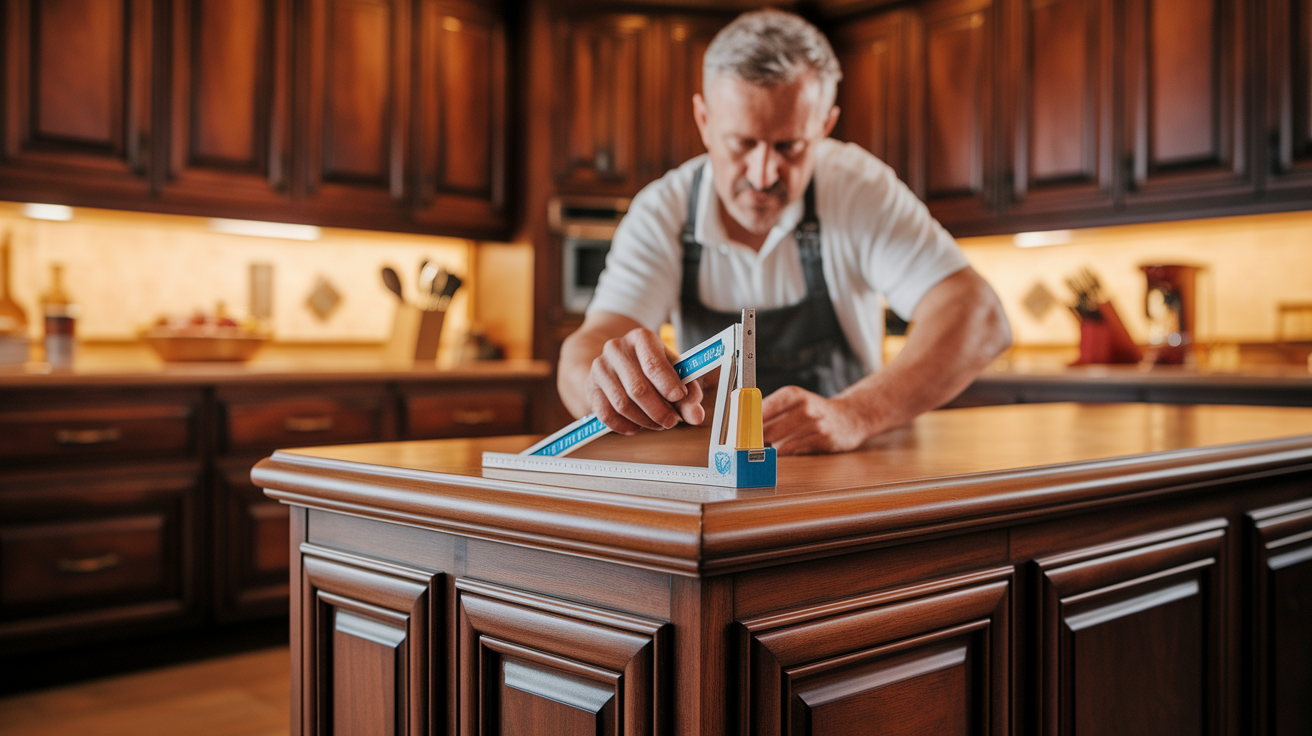
This step matters more than you might think. Measure diagonally from corner to corner in both directions. If both measurements match, your cabinet is square. If not, loosen some screws and adjust until the measurements match.
You can gently push on corners to make small adjustments. Using a speed square helps check individual corners. Take your time here—a square cabinet will fit doors and drawers much better later.
Check for square multiple times during assembly, not just at the end. Place the cabinet on a flat surface and check if it sits without rocking.
Look along all edges to make sure they’re straight. If you find the cabinet is slightly out of square, you can sometimes fix it by clamping it diagonally and tightening the screws while under tension.
Step 5: Add Finishing Touches
You have two main options for finishing the front edges. For a classic look, build and attach a face frame using 1×2 lumber. For a more modern look, apply edge banding to cover raw plywood edges.
If you plan to paint, you can also use wood filler or spackle on the edges for a smooth finish. Sand all surfaces well before applying paint or stain. Focus extra attention on edges and joints for a clean, professional look.
When applying edge banding, trim it slightly oversized, then use a sharp utility knife or edge banding trimmer to clean up the edges. Fill any small gaps at joints with wood filler and sand smooth.
Prepare for painting by wiping down all surfaces with a tack cloth to remove dust. For the best results and longest-lasting finish, apply primer to raw wood before painting.
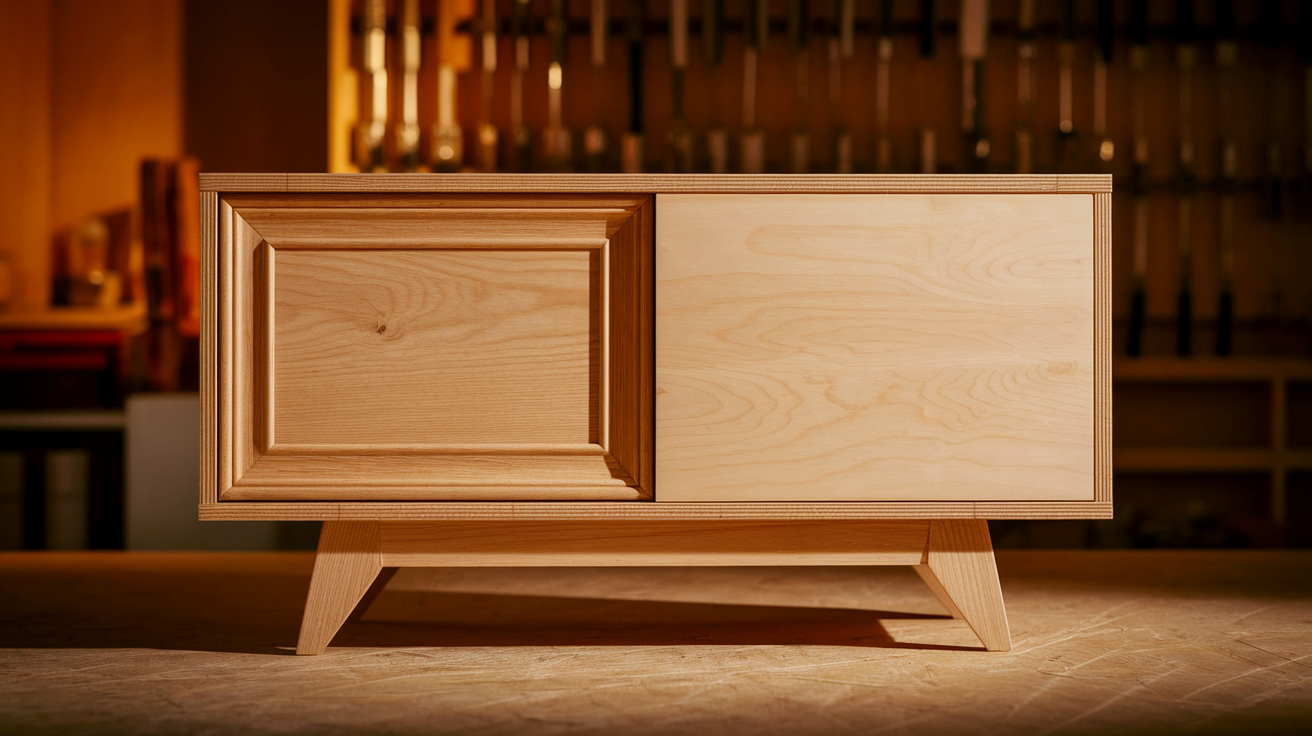
Alternative Cabinet Box Designs
Cabinet boxes come in different styles to match your needs. The three main types are frameless (modern, more space inside), face frame (classic look, stronger), and open shelving (quick access, less expensive).
1. Frameless Cabinets
These modern-style cabinets skip the face frame, giving you more storage space inside and a clean, simple look outside. The doors attach directly to the cabinet box sides. This style needs extra attention to edge finishing since all plywood edges might show.
Use good quality edge banding or laminate to cover raw edges. Frameless cabinets work great in modern homes and make it easier to access what’s inside.
When building frameless cabinets, the exact measurements become even more important. You’ll need perfect 90-degree corners and precise drilling for hinges. Many European kitchens use this style for its clean lines and maximum storage capacity.
2. Face Frame Cabinets
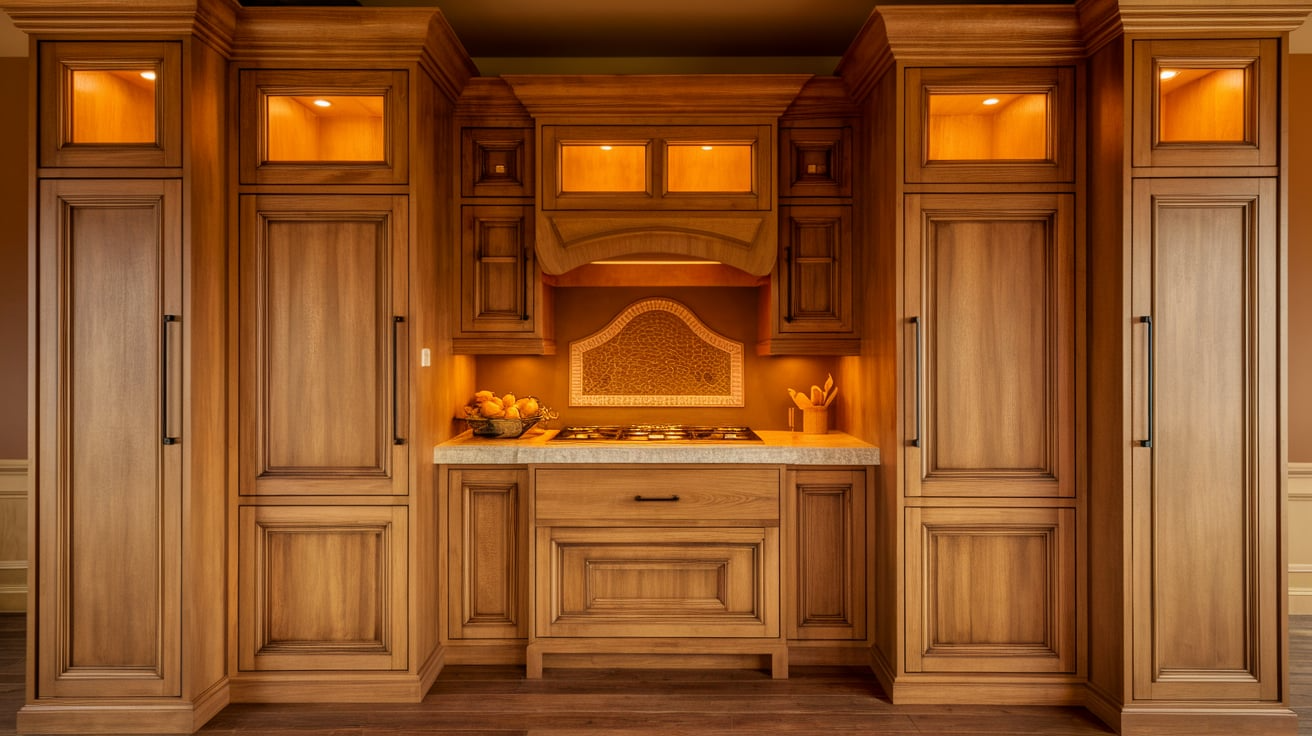
This classic style adds a frame to the front of your cabinet box. The frame, usually made from 1×2 solid wood, adds strength and a traditional look.
Face frames make the cabinet stronger overall and give you more options for door mounting. They work well in traditional homes and kitchens.
The frame does take up some space, making the opening slightly smaller than the box itself, but it covers all plywood edges for a finished look. Face frames can be attached with pocket holes or regular wood screws through the front.
You can create basic frames or add details like bead molding for more decorative styles. These cabinets hide minor mistakes better than frameless options.
3. Open Shelving Cabinets
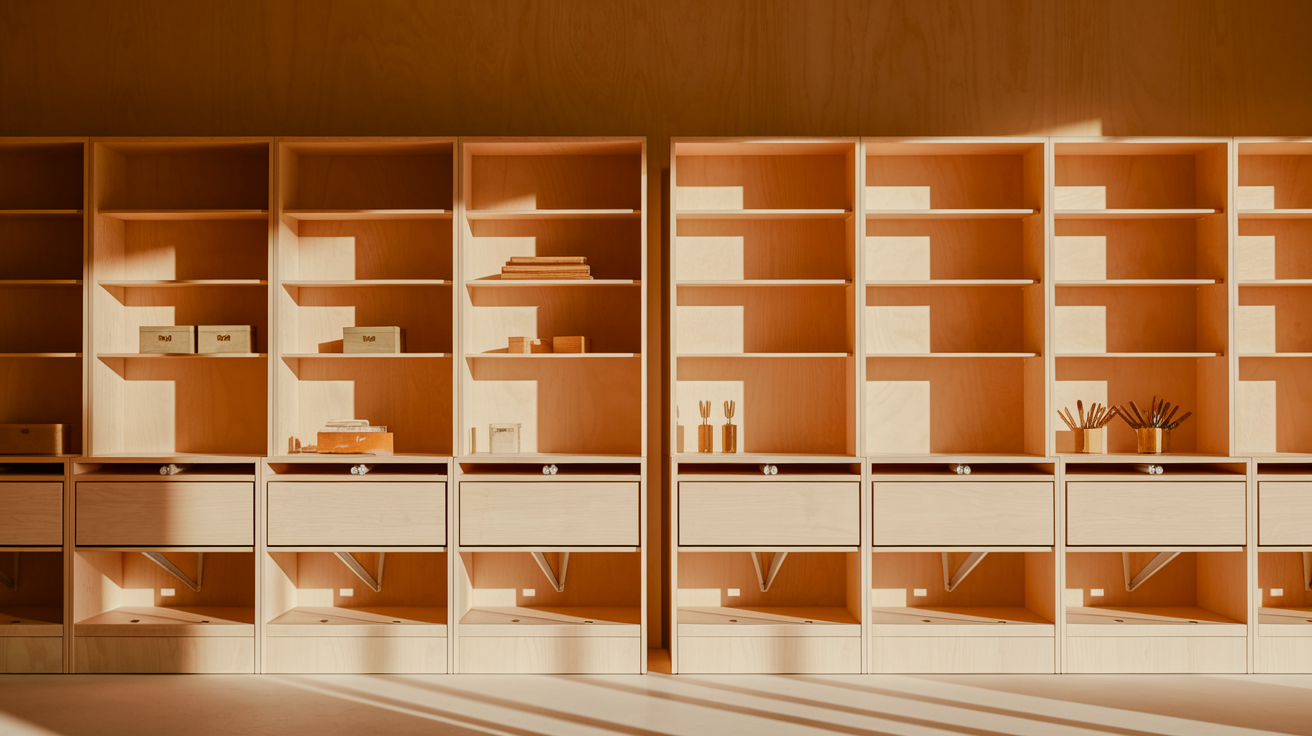
Skip the doors completely for a simple, accessible storage option. Open shelving works great in workshops, craft rooms, or as pantry storage. Build the basic box, then add adjustable shelf supports for flexibility.
These cabinets cost less without doors and allow quick access to items. Since everything will show, make sure to finish all visible surfaces well. Use good-quality plywood for shelves to prevent sagging under weight.
Open shelving lets you show off nice dishes or collections while keeping everything within easy reach. For kitchen use, consider your cleaning habits – open shelves collect dust faster than closed cabinets.
Brackets under longer shelves help prevent drooping when loaded with heavy items.
Common Mistakes & How to Avoid Them
Small errors can cause big problems later. Taking time to measure correctly, use enough pocket holes, and check that your cabinet is square will save lots of trouble when adding doors and drawers.
Even experienced woodworkers make mistakes sometimes. Here are some common ones to watch out for when building your cabinet boxes:
- Misaligned cuts: Always double-check measurements before cutting and use a straight guide
- Skipping pocket holes: This leads to weak joints that might fail over time
- Forgetting to check for square: Results in doors that don’t fit right and drawers that stick
- Using wet or warped wood: Causes your cabinet to warp as it dries
Cabinet Maintenance Tips
Simple care keeps cabinets looking great for years. Clean spills quickly, check joints every few months, and touch up finishes as needed. A little maintenance prevents bigger problems and extends cabinet life.
With some basic care, you can keep your cabinets looking great for years. Clean spills right away to prevent staining or damage to finishes.
For regular cleaning, use a soft cloth with mild soap and water, avoiding harsh chemicals that can damage wood or finishes.
Check screws and joints every six months or so – tighten any that have come loose. This prevents bigger problems later. For painted cabinets, keep some extra paint for touch-ups when needed.
Wood cabinets should be given a fresh coat of finish every few years to maintain their look and protection. Pay extra attention to areas that get heavy use, like near handles and pulls.
Clean inside cabinets at least once yearly, removing everything to wipe down all surfaces.
Conclusion
Building your cabinet box is much simpler than most people think. With basic tools, some plywood, and the steps we covered, you can create custom storage that fits your space perfectly.
The beauty of DIY cabinets is that you can save a lot of money while getting exactly what you want. Remember to check that your box stays square during assembly, and take care of the finished product with regular cleaning and maintenance.
Now you’re ready to tackle your simple cabinet box project!