DIY Plate Rack: A Complete Guide
A plate rack is a wall-mounted shelf designed to hold and display plates.
You often see them in kitchens where space matters or where people want to show off their favorite dishes without using up cabinet space.
Making one yourself doesn’t take much. If you like woodworking or home projects, this can be a simple and rewarding build.
Plus, you get to choose the size, wood, and finish that fit your space and taste.
This guide is for you if you have some basic tools and a little time. Even if you’re just getting started with DIY, the steps here will help you move through the process in a simple way.
What is a DIY Plate Rack?
A DIY plate rack is something you build yourself to hold and display plates. It’s usually made of wood and mounted on a kitchen wall or above a counter.
You can find different styles:
- Open-shelf racks let plates lean back and rest in grooves.
- Framed racks look more like boxes with shelves inside.
- Wall-mounted styles are flat and often used like art, with plates standing upright between rails or dowels.
Things to Consider Before You Build
Before you begin, take time to plan where your plate rack will go. Look at the space and think about the size and layout.
Keep your budget in mind, especially if you’re buying new materials. It also helps to know what tools you have and how comfortable you feel using them.
Intended Space
Start by looking at the space where your rack will go. Measure the width, height, and depth of the wall or area. Make sure there’s enough clearance for plates.
You’ll want to leave room around the sides so the rack doesn’t feel squeezed in. Also, check what’s behind the wall; studs will help you secure the rack better.
If you’re adding it above a counter or between cabinets, think about how it lines up with nearby fixtures.
Style Preferences
Do you want a farmhouse look or something cleaner and more modern? Consider the style of your kitchen. That will help you decide what kind of wood and finish to use.
You can leave the wood bare for a more natural look or paint it for color. Some people add trim pieces or grooves for extra detail. The style you pick should match the rest of your space so that the rack feels like it belongs there.
Finishing and Decorating
Choose a finish that fits your kitchen. You can use a clear stain to bring out the wood grain or paint it to match cabinets or shelves nearby.
Seal it with a clear coat to protect it from splashes and grease. Once dry, start arranging your plates. You can also add bowls, cups, or even framed recipe cards.
The rack doesn’t have to stay the same year-round; you can swap things out to keep the space fresh and useful.
Tools and Materials Checklist
Before you get started, make sure you have everything you need on hand. Having the right tools and supplies nearby makes each step go more smoothly.
To build a strong and simple plate rack, you don’t need a full workshop, just a few basic items.
| Item | Purpose |
|---|---|
| Wood (pine, poplar, reclaimed) | Used for the side panels, back panel, and shelves |
| Dowels or notched grooves | Help hold plates in place securely |
| Wood screws, brad nails, glue | Fasten the parts together during assembly |
| Kreg jig (optional) | Makes strong joints by drilling pocket holes |
| Sandpaper | Smooths wood surfaces before painting or staining |
| Paint or stain | Adds color or brings out the wood’s natural look |
| Brush or rag | Used to apply paint, stain, or clear finish |
Step-by-Step Guide for DIY Plate Rack
This section walks you through how to build your own plate rack. The steps are simple and use basic tools you might already have at home.
You’ll get a clear idea of how to plan, cut, build, and hang your rack. Take your time with each step for the best results.
Step 1: Plan and Measure

Start by measuring your wall space. Decide how tall, wide, and deep your rack should be.
Plates usually need about 8–10 inches of depth, depending on their size and shape.
Use painter’s tape on the wall to outline your rack’s shape. This makes it easier to plan shelf spacing and helps you see how it will fit with other items around it.
It’s also a great way to make changes before you cut any wood.
Step 2: Cut and Prepare Materials
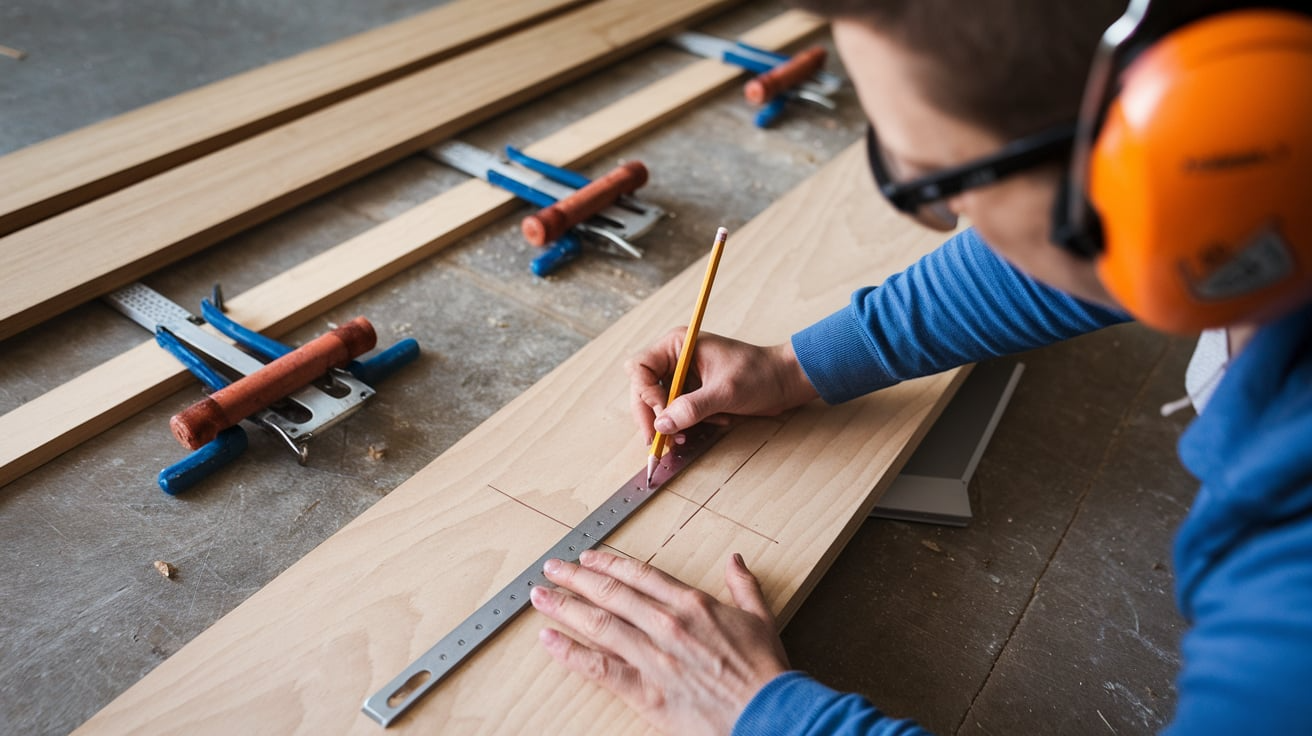
Cut your wood to size using a circular saw or hand saw.
You’ll need two side panels, a back panel, and two to three shelves, depending on the height of your rack. Add trim if you’d like a bit of extra shape or support.
Once everything is cut, sand the edges and faces of each piece. Sanding helps prevent splinters and gives your paint or stain a smooth surface to stick to.
Don’t skip this step—it makes a difference later.
Step 3: Assemble the Rack

Start by attaching the side panels to the back panel using wood glue and screws. Keep everything square so the shelves fit neatly.
Mark where you want the shelves to go. Then, attach them using dowels, support strips, or cut grooves.
Both options work well to hold plates. Add trim pieces to the top or bottom if you want to frame the rack.
Let the glue dry fully before moving or installing the rack. A level surface is helpful during this part.
Step 4: Mounting the Rack
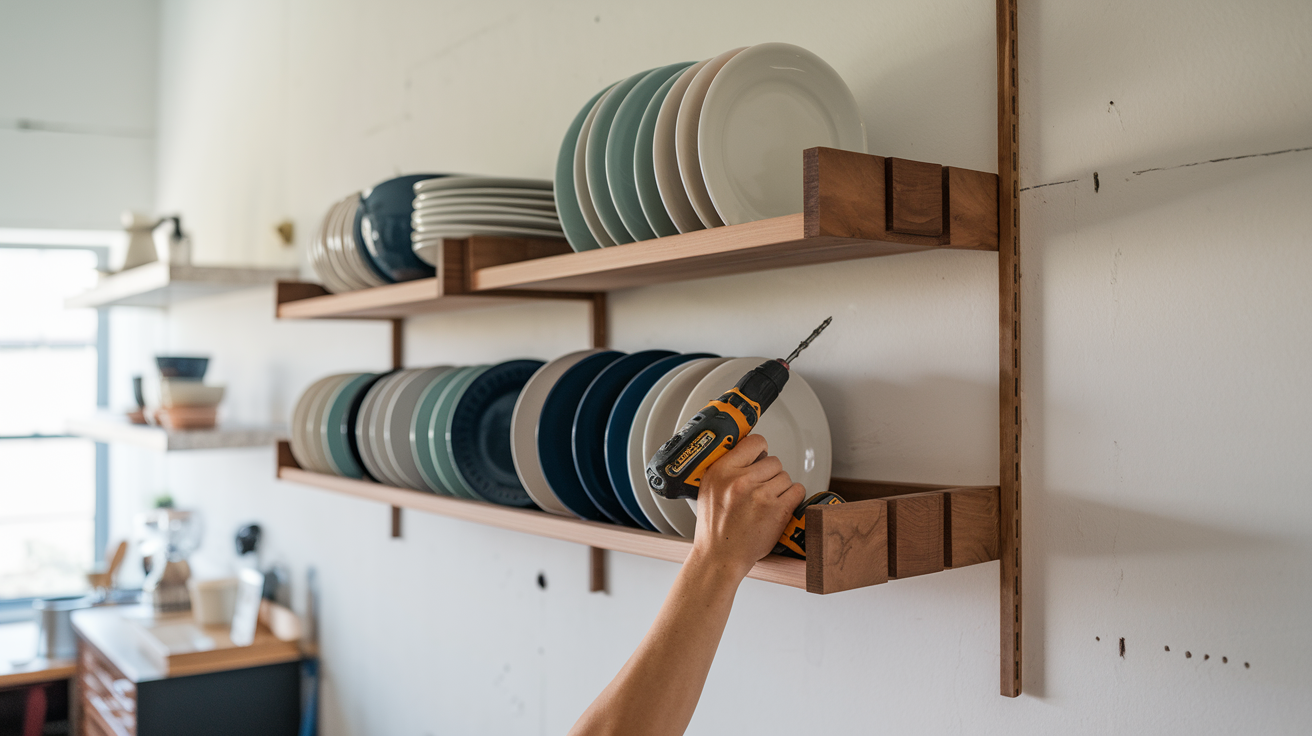
Use a French cleat system if you want the rack to sit close to the wall and hold more weight. If that’s not an option, wall anchors or screws drilled into studs also work well.
Hold the rack against the wall before final mounting. Make sure it’s level to keep your plates from tipping forward or sliding.
This step matters just as much as building the rack itself.
Alternatives to a Traditional Plate Rack
If you don’t want to build a full plate rack, there are other simple options. Hanging plates with hooks can give you a similar display without taking up shelf space.
Shadow box frames work well for single or smaller sets of plates.
You can also turn small bookshelves or wooden crates into plate holders with a few adjustments. These ideas are easy to try and work in many types of spaces.
You don’t always need a full shelf. Try these ideas:
- Hooks and wire: Hang plates flat against the wall like artwork.
- Shadow box frame: Display one or two special plates in a deep frame.
- Repurposed bookshelves or crates: Turn them on their side and add dowels.
Conclusion
You now have a clear plan to build a plate rack that fits your space and style. From measuring your wall to picking the right materials, the process is broken down in a way that feels simple to follow.
Even if you’re new to woodworking, these steps will help you move forward with more ease and less stress. You’ve also seen different ways to make the rack your own, from finishes to wall-mount options.
This project gives you more than storage. It gives you the chance to create something useful with your own hands. Now it’s your turn to build it in a way that feels right for your home.
Ready for more simple builds? Check out our other DIY guides for easy, useful projects that add function and style to your space.