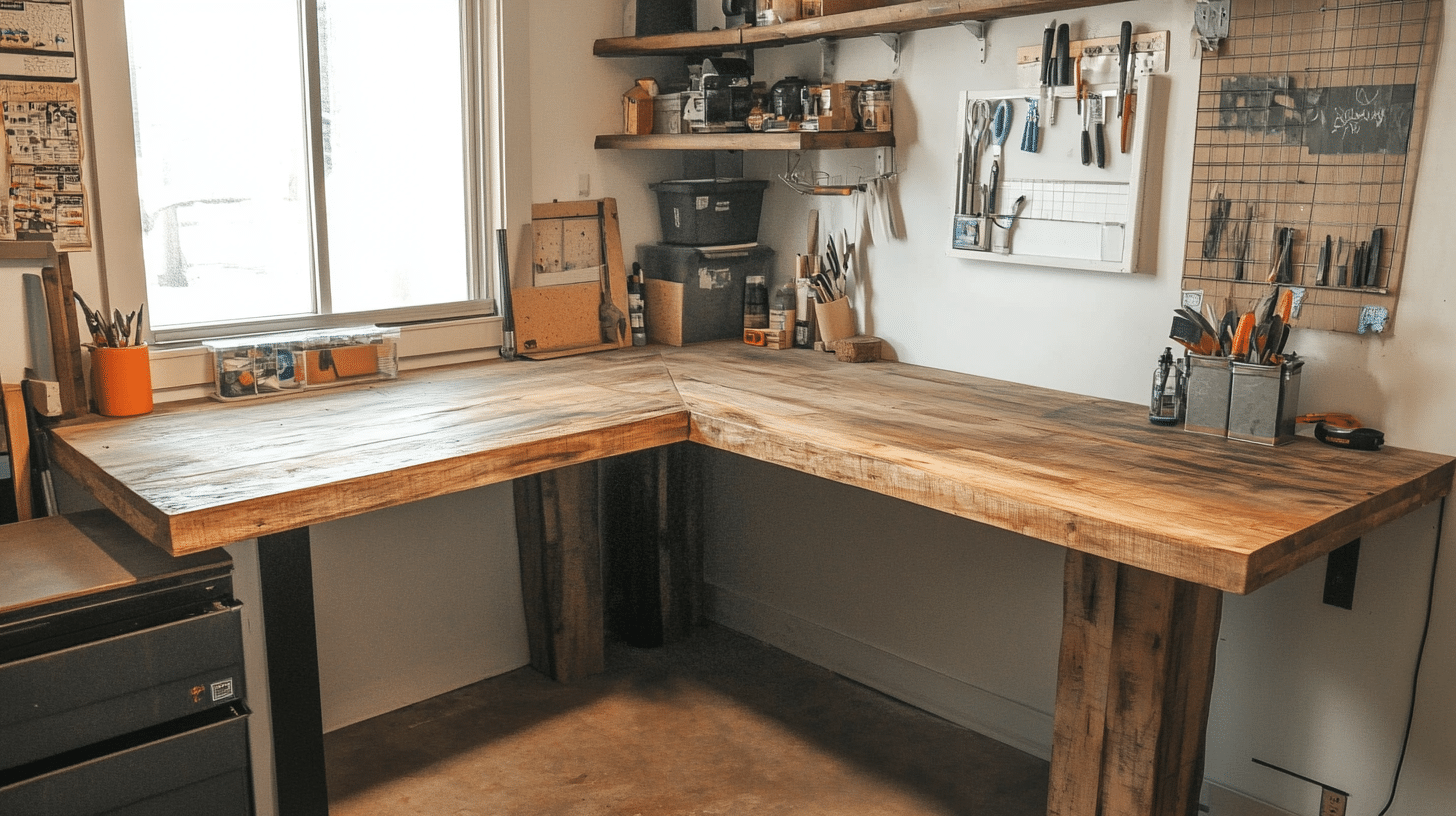
How to Build a DIY Corner Desk: Step-by-Step Guide
Do you need a desk that fits perfectly in your corner space? A custom DIY corner desk might be your answer. This project lets you create a workspace that matches your needs without breaking the bank.
In this guide, we’ll walk through building a solid corner desk. You’ll learn how to make sturdy legs from basic lumber, craft a smooth work surface, and add useful features like built-in power access. Best of all, you’ll save money while getting exactly what you want.
You can build this desk over the weekend with basic tools and materials from your local hardware store. Whether working from home or needing a study space, this DIY corner desk project delivers quality results for about a third of store-bought prices.
Cost Analysis: DIY Corner Desk vs Store-Bought
Let’s break down the costs of building your DIY corner desk. We’ll compare it with similar store-bought options to show potential savings.
Basic Materials Cost
| Item | Quantity | Cost per Unit | Total Cost | Store-Bought Equivalent |
|---|---|---|---|---|
| 2×4 Lumber (8 ft) | 8 | $4.50 | $36.00 | Included in the desk price |
| Plywood Sheet (8×4) | 1 | $45.00 | $45.00 | Included in the desk price |
| Wood Screws | One pack | $5.00 | $5.00 | Included in the desk price |
| Wood Glue | 1 | $8.00 | $8.00 | Included in the desk price |
| Sandpaper | One pack | $3.00 | $3.00 | Included in the desk price |
| Finish (Stain/Paint) | 1 | $10.00 | $10.00 | Included in the desk price |
| Total DIY Cost | $107.00 | |||
| Store-Bought Desk | $250.00 |
Cost Saving Tips
Building your DIY corner desk offers clear savings over store-bought options. Here’s what to know:
- Buy materials during sales
- Share tool costs with friends
- Skip optional features at first
- Use simpler finishes
- Check local suppliers for the best prices
Additional Considerations
The total cost might vary depending on your location and material choices. Tool costs aren’t included since many can be borrowed or rented. However, investing in basic tools pays off if you plan to do more DIY projects.
Remember that your DIY corner desk will last many years if you take proper care. The savings increase when you factor in the desk’s durability and your ability to repair it.
Step-by-Step Guide to Creating a DIY Corner Desk
Building a custom corner desk? Follow these basic steps for a perfect fit.
Materials Needed and Tools Required
| Material | Description | Notes |
|---|---|---|
| 2×4 Lumber (8 ft) | Eight pieces | Main structural component |
| Plywood Sheet (8×4) | One sheet, 3/4-inch thick | Top surface of the desk |
| Wood Glue | Needed for joints | Essential for assembly |
| Clamps | Various sizes | For holding pieces while glue sets |
| Adjustable Feet with Nuts | For leveling the desk | Adds stability on uneven floors |
| Pocket Hole Screws | Various sizes | For assembling the frame |
| Pop-up Power Strip | One unit | Integrated power solution |
| Wood Finish Supplies | Stain, paint, or varnish | For final touches and protection |
| Safety Gear | Gloves, goggles, etc. | For personal protection during work |
| Tool | Description | Purpose |
|---|---|---|
| Basic Measuring Tools | Tape measure, ruler, etc. | For precise measurements |
| Circular Saw | For cutting lumber and plywood | Essential for main cuts |
| Jigsaw | For detailed cutouts | Needed for intricate cuts |
| Router with Bit | For clean hole cuts | Used for installing power strip |
| Pin Nailer | For attaching trim and details | Provides finishing touches |
| Pocket Hole Jig | For creating joints | Essential for frame assembly |
| Push Sticks | Safety tool for sawing | Keeps hands safe during cutting |
Step 1: Design and Measurements
Draw your DIY corner desk plan. Measure your space twice. Note the power outlet spots and desk height needed.
Step 2: Making the Legs
Cut 2x4s into thirds. Glue pairs together overnight. Shape into 3×3 posts. Taper legs from 3 to 1.5 inches. Add feet.
Step 3: Assembling the Frame
Cut plywood using measurements. Make frame strips at 3.75 inches. Join pieces with pocket holes and screws.
Step 4: Attaching the Legs
Mark leg spots on the frame. Add insert nuts to legs. Attach adjustable feet. Secure with pocket screws.
Step 5: Mounting the Desk Top
Place top on the frame. Apply glue—clamp edges. Add weight for pressure. Let dry.
Step 6: Installing the Power Strip
Mark the strip spot. Cut a hole with a saw. Clean the edges with a router. Secure the strip with a ring.
Step 7: Finishing Touches
Add edge trim. Sand smooth. Apply pre-stain—stain wood. Add three clear coats.
Step 8: Final Assembly
Secure all parts. Level the desk. Test power strip. Place in the corner.
Watch the detailed video tutorial below for guidance on building your DIY corner desk. The video shows exact cuts, measurements, and helpful tips to make your build easier.
Customization and Design Variations for Your DIY Corner Desk
Style Modifications
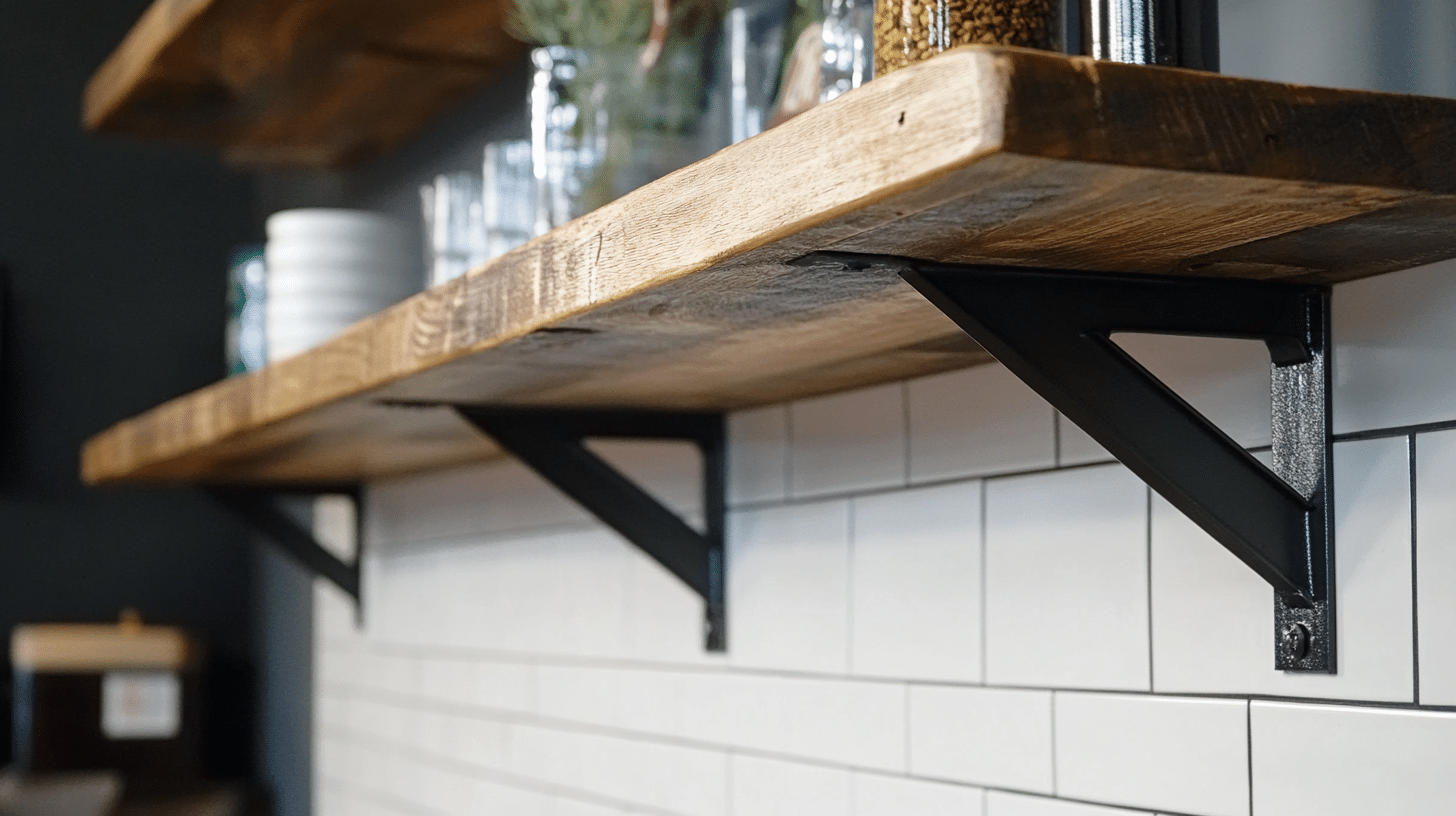
Your DIY corner desk should match your style. Consider using warm wood stains to blend with existing furniture. Metal hardware in black or brass adds a modern touch. The desk surface offers a perfect creative canvas – from natural wood grain to painted patterns.
Functional Enhancements
Think about how you’ll use your desk daily. A sliding keyboard tray makes typing more comfortable. Built-in charging spots keep devices ready. Under-desk LED strips provide soft lighting for evening work. Smart cable management keeps wires tidy and your workspace clean.
Personalizing Your Desk
Every workspace tells a story. Your DIY corner desk can reflect your needs and style. Create custom storage spots for your most-used items. Shape the surface size to fit your computer setup. Leave room for future changes as your needs grow.
Tips for Beginners to Build a Corner Desk

Simplifying the Build
First-time builders should focus on the basics. Start with store-cut wood to ensure straight edges. Simple joints work well for corner desks. Wood glue with screws creates strong connections. Take time to plan each step before cutting.
Learning Resources
Knowledge builds confidence. Local hardware stores often offer free building tips. Online videos show detailed steps for similar projects. DIY groups welcome questions from new builders. Many experienced crafters share their methods freely.
Common Mistakes to Avoid
Small errors can affect your final product. Always measure twice before any cut, test-fit pieces before final assembly, give glue proper time to dry, check wood for straightness before starting, and keep your design simple but strong.
Safety Considerations
Safe Working Practices
Good safety habits protect you. Proper eye protection prevents injuries. Sharp tools work better than dull ones. Good lighting helps you see clearly. A clean workspace prevents accidents. Take breaks to stay alert while working.
Material Safety
Safe material handling matters. When using finishes, work in well-ventilated spaces. Wear face masks to protect your lungs from dust. Read all product labels before use. Allow proper drying time between coats. Store materials safely away from heat.
Remember, building your first DIY corner desk takes patience. Focus on safety and basics. Each project teaches new skills for future builds.
Conclusion
Building your corner desk brings more than just a place to work. Each cut, joint, and finish adds personal value to your creation. This project proves that quality furniture doesn’t require expert skills or costly materials.
Our guide shows that you can craft a desk that serves your needs with careful planning and basic tools. The process might take time, but the results speak through years of use. Your DIY corner desk will stand as proof of your effort and skill.
Remember to take each step at your own pace. Focus on accuracy over speed. Double-check measurements, let glue dry properly, and pay attention to detail. The desk you build today will be your workspace companion for years.
Frequently Asked Questions
What are the Disadvantages of Corner Desks?
Corner desks can limit room layout options. They may waste space in the corner triangle. Deep corners can be hard to reach. Some users find the angled work surface less comfortable for writing.
What is the Best Shape for a Desk?
The L-shaped desk works best for most people. It offers space for multiple tasks, keeps items within reach, and fits both computers and paperwork well.


