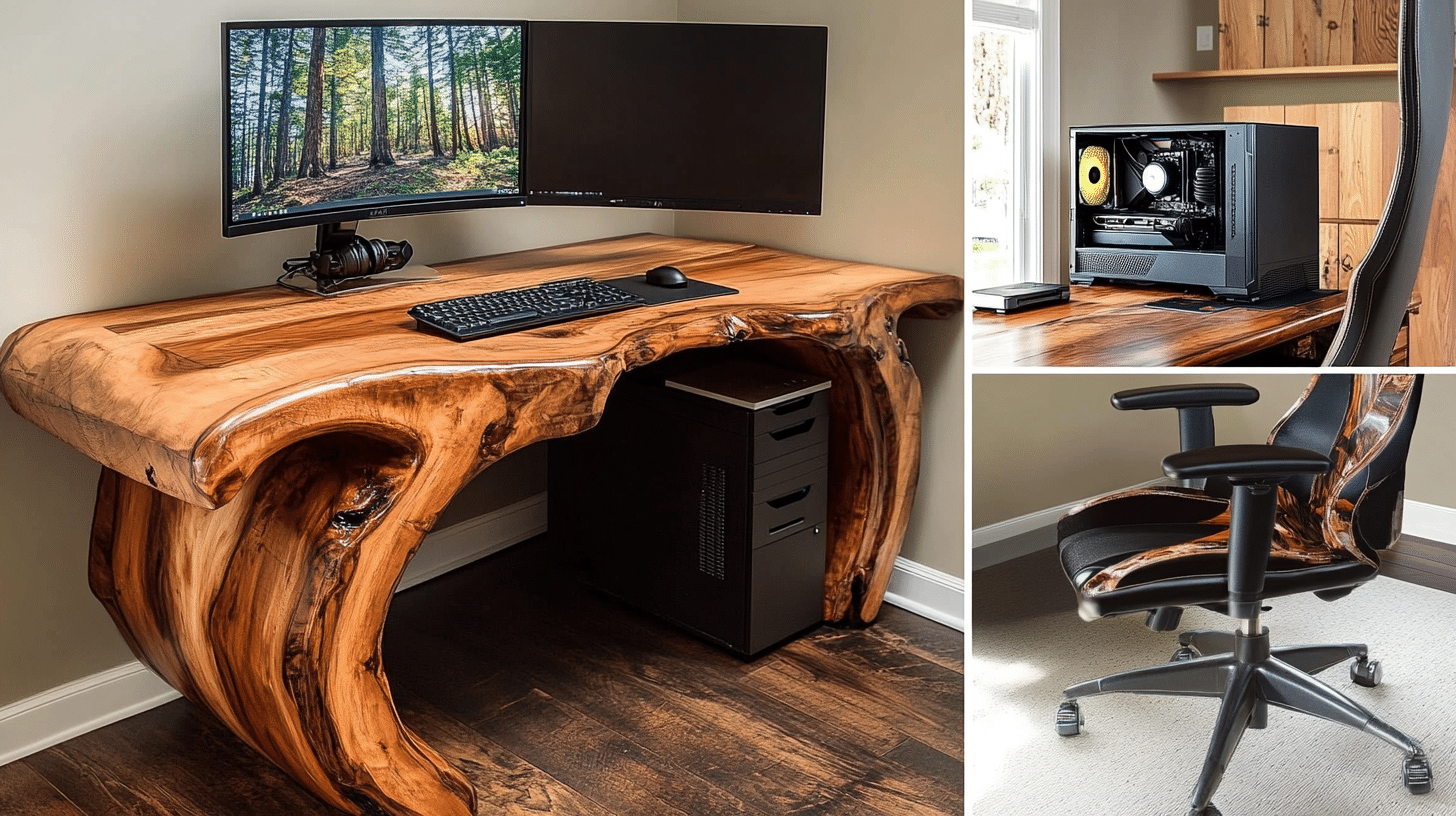
How to Build a Budget-Friendly DIY Computer Desk
Are you tired of expensive computer desks that don’t fit your space or style? I faced the same problem last year.
But here’s some good news: you can build a perfect desk that fits your needs without spending too much money.
I’ll show you how to make a simple computer desk using basic tools and materials from your local hardware store.
This guide breaks down the process into easy steps that anyone can follow, even if you’ve never built furniture before.
By the end of this post, you’ll learn which materials work best, what tools you need, and how to put everything together.
Plus, I’ll share some money-saving tips I picked up while making my own desk.
How to Choose the Right Design
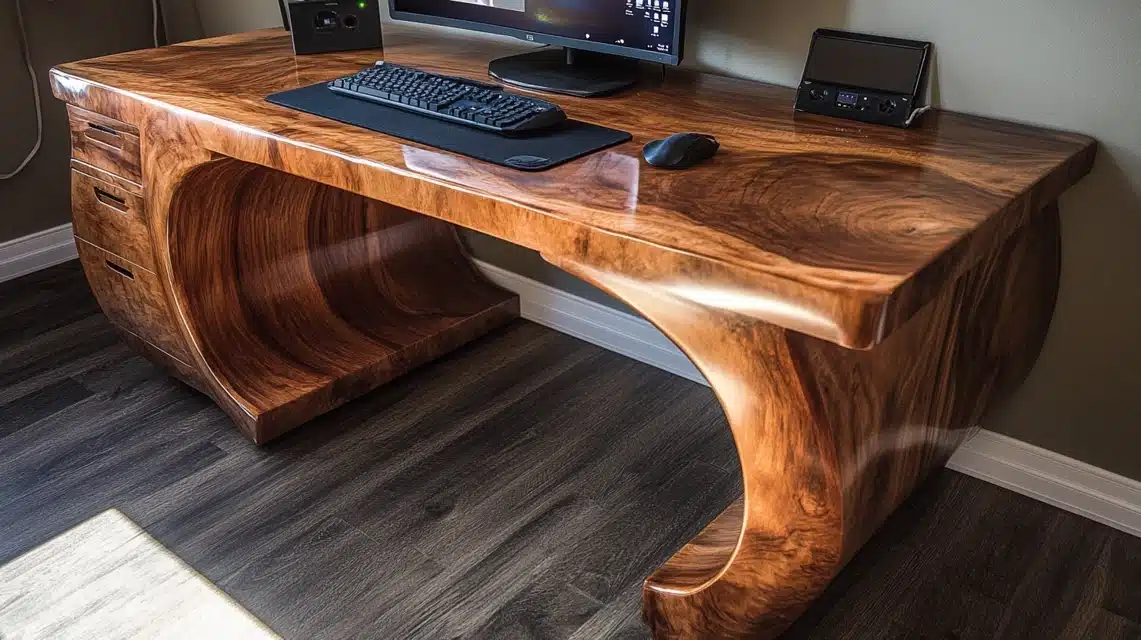
When I started planning my computer desk, I learned that picking the right design is really important. Let me share what worked for me and what you need to think about.
Measure Your Space: First, Before picking any design, I suggest pulling out your measuring tape. You’ll need to check:
- The width of your available wall space
- The depth you can work with (remember to leave room for your chair)
- The height that feels right for you when sitting
- Space for your computer monitors and other items
Think About Your Daily Needs: Take a moment to list everything you’ll put on your desk. I made this list for my setup:
- How many monitors do you use
- Where your computer tower will sit
- Space needed for keyboard and mouse
- Storage needs for papers, books, or other items
- Cable management options
Pick a Style That Makes Sense: I found that simpler designs work better for first-time builders. Some basic styles include:
- The basic rectangular desk (great for beginners)
- L-shaped corner desk (perfect for small rooms)
- Straight desk with shelving (adds extra storage)
Consider Your Skill Level: If this is your first building project, stick to straight cuts and basic joints. You’ll want to avoid designs that need special tools or complex cuts. I started with a straight desk that used simple 90-degree angles.
Plan Your Material Needs: Different designs need different materials. Think about:
- What type of wood fits your budget
- Whether you need extra support
- If you want to add a shelf or drawers
- What kind of finish do you want to use
Make It Your Own: The best part about building your own desk is making changes to fit your needs. You might want to:
- Add a keyboard tray
- Include built-in cable holes
- Make space for power strips
- Plan for future upgrades
Test Before You Build: Here’s a tip that saved me time: set up your workspace with boxes or cardboard first. This helps you:
- Feel how the size works in your room
- Check if everything fits
- Make sure you can reach everything easily
- See if you need to change anything
By thinking through these points carefully, you’ll end up with a design that works perfectly for you.
Remember, the goal is to create something useful that you’ll enjoy using every day.
Step-by-Step Guide for Building DIY Computer Desk
Tools & Materials Required
| Category | Materials |
|---|---|
| Building Materials | 18mm thick MDF sheets, Hardwood (ash) for desktop, Glass (double-glazed, toughened), Elastic cords, Black tack for sealing, Wood glue, Wood filler, Screws, Threaded inserts |
| Tools | Measuring tape, Drill and drill bits, Screwdriver, Palm sander (or sandpaper), Clamps, Pencil for marking, Scissors, Basic woodworking tools, Paint brushes, Protective gear (breathing mask, goggles) |
| Finishing Materials | MDF primer, Oil-based undercoat, Gloss spray paint, Wood oil for desktop, Carbon fiber vinyl wrap |
| PC Components | Motherboard, Graphics card, Power supply, Hard drives, RAM, Processor, Water cooling parts (pump, radiators, tubing), Fans, Power strip |
Stepwise Process for Building
1. Prepare The Base
- Cut MDF to size for the main compartment
- Make cutouts for connector panels
- Drill holes for component mounting
- Install threaded inserts
- Sand all pieces smooth
2. Build The Main Chamber
- Assemble side pieces with screws and glue
- Fill screw holes with wood filler
- Sand until smooth
- Apply MDF primer (2 coats)
- Add oil-based undercoat
- Sand again
- Apply final gloss coat
3. Create Side Units
- Build separate units for radiators
- Add support braces
- Install hinges
- Paint to match the main unit
- Bolt to the main chamber
4. Install Components
- Mount power supply
- Set up a water cooling system
- Install motherboard
- Add graphics card
- Connect all water-cooling tubes
- Mount radiators inside units
- Install hard drives
- Add RAM
5. Finish The Build
- Make the hardwood top
- Install glass panel
- Add sealing elements
- Mount to wall
- Test all systems
DOWNLOAD THE ENTIRE DIY COMPUTER DESK FROM THIS PDF
An Approximate Cost Analysis for Building
| Category | Item | Cost Range |
|---|---|---|
| Basic Building Materials | MDF Sheets (4×8 ft) | $25 – $35 per sheet |
| Wood Glue | $5 – $8 | |
| Screws and Mounting Hardware | $15 – $20 | |
| Threaded Inserts | $10 – $15 | |
| Glass Panel (Double-Glazed) | $50 – $80 | |
| Hardwood for Desktop | $75 – $100 | |
| Finishing Materials | MDF Primer | $15 – $20 |
| Oil-Based Undercoat | $20 – $25 | |
| Gloss Paint | $15 – $20 | |
| Wood Finish | $15 – $20 | |
| Misc. Sandpaper | $10 – $15 | |
| Hardware Components | Hinges and Brackets | $20 – $30 |
| Power Strip | $15 – $20 | |
| Cable Management Items | $10 – $15 | |
| Draft Excluder | $8 – $12 | |
| Elastic Cords | $5 – $10 | |
| Optional Additions | LED Strips | $20 – $30 |
| Cable Sleeves | $15 – $25 | |
| Custom Buttons | $10 – $15 | |
| Total Cost Ranges | Basic Build (No Extras) | $275 – $400 |
| Mid-Range Build (Some Extras) | $350 – $500 | |
| Full Build (All Extras) | $400 – $600 |
Money-Saving Tips
- Check local hardware stores for MDF offcuts
- Buy basic materials in bulk if you plan other projects
- Look for seasonal sales on finishing materials
- Use simple hinges instead of fancy brackets
- Skip optional features that aren’t essential
Keep in Mind that These Prices May Change Based On
- Your location
- Material quality choices
- Store availability
- Seasonal price changes
- Bulk purchase options
Best Customization Ideas to Try Out
1. Smart Lighting Integration ($30-$60)
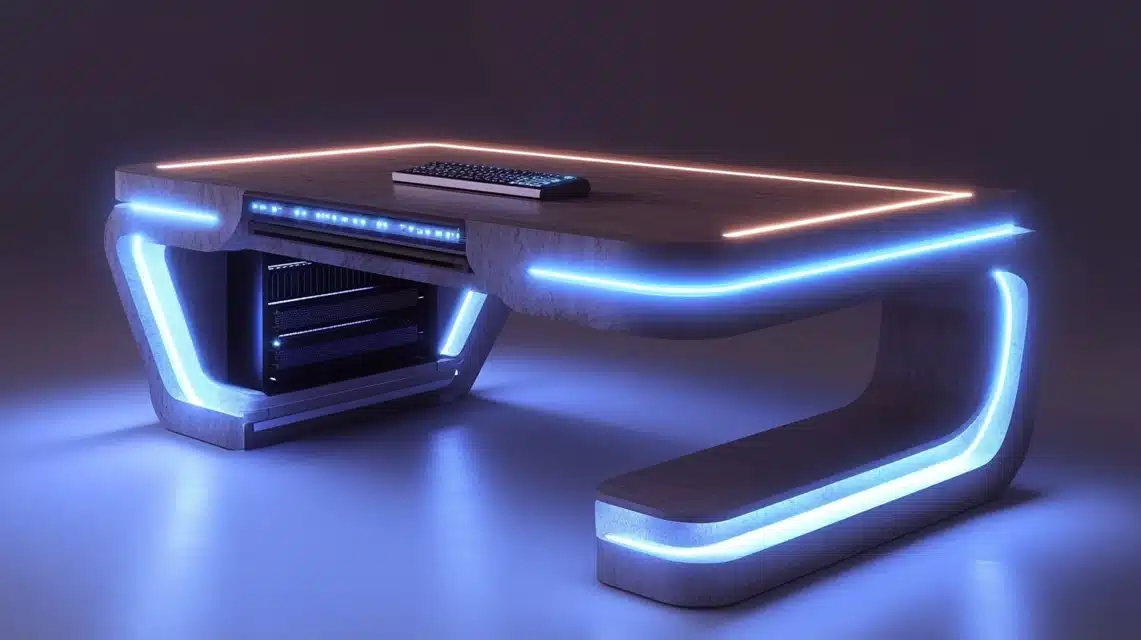
I tried adding LED strips under the desk edges and inside the component chamber. Starting with basic strips, I placed them around the desk’s perimeter.
The soft glow creates a pleasant work setting. The best part? You can pick colors to match your room or mood. To make it better, add a dimmer switch for light control.
2. Built-in Cable Management System ($25-$45)
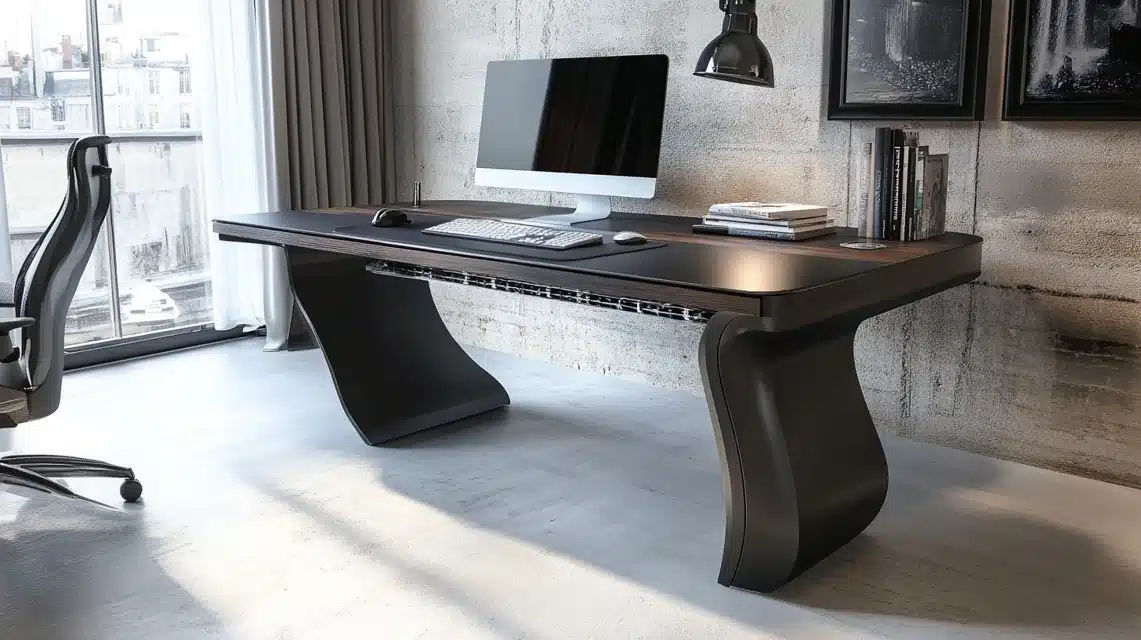
After testing many setups, I found that adding a cable tray under the desk works wonders. Use metal or plastic channels to hide wires.
Add rubber grommets in strategic spots to guide cables. This keeps everything clean and makes it easy to add or remove devices. The desk stays neat, and you won’t see any hanging wires.
3. Pull-out Keyboard Tray ($40-$70)
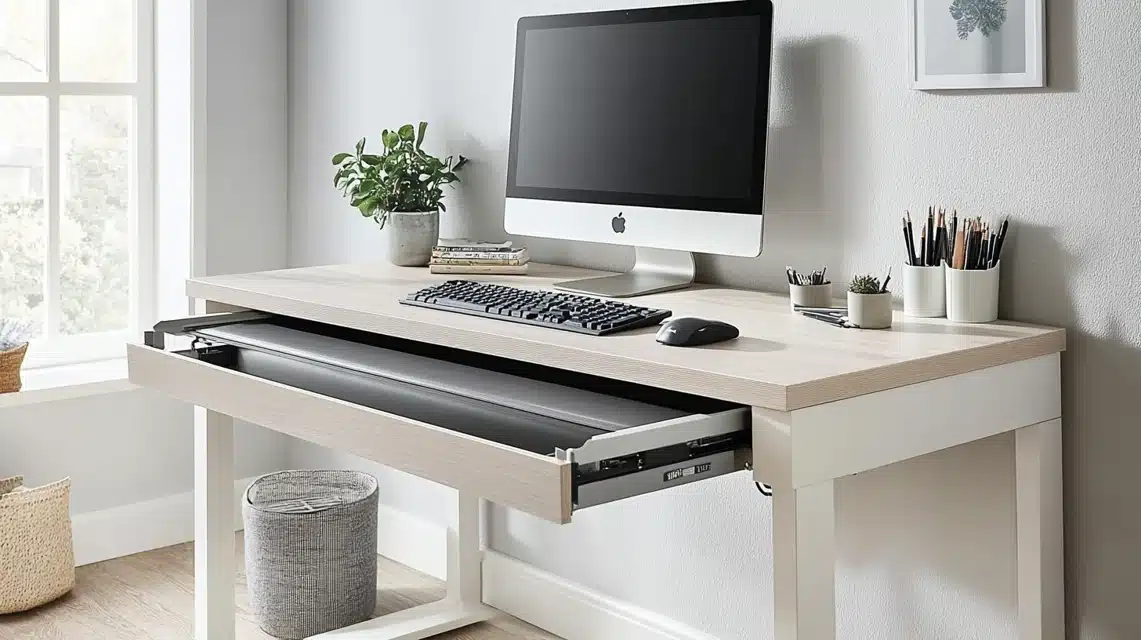
My favorite add-on was a sliding keyboard tray. It saves desk space and helps with better typing posture. Pick a tray that matches the color of your desk. ‘
Make sure to get smooth-rolling slides. The tray should be wide enough for both keyboard and mouse. This setup helps reduce wrist strain during long work sessions.
4. Monitor Mount Integration ($50-$120)
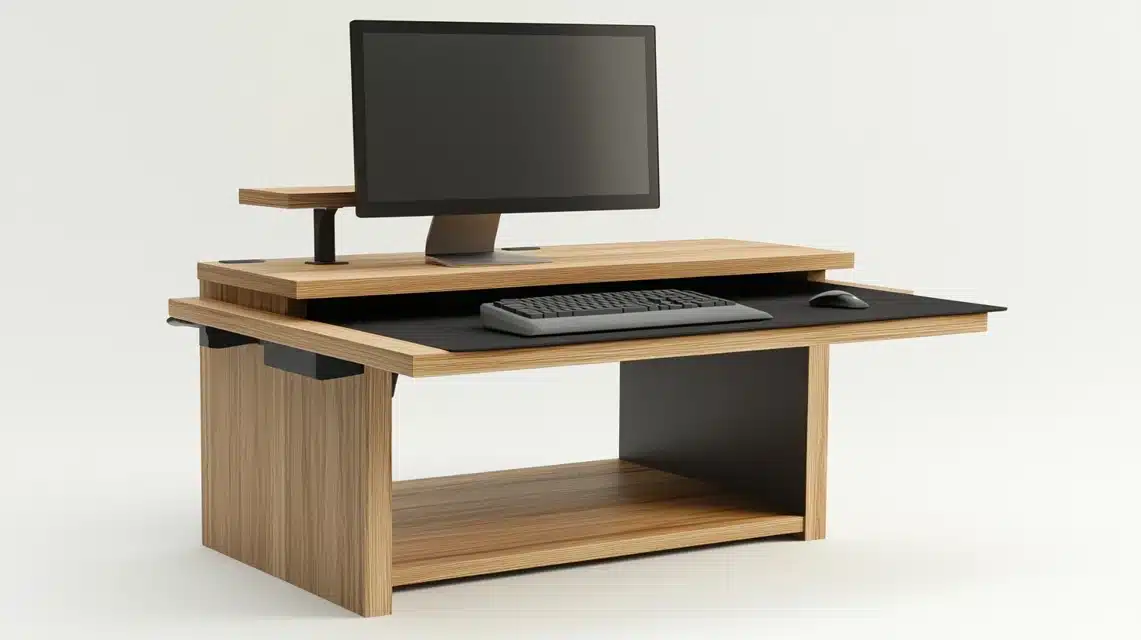
I installed a monitor arm system on the desk. First, add a strong backing plate under the mounting point. This spreads the weight and protects the desk surface.
Depending on your needs, you can choose between single, dual, or triple monitor mounts. The arms free up desk space and let you easily adjust screen positions.
5. Hidden Power Station ($35-$65)
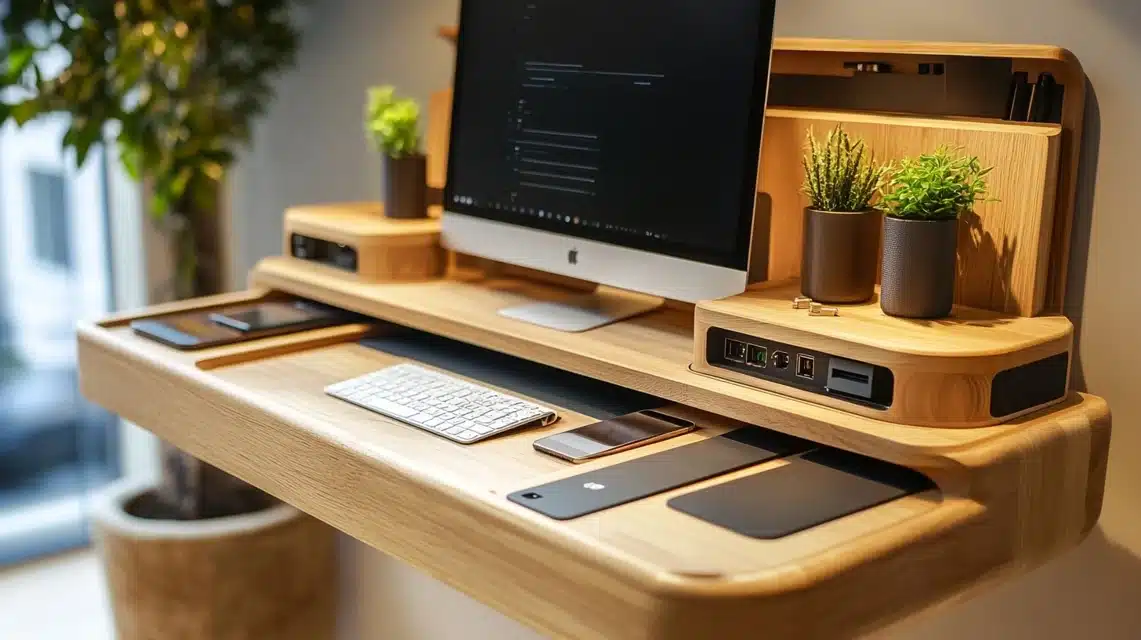
Create a power hub inside a desk drawer or under the surface. Install power strips and USB ports. Add a wireless charging pad on top for phones.
Make sure to leave space for airflow around power strips. This keeps your desk clear of power bricks and charging cables.
6. Modular Storage Solutions ($45-$85)
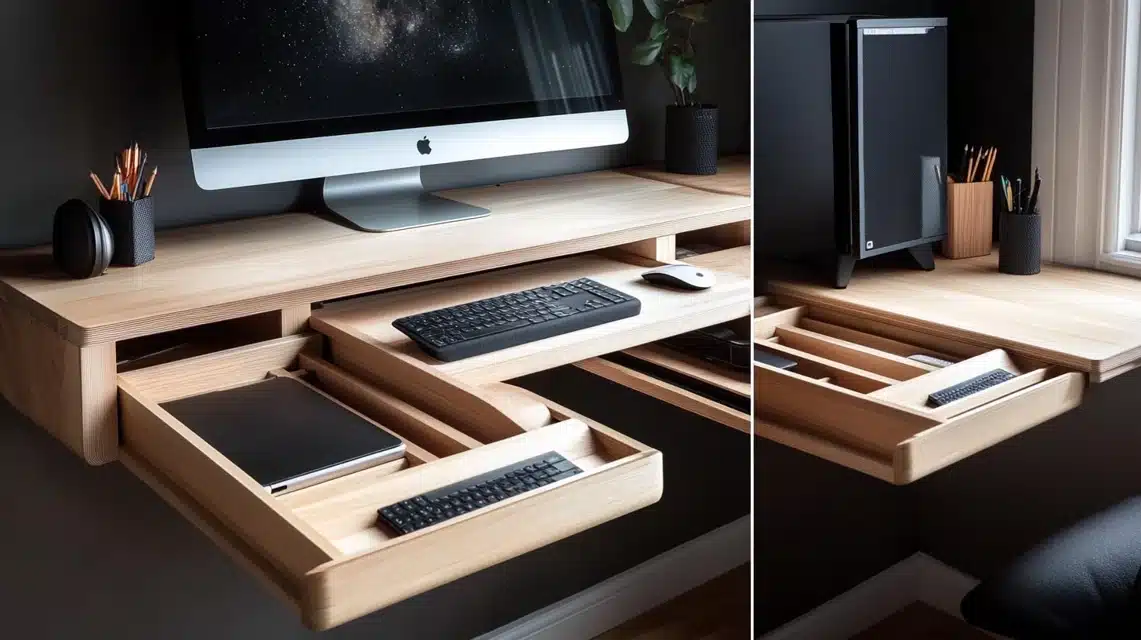
Build small, removable compartments under the desk. These work great for storing items you need often. Make them slide out for easy access.
Use dividers inside each compartment to keep things sorted. I added felt lining to prevent noise when opening and closing.
7. Custom Audio Setup ($70-$150)
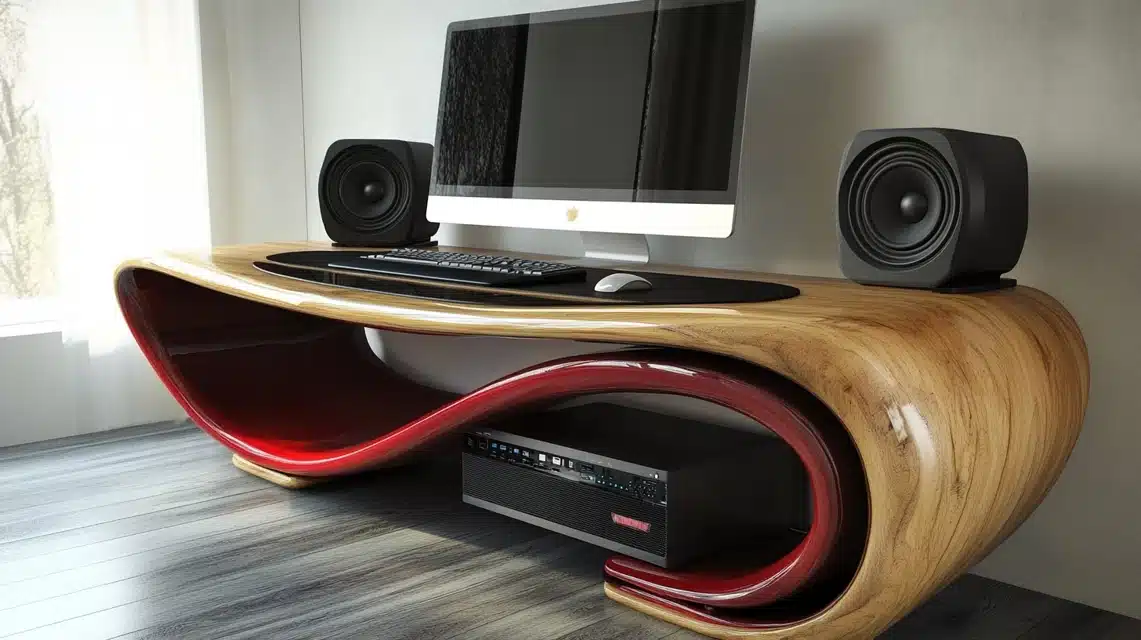
Mount speakers under the desk edges. Add a small subwoofer in one corner. Run the wires through hidden channels.
Install a volume control knob within easy reach. This creates a clean sound without taking up desk space.
8. Temperature Control System ($55-$95)
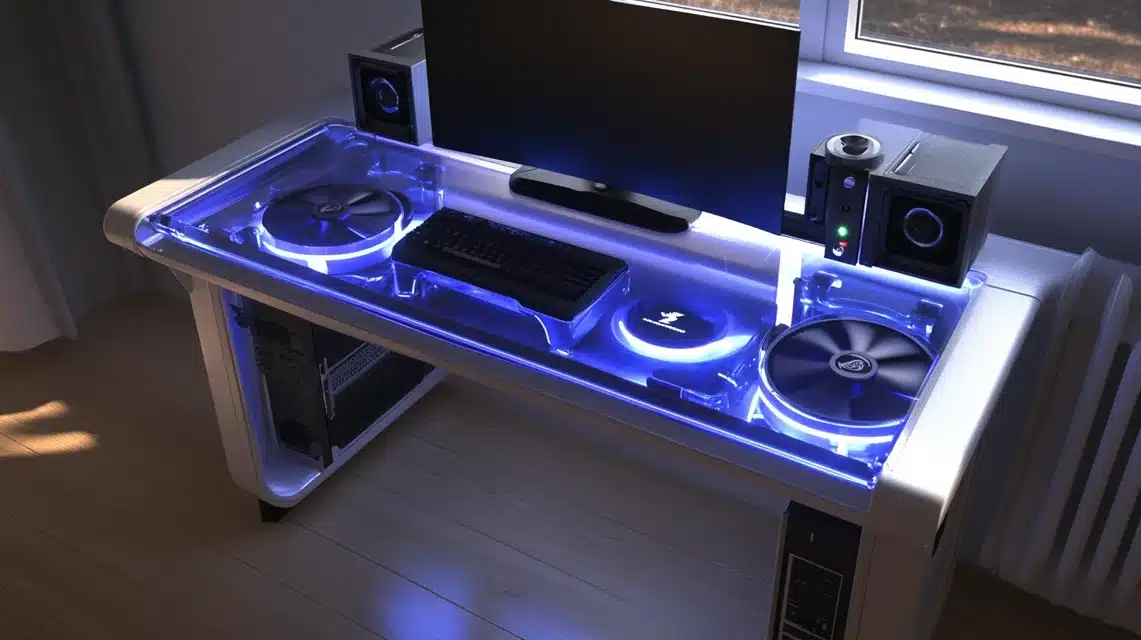
Add small fans for airflow. Install a temperature sensor to monitor the component chamber. Create vents that you can open or close as needed.
This helps manage heat from your computer and keeps the workspace comfortable.
9. RGB Component Display ($40-$80)
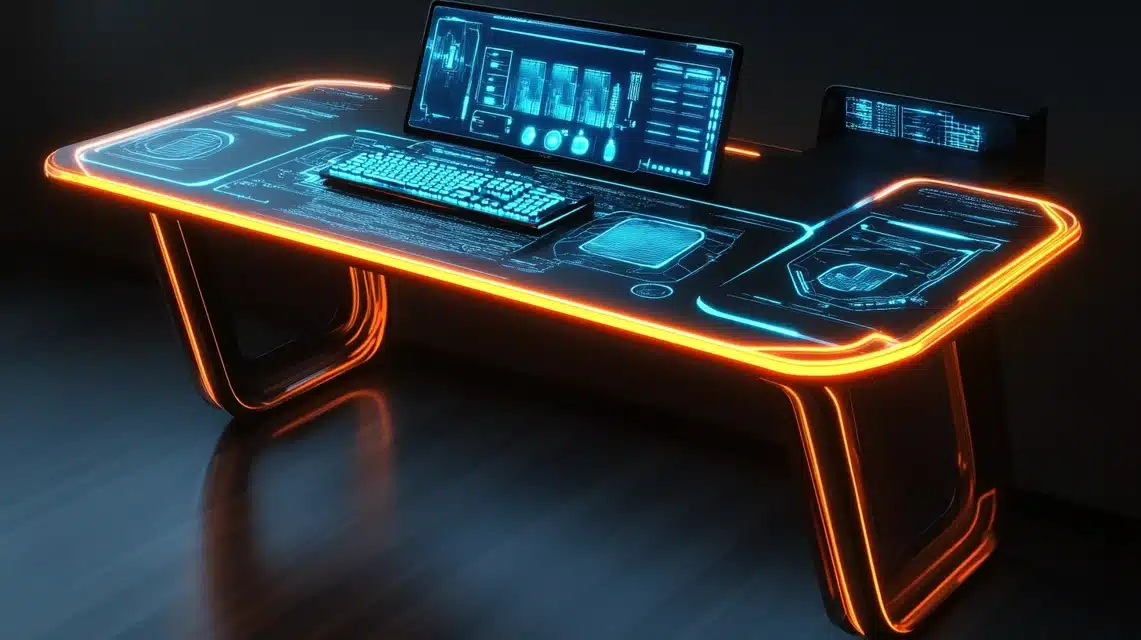
If you use clear panels, add RGB strips around your components. Pick waterproof strips for safety near cooling systems.
Control them with your motherboard software. This creates stunning light effects that show off your hardware.
10. Surface Protection Features ($30-$60)
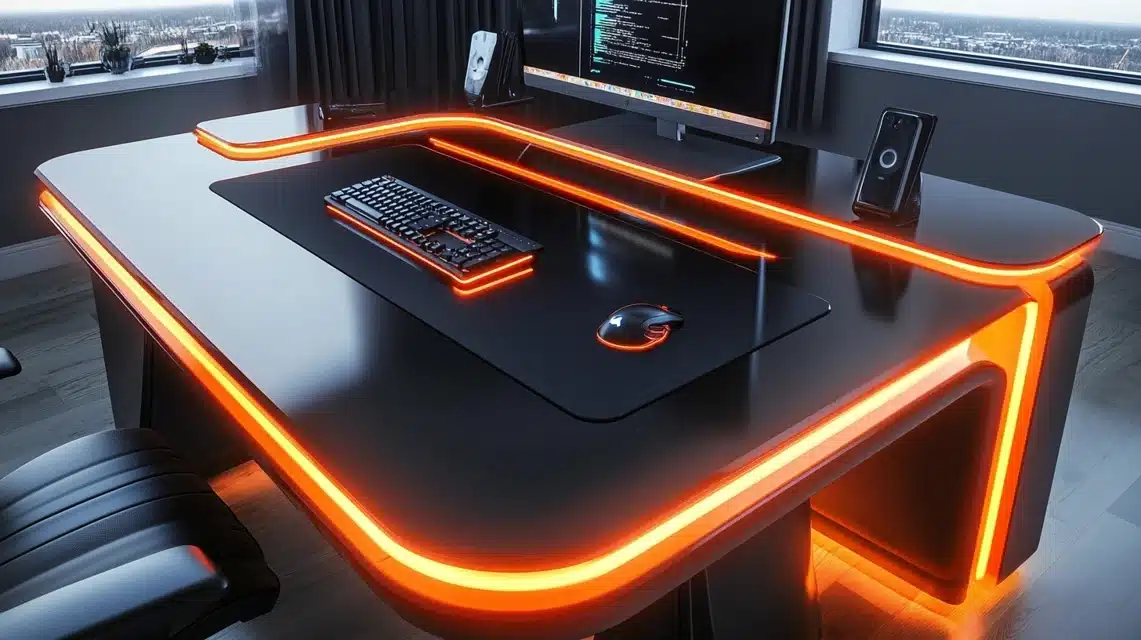
Apply a clear, tough coating on the desk surface. Add silicone pads in high-use areas. Install corner protectors if needed. Use heat-resistant materials near hot equipment.
These steps help your desk last longer and stay looking new.
Certain Advanced Options to Look Out
Water Cooling Setup Enhancement
I found that adding a custom water cooling loop brings several benefits. Use clear tubing to show off colored coolant. Install temperature sensors in the loop. Add a flow meter to monitor cooling performance. Consider dual pumps for backup. Make sure to:
- Pick premium fittings to prevent leaks
- Use anti-corrosive coolant
- Install drain ports for easy maintenance
- Add fill ports at high points
- Monitor liquid levels regularly
Advanced Cable Management
Going beyond basic cable ties makes a big difference. Think about:
- Installing cable raceways under the desk
- Using braided extensions for clean looks
- Adding quick-disconnect points
- Creating custom length power cables
- Setting up modular connection points
Smart Control Integration
Make your desk smarter with these features:
- Touch-sensitive power buttons
- Programmable LED controls
- Temperature-based fan control
- USB hub with smart charging
- Voice control compatibility
- Custom macro buttons
Component Display Windows
Create professional viewing areas:
- Double-pane tempered glass
- Anti-reflective coating
- Dust-proof seals
- Hidden LED placement
- Tool-less access panels
Advanced Storage Solutions
Take storage to the next level with:
- Magnetic tool holders
- Hidden SSD mounts
- Slide-out component trays
- Quick-swap drive bays
- Modular accessory mounts
Acoustic Treatment
Keep noise levels down using:
- Sound-dampening foam
- Anti-vibration mounts
- Sealed compartments
- Double-wall construction
- Rubber isolation feet
Thermal Management Systems
Control heat effectively with:
- Multiple temperature zones
- Automated fan control
- Heat exchanger setup
- Directed airflow paths
- Thermal imaging monitoring
Expandability Options
Plan for future upgrades by adding:
- Extra PCIe slots
- Additional power connections
- Spare cooling loops
- Modular component bays
- Future-proof cabling
Professional Finishing Touches
Consider these high-end features:
- Industrial-grade hinges
- Precision-cut panels
- Custom powder coating
- CNC-machined parts
- Professional cable sleeving
Some Budgeting & Cost-Cutting Tips
| Strategy | Action/Details |
|---|---|
| Start With Proper Planning | – List every material needed – Research local prices from different stores – Check online marketplaces for deals – Make a spreadsheet to track expenses – Build in a 10% buffer for unexpected costs – Get measurements right the first time to avoid waste |
| Choose Materials Wisely | – Use MDF instead of solid wood for hidden parts – Buy standard-size sheets to minimize waste – Look for discounted “scratch and dent” items – Check lumber yards for offcuts – Use laminate instead of hardwood where possible – Ask about bulk pricing for basic supplies |
| Time Your Purchases | – Wait for seasonal hardware store sales – Buy during holiday weekend discounts – Check end-of-month clearance deals – Look for store closing sales – Sign up for store newsletters to catch deals – Use price-tracking tools for online shopping |
| Reuse and Repurpose | – Save hardware from old furniture – Keep spare parts from previous projects – Use existing power strips or cables – Check if old hinges can work – Save screws and brackets – Clean and reuse old glass panels |
| Share Resources | – Split bulk material purchases with friends – Share tool rentals for big jobs – Join local DIY groups to swap materials – Look for community workshop spaces – Trade skills with other builders – Share leftover materials |
| Find Free Alternatives | – Ask local shops for wooden pallets – Check online listings for free materials – Visit construction sites for leftover supplies – Look for moving-out giveaways – Join local freecycle groups – Check dumpsters at hardware stores |
| Save on Tools | – Borrow tools you’ll use only once – Rent expensive equipment – Buy second-hand tools – Look for combo tool kits – Start with basic tools – Share costs with other DIY friends |
| Cut Labor Costs | – Watch online tutorials to learn skills – Practice on scrap pieces first – Take your time to avoid mistakes – Ask experienced friends for help – Join DIY workshops for free training – Document steps to avoid redoing work |
Common Troubleshooting Issues to Consider
- The table surface is not perfectly level, making screens tilt or items roll.
- Cables getting pinched in hinges or drawer spaces during movement.
- Screws are coming loose from MDF edges, weakening the main structure.
- Computer parts are getting too hot from lack of proper air gaps.
- Corner joints split apart when moving the desk around.
- MDF is warping from moisture near water cooling tubes.
Conclusion
Building your own computer desk can seem tricky at first, but it’s worth every effort. I spent around $400 on my build, and it fits my space perfectly.
The best part? I got exactly what I wanted – a desk with just the right gear.
Remember, you don’t need to copy every idea here. Start with the basic build, then add features as you go along.
Take your time with measurements and planning – these steps matter most.
If you run into problems, don’t worry. Most fixes are simple, like adding extra support or adjusting cable paths. Just focus on one step at a time.
Ready to start your build? I’d love to hear how it goes in the comments below!
Frequently Asked Questions
What are the Dimensions of An Ergonomic Computer Desk?
The ideal computer desk should be 28-30 inches high, 24-30 inches deep, and at least 48 inches wide. Your monitor should sit at eye level, about 20 inches away.
Is It Cheaper to Build My Own Desk or Buy One?
Building your desk typically costs $200-600, while store-bought desks range from $100-1000. DIY is usually cheaper for high-quality desks and lets you customize everything.
How Long Will It Take to Build a Desk?
A basic desk takes 1-2 days to assemble. If you’re including custom features, add another 1-2 days. Paint and finishes need an extra drying time of 1-2 days.

