How to Apply Gold Leaf on Various Materials
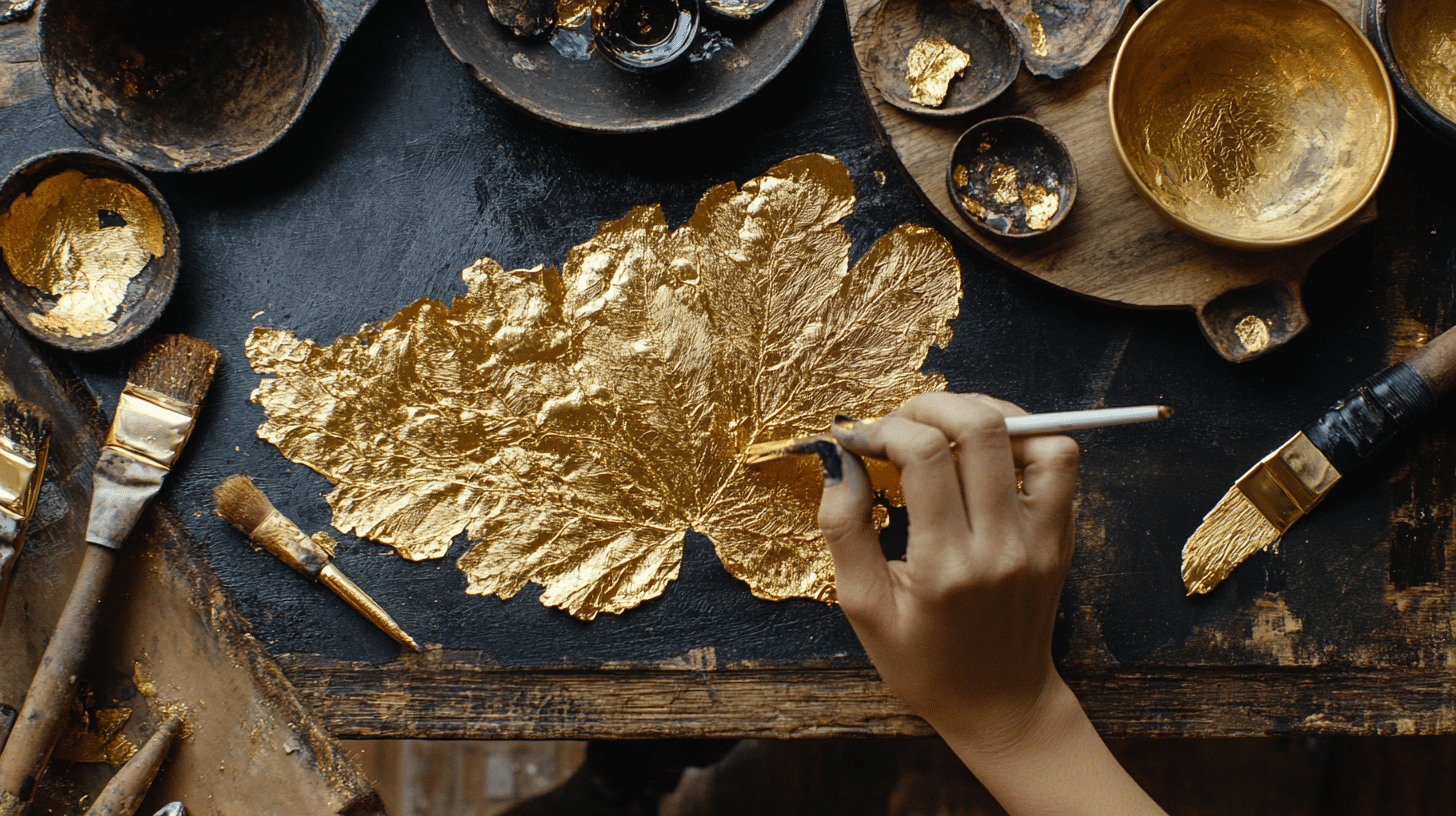
Gold leaf can make simple items look stunning. I learned this the hard way after messing up several projects. But after years of working with gold leaf, I’ve figured out the right methods for different surfaces.
Are you worried about wasting expensive gold leaf materials? Many people feel nervous about starting their first gold leaf project. I get it – nobody wants to see their hard work flake off or look uneven.
I’ll show you the exact steps to apply gold leaf on wood, metal, glass, and other materials.
With these tips, you’ll create items that shine with a rich, warm glow.
What Exactly is Gold Leaf
Gold leaf is super thin metal foil – thinner than a strand of hair! In my experience working with it, real gold leaf feels almost weightless.
Traditional makers hammer gold into these delicate sheets, though modern methods use machines for consistency.
I find it fascinating that a single ounce of gold can make about 100 sheets of gold leaf. The sheets come in different grades. The most common ones I use are 22-karat and 23-karat gold. Pure 24-karat gold leaf is available, too, but it’s quite costly.
Here’s what I’ve learned about different types:
1. Genuine Gold Leaf
- Made from pure gold
- Long-lasting shine
- It won’t change color over time
- Perfect for outdoor projects
- Costs more than other options
2. Composition Leaf
- Contains real gold mixed with other metals
- Less expensive than pure gold
- Works well for indoor items
- May tarnish over time
I’ve used gold leaf on many materials:
- Wood furniture and frames
- Glass mirrors and vases
- Ceramic pots and plates
- Metal light fixtures
- Wall details and ceilings
- Paper for art projects
- Stone sculptures
The best part about a gold leaf? It sticks to almost any clean, smooth surface. I’ve even seen it used on food and drinks for fancy occasions! Though I’d say leave that to professional food decorators.
One thing I always tell beginners: start with simple, flat surfaces. My first try was on a curved vase – big mistake! Flat picture frames or small boxes make better practice pieces.
Step-by-Step Guide to Apply Gold Leaf
Tools & Materials Required
- Gold leaf sheets
- Small scissors (precision scissors work best)
- Beauty blender or makeup sponge
- Mini heat gun (or craft heat tool)
- Adhesive for gold leaf
- Clean working surface
- The item you want to gild
Step-by-Step Process for Applications
- Prepare Your Surface
- Clean your item thoroughly
- Make sure it’s free from dust and oils
- Apply Adhesive
- Put adhesive on the area you want to gild
- Use your finger or a brush for even coverage
- Cover only the area you plan to work on
- Dry the Adhesive
- Let it dry until tacky
- Speed up drying with a mini heat gun
- Hold the heat gun a few inches away
- Move it around to avoid overheating
- Prepare Gold Leaf
- Cut the gold leaf into smaller pieces
- Use sharp scissors for clean cuts
- Make pieces slightly larger than the needed area
- Apply Gold Leaf
- Place cut piece on the tacky surface
- Don’t worry if it’s not perfect
- Let it settle naturally
- Press and Seal
- Use a beauty blender to press the gold leaf
- Pat gently in dabbing motions
- Work from the center outward
- This creates clean edges
- Continue until fully bonded
- Remove Excess
- Gently pull away loose pieces
- Keep excess for other projects
- Pat the area again with a beauty blender
Overall Cost Analysis for Applying Gold Leaf to Any Material
| Item | Cost Range |
|---|---|
| Basic Starter Kit | |
| Size (adhesive) (2 oz) | $10 – $15 |
| Sealer (per bottle) | $8 – $12 |
| Gold Leaf Sheets (25 sheets) | |
| Imitation | $8 – $12 |
| Genuine | $30 – $45 |
| Beauty Blender | $5 – $8 |
| Small Scissors | $8 – $12 |
| Mini Heat Gun | $15 – $25 |
| Cost Per Project Type | |
| Small Items (4×4 inches) | |
| Imitation Leaf Total (1-2 sheets) | $3 – $5 |
| Real Gold Leaf Total (1-2 sheets) | $8 – $12 |
| Medium Items (12×12 inches) | |
| Imitation Leaf Total (4-6 sheets) | $10 – $15 |
| Real Gold Leaf Total (4-6 sheets) | $25 – $35 |
| Large Items (24×24 inches) | |
| Imitation Leaf Total (10-15 sheets) | $20 – $30 |
| Real Gold Leaf Total (10-15 sheets) | $60 – $90 |
Money-Saving Tips I’ve Learned
- Save leftover pieces for small projects
- Use imitation leaf for practice
- Buy tools in sets when possible
- Start with small projects first
- Store materials properly to avoid waste
Hidden Costs to Consider
- Extra sealer for outdoor items
- Replacement beauty blenders
- Surface prep materials
- Touch-up supplies
- Protective gloves
- Clean-up materials
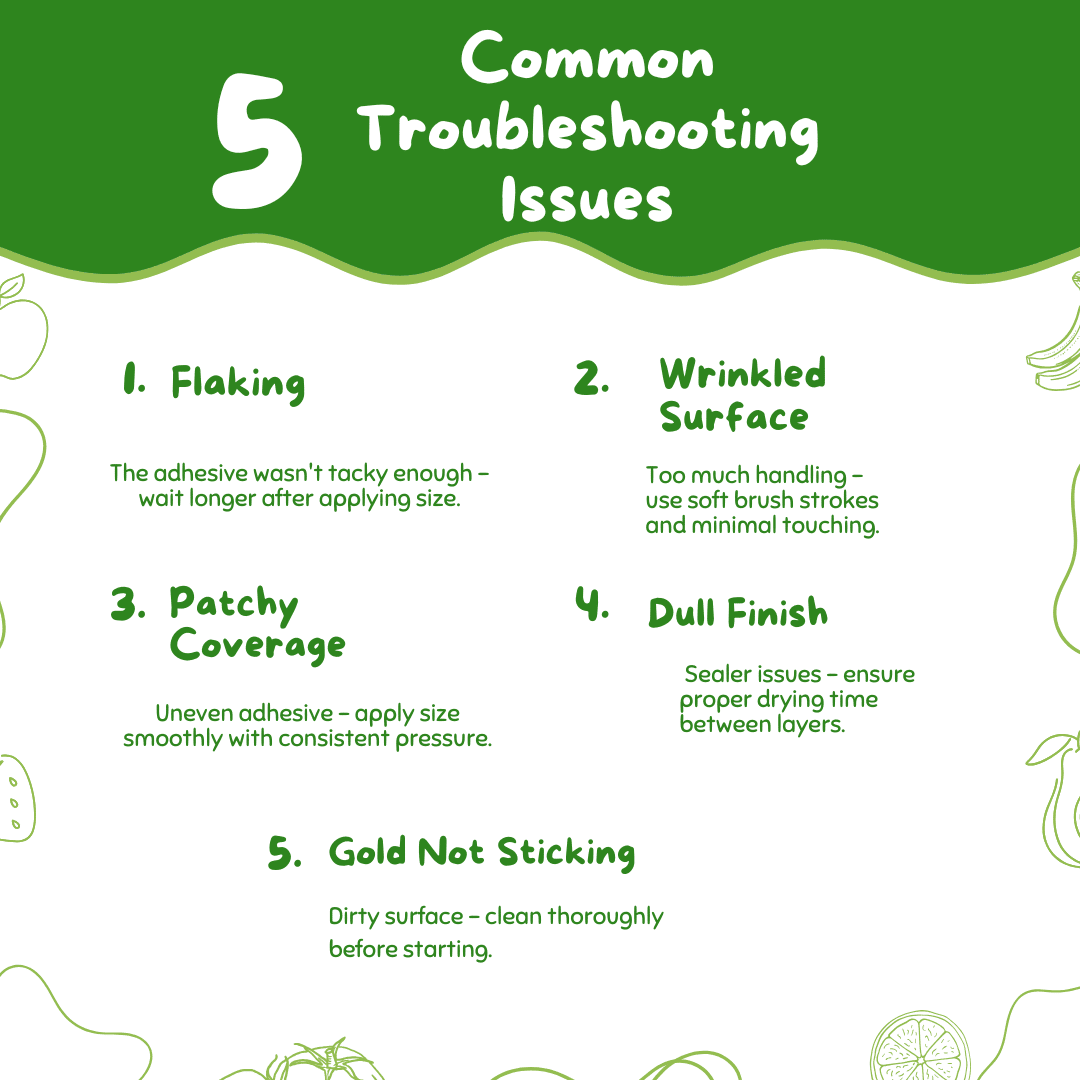
How to Give a Finishing Look
Surface Smoothing
- Wait 24 hours after applying the leaf
- Use a very soft cloth for buffing
- Work in small circles
- Check-in good lighting
- Fix any loose spots
- Remove dust particles
Sealing Steps
- First Coat
- Apply thin, clear sealer
- Use soft brush strokes
- Let dry fully (4-6 hours)
- Check for missed spots
- Keep room dust-free
- Second Coat
- Add protective layer
- Brush in one direction
- Watch for bubbles
- Fix any streaks fast
- Let dry overnight
Final Touches
- Check edges closely
- Fill tiny gaps if needed
- Buff with a clean cloth
- Test sealer strength
- Clean any marks
- Add final shine
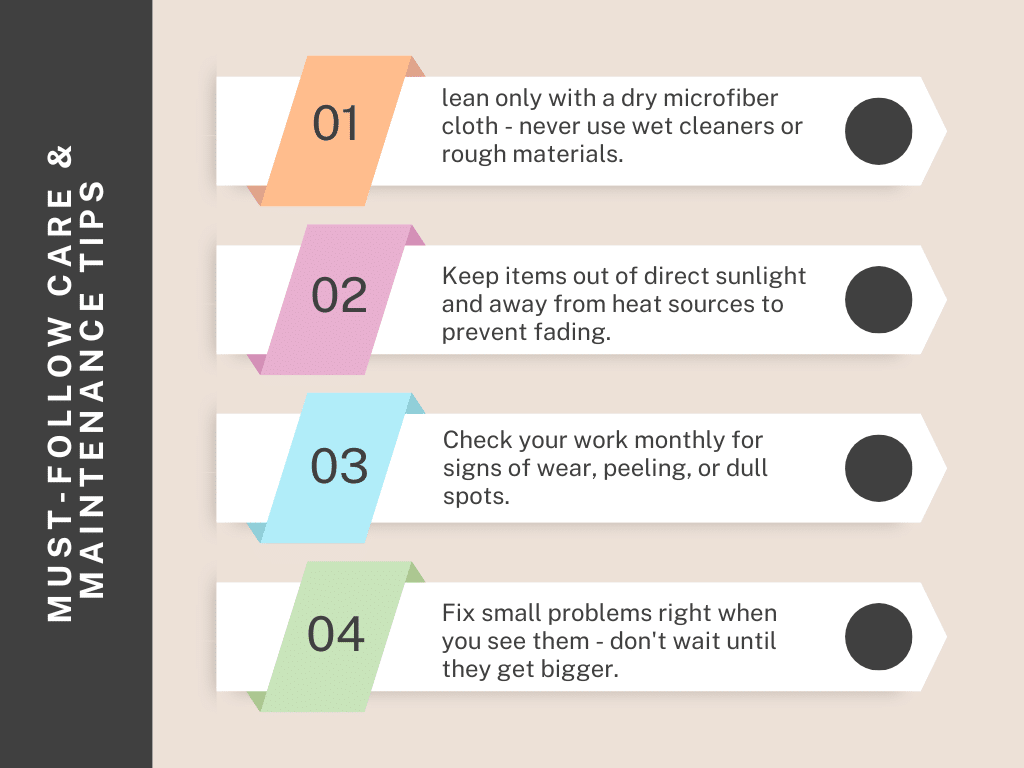
Protection Tips
- Keep away from water
- Avoid direct sunlight
- Use gentle cleaners
- Don’t scratch the surface
- Handle with care
- Check sealer yearly
Application of Gold Leaf to Various Materials
1. Applying Gold Leaf to Wood
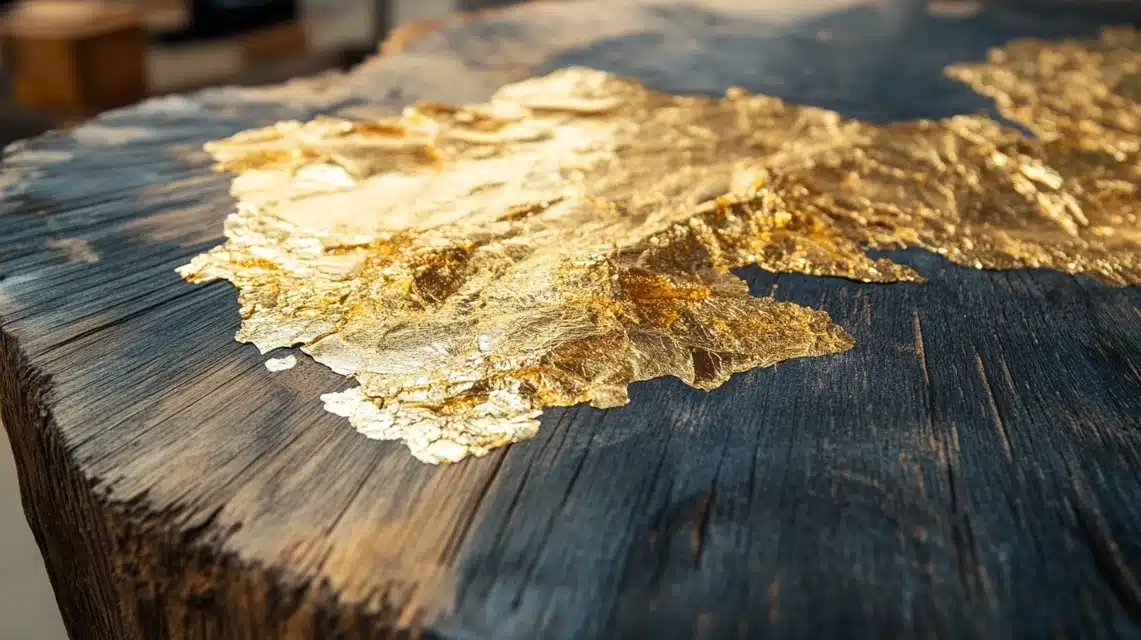
- The grain matters a lot! I sand with 220-grit first, then 400-grit
- Fill open grain woods with wood filler
- Sand between primer coats
- Use thin coats to keep the wood texture visible
- For rustic looks, skip heavy sanding
- Seal knots before starting
- Watch for sap bleeding through
2. Canvas and Paintings
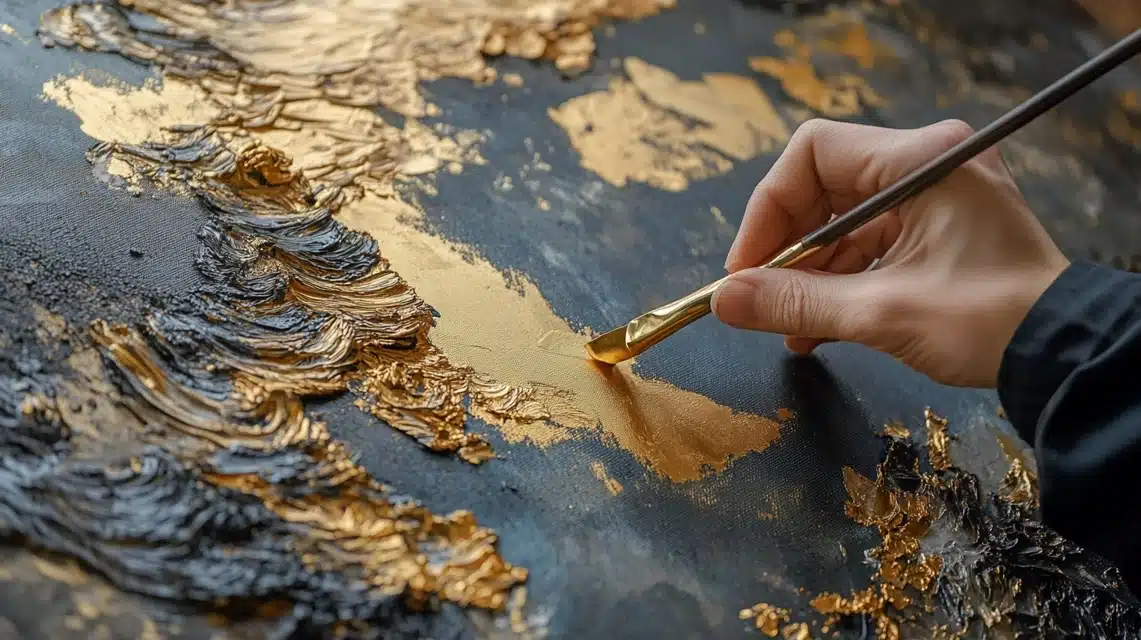
- Put gold leaf before or after the paint
- Use flexible adhesive for canvas
- Press very gently to avoid tears
- Work in small sections
- Let paint dry fully first
- Keep leaf away from wet paint
- Use soft brushes only
3. Metal Surfaces
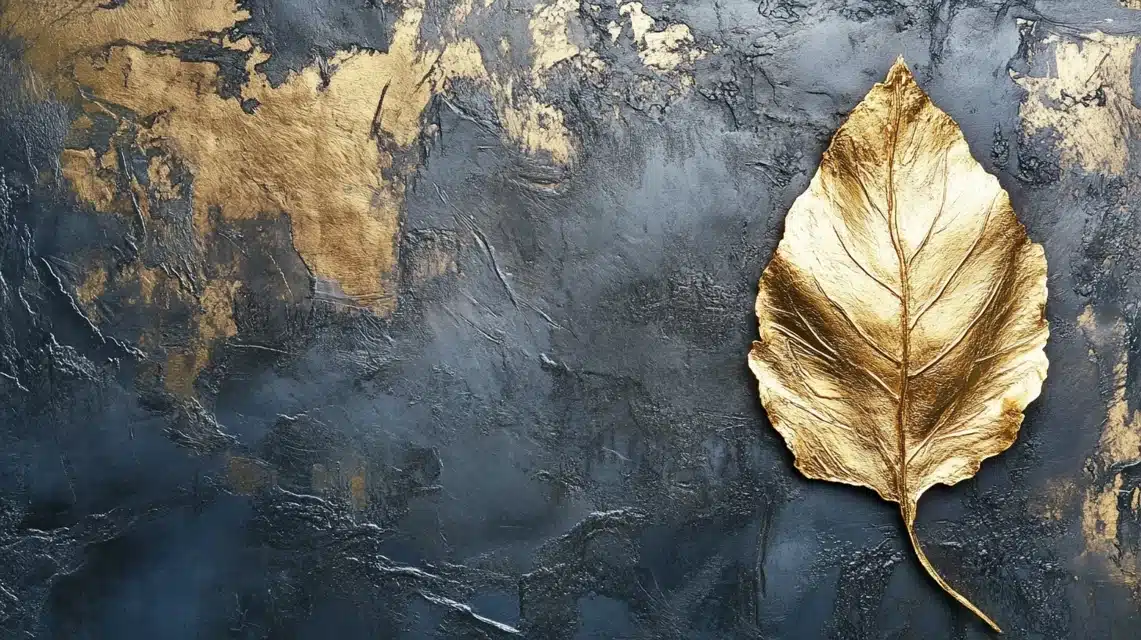
- Remove all rust spots
- Sand until smooth
- Wipe with metal cleaner
- Use metal-specific primer
- Check for oil residue
- Test adhesion in a small spot
- Let each layer dry fully
4. Glass and Mirrors
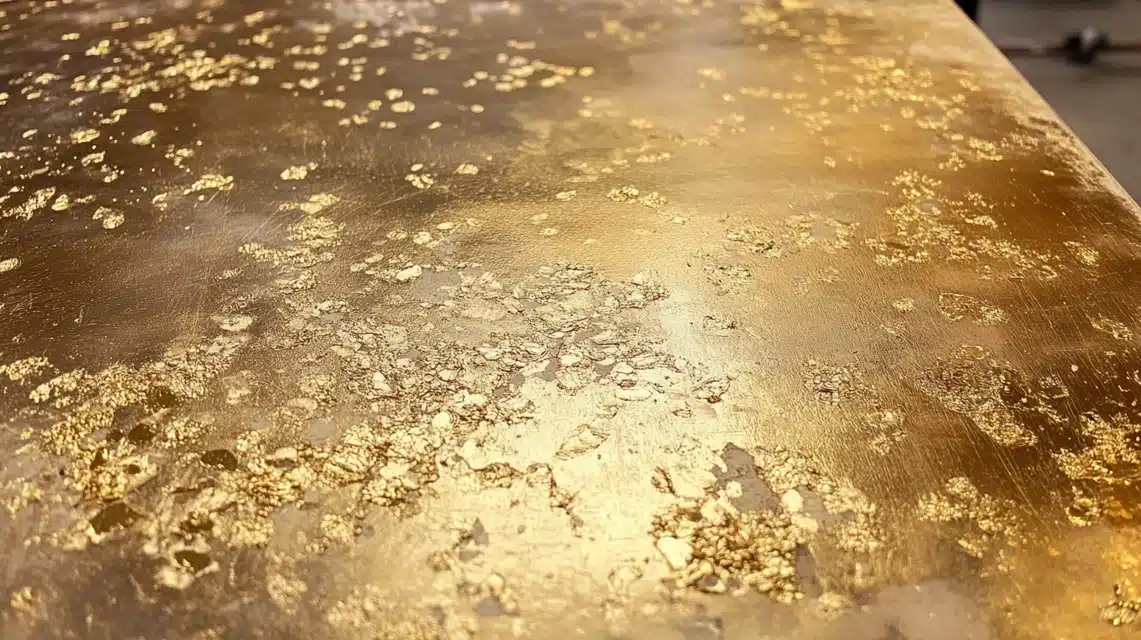
- Clean with rubbing alcohol
- Remove all finger marks
- Work from top to bottom
- Use glass-specific size
- Check that the edges are sealed
- Avoid water spots
- Let dry between coats
5. Furniture and Large Pieces
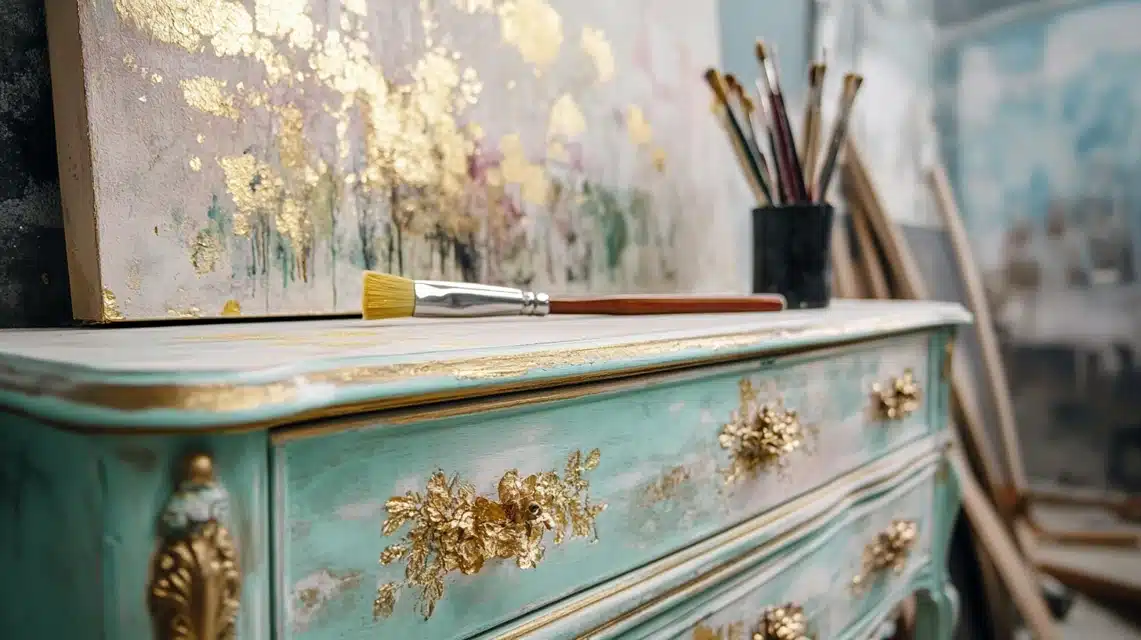
- Plan your sections first.
- Mark off workable areas
- Keep consistent pressure
- Watch for drips
- Check lighting as you work
- Use larger leaf sheets
- Take breaks between sections
Some Advanced Techniques You Can Try for a Smooth Look
Let me share some advanced methods I’ve learned for creating smooth, eye-catching gold leaf finishes.
Pattern Making Techniques
- Basic Line Work
- Use thin tape for guides
- Create straight edges
- Make sure the tape is tight
- Peel while the size is wet
- Clean lines with a brush
- Double Layer Method
- Apply the first layer fully
- Let dry for 24 hours
- Add the second layer
- Creates rich depth
- Fills tiny gaps
- Color Variations
- Mix metal leaf types
- Layer different shades
- Make sure the colors match
- Test combinations first
- Keep patterns simple
Texture Effects
- Crackle Look
- Apply size unevenly
- Let dry longer
- Press leaf gently
- Creates tiny cracks
- Seal carefully
- Distressed Effect
- Use steel wool lightly
- Rub selected areas
- Create worn spots
- Work in patterns
- Seal right after
- Burnishing Methods
- Use agate stone
- Press in circles
- Work small areas
- Creates high shine
- Takes practice
Special Effects
- Raised Design
- Build up the base layer
- Let dry between coats
- Sand edges smooth
- Apply leaf on top
- Seal well
- Shadow Effect
- Paint dark base
- Leave some showing
- Creates depth look
- Works on flat items
- Use thin gold leaf
Conclusion
Gold leaf work isn’t as hard as I first thought. Now that you know the right steps and tricks, you can start making beautiful items that catch everyone’s eye.
Remember my main tips: prep your surface well, take your time with the adhesive, and seal your work properly.
These three steps make all the difference between good and great results.
Why not start with something small, like a picture frame or simple box? That’s how I learned, and it helped me build confidence for bigger projects.
I’d love to hear about your gold leaf projects! Share your experience in the comments below, or check out my other craft guides for more creative ideas.
Frequently Asked Questions
What is the Best Way to Apply Gold Leaf?
Use clean tools, apply size evenly, wait for proper tack, and press gently with a beauty blender. Work in small sections for best results.
How Long Do You Leave the Gold Leaf on Before Brushing?
Let gold leaf sit for 15-30 minutes after applying. Test the edge with your knuckle – it should feel sticky but not wet.
Is Real Gold Leaf Better than Imitation Gold Leaf?
Real gold leaf lasts longer and won’t tarnish, but it costs more. Imitation works well for indoor projects and practice. Pick based on your budget and project needs.

