How to Age Terracotta Pots: 5 Simple DIY Methods That Work
Terracotta pots have that classic shape, but sometimes their bright, clean look doesn’t match older or more natural outdoor spaces.
If you’re like me and want that soft, aged style without buying new pots, this guide is just what you need.
I’ll walk you through some easy methods using simple stuff like yogurt, lime, or dirt—things you probably already have. You’ll learn how to prep your pots, apply each method, seal them, and avoid common mistakes. No special tools or fancy steps. Clear, simple instructions that you can follow.
These tips will help your pots feel more settled, cozy, and part of the space. Pick the method that works best for your setup, and let’s get started!
Why Age Terracotta Pots
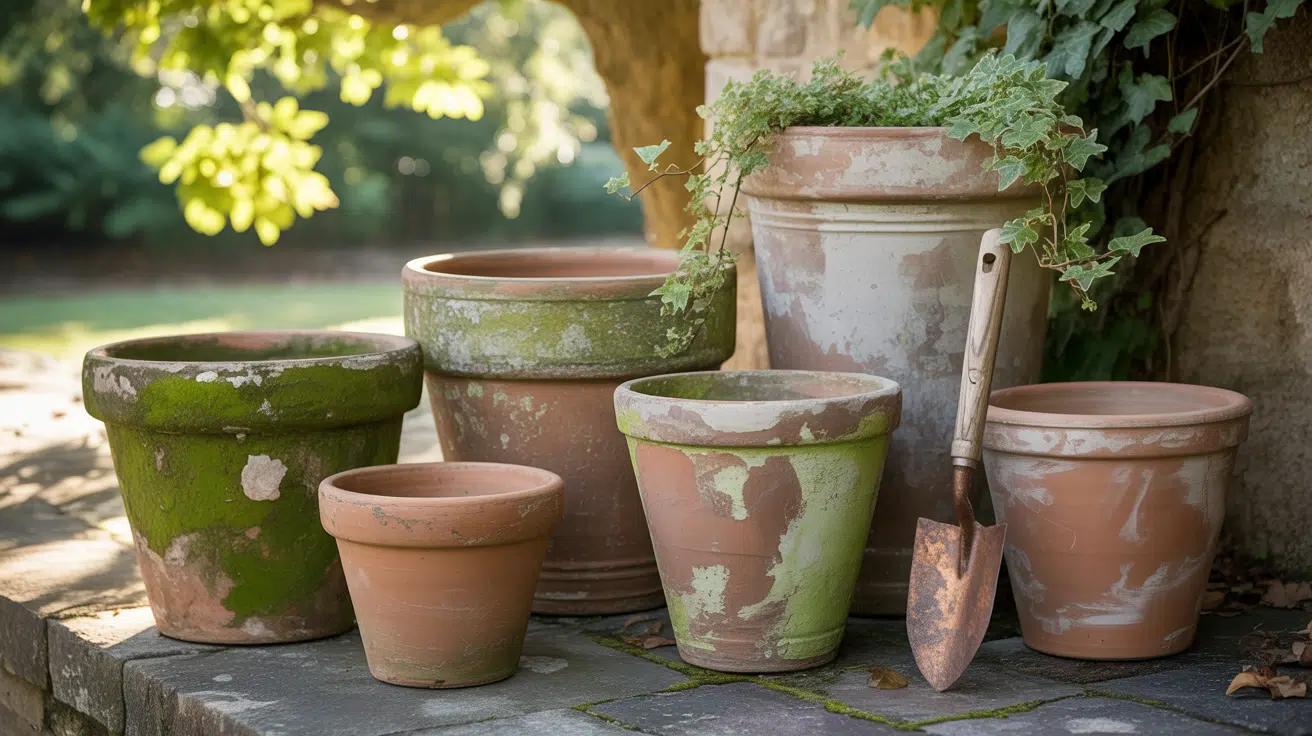
Aging terracotta pots improve both appearance and function in garden spaces. Fresh clay pots often look too bright or smooth, especially when set near materials like stone or wood.
Once aged, the surface becomes softer and less shiny, helping it blend more naturally into outdoor areas. A textured finish can help hide marks from soil and water, which makes care easier.
Some methods also support the growth of moss or algae, adding moisture retention and natural cooling in damp spots. These aged pots also pair well with brick, metal, or wood for a more balanced setup.
Instead of replacing new pots to match existing ones, aging helps create a better match without added cost or material use.
Materials You Need for Aging Terracotta
Before starting, gather a few tools to make the process smoother and less messy. These basic items work for most aging methods.
Basic Supplies
- Sponge
- Paintbrush
- Mixing bowl or old container
- Clear matte sealer
- Gloves for handling lime or paint
Optional Items
- Sandpaper for distressing the surface
- A drop cloth or old newspaper to protect the workspace
- Dust mask when working with lime to avoid irritation
Best Methods to Age Terracotta Pots
There are many ways to give terracotta pots a worn, aged look using materials found at home. Each method creates a different texture or finish. Select the one that suits your space, timeline, and the desired aesthetic.
1. Using Yogurt to Grow Natural Texture
This method works slowly by using the natural bacteria in yogurt to grow light surface textures. Start by brushing plain yogurt over the pot’s surface.
Place the pot in a shaded, damp spot outdoors. In two to four weeks, soft spots of green or white may start to appear. Keep the pot misted in dry weather to help the process along.
The finish appears soft and time-worn, with uneven patches that lend the pot an aged appearance.
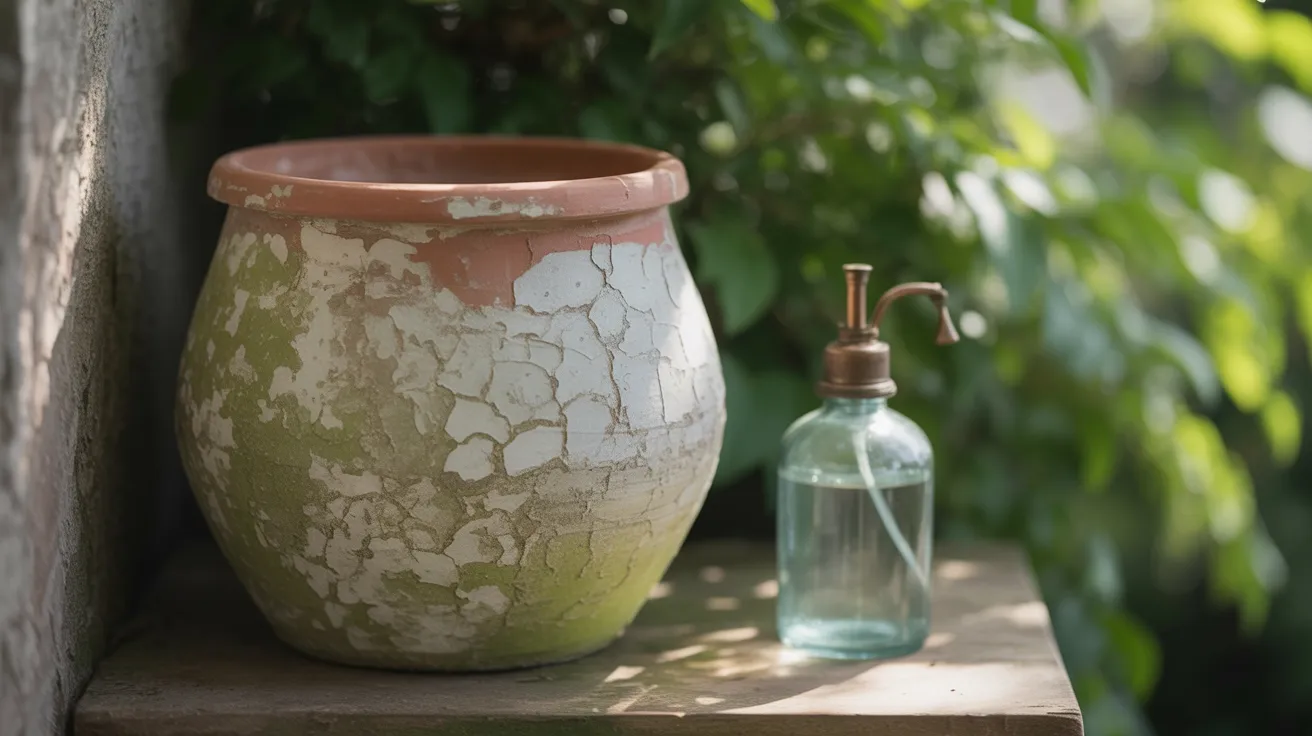
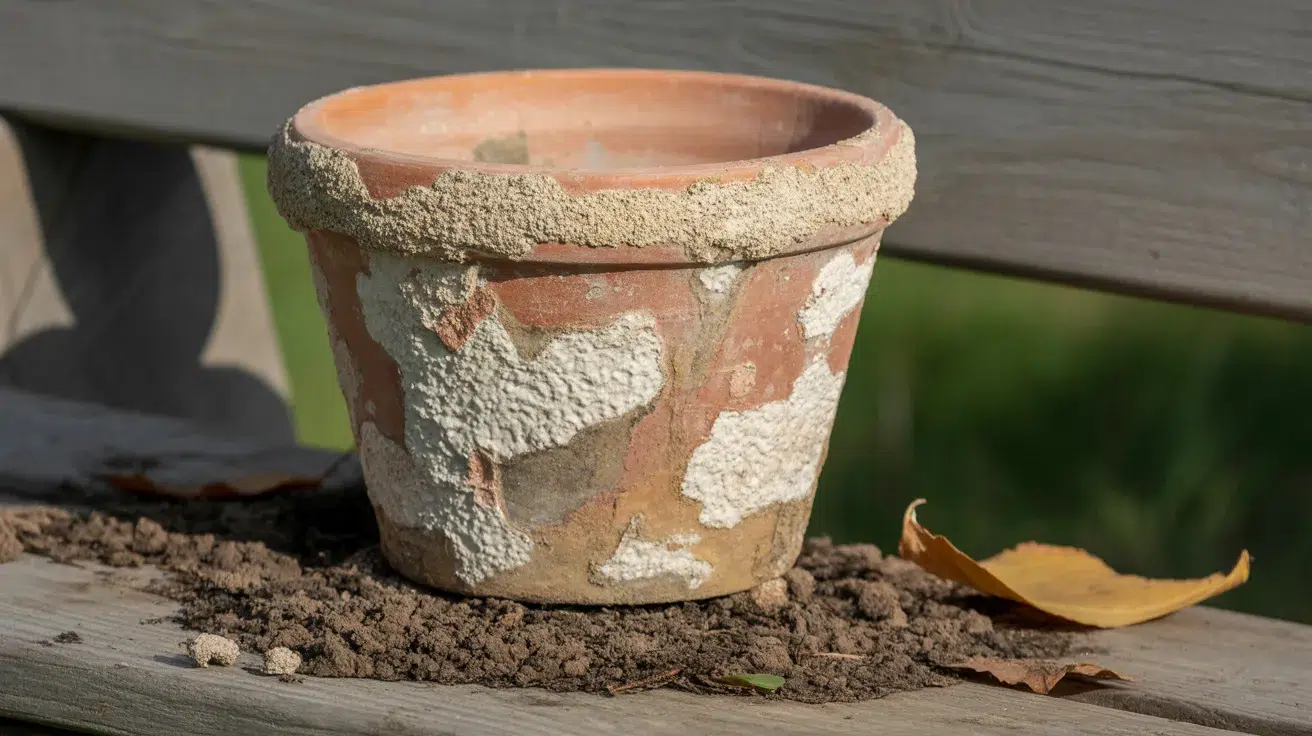
2. Apply a Quick Lime Wash
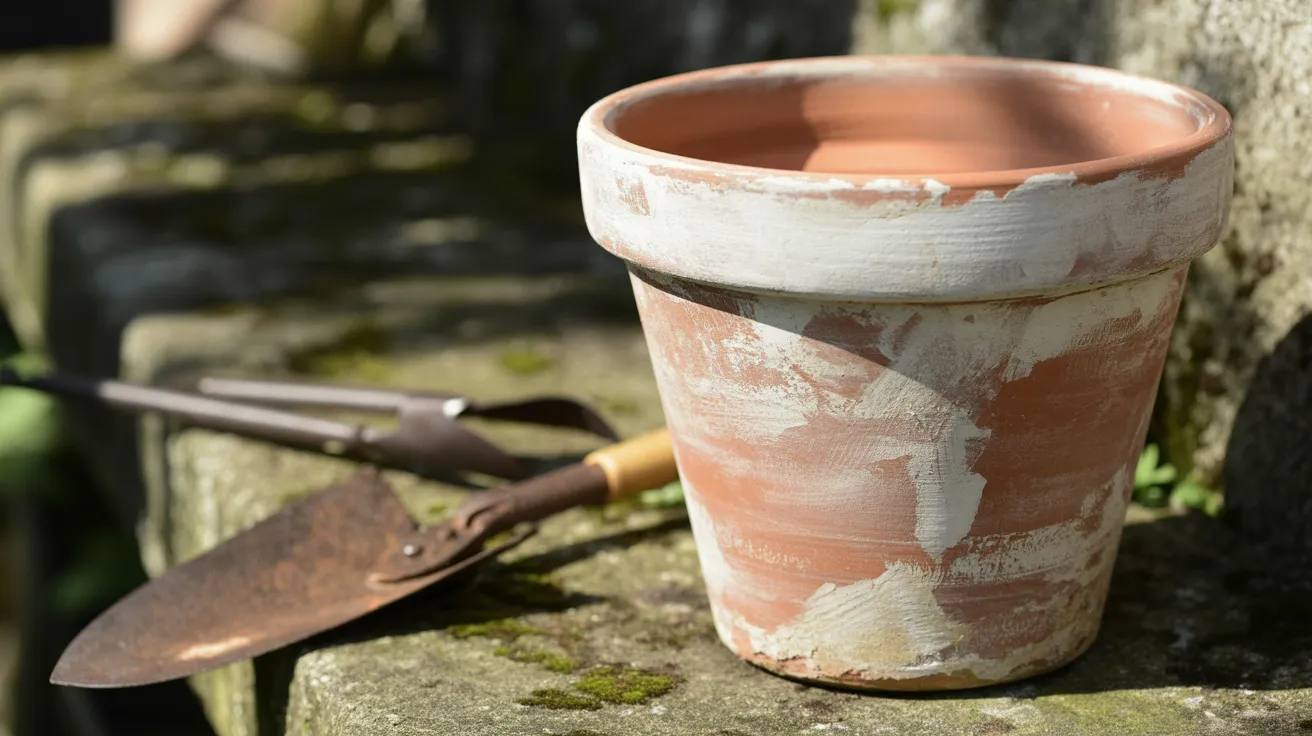
Lime wash is one of the quickest ways to give terracotta a vintage look. Mix two parts garden lime with one part water to create a thick paste.
Use a brush to apply it unevenly across the surface. Let it dry fully, then lightly sand certain areas to expose more of the terracotta. This method yields a powdery white appearance in just one day.
It works well for outdoor pots that need a quick change in appearance.
3. Layer a Soft Paint Wash
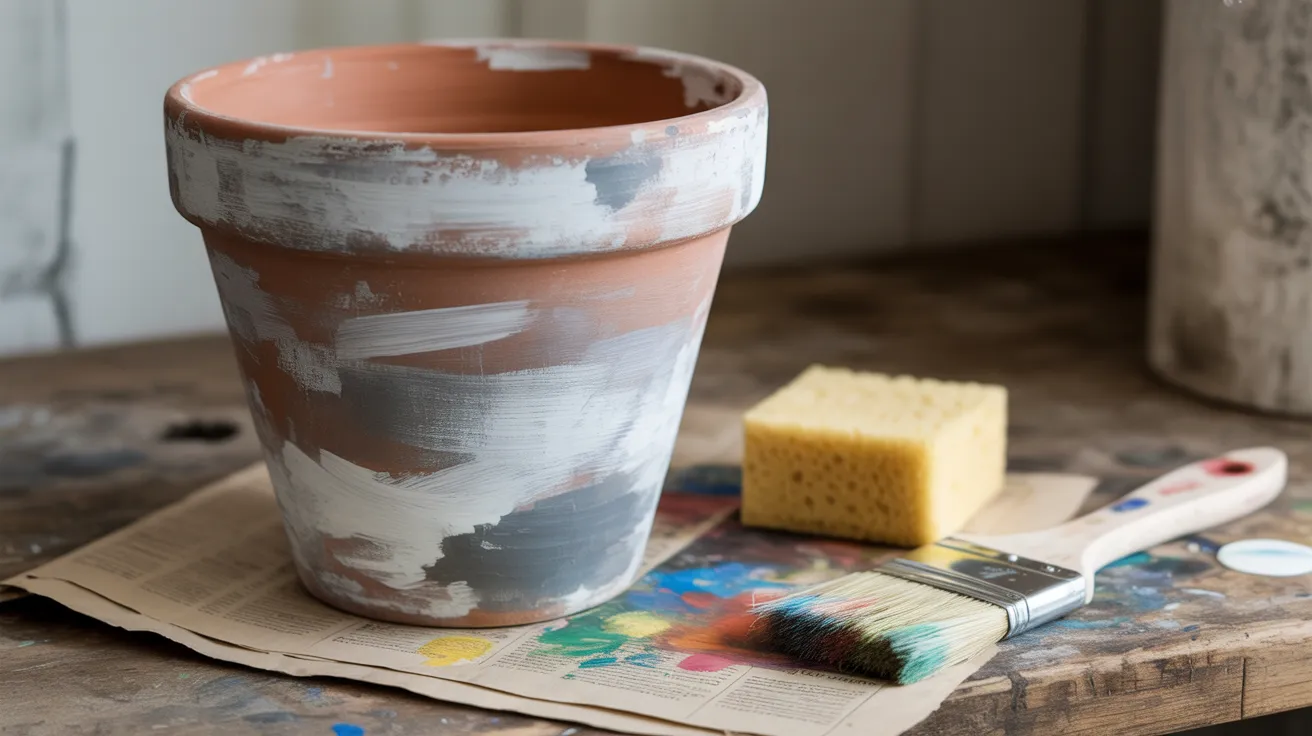
A paint wash is a simple way to create a soft, aged finish. Mix one part acrylic or chalk paint with three parts water to thin it out.
Use a sponge or a wide brush to apply the paint in light, even layers. Let each layer dry before adding another. You can blend shades of white, gray, or green for added depth.
Once the surface is dry, seal it with a matte spray to protect the look from moisture.
4. Use Buttermilk and Moss for a Lush Finish
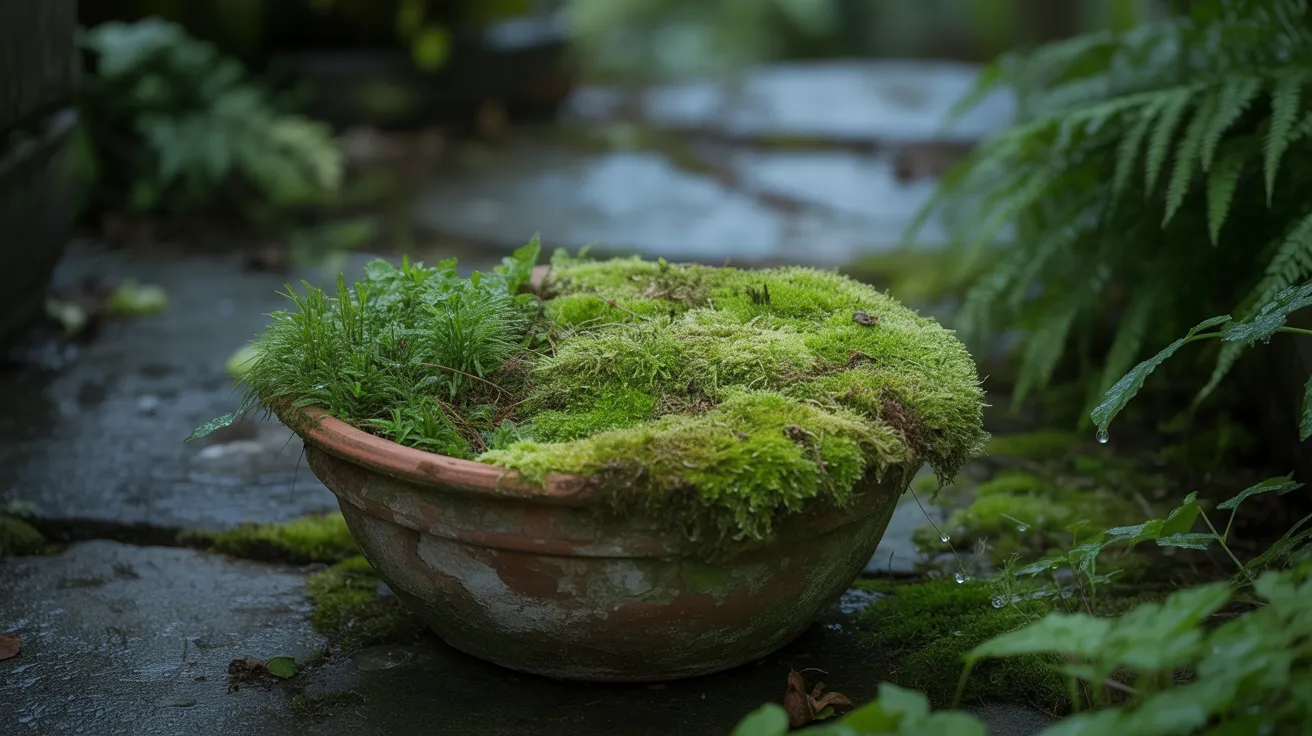
This method helps grow actual moss on the pot. Blend a handful of moss with one cup of buttermilk. Apply the mixture to the outside of the pot using a sponge or wide brush.
Keep the pot in a damp, shaded area and mist it daily. In two to three weeks, moss may start to grow. This method is most effective in warm, humid climates.
The result is a green, living texture that appears to have formed over time.
5. Rub in a Dirt and Salt Paste
For a rough and worn texture, use a mix of dirt and salt. Combine garden soil, a spoonful of salt, and a small amount of water until you achieve a thick, paste-like consistency. Apply it by hand or with a brush in random areas.
Let the pot sit in a sunny or breezy spot until it is completely dry. Then brush off any loose material. The surface will look rough and slightly dirty, giving the pot a weathered and natural feel.
Tips on Aging Terracotta for an Old-World Feel
The way you apply each material can change the final look of your pot. With a few simple tools and some patience, you can bring out texture, create soft patterns, and add character that looks worn-in without much effort.
Use Sponges for Dabbing
For a soft, uneven finish, use a sponge instead of a brush. You can dab the sponge lightly to break up the surface color and avoid sharp streaks.
This works well with paint, lime, or even yogurt. The sponge gives you more control over where the mix goes and helps keep it from building up too much in one spot.
You don’t need to cover everything—just tap gently until the texture feels balanced.
Layering Paint Washes
You don’t have to stop at one layer. If you’re using paint, try building it up slowly. Start with a thin wash, let it dry, and then add more where needed.
You can mix in soft grays, whites, or greens depending on the look you want. Allowing each layer to dry in between helps create a soft tone.
With this method, your pot will have more depth and feel as if it has been outdoors for a long time.
Sanding for Age Lines
Once the surface is dry, grab a bit of sandpaper and focus on the edges. Sand lightly around the rim, handles, or raised areas
Places that would naturally wear down first. You don’t need to press hard. Just enough to bring out the clay underneath and break up the finish.
This makes the pot look used in a good way, as if it has been sitting outside through sun, rain, and time. It’s an easy way to finish off the look.
Common Mistakes to Avoid
Errors can help you understand how your aged terracotta pots turn out. Keep these common issues in mind to get a cleaner, longer-lasting finish.
- Thick Paint or Lime Layers: Too much paint or lime dries unevenly and may leave blotches. Use thin coats, let each layer dry fully, and build slowly for a softer, more natural finish.
- Sunlight on Yogurt-Covered Pots: Direct sunlight can cause the yogurt to spoil and smell bad. Keep the pot in a cool, damp, shaded area to support healthy surface growth.
- Skipping the Sealer: If you don’t seal the pot, paint or lime may fade or flake over time. Always finish with a clear matte spray to help the aged surface last outdoors.
Sealing and Aftercare for Terracotta Pots
Proper sealing helps aged finishes last longer and resist wear and tear. After completing the aging process, a few simple steps can help protect the surface from water, sunlight, and general wear and tear, especially for outdoor pots.
- Avoid sealing during damp or rainy days. Extra moisture can slow down the drying process and leave an uneven or cloudy surface.
- Test the spray on a small area to check how it reacts with the finish, especially for handmade surfaces.
- Store pots in a dry, covered spot during cold weather to prevent cracks caused by repeated freezing and thawing.
- Clean sealed pots with a soft brush or cloth. Strong scrubbing can wear down the surface and alter its appearance.
- Raise pots slightly off the soil or grass. This helps air flow, reduces trapped moisture, and keeps the base dry.
- Turn the outdoor pots now and then. Changing the position helps prevent uneven color caused by long sun exposure on one side.
- Spray in light bursts instead of a heavy coat. Thin layers dry more quickly, reduce streaks, and provide greater control during application.
Final Thoughts
Now that you’ve seen how to age terracotta pots, you’re ready to add depth and personality to plain clay. Each method offers a unique surface effect, from soft mossy layers to rough textures or chalky finishes.
With the right prep and sealing, the aged look stays in place through sun and rain. Aging pots isn’t just about appearance; it can also help regulate moisture and protect roots.
Continue experimenting with finishes until you find one that suits your space. For more outdoor care tips, browse our other garden DIYs and see what else you can try next.


