17 DIY Laundry Room Ideas to Modify Your Space
Is your laundry room a mess? Most of us spend hours each week washing clothes, but don’t give much thought to the space itself.
A better laundry room can make this chore easier and even a bit more fun. The good news? You don’t need to hire pros or spend lots of money to fix it up.
This guide will show you how to create a DIY laundry room that works for you. We’ll cover smart storage ideas, budget-friendly fixes, and the best materials to use. Plus, you’ll find simple projects you can do yourself and tips to keep everything in good shape.
With some basic tools and a weekend or two, you can turn your laundry room into a space that works much better.
Key Factors to Consider for a DIY Laundry Room
When fixing up your laundry room yourself, focus on what makes the space work better for you. The right setup can make washing clothes less of a chore and help keep everything in its place. And if you ever feel the need for an extra hand beyond your DIY efforts, you can explore professional laundry services such as https://thelaundrylady.com.au/laundry-lady-in-victoria/, which bring convenience right to your home.
Storage Solutions
Good storage makes a laundry room more useful. Add basic wall shelves above your washer and dryer for detergent and supplies. Simple plastic bins can sort dirty clothes by color.
Hang items that need to dry on hooks on the wall. To save money, look for small cabinets at second-hand stores.
If you have a small space, stack your washer and dryer, then use the extra floor space for a rolling cart. Even adding a rod between two shelves creates a spot to hang clothes right after drying.
Time and Budget-Friendly Options
You can update your laundry room without spending a lot of time or money. Paint is cheap and makes a big impact – choose a light color to make the space feel bigger.
Use stick-on backsplash tiles instead of real ones. Look for sales at big box stores or check online groups for free or cheap items.
Do one small project each weekend instead of trying to redo everything at once. Simple changes like new knobs on old cabinets or adding a rug can make the room feel new without costing much.
Choosing Materials
Pick materials that last long but don’t cost too much. Plywood can work for basic shelves when sealed well against moisture. Vinyl flooring stands up to water spills and costs less than tile.
For countertops, look at laminate options instead of stone. Basic white subway tiles are always cheap and look clean. Ready-to-assemble cabinets save money compared to custom ones.
In laundry areas, choose metal or plastic bins rather than wicker or wood ones since they handle moisture better. Consider how much wear the room will get before deciding where to save or spend it.
DIY Ideas for Your Laundry Room
If you’re looking to refresh your laundry room without spending a fortune, consider trying one or two of these simple DIY projects. Whether you need extra storage, a functional workspace or want to give the space a fresh look, these ideas can help you create a more organized and stylish laundry room.
Here’s your list with numbered pointers formatted as requested:
1. Hidden Laundry Room Cabinets
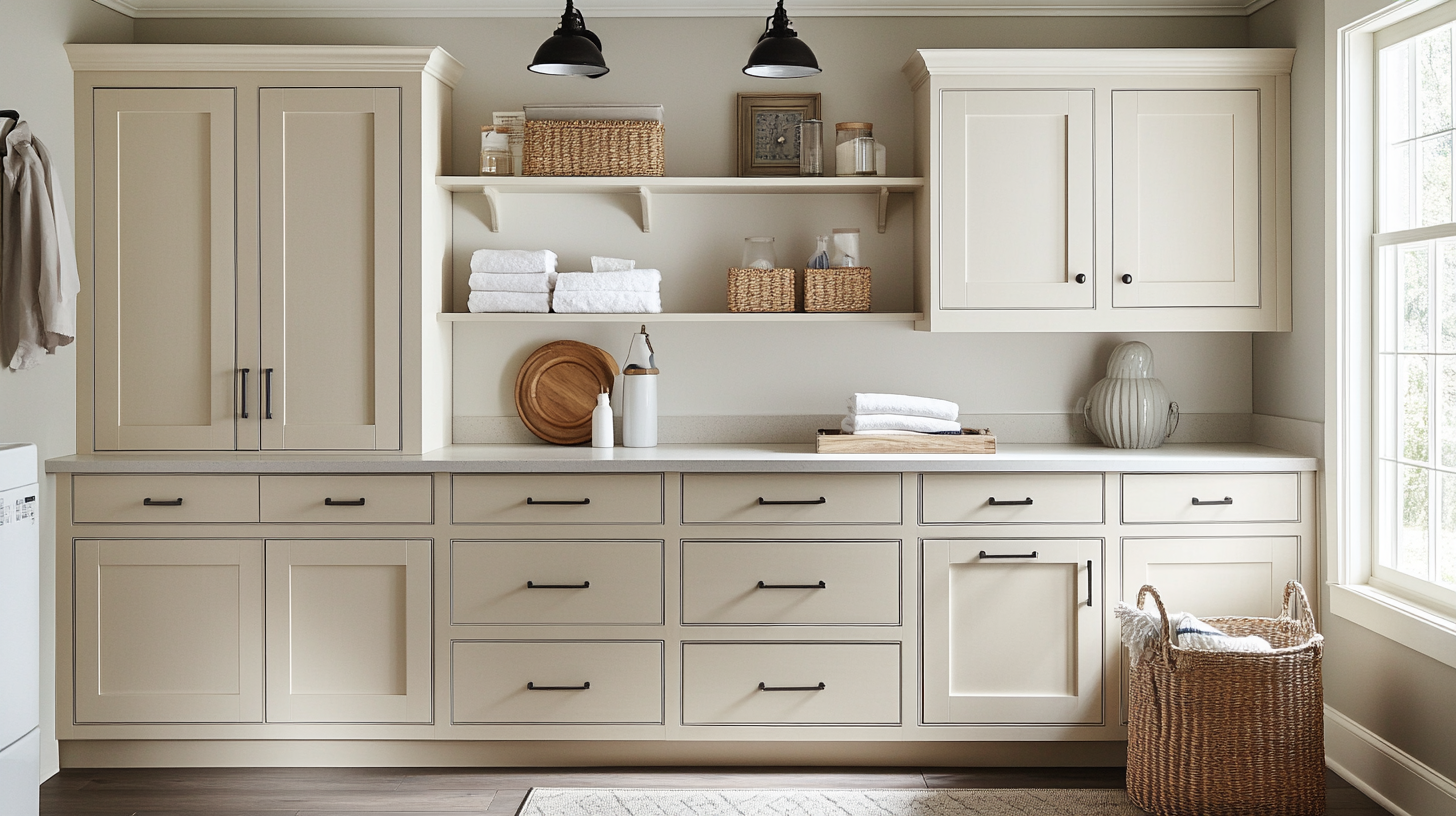
Build simple cabinets with doors to keep laundry items out of sight. This makes your space look neater and less cluttered.
You can make cabinets from basic wood and add handles that match your style. Paint them to blend with your walls or add color to the room. These cabinets keep harmful cleaning products away from kids and pets too.
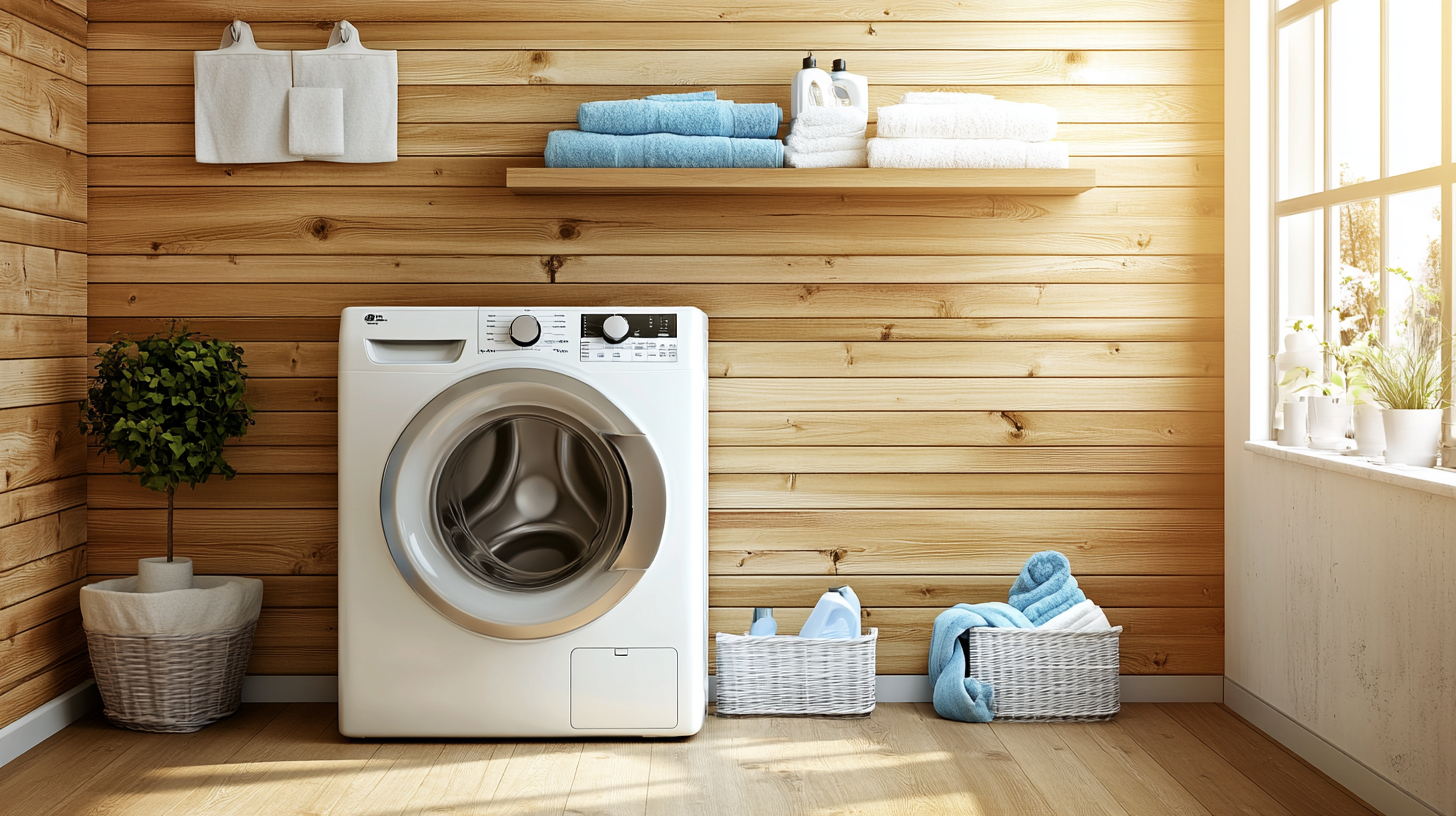
2. Floating Shelves for Storage
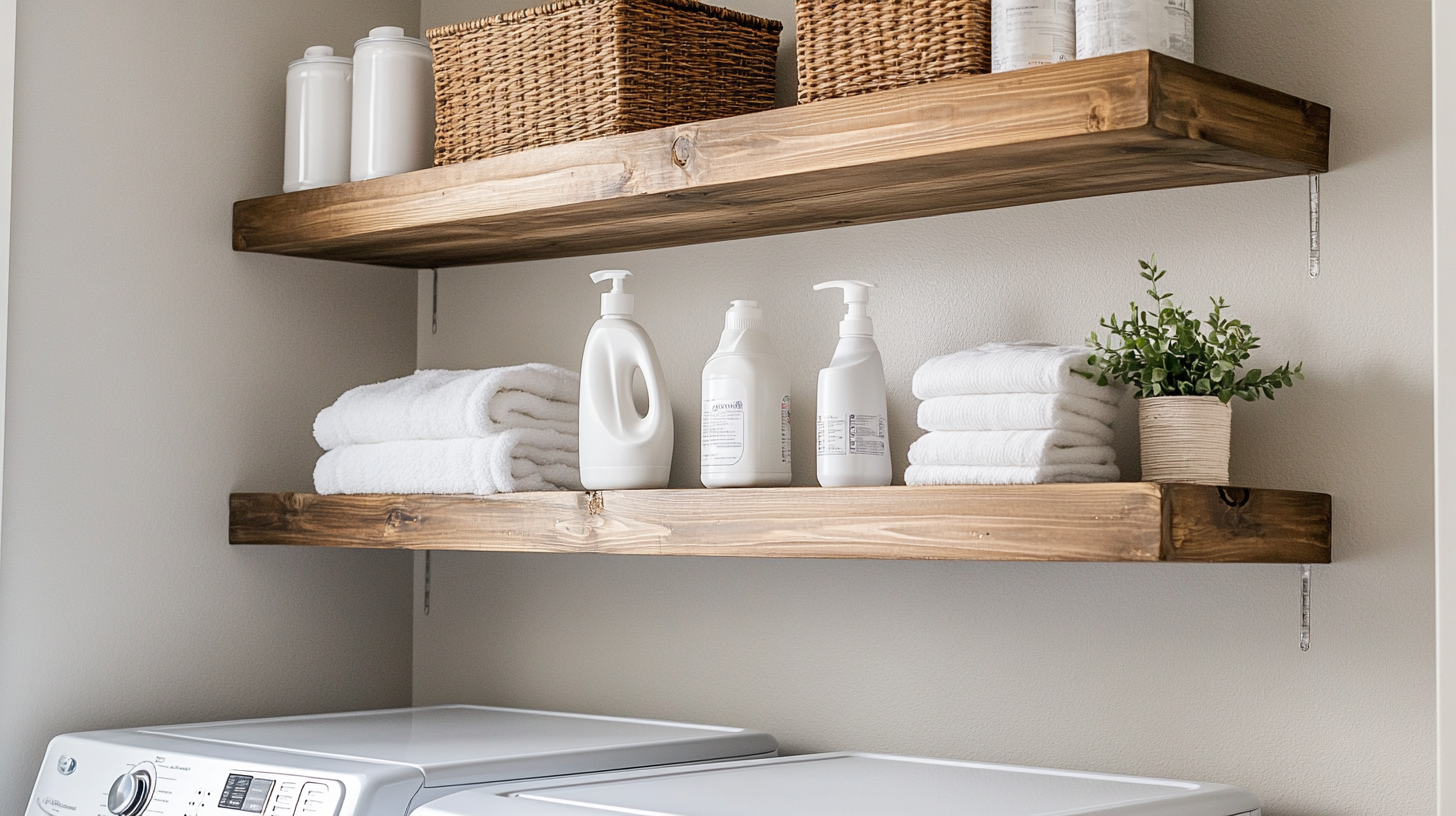
Put up shelves that attach only to the wall above your washer and dryer. These shelves hold items without taking up floor space. You can build them from simple wood boards and brackets.
They work great for keeping soap, dryer sheets, and small baskets within reach. Make sure to attach them to wall studs for good support.
3. Plywood Countertop
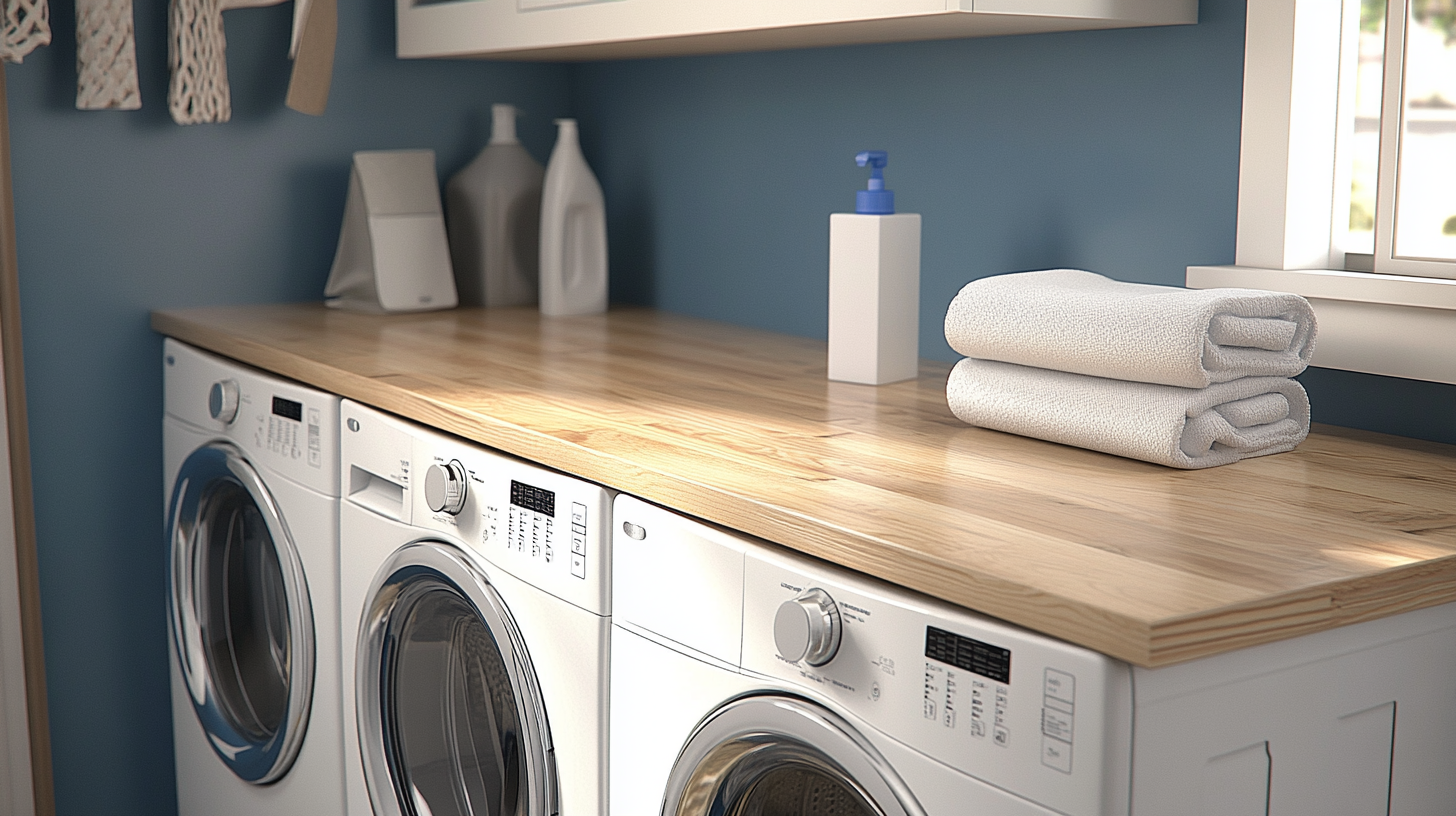
Create a simple work surface using plywood cut to fit over your washer and dryer. Sand the edges smooth and seal with a waterproof finish.
This gives you a spot to fold clothes and sort items. You can paint or stain it to match your room. The cost is much less than stone or solid wood top.
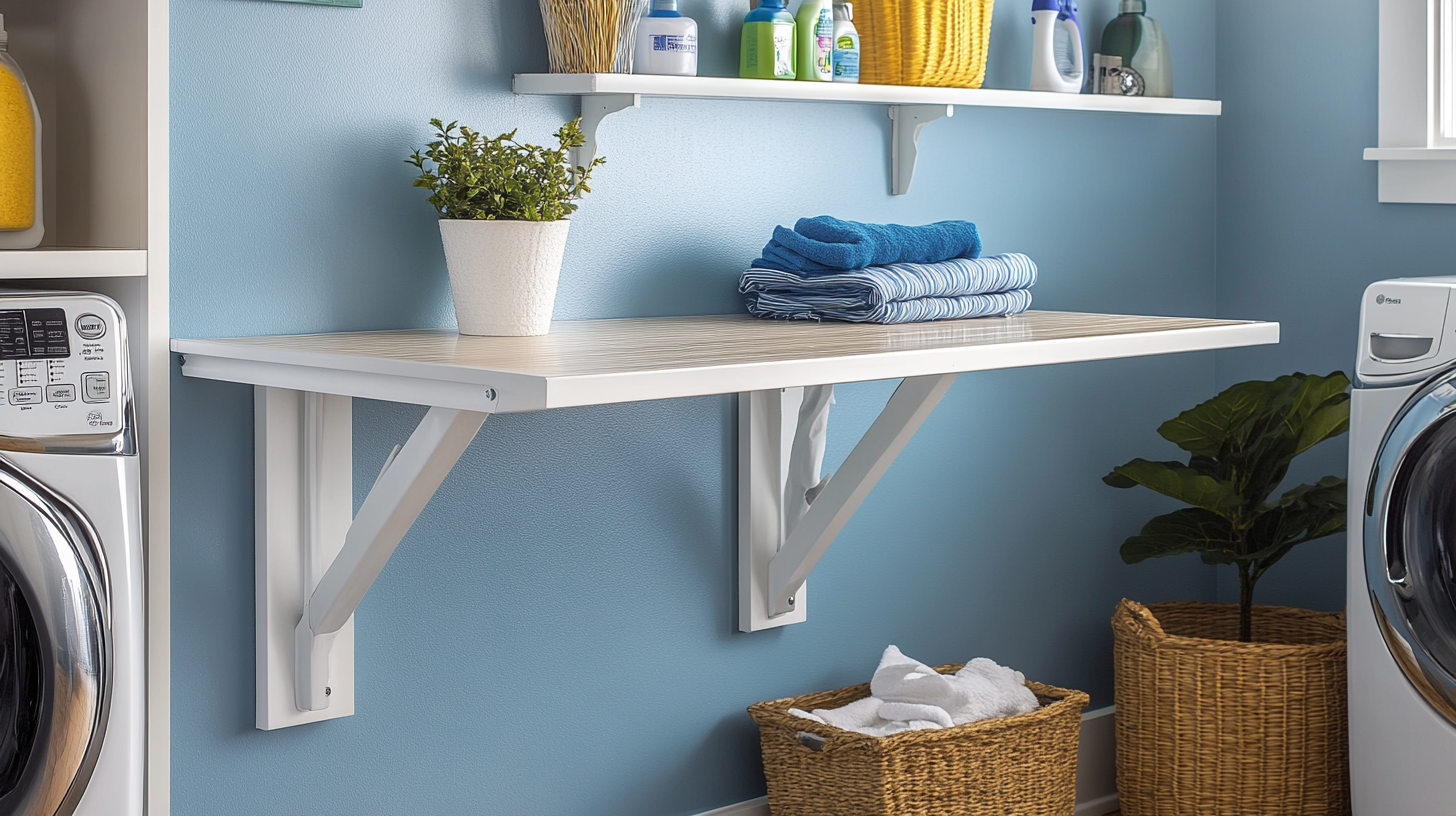
4. Wall-Mounted Drying Rack
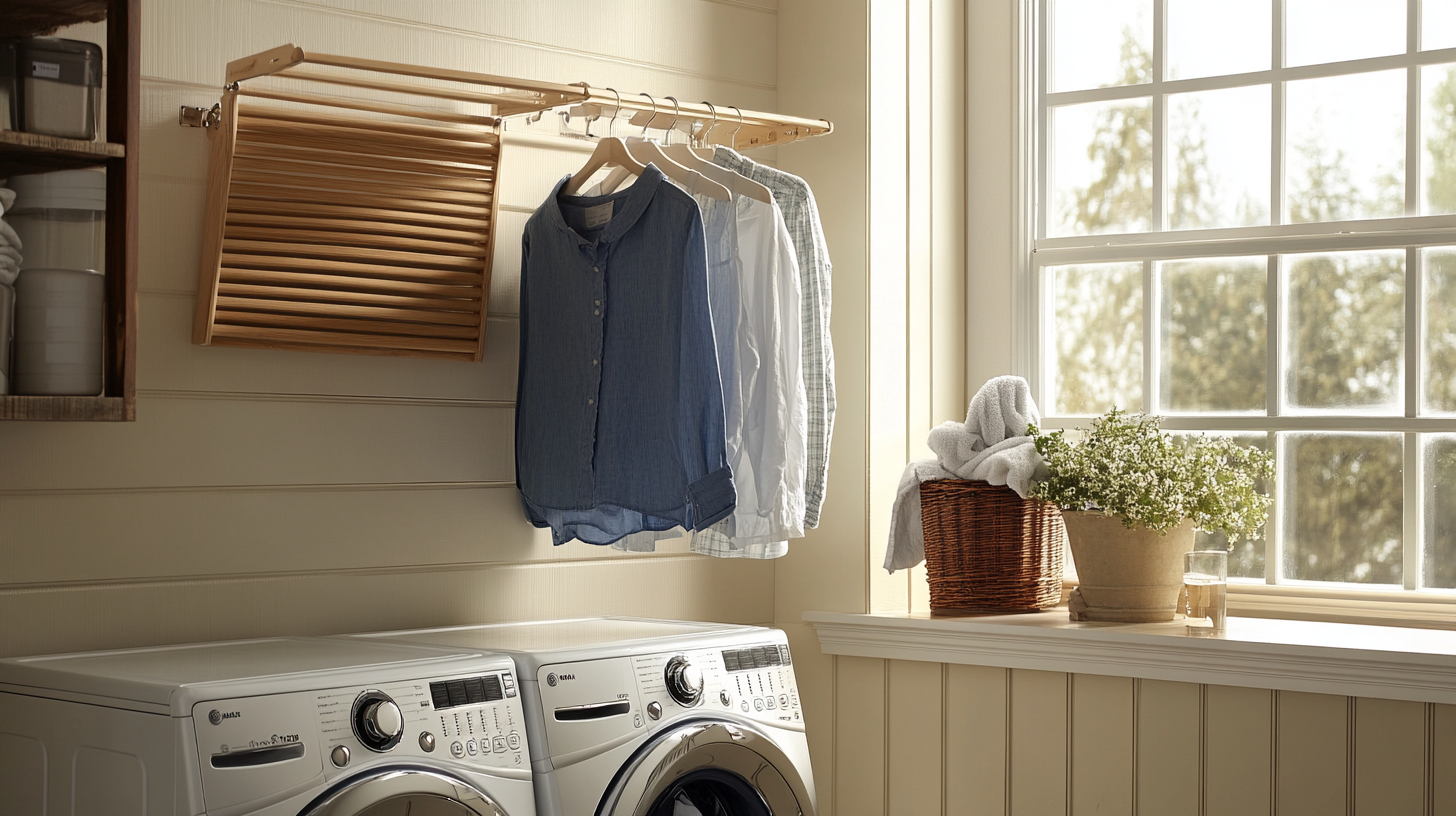
Make a fold-out drying rack that attaches to your wall. When not in use, it folds flat against the wall.
Pull it out when you need to dry shirts, pants, or items that can’t go in the dryer. This saves floor space and energy costs from running the dryer less often.
5. Hanging Rod for Clothes
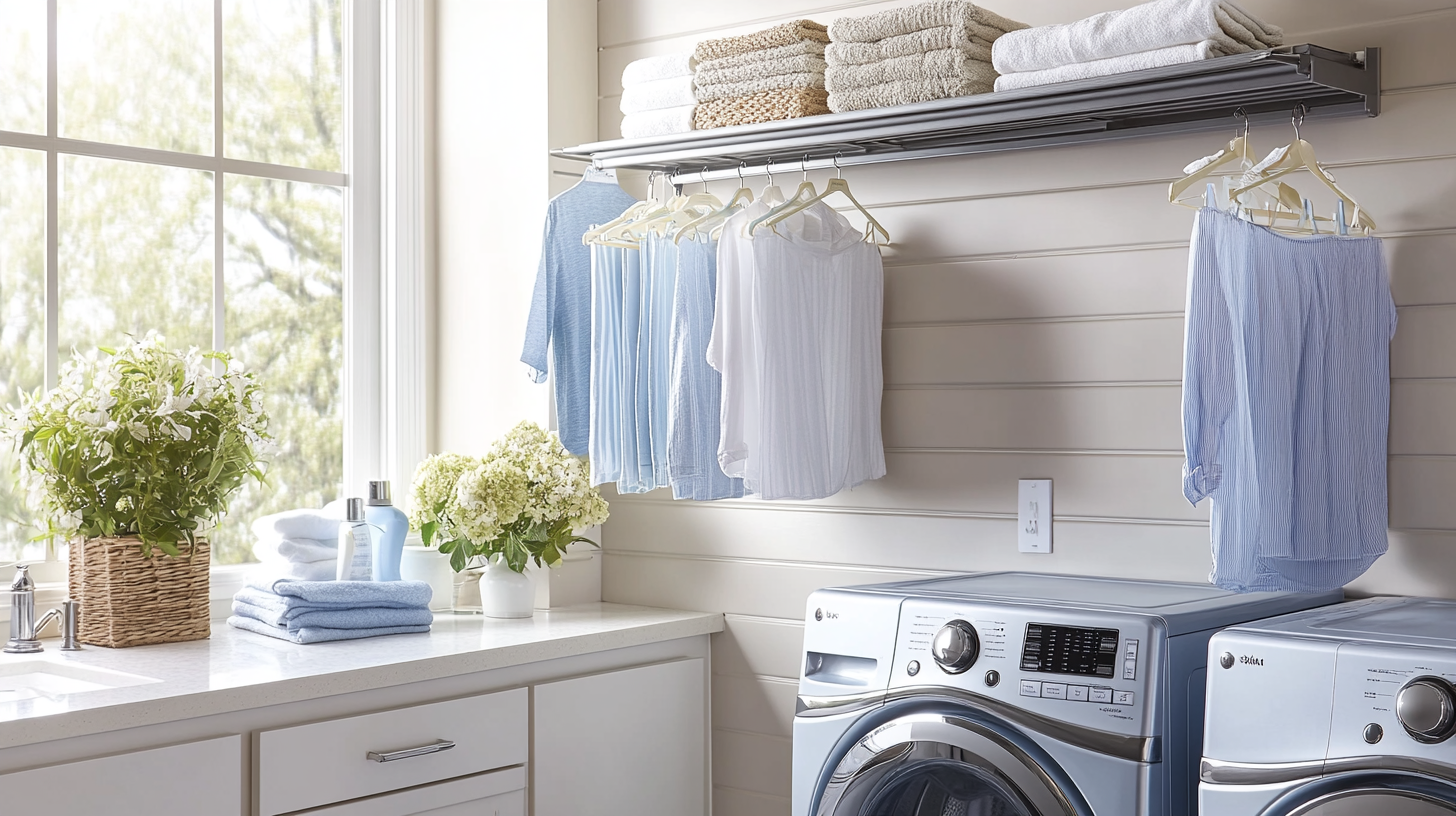
Put a strong rod above or near your washer and dryer. This gives you a place to hang clothes right after washing or drying. You can use a simple curtain rod or metal pipe.
Hang it high enough so clothes don’t touch the floor. This helps stop wrinkles and makes putting clothes away easier.
6. Tile Backsplash
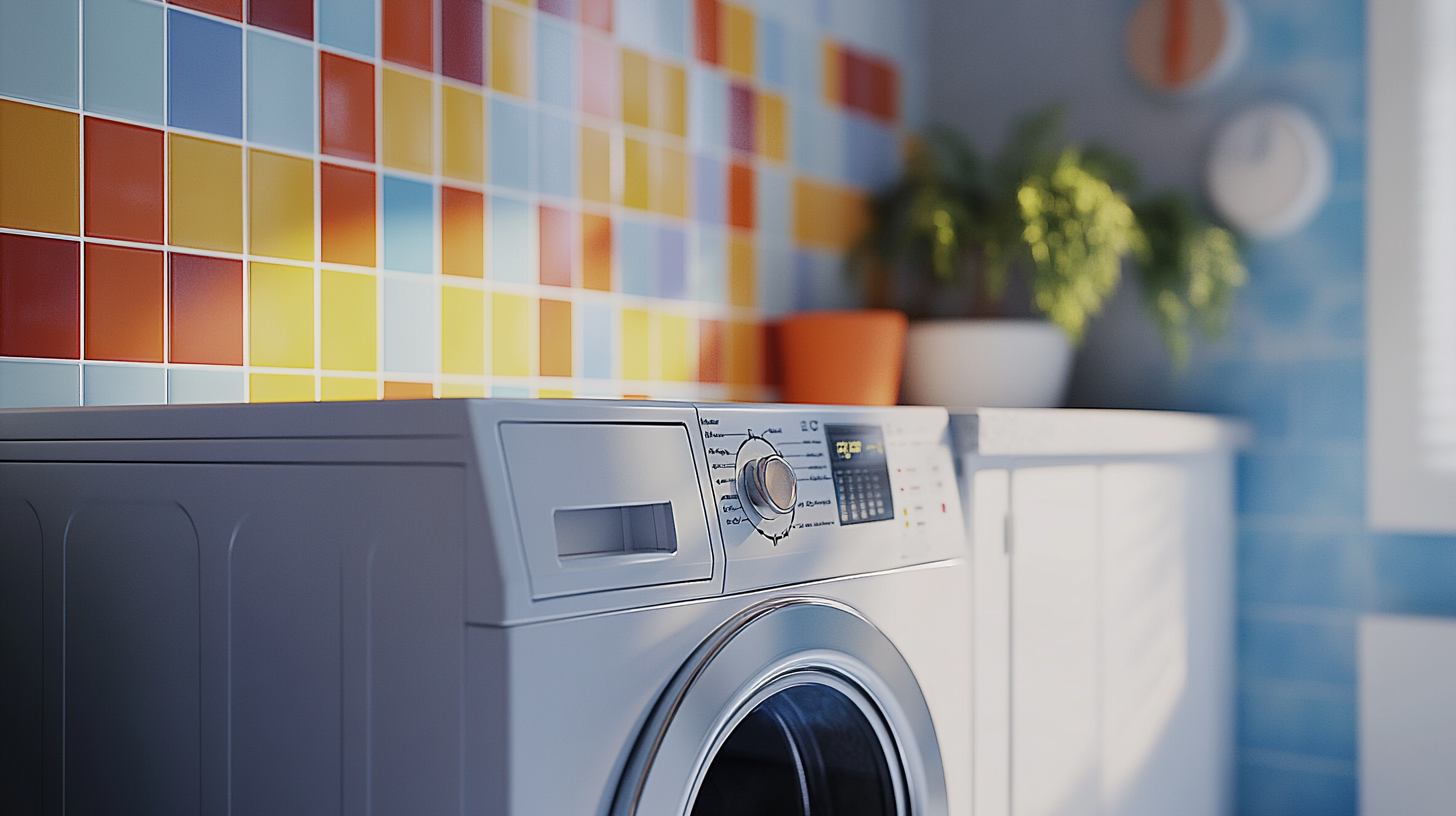
Put tiles on the wall behind your washer and dryer. This guards walls from water splashes and soap spills.
You can use basic white tiles or add color with low-cost options. Even stick-on tiles work well and can be put up in just a few hours. This small touch makes the whole room look better.
7. Industrial Pipe Shelving
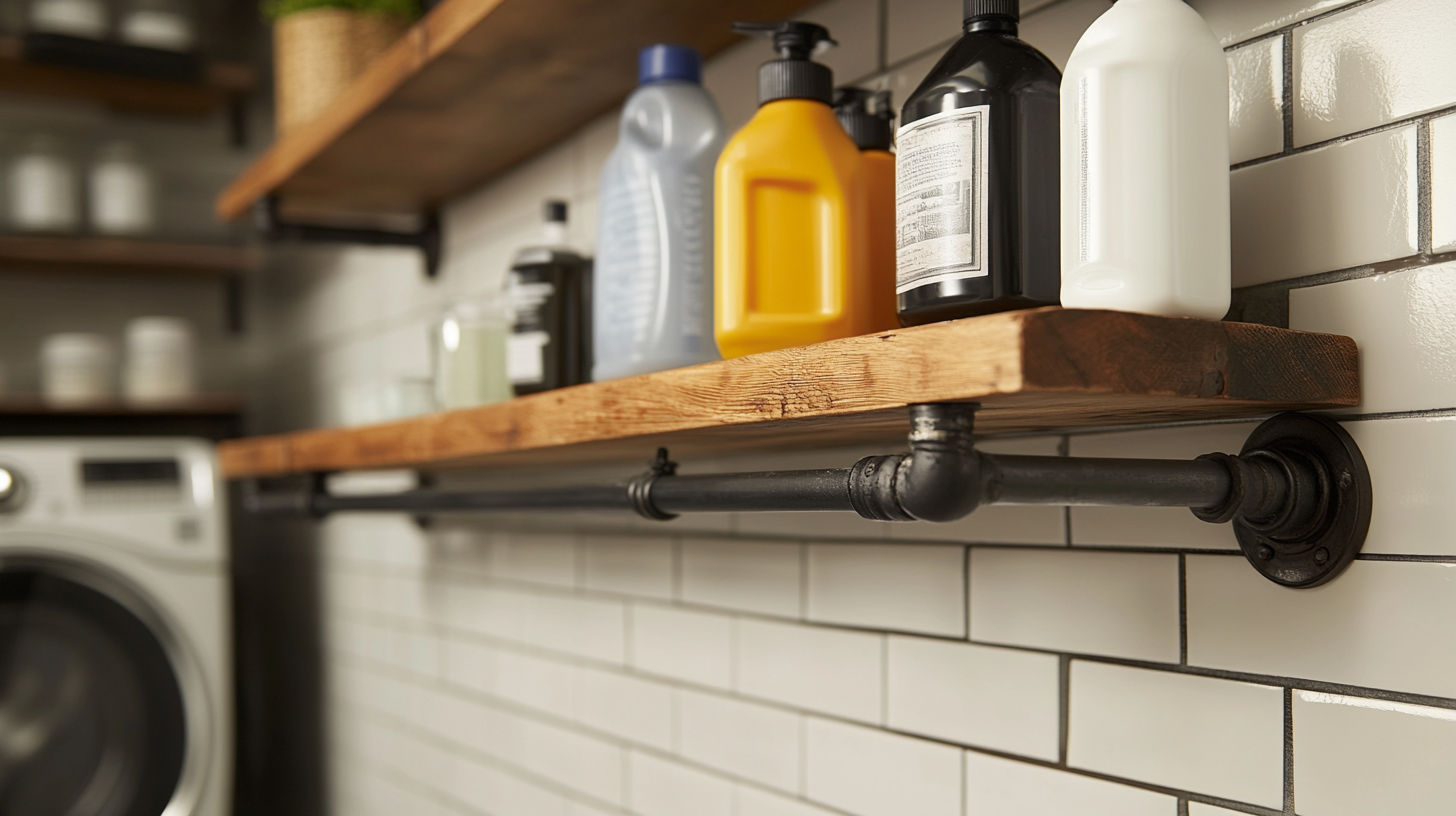
Make shelves using pipes and boards for a strong, modern look. The metal pipes hold their weight well and look good with wood shelves.
You can find pipes at any hardware store. These shelves work well for heavy items like detergent jugs and can be built to fit any wall space you have.
8. Built-In Ironing Board
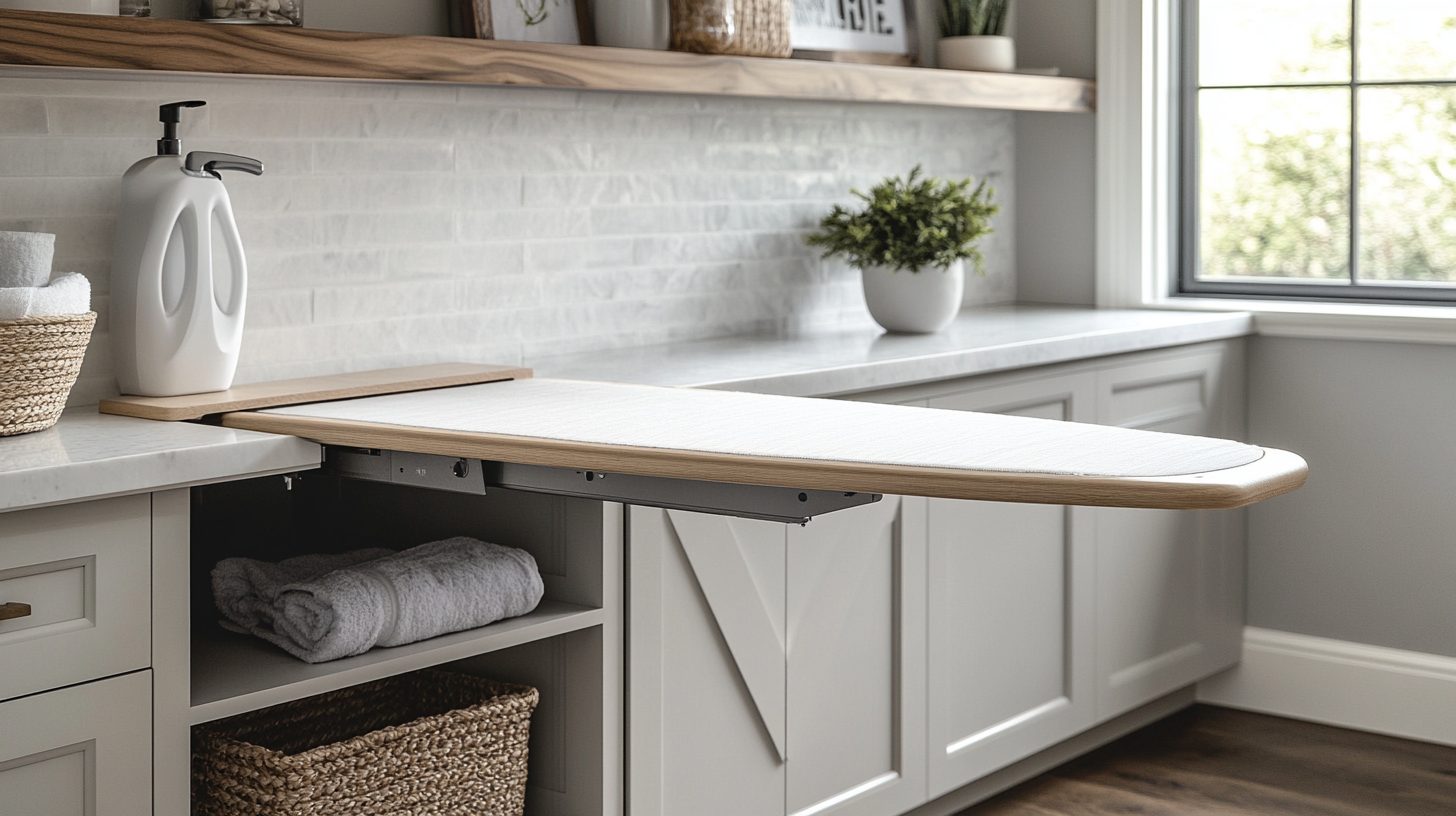
Create a pull-out or fold-down ironing board that hides away when not used. This saves you from setting up and taking down a full board each time.
You can build it into a cabinet or mount it on a wall. Having it ready makes quick touch-ups much faster and keeps your space clear.
9. Laundry Hamper with Compartments
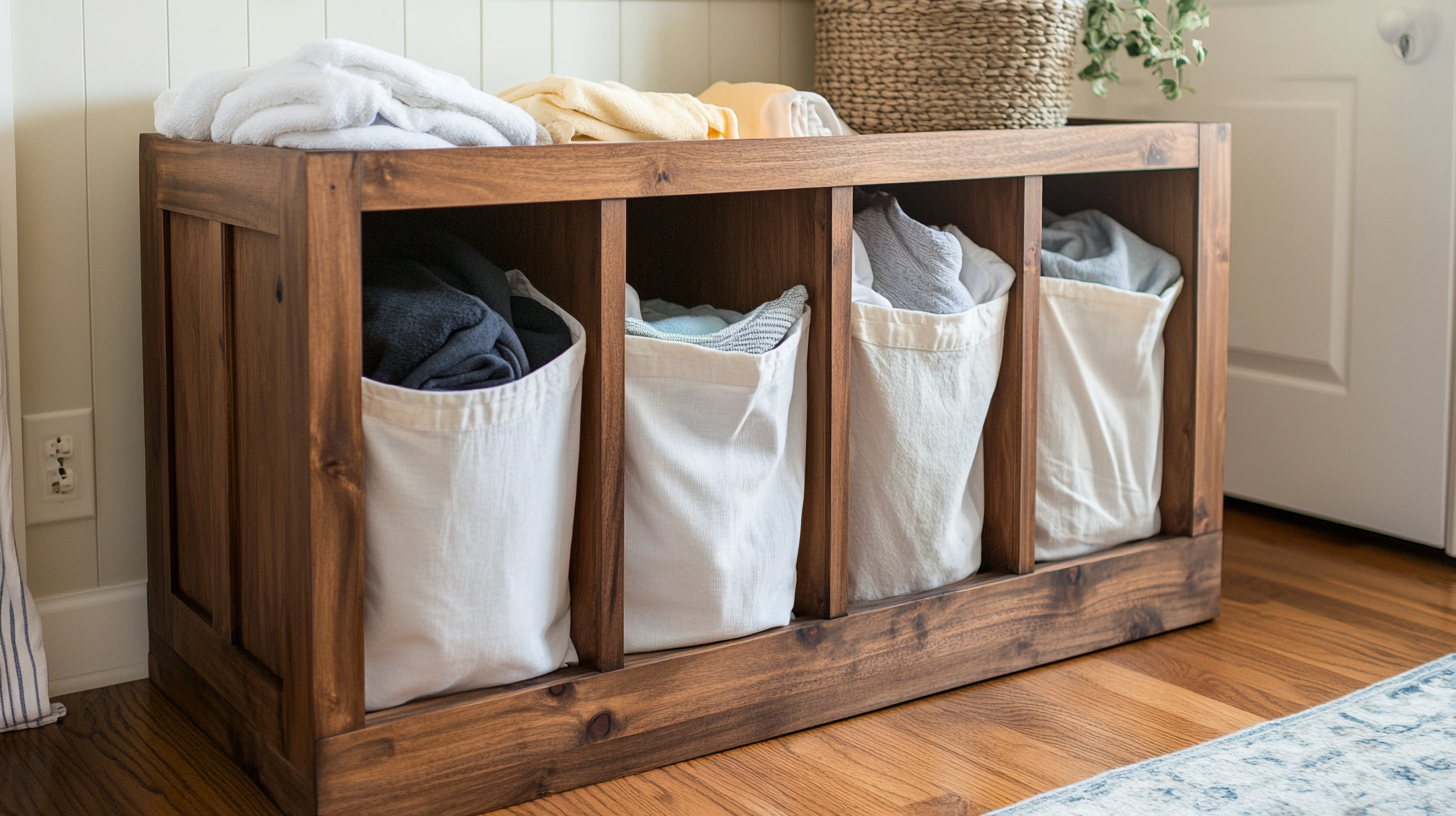
Build a box with sections to sort clothes as they get dirty. This cuts down sorting time on wash day. Make it from wood with cloth bags that lift out.
You can label each section for whites, colors, and darks. Some plans include lids or tops that double as a small bench or surface.
10. Chalkboard Wall
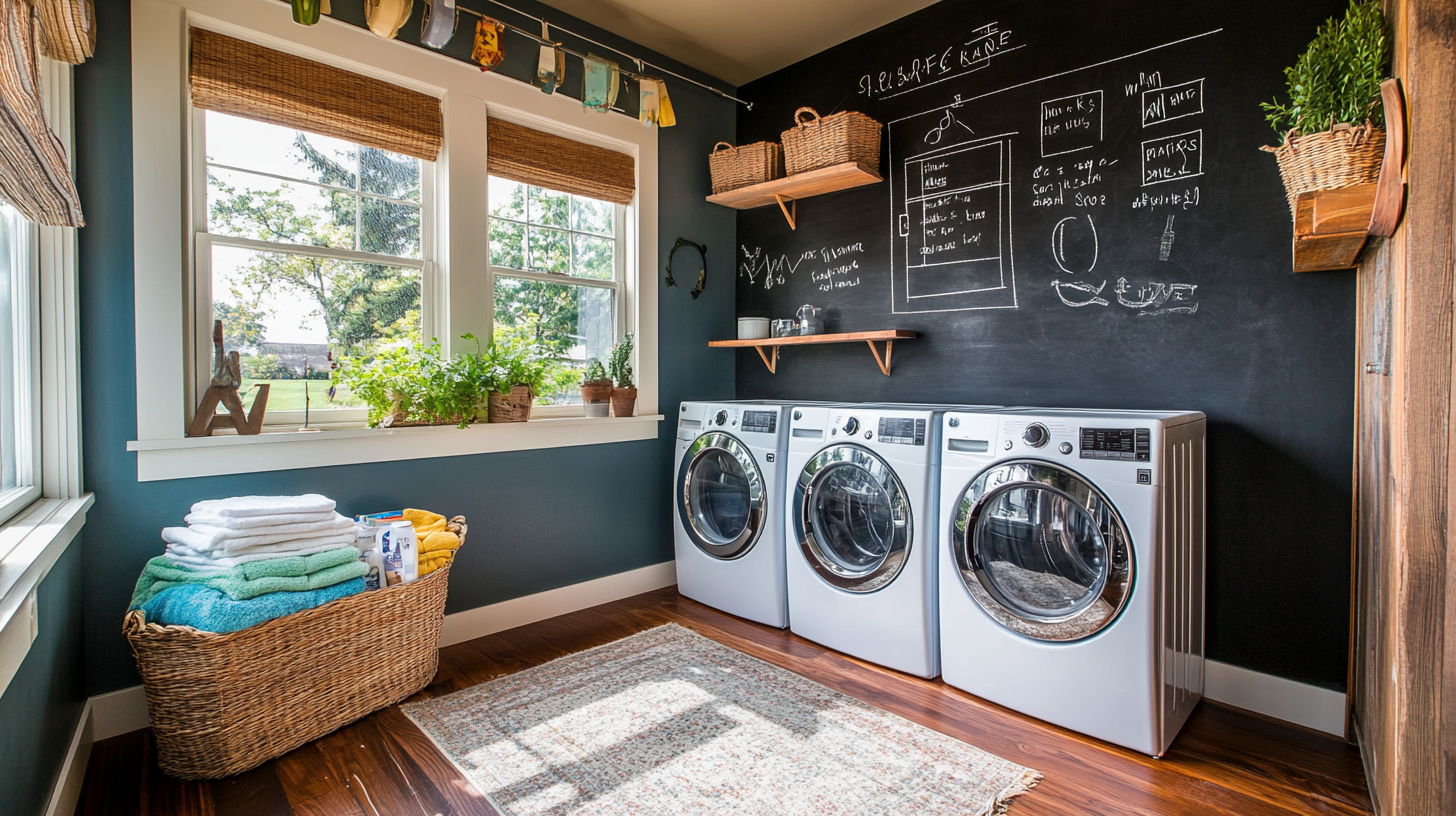
Paint one wall with special chalk paint to make a writing space. Use it to track which loads need washing, list items that need special care, or write notes for family.
This helps keep track of tasks and can mark which clothes belong to which person. The paint is not costly and adds a fun touch.
11. Custom Cabinetry with Pull-Out Drawers
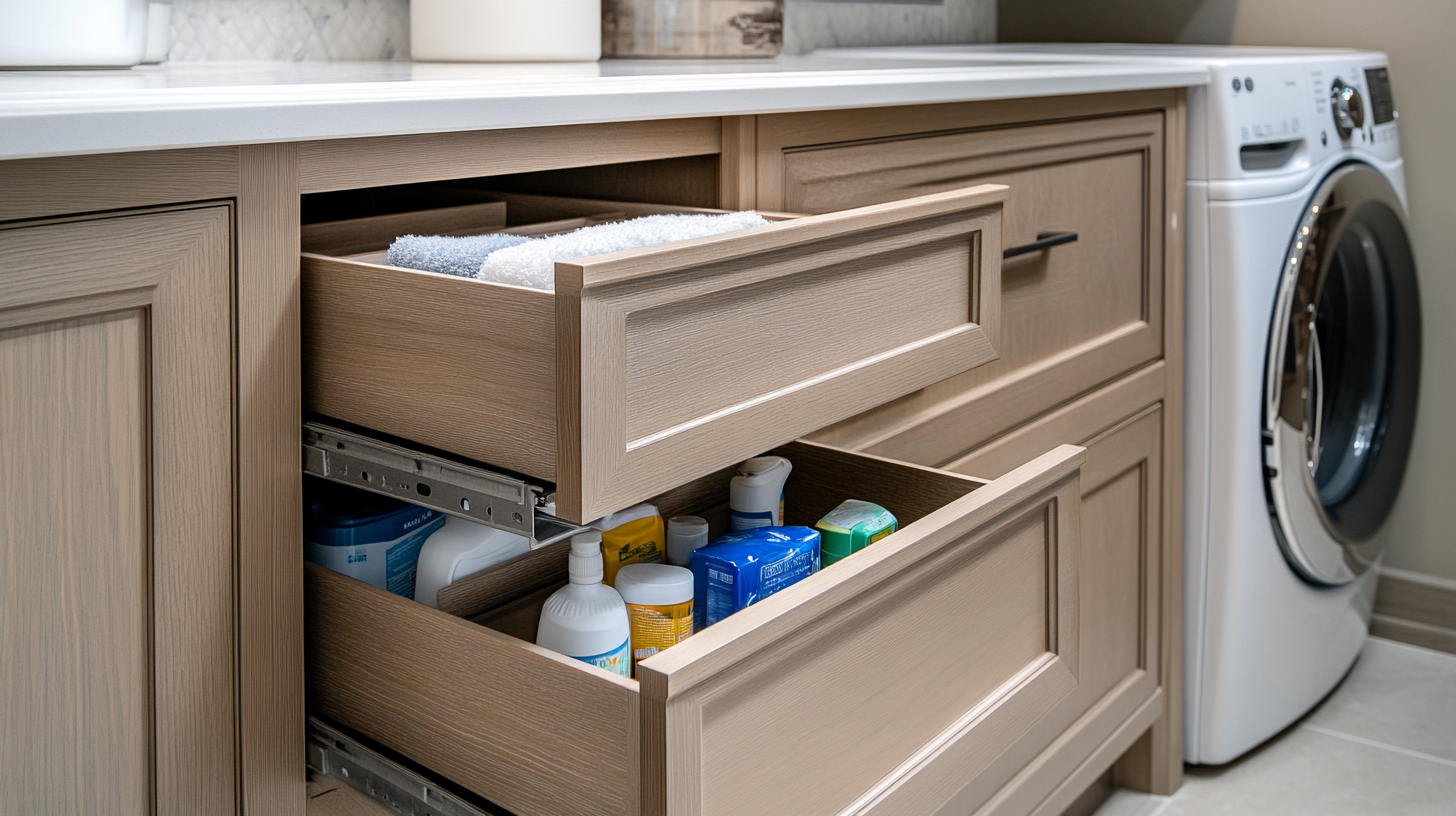
Add drawers that slide out to cabinets for easy access to items in the back. These can hold small things like stain sticks and lint rollers without losing them in deep shelves.
Look for drawer slides at hardware stores. They make it much easier to see and reach all your supplies.
12. Upcycled Wood Countertop
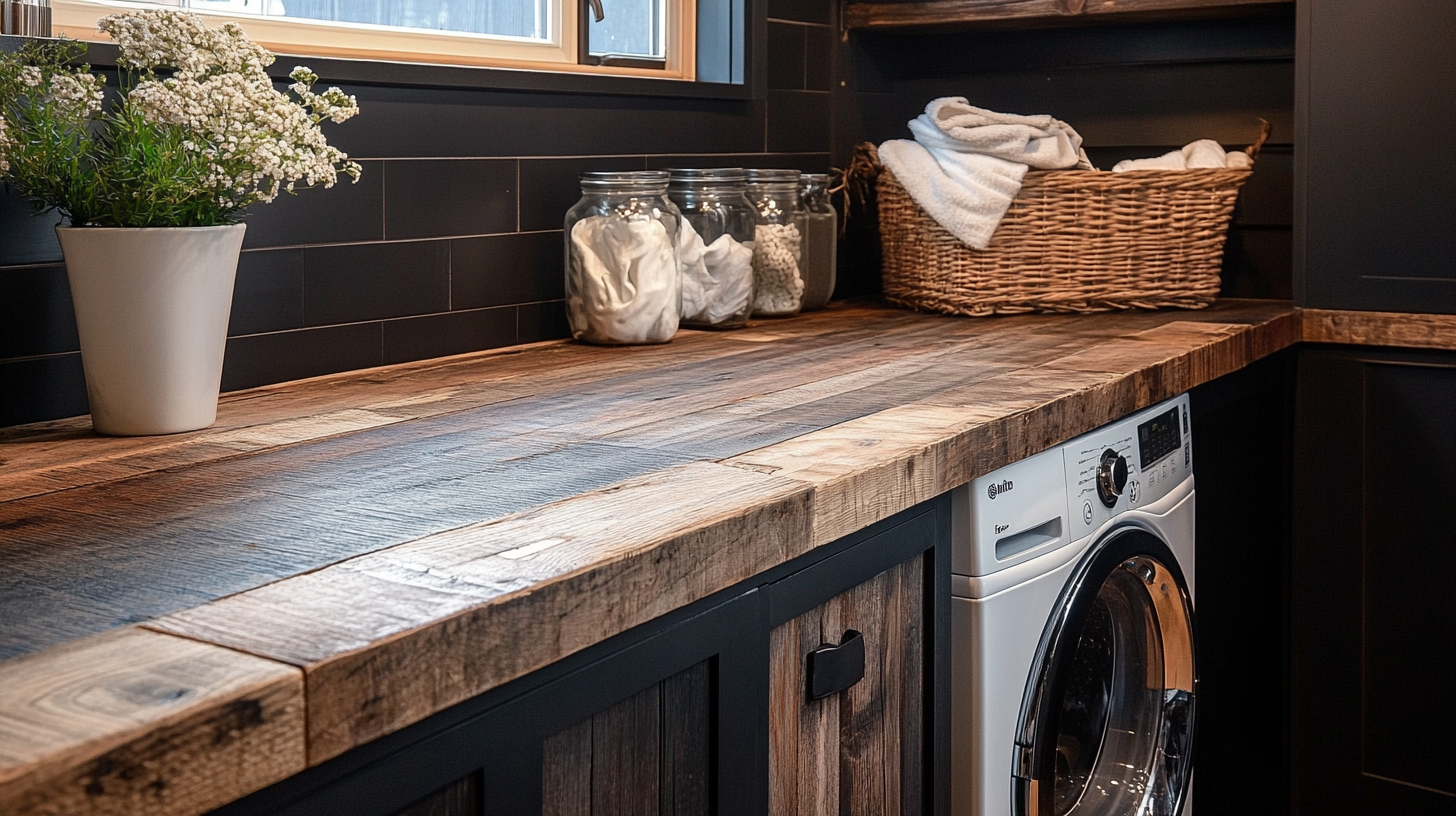
Use old wood from pallets or scrap to make a work surface. Clean, sand, and seal the wood well to prevent splinters.
This costs very little but looks good and works well. Each piece has its look and marks, making your room one of a kind. Make sure to seal it well against water.
13. Small-Scale Fold-Down Table
Build a table that attaches to the wall and folds down only when needed. Use a hinge system so it can hold weight when down but stores flat when up.
This works great in small rooms where you need work space but can’t keep a table out all the time. It’s perfect for folding clothes.
14. Laundry Room Pegboard

Put up a board with holes for hanging tools and supplies with hooks. This keeps small items in view and easy to grab. You can move hooks to change your setup as needs change.
Paint the pegboard to match your room or make it stand out as a focus point. It works for brooms, dustpans, and spray bottles.
15. Moisture-Resistant Wall Paneling
Add wall coverings made to handle wetness and steam. This stops wall damage in this wet room. Options include plastic panels, treated wood, or special paint.
They clean easily when splashed and last for years. This costs more upfront but saves money by guarding your walls.
16. Laundry Room Entryway Bench
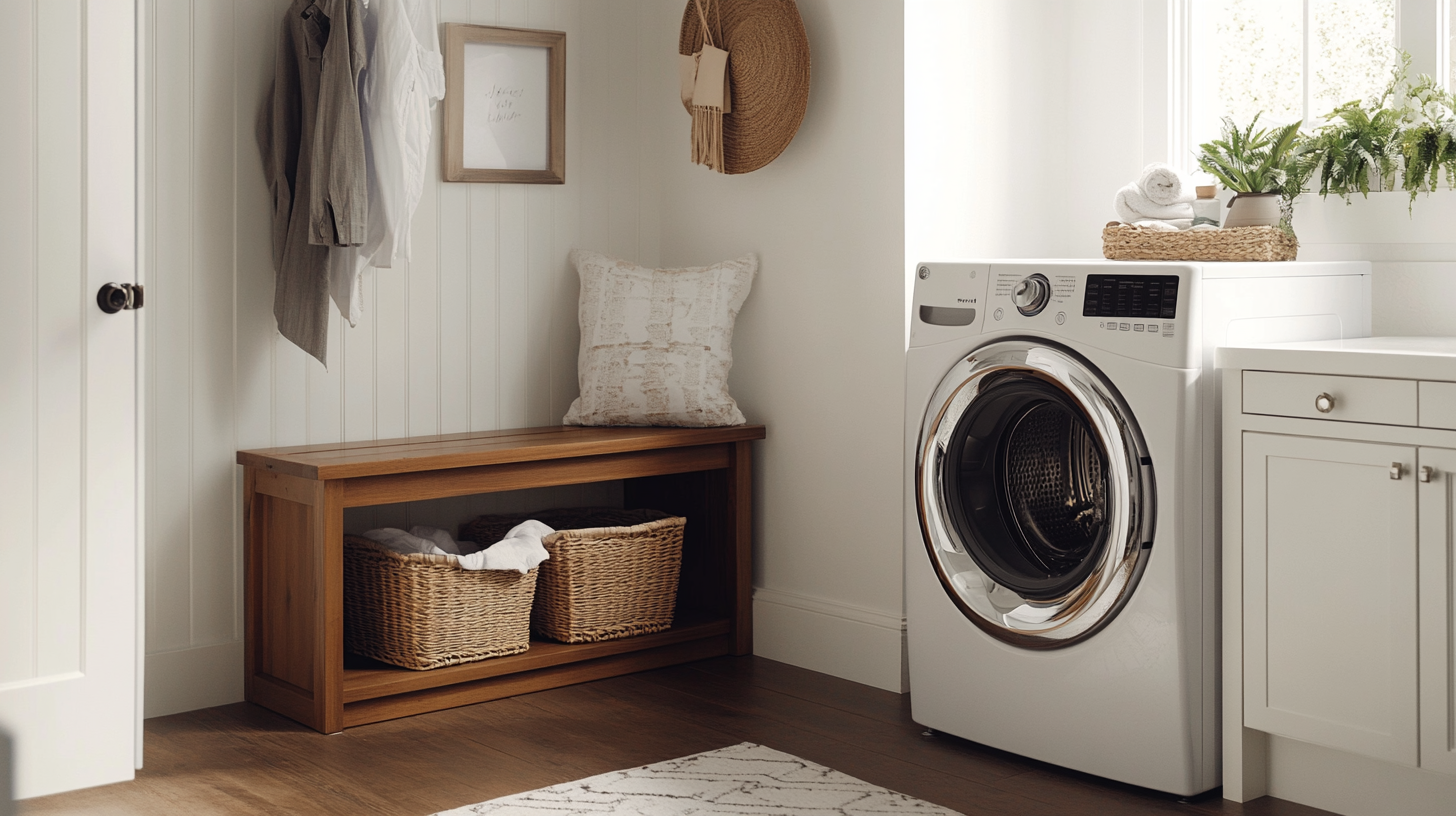
Put a small seat by the door where you can sit to take off shoes or set down bags. Add storage under the seat for shoes or other items.
This keeps dirt from being tracked through the house. It’s also a good spot to set laundry baskets while you open the door or sort clothes.
17. Simple Wall-Mounted Shelving Units
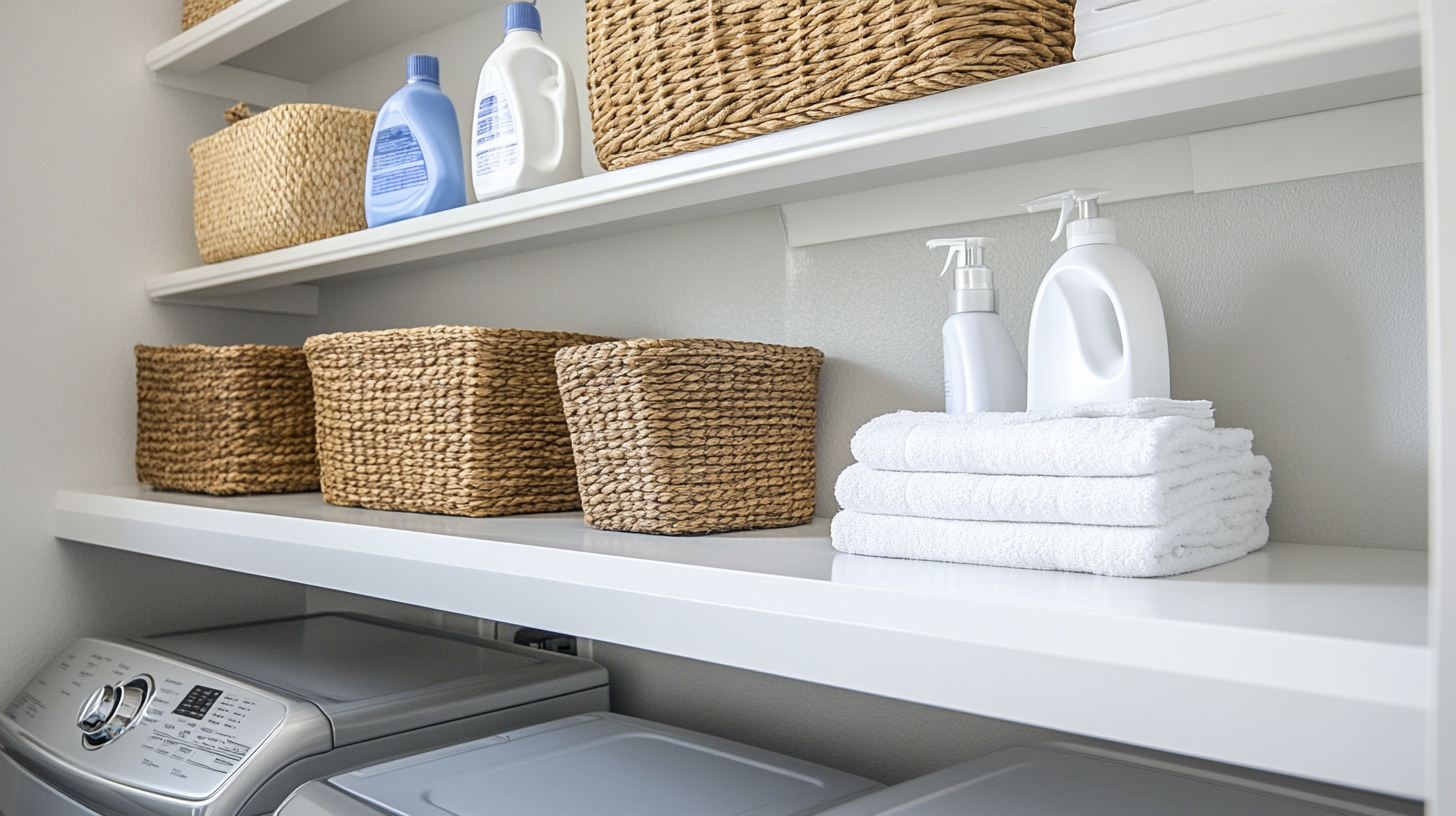
Put up basic shelves along your walls to hold baskets and cleaning items. You can make these from boards and brackets or buy low-cost sets.
Space them to fit the height of what you’ll store there. These open shelves let you see all your items at once and grab what you need quickly.
Maintenance Tips for Your Laundry Room
Taking care of your laundry room is just as important as setting it up well. Regular cleaning and upkeep help your cabinets, counters, and floors last longer. Small tasks done often can stop big problems like water damage, mold, and worn-out surfaces. Good care also keeps the room looking nice and working well.
Now, let’s look at the tips that will help keep your laundry room in top shape:
- Wipe surfaces weekly: Clean counters and appliances with mild soap. Dry after cleaning.
- Check for leaks often: Look at hoses monthly. Fix small drips fast to stop water damage.
- Clean your dryer vent: Remove lint after each load. Clean the pipe every three months.
- Protect floors from water: Use trays under washers. Wipe spills quickly to stop warping.
- Keep cabinets dry inside: Check for moisture. Use absorbers in damp areas.
Wrapping Up
Your DIY laundry room doesn’t have to be costly or difficult to create. The small changes we discussed can make a big impact on how you do laundry each week.
Start with just one project, like adding shelves or making a simple countertop. Even these small steps will help you feel more at ease in the space.
Remember that good upkeep is key to making your hard work last. Clean often, check for leaks, and fix small issues before they grow.
Why not pick one weekend this month to start your first DIY laundry room project?
Your future self will thank you when laundry day comes around, and everything has its place. A well-planned laundry room makes a boring job much more pleasant.