DIY Shed Plans: Build Your Own Shed Easily
Have you ever looked at your backyard and thought, “I need more space”? I’ve been in the exact situation. If you’re storing tools, starting a hobby, or need a quiet corner to work, a shed can be the perfect solution.
If hiring someone feels too expensive or limiting, DIY shed plans can help you do it yourself, your way. I’ll walk you through everything you need to know, from styles and sizes to building steps and smart tips.
By the end, you’ll feel ready to take on this project with confidence. So, are you prepared to build something useful with your own hands? Let’s get started.
Building a Shed Yourself Comes with Big Benefits
Many people choose DIY shed plans because they want to cut costs and still get something useful. Building it yourself is often cheaper than buying one that’s already made.
You also get to design the shed in a way that works best for your space and needs. If you want more shelves, extra windows, or a certain size, it’s all up to you.
It’s also a great way to learn new skills. Even if you’ve never built anything before, step-by-step plans help guide you through each stage.
Once it’s done, there’s a real sense of accomplishment in using something you made with your own hands.
DIY Shed Plans and Styles to Choose From
If you’re unsure where to start, think about how you’ll use the shed and what will fit in your yard. I found that matching the shed’s size and shape to my storage needs made the whole process easier.
Popular Shed Styles
Different shed styles offer different roof shapes, wall heights, and looks. Select a style that suits your space, is easy to construct, and provides the functionality you desire.
Lean-to

A lean-to shed features a single-sloped roof, making it ideal for placement against a wall or fence. It’s one of the simplest and cheapest styles to build.
Perfect for tight spaces, this shed is ideal for storing tools, bikes, and other small items. Its compact design also makes it beginner-friendly, especially if you’re building one for the first time.
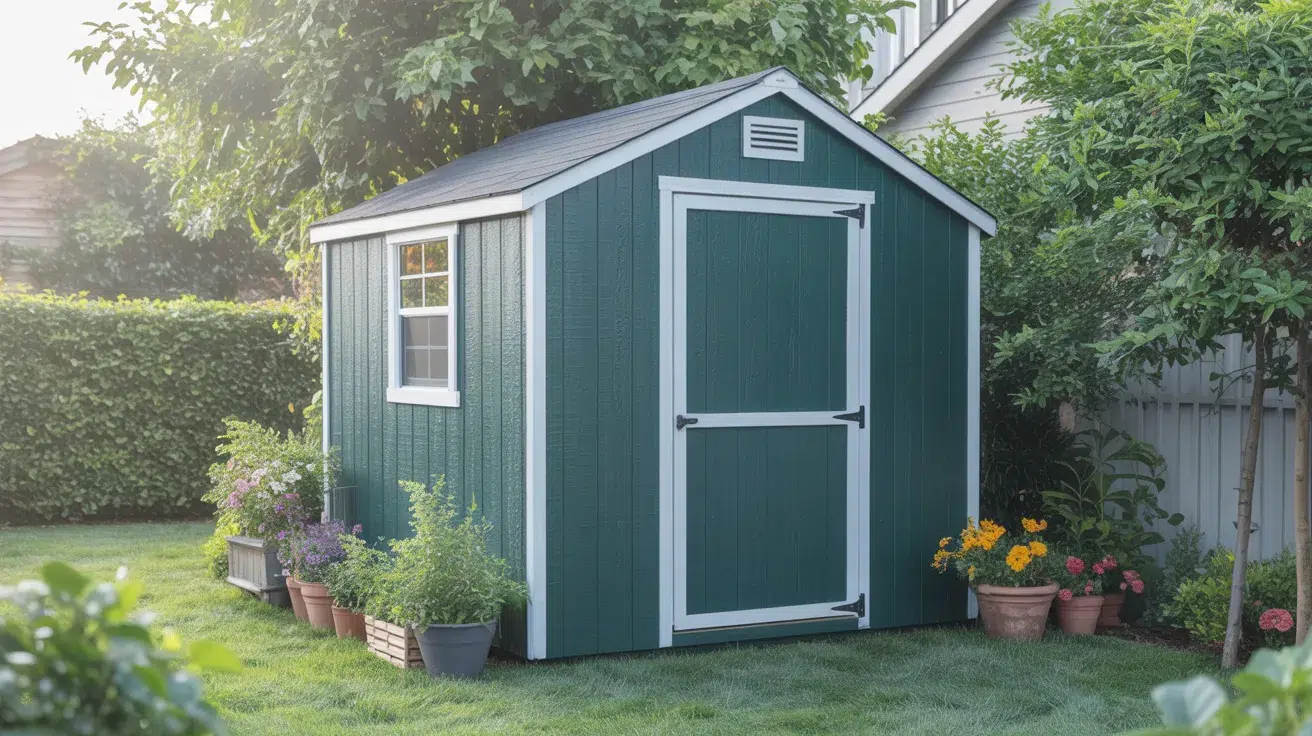
Gable

Gable sheds have a classic pitched roof with two equal slopes. They resemble a small house and are a popular choice for backyard setups.
The center roof peak gives more headroom inside, making it easier to move around or install shelves. It’s a good choice for general storage or light work use.
Gambrel
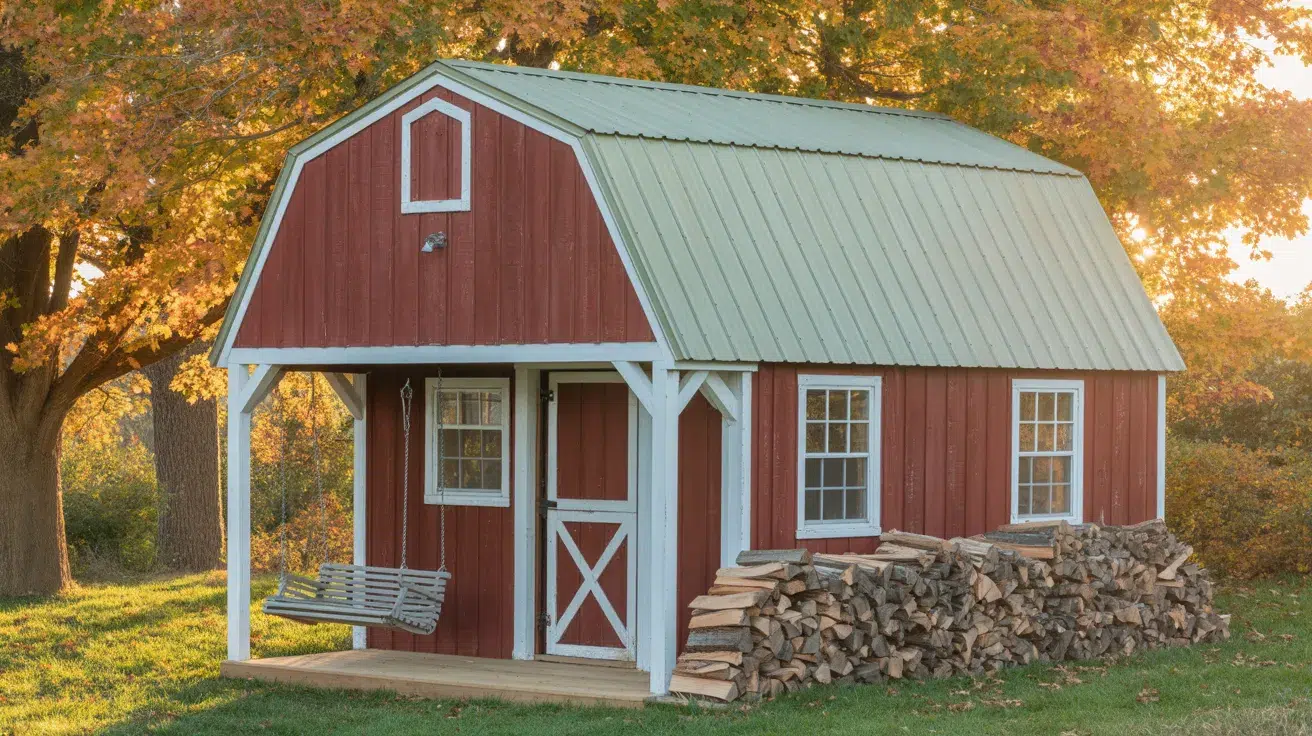
A gambrel shed has a barn-style roof with two slopes on each side. This shape adds extra space at the top, which is ideal for storage or a loft.
It’s popular for larger sheds, especially if you want both floor and upper storage. The look also adds character without needing much more material.
Saltbox

Saltbox sheds have an uneven roof with one long slope and one short slope. This design helps with water runoff and adds a bit of extra headroom.
These sheds are often used in narrow yards where one side may face a fence or wall. The style is practical and works well in both small and medium spaces.
Standard Shed Sizes
Shed sizes vary by use. A smaller shed works for tools or garden gear, while larger ones can handle bikes, mowers, or even serve as a small workshop.
4×8: Small Yard Storage
A 4×8 shed is ideal for storing garden tools, hoses, pots, and outdoor supplies. It’s small enough to fit almost anywhere, even in tight yards.
Because it doesn’t take up much space, it’s a great pick for homes with limited outdoor space. You can build it in a weekend with fewer materials and tools.
8×10 or 10×12: General use
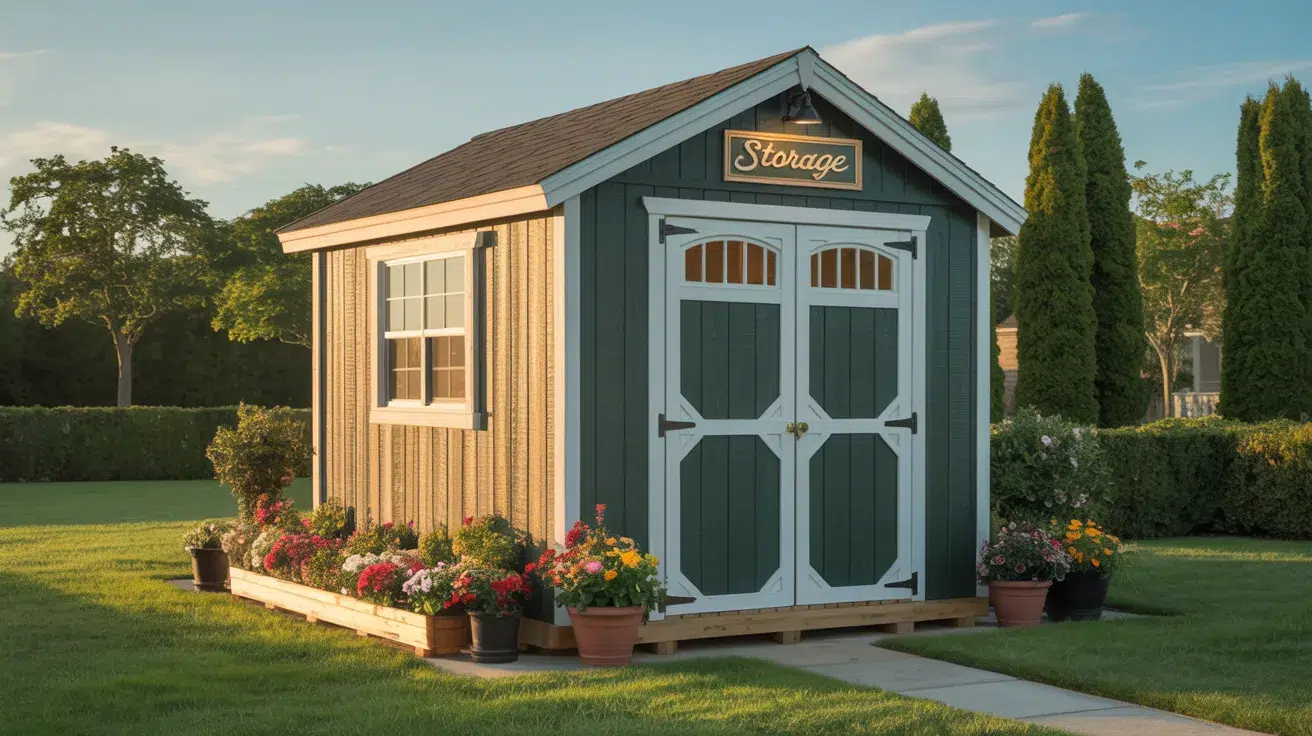
These medium-sized sheds are great for storing lawnmowers, bikes, ladders, or boxes of seasonal items. They offer room to move around without taking over your yard.
If you need a little more space for shelving or workbenches, this size offers both functionality and flexibility. It also strikes a good balance between cost and building time.
12×16: Workshop or Large Storage
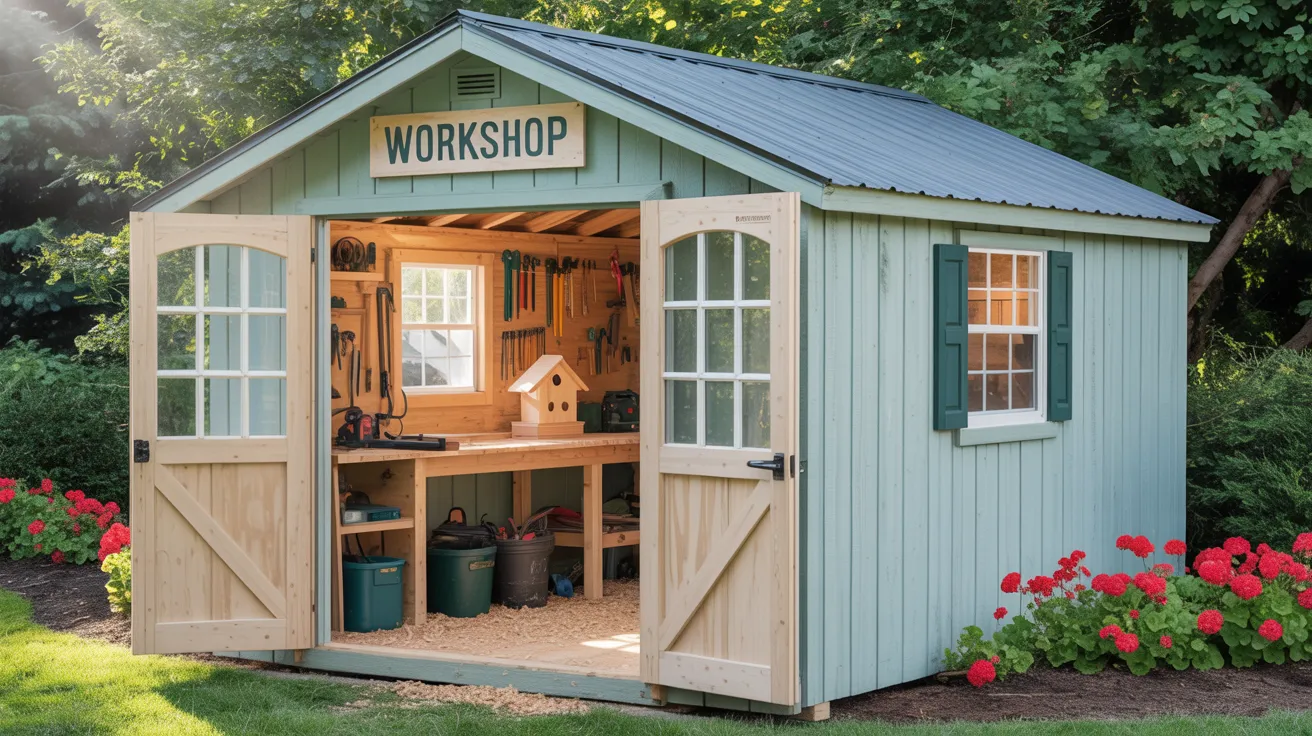
A 12×16 shed provides ample space to store large tools, machines, or even set up a small workshop. There’s space to walk, work, and organize.
It’s ideal for homeowners who need more than just storage. This size is also good for hobby use, like woodworking or gardening, giving room to grow and work comfortably.
Step-by-Step Guide to Building Your Shed
I followed these simple steps to change my flat backyard into a finished shed. If you’re doing this yourself, take your time and follow the instructions carefully.
Every piece has a purpose, and once it all comes together, you’ll be proud of what you’ve built.
Tools and Materials
You’ll need these basic items:
- Circular saw or miter saw
- Drill and screws (1⅝”, 3″)
- Hammer and roofing nails
- Level, tape measure, square
- 2x4s for framing, ½” plywood for sheathing
- Vinyl siding, starter strips, and J-channel
- Shingles or metal panels
- Concrete or gravel for the base
- Door and window kits
A drywall gun and tin snips are helpful but optional.
Step 1: Planning and Measuring
Start by picking a flat, level spot in your yard. Check your local zoning codes to ensure your shed is permitted. Next, plan the size of your shed and sketch a rough layout.
Measure your area and mark where the shed will go. Select the shed style and roof shape that best suits your space. This step also involves determining the placement of the windows, door, and foundation. Always plan room for airflow and easy access.
Step 2: Foundation Setup
The example used a 10×16 concrete slab with a rat wall. Concrete is strong and lasts long, but you can also use gravel or wood if it fits your budget.
Once the slab is poured, bolts are added around the edge to anchor the walls.
A gasket was placed between the wood and concrete to keep out moisture. This setup helps protect the shed from water damage and provides a solid foundation to build upon.
Step 3: Framing the Walls and Roof
Begin with the back wall. Use 92½-inch studs and mark 16-inch centers on both the bottom and top plates. Drill for anchor bolts first, then screw the frame together on the ground before raising it.
Each wall is framed flat, then lifted and locked into place. A double top plate adds strength. Rafters are cut using preset angles, then traced and shaped using a bandsaw or jigsaw.
Attach rafters to a central ridge beam with braces and toe screws.
Step 4: Siding, Roofing, and Trim
Half-inch plywood sheathing is used for the walls and roof. Mark the locations of the studs and drive in screws to keep the surface flat. For the roof, plywood is cut and nailed down before shingles are added.
Vinyl siding starts with corner posts and starter strips. J-channels are placed around windows and doors. Trim each piece carefully, leaving small gaps for expansion.
Screws are snug, not tight so that the siding can shift with temperature changes. Always install siding from the bottom up.
Step 5: Doors and Windows
A 36-inch steel prehung door was used. Stud spacing was adjusted to fit the door width, and header pieces were added for support. Shims helped level and secure the door in place.
Standard windows were installed using four screws and a few shims for stability. J-channel was added around them with drip tabs to keep water out.
Ensure that openings are cut cleanly and everything is flush before installing the final siding. Caulking helps seal these areas.
Use the video below to see each step in real time, from foundation to final siding.
Choosing Between Free and Paid Shed Plans
When I started planning, I looked at both free and paid shed plans. You might be wondering which one is right for you. That depends on your skill level, budget, and the level of detail you want.
If you’re testing the waters, free plans can be enough. But if you want more features or a better guide, a paid version can save you headaches later.
Where to Find Free Plans
Free shed plans are a great option if you’re starting or working with a tight budget. They include various styles and sizes, from basic lean-tos to medium-sized garden sheds.
While free plans may not include advanced design features or building advice, they’re usually enough for small to mid-sized builds.
Beginners often find them easy to follow and helpful for learning basic construction steps.
When to Consider Paid Plans
Paid plans are worthwhile if you want more design options, advanced features, or additional support. These typically include detailed, step-by-step guides, 3D diagrams, complete cut lists, and professional tips for achieving better results.
They often suit larger sheds or custom-built structures where precision is crucial.
If you want your shed to serve as a workshop, office, or studio, premium plans help ensure it’s built to last. Investing a small amount upfront can save time, reduce mistakes, and make the project more enjoyable.
Shed Kits vs. DIY from Scratch
You might be asking yourself: “Should I get a shed kit or build from scratch?” I’ve done both, and each has its pros. If you’re short on time or just starting out, a kit keeps things simple.
But if you want to get creative and build something that’s 100% yours, starting from scratch is the way to go.
Shed Kits
Shed kits are ideal for beginners or those short on time. They come with pre-cut lumber, labeled parts, and detailed instructions to guide you through each stage. This makes the building process quicker and easier, especially for people without much experience.
Most kits are designed to be assembled with basic tools. They’re great for standard layouts, and the risk of measuring errors is low. While the design options may be limited, kits offer a hassle-free way to build a quality shed in a few days.
Build from Scratch
Building from scratch gives you full control over every part of your shed, from the frame to the final nail. It requires more time and effort, but it allows for complete customization in terms of size, layout, and features.
You’ll need to measure, cut, and assemble everything yourself, which means having the right tools and planning well. This route works well for those who have some construction experience or want a shed that’s truly built to fit their space and specific needs.
Permits and Local Regulations
Before building your shed, it’s important to check with your local building office or city website to understand the permit rules.
Most areas have zoning codes that regulate the distance between buildings and property lines, as well as the type of foundation permitted.
In many places, sheds under 100 or 120 square feet don’t need a permit, but that can vary. Some areas also require electrical licenses if you plan to add wiring.
To avoid fines or needing to rebuild, always confirm the rules before starting your shed project.
Common Mistakes to Avoid
I made a few mistakes along the way, and I don’t want you to make the same ones. Keep these in mind before and during your build:
- Skipping permits: Failing to check local rules can result in fines or the need to tear down the shed. Always get approval before building.
- Poor site leveling: An uneven base causes weak spots, water pooling, and structural issues. Level the ground fully before laying the foundation.
- Not checking weatherproofing details: Gaps, unsealed edges, or missed flashing can allow water to enter. Always seal joints, edges, and check for moisture-prone areas.
Conclusion
You’ve seen how simple and rewarding it can be to follow DIY shed plans and build your own. If you opt for a kit or start from scratch, what matters is that it meets your needs.
Take your time, double-check those measurements, and enjoy the process. There’s a lot to learn, and even more to be proud of when it’s done.
And if you’re not quite ready to stop here, I’ve got more helpful guides waiting. Check out the rest of my blogs on the website for ideas, tools, and tips to keep building what matters to you.