DIY Self-Watering Planter for Easy Container Gardening
Daily watering is not always the reason container plants struggle. In many cases, the real issue is uneven moisture that leaves roots cycling between dry soil and excess water. A DIY self-watering planter helps create a more stable watering system by storing water below the soil and letting moisture move upward gradually.
Large containers and raised beds often dry out faster than expected, especially during warm weather.
At the same time, poorly built reservoirs can hold too much water and reduce airflow around the roots. That balance between moisture and oxygen is what makes the system work properly.
Here’s how to build a self-watering planter that actually works
What is a DIY Self-Watering Planter?
A DIY self-watering planter is a container designed to water plants from the bottom instead of the top. It uses a built-in water reservoir and a wicking system that slowly moves moisture into the soil as the plant needs it.
Unlike traditional pots that dry out quickly, self-watering planters keep soil consistently moist for longer periods. This helps reduce common problems like overwatering, underwatering, and uneven moisture levels during hot weather or busy weeks.
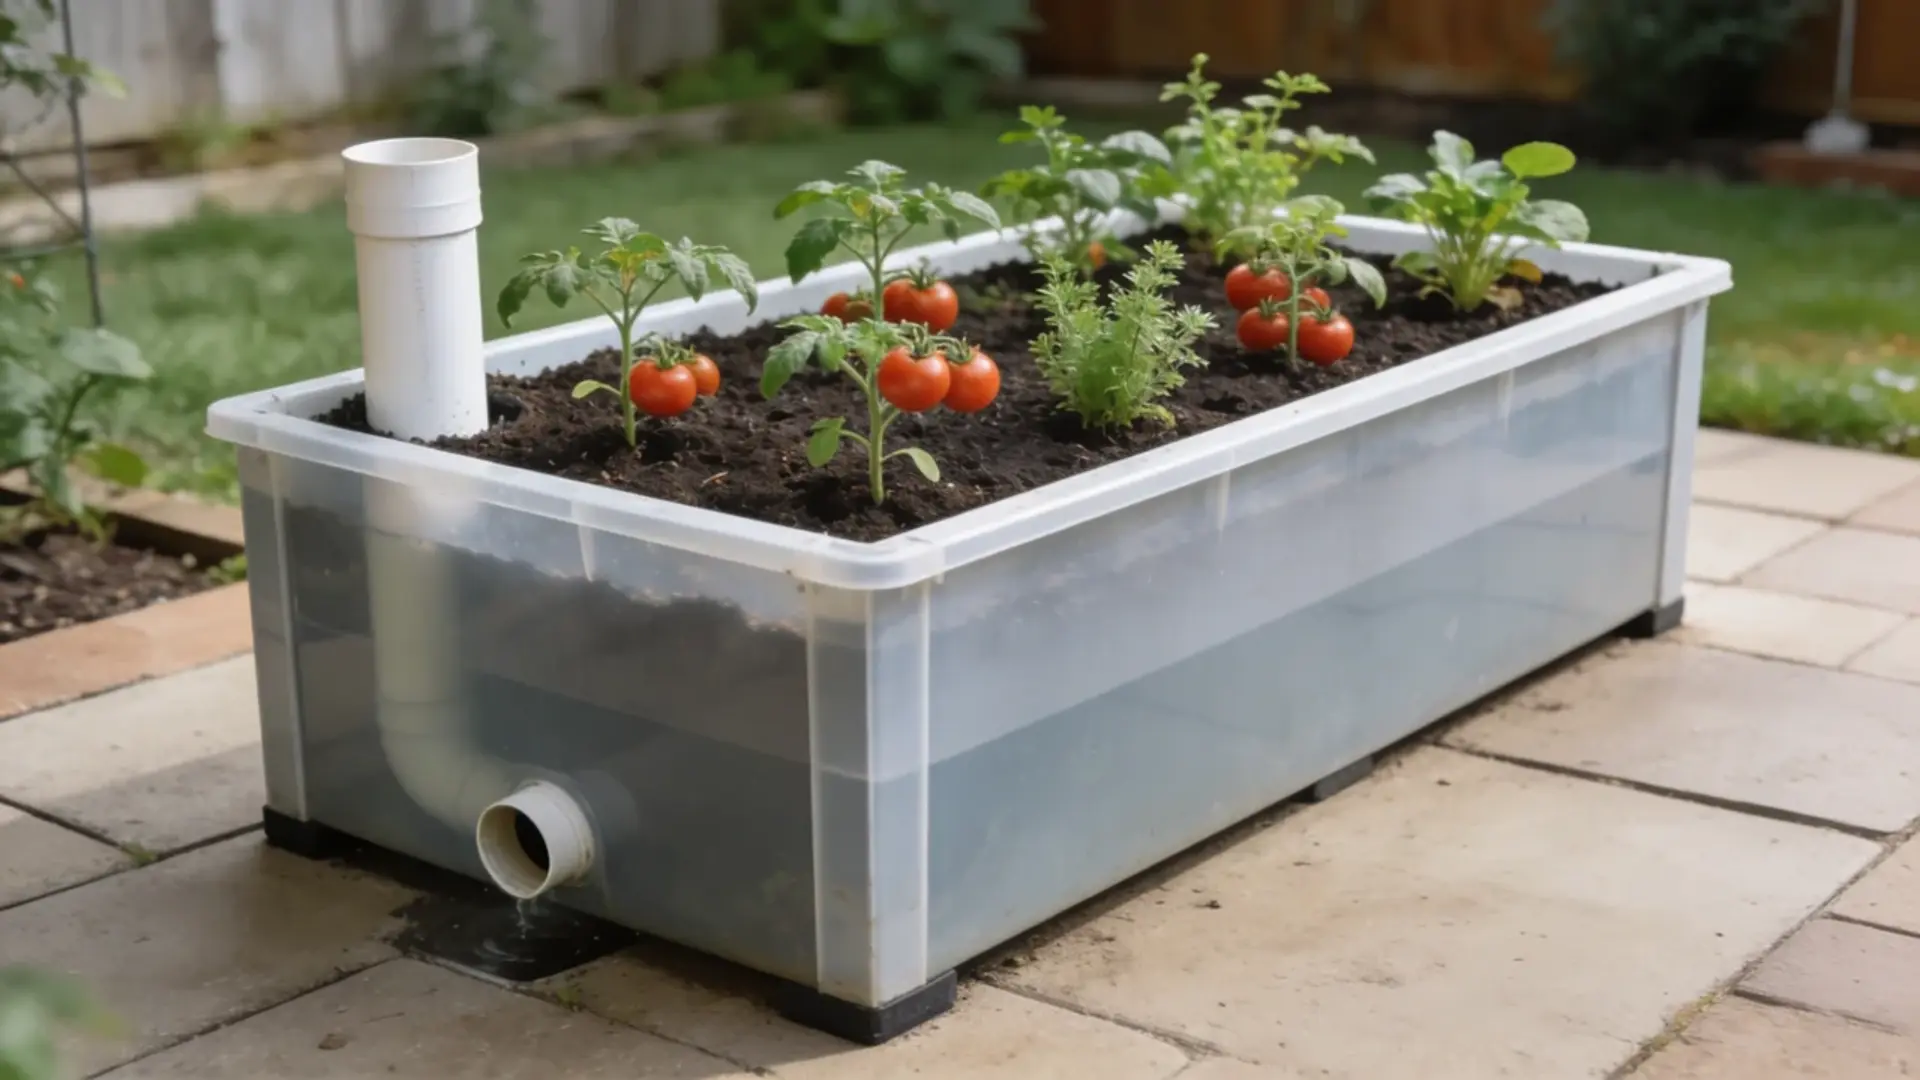
Most DIY self-watering planters include four main parts:
- A water reservoir at the bottom
- A soil chamber on top
- A wick or wicking cup that pulls water upward
- An overflow hole to prevent excess water buildup
How the Self-Watering System Works
The system works through capillary action, where the wick pulls water from the reservoir into the potting mix and root zone. As the soil begins drying out, it naturally draws more moisture upward from below.
The overflow hole plays an important role by preventing excess water from collecting inside the planter, which helps protect roots from rot.
Soil choice also matters because lightweight potting mix allows better airflow and improves the wicking process, while dense garden soil can hold too much moisture.
DIY self-watering planters work especially well for:
- Tomatoes
- Peppers
- Herbs
- Lettuce
- Cucumbers
- Many indoor tropical plants
They are usually less effective for plants that prefer dry conditions, such as cacti and most succulents.
Materials and Tools Required for a DIY Self-Watering Planter
You only need a few basic items to build a DIY self-watering planter.
| Item | Purpose |
|---|---|
| Large wooden planter or raised bed container | Holds the entire self-watering system |
| Pond liner | Makes the planter watertight |
| Stapler, staples, and scissors | Secures and trims the pond liner |
| Flexible perforated French drain pipe | Creates the water reservoir |
| Elastic bands | Keeps soil out of the pipe ends |
| PVC pipe | Works as the water fill tube |
| Short garden hose piece | Acts as the overflow drain |
| Drill or cutting tool | Makes holes for the tubes and drain |
| Peat moss and vermiculite | Creates the wicking layer |
| Raised bed or container soil mix | Main planting soil for the plants |
How to Build a DIY Self-Watering Planter
Once you have all the materials ready, you can assemble the planter in a few simple steps. The setup is easy, but proper placement of the wick chamber and overflow hole is important for the system to work correctly.
Step 1: Line the Planter
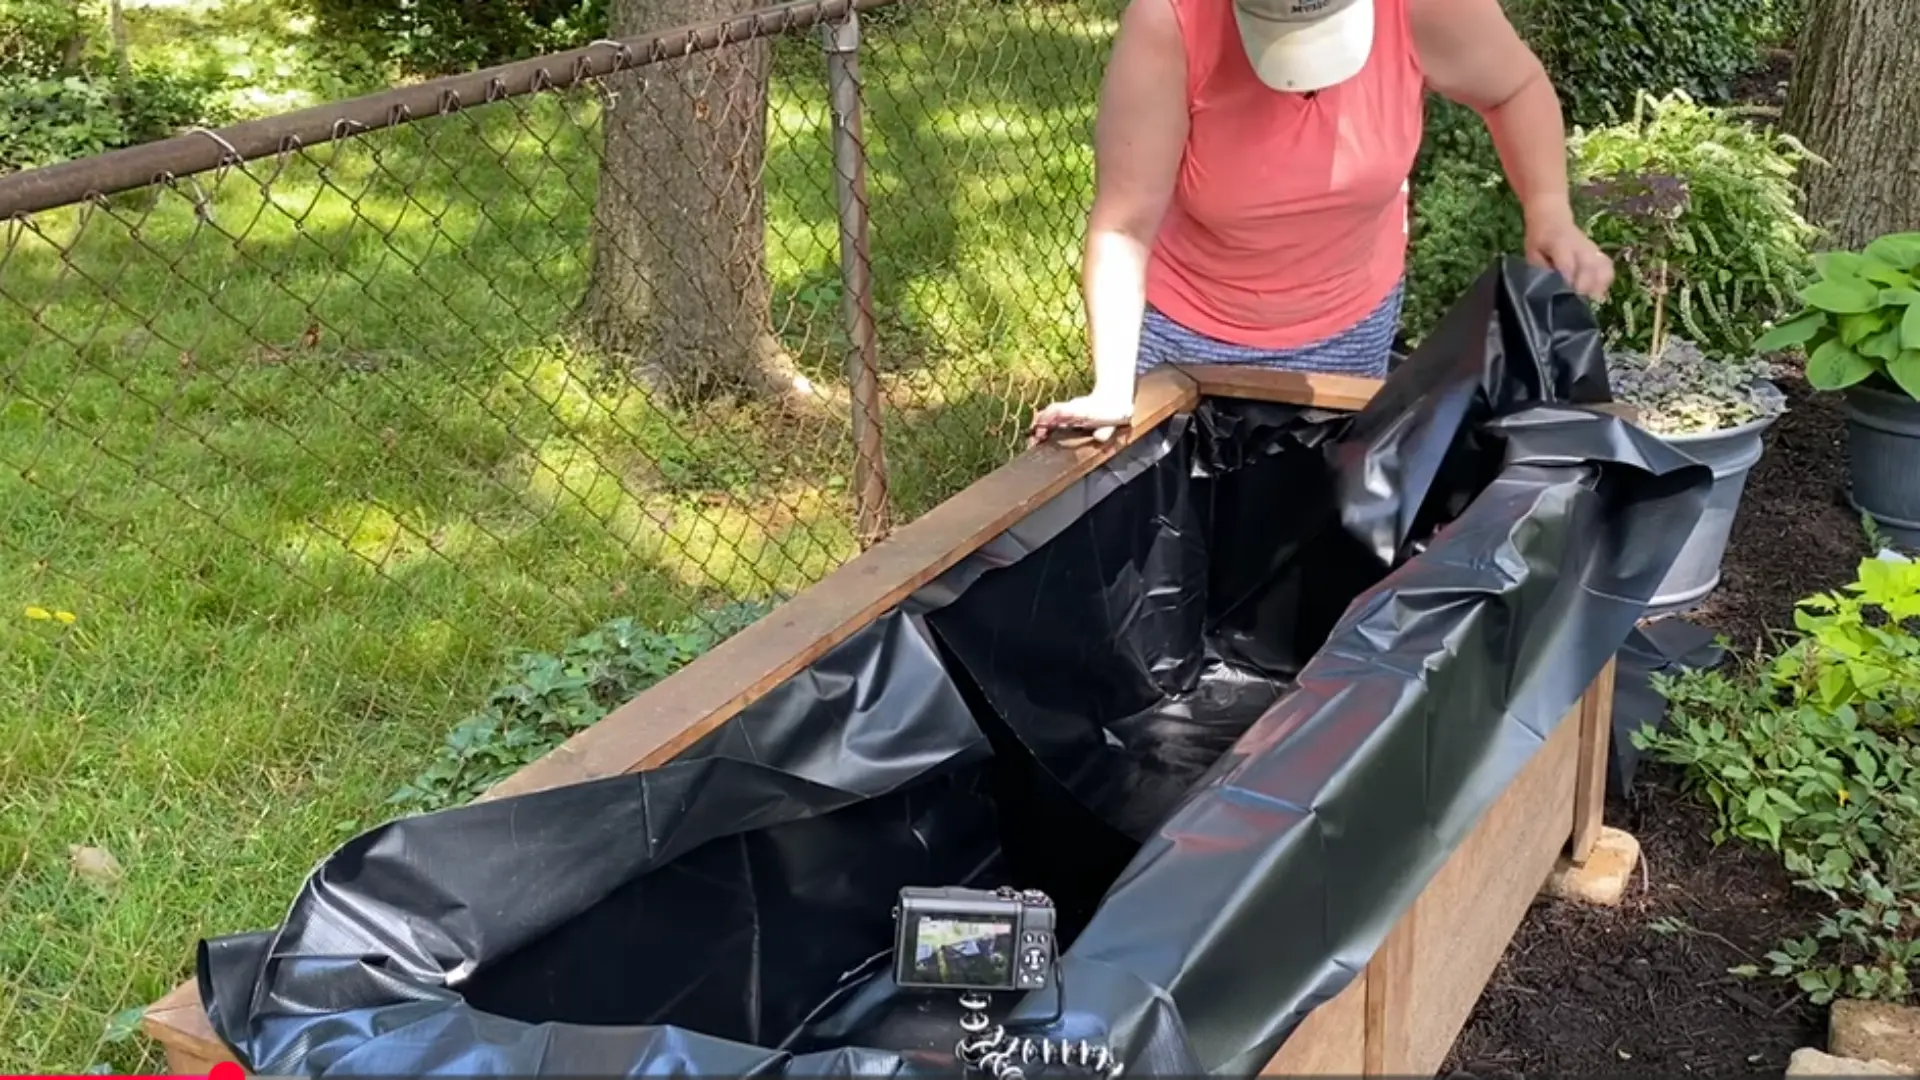
Start by lining the inside of the planter with a pond liner to make it completely watertight. Push the liner tightly into the corners and staple it along the upper edges.
Leave a little extra liner at the top so it can sit below the soil line and stay hidden once the planter is filled.
Step 2: Add the Water Reservoir
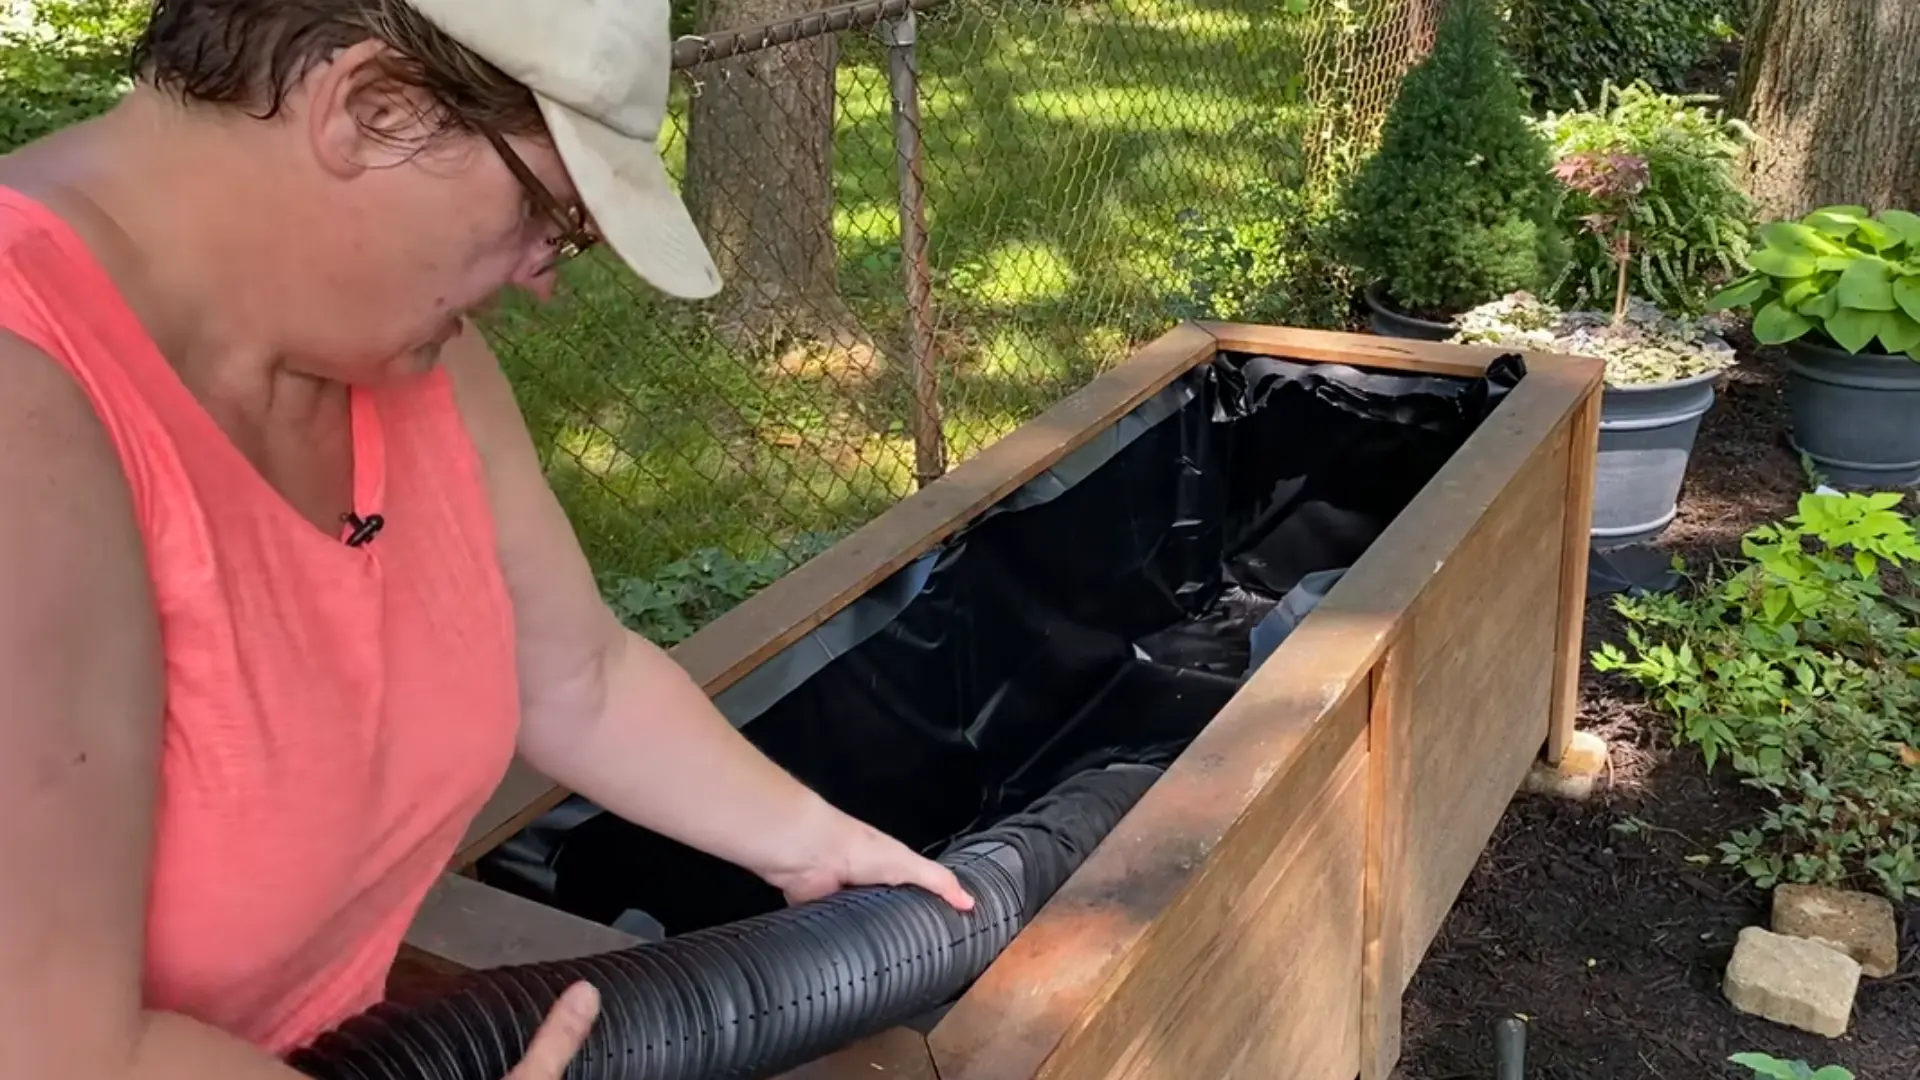
Stretch the perforated French drain pipe and place it evenly across the bottom of the planter. Arrange the pipe in multiple rows so water spreads throughout the base.
Cover the open pipe ends with elastic bands or fabric sleeves to stop soil from entering and blocking the reservoir.
Step 3: Install the Fill Tube
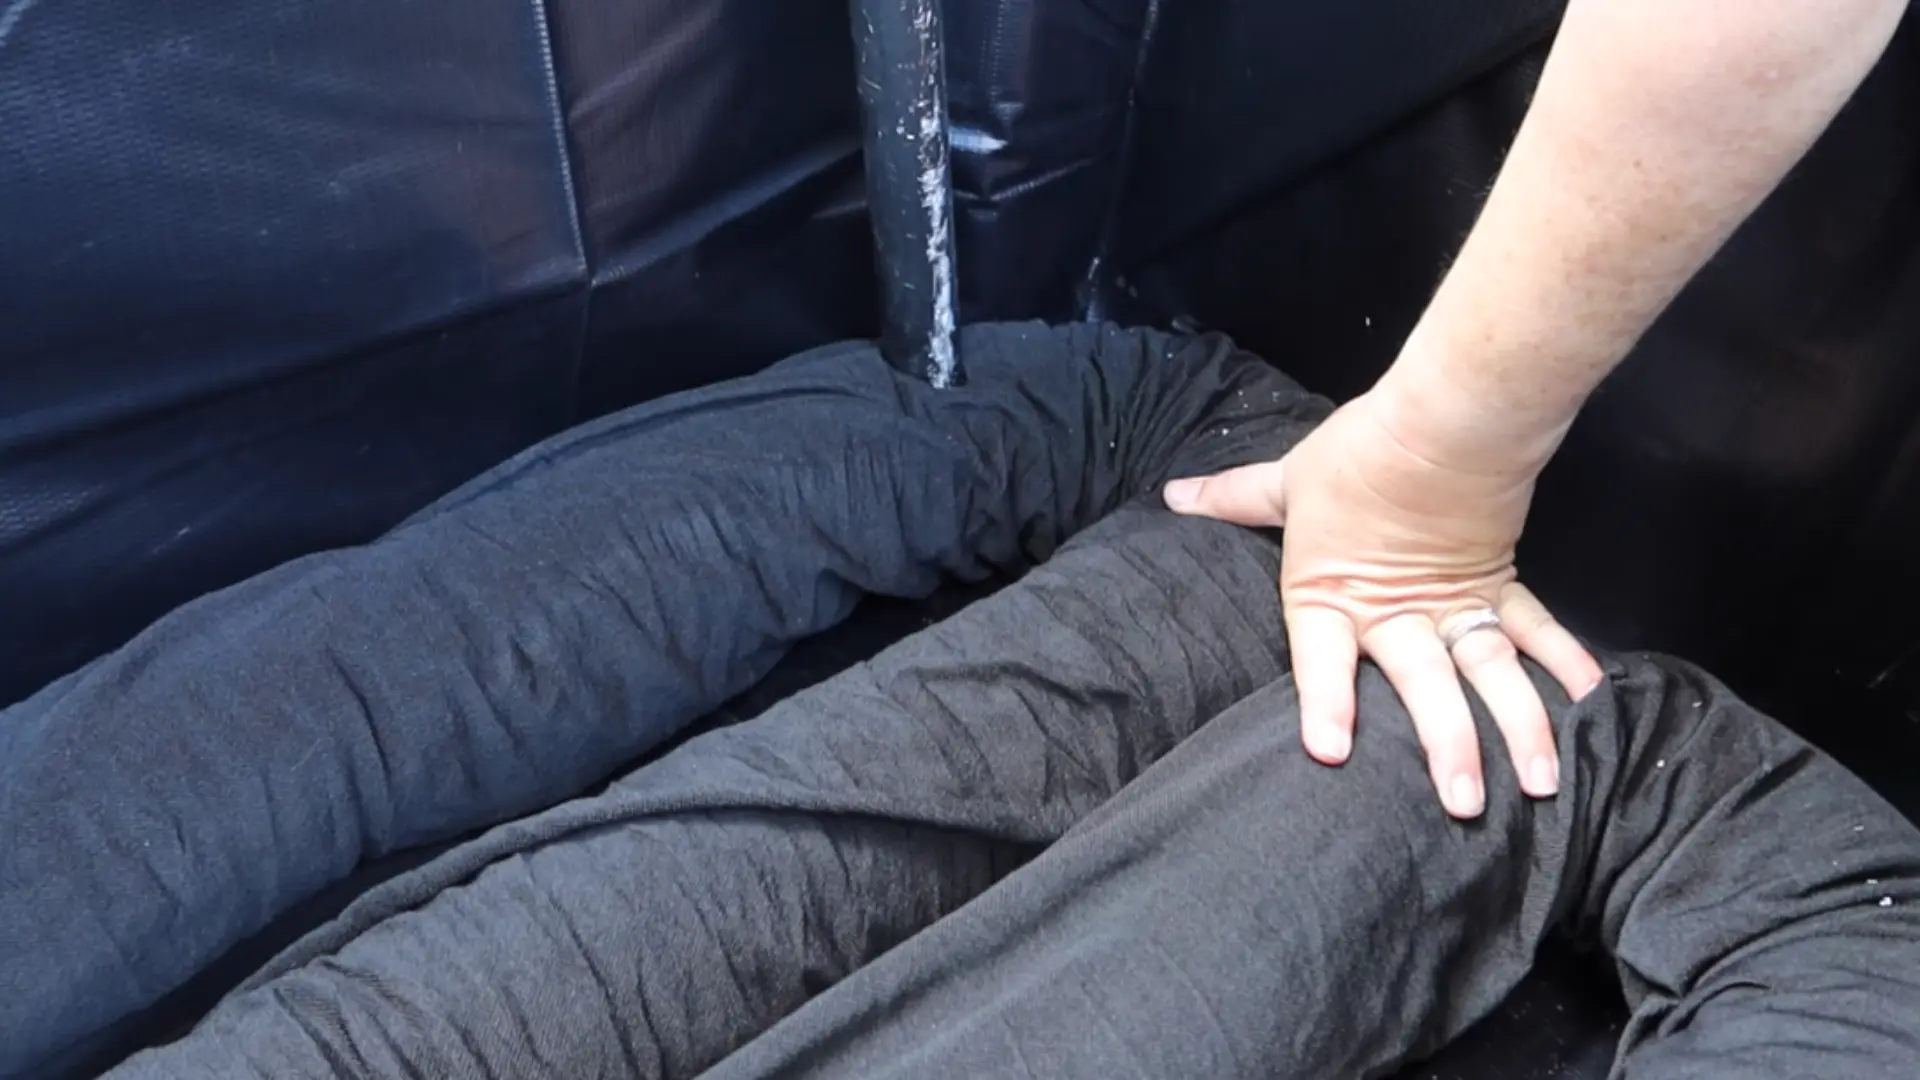
Cut the bottom of the PVC pipe at an angle so water can flow out easily. Make a snug opening in the perforated pipe and insert the fill tube into it.
Keep the top of the tube above the soil level so you can refill the reservoir without disturbing the plants.
Step 4: Create the Overflow Drain
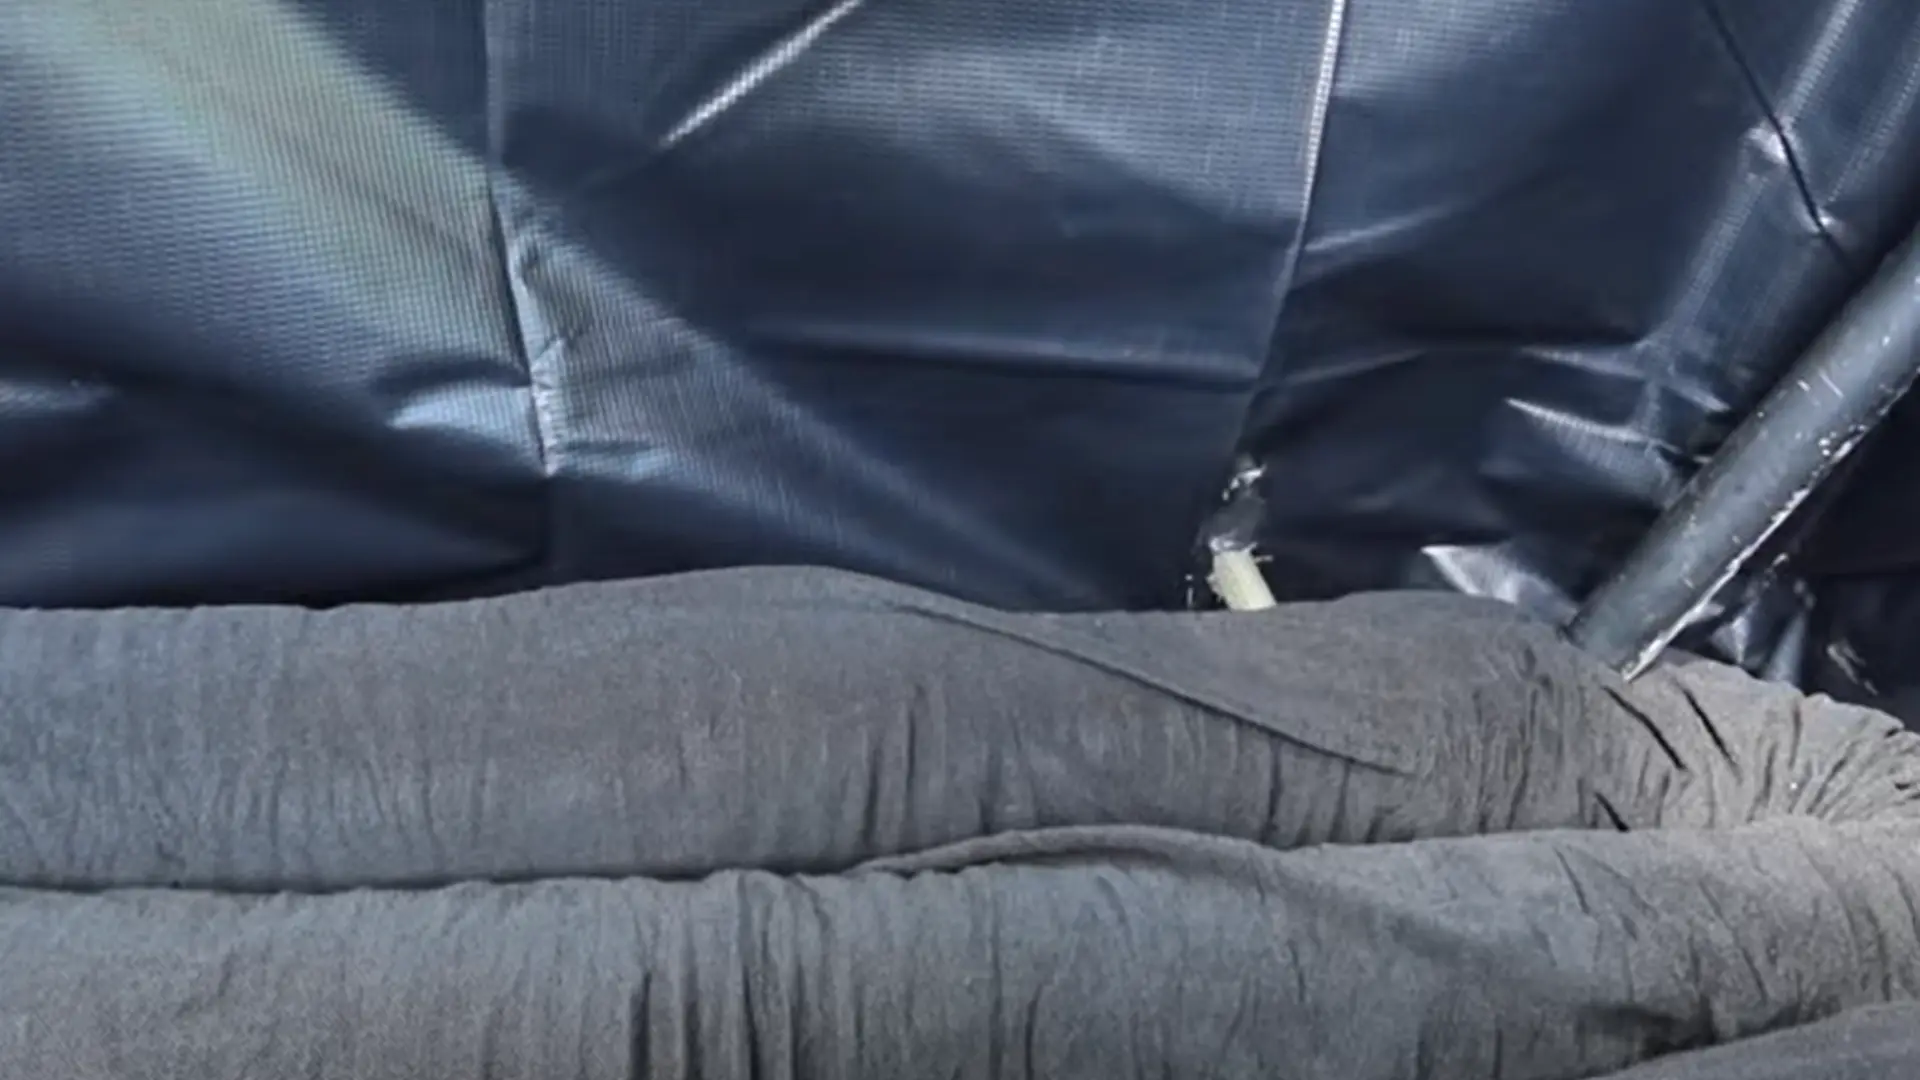
Drill a hole through the side of the planter and into the upper section of the perforated pipe. Insert a short garden hose piece into the hole to act as the overflow drain.
This prevents excess water buildup and leaves enough air space inside the reservoir for healthy root growth.
Step 5: Add the Wicking Layer
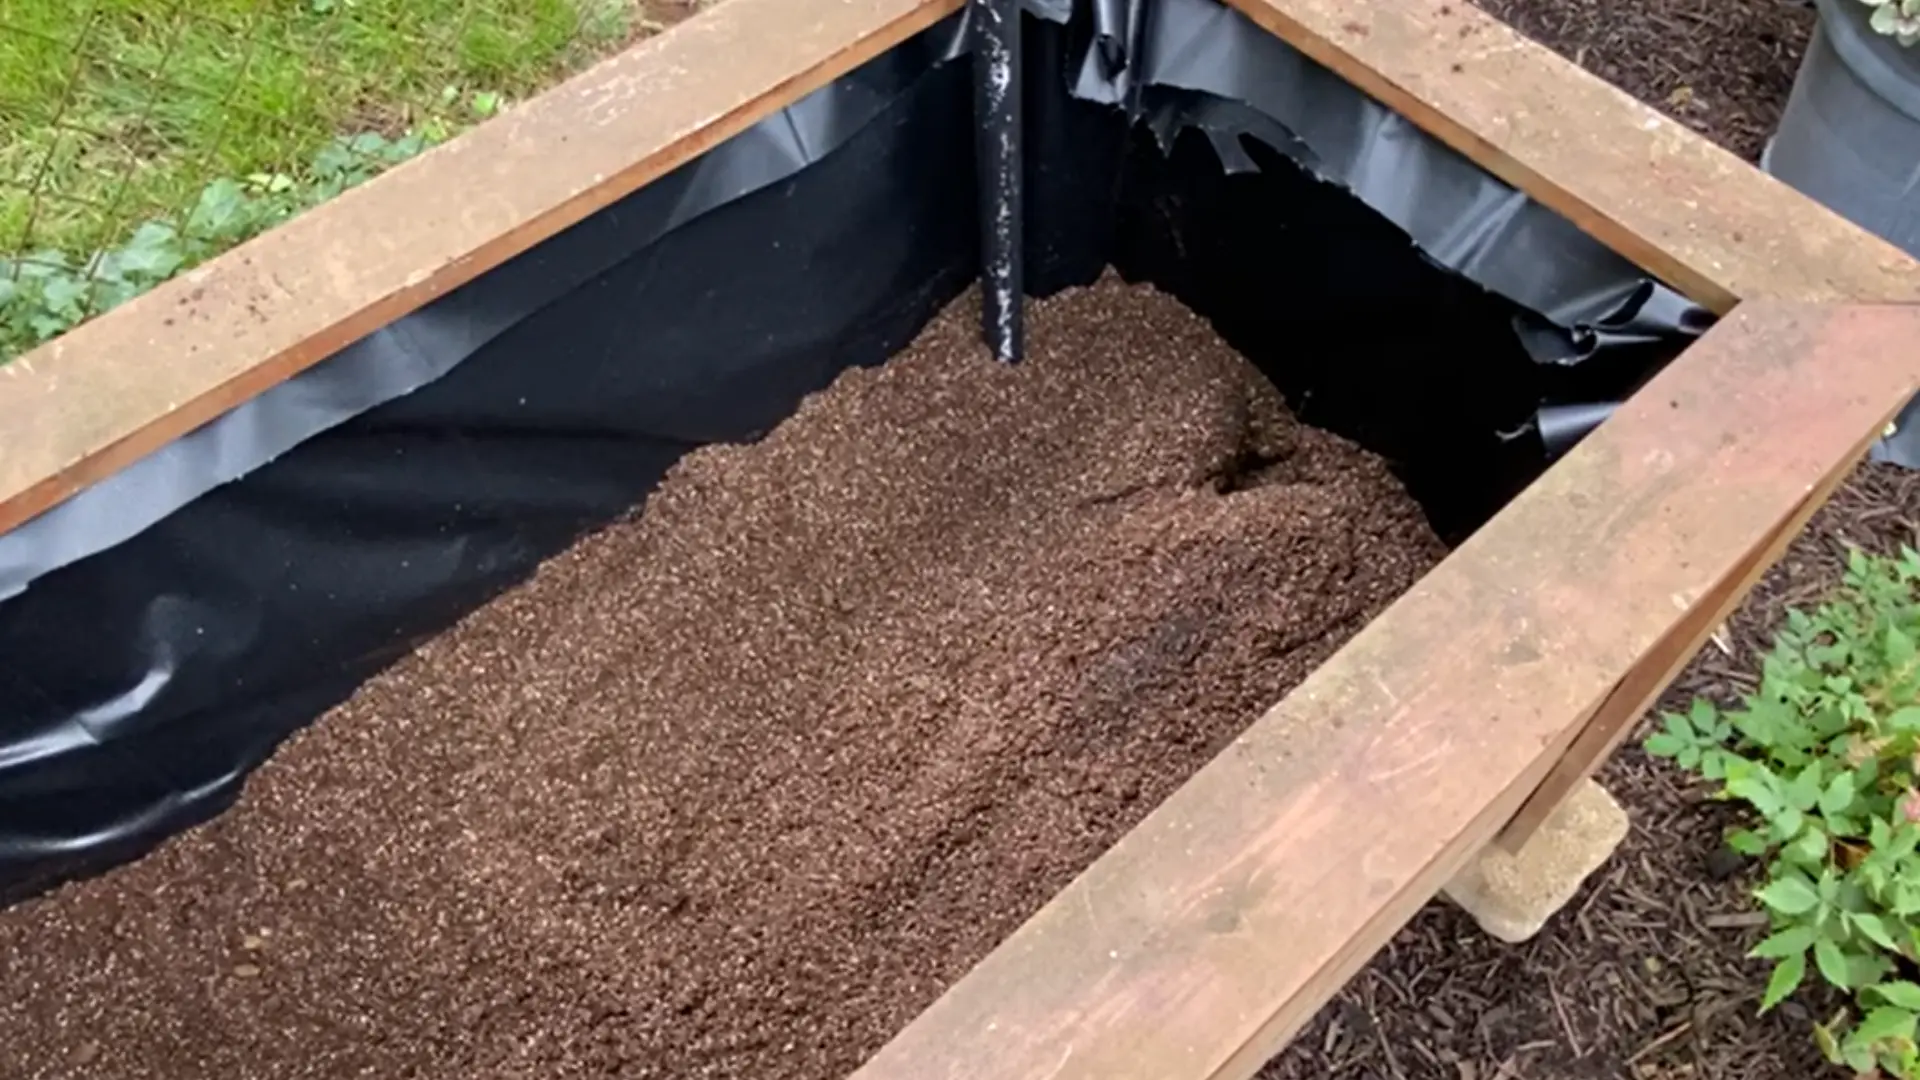
Mix peat moss and vermiculite, then lightly moisten the mixture before adding it to the planter. Spread it around and over the perforated pipes until they are fully covered.
This layer absorbs water from the reservoir and slowly moves moisture upward into the planting soil above it.
Step 6: Fill With Soil and Test the System
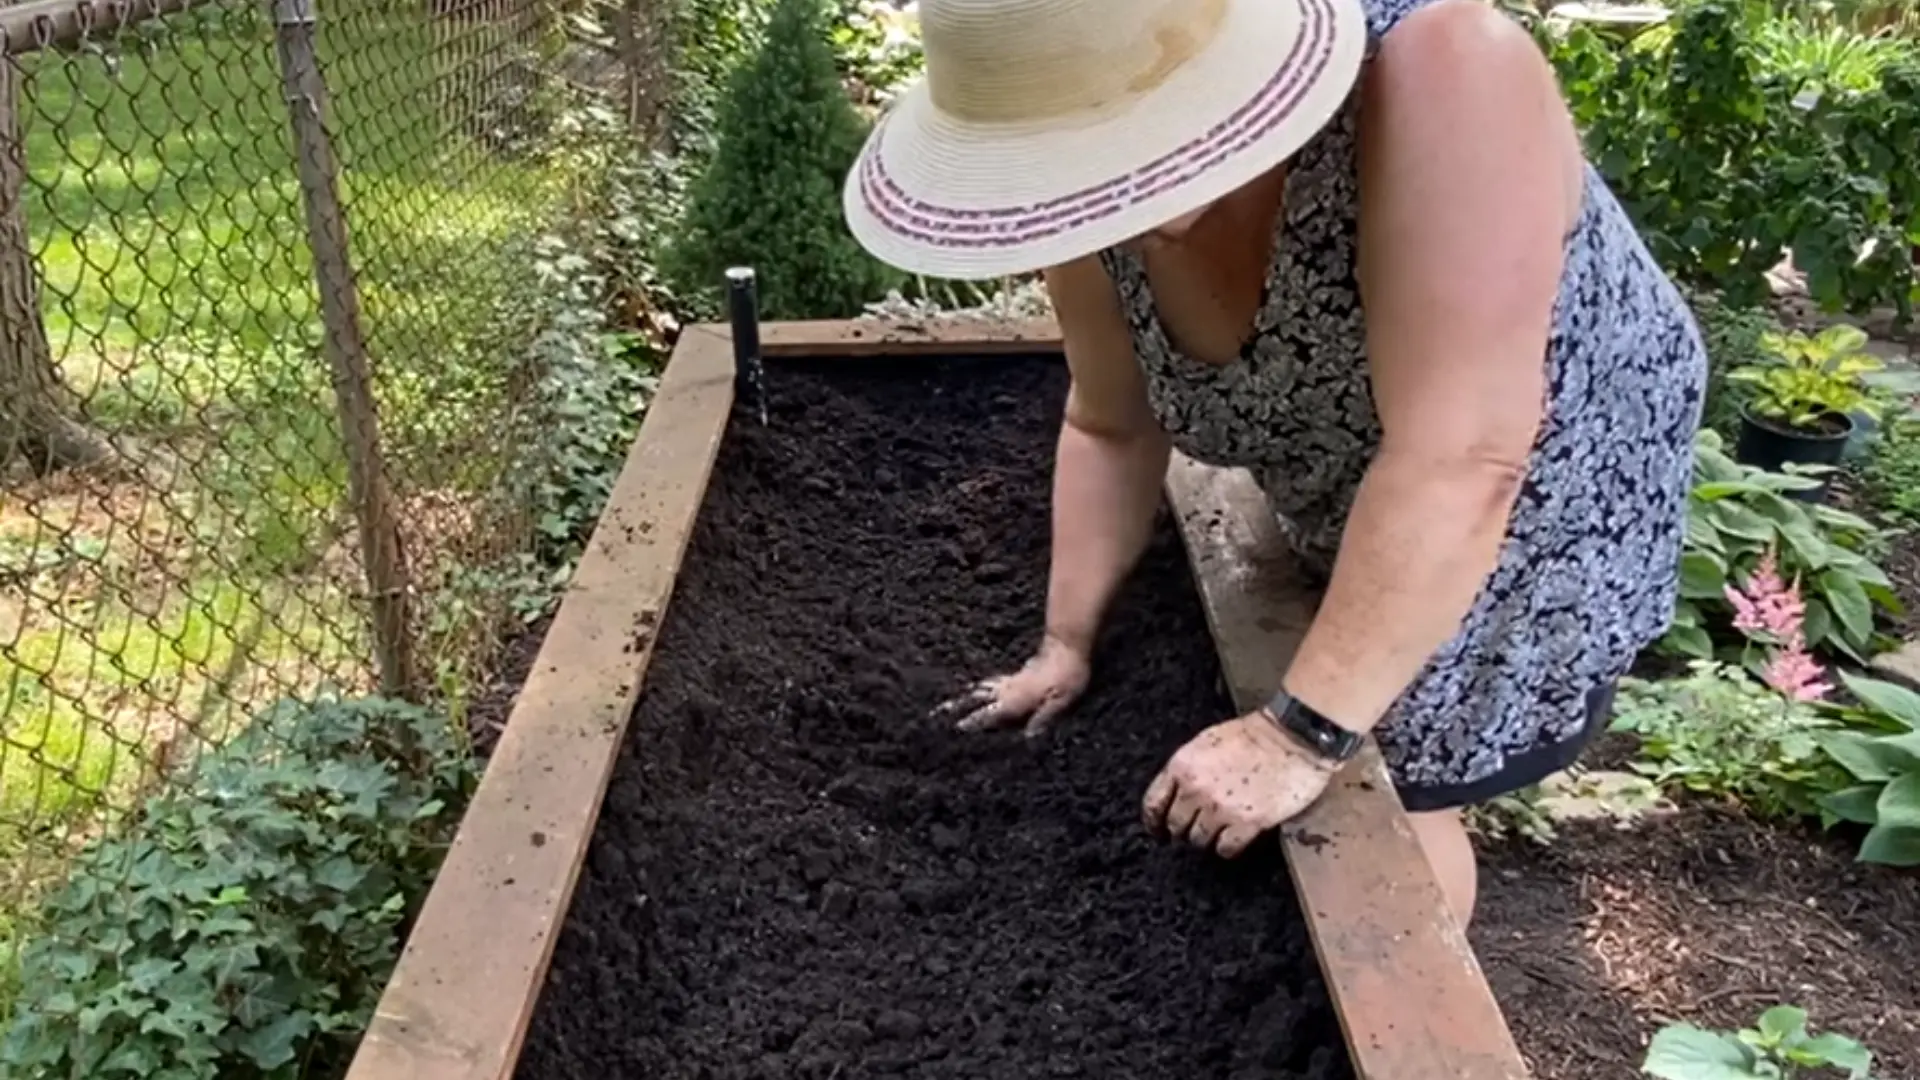
Add raised bed or container soil on top of the wicking layer and leave enough room for plants or root balls.
Pour water into the PVC fill tube until water starts flowing from the overflow drain. This confirms the reservoir is full and the self-watering system is working properly.
For an in-depth walkthrough of the whole process, check out the complete video tutorial below:
How to Maintain a DIY Self-Watering Planter
Self-watering planters make gardening easier, but a little routine maintenance helps the system continue working properly throughout the growing season.
- Check the Water Reservoir: Refill the reservoir regularly before it dries out completely, especially during hot and dry weather.
- Inspect the Fill Tube: Make sure the fill tube stays clear so water can move smoothly into the planter system.
- Clean the Overflow Drain: Remove dirt or debris from the overflow area to prevent water buildup and drainage problems.
- Refresh Settled Soil: Add fresh potting mix occasionally if the soil level drops over time from watering and settling.
- Monitor Plant Health: Watch for dry leaves or slow growth since these can signal watering or drainage issues inside the planter.
Conclusion
DIY self-watering planters are a simple way to keep plants consistently hydrated with less daily effort.
By creating a built-in reservoir and wicking system, you can reduce watering problems and help plants grow in more stable conditions.
The setup may take a little time in the beginning, but it can make container gardening much easier over the long run. You can also customize the design based on the size of your space, whether you’re growing vegetables, herbs, or flowers.
Have you tried making a DIY self-watering planter before? Share your setup, tips, or favorite plants in the comments below.
Frequently Asked Questions
Can You Add Fertilizer to a Self-Watering Planter?
Yes, but use a light dose of liquid or slow-release fertilizer. Too much can build up in the soil because water moves differently in these planters
Can Roots Grow Into the Reservoir?
Yes, some strong plants may send roots downward. Trim extra roots during end-of-season cleanup if they block the water space.
Should You Empty the Planter In Winter?
In cold climates, yes. Empty the reservoir before freezing weather, so trapped water does not expand and damage the planter.