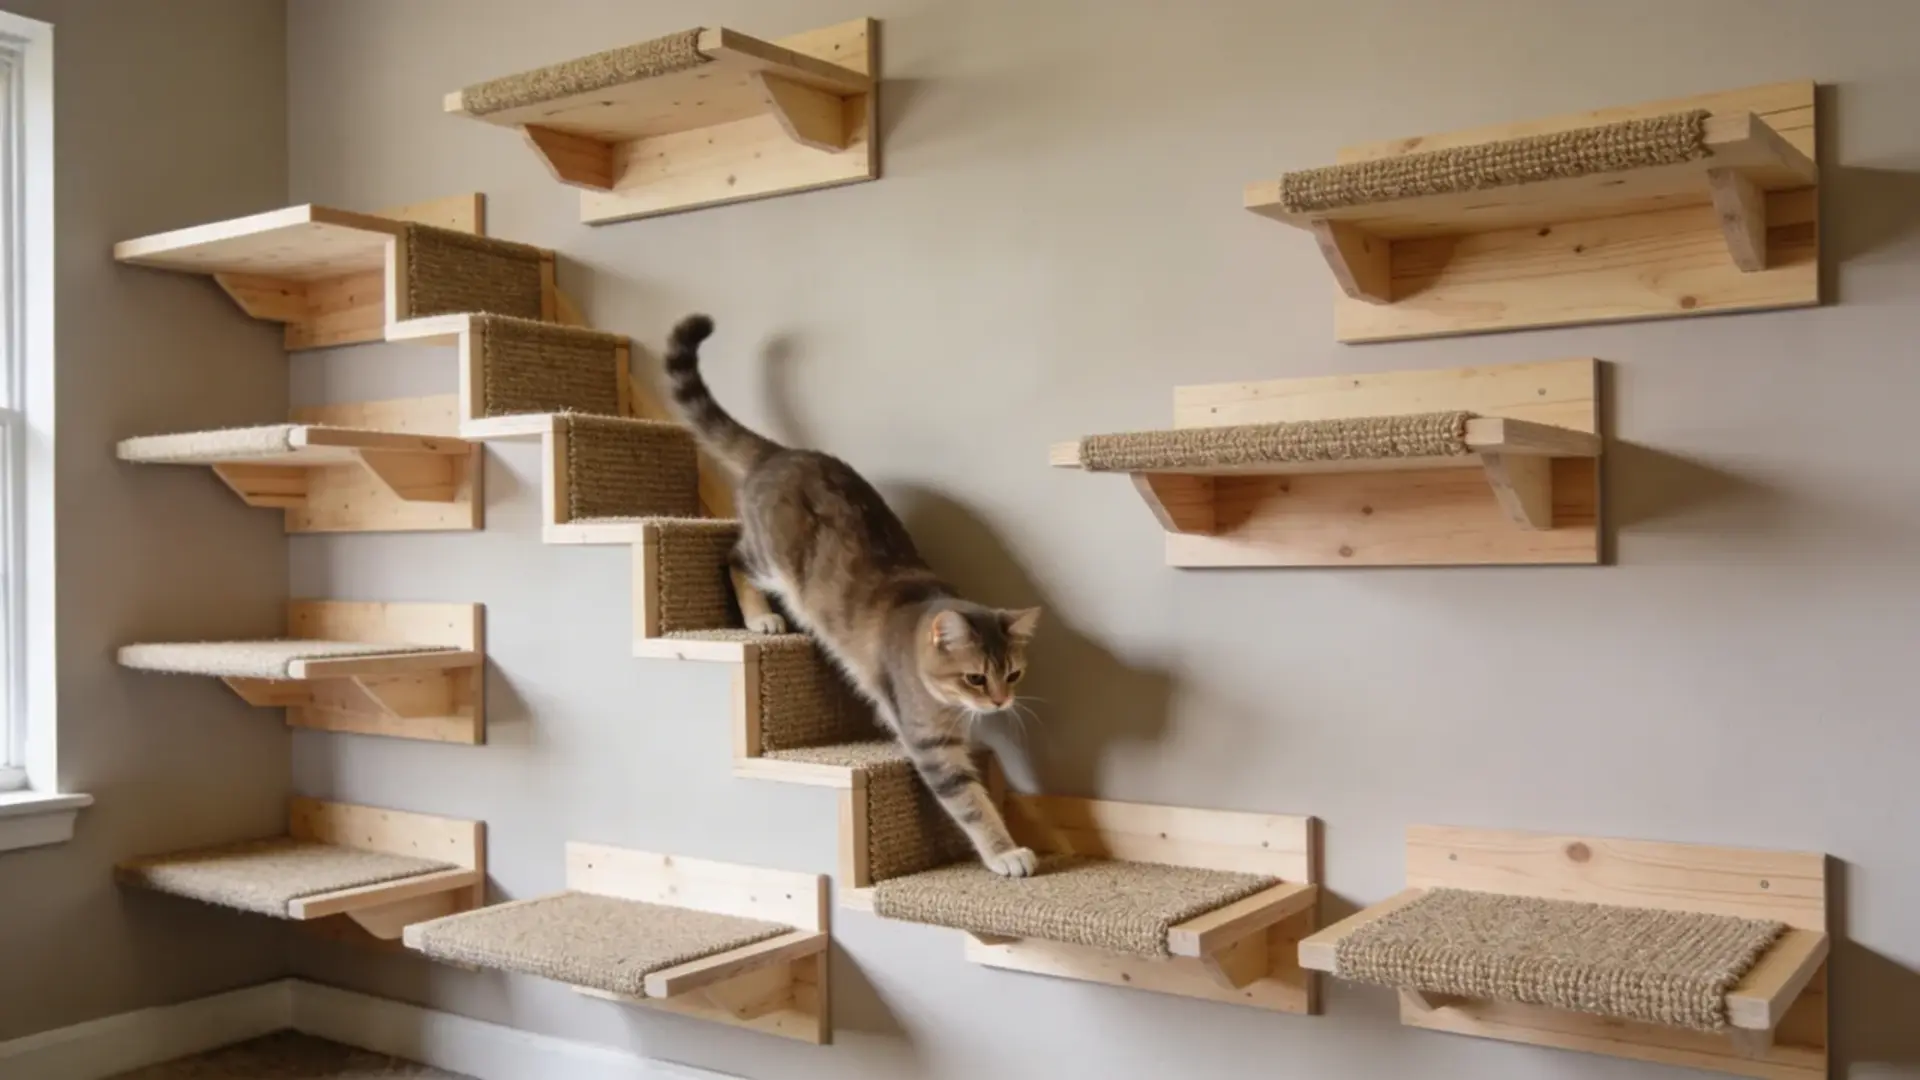
Create DIY Cat Shelves: Safe, Sturdy, and Easy
Cats often struggle with shelves that aren’t designed for their movement and comfort. Simply putting up a board doesn’t guarantee they’ll use it safely or confidently.
DIY cat shelves require attention to spacing, grip, and stability. Watching cats navigate poorly planned setups shows that even small missteps can stop them from climbing or create hazards.
Every home and cat is unique, so thoughtful planning is important to avoid wasted materials and frustration.
Properly designed and installed shelves can give cats a safe and engaging vertical space. Here’s how to make shelves your cat will actually enjoy.
Tools & Materials Required
Before starting your DIY cat shelves project, gather all the necessary tools and materials to ensure a smooth and safe build.
| Category | Items |
|---|---|
| Wood | Plywood or pine boards (size depends on desired shelf width) |
| Grip Surface | Carpet remnants or sisal matting |
| Adhesives | Hot glue and wood glue |
| Fasteners | Screws for shelves, wall anchors, or toggle bolts if studs aren’t available |
| Tools | Jigsaw, drill, screwdriver, sanding block, measuring tape, pencil, level, clamps |
| Safety Gear | Protective eyewear |
| Optional Comfort | Cushion for the top shelf |
How to Build Cat Shelves: A Step-by-Step Guide
Create a fun and safe vertical playground for your cat with this simple step-by-step DIY guide. Follow each step to build sturdy, comfortable shelves your cat will love.
Step 1: Plan and Template

Begin by measuring the wall space where the shelves will go and deciding on each shelf’s position. Cut cardboard templates for every shelf to test the width and turning space, ensuring your cat can move comfortably.
Refine the shapes with gently rounded edges for added safety and a visually pleasing finish.
Step 2: Cut and Shape Wood
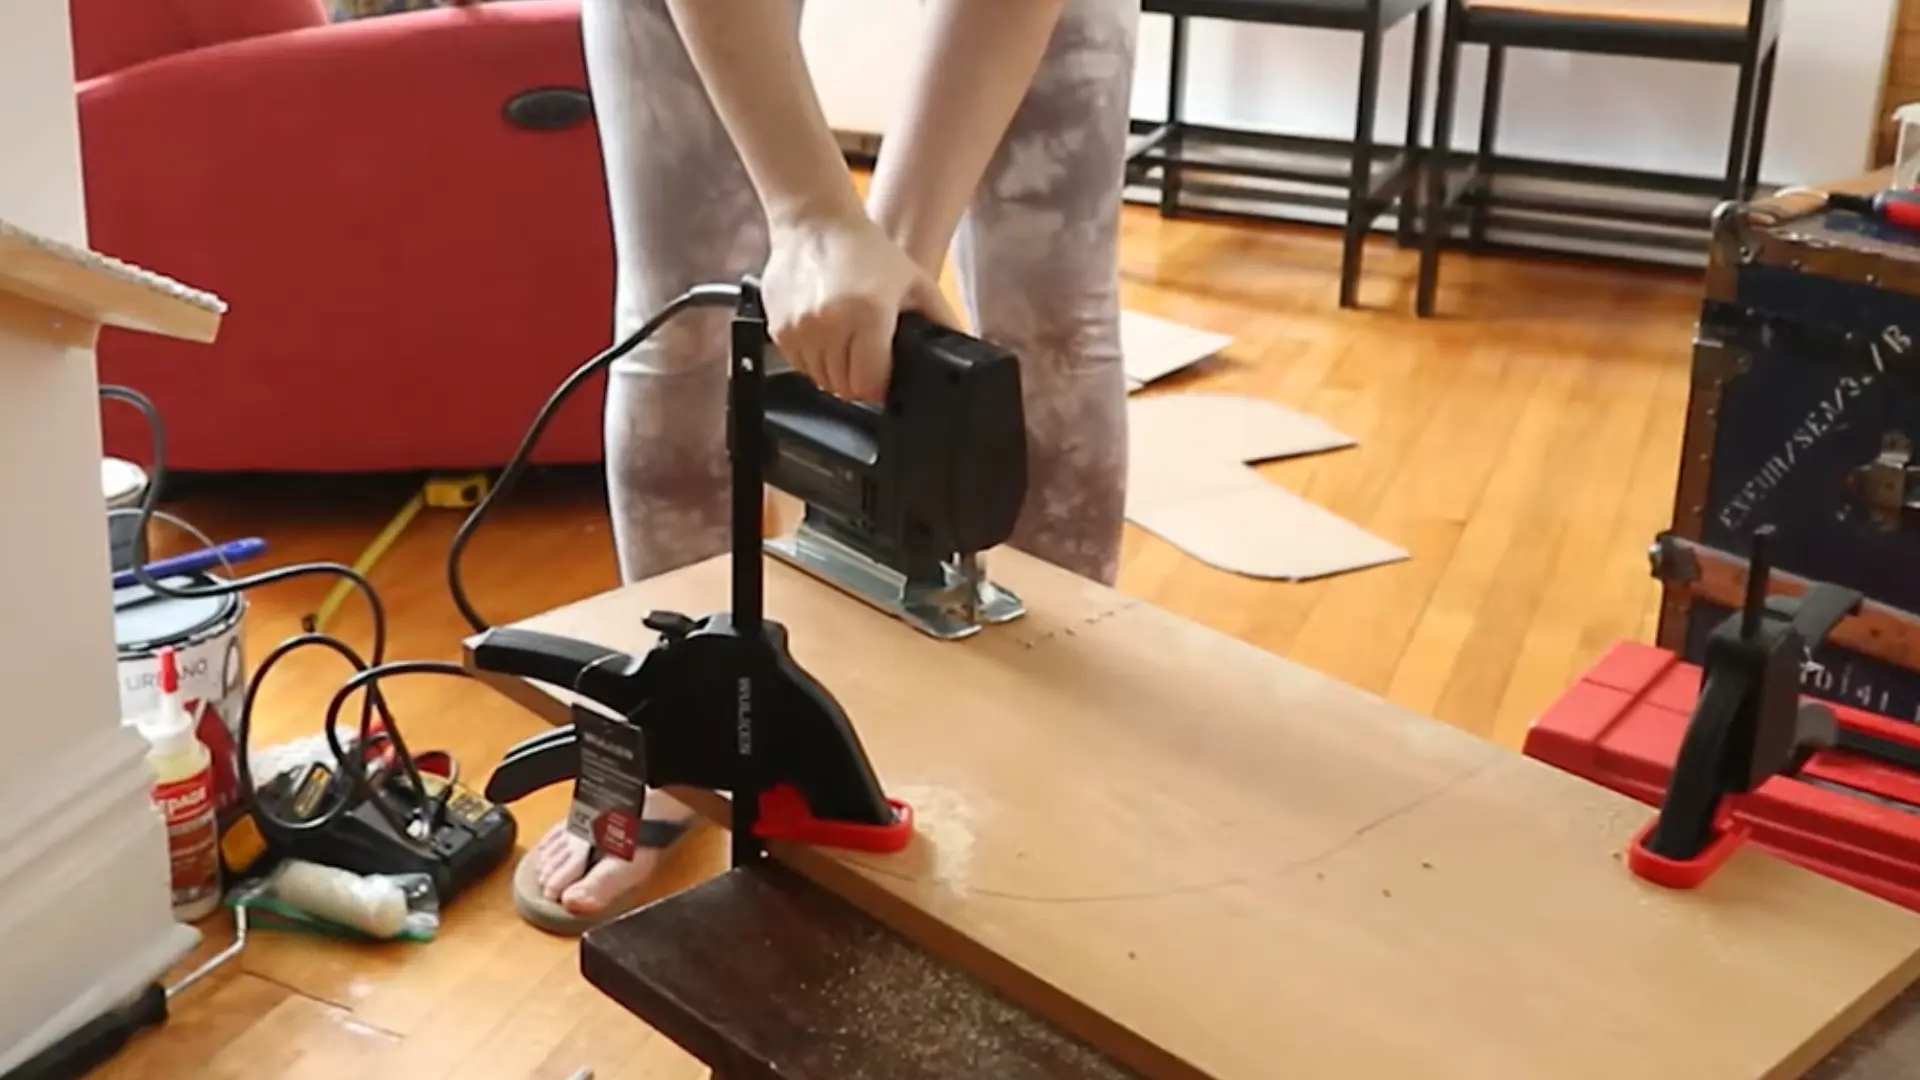
Transfer the cardboard templates onto your chosen wood and carefully cut each piece using a jigsaw. Once cut, sand all edges and surfaces lightly to remove any splinters or rough spots.
For extra stability, consider attaching small support pieces to the bottom of each shelf before moving on to the next step.
Step 3: Prepare Grip Surface
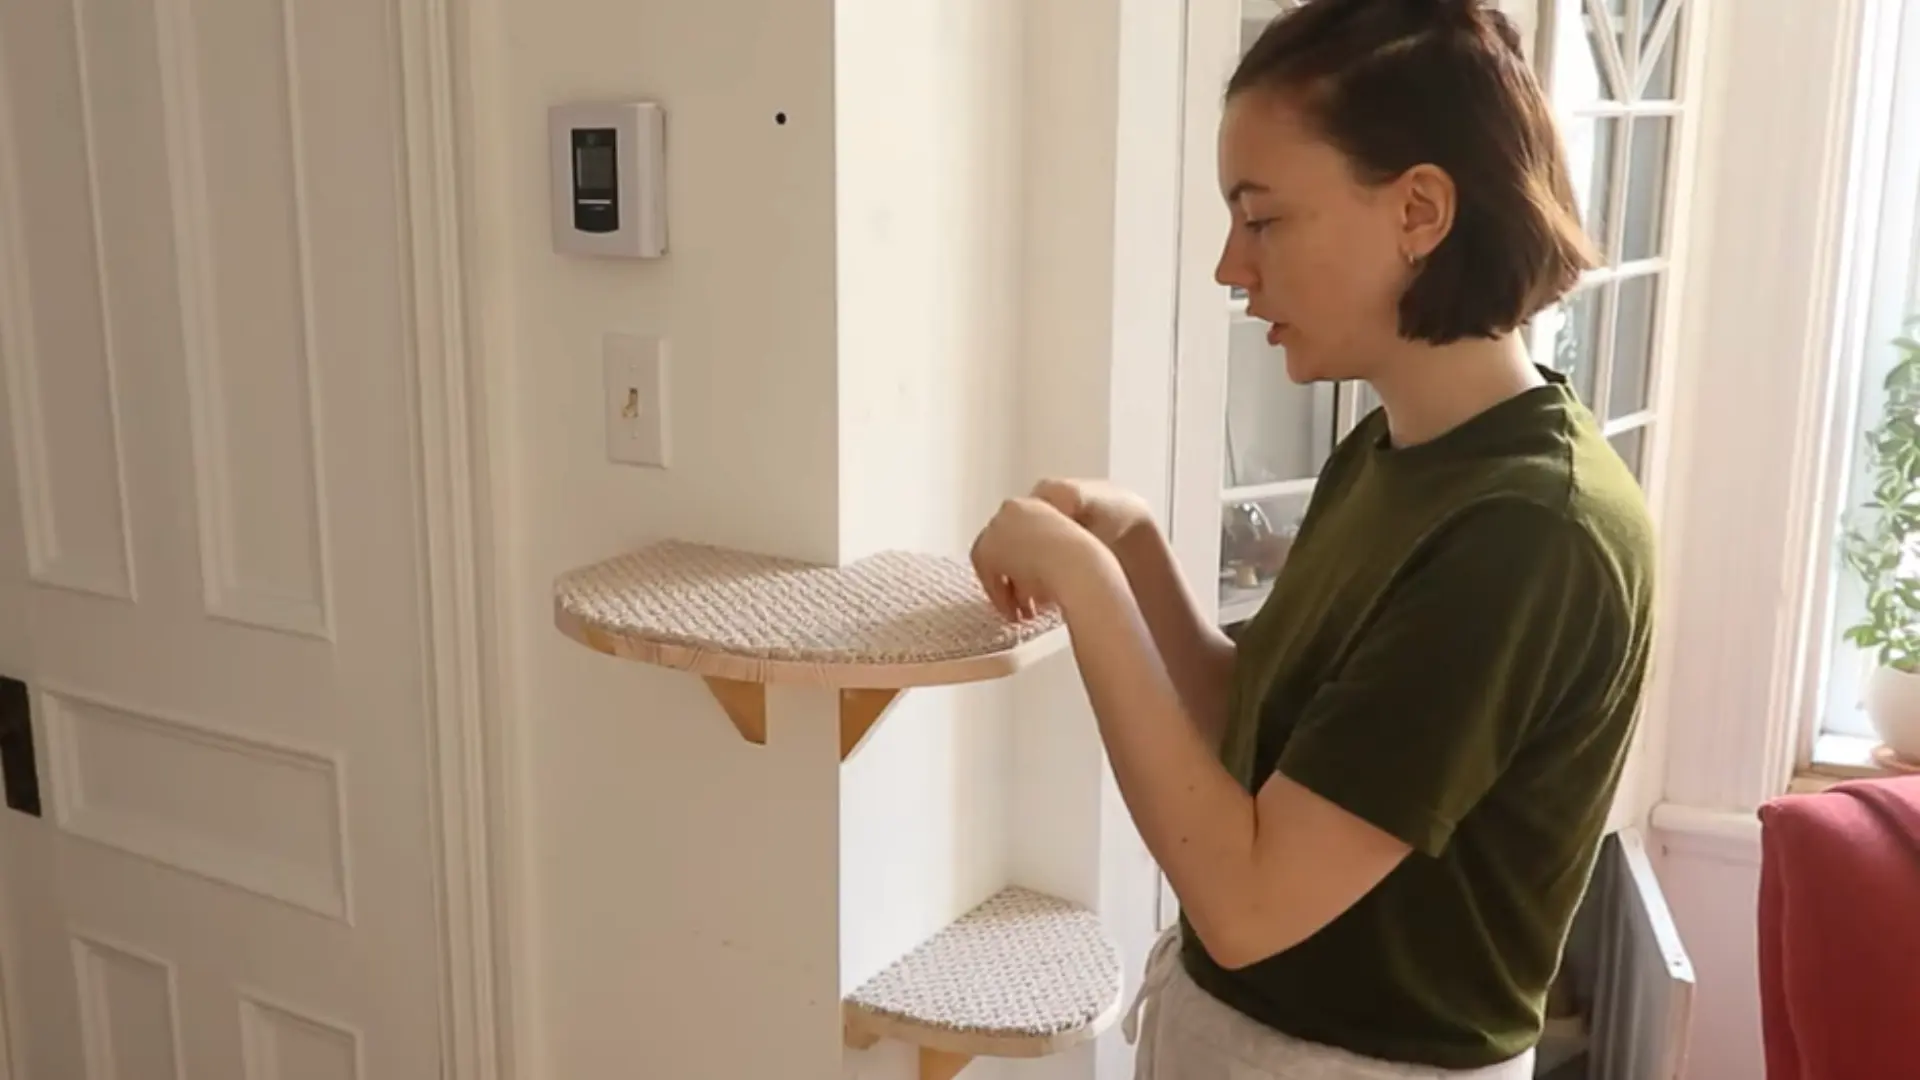
Cut carpet or sisal material to fit the dimensions of each shelf. Secure it firmly using a combination of hot glue and wood glue, making sure it lies flat.
Use clamps or staples along the edges while the adhesive dries to ensure a strong, safe surface for your cat to grip.
Step 4: Pre-Drill Wall Mounts

Cut the wall support pieces to the correct size and mark where the screws or anchors will go. Pre-drill holes into these supports to prevent the wood from splitting and to ensure precise alignment.
Carefully locate studs in the wall or, if studs aren’t available, mark positions for heavy-duty anchors to guarantee a secure and stable installation.
Step 5: Install Shelves

Slide each shelf into place, applying a small amount of glue for added adhesion. Secure the shelves to the wall using screws, or use toggle bolts or anchors if you’re not drilling into studs.
Check each shelf with a level to ensure it sits flat and stable, providing a safe climbing surface for your cat.
Step 6: Add Comfort and Introduce Cat
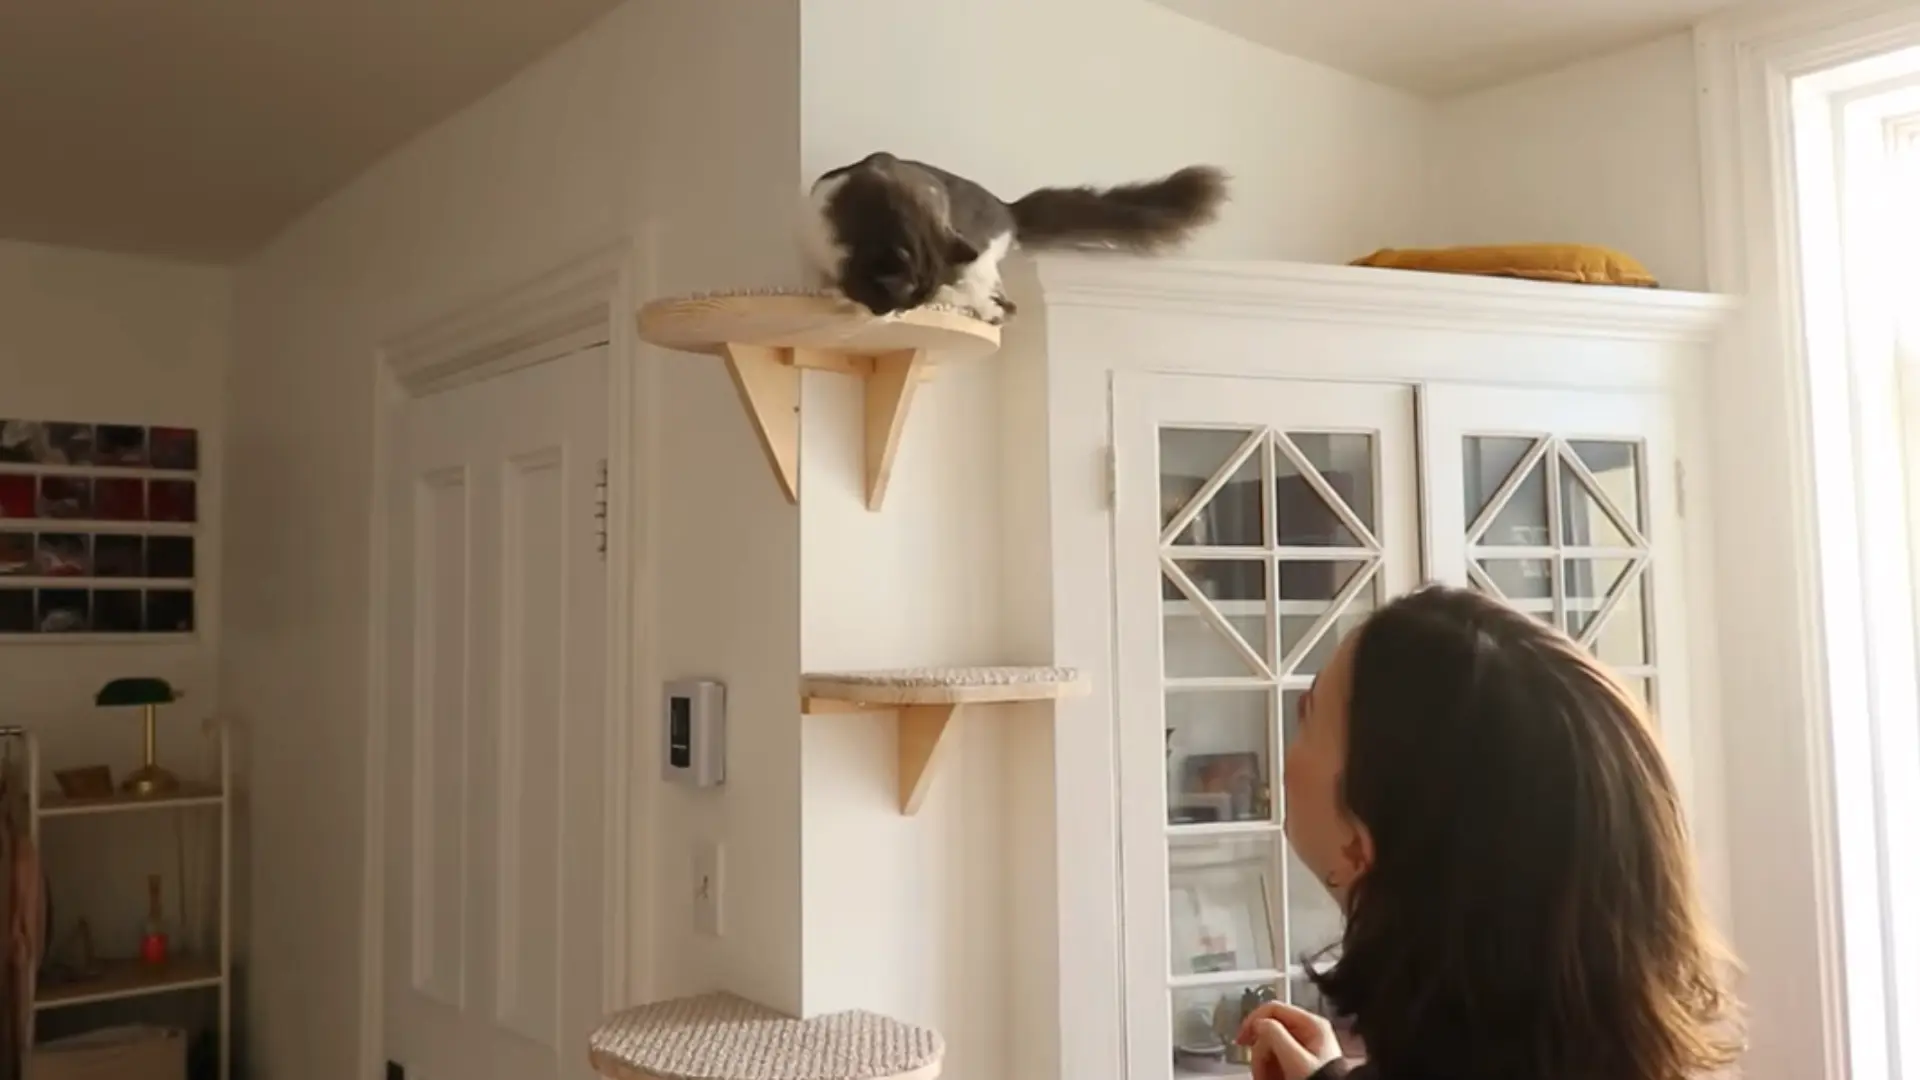
Place a cushion or soft material on the top shelf to make it cozy for your cat. Encourage them by placing treats or favorite toys on the shelves.
Observe your cat as it climbs, and adjust spacing or placement if needed to ensure safe, comfortable, and confident movement throughout the shelf setup.
For an in-depth walkthrough of the whole process, check out the complete video tutorial below:
Maintenance and Safety Checks
Regular maintenance helps keep DIY cat shelves safe, sturdy, and comfortable for everyday climbing. Small routine checks can prevent accidents and help the shelves last much longer.
- Check Screws and Brackets Regularly: Inspect all screws, brackets, and wall anchors often to make sure the shelves stay firmly attached.
- Replace Worn Grip Materials: Change damaged carpet, fabric, or sisal coverings to prevent slipping and improve traction.
- Watch Your Cat’s Movement: Pay attention to how your cat climbs and jumps to spot signs of instability or discomfort early.
- Inspect Shelves for Loosening: Even strong shelves can loosen over time, so regular tightening is important for safety.
- Keep Shelves Clean: Remove dust, fur, and debris regularly to keep the climbing area clean and comfortable for your cat.
- Repair Damage Quickly: Fix cracks, loose boards, or damaged supports immediately to avoid accidents and further wear.
Different Types of Cat Shelves You Can Build
DIY cat shelves come in many styles, from simple wall perches to full climbing systems. Choosing the right design depends on your available space, your cat’s personality, and the type of climbing setup you want to create.
| Type of Cat Shelf | Best For | Description |
|---|---|---|
| Floating Cat Shelves | Small spaces | Simple wall-mounted shelves that give cats elevated resting and climbing areas. |
| Corner Cat Shelves | Tight room corners | Shelves designed to fit neatly into corners while saving floor space. |
| Stair-Step Shelves | Easy climbing | Shelves arranged like stairs to help cats move between heights comfortably. |
| Bridge Cat Shelves | Active cats | Connected shelves with bridges or ropes that create fun walking paths. |
| Window Perch Shelves | Cats that enjoy views | Shelves placed near windows for relaxing and watching outdoor activity. |
| Hammock Cat Shelves | Lounging and sleeping | Shelves combined with soft hanging hammocks for extra comfort. |
| Scratching Shelf Combos | Cats that scratch furniture | Shelves covered with sisal or scratching material for climbing and scratching. |
| Wall-Mounted Cat Trees | Multi-cat homes | Larger climbing systems with platforms, tunnels, and multiple levels. |
| Hidden Cat Walkways | Creative room layouts | Narrow shelves placed high on walls to create hidden climbing paths. |
Conclusion
Building DIY cat shelves is a great way to give your cat a safe, fun space to climb while using your own creativity.
By following the step-by-step guide, checking your materials, and avoiding common mistakes, you can create sturdy, comfortable shelves your cat will enjoy.
Remember, regular maintenance and observing your cat’s behavior keep the shelves safe and inviting. Once you’ve built your setup, consider adding toys or treats to encourage use.
For more helpful tips and ideas for cat-friendly projects, check out our other blogs and get inspired for your next DIY adventure.
Frequently Asked Questions
Can I Build Cat Shelves Without Hitting Studs?
Yes. Use heavy-duty wall anchors or toggle bolts to secure shelves when studs aren’t available. Studs are preferred for heavier cats, but proper anchors provide safe support for lighter setups.
What Wood Thickness is Safe for Cat Shelves?
Use at least 1×10 or 1×12 plywood or pine boards. Thinner boards may bend or break under your cat’s weight, so choosing a strong, stable wood is essential.
How Far Apart Should Cat Shelves Be?
Horizontal spacing should be 12–16 inches, and vertical spacing 12–18 inches. Adjust closer for smaller or senior cats to ensure safe jumps and comfortable climbing.