Change Your Bathroom: Walk-In Shower Remodel Ideas
Looking to update your bathroom with a walk-in shower? You’re making a smart choice. Walk-in showers not only look great but also make your bathroom more useful and accessible.
If you want a simple update or a complete bathroom makeover, this guide will help you plan your project from start to finish. We’ll cover everything from picking the right layout and materials to staying on budget.
No fancy jargon here—just clear advice to help you create a shower you’ll love using every day.
Ready to change your bathroom? Let’s get started.
Benefits of a Walk-In Shower Remodel
A walk-in shower can change your bathroom into a more functional and visually appealing space. These showers remove the need to step over high edges, making them easier to use. They also create a clean look that works in both big and small bathrooms, giving you more options for your home.
Adds Modern Appeal
Walk-in showers give your bathroom a clean, simple look that complements today’s home styles well. The smooth glass walls and absence of bulky shower curtains make the room appear larger and more spacious.
Many homeowners opt for these showers when updating their bathrooms because they add a touch of luxury without going overboard. The clean lines of a walk-in shower can make even a basic bathroom appear as if it belongs in a luxurious hotel.
Improves Accessibility
One of the best aspects of walk-in showers is their ease of use for people of all ages. With no lip or edge to step over, they’re much safer for older adults or anyone with mobility issues.
Adding grab bars and a seat makes them even more useful. Some walk-in showers have no door at all, which creates a fully open space that’s easy to enter with a wheelchair or walker. This makes them a smart choice for individuals who wish to remain in their homes as they age.
Maximizes Small Spaces
In tight bathrooms, a walk-in shower can be a space-saving hero. Without the need for a bulky tub, you gain more floor space and create a less crowded feel. Glass walls keep the visual space open, allowing light to flow through the room.
Many small bathrooms look much bigger after switching from a tub to a walk-in shower. This makes them a smart choice for small homes, guest bathrooms, or any space where you need to make the most of limited square footage.
Walk-In Shower Remodel Ideas for Every Style
Your shower can match your home’s look with the right materials and design choices. From clean lines to warm textures, there are countless ways to create a walk-in shower that fits your taste.
Here are top style ideas to help you plan a shower you’ll love using every day.
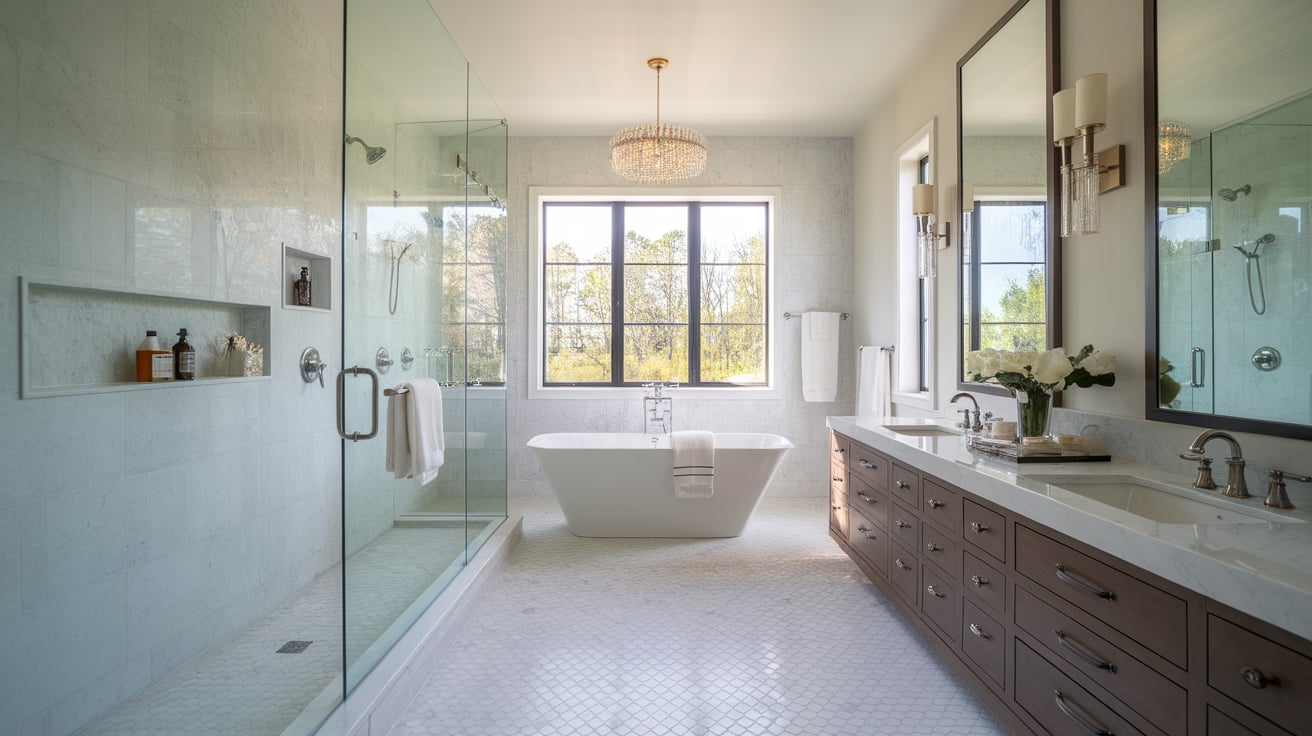
Modern and Minimalist
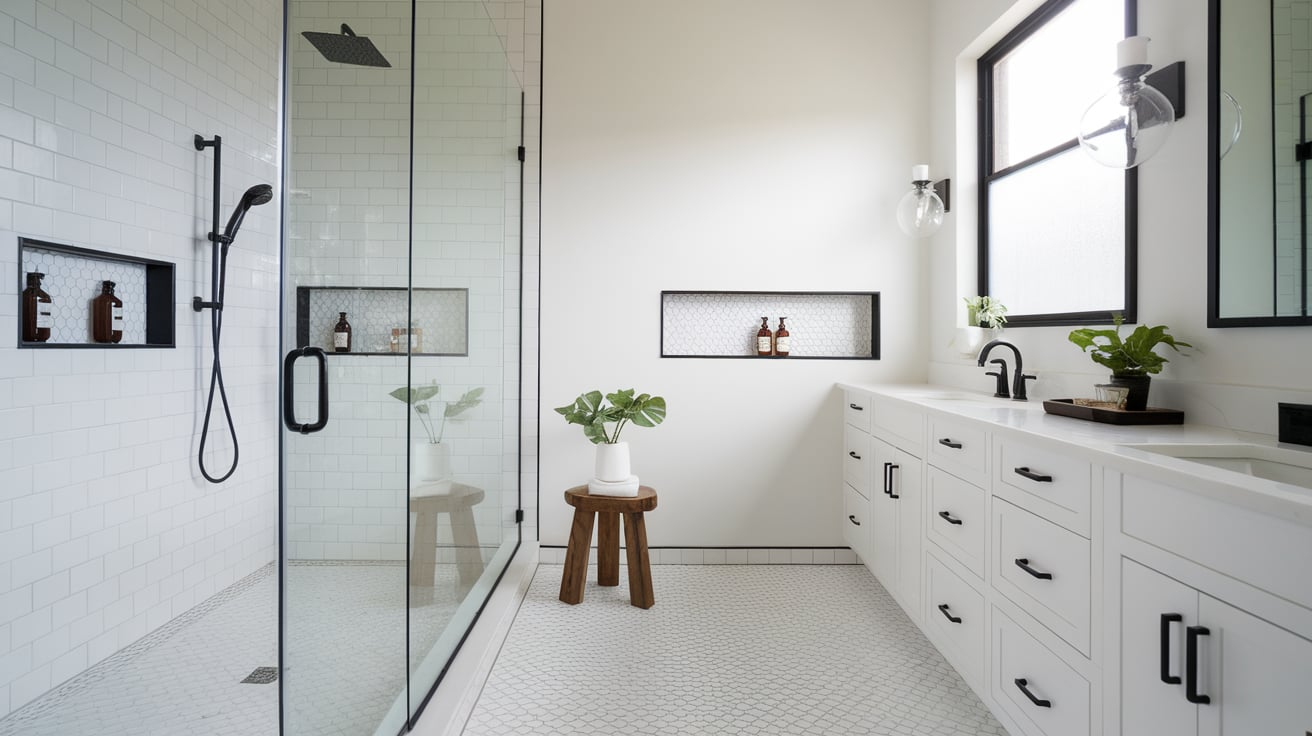
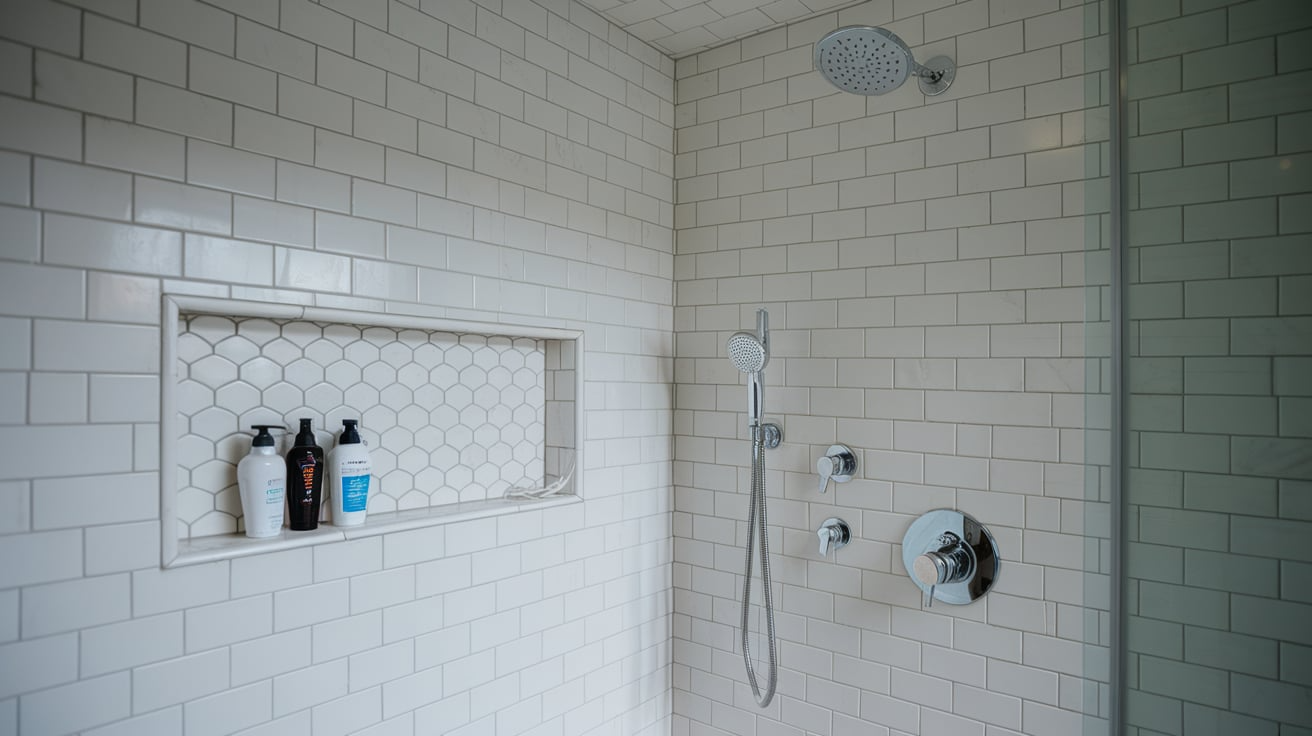
Clean lines and simple colors define the modern walk-in shower. Select frameless glass panels that appear to disappear, making your bathroom appear larger and more spacious. Matte black shower fixtures stand out against white walls, creating a bold contrast that remains subtle.
Large white tiles with thin grout lines create smooth, unbroken surfaces that feel calm and organized. This style works well with hidden drains and built-in wall niches that keep shampoo bottles out of sight.
The look is clean without feeling cold, especially when you add small touches, such as a wooden stool or a green plant, to bring life to the space.
Rustic and Natural
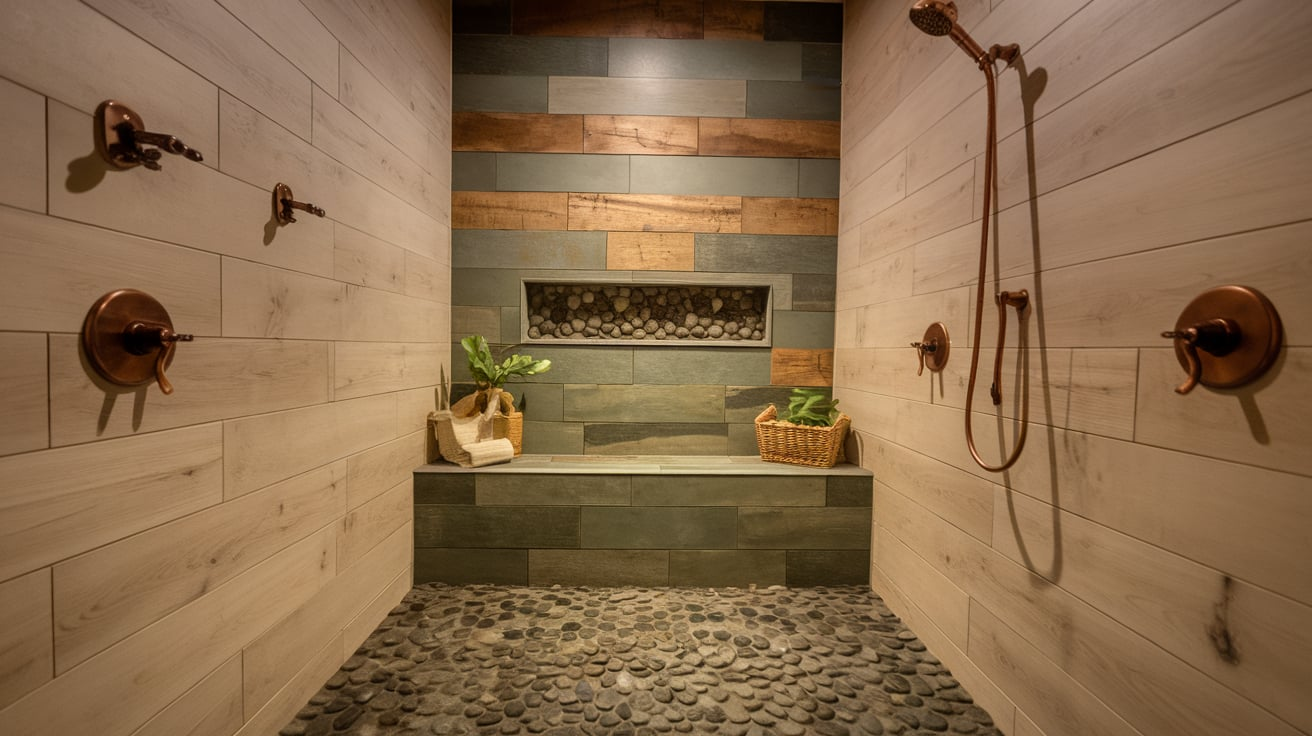
Bring the outdoors inside with materials that connect to nature. Pebble floor tiles give a stream-like feel under your feet and help prevent slipping. For walls, consider wood-look porcelain tiles that replicate the warm appearance of wood without warping in wet areas.
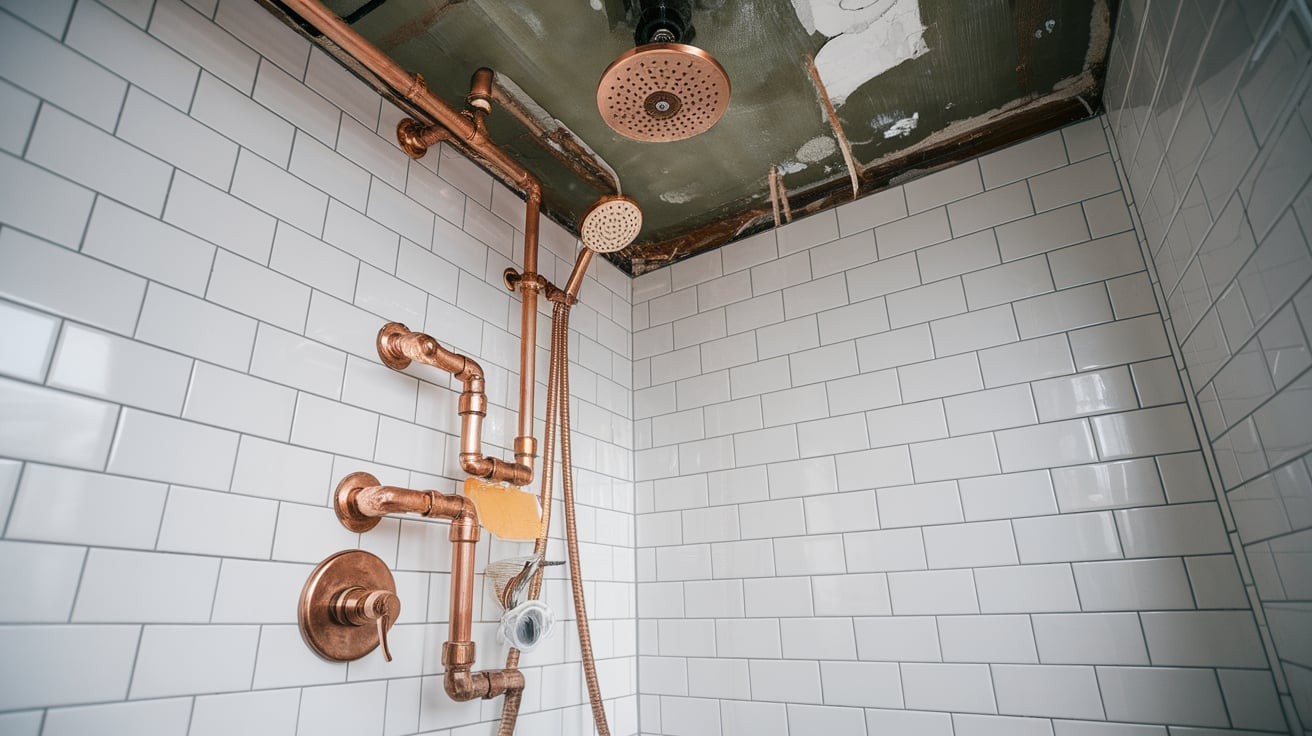
Choose colors like tan, soft brown, and gentle sage green to create a calming woodland feel. Natural stone tiles, with their subtle color variations, make each shower unique. This style pairs well with copper or bronze fixtures that will age with character over time.
The overall effect should make you feel like you’re showering in a peaceful forest retreat.
Farmhouse Touches
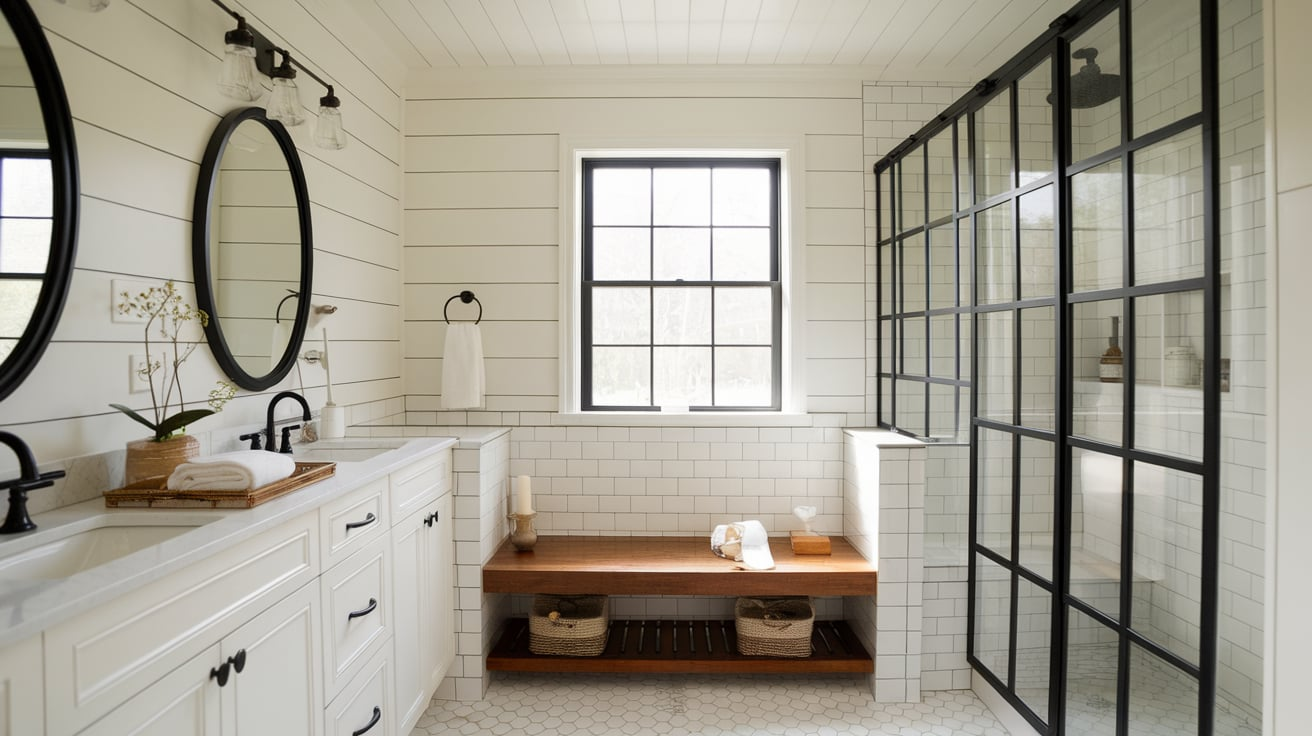
The farmhouse style combines comfort with simple charm. Start with classic subway tiles, but use dark grout to highlight their shape and add visual interest.
For a true farmhouse feel, add a section of waterproofed shiplap to upper walls or ceiling areas that won’t be exposed to direct water. Choose oil-rubbed bronze for faucets and shower heads to add aged character.
A built-in bench with a wood top, sealed for moisture protection, provides both function and style. Consider adding black metal-framed shower doors that look like old window frames for a final farmhouse touch. This style feels both fresh and familiar, as if it has been part of the home for years.
Coastal or Spa Vibe
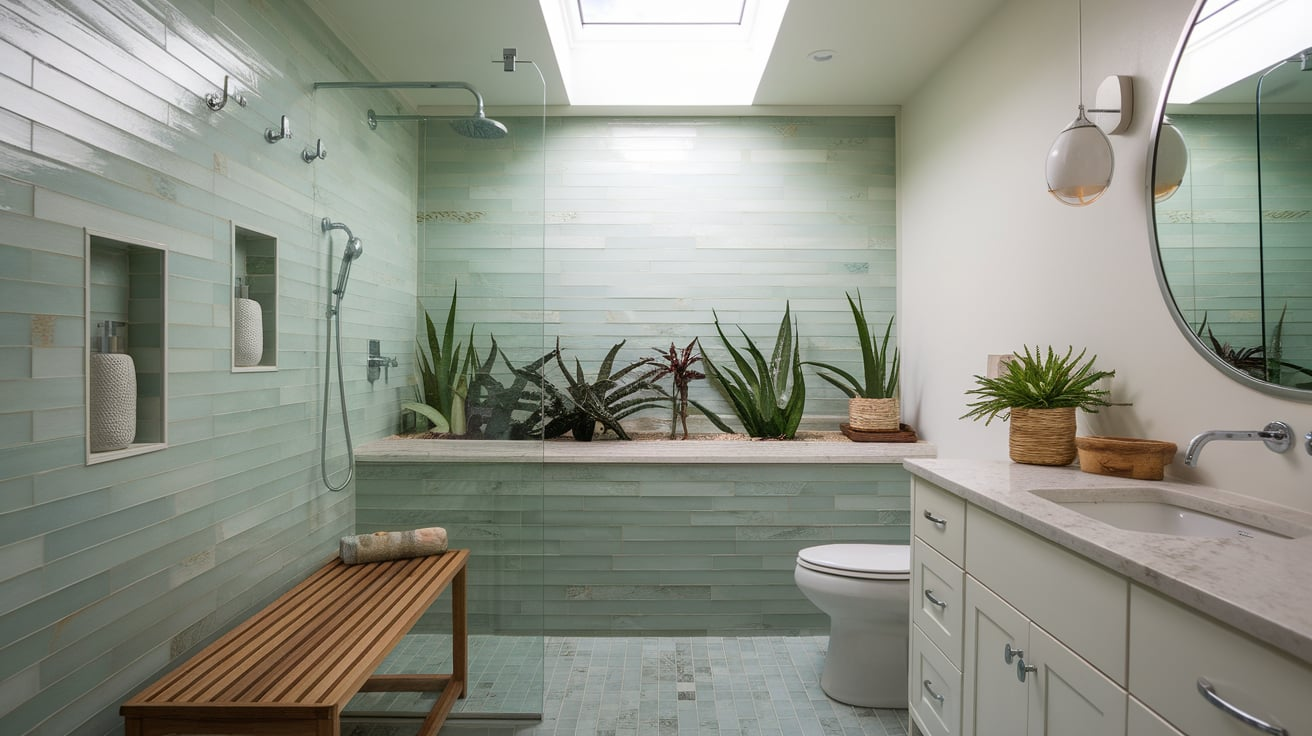
Create a bathroom that feels like a beach getaway or high-end spa. Light blue or green tiles in soft, rounded shapes evoke the image of ocean waves. Zellige tiles, handmade with slight color changes, add depth to shower walls.
Include a teak bench or stool that can handle moisture while adding warmth. If possible, consider adding a skylight to bring in natural light from above, making the space feel more open and inviting.
Small shower-safe plants like aloe or air plants thrive in the humid air and add life to the space. Select white or brushed nickel fixtures that complement the calming colors. This style helps you start each day feeling like you’re on a peaceful beach trip.
Top Materials for Walk-In Shower Remodels
Choosing the right materials for your walk-in shower affects both its appearance and functionality. Quality materials might cost more upfront, but often last longer and require less maintenance. Here’s a breakdown of options for walls, floors, and fixtures.
Wall Options
The walls of your shower occupy the most visual space and must withstand water daily. Your choice here sets the tone for the entire bathroom while providing needed water protection.
- Ceramic and porcelain tile
- Natural stone
- Waterproof wall panels
Flooring Options
Shower floors must strike a balance between aesthetics and safety. The right flooring provides traction when wet while remaining comfortable underfoot and easy to clean.
- Slip-resistant tiles
- Textured porcelain
- Pebble mosaics
Fixture Finishes
Fixtures are like jewelry for your shower – they add the final touch that pulls everything together. Different finishes create different moods and match various design styles.
- Brushed nickel
- Matte black
- Champagne bronze
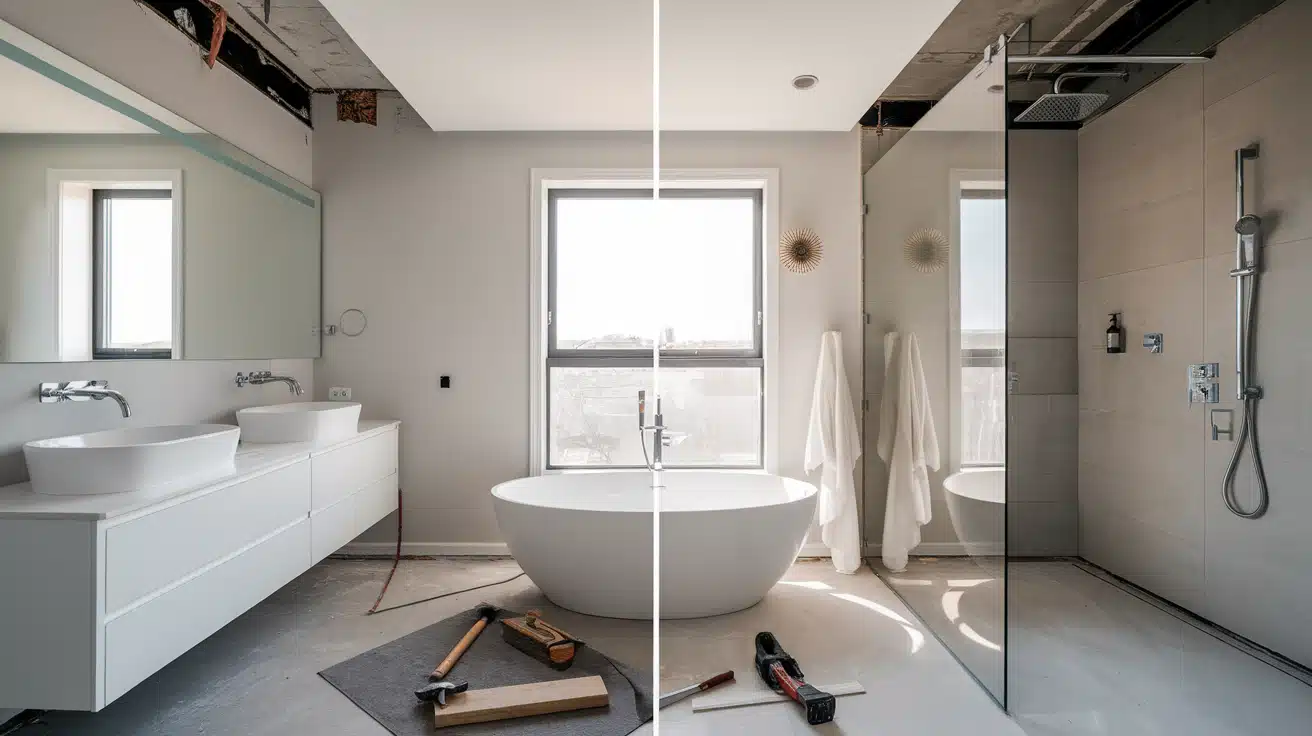
Step-by-Step Walk-In Shower Remodeling Guide
Converting your old shower to a walk-in model requires careful planning and effort. This guide breaks down each part of the process to help you create a beautiful, functional shower that fits your needs and space without making common mistakes.
Step 1: Plan Your Remodel
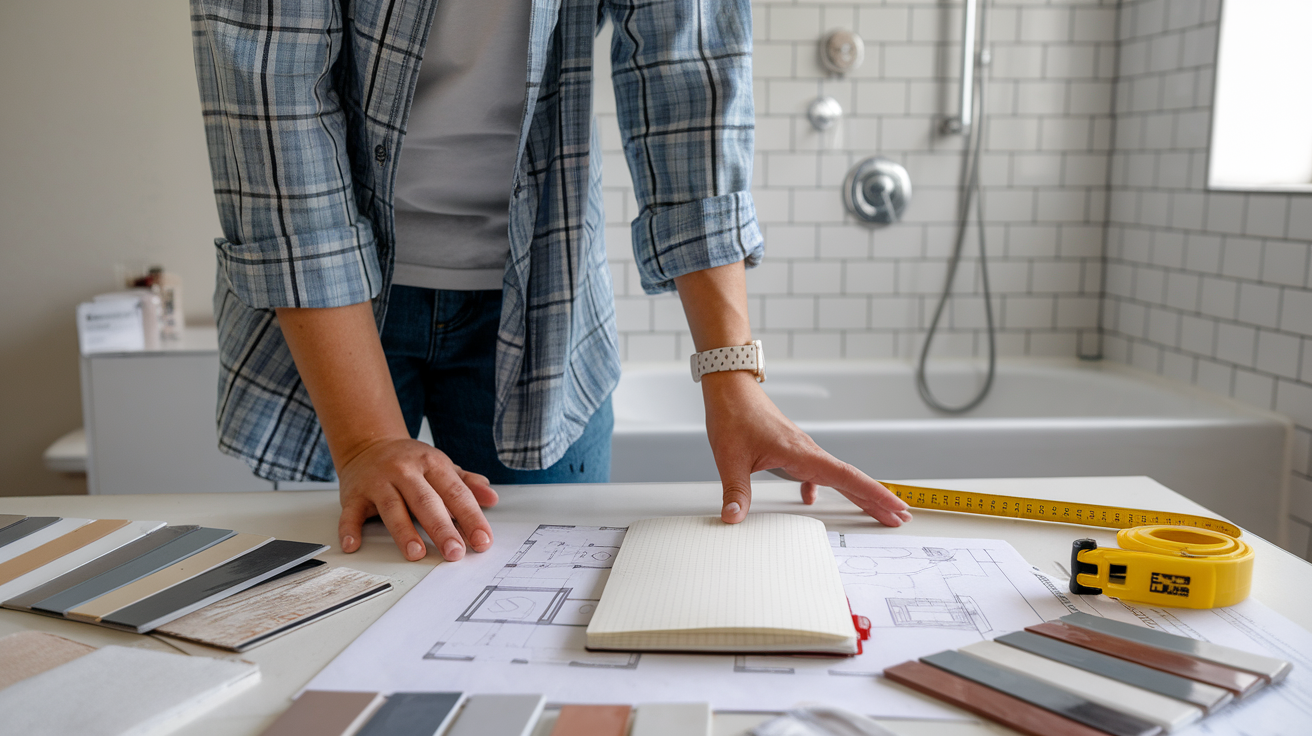
Begin your shower project with clear goals about what you want to change and how much you’re willing to spend. Take exact measurements of your bathroom and consider how the new shower will fit into the space.
Browse photos online or in magazines to help you select the style, colors, and features you desire. Create a list of all the materials and tools you’ll need before you begin. This planning stage is key to avoiding costly changes later.
Discuss with family members their needs as well—this helps create a shower that everyone can use.
Step 2: Demolish the Old Shower
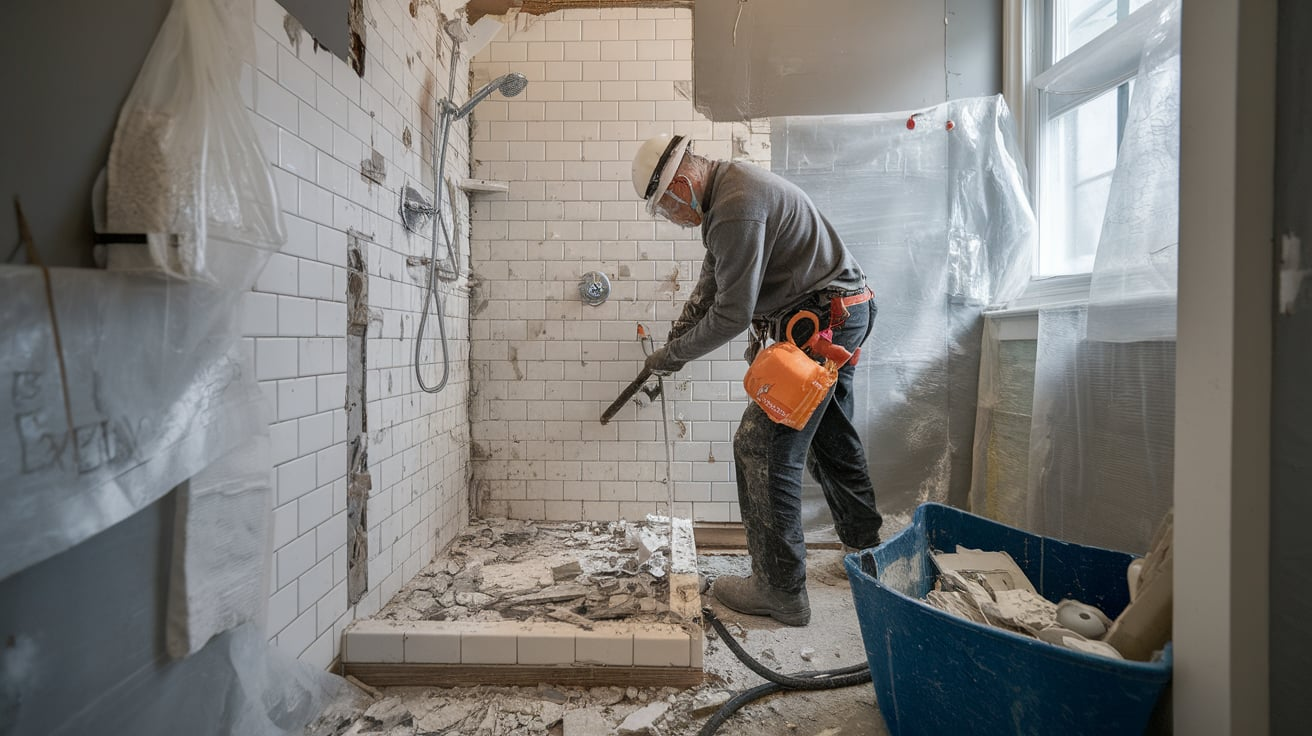
Before taking anything apart, turn off the water supply to your bathroom. Remove shower doors, faucets, and any other fixtures that can be easily removed. Use a hammer and a pry bar to remove tiles, starting from the top and working your way down. Cut through drywall with a utility knife.
Place all waste in heavy-duty trash bags or a rented dumpster. Watch for hidden pipes or wires while removing materials. Look for signs of water damage, mold, or rot that may require repair. Wear gloves, goggles, and a dust mask to stay safe during this messy stage.
Step 3: Prepare the Space
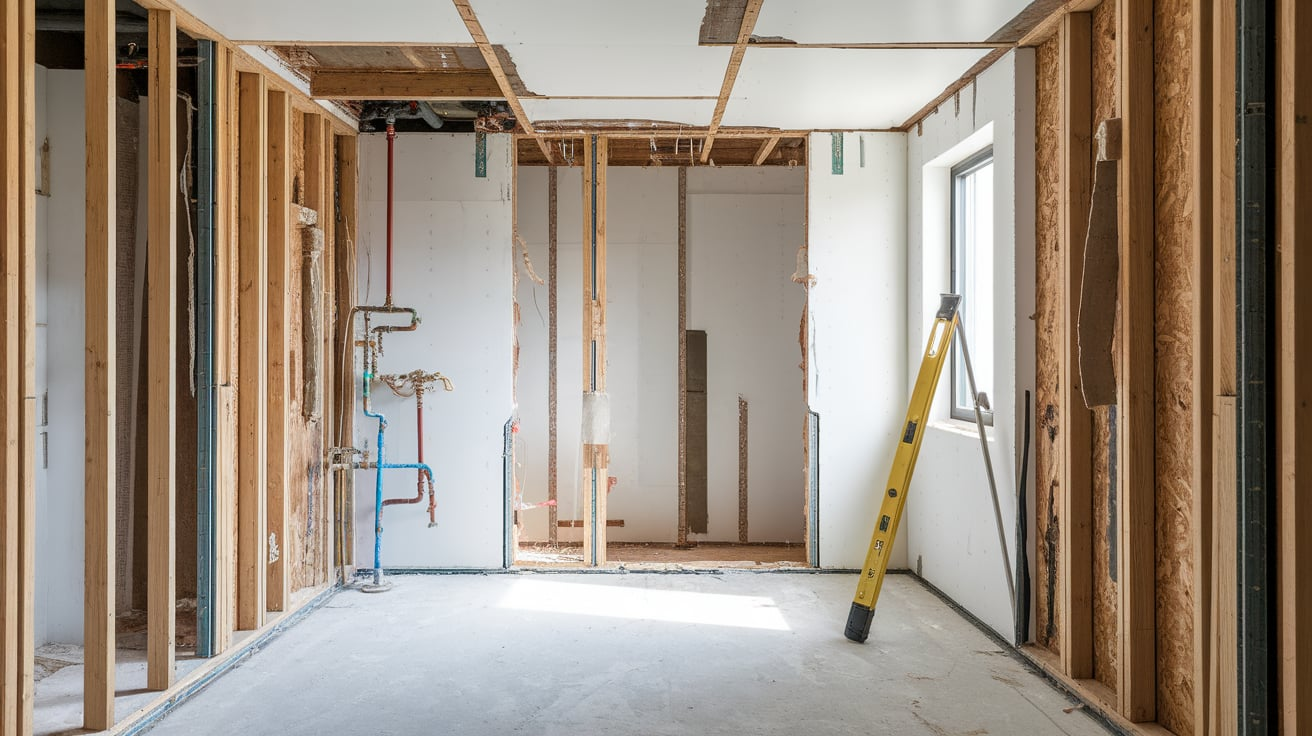
Look closely at the floor and walls once everything has been removed. Check wooden parts for soft spots, which may indicate that they’re rotting and need to be replaced. Ensure the walls can support the new shower fixtures—you may need to add extra wood supports inside the walls.
Address any structural issues now, as they’ll be more difficult to rectify later. This might feel like a step back, but addressing issues now prevents more significant problems down the road. Ensure the floor is perfectly level, except where it needs to slope toward the drain.
Step 4: Update Plumbing and Ventilation
Now is the time to run new water lines if you’re moving the shower or adding extra shower heads. Choose fixtures that match your water system—some fancy shower heads need more water pressure than older homes provide.
Ensure your bathroom has proper airflow with a good fan that vents outside, not just into your attic. This helps stop mold and keeps your new shower looking good longer. If wires need to be moved, hire an expert unless you have experience with electrical work. Test all pipes for leaks before closing up walls.
Step 5: Waterproof the Shower Area
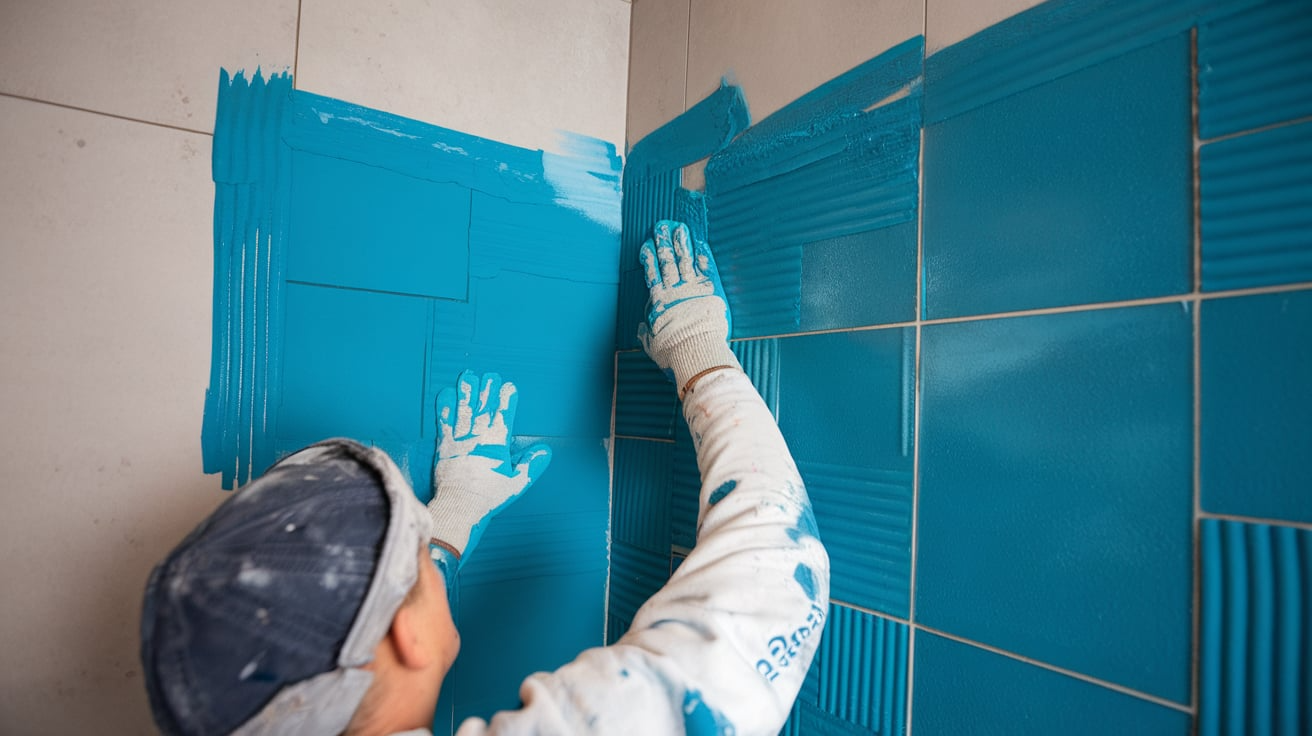
Proper waterproofing is what makes your shower last for years without leaking. Attach cement board to wall studs—it won’t grow mold like regular drywall when it gets wet.
Apply a thick liquid membrane over all surfaces, paying special attention to corners and edges. Use waterproof tape on seams and where walls meet the floor. Make extra sure the area around the drain is sealed well. Allow each layer to dry completely before adding the next one.
Remember, you can’t see this part when the shower is done, but it’s what keeps water from causing damage to your home.
Step 6: Install Shower Walls
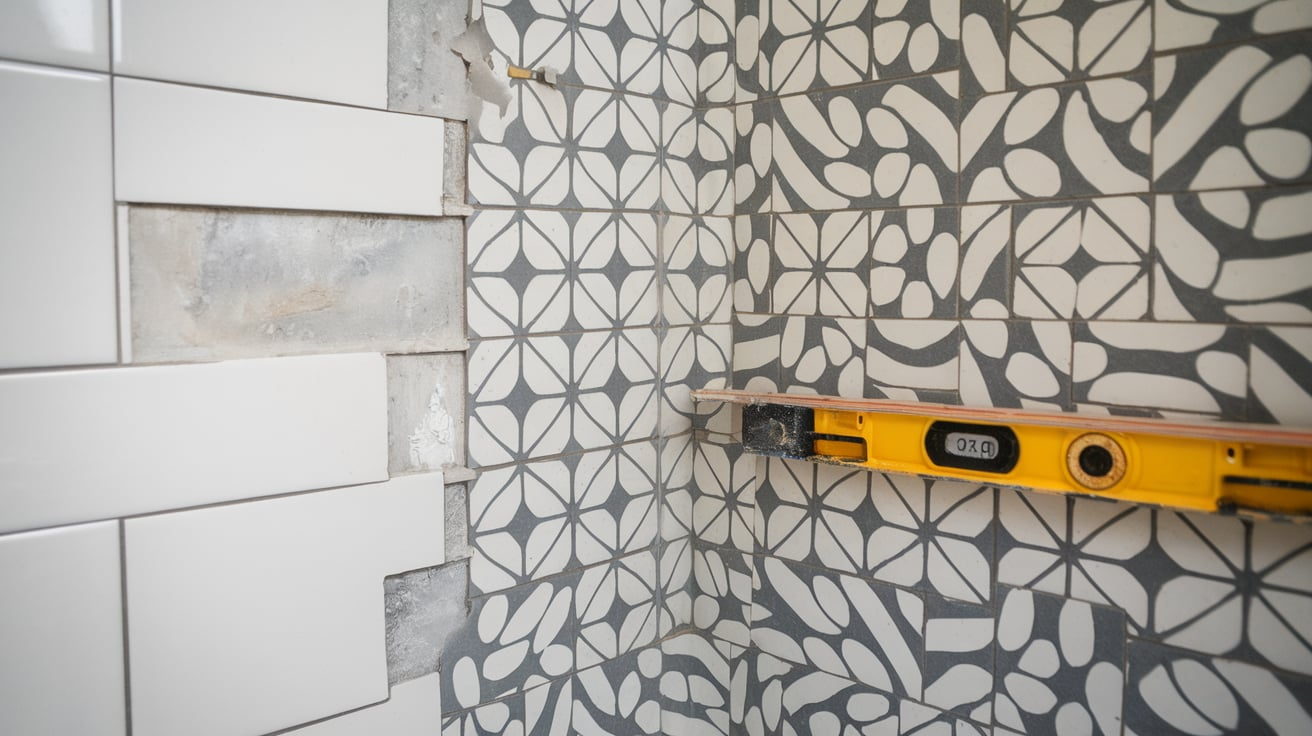
Select wall materials that complement your style and budget—ceramic tile is a popular choice, but stone or glass panels are also viable options. Start at the bottom row and work your way up, using plastic spacers to maintain even gaps.
Check often with a level to make sure rows stay straight. For tile, mix small batches of thin-set mortar so it doesn’t dry out while you work.
Let the tiles set for a day, then fill gaps with grout. Wipe away extra grout with a damp sponge before it dries hard. Let everything cure properly before using the shower or adding weight to shelves.
Step 7: Build the Shower Floor
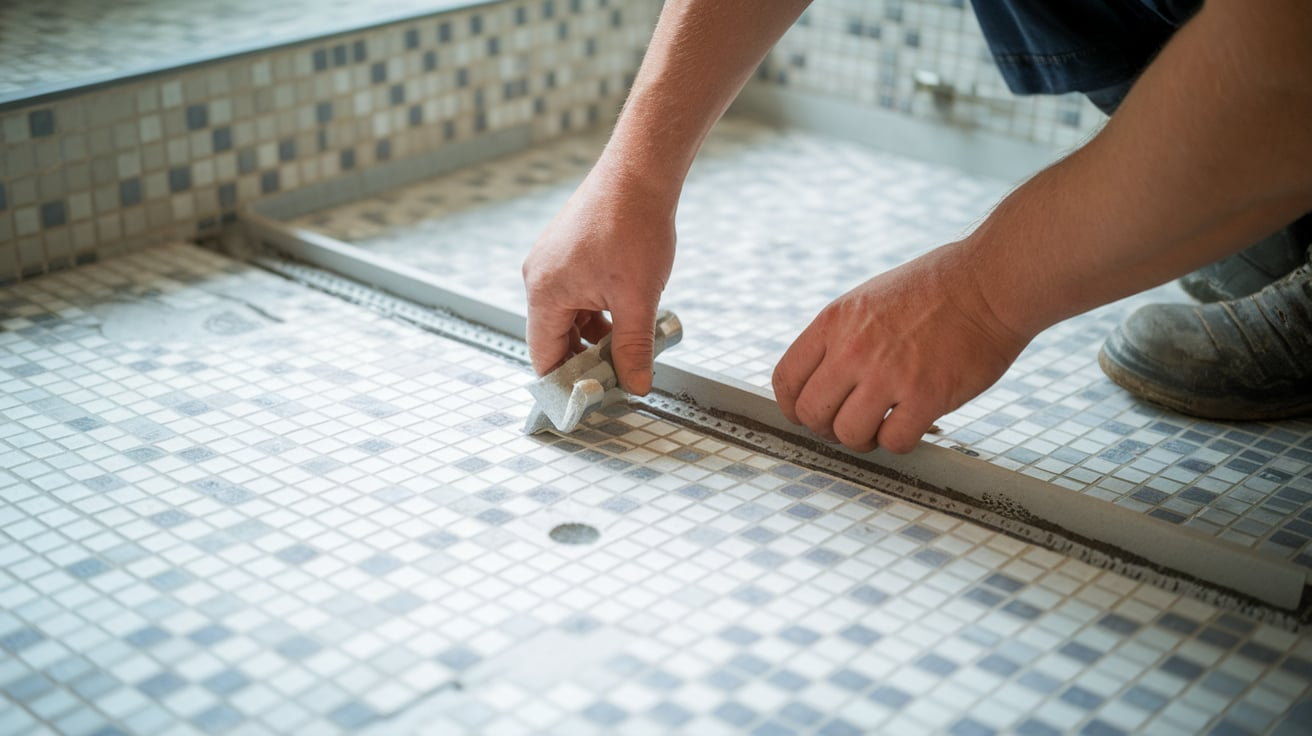
The shower floor should have a slight slope toward the drain, allowing water to run off instead of pooling. Mix a mortar bed and shape it with a slight downward angle.
For good grip when wet, choose small floor tiles (2 inches or less) that provide more grout lines for traction. Avoid very smooth tiles that become slick when wet. Press the tiles firmly into the mortar and check that water can flow to the drain from all areas.
After the floor is set, apply grout between the tiles and clean off the surface. Add a clear sealer to protect the grout from water stains and mold.
Step 8: Add Fixtures and Accessories
Install your shower fixtures according to the maker’s instructions. Consider height when placing shower heads—they should be positioned high enough for the tallest family member to use comfortably. Wall niches provide convenient spots for soap and shampoo without occupying floor space.
A built-in bench can make shaving easier and provide a place to sit if needed. For the shower entrance, consider what works best for your space.
Glass doors are pleasing but require regular cleaning. In contrast, an open design with no door makes the room feel larger and is particularly suitable for people with mobility issues.
Step 9: Final Touches
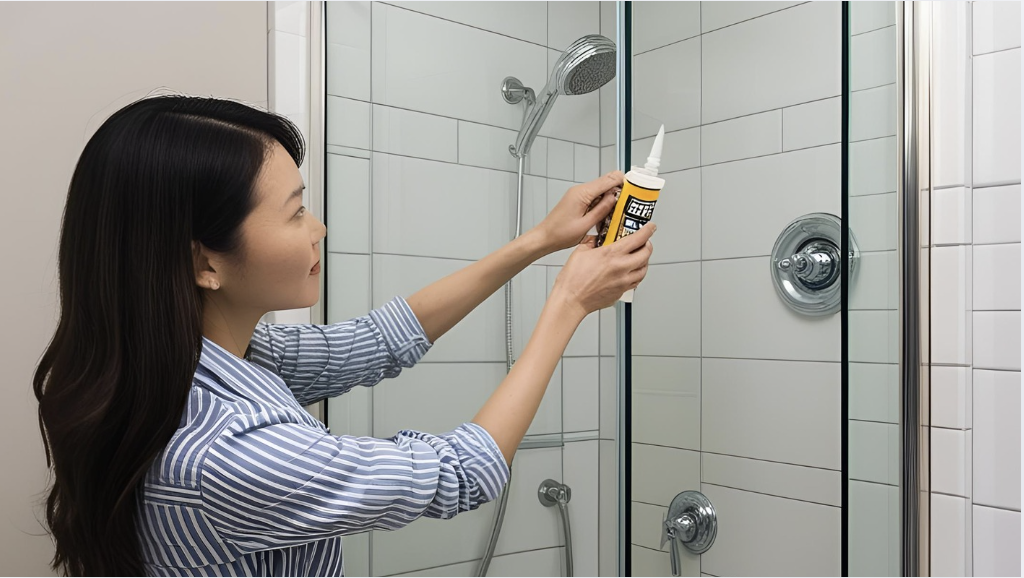
Apply clear silicone caulk where different materials meet—around the drain, where walls meet the floor, and along any seams. This step prevents water from seeping into tiny cracks.
Clean all tile surfaces with a mild cleaner to remove any dust or fingerprints that may have accumulated during construction. Shine up metal fixtures with a soft cloth.
Now you can add the extras that make the space yours—hang nice towels, place a small stool or plant nearby, and check the lighting. Good light makes your new shower look its best and helps you see clearly when using it.
Step 10: Inspect and Test
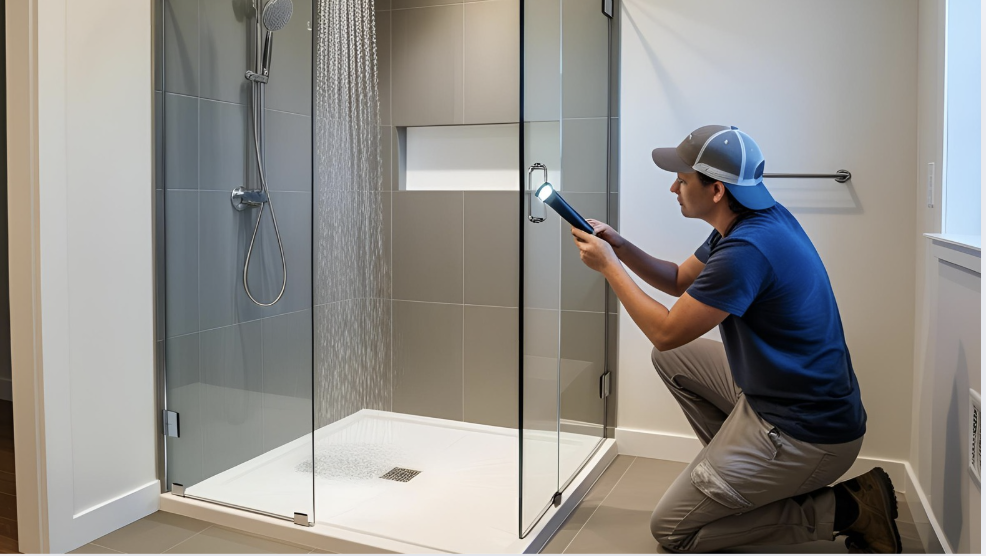
Before calling the job complete, test everything. Turn on the water and check each fixture for proper flow and temperature control. Look for any water leaks around pipes or drains; even small drips need to be addressed now.
Run the shower for several minutes to make sure water drains quickly without backing up. If you installed doors, check that they open, close, and seal properly.
Wait a few hours, then look again for any signs of leaking. Take photos of your finished project—they’ll be helpful if you ever need to make repairs or want to sell your home.
Best Layout Options for Walk-In Showers
The way you arrange your walk-in shower can significantly impact both the functionality and appearance of your bathroom. Your bathroom size, shape, and daily needs should guide which layout works best for you.
Here are three popular options to help you maximize your space.
Corner Entry Showers
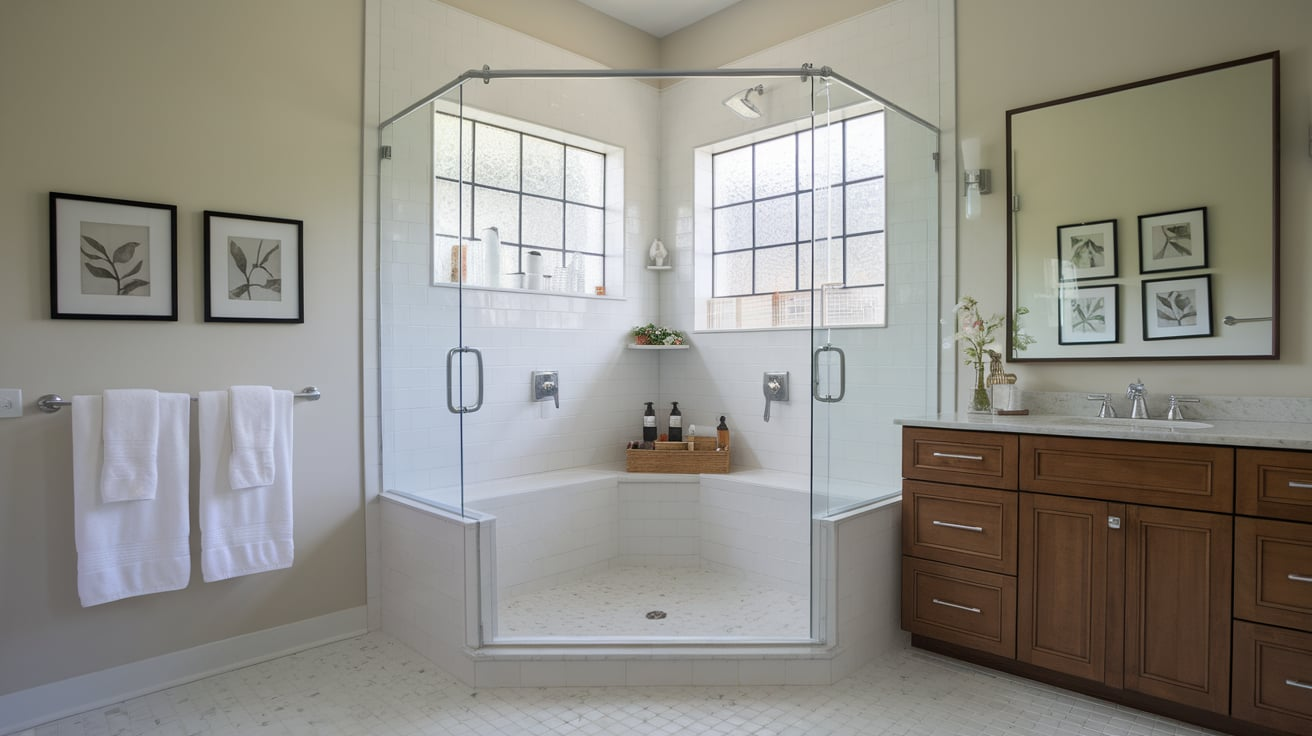
Corner showers fit perfectly where two walls meet, making them ideal for smaller bathrooms where space is tight. They typically have a square or triangle footprint with a door that opens from the front corner. This design effectively contains water while utilizing minimal floor space.
Glass panels on two sides allow light to flow through, creating a more open feel in small bathrooms. Many corner showers require only 36 inches by 36 inches of floor space, leaving room for other bathroom fixtures.
This layout works well in guest bathrooms or spaces where you’re trying to add a second bathroom without a major addition to your home.
Full-Length Wall Showers
Using a full wall of your bathroom for a shower creates a bold, open look that makes the room appear larger. These showers often have a glass panel that extends partway across the front, with an open entry that needs no door.
The lack of a door makes the bathroom feel more spacious and removes a cleaning hassle. Wall showers work best when they’re at least 5 to 6 feet long, giving enough space for water to stay inside without splashing out the open side.
This layout shines in main bathrooms where you have some room to work with. The long, clean lines give a high-end hotel feel that many homeowners love.
Wet Room Showers
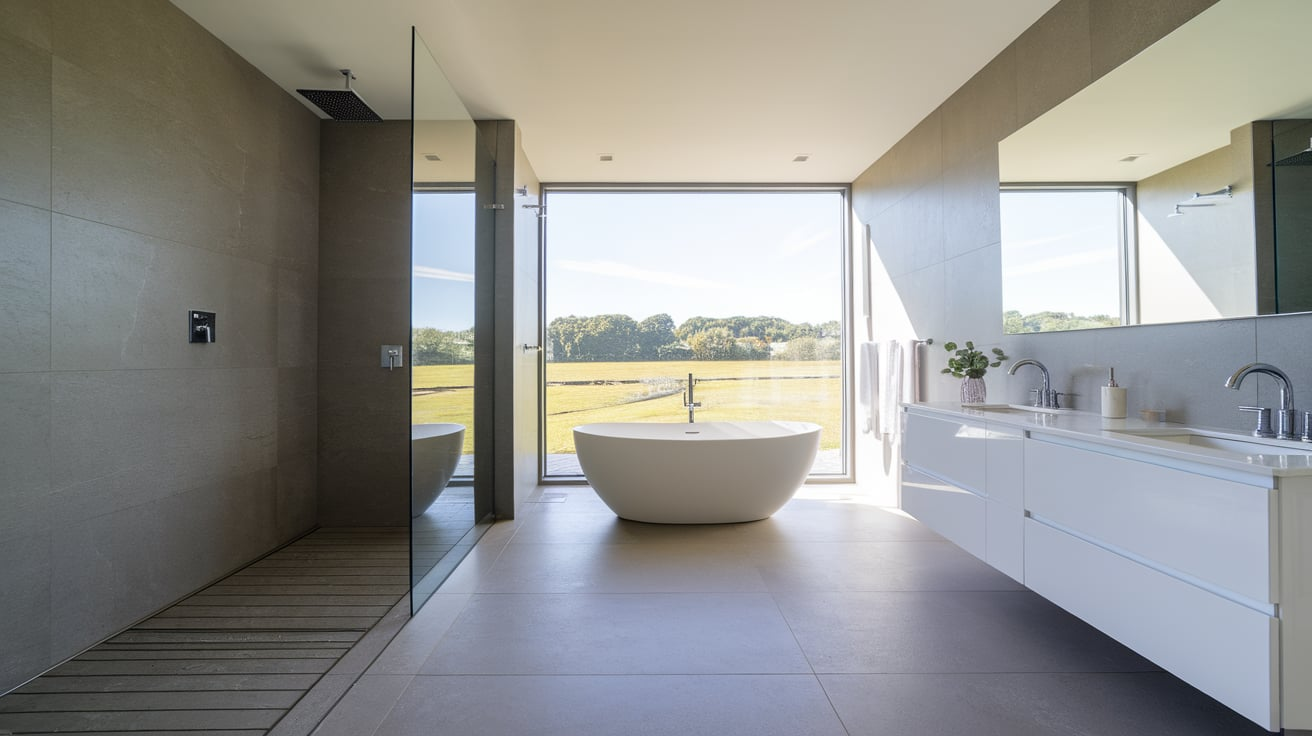
Wet rooms take open showering to the next level by waterproofing the entire bathroom floor and walls. This allows the shower area to blend seamlessly with the rest of the room, eliminating the need for a lip, curb, or enclosure.
Many wet rooms include both a shower and a freestanding tub in the same open space.
The entire floor slopes gently toward a drain, often accompanied by a second drain located near the shower head. This layout works especially well for people with mobility issues since there are no barriers to step over.
Wet rooms require proper waterproofing across all surfaces, resulting in a truly modern, open bathroom that feels much larger than its actual size.
Budgeting Tips for Your Shower Remodel
Planning your shower remodel with a clear budget helps you get the most value for your money without overspending. Large-format tiles can significantly reduce your costs by minimizing the amount of grout needed and accelerating installation time.
Many homeowners save money by doing simpler tasks themselves, like removing old fixtures and installing shower accessories, while paying professionals for critical work like waterproofing and plumbing connections.
Before hiring anyone, get at least three quotes from different contractors and ask detailed questions about what each quote includes. This helps you understand the fair market price and avoid surprise costs later. Look for sales on fixtures or consider floor models for high-end items at reduced prices.
Common Mistakes to Avoid
Even small errors during a shower remodel can lead to big problems later. Taking time to plan carefully and double-check your work helps avoid costly fixes down the road.
- Ensure that waterproofing covers every inch of the shower area, with special attention to the corners and seams where walls meet floors.
- Verify that the shower floor slopes correctly toward the drain—approximately 1/4 inch per foot is required for optimal water flow.
- Leave sufficient open space in your shower design to allow for comfortable movement without bumping into walls or fixtures.
- Consider the height of all users when placing shower heads and controls so everyone can reach them easily.
- Test your water pressure before purchasing fixtures to ensure they are compatible with your home’s plumbing system.
- Choose materials that match your cleaning habits—some options look great but need more upkeep than others.
Conclusion
A walk-in shower remodel can truly change how you use and enjoy your bathroom. By now, you should have a good idea of the styles, layouts, and materials that might work for your space.
Remember to plan carefully, waterproof properly, and consider how you’ll use the shower on a daily basis. Whether you opt for a modern glass design or a rustic stone look, the right walk-in shower can make your bathroom feel more spacious and functional.
Take your time with each step, and don’t hesitate to seek professional help with challenging tasks, such as plumbing. Your perfect shower is within reach—and well worth the effort.