Chalk Paint Furniture Makeovers: Before and After
I’ve always loved the idea of giving old furniture a new life, and chalk paint is one of the easiest ways to do it. It’s amazing how a simple coat of paint can completely transform a piece.
In this blog, I’ll be sharing some of my favorite chalk paint before and after results to show you just how much of a difference it can make.
Trying to refresh a worn-out dresser or give an old chair a new look? Chalk paint is a quick and affordable way to make it happen.
The best part? It’s super easy to use, and you don’t need to be a pro to get great results. I’m excited to show you the magic of chalk paint and how it can work wonders on your furniture. Let’s get started!
What is Chalk Paint?
Chalk paint is a special paint with a clean, matte finish.
What makes chalk paint stand out is its ability to adhere to almost any surface without the need for sanding or priming.
This makes it perfect for furniture makeovers, as you don’t have to spend a lot of time prepping the piece before you start painting.
Chalk paint comes in various colors, from soft neutrals to bright, bold hues. It dries quickly and is easy to distress, which is great if you’re going for a vintage or shabby-chic look.
Chalk paint also has a smooth texture that gives furniture a lovely, soft finish, making it look elegant and stylish.
Chalk Paint Before and After: Transforming Old Furniture
1. Chalk Paint Cabinet Makeover
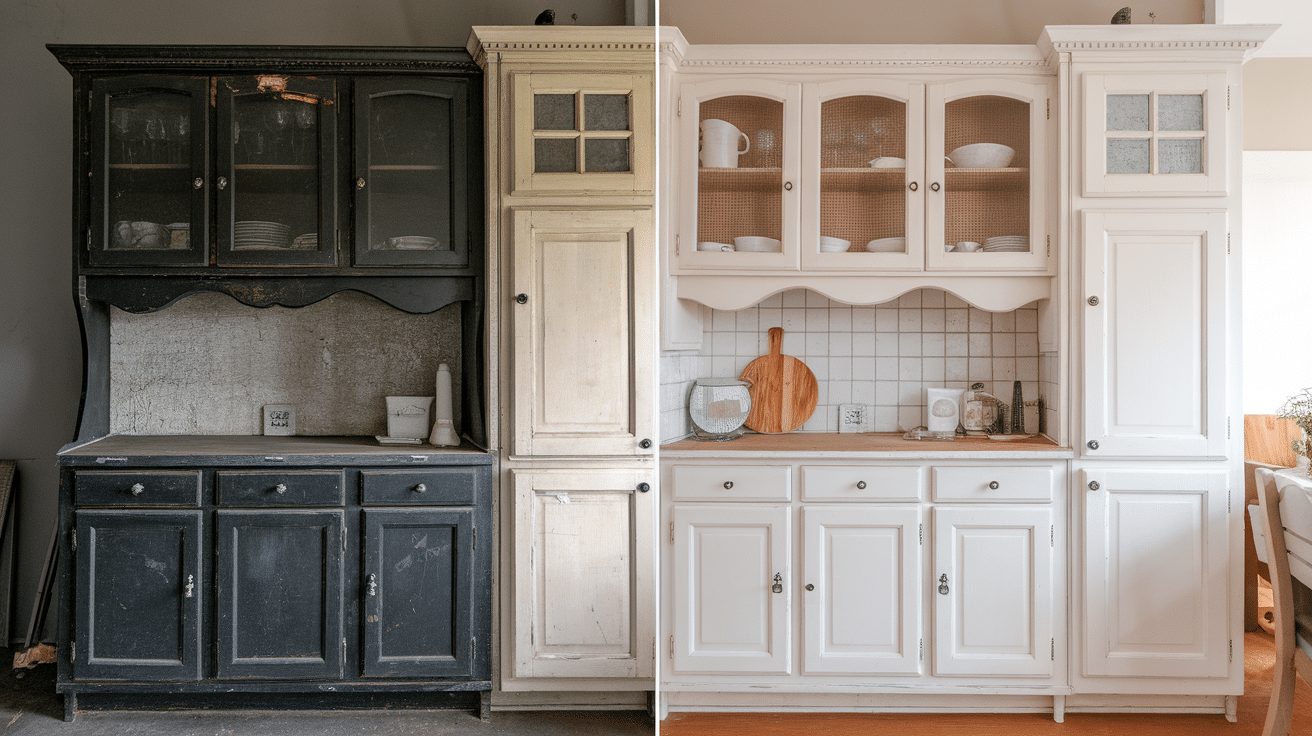
Before: The cabinets are old, with chipped paint and a dated look, they make the kitchen or bathroom feel dark and uninspiring.
After:
- Clean the cabinet surfaces with a damp cloth to remove dust and grease.
- Apply a coat of chalk paint in a light, neutral color like white or gray.
- Allow the first coat to dry, and apply a second coat if necessary.
- Use sandpaper to distress the edges for a vintage look (optional).
- Finish by applying clear wax for protection.
The cabinets will look fresh, bright, and modern with a soft, matte finish.
2. Painted Mirror Frame
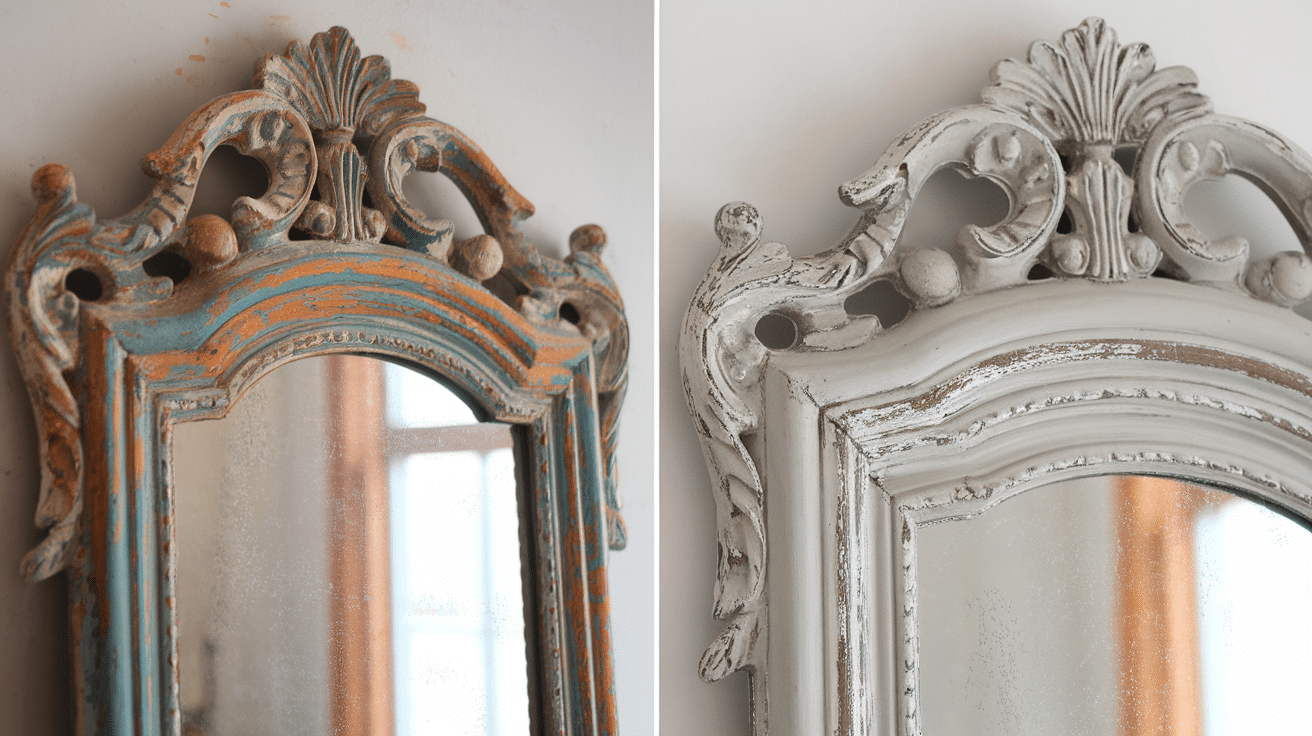
Before: The mirror frame is a plain wood color or a metallic finish that looks old-fashioned and doesn’t match the room’s decor.
After:
- Clean the frame thoroughly to remove dust and dirt.
- Apply one coat of chalk paint in a color that complements the room, such as soft white or light blue.
- Let the first coat dry and apply a second if needed.
- Lightly distress the edges for a rustic or vintage look.
- Apply clear wax or polyurethane to seal and protect the paint.
The frame will now have a fresh, modern, and polished appearance.
3. Painted Bookshelf
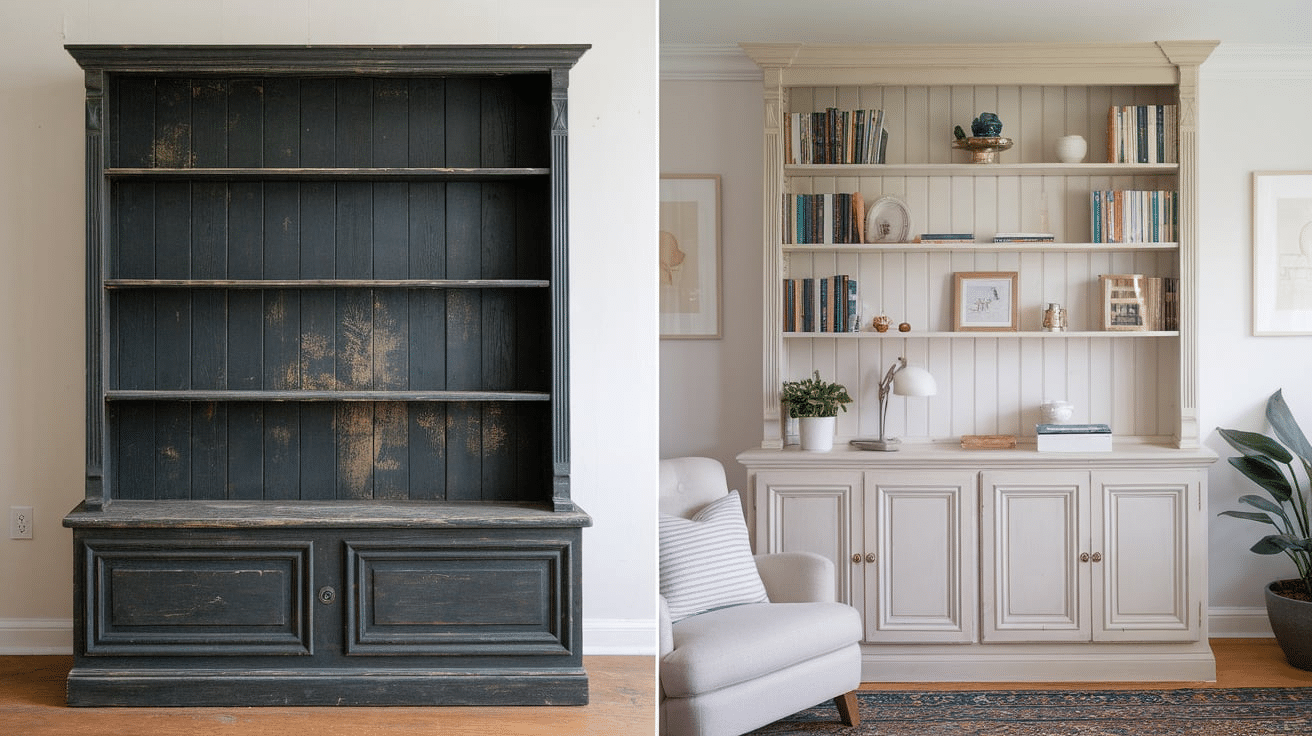
Before: The bookshelf has an old, worn-out finish that doesn’t blend in with the surroundings, making the room look dull.
After:
- Clean the bookshelf to remove any dust or cobwebs.
- Apply a coat of chalk paint in a neutral or bold color that suits the room’s theme.
- Allow the first coat to dry completely, then apply a second coat.
- Sand the edges lightly to distress it for a vintage feel (optional).
- Seal with clear wax or polyurethane for durability.
The bookshelf will now stand out as a stylish, updated piece in your room.
4. Upgraded Nightstand

Before: The nightstand is outdated, with dark or chipped paint that no longer fits the room’s aesthetic.
After:
- Dust and clean the surface of the nightstand.
- Apply a coat of chalk paint in a fresh color like light gray, navy, or pastel.
- Let the first coat dry and apply a second coat for even coverage.
- Distress the edges to give it a shabby-chic, worn look (optional).
- Finish with a protective layer of wax or polyurethane.
The nightstand will now have a fresh, clean look that complements your bedroom decor.
5. Painted Coffee Table
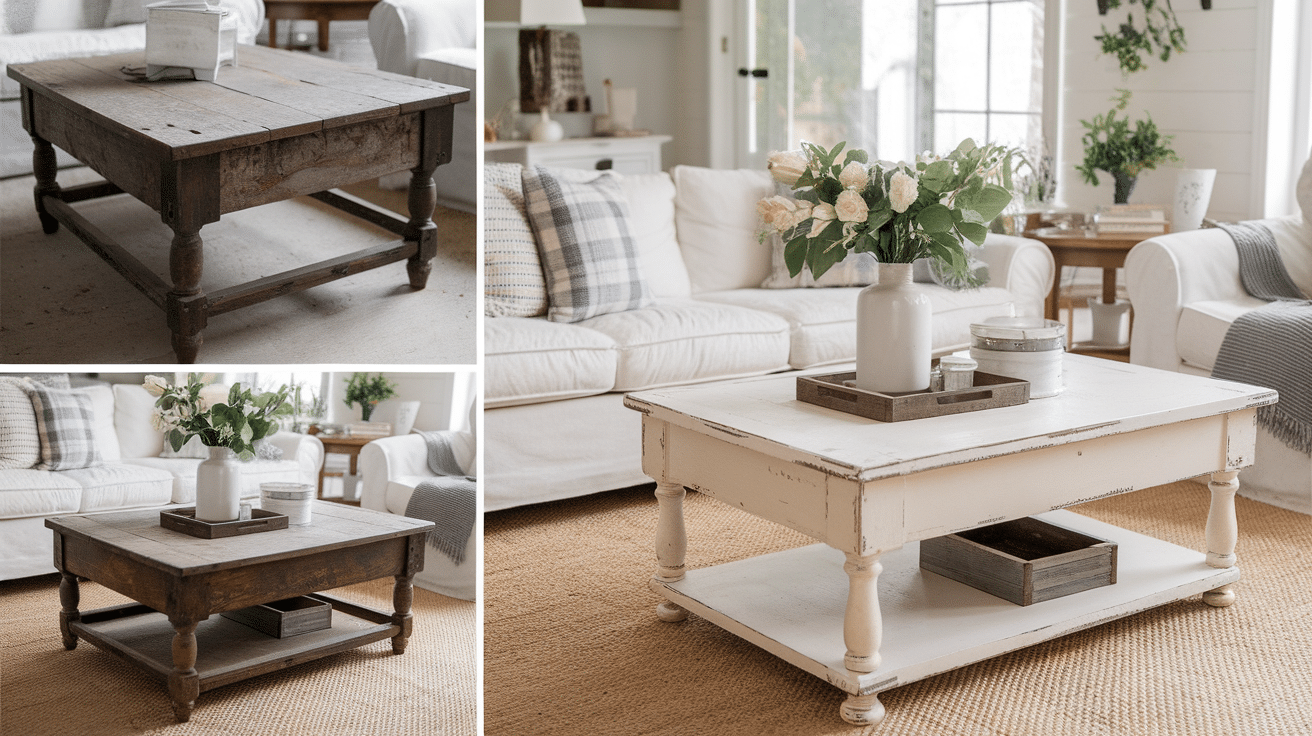
Before: The coffee table looks worn out, with a dull finish or too many scratches from years of use.
After:
- Clean the table thoroughly to remove dirt and grease.
- Paint the surface with chalk paint in a color that matches the living room decor.
- Allow the paint to dry, then apply a second coat for full coverage.
- Use sandpaper to distress the edges for a rustic effect.
- Apply clear wax or polyurethane to seal the paint and make the table durable.
The coffee table will now have a new, modern look, and it will fit perfectly with your living room furniture.
6. Upcycle Old Chairs
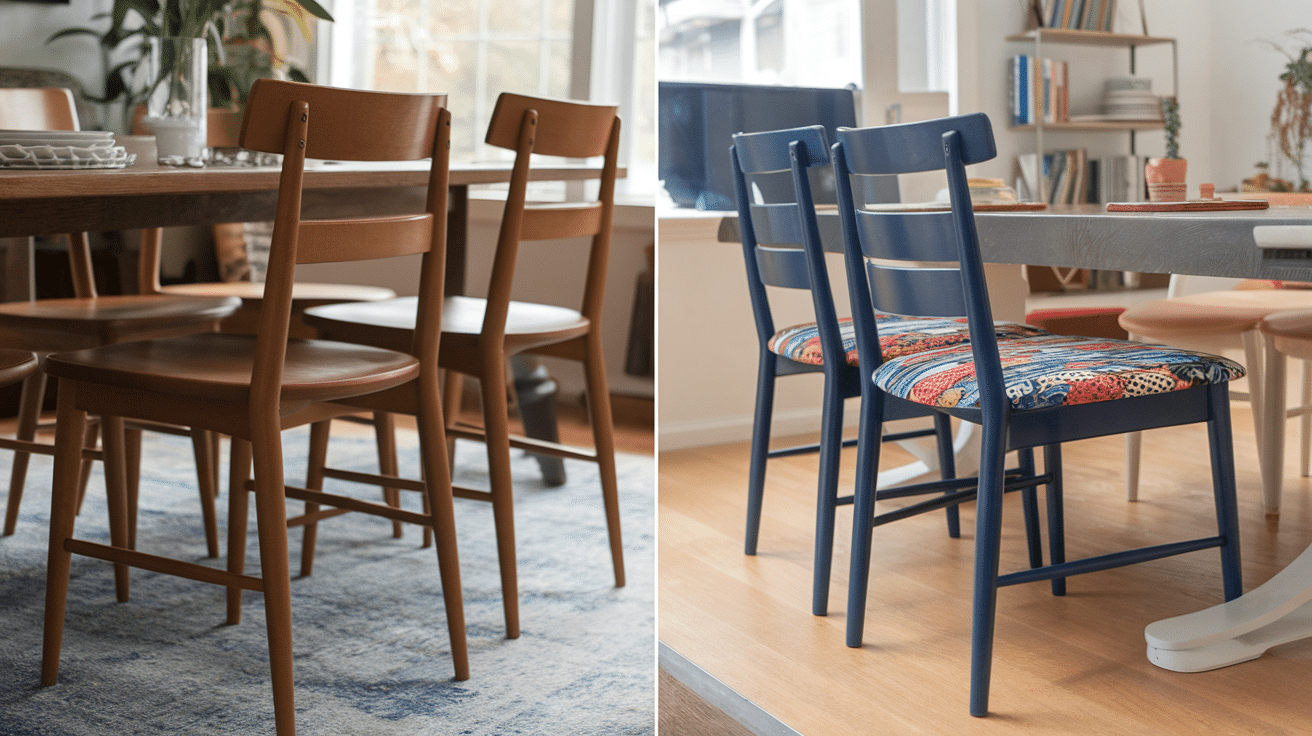
Before: The chairs are plain and boring, with a finish that has lost its charm.
After:
- Clean each chair with a damp cloth to remove dust and dirt.
- Apply chalk paint in a color that suits your style, such as soft gray, mint green, or navy blue.
- Let the first coat dry, and apply a second coat if necessary.
- Sand the edges lightly for a distressed look (optional).
- Add new fabric to the seat for a fresh update.
The chairs will now look updated, charming, and stylish, adding a new feel to your dining or living area.
7. Painted Storage Trunks
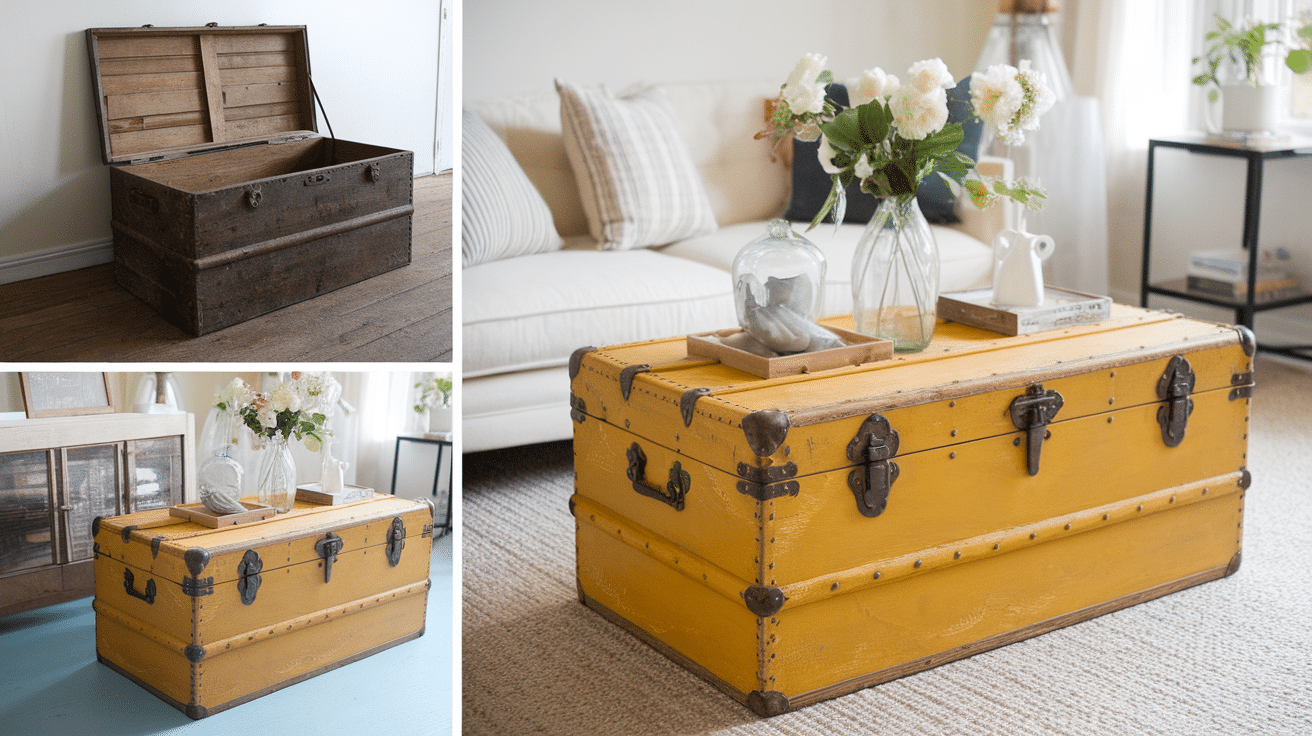
Before: The old trunk is faded, scratched, or has a chipped paint finish, making it look tired and dull.
After:
- Wipe down the trunk to remove dust and dirt.
- Paint the trunk with a bold or neutral chalk paint color of your choice.
- Let the first coat dry completely and apply a second coat.
- Distress the edges if you want a more vintage, rustic look.
- Apply a clear coat of wax to protect the paint.
The trunk will look refreshed and can be used as a stylish, functional storage piece.
8. Chalk Painted Planters
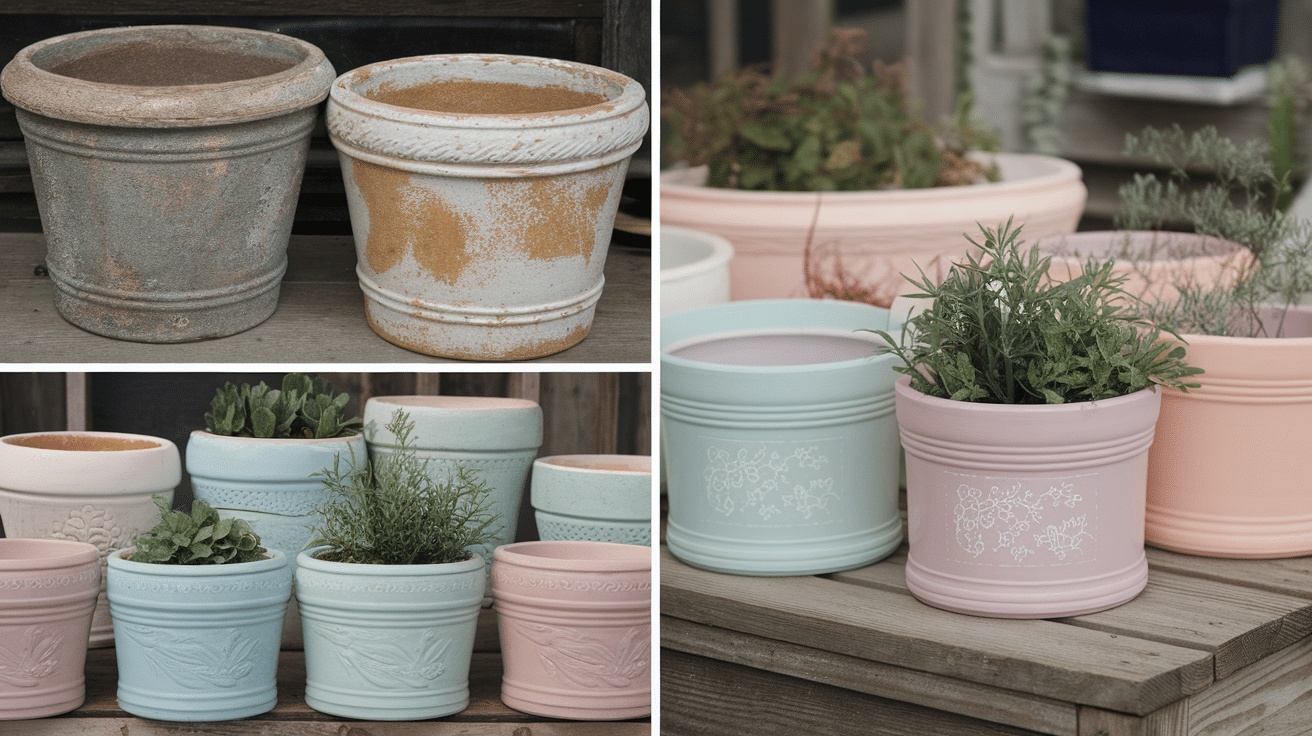
Before: Plain, inexpensive planters that look dull and don’t match your room’s decor.
After:
- Clean the planters to remove any dirt or dust.
- Apply a coat of chalk paint to the outside of the planters. Use a color that complements your room or outdoor space.
- Let the paint dry, and then apply a second coat for full coverage.
- Optionally, use a stencil to add a design or pattern for more visual interest.
- Seal with a light coat of wax or a clear spray sealer for outdoor use.
The planters will look stylish and fit perfectly with your home’s decor.
9. Painted Picture Frames
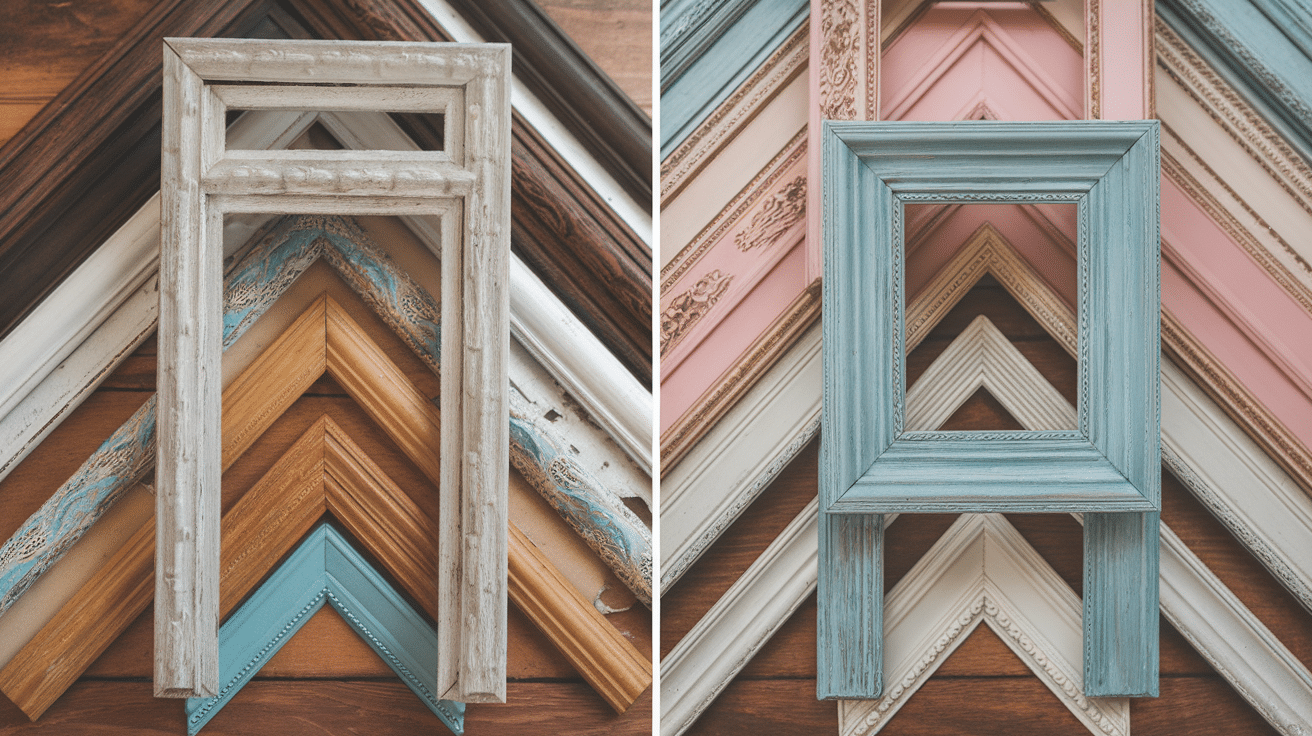
Before: The picture frames are plain and outdated, not adding much character to your home.
After:
- Clean the frames with a damp cloth.
- Apply a coat of chalk paint in a color that fits with your decor.
- Let the paint dry, and apply a second coat if needed.
- Sand the edges lightly for a distressed look.
- Apply wax or polyurethane to seal and protect the paint.
The frames will look chic and modern, making your photos or artwork stand out beautifully.
10. Revamp Your Desk
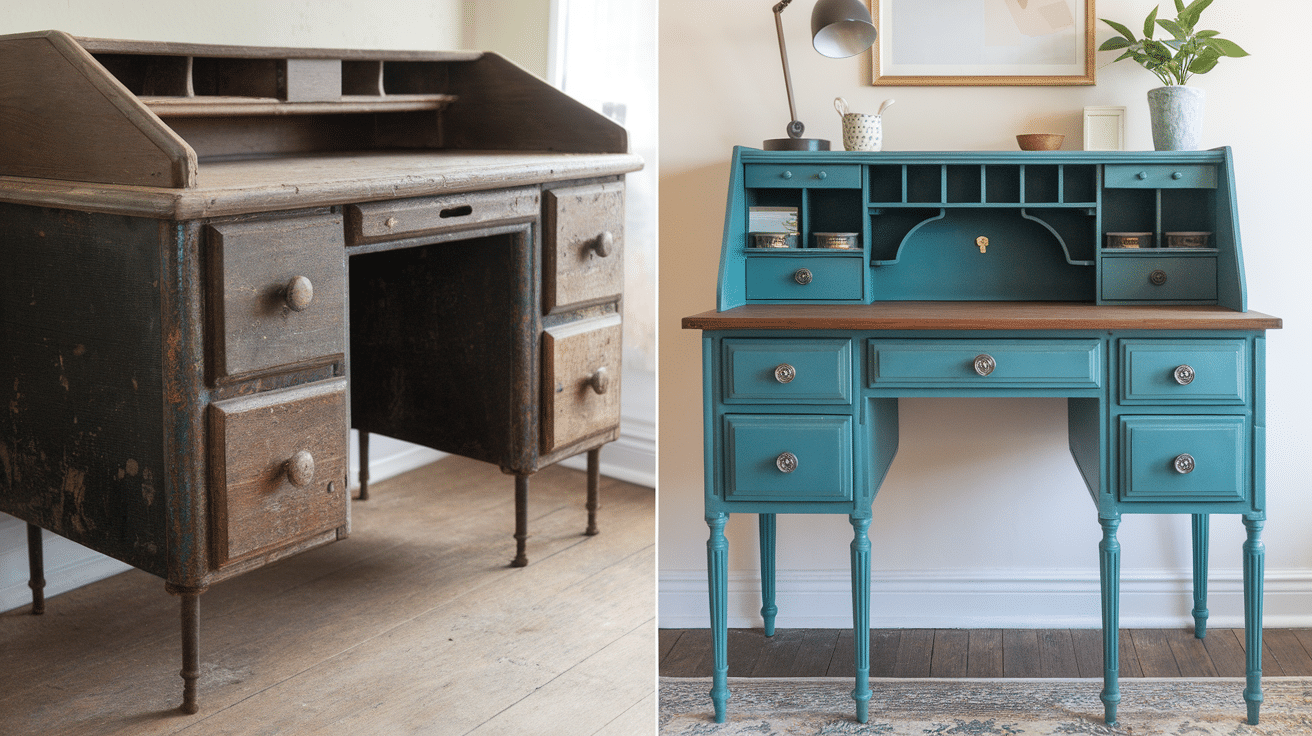
Before: The desk looks dull with chipped paint or a worn-out finish that no longer fits your workspace.
After:
- Clean the desk to remove any dust or dirt.
- Apply chalk paint in a color that suits your office or workspace.
- Let the first coat dry, and apply a second coat if needed.
- Distress the edges to give it a vintage, rustic feel (optional).
- Seal the desk with a wax or polyurethane finish for added durability.
The desk will now have a fresh, new look and feel more welcoming and functional in your workspace.
11. Chalkboard Wall Makeover
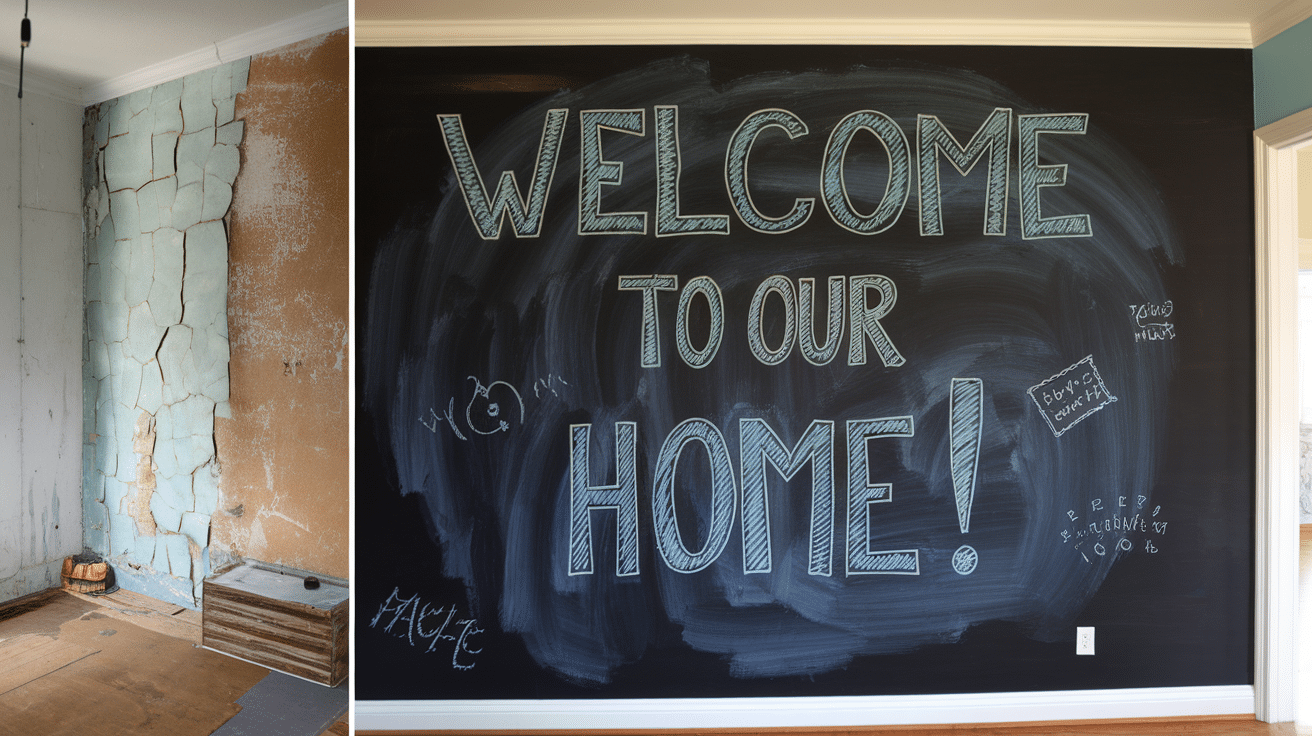
Before: A distressed, boring wall in your kitchen, office, or kids’ room that needs some personality.
After:
- Clean the wall to remove dust or dirt.
- Apply chalkboard paint in two to three coats to turn the wall into a functional chalkboard.
- Wait for each coat to dry completely before adding the next.
- Once dry, season the chalkboard by rubbing a piece of chalk over the entire surface and wiping it off.
Your wall will now serve as a fun, functional space where you can write notes, lists, and doodles.
12. Update an Old Mirror
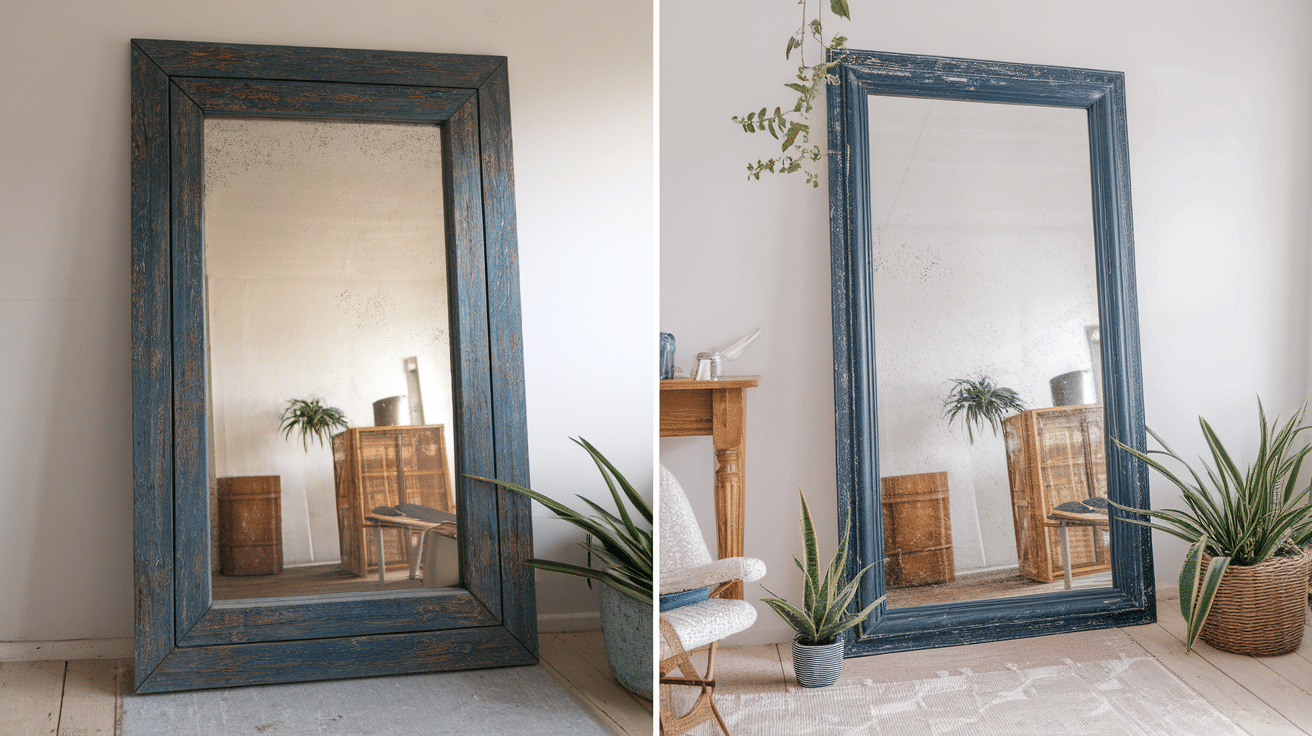
Before: The mirror frame looks outdated, with a dull finish or plain wood that doesn’t match the room’s style.
After:
- Clean the frame to remove dust and dirt.
- Apply a coat of chalk paint in a color that complements the room’s decor.
- Let the paint dry, then apply a second coat if necessary.
- Sand lightly to distress the edges for a more antique look.
- Finish with wax or polyurethane to protect the paint.
Your mirror frame will now be stylish and updated, fitting perfectly with the look of your room.
13. Painted Serving Tray
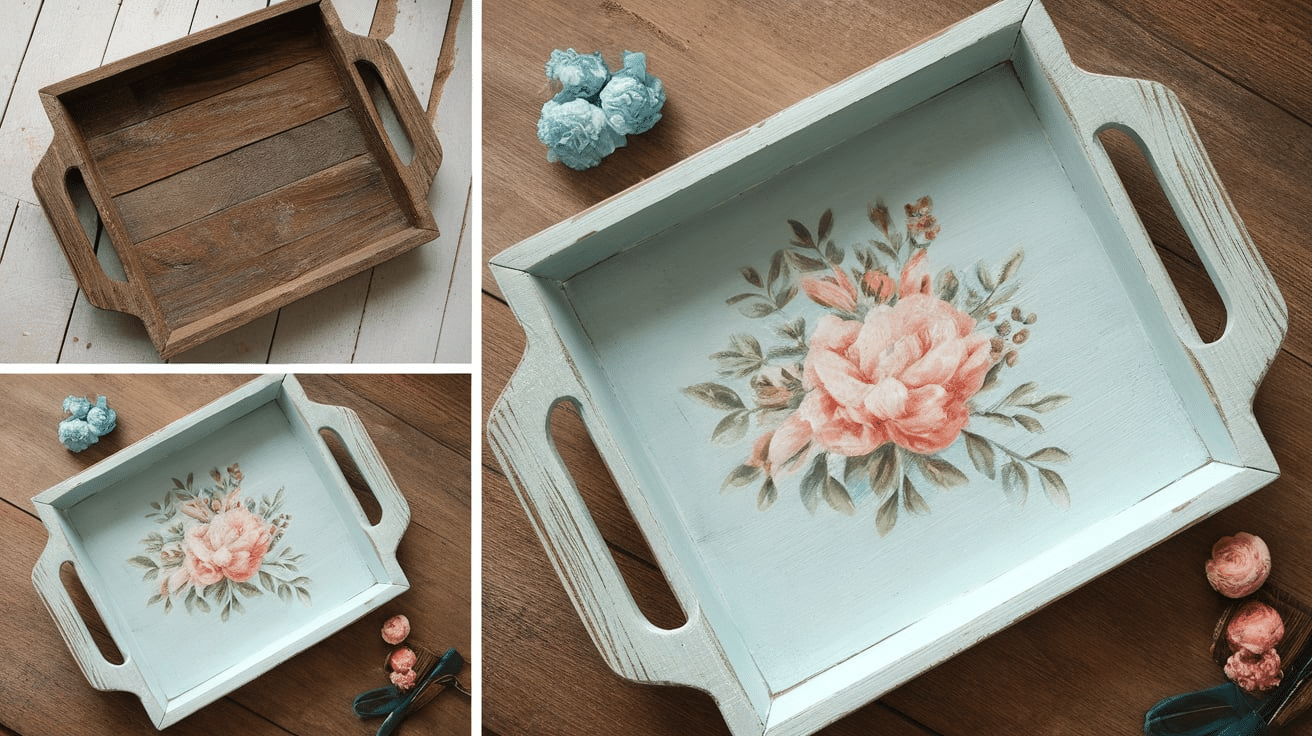
Before: A plain wooden serving tray that looks boring and out of place in your living or dining area.
After:
- Clean the tray thoroughly to remove any dust or dirt.
- Apply a coat of chalk paint that matches your kitchen or living room.
- Once the first coat dries, apply a second coat for full coverage.
- Distress the edges for a worn, vintage look (optional).
- Seal with wax or a clear finish for extra durability.
The tray will now be functional and stylish, perfect for serving or using as a decorative piece.
14. Create a Chalkboard Tray
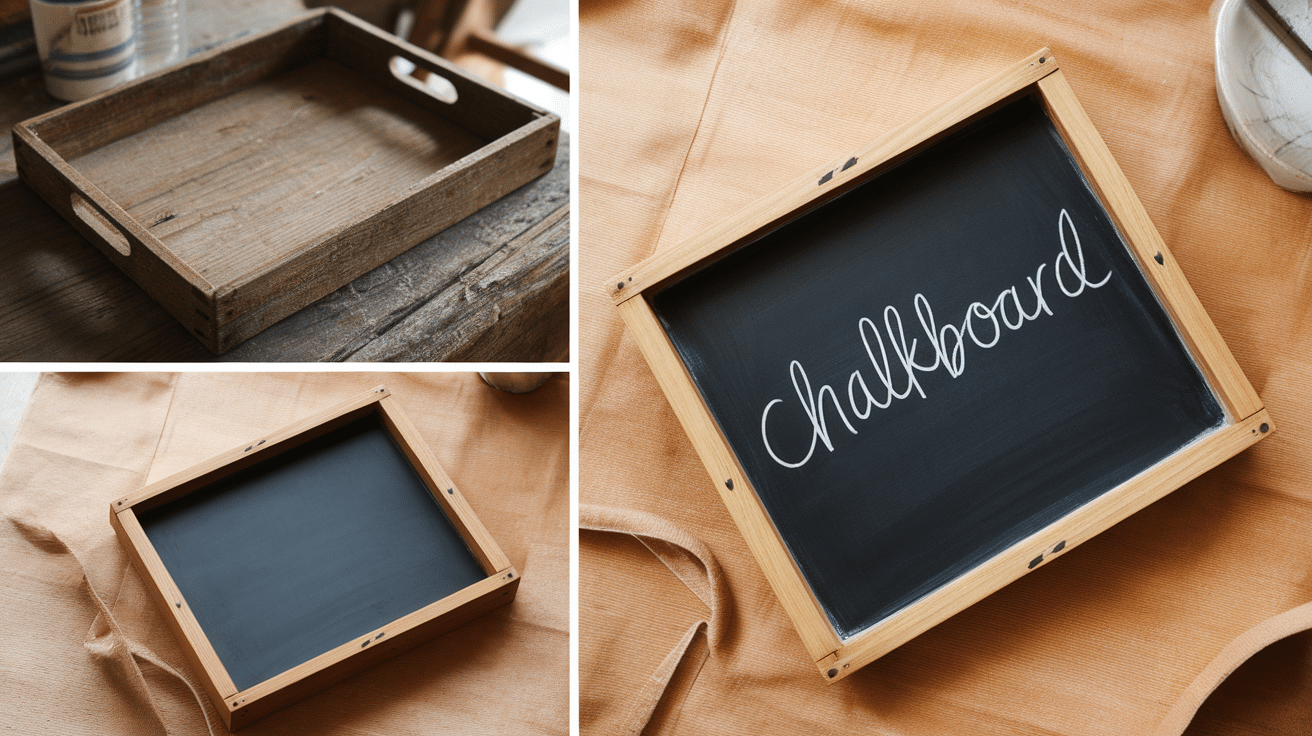
Before: A simple tray you want to transform into a fun, interactive piece.
After:
- Clean the tray to remove any dirt or dust.
- Apply chalkboard paint to the entire surface.
- Let the paint dry for several hours, and apply a second coat if needed.
- Use chalk to write on the tray and add personalized messages or designs.
This easy-to-make chalkboard tray will be both functional and fun in your home.
15. Chalk Paint for Drawers
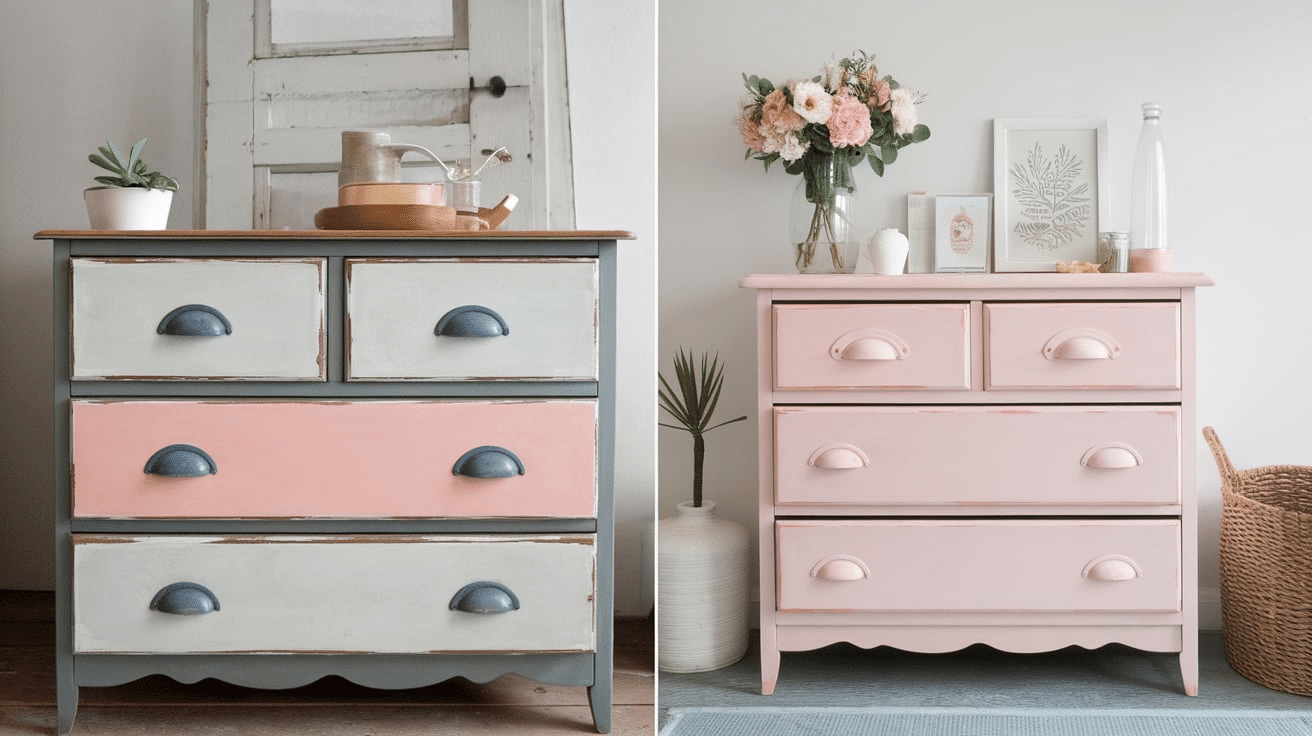
Before: A drawer set that’s old, scuffed, and no longer fits with your room’s decor.
After:
- Clean the drawers to remove dirt and dust.
- Apply a coat of chalk paint to the drawer fronts.
- Let the first coat dry, and apply a second coat if needed.
- Sand the edges for a distressed look (optional).
- Finish with a protective wax or polyurethane for added durability.
Your drawers will now look stylish and fresh, perfect for any room.
Why Use Chalk Paint?
There are several reasons why chalk paint is such a popular choice for furniture makeovers:
Easy to Use
Chalk paint is very easy to apply. It doesn’t require much prep work, and you don’t need to worry about sanding or priming the furniture before painting.
This makes it perfect for beginners or anyone who wants to do a quick and simple project.
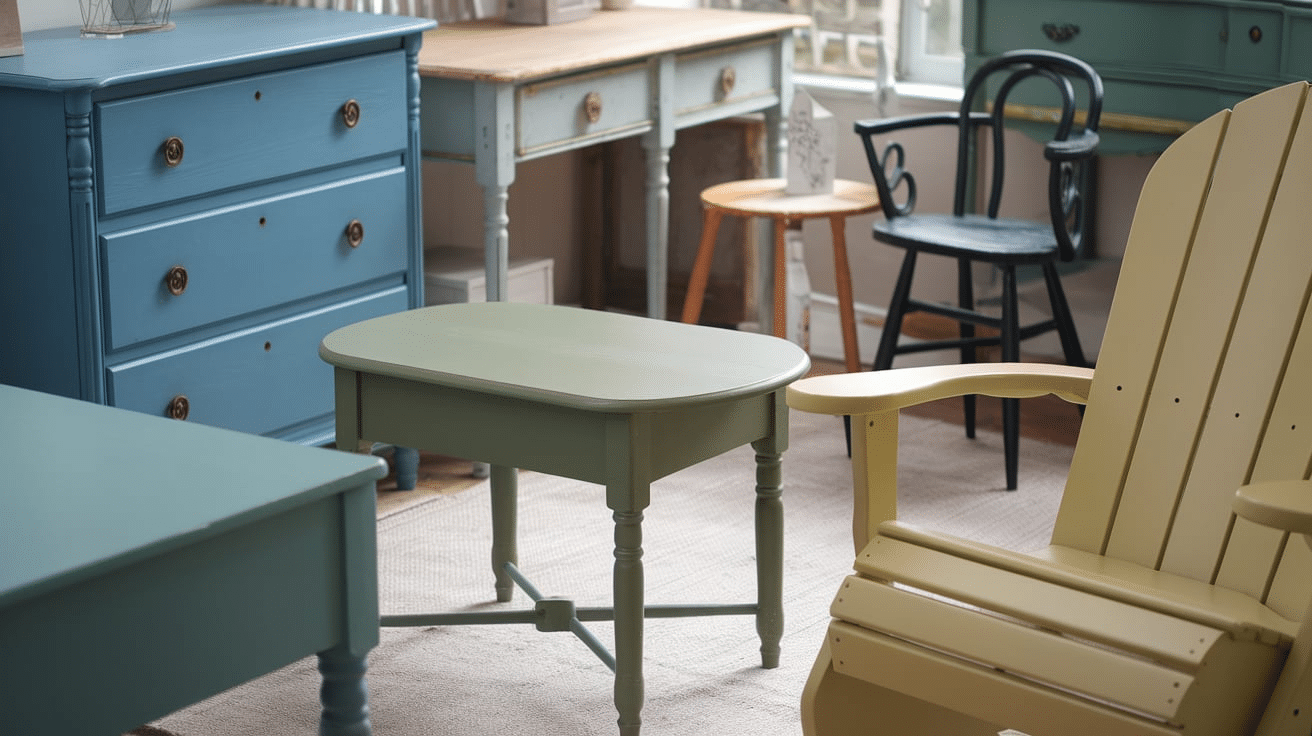
Versatile
You can use chalk paint on many different surfaces, including wood, metal, ceramic, and even fabric.
It works well on a variety of furniture pieces like dressers, chairs, tables, cabinets, and more.
No Stripping or Sanding Required
One of the biggest advantages of chalk paint is that it sticks to most surfaces without sanding or stripping off the old finish. This saves a lot of time and effort.
Creates a Beautiful Matte Finish
The matte, velvety chalk paint finish is ideal for creating a vintage or rustic look. You can also easily distress it to add character and texture.
Quick Drying
Chalk paint dries very quickly, so you can apply multiple coats in one day. This makes it easy to finish your project in a short amount of time.
Durable
After sealing with a wax or polyurethane finish, chalk paint is quite durable and can hold up well against daily wear and tear.
How to Get a Textured Chalk Paint Furniture Finish
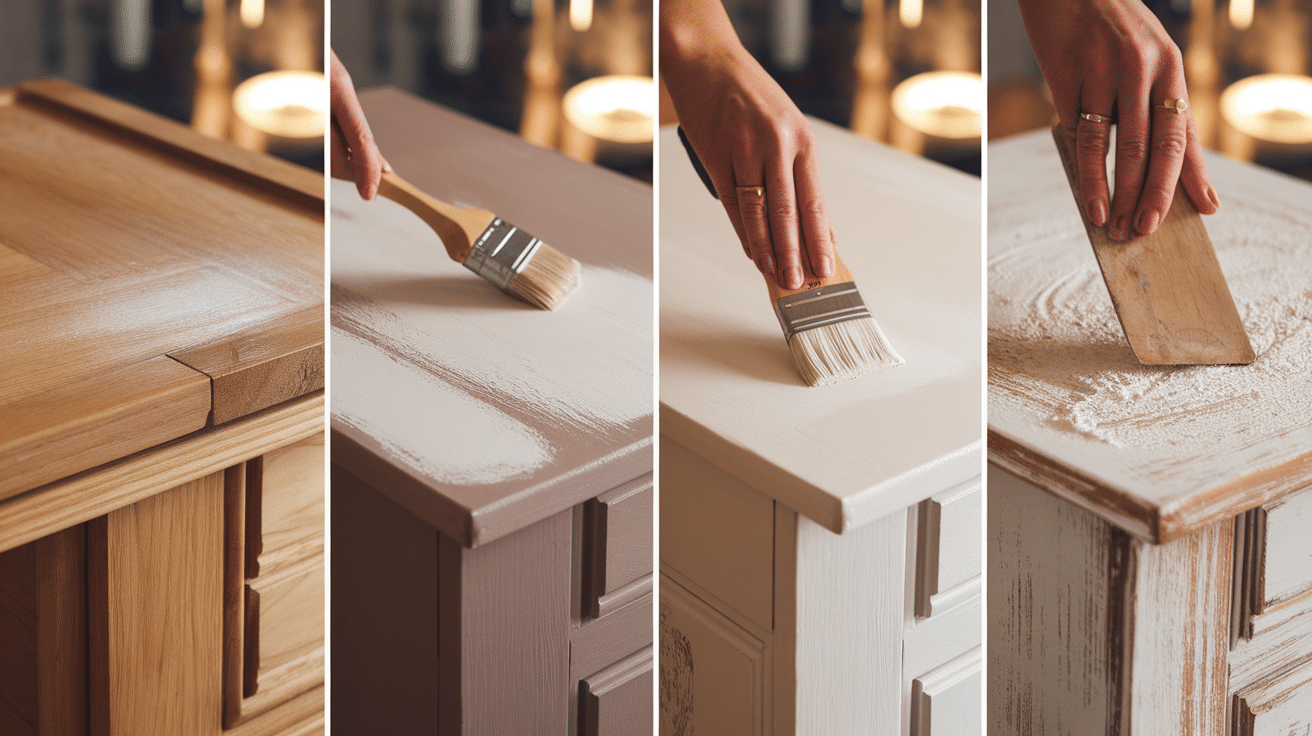
A textured finish with chalk paint can add depth and character to your furniture.
The great thing about chalk paint is that it’s versatile, and you can easily create different textures based on your preferences. Here’s how to achieve a textured look:
Layering Chalk Paint
Apply two or more layers of different-colored chalk paints.
Once the paint is dry, lightly sand the edges or raised areas to reveal the colors beneath. This gives the piece a weathered, rustic feel.
Use a Dry Brushing Technique
Instead of applying chalk paint with a thick brush, use a dry brush technique.
Lightly dip the brush into the paint, then wipe most of it off before applying to the furniture. This will leave a subtle, textured finish with streaks of color.
Texturing with Plaster or Clay
Mix chalk paint with plaster or clay to create a thick, textured finish.
This technique adds a rough, almost stone-like appearance to your furniture, perfect for creating a vintage or farmhouse look.
Sponge Painting
Use a natural sponge to apply chalk paint. Dab the sponge into the paint and lightly press it onto the furniture, creating a soft, bumpy texture.
This method can give the surface a textured finish without sanding.
Distressing for Texture
After applying your final coat of paint, use a sanding block to distress certain areas.
Focus on corners, edges, and places that naturally wear over time. This adds a lot of texture and character to the piece, giving it an aged look.
Choosing the Right Brand of Chalk Paint
Choosing the right chalk paint is important for getting the best results.
Many brands are on the market, but not all are created equally. Here are some top brands to consider and what to look for when choosing the right one for your project:
1. Annie Sloan Chalk Paint
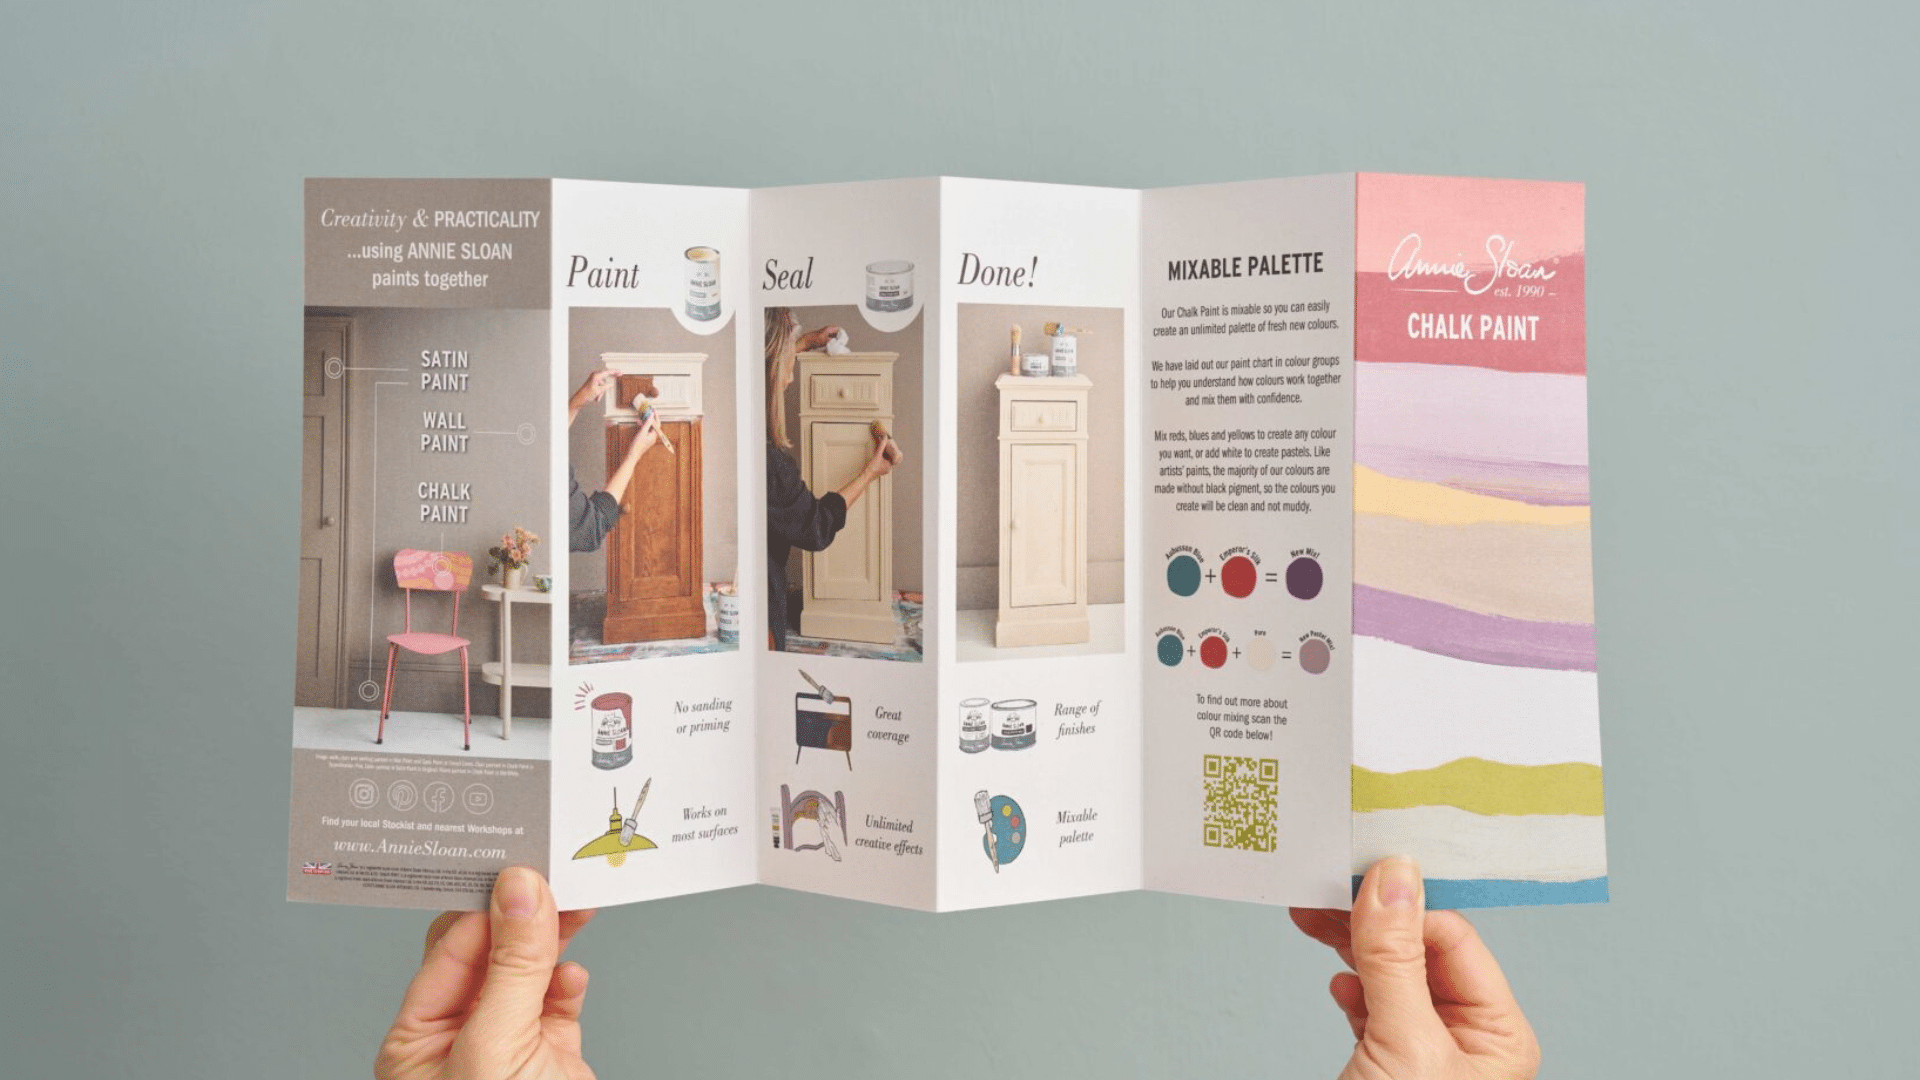
Annie Sloan is the original chalk paint brand and one of the most popular options. It is known for its smooth finish, ease of use, and wide color selection.
Annie Sloan chalk paint can be applied directly to almost any surface without priming.
2. Rust-Oleum Chalked Paint
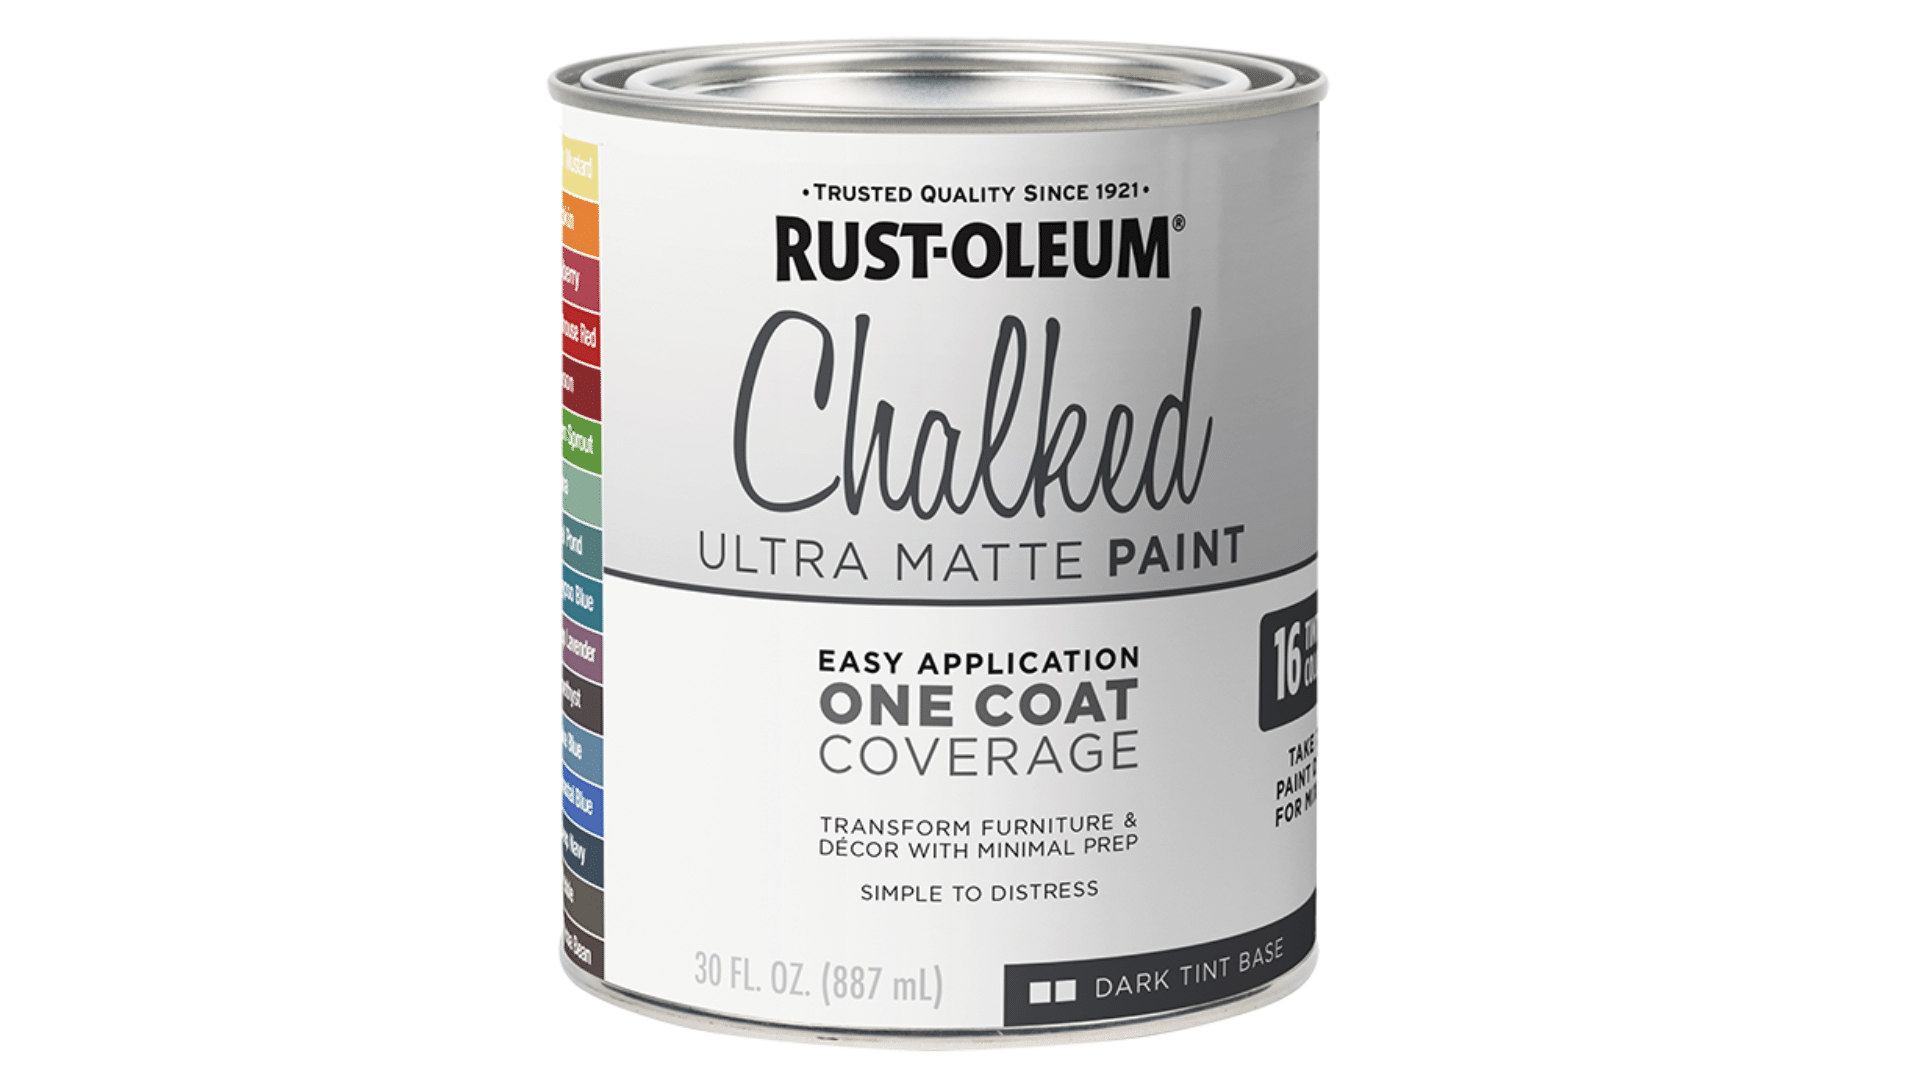
This is an affordable option for those just starting with DIY chalk paint projects.
Rust-Oleum chalked paint is easy to use, has great coverage, and is available at most home improvement stores.
3. FolkArt Home Décor Chalk Paint
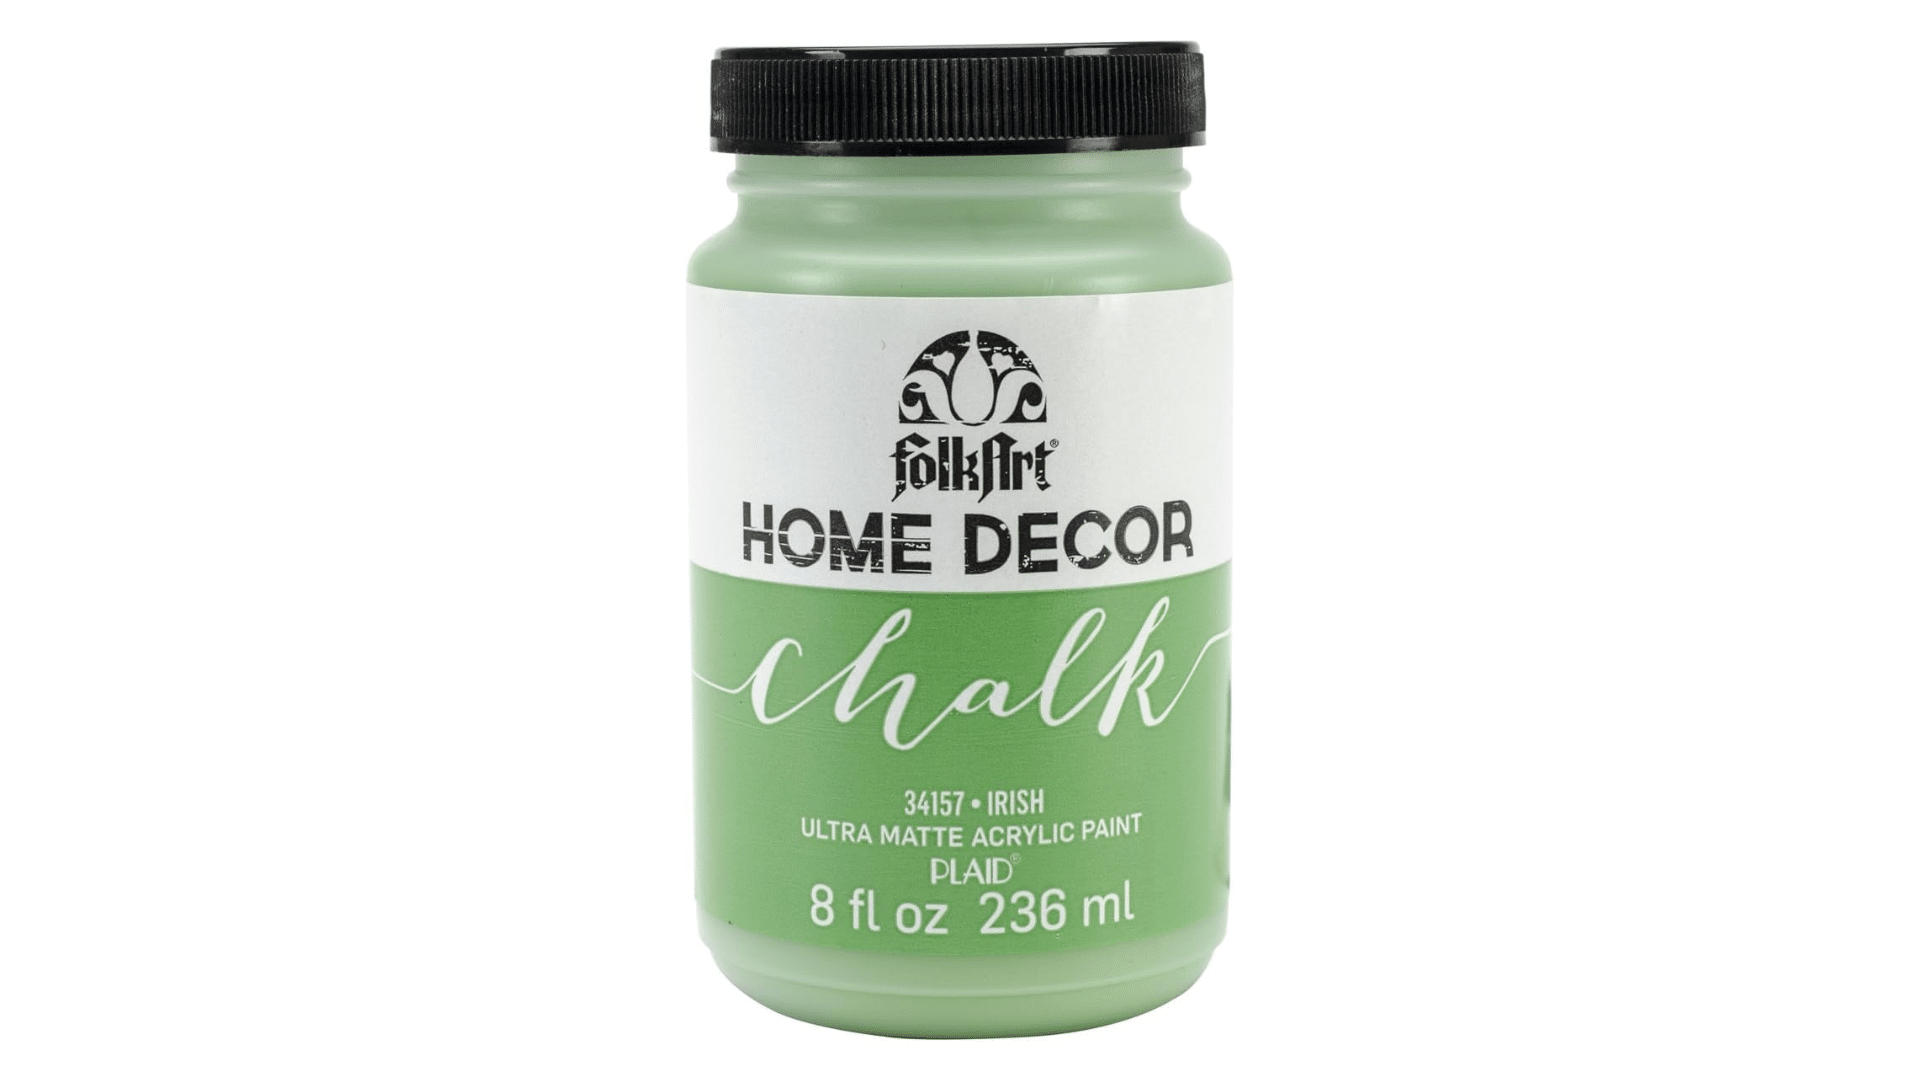
FolkArt offers a smooth, high-quality finish that’s perfect for furniture makeovers. This brand is known for its versatility, excellent coverage, and large color range.
4. Behr Chalk Decorative Paint
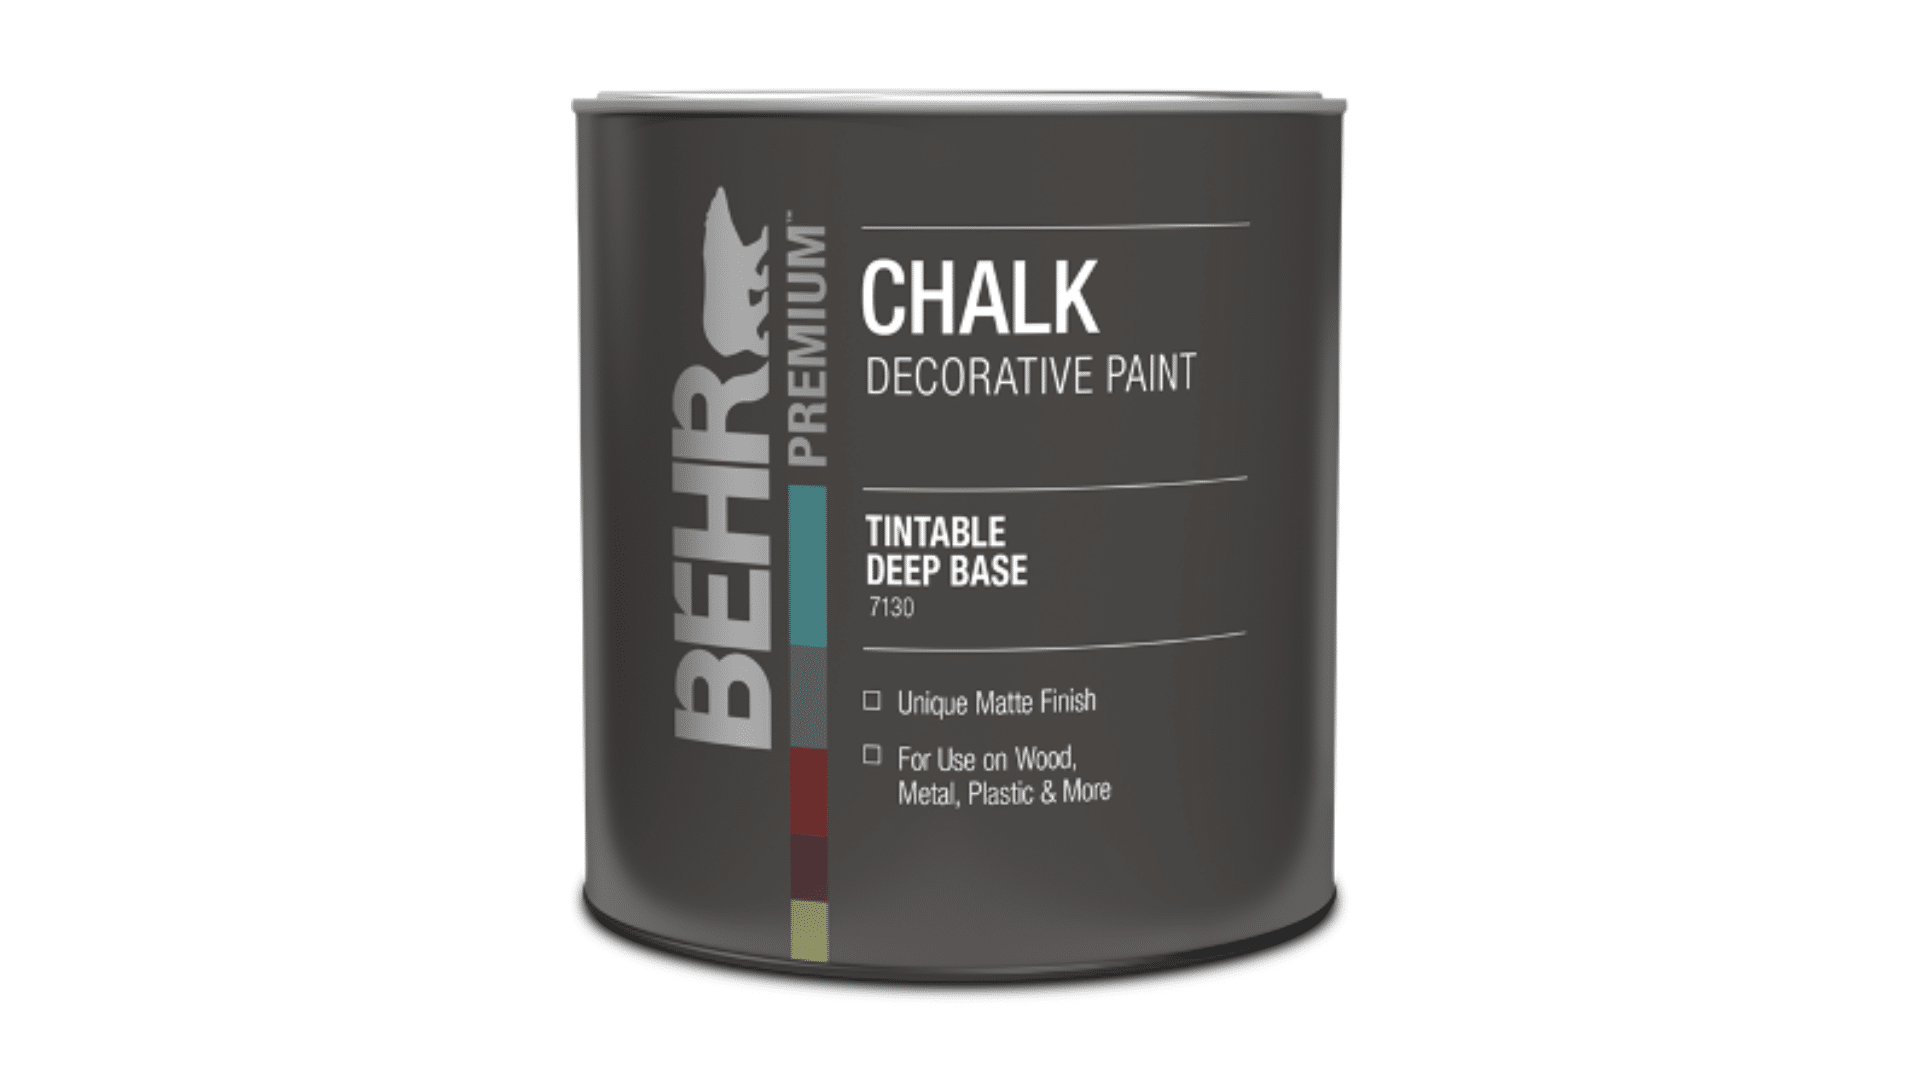
Behr chalk paint is a great option for beginners.
It’s affordable and has a durable finish, though it may require a bit more effort to achieve a smooth finish compared to other brands.
When choosing the right brand, consider:
- Finish: Some chalk paints give a matte finish, while others may have a more satin or glossy texture. Choose based on the look you want for your piece.
- Color Selection: Many brands offer various colors, so consider what shades work best for your project.
- Ease of Use: Some chalk paints are thinner and easier to work with, while others may be thicker and require more effort to smooth out. Try different brands to find one that works best for you.
More Chalk Paint Furniture Techniques
Chalk paint isn’t just for creating a flat, solid color finish. You can use many techniques to create stunning furniture pieces. Here are a few more techniques to try:
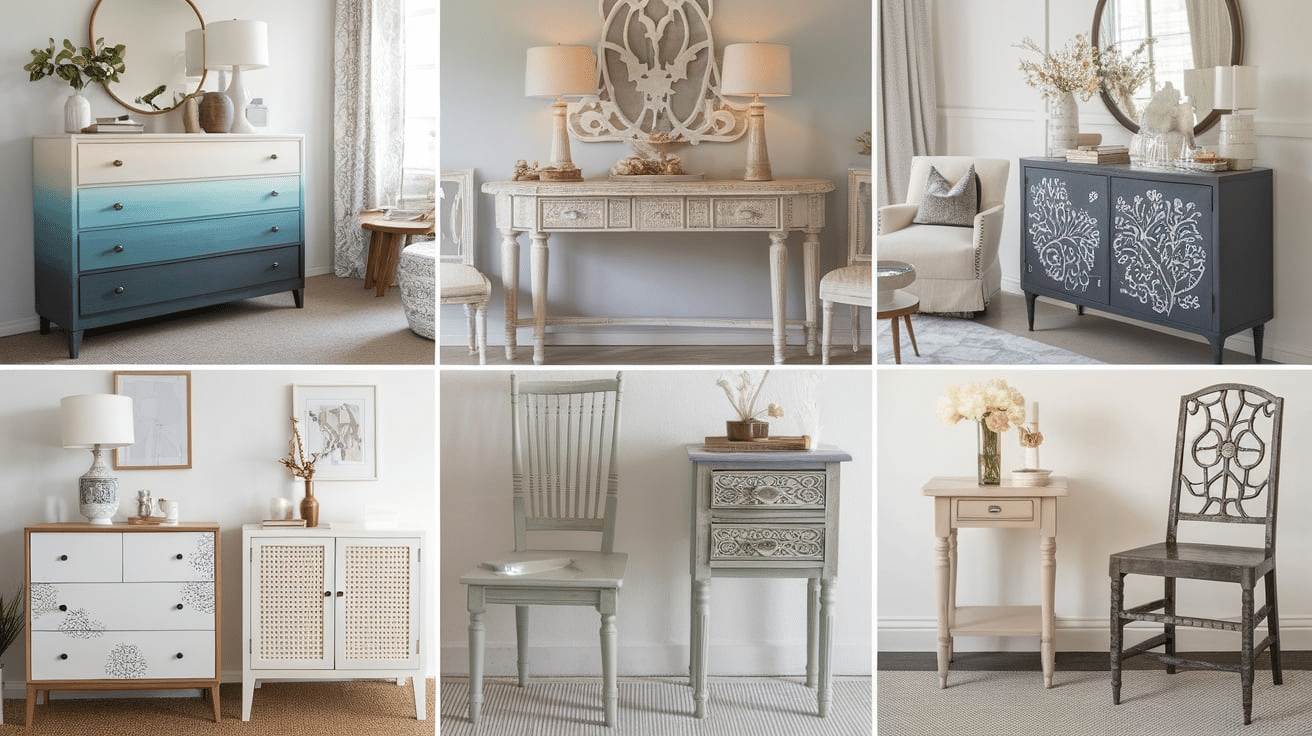
Ombre Effect
For a stylish ombre effect, blend two or more chalk paint colors from light to dark.
You can achieve this by applying a base color and gradually adding darker shades toward the bottom or edges, blending the colors together.
Stencil Designs
Adding stencils to your furniture is an easy way to add personality and design.
Use a stencil to create patterns, designs, or quotes on the front of a drawer or across the top of a table. After stenciling the design, you can lightly distress the piece to make it look aged.
Decoupage
For a creative touch, use a decoupage on furniture.
After painting your furniture with chalk paint, add decoupage paper to areas of the piece, such as the drawer fronts or tabletop.
Use a sealer to protect the paper and add a unique texture and look to your furniture.
Wax and Paint Combo
A wax finish is common for chalk paint, but you can mix the paint and wax to create an even more distressed look.
Apply the wax directly over the paint while it’s still wet, and use a cloth to rub it into the paint, giving your piece a shiny, textured finish.
Crackling Effect
If you want to add even more texture and age to your piece, you can use a crackle medium.
Apply a layer of paint, followed by the crackling medium, and then a second coat of chalk paint.
The crackling effect will create a textured, weathered look that gives the furniture a rustic charm.
Maintaining Your Painted Furniture
After putting in the work to paint your furniture with chalk paint, it’s important to maintain it so it stays looking fresh for years to come. Here’s how to care for your painted furniture:
1. Clean Gently
Use a soft cloth and a gentle cleaning solution to wipe down your painted furniture.
Avoid harsh chemicals, as they can damage the finish. A mixture of mild dish soap and warm water works well for most surfaces.
2. Avoid Moisture
While chalk paint is durable, it’s important to keep painted furniture away from excessive moisture. Wipe up spills immediately to prevent stains or damage.
3. Reapply Wax
Over time, the wax finish may wear off, especially on high-traffic pieces.
Reapply wax every 6 to 12 months to keep your furniture protected. Simply buff the wax into the paint and let it set.
4. Touch-Up Scratches
If your painted furniture gets scratched, you can easily touch up the damaged area with a small amount of chalk paint.
Apply a thin layer, let it dry, and then reapply the wax to match the surrounding finish.
5. Protect from Sunlight
Excessive sun exposure can cause chalk-painted furniture to fade over time. Keep furniture away from direct sunlight or use window treatments to block the sun’s rays.
Chalk Paint Tips and Tricks
1. Use a Good Brush
For the smoothest finish, invest in a quality brush.
Synthetic brushes are great for smooth application, while natural bristle brushes are perfect for a more textured finish.
2. Test Before Painting
Always test your chalk paint on a small, hidden area of the furniture before starting. This ensures that the paint adheres properly and that you like the color.
3. Don’t Rush Drying Time
Even though chalk paint dries quickly, be sure to allow enough drying time between coats. This will help prevent streaking and give you a smooth finish.
4. Use Painter’s Tape for Clean Edges
Use painter’s tape to ensure a clean, straight line if you’re painting along the edges. This is especially helpful for areas like trim or around hardware.
5. Don’t Overload the Brush
Apply the paint in thin coats to avoid drips and uneven coverage. It’s better to apply several thin coats than one thick coat.
6. Mix Paint for Custom Colors
Chalk paint is easy to mix. If you want a custom color, try mixing different paint shades to create your unique hue.
Conclusion
Chalk paint is a fantastic option for updating and transforming furniture, offering endless possibilities for creative makeovers.
From textured finishes to great techniques, chalk paint allows you to customize your furniture to suit your style.
Choosing the right brand and using the proper maintenance techniques will ensure your projects last for years.
With some practice and patience, chalk painting can be a fun and rewarding way to refresh old pieces and make your home feel brand new.
Chalk paint offers endless creativity and opportunities for personal expression in your furniture projects.
Frequently Asked Questions
How do I get a textured finish with chalk paint?
Use techniques like dry brushing, layering, or adding plaster to create a textured, rustic finish.
Can chalk paint be used on furniture?
Yes, chalk paint works great on furniture, giving it a fresh, updated look with minimal preparation.
What is the best brand of chalk paint?
Popular chalk paint brands include Annie Sloan, Rust-Oleum, and FolkArt, all known for their quality and smooth finishes.
Do I need to sand furniture before applying chalk paint?
No, chalk paint typically doesn’t require sanding, but cleaning the surface is important for the best results.
How long does chalk paint take to dry?
Chalk paint usually dries in about 30 minutes to 1 hour, but it’s best to let it dry fully before applying another coat.