Board and Batten Around Windows: A Complete Guide
Ever look at your windows and feel like something’s missing on the wall? I felt the same way until I found how board and batten around windows could totally upgrade my space.
It added structure, beauty, and just the right amount of style, without a big budget or renovation.
In this post, I’ll show you how to plan your layout, install board and batten like a pro, and get a custom look with just a few tools.
You’ll find tips for spacing, working around window frames, and finishing touches that make it all look polished.
Curious how you can upgrade your room in a weekend? Let’s dive into the easiest makeover that adds instant charm.
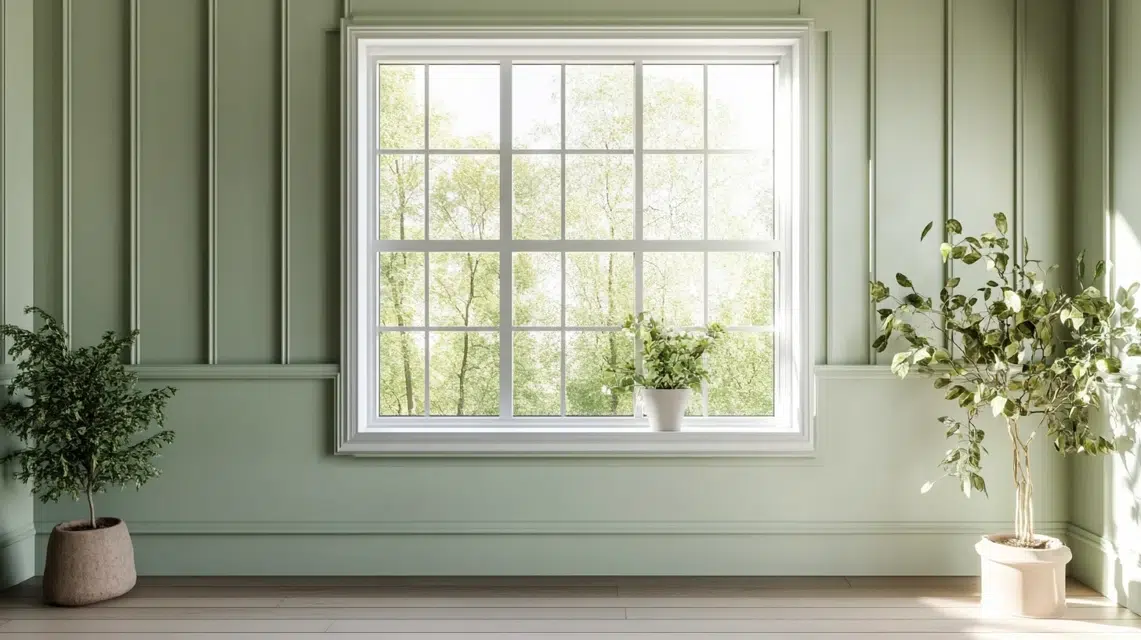
Why Board and Batten Works Well Around Windows
Board and batten is a simple way to make plain walls look better. Around windows, it adds lines and shape without taking over.
It works in small rooms and gives walls a nice, finished feel. You don’t need much to try it, and it makes a big difference.
It Looks Good and Works in Any Room
Board and batten add lines that pull your eyes up. This makes small rooms feel taller and more open. Around windows, it frames the space neatly.
It works in bedrooms, offices, and living rooms. It’s clean and straightforward, and it fits with different furniture and colors without looking out of place.
It’s Easy and Worth Doing Yourself
You only need basic tools, wood strips, and paint. This simple project can be finished in a weekend. Even renters can try it with sticky strips.
It helps plain rooms feel more put together. If your space feels boring, this might be the easy fix you didn’t know you needed.
Tools and Materials Checklist
Before you begin your project, make sure you have all the right tools and materials. This checklist helps you stay organized and ready for a smooth installation process.
- Measuring tape
- Pencil
- Level
- Painter’s tape
- Miter saw or hand saw
- Nail gun or hammer and finish nails
- Caulking gun
- Putty knife
- Handheld sander or sanding block
- Paintbrush and roller, or paint sprayer
- Damp cloth or tack cloth (for cleaning dust)
- Squeegee tool (for smoothing caulk)
- Wood trim/molding (commonly ½” thick x 2.5″ wide)
- Construction adhesive
- Spackling compound (for filling nail holes and dents)
- Paintable caulk (for seams and corners)
- Primer (optional, based on paint type and surface)
- Interior paint (satin or semi-gloss for durability)
- Wood filler (for knots or imperfections)
- Baseboard and top rail trim (if not already installed)
Step-by-Step Board and Batten Installation Around a Window
Upgrade your walls with this beginner-friendly board and batten tutorial. Follow these clear steps, from measuring and prep to cutting, spacing, and installing, for a polished, professional-looking feature wall.
Step 1: Choose and Cut Your Moldings
Start by selecting the molding size that fits your design; commonly, ½-inch thick and 2.5-inch-wide boards work well for board and batten.
Measure your wall to determine the number of boards you’ll need, then cut the molding pieces to size using a saw. If your wall is long and requires joining two boards, cut the ends at a 45° angle to create a clean, professional splice.
Step 2: Prep the Walls
Prepare the wall surface by removing any nails, hooks, or old hardware. Use a handheld sander to smooth out any rough drywall areas. Then, apply spackling compound to fill holes or imperfections and let it dry.
Once dry, sand again to ensure a flat surface. Clean off all dust and debris so the adhesive and paint can adhere properly. This prep work ensures the final finish looks smooth and polished.
Step 3: Mark the Top Batten Height
Decide how tall you want your board and batten feature to be. For a dramatic effect, you might place the top rail 72 inches above the floor.
Use a measuring tape and a level to draw a straight horizontal line across the entire wall or room. This top guideline will serve as your anchor point for all other battens and rails, so accuracy is key to achieving a symmetrical and even look.
Step 4: Calculate Spacing Between Vertical Battens
Measure the total length of your wall and subtract the combined width of your planned battens to determine how much space remains. Divide this remainder by the number of gaps you want between battens.
You can adjust the number of battens until the spacing looks visually pleasing. Use painter’s tape or pencil lines to map out placement before attaching anything; this makes it easy to correct and ensures even spacing.
Step 5: Install Top and Bottom Rails
Once your spacing is marked, begin with the top and bottom horizontal moldings. Apply construction adhesive to the back of each piece, then press it against the wall along your guideline.
Use a level to ensure it’s perfectly straight. Nail the rail in place with a nail gun. Repeat for the bottom molding near the baseboard. These rails frame the design and should be securely attached before adding vertical battens.
Want to see each step come to life? Watch the full step-by-step installation in this video tutorial for a clear visual walkthrough.
Polishing and Painting for a Seamless Finish
Refine your board and batten project with caulking, sanding, and painting. These final touches unify the design and create a clean, professional look that complements trim and baseboards beautifully.
Caulking, Sanding, and Painting

After installing the boards, fill in nail holes with wood filler and let it dry. Sand the area to make it smooth.
Apply caulk where the boards meet the wall to hide gaps and create a seamless look. Use your finger to smooth the caulk.
Paint everything the same color, walls and boards, to bring it all together. Use a brush for corners and a roller for large flat areas.
Matching with Trim or Baseboards
Once your wall is painted, check how it looks with your trim and baseboards. You can keep everything the same color for a smooth, connected look.
Or, use a different color for the trim to make it pop. Some people go for contrast to highlight the design. Others keep it flush and simple. Pick what matches your room and feels right for your space and style.
Tips for Different Rooms
Not all spaces are the same. These room-by-room tips help you adapt your board and batten design to suit bedrooms, hallways, bathrooms, or any space in your home.
Bedroom Inspiration
Board and batten can help your bedroom feel calm and cozy. Try using soft colors like light gray, blue, or beige to keep things peaceful.
You can install the boards halfway up the wall and paint the top half a lighter shade. This adds style without making the room feel crowded.
It works great behind your bed or on the wall across from the door to make a nice first impression.
Office/Workspace Tips
In a home office, board and batten make the space feel more organized and focused. For a serious look, go with darker tones like navy, deep green, or charcoal.
You can add shelves between the battens for storage or display. Keeping the lines clean and the spacing even helps the room look sharp. It’s a great way to build a backdrop for your desk without adding distractions.
Small Room Considerations
In small rooms, vertical battens can make the space feel taller. Use thinner boards and lighter paint colors to keep things from feeling heavy.
Avoid too many extra design pieces; keep it simple. Placing the battens higher on the wall also pulls the eyes upward. This helps the room feel larger and more open, without needing extra space or furniture. Less is more in a small space.
Common Mistakes to Avoid
Even simple projects can go off track. The right tips can avoid common mistakes, like poor measurements or skipping prep work, saving you time, money, and frustration later.
- Always measure twice. A short board leaves gaps that are hard to fix. It’s better to cut longer and trim than to cut too short.
- Crooked boards are easy to see once painted. Use a level and check spacing as you go.
- Step back often to catch mistakes early.
- Outlets can block your layout. Plan and shift boards if needed.
- Don’t let a batter run straight into an outlet.
Wrapping Up
You’ve just seen how easy it is to create a custom look using board and batten around windows. With a few simple tools and some planning, your walls can go from basic to beautiful.
I hope this guide gives you the confidence to tackle the project and add charm to your space. The upgrade is significant, but the effort is small.
Just remember, measure carefully, take your time, and don’t skip the prep!
Want more easy DIYs to elevate your home without overspending? Check out my other beginner-friendly makeover posts to keep the creativity going.


