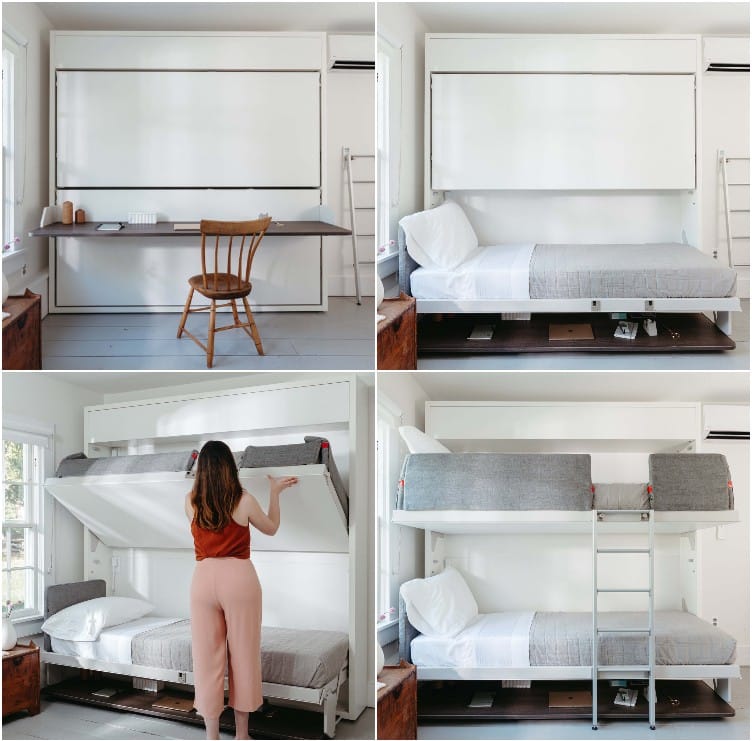
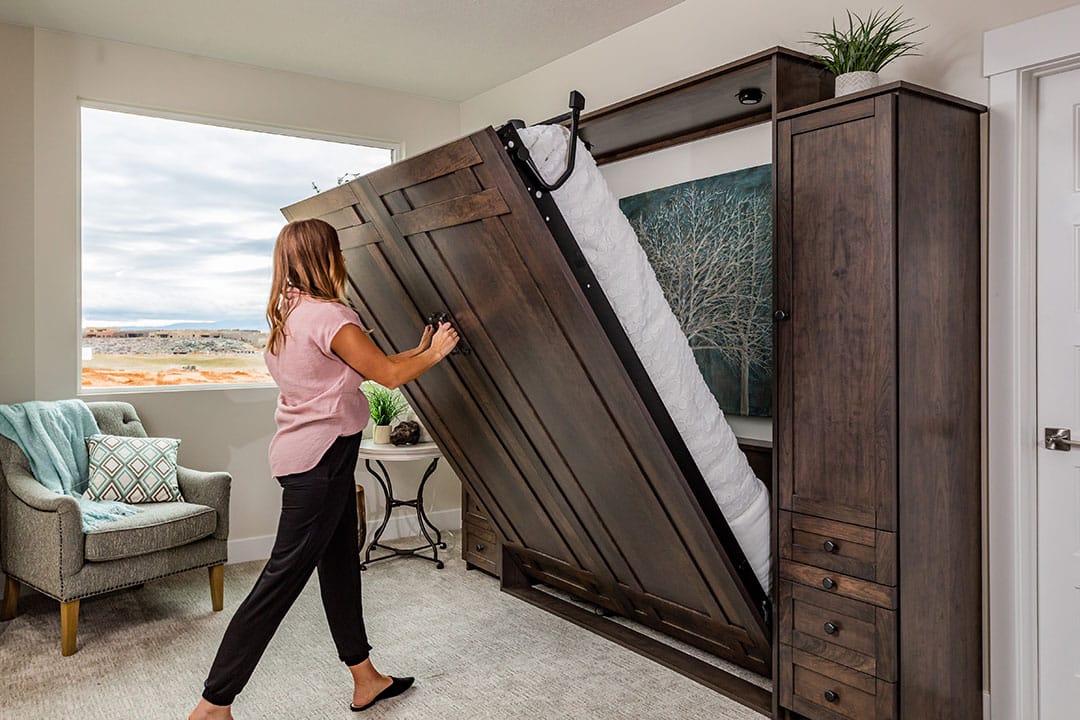
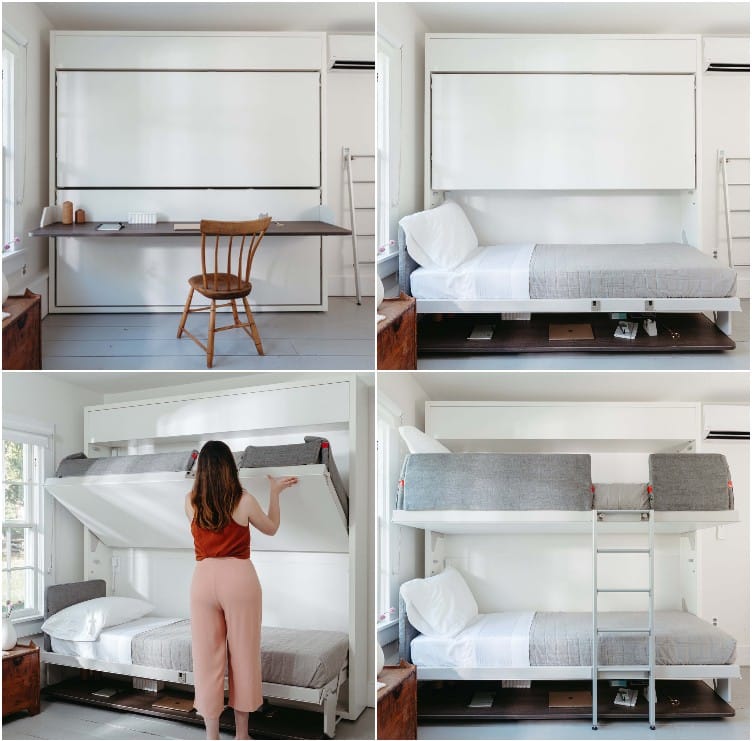
Are There DIY Options for a Murphy Bed Desk Combo?
If we caught you thinking about creating space in your home, then do not worry; we are here with a solution. Murphy bed desk combo is the solution to your problems. Generally, people call carpenters to fix these. However, it’s not a difficult task to do. We would really encourage you to try your hands in fixing this.
Before we tell you how you can do this, here are a few things you would require to make a Murphy bed desk combo are cutter, drill, metric tape, nailer, miter saw, handsaw, and, not to forget, some wood. Choosing wood can be a task, so ensure that you have good knowledge about the types of wood or get help from a carpenter.
Having said that, let’s talk about the process now! Remember, you might need strength in a few steps.
1. Rectangular Plywood
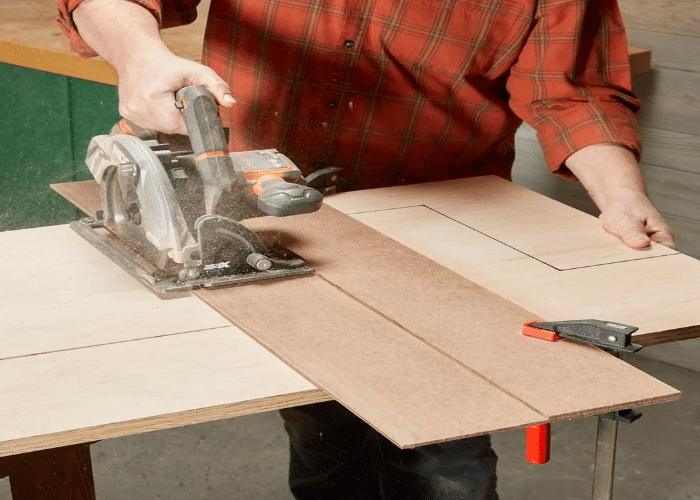
There are some hardware kits available in the market that can make this DIY a cakewalk! If not the kit, you can buy these individually as well.
You will have to work with a lot of rectangular plywood in this step. You need to mark the cutting lines on these woods, so start with drawing the lines and end with cutting through them using a circular saw. For the perfect finish, you need to sand the edges.
2. Drill Holes
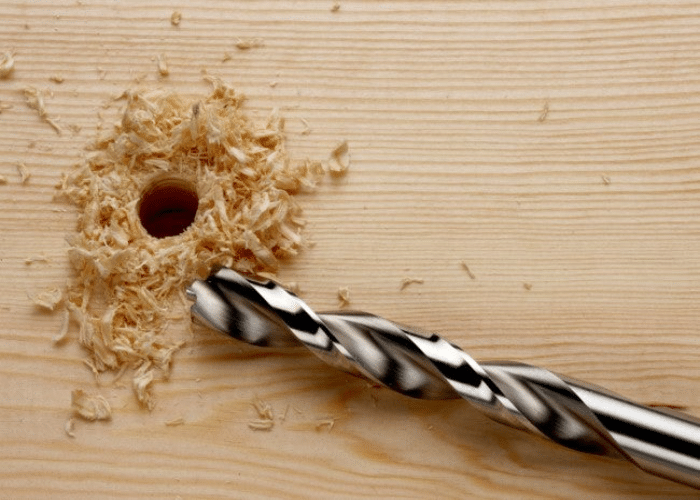
This is the most important step because you cannot afford to go wrong with the drilling. In case you do, it will be troublesome when you bring the desk and bed together. Your Murphy bed desk combo needs full attention here now!
Use a measuring tape and mark the holes from where you will attach the desk and bed. Now it’s time to drill and secure the fittings with screws.
If you are allergic to dust, then make sure you mask up!
3. Face Frame
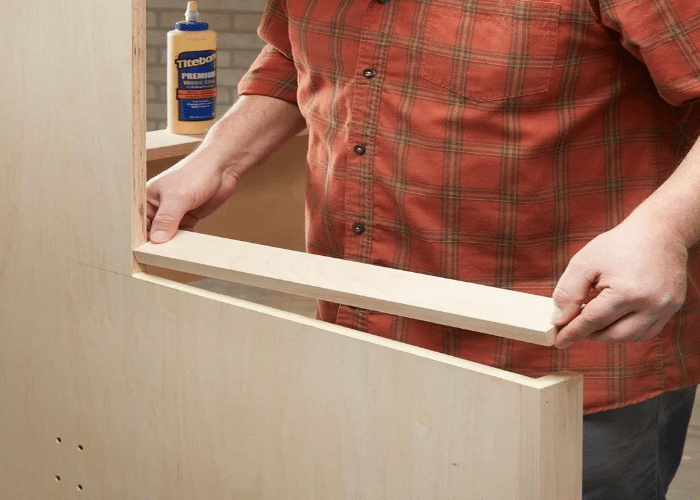
The edge in the front of the carcass is wider, and it is difficult to hide with hardware. You must apply a separate edging that measures accordingly and paste it using glue. When the glue is dry, sand the edges, and you are done with this step!
The edging flush is incomplete without the finish of your choice!
4. Time to Assemble!
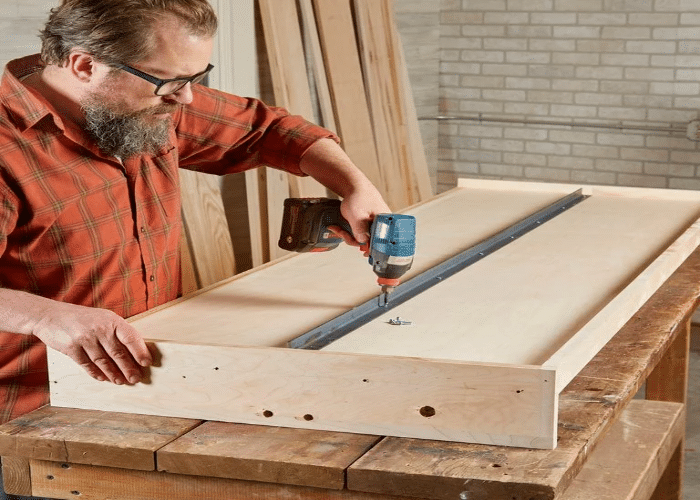
You had earlier done the drilling step, and now it’s time to bring all of them together. Simply use screws to secure them tightly. Once you place the screw, you are supposed to flip every part of the Murphy bed desk combo and attach the iron desk stiffener.
Meanwhile, mark the wall where you want to place the Murphy bed desk combo. Prepare the wall beforehand by pre-drilling for the wall support.
5. Install the Hardware
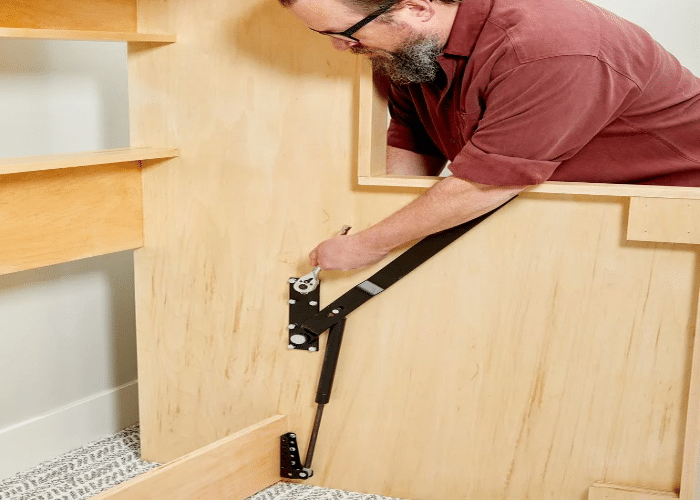
You must attach the pivot link to help transform the desk into the bed. Pivot links are basically those through which the sides of the bed will slide, and they will help you lift the bed without much effort!
Add the pivot to the desk ends with rods and screws. Do not forget to attach a pivot or hydraulic to the sides of the bed. Once you’re done, lock the pivot with locking pins.
6. Bring the Combo Together
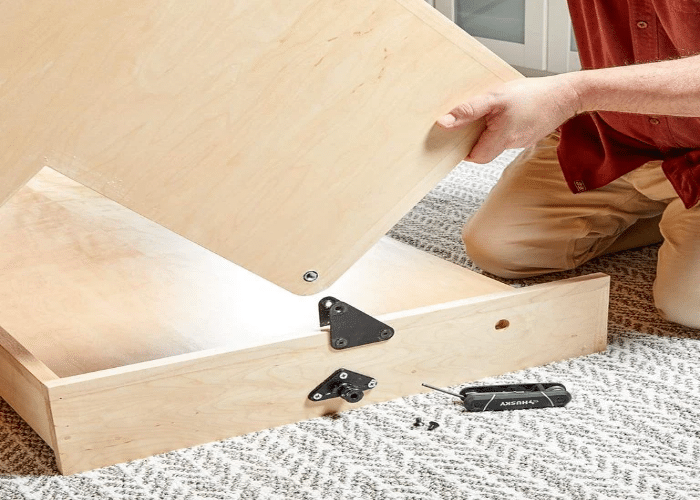
Keep both the parts, the desk and the bed, at the same level and, with somebody’s help, slide the bed into the pivot link of the desk. Decide on the look you want and remember the carcass we created; attach either your desk or bed to it.
You do have work with screwdrivers here. Secure all the pins and nails tightly, and you’re almost there.
7. Personalize and Paint!

To give it a more DIY effect, you might want to add molding and shapes towards the edges where your murphy bed desk combo meets the wall. Besides this, painting it your color can add to its beauty!
8. Place Your Mattress
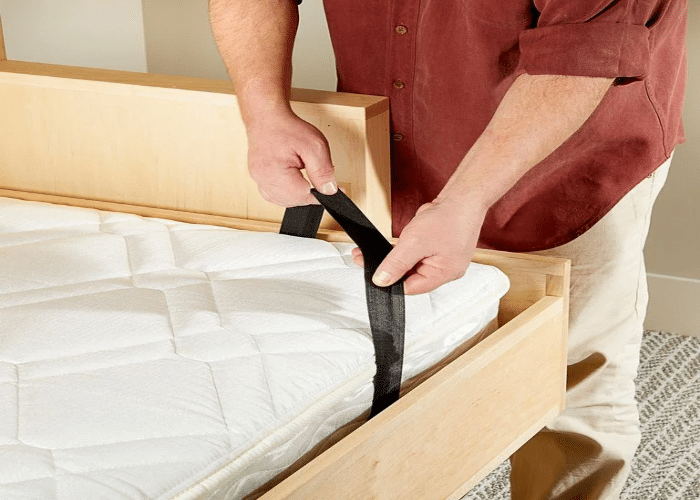
Keep your mattress for a Murphy bed desk combo, and make sure that you attach the mattress to the bed using an elastic rope because you obviously do not want your mattress to fall while you pivot the bed. You can use wood screws to fix the elastic straps.
Remember, if you want to attach cabinets along with the Murphy bed desk combo, you must start with fixing the bed, then the cabinets, and lastly, the desk. The most important thing is to be extremely careful with the measurements because you definitely don’t wish to start from scratch.
DIY Your Murphy Combo
Even though it might seem complicated, the images provided for reference will take you a long way. A few tips for your safety would be to ensure that you have proper transparent glasses on and somebody who can lift heavy objects. A DIY Murphy bed desk combo can cost you much less than buying it from any store.
Whereas when you buy raw materials like plywood, paint, screwdrivers, pivots, and hydraulic, it will be super inexpensive. You must try it out yourself, and as we mentioned earlier, there are kits available in the market that make your work all the easier! If you work diligently on this for 5-6 hours each day, it should not take more than 2 days of making and 1 day for painting! Start NOW!

