Arched Bookcase Ideas for Any Room
I’ve stared at blank walls before and thought, “This could be so much better.” If you’ve felt the same and want storage without bulky furniture, you’re not alone.
As someone who loves books, I’ve always been drawn to arched, built-in bookcases. They’re practical, look great, and actually feel like part of the home.
In this post, you’ll see where these bookcases work best, how to build one, and simple ways to style them year-round.
If you’re planning a DIY or just gathering ideas, I think you’ll find something here worth trying this weekend.
Arched Built-In Bookcases: A Quick Overview
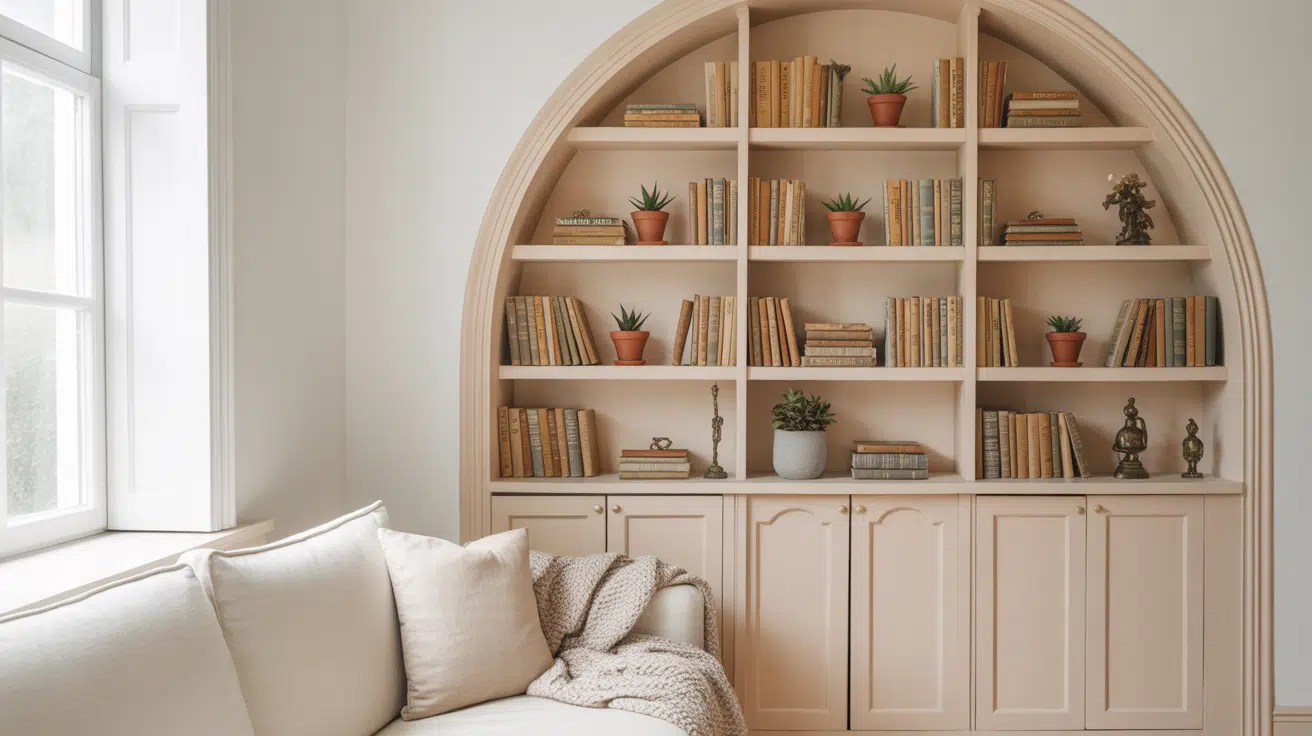
Arched built-in bookcases are shelves built into the wall with a soft, rounded top instead of sharp corners. The gentle curve adds a warm, cozy look and helps the bookcase flow into the wall like it’s part of the room.
They work great in:
- Living rooms, framing a fireplace or entertainment center
- Bedrooms, creating a peaceful reading nook
- Offices, offering a style with storage
- Hallways, using narrow walls to hold books or decor
Wherever it’s placed, it adds both class and structure to the space.
Differences Between Built-In and Freestanding Arches
Built-in arched bookcases are permanent and become part of the home. They’re usually designed to match your walls, trim, or cabinetry.
Freestanding arched bookcases have a similar shape but sit against the wall like furniture. They’re easier to move and often come pre-assembled.
Go for built-in if you want a polished, high-end feel. Choose freestanding if you like flexibility or live in a rental.
DIY Options: Build Your Arched Bookcase
Want to make your arched bookcase? It’s possible, even if you’re not a pro. Here are easy tips to help. You don’t need good tools. Just the basics will do the job well.
Step 1: Plan the Wall Cutout and Framing

Start by picking the spot for your bookcase. Mark out the shape directly on the wall using a pencil and level. Decide on the width, height, and arch shape.
Use a stud finder to avoid hitting electrical lines or plumbing. Then, cut into the drywall carefully using a drywall saw or utility knife.
Next, build the inner frame using 2x4s. Create a box that fits snug inside the cutout. If you’re working on an exterior wall, consider insulation behind the frame.
Step 2: Cut and Attach the Arched Top
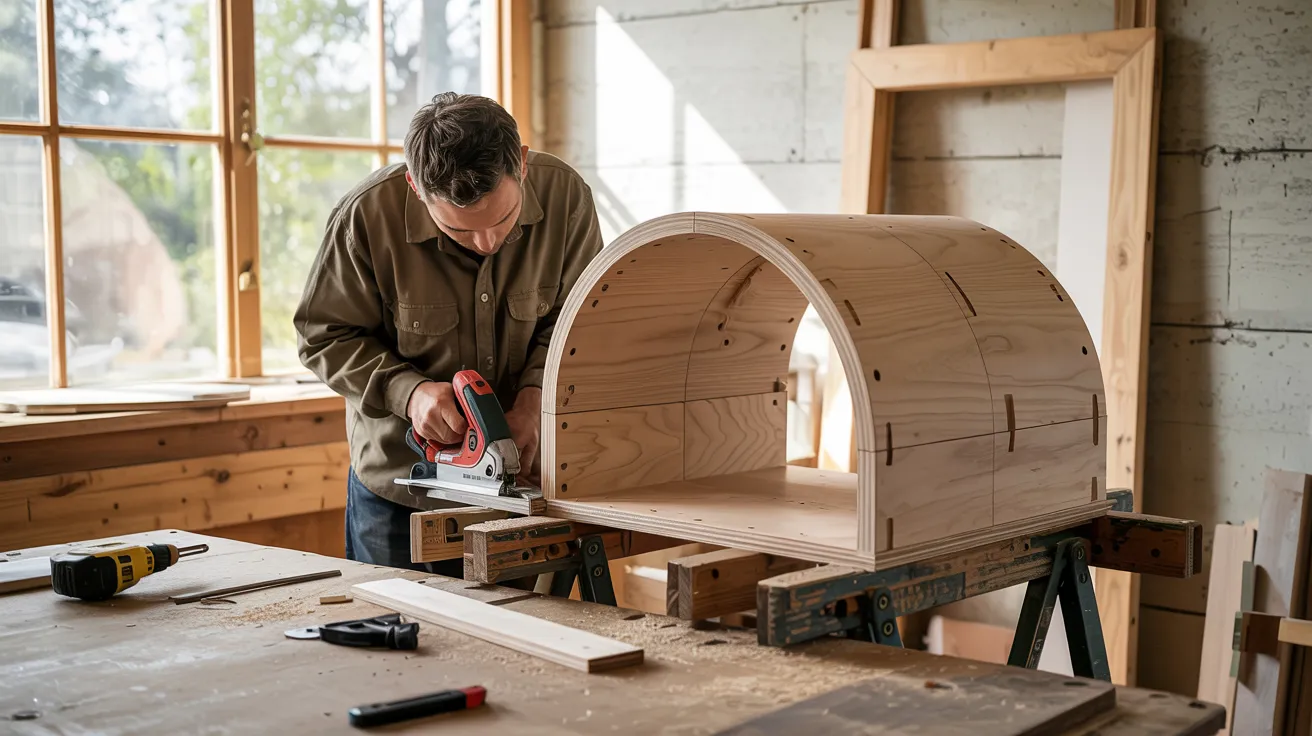
Use plywood or MDF for the arch. Trace your arch shape using a homemade string compass or template.
Cut the arch with a jigsaw, then sand the curve smooth. Make two matching arch pieces and space them with wood blocks between for support (this forms the “arch box”).
Attach this arched top to the top of your framed opening using wood glue and screws. Make sure it sits flush with the front edge of the wall.
Step 3: Install the Shelves

Cut shelf boards to the width of your opening. Use plywood or MDF for strength. Mark where you want each shelf, starting from the bottom and working upward.
Install side cleats or notch the framing to support each shelf. Screw the shelves directly into place. Make sure everything is level and secure.
Step 4: Trim and Finish Flush with the Wall
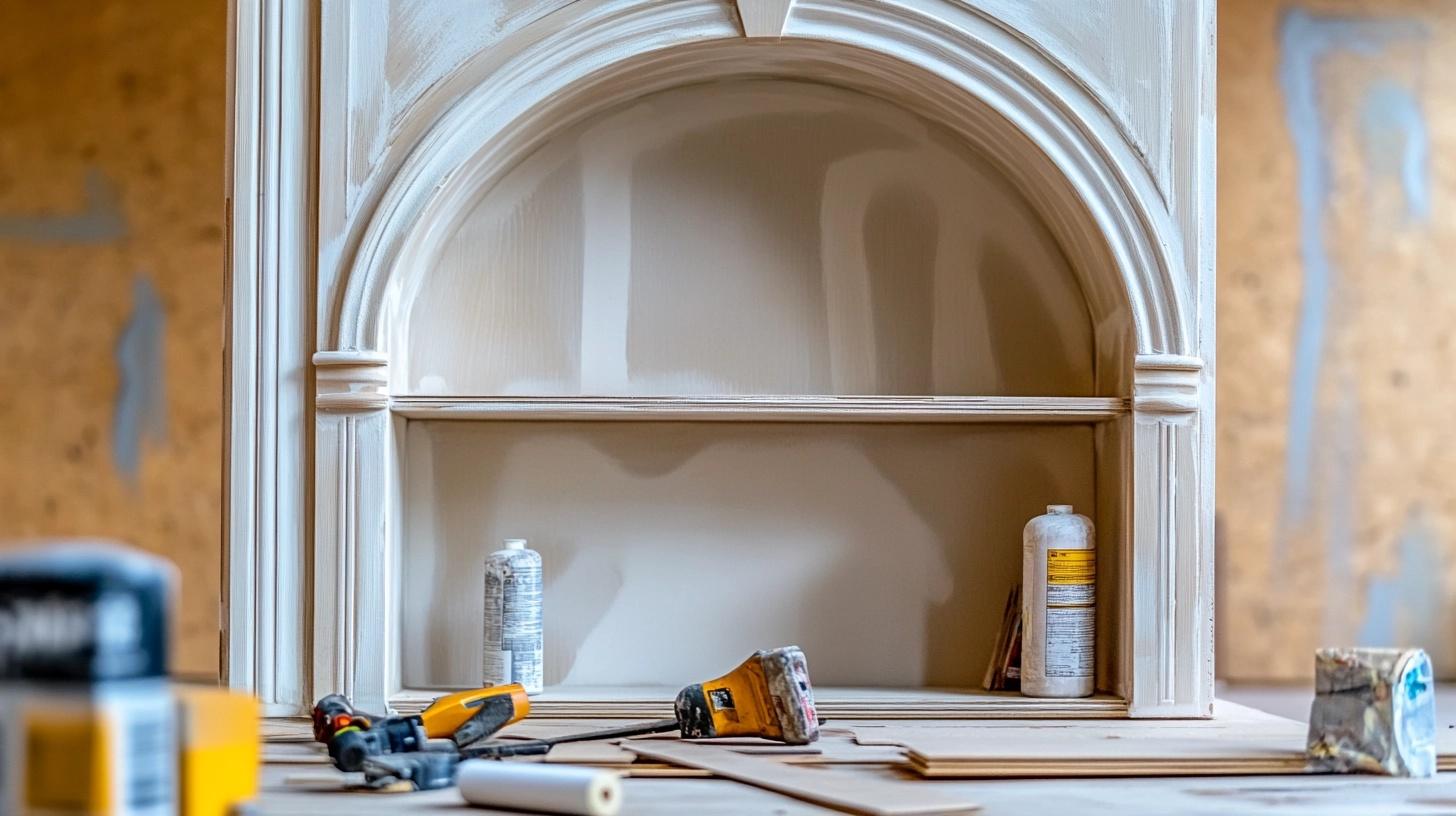
Once the frame, arch, and shelves are in place, it’s time to cover the edges. Use trim or moulding around the outside of the bookcase to hide gaps between the wall and your new built-in.
Caulk all seams, fill any nail holes with wood filler, then sand everything smooth. Apply primer, then paint your new bookcase to match the wall or add contrast with a bold color.
This step makes it feel seamless and truly built-in.
Faux Built-In Alternative
Not ready to open up your wall? Try a faux built-in by arching a basic bookcase and pushing it against the wall. It’s not the same, but it works in rentals or smaller spaces.
IKEA Billy Bookcase Step-by-Step
Start with a basic IKEA Billy bookcase. You’ll need wood filler, plywood, a jigsaw, nails, screws, and paint. First, build the bookcase like normal.
Then cut an arch from plywood and attach it to the top. Use filler to smooth out any gaps. Sand it all down. Paint to match your room.
This simple trick gives you that built-in arched look without spending much money or needing special tools.
Step 1: Prepare and Assemble the Frame
Begin by gathering all necessary tools: flathead and Phillips screwdrivers, a hammer, a drill with a 5/16″ bit, a ruler, and a pencil.
Insert four wooden dowels into each of the three main shelves and one thin panel, totaling sixteen. Secure twelve screws into the side panels.
Then, attach the thin panel and two shelves to the right side panel using plastic fasteners.
Step 2: Attach Side Panel and Backing
Next, attach the left side panel to the assembled structure, securing it with six plastic fasteners. Flip the bookcase over so the unfinished edges face up.
Draw vertical guide lines with a pencil for nail alignment. Slide the back panel into its groove and make sure it’s aligned.
Hammer in eighteen nails along the edges and center to hold the back panel securely.
Step 3: Secure and Add Adjustable Shelves
Now flip the bookcase upright and place it where you want. Attach two wall brackets using washers and screwsextra screws and anchors may be needed for full wall securing.
Insert sixteen shelf pins at the desired levels (default placements: 10th or 11th holes). Finally, rest each shelf on the pins. Your Billy bookcase is now fully assembled and ready to use
Now, for a visual presentation of these steps, you can go through the YouTube video given below:
Visual Inspiration: Ideas for Every Room
Arched bookcases fit in any room. Try these easy, creative ways to use them for both style and smart storage without taking up extra space.
Kids’ Room Library
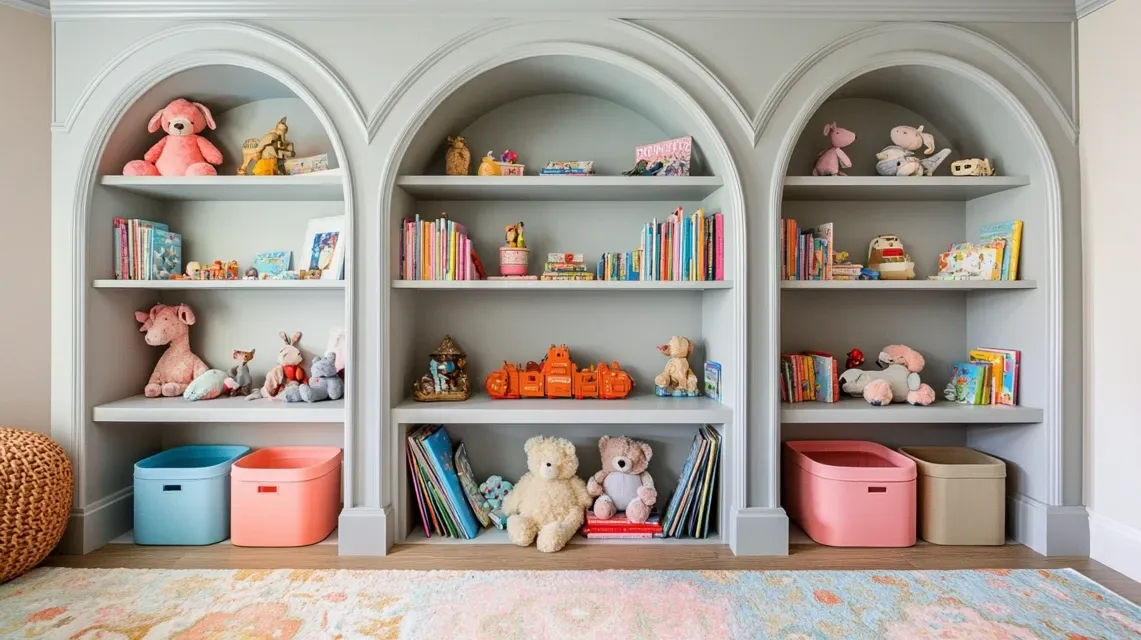
Arched built-ins make great book nooks in kids’ rooms. Keep the bottom shelves low so kids can reach their favorite books and toys easily. Add colorful bins or soft baskets to store puzzles and stuffed animals.
Paint the arch in playful colors or match the room theme. It helps keep the floor clear and builds a love for reading at an early age.
Entryway Organizer Bookcase
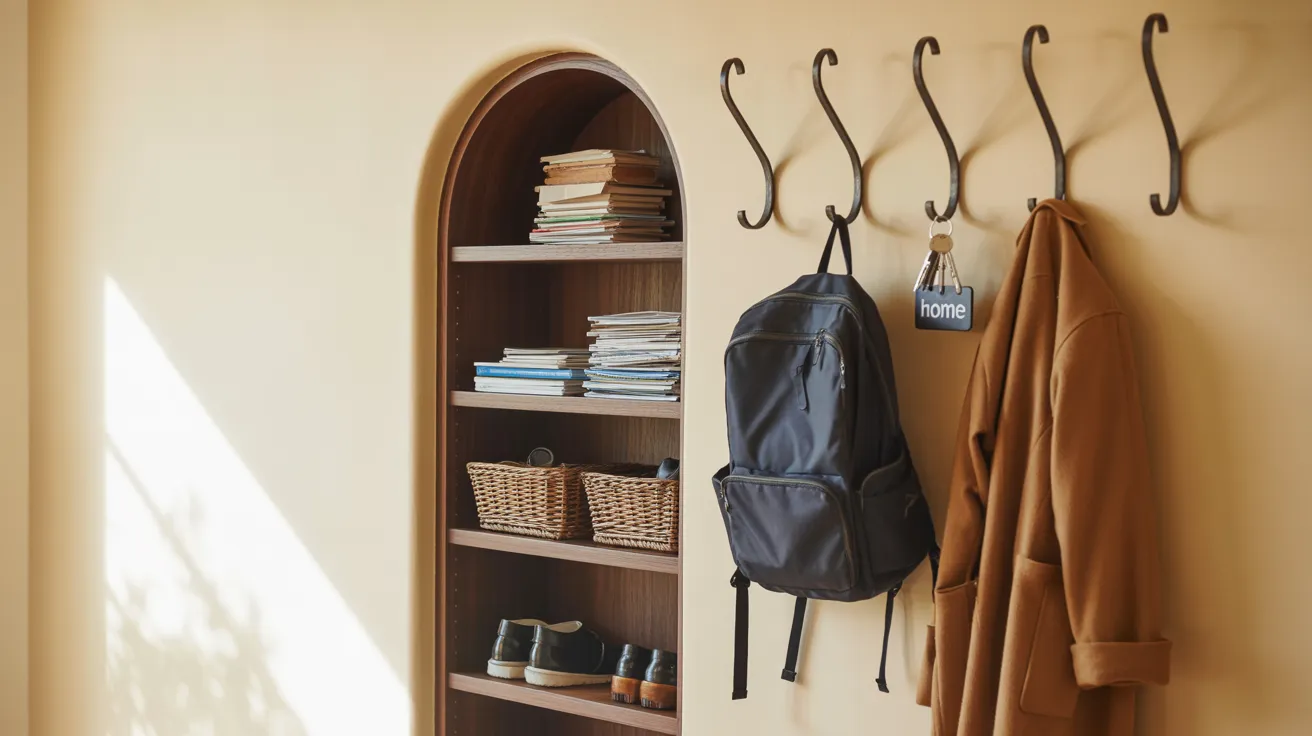
A narrow, arched bookcase built into your entry wall keeps everything in order. Use upper shelves for decor or mai,l and lower ones for shoes or small storage baskets.
Add hooks beside the arch for keys, backpacks, or jackets. Match the trim color to the wall for a seamless look or use a bold tone to make it a welcoming feature.
Dining Room Bookcase
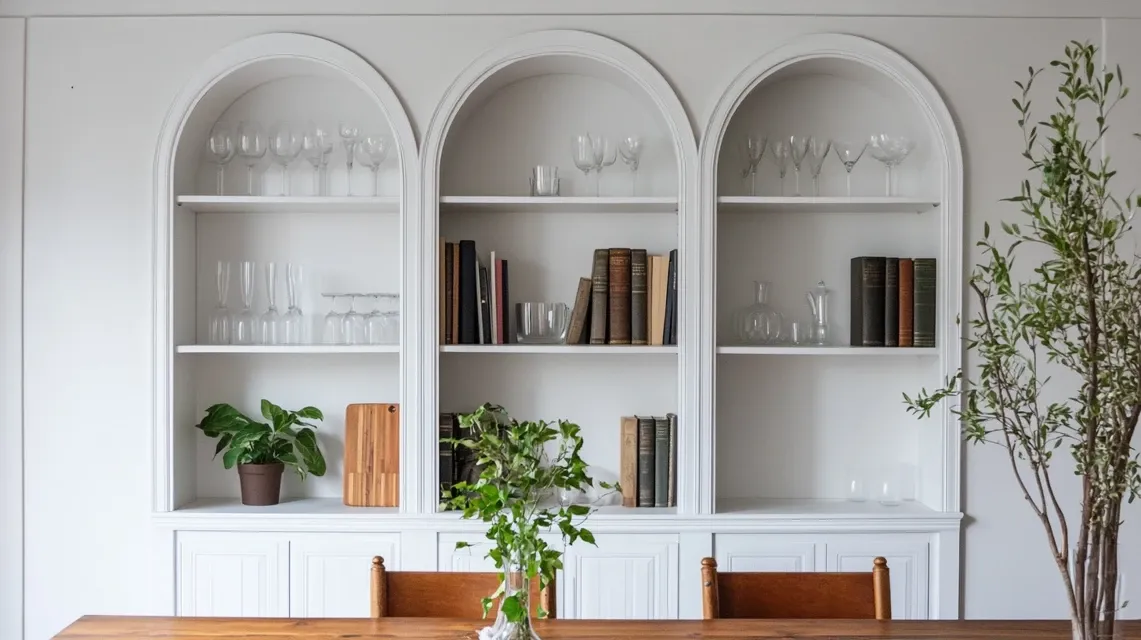
Swap out your traditional buffet for an arched built-in bookcase in the dining area. Use it to show off nice dishes, serving trays, or glassware. Add a few cookbooks or plants for a casual but stylish look.
Paint the inside a darker color than the walls for depth, or stick with all white for a clean, timeless finish.
Bathroom Niche Bookcase
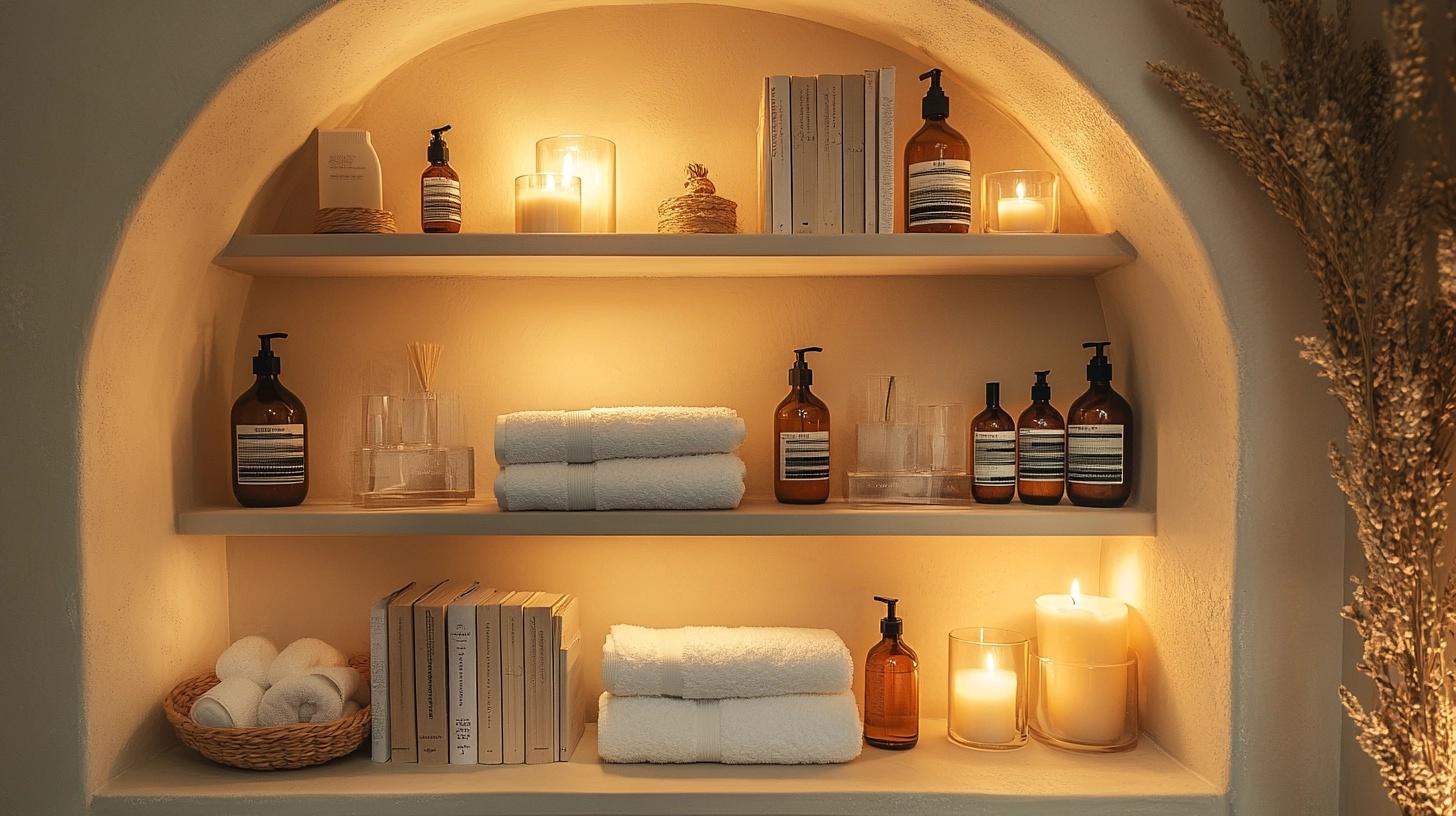
Built-in arched shelves between wall studs are perfect for bathrooms. Use them to store folded towels, candles, or skincare items. This saves floor space and looks more polished than open carts.
Seal everything with waterproof paint or tile the back of the arch for a spa-like touch that holds up against steam and splashes.
Bedroom Headboard Wall
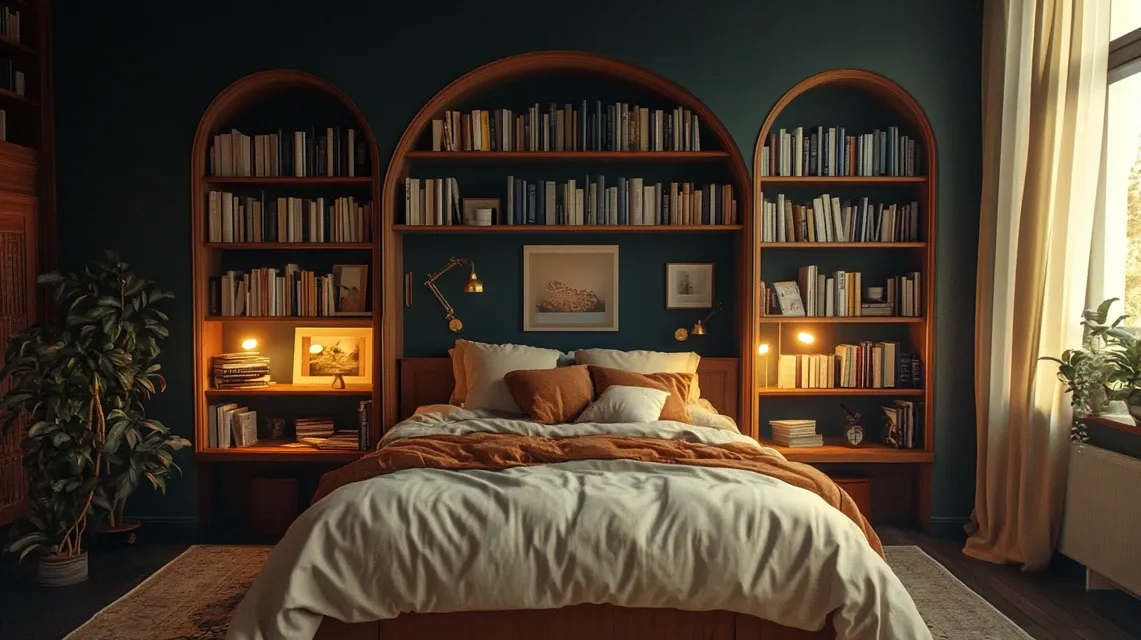
Install arched bookcases on the wall behind or beside your bed for added function and style. Use them to store books, lamps, or framed photos. It’s a smart way to replace bulky nightstands.
Paint them the same color as the wall for a soft backdrop or choose a rich color to make the arches a focal point.
Closet Organizer
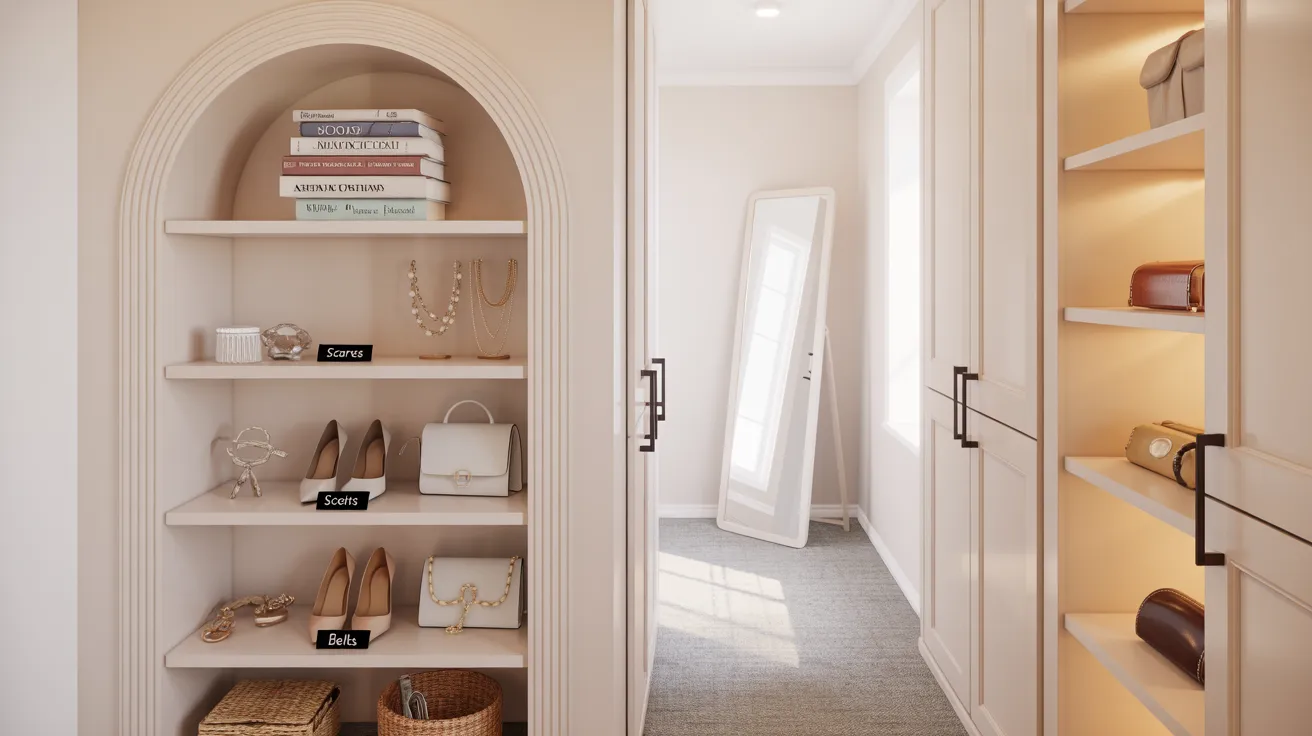
Give your walk-in closet a custom upgrade by adding an arched built-in to hold shoes, handbags, or accessories. Shelves help keep items organized and easy to see.
Paint it in a tone that matches your shelves or trim. Add small labels or dividers to keep it practical and tidy.
Hallway Feature Wall
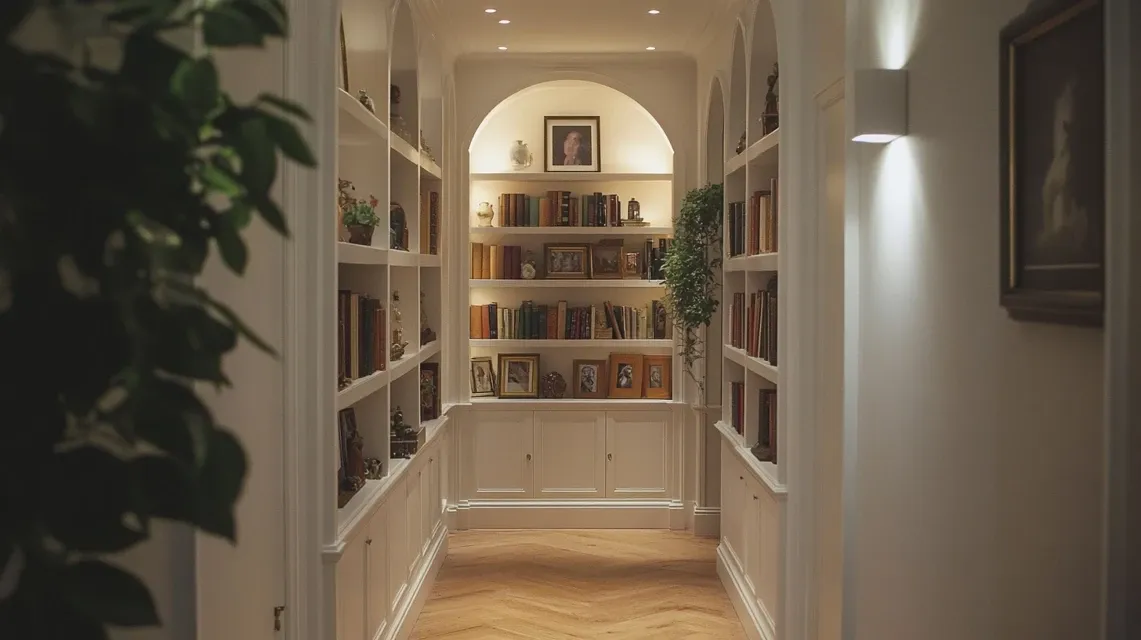
Turn a plain hallway into a decorated space with a tall, narrow, arched bookcase built into the wall. Use it to hold plants, photo frames, or favorite keepsakes.
It adds style without sticking out into the walkway and makes good use of space that usually gets ignored.
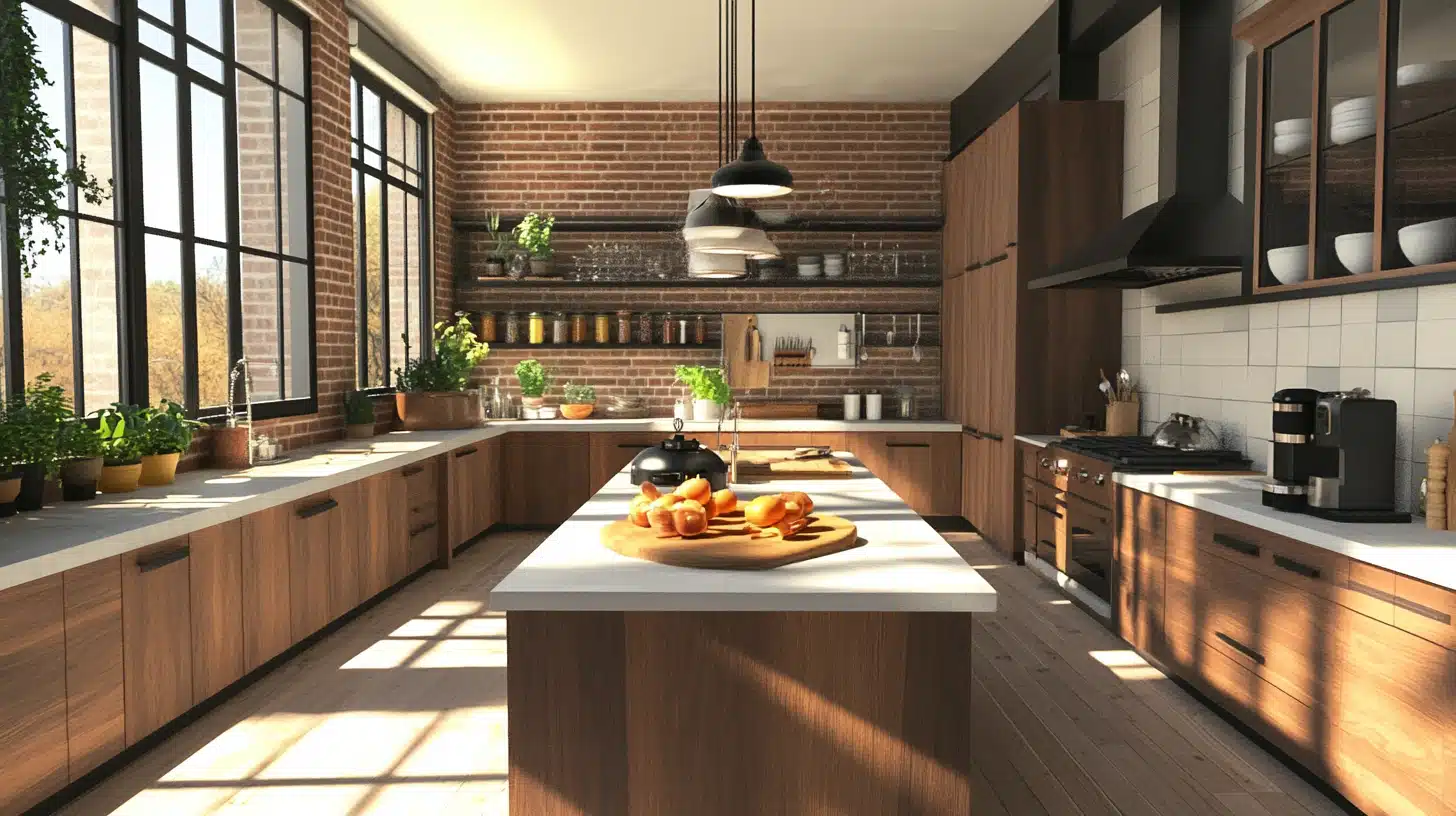
Kitchen Coffee or Spice Nook
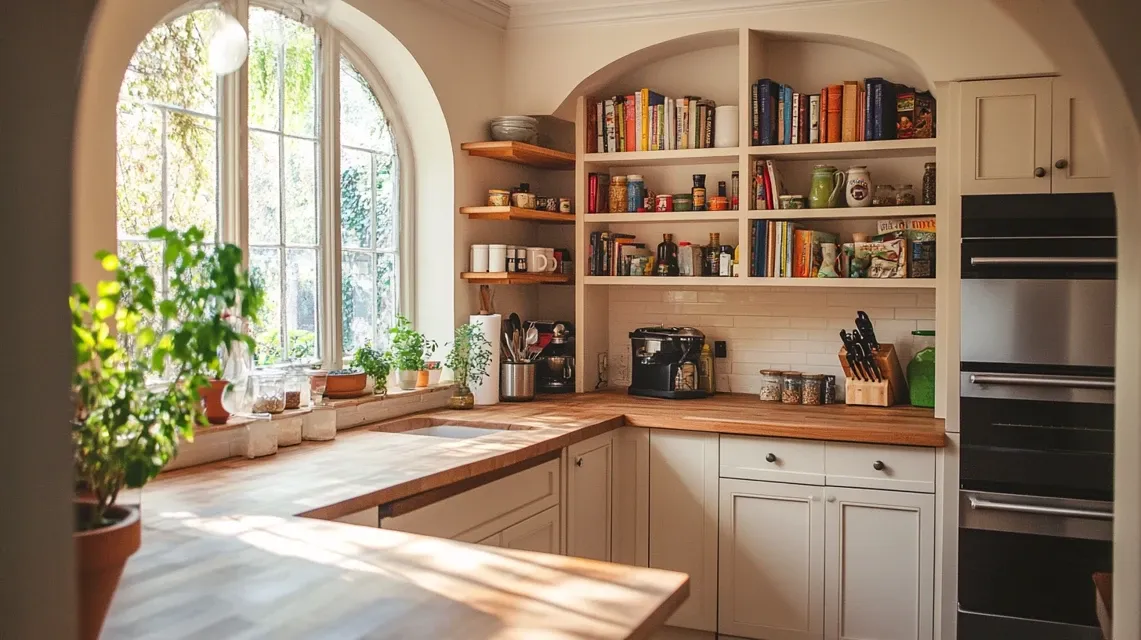
Use an arched bookcase in your kitchen to create a cute corner for spices, mugs, coffee tools, and recipe books. Build it between cabinets or on a wall near the breakfast area.
Try open wood shelves for warmth, or paint them white for a clean, café-style setup. Add hooks under the bottom shelf for mugs or utensils.
Game Room Display Bookcase Wall
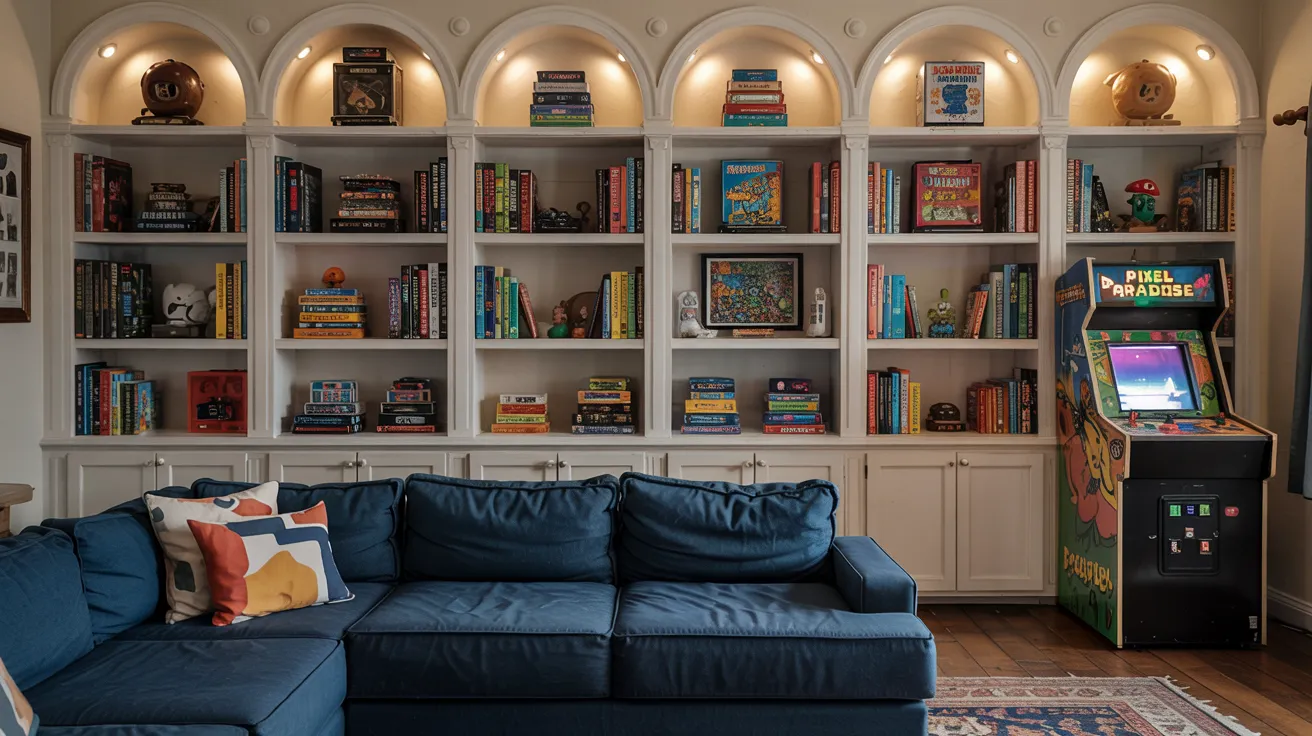
Line one wall with multiple arched bookcases in your game or rec room. Store board games, collectibles, or video games neatly inside.
Use LED strip lights inside each arch to make it feel like a display. It keeps clutter off the floor while giving the room a fun, entertainment-style setup.
Above-Door Bookcase Shelf
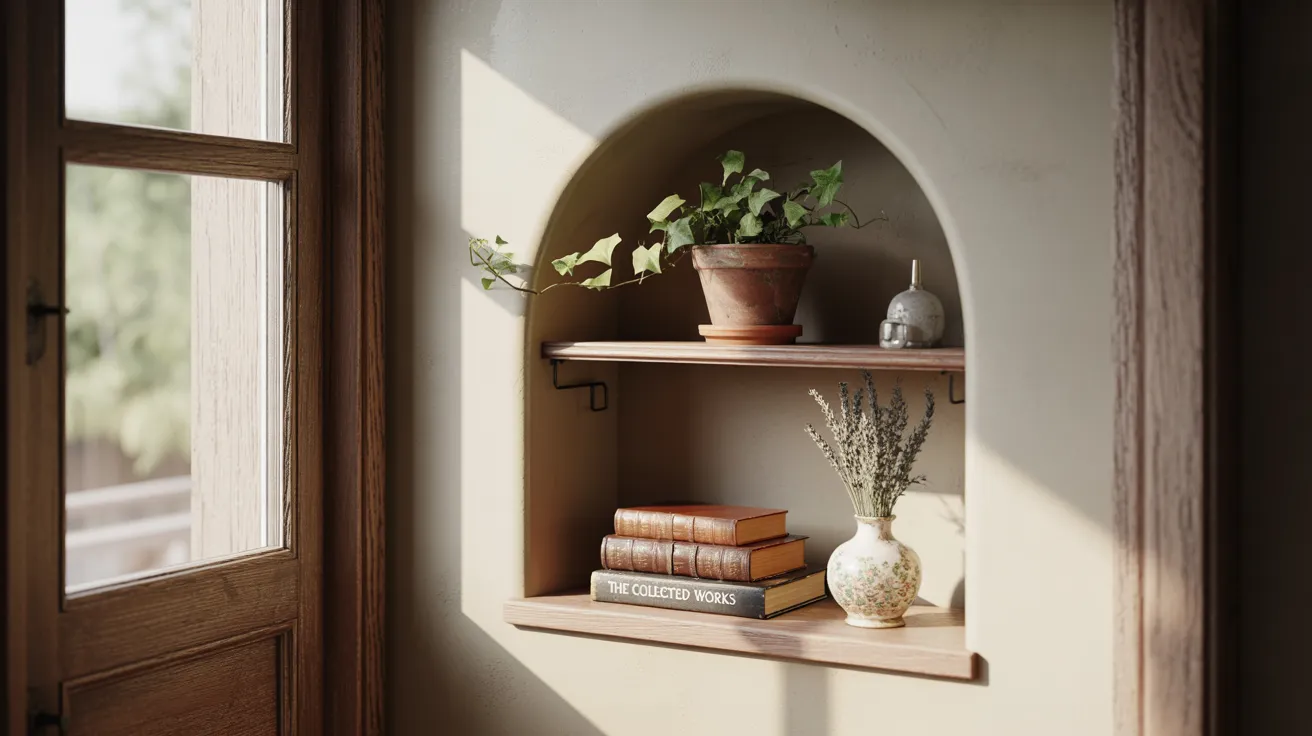
Add a small arched bookcase above a doorway in a room with high ceilings. Use it to show off plants, vases, or books you don’t reach for often.
It draws the eye upward and uses forgotten space in a creative way. This works well in hallways, kitchens, or reading rooms with tall walls.
Guest Room Desk Pairing
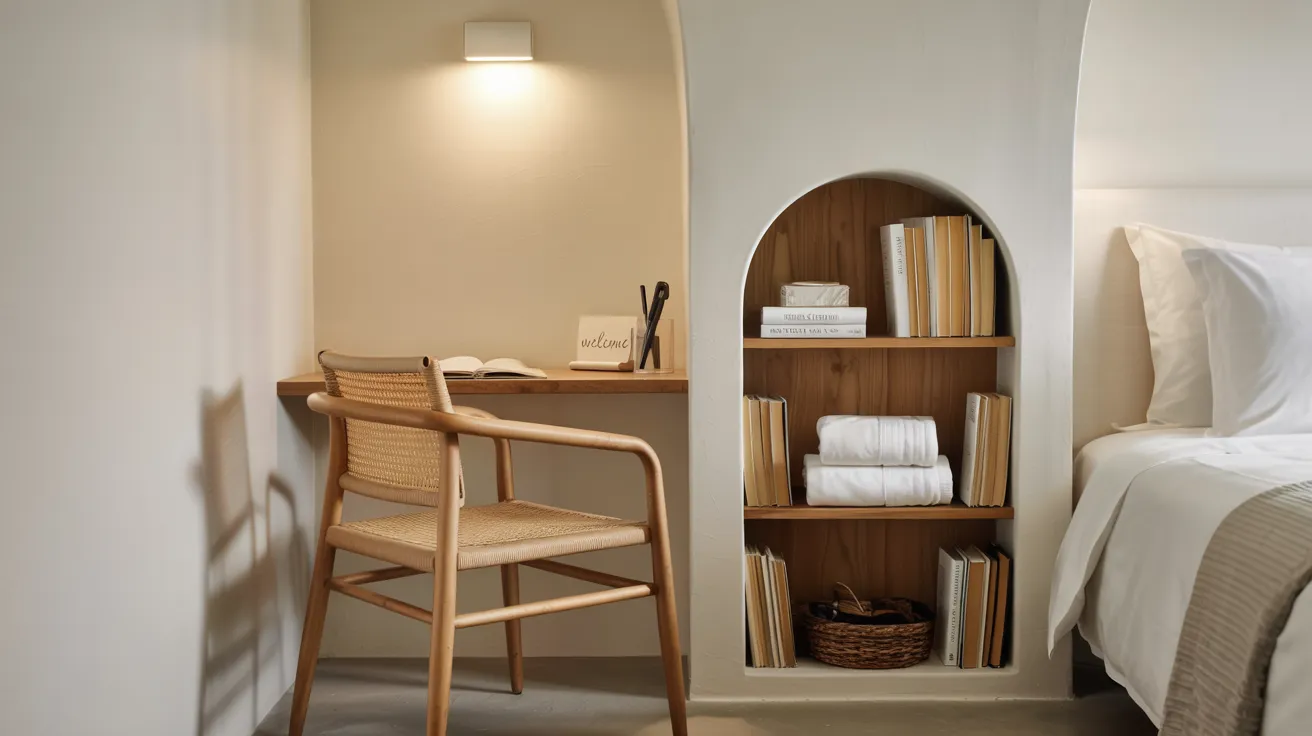
Pair a short, arched bookcase with a small wall-mounted desk to create a built-in workspace in a guest room. The shelves can hold books, extra towels, or decor.
This gives visitors their own little space while keeping the room calm and uncluttered. Use soft lighting and add a chair to finish the look.
Reading Nook with Seating
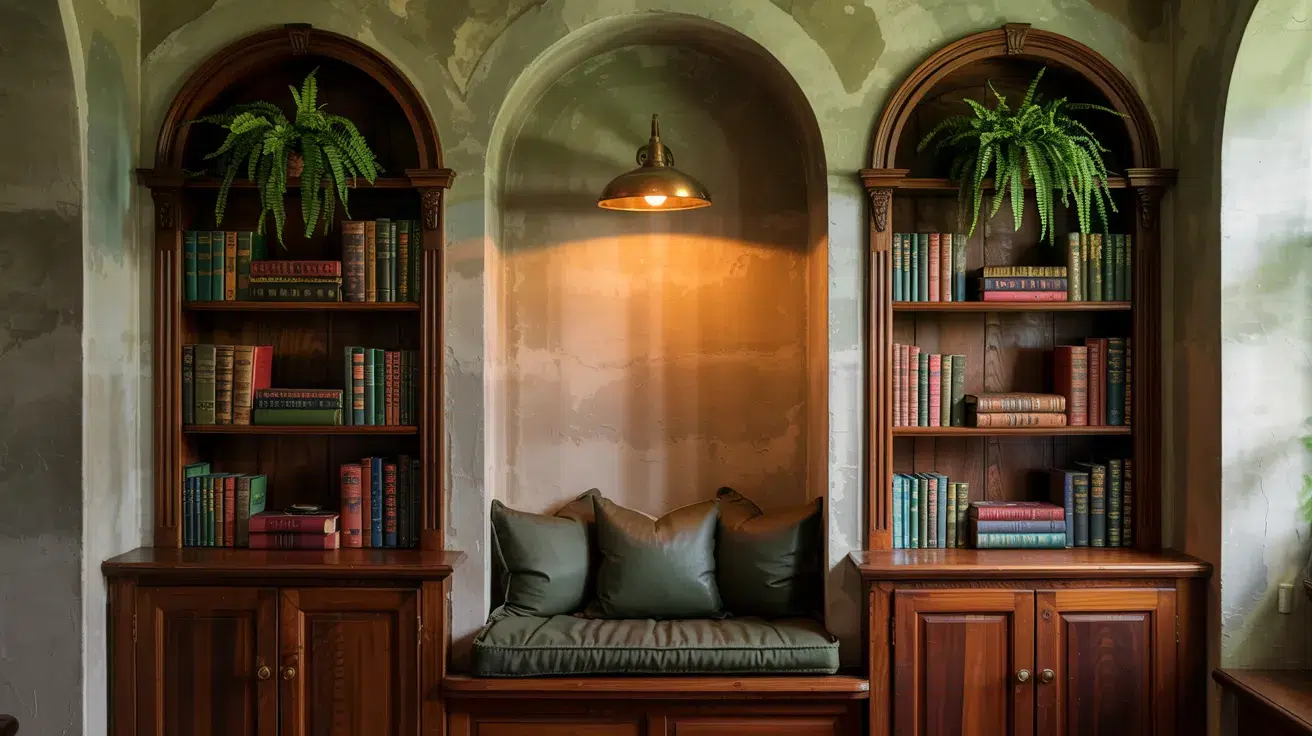
Create a cozy nook by building two arched bookcases on either side of a recessed bench. Use the shelves for books, pillows, or plants, and keep the bench comfy with cushions.
Paint the inside of the arches a shade darker than the wall to give depth. Add a reading lamp above the bench and you’ve got your own little retreat.
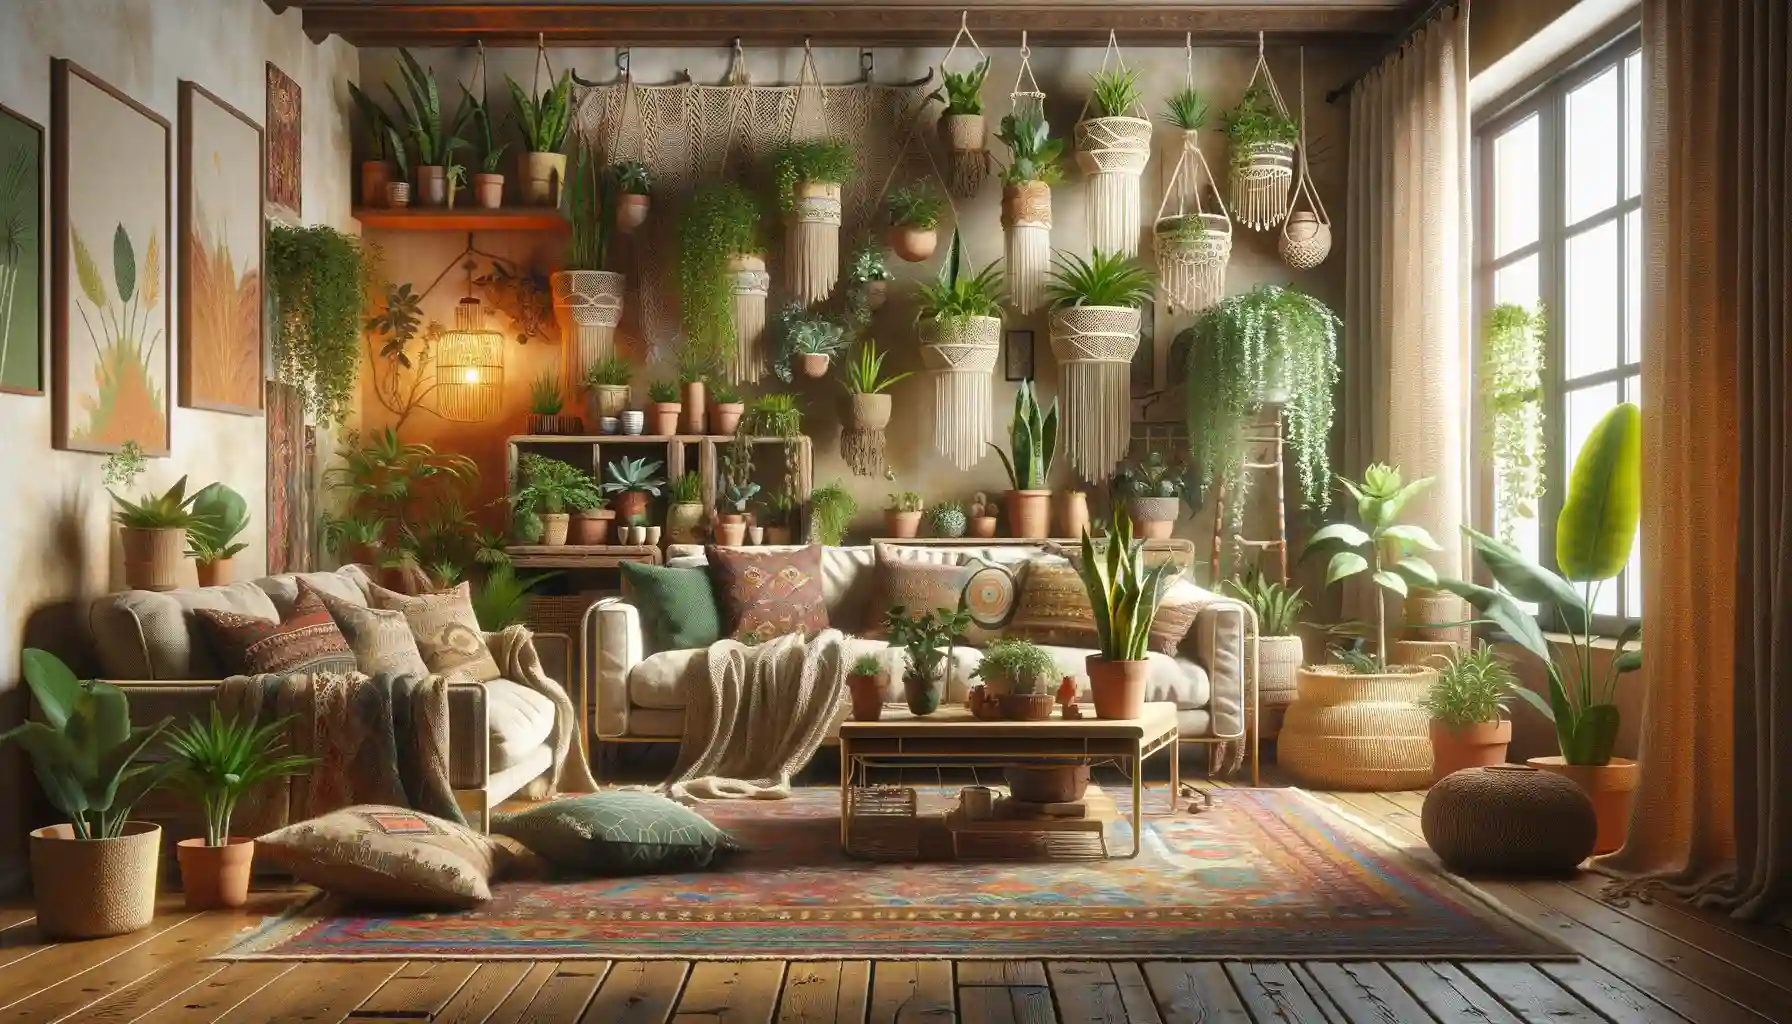
Living Room Looks
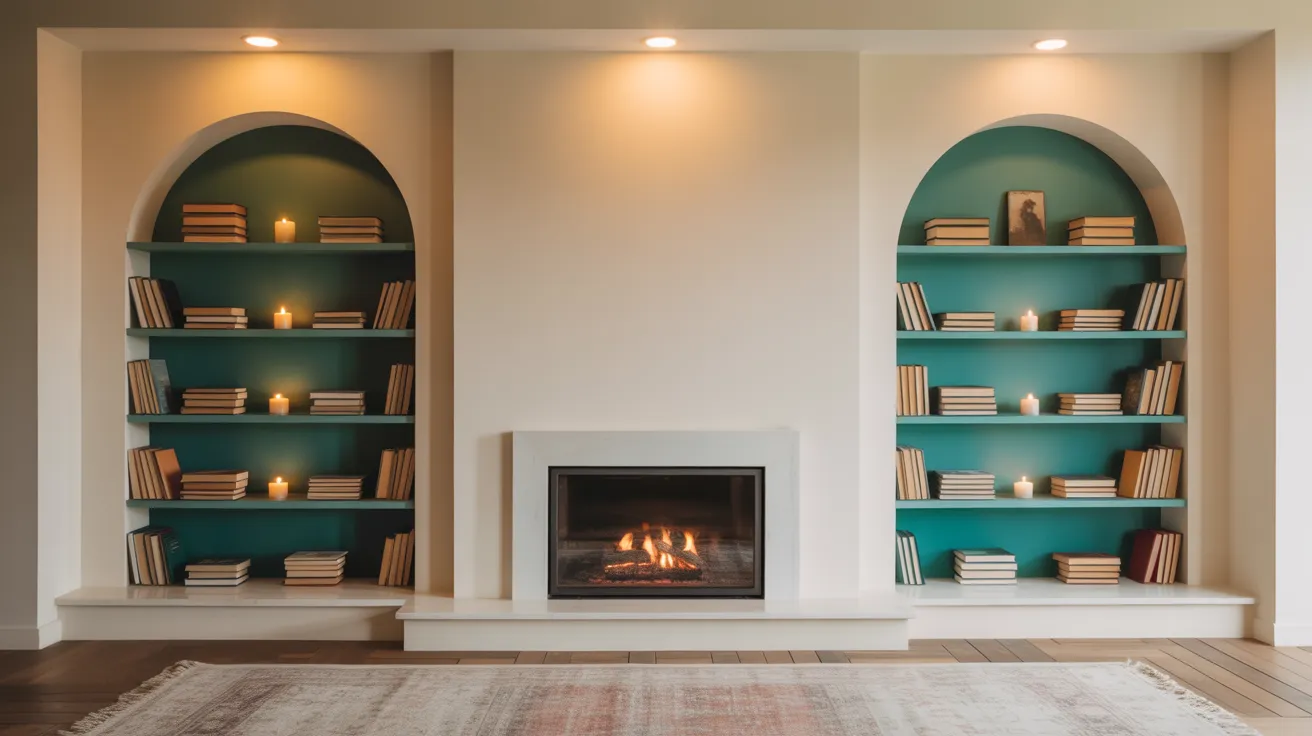
Arched bookshelves around your fireplace or TV pull the whole room together. They frame the space nicely and give you a great spot to store books, candles, and decor.
Try matching the color of the shelves to your wall for a calm look. Want contrast? Use a bold paint color instead.
These shelves also help hide wires and make the area feel tidy and finished.
Home Office
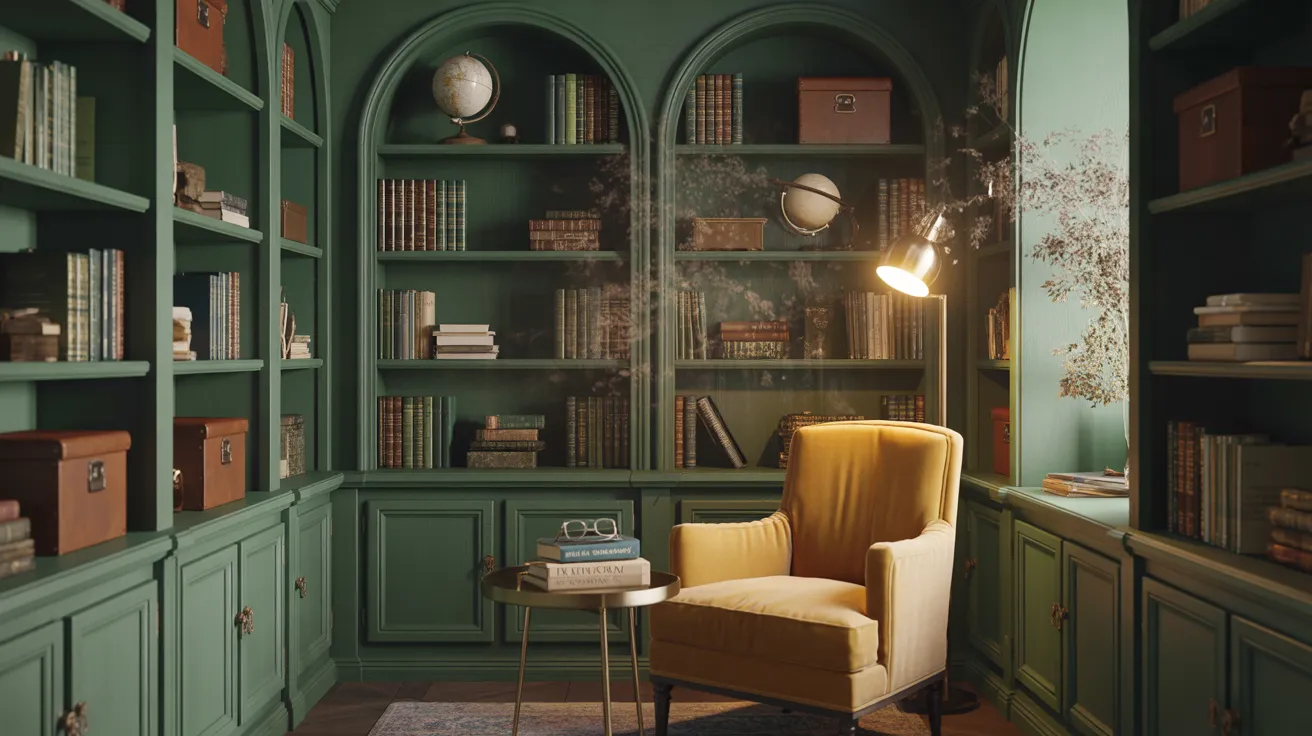
In workspaces, wall-to-wall arched bookcases make a big impact. Use one full wall for books, files, or display items.
Choose darker paint colors like navy, forest green, or charcoal for a serious and focused feel. These shelves can go from floor to ceiling to make the most of your wall.
Add a comfy chair and some good lighting, and you’ve got a space that’s both useful and quiet.
Decorating Arched Bookshelves
Here’s a simple way to decorate arched bookshelves using easy styling ideas. Use these tips to get a clean, balanced look that works year-round:
- Shade: Repeat 2–3 colors across items for a neat, pulled-together look.
- Containers: Add small bowls or boxes to break up straight lines and hold loose items.
- View: Step back now and then to check balance and spacing.
- Fall: Add mini pumpkins, dried leaves, or warm-toned decor.
- Winter: Try pine clippings, candles, and small red or silver pieces.
- Spring: Use flowers, soft greens, and pastel items for a fresh look.
- Summer: Keep it light with seashells, driftwood, or white decor.
Even small changes can refresh the whole look. Keep it simple and enjoy switching things up as the seasons change.
Wrapping up
When I added an arched built-in bookcase to my home, I realized it wasn’t just a shelf; it was a smart, stylish way to use space better. If you’ve been thinking about one too, you’ve already seen how it can work in any room, from a cozy reading nook to your kid’s play area.
You’ve picked up the basics: how to build it, paint it, and keep it looking fresh through the seasons. Now, it’s your turn.
If you want your home to feel more personal and organized, this is a great place to start. Find a spot. Plan it. Build it. Make it yours.
Want more simple, doable home ideas? Head over to the website and check out the latest posts.