How Can You Achieve a Secure and Long-Lasting Lawn Installation?
I once saw a newly installed synthetic lawn that looked flawless from the patio. Within a few months, however, its edges had lifted, one seam had begun to separate and several shallow dips held water after rain. The grass itself was still in excellent condition. The problem was everything underneath it.
A durable synthetic lawn depends on careful groundwork, effective drainage, accurate cutting and secure joining. Each layer works like part of a roof. If one section is poorly prepared, the finished surface may move, wrinkle or collect water. Taking time at the beginning can prevent expensive repairs and help the lawn maintain a neat, natural appearance for many years.
Why Does Ground Preparation Matter So Much?
Synthetic grass follows the shape of the surface below it. It cannot conceal deep depressions, loose soil or poorly compacted areas for long. A rushed base may look level on installation day but settle unevenly after rain, foot traffic or regular use.
Preparation begins by removing existing turf, weeds, roots and unsuitable soil. The required excavation depth depends on the location, soil conditions, expected traffic and base materials. Once the area is cleared, drainage and finished levels can be planned before any aggregate is installed.
A sound preparation process may include:
- Marking the finished lawn area and checking measurements
- Identifying irrigation lines, cables and drainage points
- Removing existing vegetation and loose organic material
- Excavating to a suitable depth for the planned base
- Applying an appropriate weed-control treatment where required
- Installing a permeable geotextile layer if suited to the ground
- Creating a stable perimeter for fixing the grass
- Confirming that water will flow away from buildings
Organic material should not be trapped beneath the base because it may decompose and create movement. Large roots also need attention, particularly near mature trees where future growth could disturb the surface.
Building a Stable and Well-Compacted Base
The base provides the structural support for the completed lawn. Crushed rock or another suitable compactable aggregate is commonly used because it can form a firm platform while allowing water to move through or across the area according to the drainage design.
Base material is best installed in controlled layers rather than tipped into one deep pile. Each layer should be spread, levelled and compacted before the next is added. This reduces hidden soft areas and makes the final surface easier to shape.
Key base-building steps include:
- Spread aggregate evenly across the excavated area.
- Compact it in layers using suitable equipment.
- Check levels with a straightedge, string line or laser.
- Create a gentle fall toward the planned drainage point.
- Fill low areas and compact them again.
- Remove sharp stones that may be felt through the turf.
- Apply a fine finishing layer if required by the system.
- Complete a final compaction pass before laying the grass.
The finished base should feel firm underfoot without loose material rolling across the surface. It should also be smooth enough to prevent visible ridges while retaining the gradient needed for drainage.
Planning Drainage Before Laying the Turf
Synthetic turf is designed to allow water to drain, but perforated backing cannot correct a poorly planned site. Water still needs somewhere to go after passing through the lawn. Heavy clay, enclosed courtyards and low areas beside buildings may require additional drainage work.
The direction and rate of water movement should be reviewed before the base is completed. Existing surface drains may need cleaning or repositioning, while some sites benefit from a drainage cell, channel drain or subsurface pipe. Local conditions will determine the most suitable arrangement.
Warning signs of a drainage problem include:
- Water pooling after moderate rain
- Soil remaining wet for long periods
- Existing lawn areas that feel soft or muddy
- Downpipes discharging into the installation zone
- A finished level that slopes towards the house
- Enclosed edges that prevent water from escaping
- Clay-rich soil with slow infiltration
A garden hose can provide a simple drainage check before the turf is fixed. Apply water across several areas and watch how quickly it disappears. If puddles remain, address the underlying cause rather than expecting the synthetic grass to hide it.
Choosing Turf for the Way the Area Will Be Used
No single turf product suits every space. A decorative front lawn, children’s play area, pet run and high-traffic commercial zone place different demands on the fibres and backing. Selecting grass by colour alone may lead to flattening, excessive surface heat or difficult cleaning.
Pile height, fibre shape, stitch rate, density and backing construction all affect performance. Shorter, denser grass may be easier to maintain in heavily used areas, while a longer pile can create a softer landscaped appearance. Samples should be viewed outdoors because indoor lighting can change the perceived colour.
Review these factors before ordering:
- Expected foot traffic
- Children’s play and recreational use
- Pet activity and cleaning needs
- Sun exposure and surrounding shade
- Desired softness and pile height
- Drainage capability
- Product warranty and care requirements
- Available roll widths and seam locations
- Compatibility with the planned installation system
Order enough material to account for cuts, joins and the direction of the pile. Using only the measured square metre area may leave too little turf once irregular boundaries and roll layouts are included.
How Should the Turf Be Positioned and Cut?
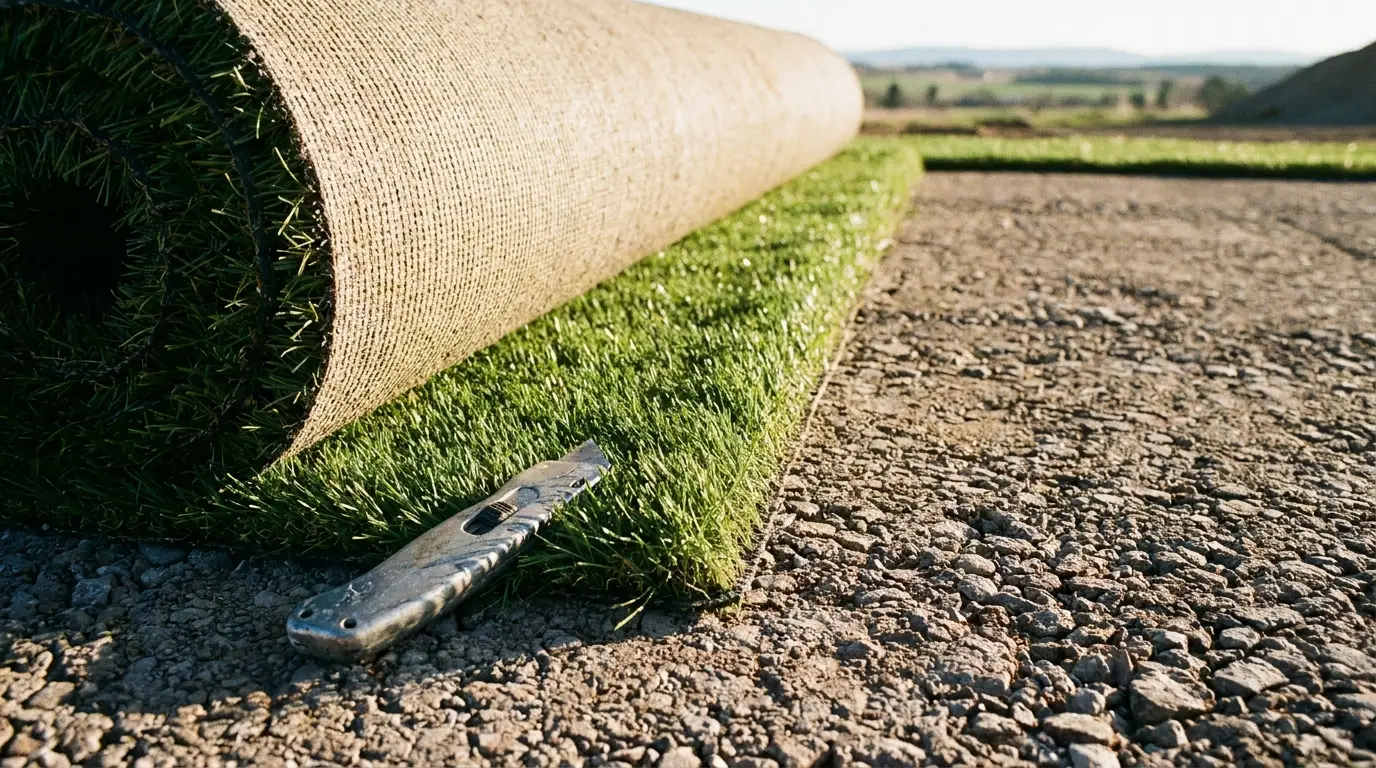
Synthetic grass has a directional pile. When adjoining pieces face different directions, they can appear to be different colours even if they came from the same product batch. All sections should face the same way, usually towards the primary viewing position.
Rolls benefit from being laid out before final cutting so the fibres can relax. The material can then be positioned with enough excess around the perimeter for accurate trimming. Cutting too close too early may create visible gaps that are difficult to repair.
For cleaner cuts:
- Work from the backing whenever possible.
- Use a sharp utility knife with spare blades available.
- Cut between stitch rows rather than through the fibres.
- Make several controlled cuts around curves.
- Leave a small allowance before the final trim.
- Recheck pile direction after repositioning each piece.
- Keep cut edges clean and free from loose fibres.
Never force a large section into place if it naturally forms wrinkles. Reposition the roll, check the base and allow the material more time to settle. Stretching the turf aggressively may create tension that later pulls against seams or perimeter fixings.
How Does Artificial Grass Adhesive Strengthen the Installation?
Artificial grass adhesive helps secure seams and selected edges when used with compatible joining tape or an approved substrate. A well-bonded seam keeps adjoining pieces aligned while allowing the fibres to blend across the join. Poor application may leave gaps, hard ridges or adhesive on the visible pile.
The adhesive should match the turf backing, joining method and site conditions. Outdoor products need to tolerate moisture, temperature changes and regular foot traffic. Manufacturer instructions for surface preparation, application rate, open time and curing should guide the work.
A reliable joining process usually involves:
- Aligning both turf pieces with the pile facing one direction
- Trimming the backing neatly between stitch rows
- Folding the edges back without creasing them
- Centring joining tape beneath the seam
- Applying adhesive evenly at the stated coverage rate
- Lowering both edges without trapping fibres underneath
- Pressing the seam firmly along its full length
- Protecting the area from traffic while the bond cures
Too much adhesive can squeeze through the joint and contaminate the grass fibres. Too little may create weak areas that separate later. The goal is a continuous, controlled bond rather than a thick bed of product.
Weather also affects application. Rain, surface moisture, dust, very high temperatures or cold conditions may interfere with bonding. Check the product instructions before starting and allow enough curing time before brushing, adding infill or opening the area for use.
Securing Edges and Preventing Movement
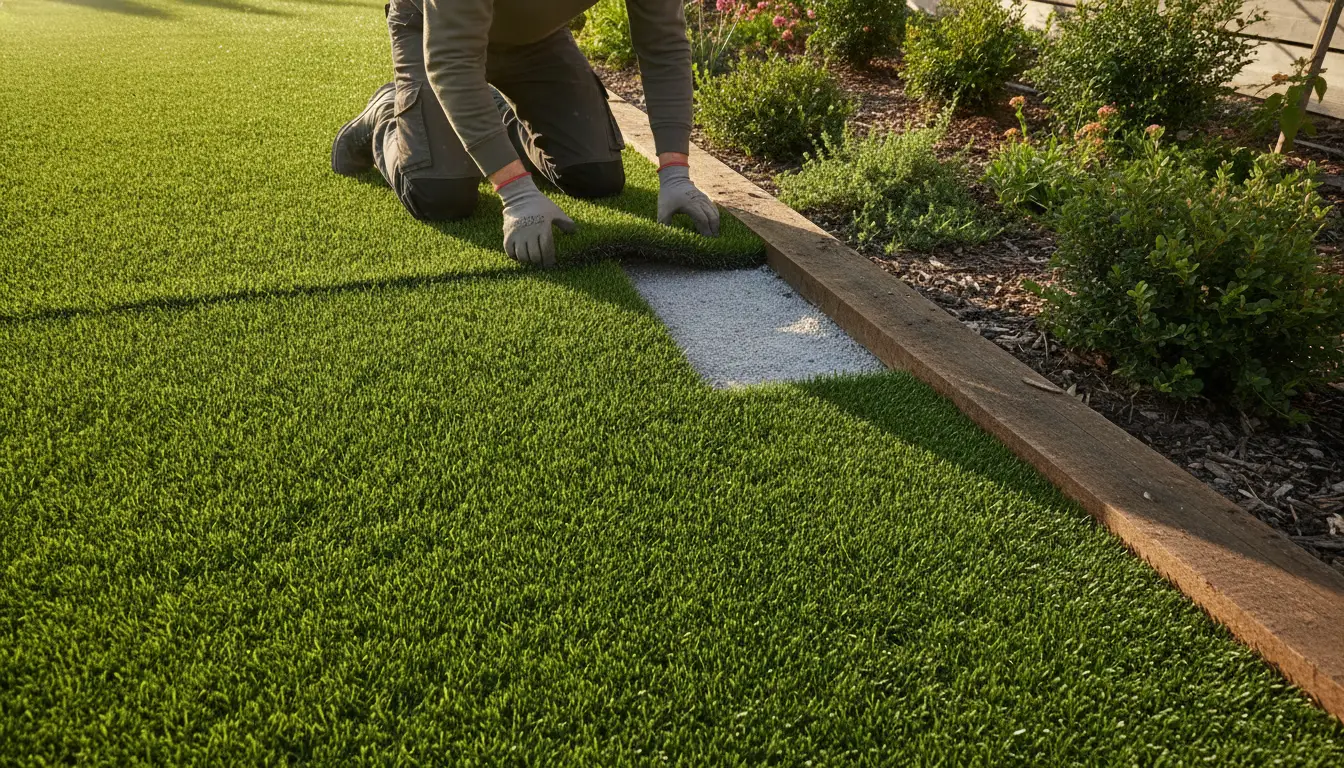
Perimeter restraint helps stop turf from lifting, shifting or curling. The fixing method may vary according to whether the edge meets timber, concrete, paving, garden beds or another surface. Fixings should hold the backing without creating visible bumps.
Edges near pathways and frequently used access points receive repeated pressure, making secure installation especially valuable there. Corners and curved garden borders also need close attention because tension can develop if the material has been cut or pulled unevenly.
Possible perimeter methods include:
- Nails or pins installed at suitable intervals
- Adhesive applied to clean, compatible hard surfaces
- Treated timber edging
- Composite perimeter boards
- Mechanical fixings along approved profiles
- Turf tucked securely against paving or kerbing
Fixings should not interfere with nearby waterproofing membranes, electrical services or irrigation systems. Before driving nails into the ground, confirm what lies beneath the installation area.
Completing the Surface with Infill and Brushing
Infill can support fibres, add weight and help the lawn maintain its shape. The type and quantity depend on the turf product and intended use. Some systems require sand infill, while pet or sports applications may use materials selected for their specific performance.
The surface must be dry before infill is spread. Damp fibres can cause material to clump at the top rather than settle through the pile. Apply it gradually across the lawn instead of depositing large amounts in one spot.
For an even finish:
- Remove offcuts, stones and loose debris.
- Spread infill in light, consistent passes.
- Brush against the pile direction.
- Repeat spreading and brushing as required.
- Check seams and edges during the process.
- Avoid overfilling above the recommended level.
- Keep the lawn free from traffic until adhesives have cured.
A power broom can lift flattened fibres across larger areas, while a stiff synthetic brush may suit a small garden. Metal rakes and harsh wire brushes can damage the pile and should be avoided.
Common Installation Mistakes That Reduce Lawn Life
Many early failures begin with shortcuts that are hidden beneath the finished turf. Thin bases, poor compaction and blocked drainage may save time during installation but often appear later as movement, puddles or uneven sections.
Visible faults can also arise from incorrect pile direction, careless cutting or poorly joined seams. Repairing these issues after adhesive has cured may require removing and replacing part of the lawn.
Common mistakes include:
- Laying turf directly over loose soil
- Ignoring existing water-flow problems
- Installing an uneven or insufficient base
- Joining pieces with opposing pile directions
- Allowing fibres to become trapped in adhesive
- Cutting edges before the turf is positioned accurately
- Walking on joins before they have cured
- Using indoor or incompatible adhesive outdoors
- Applying infill while the grass is damp
- Failing to secure high-traffic edges
A pre-installation checklist can prevent these errors. Photographing the base, drainage and service locations before the grass is laid also creates a useful record for future landscaping or maintenance.
Maintaining a Secure Lawn After Installation
Synthetic grass needs less routine care than natural turf, but it is not maintenance-free. Leaves, soil and organic debris can reduce drainage or encourage weeds around edges. Regular brushing also helps restore fibres in areas exposed to repeated foot traffic.
Inspect seams and perimeters every few months, particularly after severe weather or landscaping work. Early attention to a slightly loose corner is usually simpler than repairing a larger lifted section.
Ongoing care may include:
- Removing leaves and garden debris
- Brushing flattened high-traffic areas
- Rinsing dust and light spills
- Cleaning pet waste promptly
- Checking drainage outlets
- Removing weeds growing around boundaries
- Keeping hot equipment away from the fibres
- Reviewing seams, joins and perimeter fixings
Avoid placing reflective objects where concentrated sunlight may fall on the lawn. Heat from barbecues, fire pits, hot tools and vehicle exhaust can also damage synthetic fibres.
Creating a Lawn That Stays Neat for Years
A long-lasting synthetic lawn begins below the surface. Excavation, drainage, compaction and base shaping create the foundation, while careful cutting, compatible adhesive and secure edges hold the visible lawn in place. Each stage supports the next, much like links in a chain.
Before installing synthetic turf, measure carefully, study the site after rain and confirm that every material suits the chosen turf system. If drainage, ground stability or complex joins create uncertainty, seek professional advice. A methodical installation can deliver a cleaner finish, fewer repairs and an outdoor space that remains inviting through years of daily use.
Frequently Asked Questions About Artificial Grass Adhesive
What Type of Artificial Grass Adhesive Should I Use Outdoors?
Choose an adhesive made specifically for outdoor synthetic turf and compatible with the turf backing, joining tape and substrate. Outdoor products are formulated to cope with moisture, temperature changes and regular use.
Check the manufacturer’s instructions before purchase because application methods and curing conditions vary. Indoor flooring adhesive or a general-purpose construction product may not provide the flexibility, weather resistance or bonding performance needed for an exposed lawn installation.
How Much Artificial Grass Adhesive Do I Need?
The amount depends on the adhesive, application method, seam length and width of the joining tape. Product packaging generally states a coverage rate, which can be used to estimate the required quantity.
Measure every seam and adhesive-fixed edge, then allow a modest margin for application losses. Avoid applying extra product simply because it is available. Excess adhesive can rise through the joint, stick to the fibres and leave a hard or visible seam.
How Long Does Artificial Grass Adhesive Take to Cure?
Curing time varies between products and is affected by temperature, humidity, surface moisture and application thickness. Some adhesives develop an initial hold within hours but need longer before they can carry regular foot traffic.
Follow the stated times on the product label or technical instructions. Keep people, pets and heavy objects away from the bonded area during curing. Moving the turf too early may weaken the seam or shift the edges out of alignment.
Can Artificial Grass Adhesive Be Applied to Wet Surfaces?
Most adhesives require clean, dry or suitably prepared surfaces, although requirements differ between formulations. Water, mud and condensation can reduce contact between the adhesive and joining materials, leading to an unreliable bond.
Postpone the work if rain is expected or the installation area remains damp, unless the selected product specifically permits those conditions. Protect open joins from dust and moisture while working, and confirm the recommended temperature range before application.
Can Artificial Grass Adhesive Be Used on Concrete?
Yes, some synthetic turf adhesives are designed for compatible hard surfaces such as properly prepared concrete. The concrete should be stable, clean and free from dust, grease, loose coatings and standing water.
New concrete may also need adequate curing time before bonding. Because product requirements differ, confirm substrate compatibility and any primer requirements with the adhesive manufacturer. Drainage and perimeter detailing must still be planned so water does not collect beneath or around the turf.