How to Build a Raised Garden Bed: Simple Step-by-Step Guide
Building a raised garden bed can feel overwhelming, but it doesn’t have to be. Many gardeners struggle with poor soil, pests, or back pain from bending over to tend their plants.
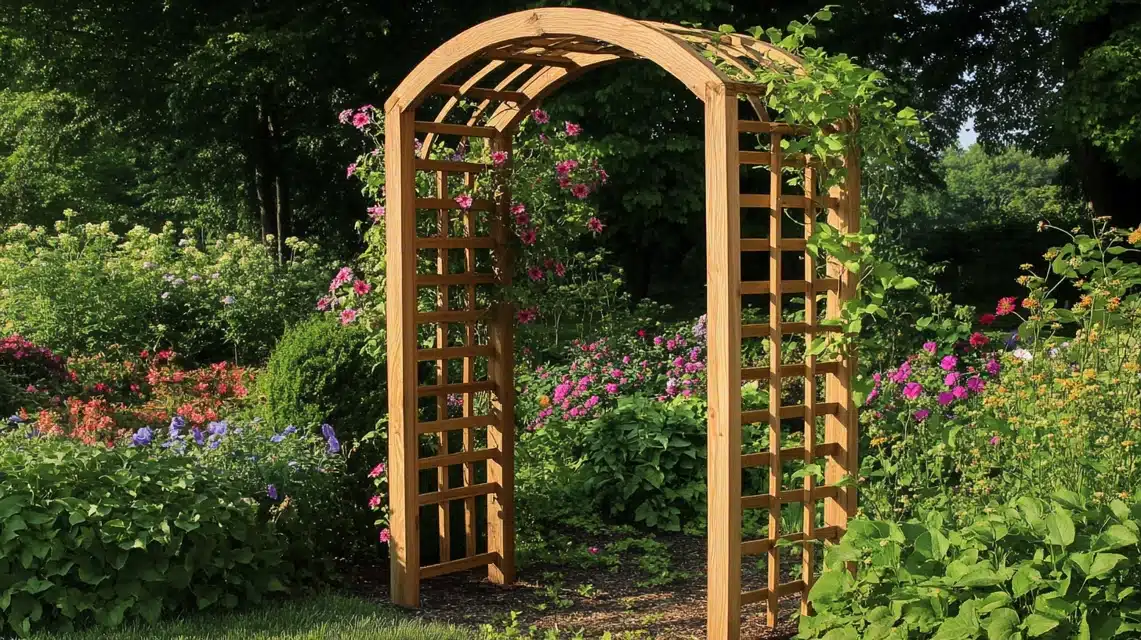
A raised garden bed offers a simple solution to all of these problems. It improves soil quality, provides easier access, and protects against pests.
Plus, you get more control over your garden’s environment. By following a few easy steps, you can create a thriving garden space with minimal hassle.
Planning Your DIY Raised Garden Bed
Proper planning is key to a successful raised garden bed. By considering location, size, and layout, you can create a thriving, easy-to-maintain garden.
| Factors to Consider | Recommended Measurement/Condition | Why It Matters |
|---|---|---|
| Sunlight | 6–8 hours of direct sunlight daily | Helps vegetables and flowers grow healthier and stronger |
| Drainage | Well-draining soil without standing water | Prevents root rot and waterlogging |
| Traffic | Low foot traffic area | Protects plants and prevents soil compaction |
| Bed Width | 3–4 feet wide | Makes it easy to reach plants from both sides |
| Bed Depth | 12–18 inches deep | Gives roots enough room to grow properly |
| Bed Length | 4–8 feet long | Fits well in most garden spaces and stays manageable |
| Plant Spacing | Based on plant size | Prevents overcrowding and improves airflow |
| Pathway Width | 18–24 inches wide | Allows comfortable walking and garden access |
| Accessibility | Easy-to-reach placement | Makes watering, harvesting, and maintenance simpler |
With careful planning, your raised garden bed will be set for healthy growth and easy gardening. Enjoy the process and watch your garden flourish!
Tools & Materials Needed
- Cedar
- Redwood
- Pine
- Saw
- Drill
- Screws
- Measuring tape
- Hardware cloth (for pest control)
- Soil/
- Compost
- Potting mix
Step-by-Step Guide to Building Your Raised Garden Bed
Building a raised garden bed may look like a big project at first, but the process is actually simple when broken into manageable steps.
1. Cutting the Wood
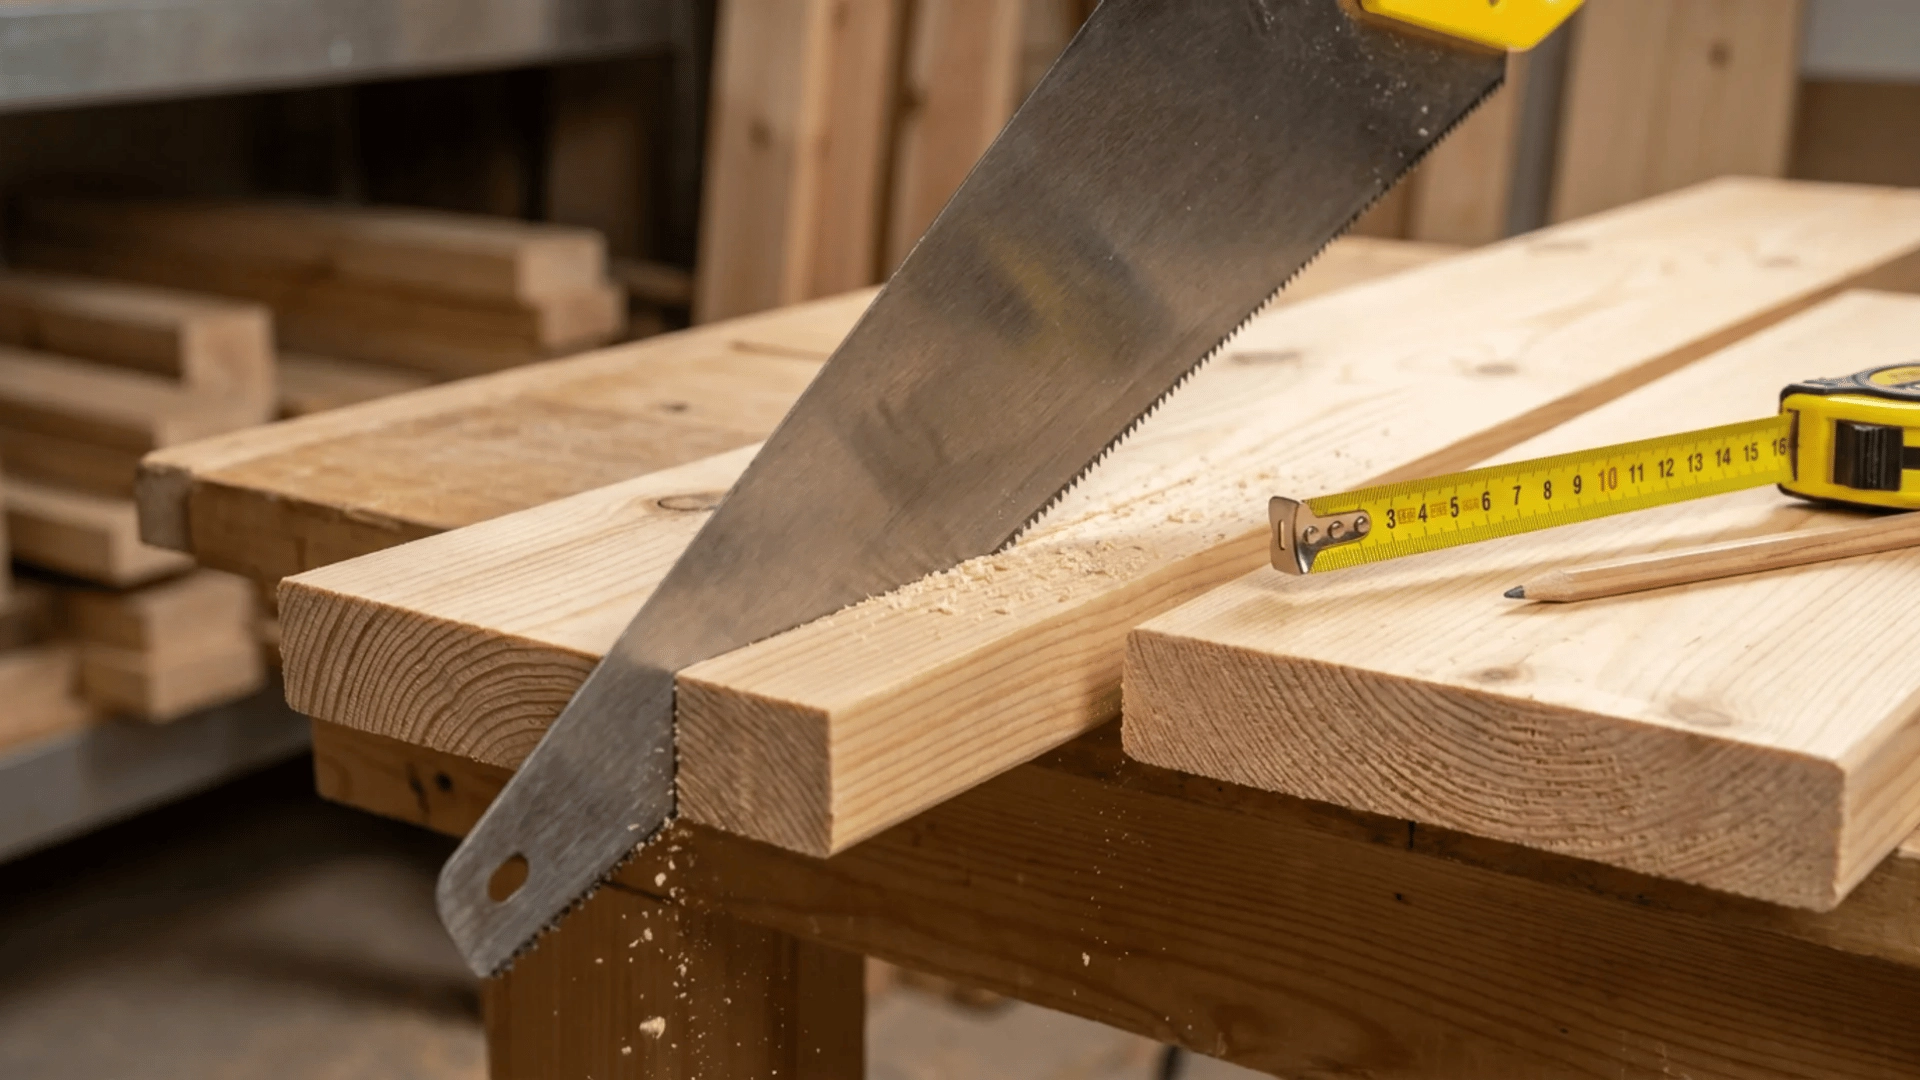
Start by measuring the length and width of your desired bed. Once you have your measurements, use a saw to cut the wood planks accordingly.
For accuracy, mark your cuts with a pencil and measuring tape before cutting to ensure clean, straight lines.
2. Building the Frame
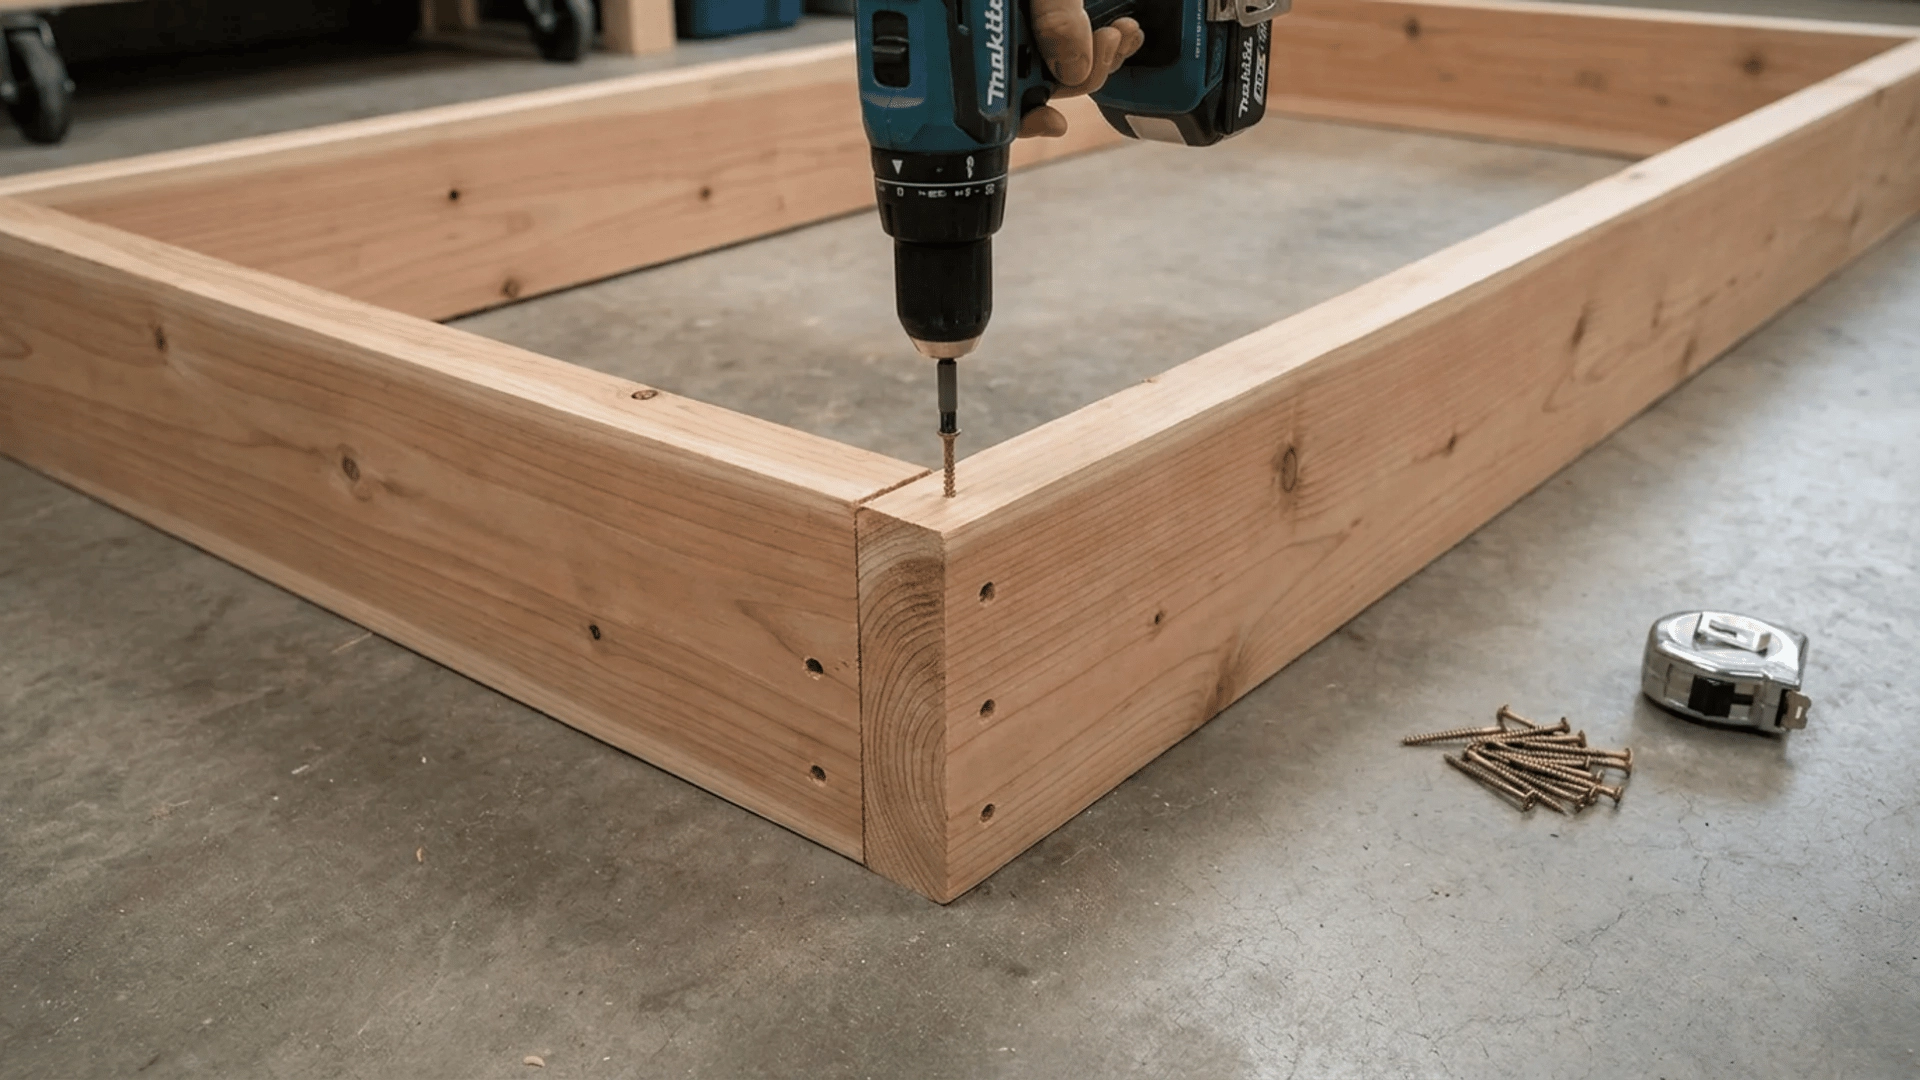
After cutting the planks, lay them out in a rectangular shape to form the frame. Use screws to attach the corners of the planks together.
Drill pilot holes first to prevent the wood from splitting when you drive in the screws, making the assembly easier and more secure.
3. Adding Corner Supports
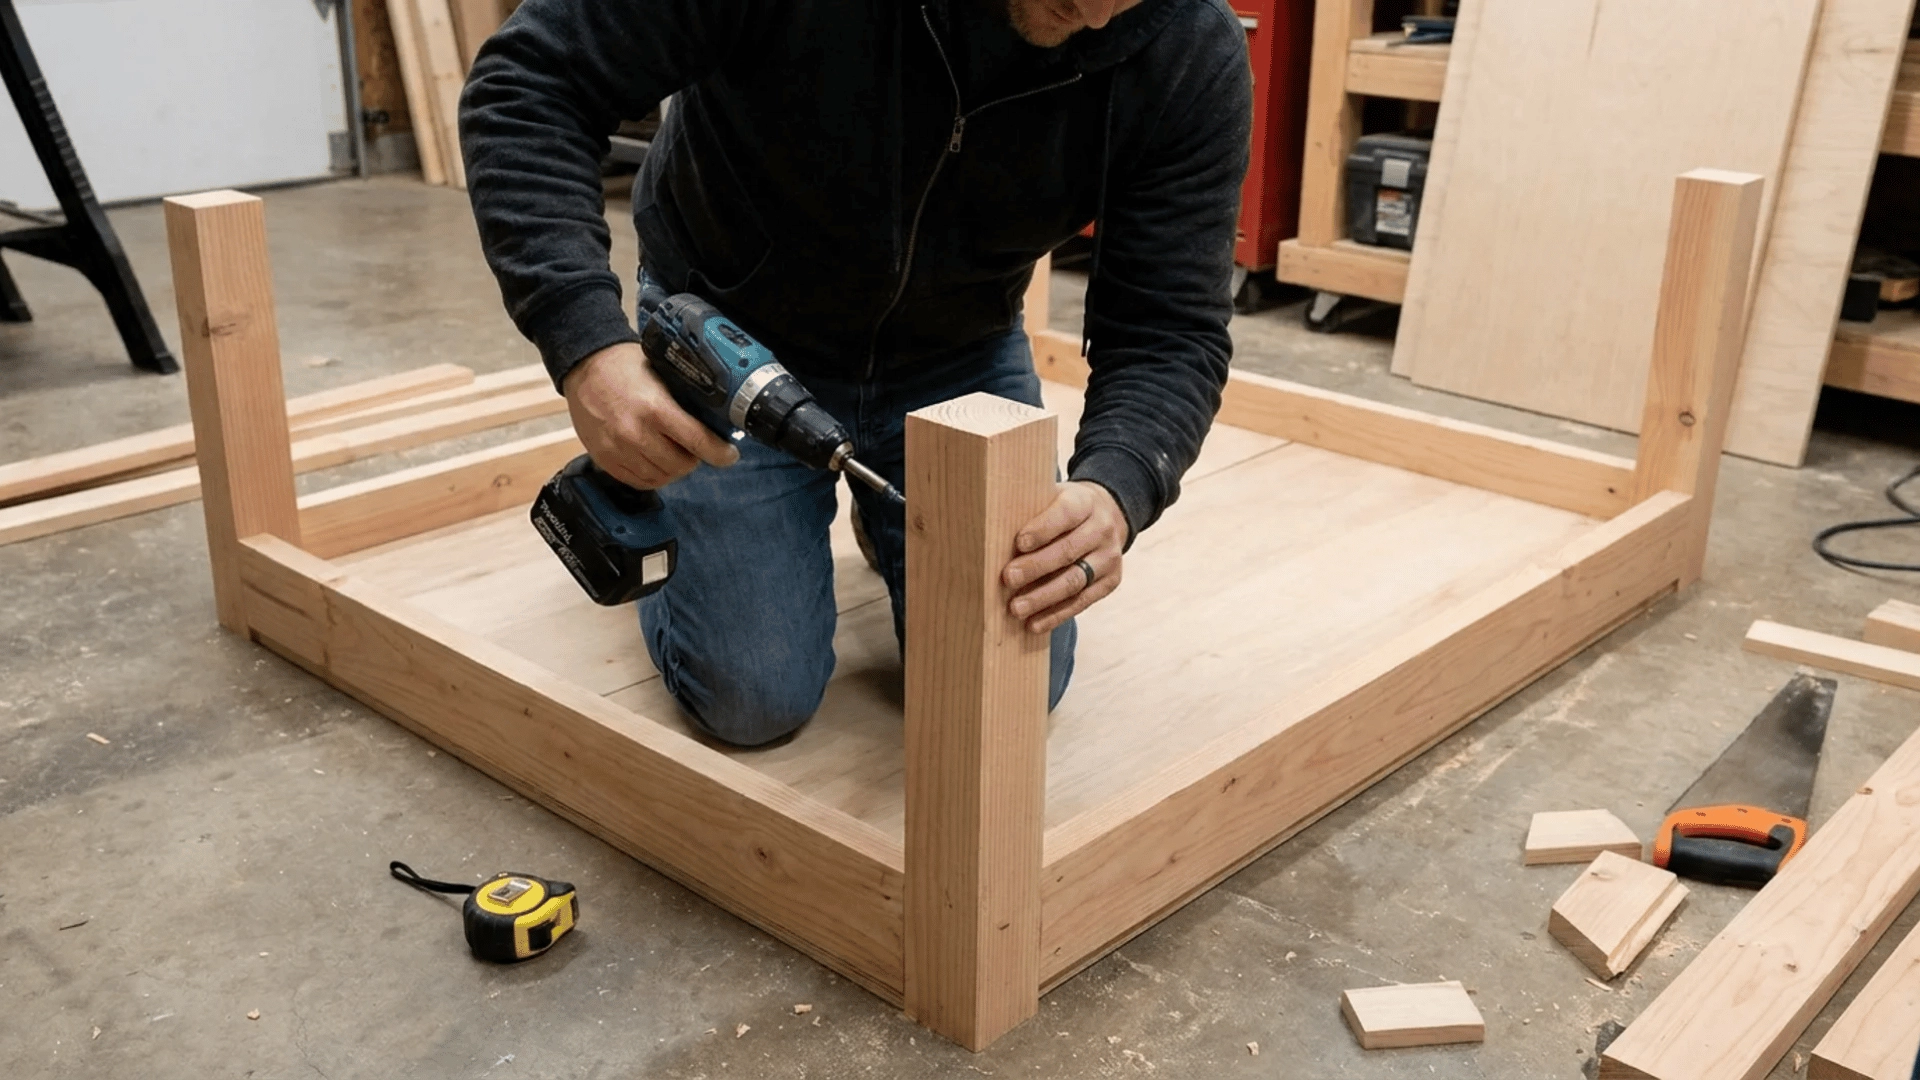
Next, cut four corner posts to the height of your bed. Position each post at the corners of the frame, and secure them with screws to add extra strength to the structure.
These corner supports will help stabilize the frame and ensure it holds up over time.
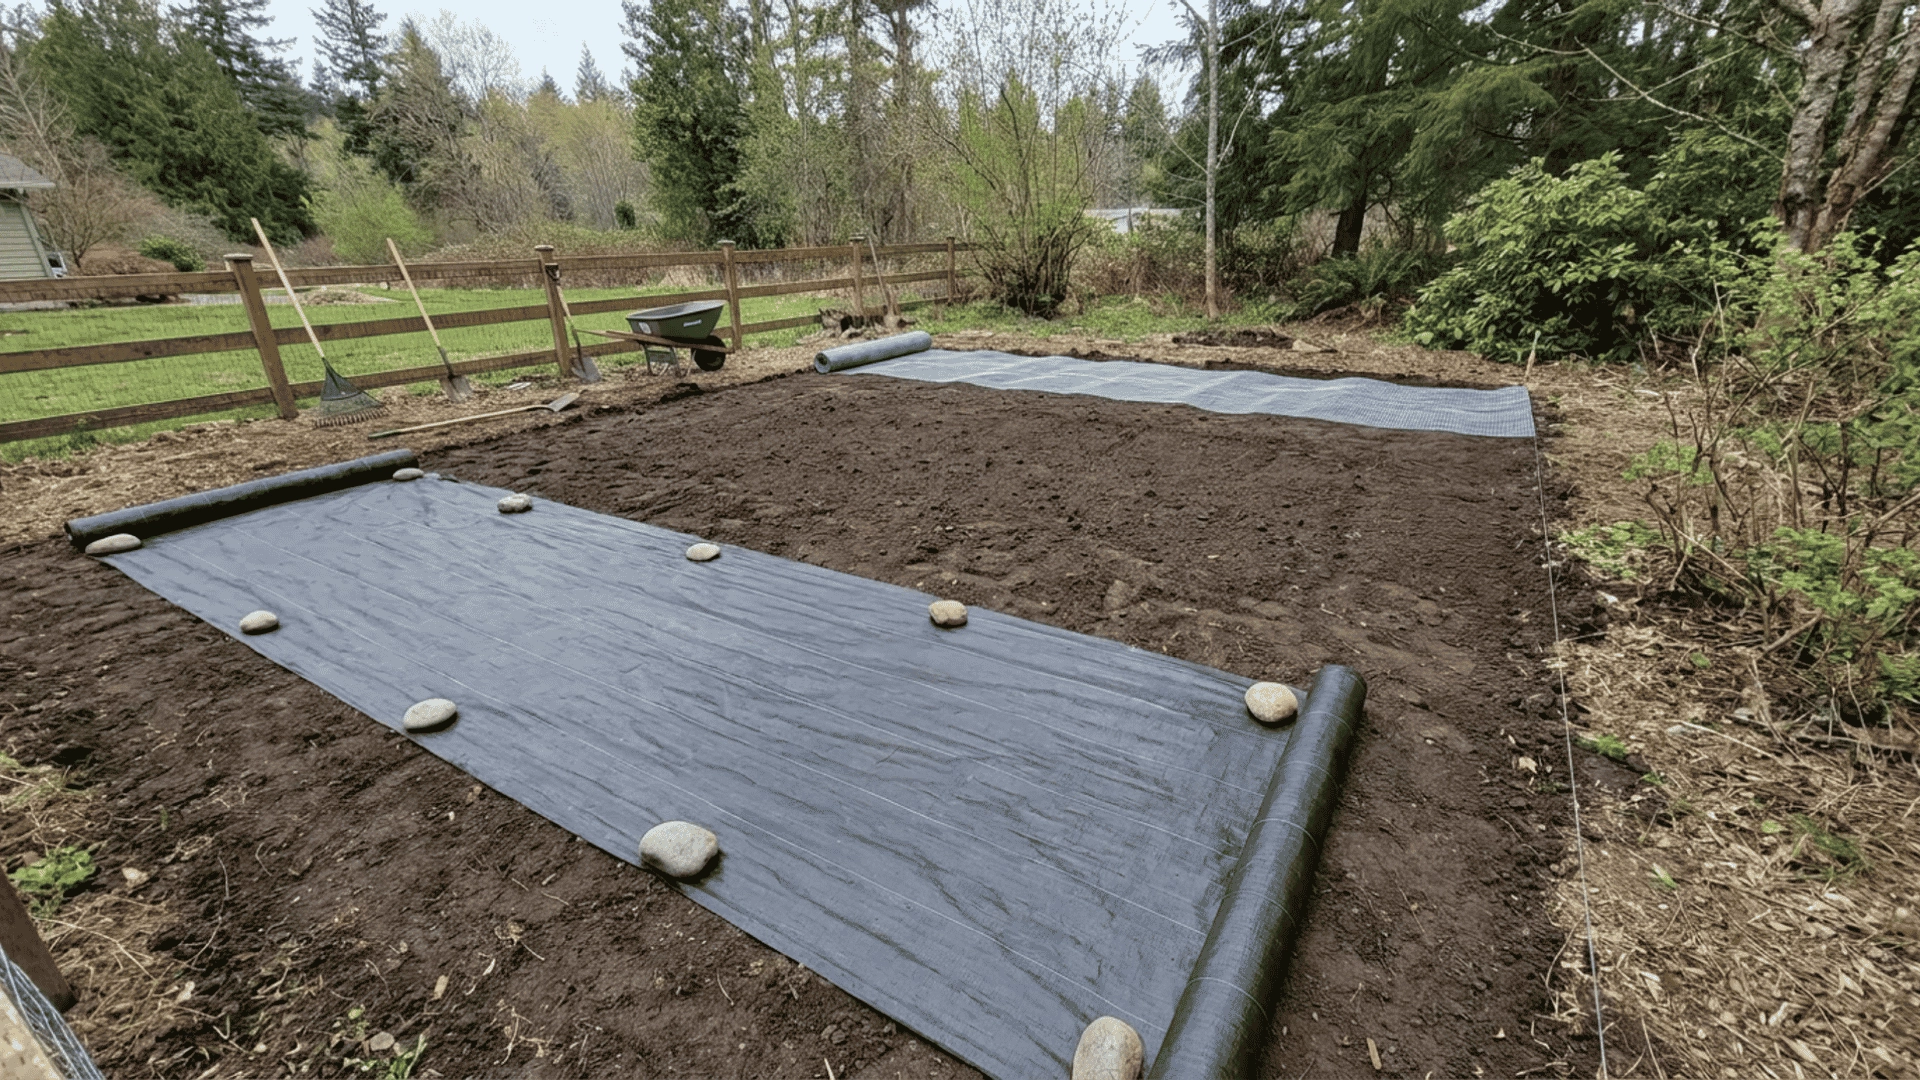
4. Preparing the Site
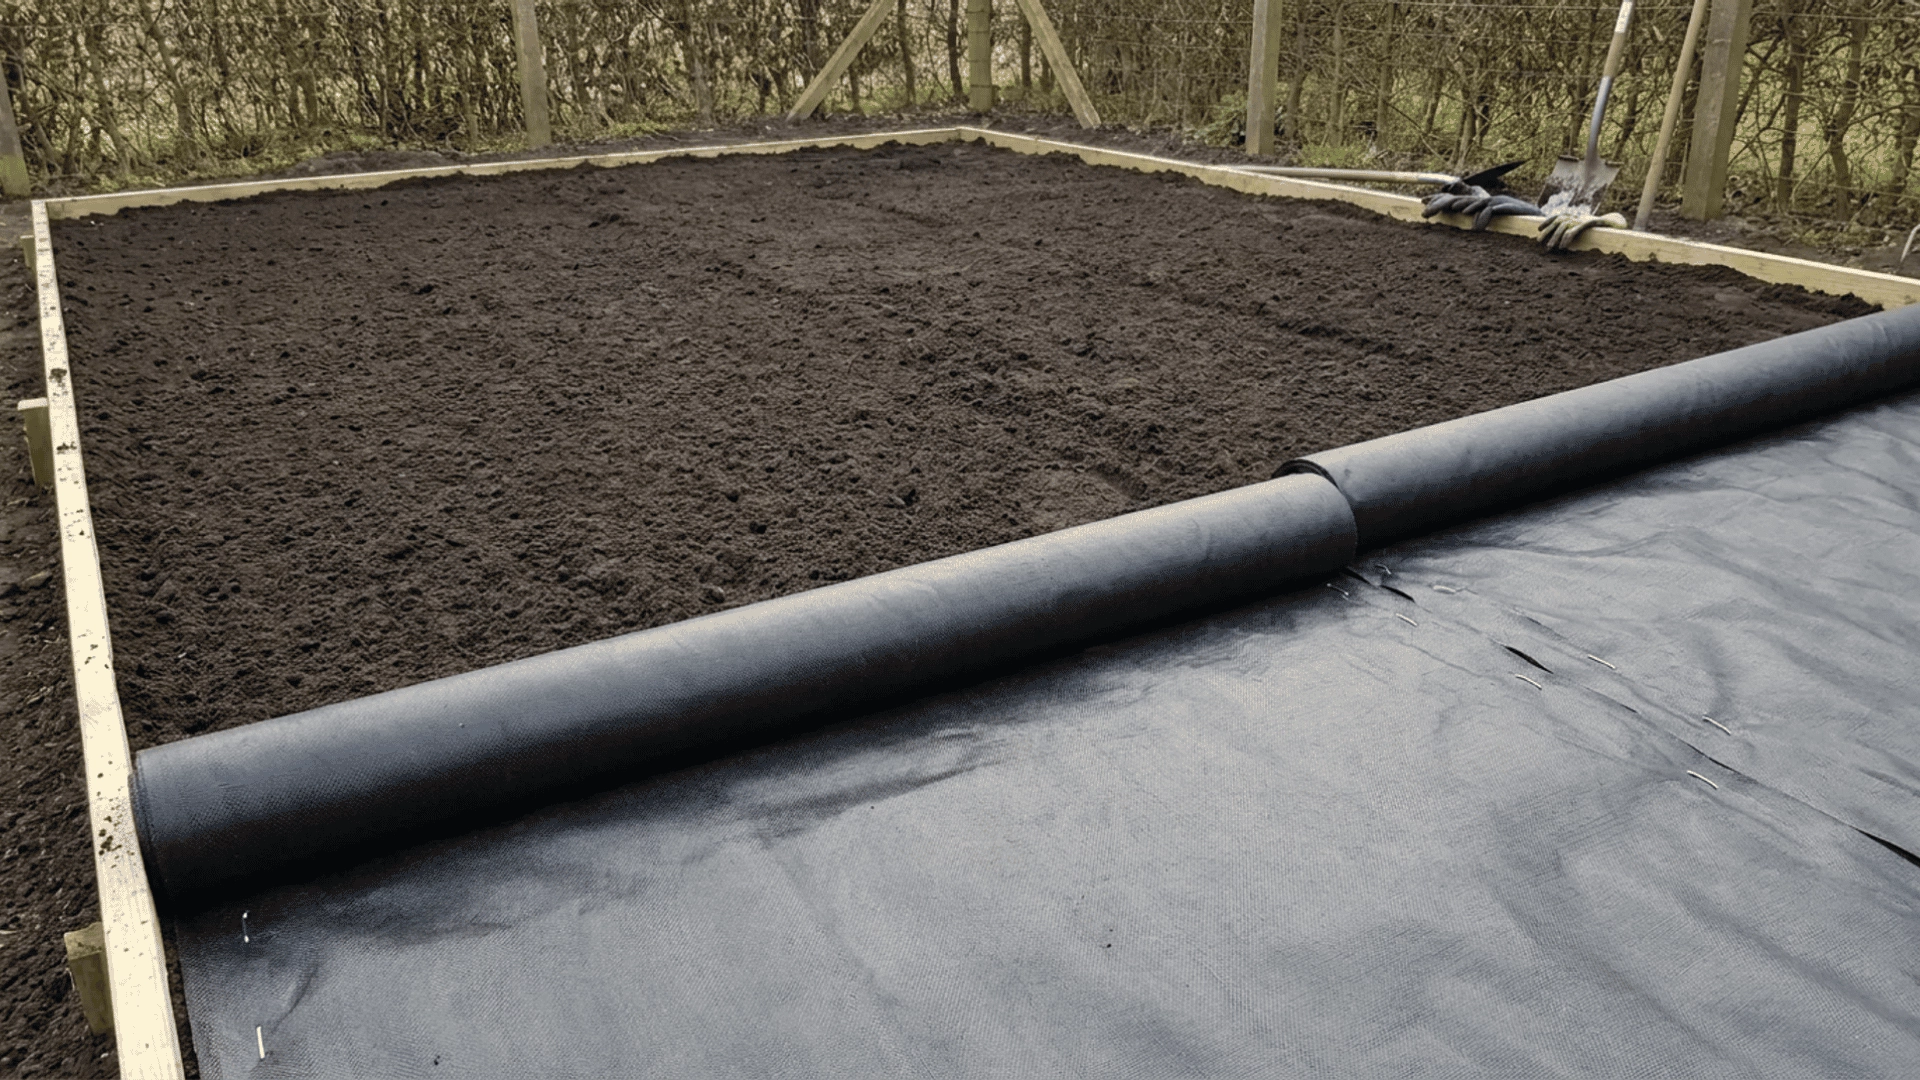
Before placing your raised bed, clear the area of any grass, weeds, or debris. Once the area is cleared, level the ground to create an even base for the bed.
To prevent weeds and pests from entering, lay down a weed barrier or hardware cloth at the bottom of the bed.
5. Filling the Bed
Start by adding a layer of sticks or coarse material at the bottom of the bed to aid in drainage. Follow this with a layer of compost to enrich the soil and provide essential nutrients for your plants.
Finally, top the bed with a soil mix suitable for your specific plants, filling the bed to your desired depth.
Hugelkultur vs. Elevated Raised Beds: Which is Better?
Both Hugelkultur and elevated raised beds improve drainage, growing space, and soil quality, but they work in very different ways depending on your gardening goals.
| Feature | Hugelkultur | Elevated Raised Beds |
|---|---|---|
| Construction | Built using layers of decaying wood, branches, and organic materials | Constructed with wood or other materials, elevated from the ground |
| Soil Enrichment | Improves over time as organic matter decomposes, adding nutrients to the soil | Soil quality depends on the mix used (e.g., compost, potting mix) |
| Water Retention | Excellent water retention due to decomposing materials | Good drainage, but may require more frequent watering than Hugelkultur |
| Maintenance | Low-maintenance once established, as it is self-sustaining | Requires regular soil top-offs and may need frequent care for consistent depth |
| Ergonomics | Requires bending over to access plants | Elevated height reduces the need to bend, making gardening easier on the back and knees |
| Best For | Large, self-sustaining beds, ideal for those who prefer a natural, low-maintenance approach | Gardeners seeking an ergonomic solution, especially those with limited mobility or smaller spaces |
| Time to Set Up | Takes longer to establish due to the layering process and decomposition | Quick and easy to set up with minimal preparation |
| Initial Cost | Low cost as it uses natural, often free materials | Higher initial cost due to construction materials like wood, hardware, and soil |
Both techniques offer unique benefits: Hugelkultur is ideal for long-term sustainability, while Elevated Raised Beds provide convenience and ergonomics for easier gardening.
Maintenance Tips for Your Raised Garden Bed
A raised garden bed is much easier to manage than traditional gardening, but regular care is still essential to keep plants healthy and productive throughout the growing season.
- How to Keep the Wood Protected: Seal the wood with eco-friendly products and elevate the bed to prevent moisture damage.
- Adding Fresh Soil and Compost: Top up with fresh soil and compost each season to maintain balanced nutrient levels. Regularly mix the soil to improve aeration and avoid compaction.
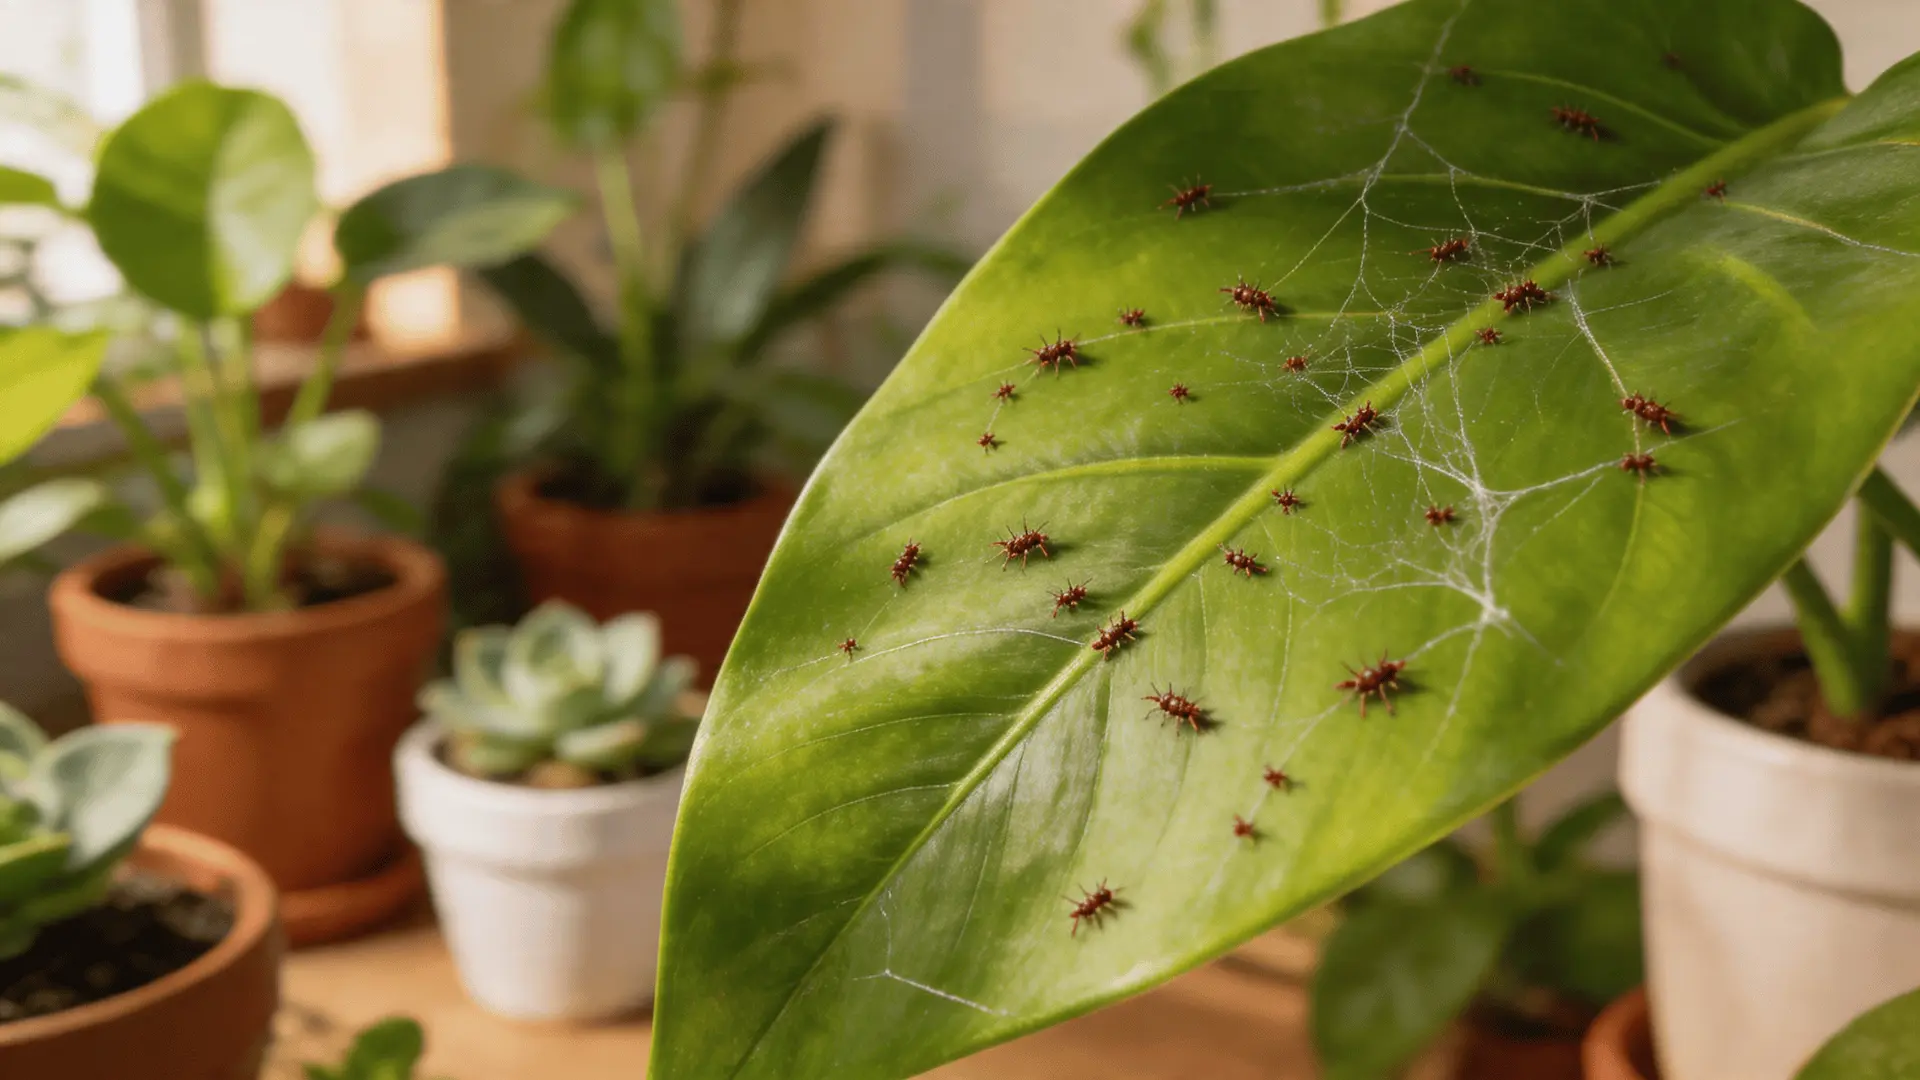
- Managing Pests and Weeds: Use weed barriers and mulch, and employ natural pest control methods such as neem oil.
- Watering Consistently: Water the bed regularly, especially during dry spells, to ensure consistent moisture levels for your plants.
- Rotating Plants: Rotate plant varieties each season to prevent soil depletion and reduce the buildup of pests or diseases.
Conclusion
Raised garden beds offer numerous benefits, including improved soil quality, better drainage, easier access for gardening, and protection from pests.
They make gardening more enjoyable and efficient, especially with thoughtful planning and regular maintenance.
Now that you know the essentials, it’s time to get started! Whether you’re growing vegetables, flowers, or herbs, building a raised garden bed is a rewarding way to cultivate a thriving garden.
Start planning your raised garden bed today and watch your garden flourish!
Frequently Asked Questions
What vegetables should I grow in a raised bed?
You can grow vegetables like tomatoes, lettuce, carrots, peppers, and radishes in a raised bed. These plants thrive in well-drained, nutrient-rich soil.
How often should I water my raised bed?
Water your raised bed 2-3 times a week, ensuring the soil is moist but not waterlogged. Adjust based on weather conditions and plant needs.
Can I build a raised bed on a budget?
Yes, you can build a raised bed on a budget using affordable materials like untreated wood, pallets, or recycled items, and inexpensive soil mixes.