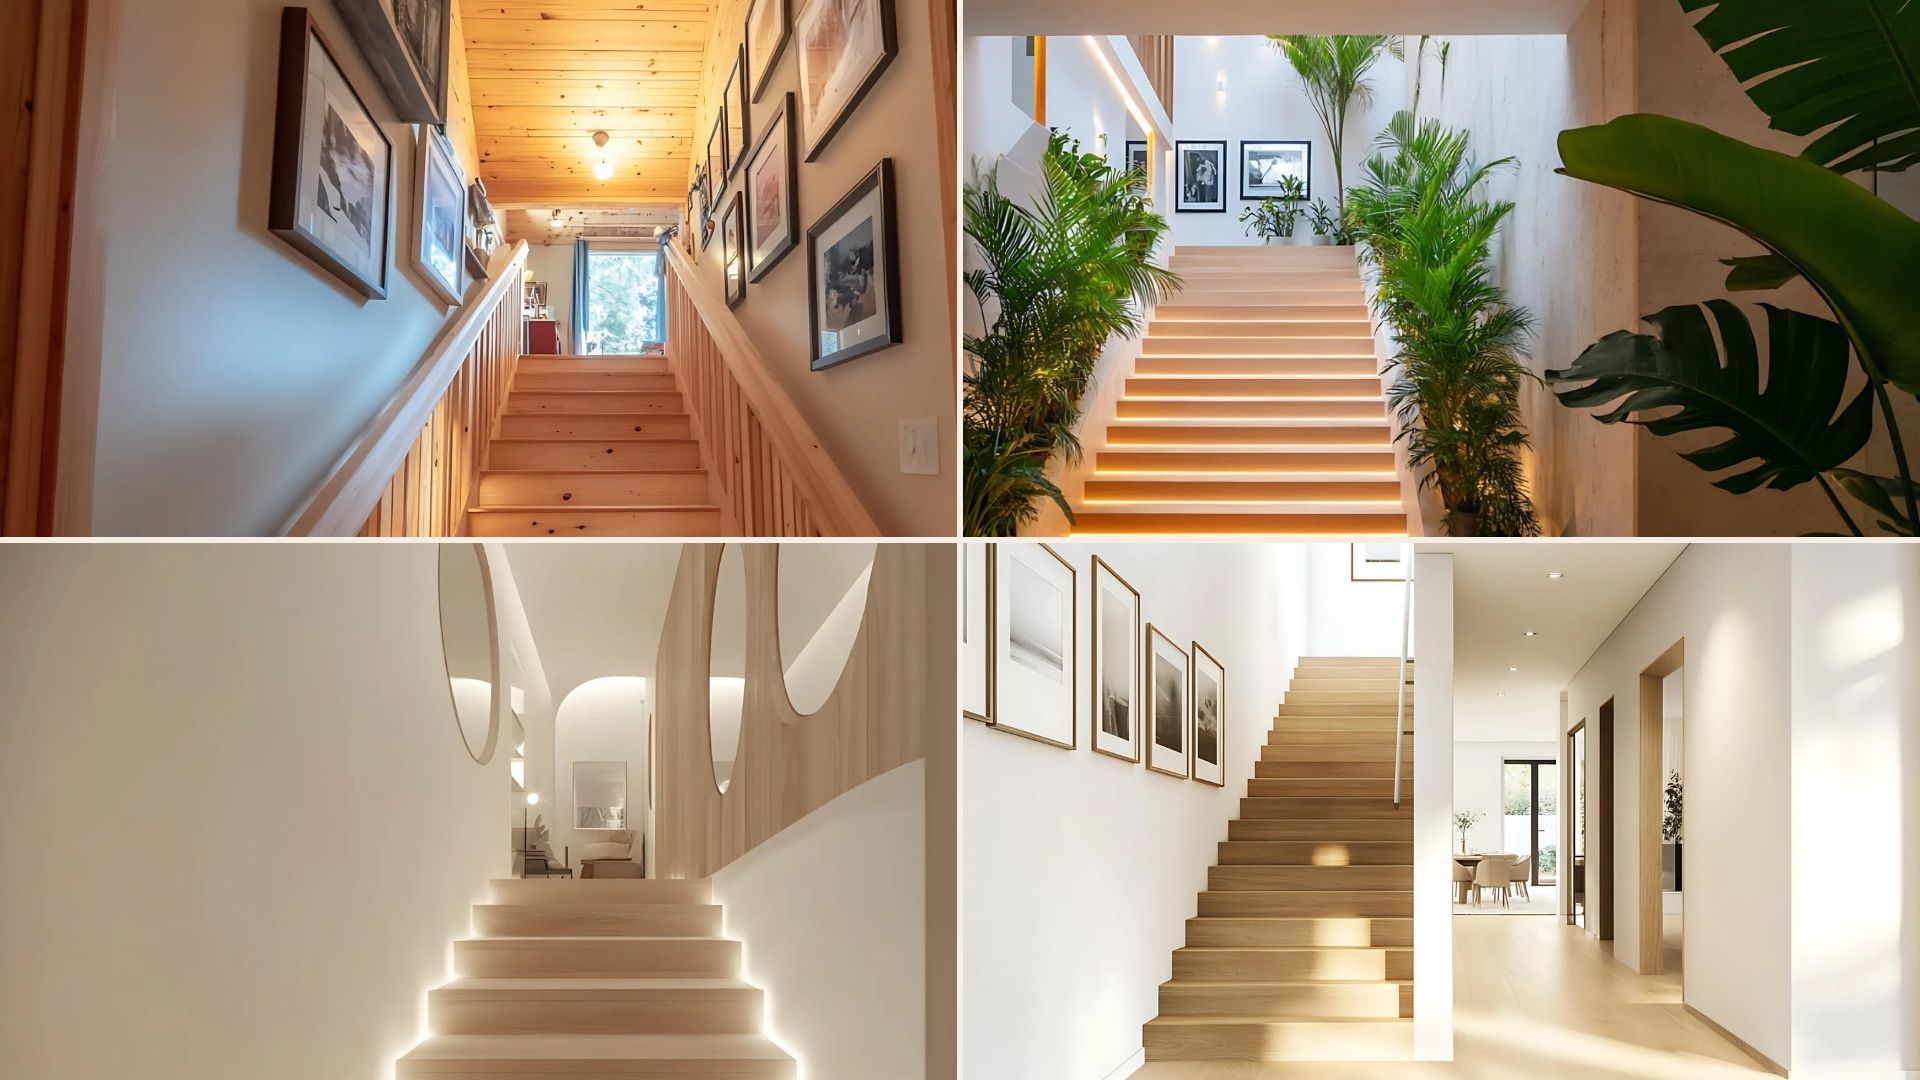
DIY Staircase Renovation: A Step-by-Step Guide
I remember the first time I looked at our stairs and thought, “Yeah… those need help.” The carpet was worn, the wood underneath looked tired, and it no longer matched the rest of the house.
That’s when I got into the idea of a simple DIY staircase renovation, something I could handle without spending a fortune.
This guide walks you through every step, from inspecting your stairs’ condition to determining what to repair or replace, selecting the right materials, and completing the job safely.
You’ll also find tips on maintaining your finished stairs and avoiding common mistakes. Let’s get into the kind of DIY work that actually feels doable and looks great when you’re done.
Should You Update or Do a Staircase Renovation?
If you’re dealing with outdated or worn stairs, the first step is to decide whether a makeover or a full replacement is best.
Quick Stair Condition Checklist
Before starting any project, take a close look at your stairs. If the treads are solid, not wobbly, and don’t squeak much, you can likely paint or refinish them.
Small chips, scratches, or cosmetic wear are fixable. But if the wood is cracked, soft, or shifting under weight, you may need to replace the treads or risers.
Check for uneven riser heights, large gaps, or missing support. Those are signs your stairs need more than just a facelift. Knowing what you’re working with helps set a safe and realistic plan.
Costs of Each Option
Painting stairs is the cheaper option and can cost between $50 to $150 if you already have basic tools.
It’s ideal if your treads are solid but look outdated. Stain and polyurethane jobs may run a little higher, but still stay under $200.
Full tread replacement with plywood or hardwood typically costs between $200 and $600, depending on the stair length and material.
Add more if you update the railing. Your budget, tool access, and stair condition will guide your choice. It’s smart to price everything before committing to a single path.
Materials That Work Well
For a budget-friendly and long-lasting stair makeover, stick with easy-to-find, sturdy materials like these:
- Plywood treads (stain-grade or sanded)
- Plywood risers (standard or pre-primed)
- Bullnose edging or stair nosing strips
- Wood glue for securing treads and trim
- Wood filler for gaps and imperfections
- Paint (floor-grade, latex, or enamel)
- Stain (if keeping a natural wood look)
- Polyurethane (water-based or oil-based for durability)
- Primer (if you’re painting bare wood)
- Painter’s tape for clean lines
- Sandpaper (various grits for smoothing and prep)
Step-by-Step Staircase Makeover Guide
Here’s a full breakdown from start to finish so you can upgrade your stairs with confidence and a clear plan.
Step 1: Remove the Railing and Stair Runner

The project began with removing the old stair railing, which wasn’t up to code.
Flathead screws were hidden under layers of paint, so the creator used Goof Off to expose them and eventually had to chisel some pieces out.
After the railing was gone, the dirty, worn stair runner came out next. This step was harder than expected.
Hundreds of staples had to be pulled out one by one, making it the most physically exhausting part of the job.
Step 2: Deep Clean and Prep the Stairs

Once the runner and staples were removed, the entire staircase was vacuumed and wiped down.
Blisters and dust made this part feel never-ending, but it was necessary to make sure the adhesive would bond properly later.
With everything stripped and clean, the space was finally ready for real renovation work.
Step 3: Install the Risers

The risers were prefinished white boards that needed to be trimmed to fit each stair.
A table saw was used to rip them down to the right height, and a strong paneling adhesive held them in place without nails.
Painter’s tape helped secure the risers as they dried, creating a clean, seamless look that matched the home’s existing trim.
Step 4: Measure and Cut Stair Treads

Using stair tread overlays that matched their vinyl plank flooring, the team measured each stair carefully.
They started with the wider bottom steps to leave room for mistakes and reused any miscut pieces on shorter top steps.
After setting up a stop block on the miter saw, they quickly cut all the matching tread pieces, along with end cap and trim pieces for a polished finish.
Step 5: Install the Stair Treads and Trim

Glue was applied generously to the backs of each tread before they were pressed into place. Starting from the bottom and working upward, the team ensured a tight fit between each step and riser.
Mitered side pieces and tiny end caps were added to give each step a finished edge. Special cuts were made using a jigsaw where needed, especially on irregular steps.
Step 6: Clean-Up

After installing the last tread, a final pass was made to vacuum any remaining dust and clean up the workspace. The transformation was dramatic; the stairs looked brand new and perfectly matched the rest of the home’s flooring.
The creators noted how much better and safer the stairs felt without the old runner and staples, and they planned to add a new custom railing next to complete the project.
Staircase Finishing Touches
Once the main stair work is complete, small upgrades like painting and trim details can help tie the entire makeover together.
Paint the Stringers
Stringers run along the sides of your stairs and can really change the look with just a little paint. Many people go for crisp white paint to create contrast against stained or dark treads.
It gives your stairs a clean, modern edge. If you prefer a rustic or natural feel, you can sand and seal the original wood instead.
Either way, take your time using painter’s tape and angled brushes to achieve smooth lines along walls and edges.
Railing and Baluster Options
You don’t have to tear everything out to give your railing a fresh look. Consider sanding and repainting the handrail in black or a dark brown for added contrast.
If your balusters are dated, you can swap just those for simple wood or metal spindles. For an even quicker fix, wrap square balusters with trim pieces to fake a more custom look.
Painting the railing and balusters in two tones—such as white and dark gray—can also modernize the space without replacing the entire system.
Common Mistakes to Avoid
Avoiding a few common errors can save you time, money, and frustration as you work through your DIY stair makeover.
- Rushing sanding: Skipping proper sanding or rushing through it leads to a rough, uneven surface that won’t hold paint or stain well.
- Skipping filler: Leaving nail holes or gaps unfilled can ruin the final look. Always use wood filler for a smooth, finished surface.
- Mismatched wood colors: Using different types of wood without testing stains can cause color inconsistencies across treads and risers.
- Using the wrong finish: Floor-grade polyurethane or enamel paint is a must. Softer finishes tend to wear out quickly and may peel or scuff.
Styling and Maintenance Tips
A few simple habits and add-ons can keep your stairs looking sharp, clean, and safe long after the makeover is finished.
- Keeping Wood Stairs Clean: Sweep often to remove dirt and grit. Use a damp mop with wood-safe cleaner. Wipe spills quickly and avoid soaking the surface.
- When to Add a Runner: Add a runner if you have kids, pets, or high traffic. It softens noise, adds grip, and brings in some color or pattern.
- Slip-Resistant Finish Tips: Opt for satin or matte polyurethane for enhanced grip. Add a grit additive to your topcoat. Skip waxes that can make stairs slippery.
Conclusion
Fixing up your stairs with your own hands is one of those projects that actually feels worth it. When you walk up and down each day and see a clean, solid finish, you feel a sense of pride.
By now, you’ve learned how to inspect, plan, and carry out a full DIY staircase renovation without going over budget.
From sanding to sealing, every step contributes to a significant upgrade. The details matter, and so does taking your time.
If this project helped you feel more confident in your space, keep going. There’s always another corner of your home that could use your touch.
Please stick around and browse through more how-to guides on how you can improve the interiors of your house.