
How to Build a DIY Nativity Stable?
Building a DIY nativity stable is a fun project that adds a personal touch to your holiday decorations. It’s a simple way to create a cozy place for your nativity set.
Whether you want to place it inside or outside, you can easily adjust the size and design to fit your space.
With basic materials like scrap wood, glue, and simple tools, you can make a stable that looks great and is easy to put together.
In this guide, we will show you each step, from picking the right materials to finishing your stable. By the end, you’ll have a handmade stable that will brighten your home for the season.
Materials Needed for Building a DIY Nativity Stable
Building a DIY nativity stable is an enjoyable project that requires only a few basic materials. Here’s what you’ll need:
1. Scrap Wood
Use leftover wood from old projects. Pine and cedar work well, but any sturdy wood will do. Choose pieces that are thick enough to hold the structure together.
If the wood has rough edges, sand them down for a smooth finish.
Scrap wood is a good choice because it saves money and reduces waste. Using different wood types can give the stable a simple and natural look.
If you want a more polished finish, stain or paint the wood before assembling the stable.
2. Wood Glue
Wood glue helps hold the pieces of the stable together. It creates a strong bond and keeps the structure steady.
Apply a thin layer of glue to the edges before attaching the wood pieces. Press them firmly together and hold them for a few minutes.
If needed, use clamps to keep the pieces in place while the glue dries.
Let the glue dry completely before moving on to the next step. This will make sure the stable stays strong and lasts longer.
Wood glue is a simple way to secure the structure without using too many nails or screws.
3. Finishing Nails
Finishing nails helps hold the stable together along with wood glue. They add extra support, making the structure stronger and more durable.
Use small nails to secure the wood pieces at key points, like the base, walls, and roof.
Hammer them in carefully to avoid splitting the wood. If needed, drill small pilot holes before inserting the nails to make it easier.
Finishing nails keeps the stable solid while keeping the design simple. They help the structure stay in place without being too noticeable, giving the stable a clean and neat look.
4. Saw
A saw is needed to cut the wood into the right sizes for the stable.
You can use a hand saw, jigsaw, or miter saw, depending on what you have. A hand saw is good for straight cuts, while a jigsaw helps with curved or detailed cuts.
Before cutting, mark the wood with a pencil to ensure accurate measurements. Cut slowly and follow the lines carefully to get clean edges. If the wood feels rough after cutting, sand the edges to smooth them out.
A saw helps shape the stable to fit your design. Taking your time while cutting will make assembly easier and give the stable a well-made look.
5. Sanding Tools
Sanding tools help smooth the wood and prepare it for painting or staining. You can use sandpaper, a sanding block, or a power sander, depending on what you have.
Start with medium-grit sandpaper to remove rough spots and any splinters. If the wood still feels uneven, switch to fine-grit sandpaperfor a smoother finish.
Always sand in the direction of the wood grain to avoid scratches.
After sanding, wipe off the dust with a dry cloth or a damp rag. A clean surface helps paint or stain stick better and gives the stable a neat and finished look.
Sanding also makes the edges safer by removing any sharp or rough areas.
6. Wood Stain or Paint
Wood stain or paint adds color and protects the wood. Stain brings out the natural grain and gives the stable a simple, natural look.
Paint allows you to match the stable to your space and gives it a fresh appearance.
If you stain, use a brush or cloth to apply it in the direction of the grain. Wipe off any extra stain with a clean cloth, then let it dry completely. A second coat can make the color darker.
If you paint, use a brush or roller to apply thin layers. Let each coat dry before adding another. Lightly sanding between coats helps the paint go on evenly.
Both stain and paint help protect the wood and make the stable look complete. Choose the finish that fits your style best.
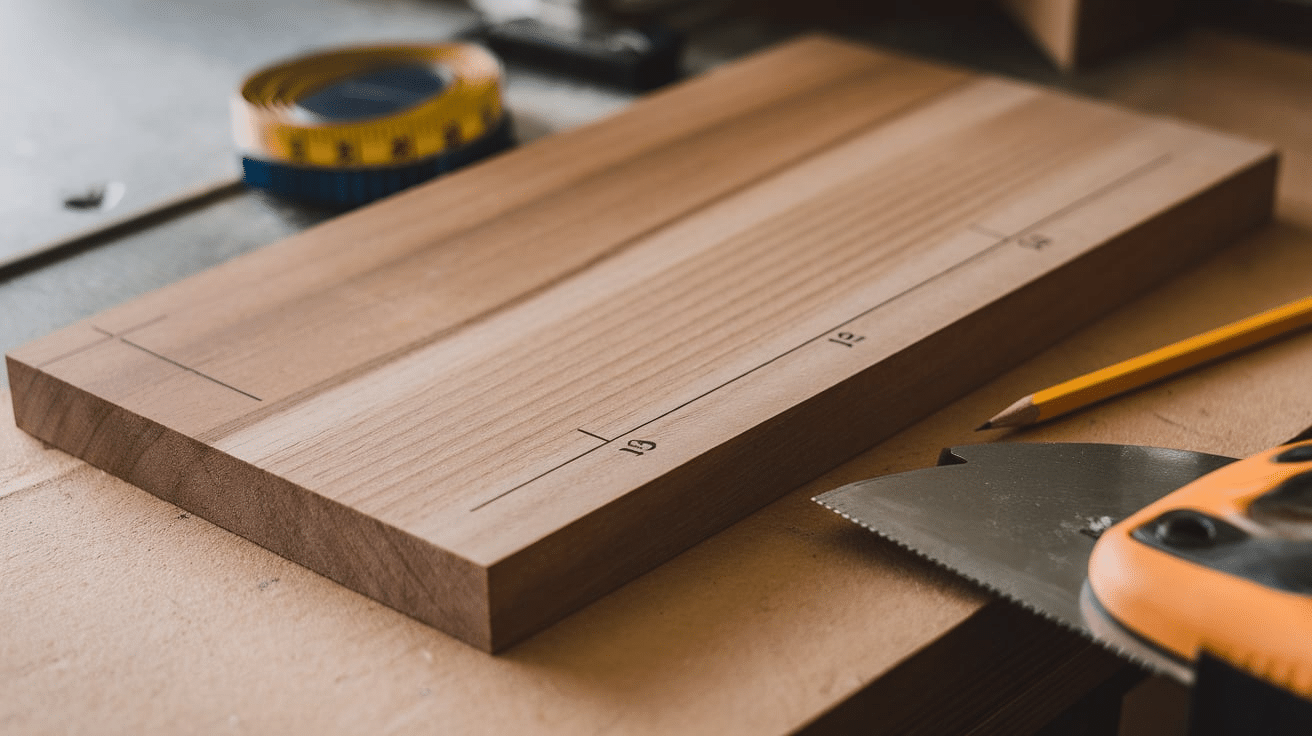
7. Measuring Tape
A measuring tape helps you cut the wood pieces to the right size. Accurate measurements make sure the stable fits together properly and looks balanced.
Before cutting, measure each piece of wood and mark the lines with a pencil. Double-check your measurements to avoid mistakes. If you want a stable with a specific height or width, plan the sizes before cutting.
Using a measuring tape helps keep the structure even and well-shaped. Taking time to measure correctly will make assembling the stable easier and ensure all the pieces fit together neatly.
Step-by-Step Guide to Building the Nativity Stable
Building a DIY nativity stable is a fun project that anyone can do with a little patience and some basic tools. Here’s a simple guide to help you through the process:
1. Cut the Base
Start by choosing a strong piece of wood for the base. The size of the base will depend on how big you want the stable to be.
A good starting size is 24 inches by 12 inches, but you can adjust it to fit your nativity set.
If you plan to add extra details like a manger or figures, make sure the base is large enough to hold everything.
Use a measuring tape to mark the correct dimensions on the wood.
A pencil works well for drawing straight lines before cutting. Once the lines are marked, use a hand saw, jigsaw, or miter saw to carefully cut along the edges.
Cut slowly to keep the edges straight and even.
After cutting, sand the edges and surface with sandpaper or a sanding block. This removes any rough spots and helps prevent splinters.
A smooth base makes it easier to attach the rest of the stable pieces and ensures that the structure stands evenly.
If you want a more natural look, you can leave the base as it is. If you prefer a finished style, consider staining or painting it before assembling the stable.
The base holds everything together, so taking time to cut it correctly will make the entire structure stronger and more balanced.
2. Cut the Frame Pieces
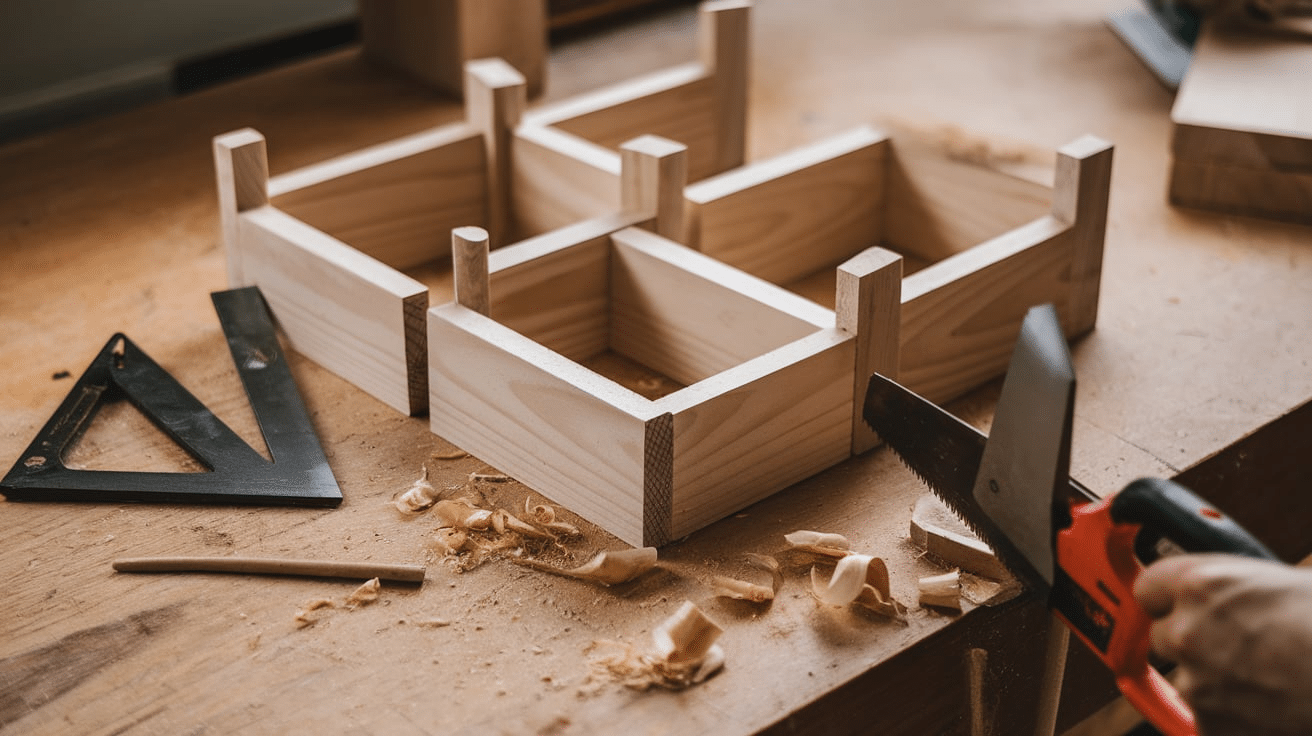
The frame gives the stable its shape and supports the walls and roof. You will need four main pieces: two side walls, a back wall, and front support posts.
The size of these pieces will depend on how big you want your stable to be.
A common size is 10–12 inches tall for the side walls and 12–15 inches wide for the back wall.
Use a measuring tape to mark the correct dimensions on the wood. Draw straight lines with a pencil to guide your cuts. Once the lines are marked, use a hand saw, jigsaw, or miter saw to cut each piece carefully.
If you want an open front, cut two vertical support posts instead of a full front wall. These posts will hold up the roof while keeping the front open for displaying the nativity scene.
After cutting, sand the edges of each piece to remove rough spots and make assembly easier.
A smooth surface helps the wood fit together better and prevents scratches or rough areas when handling the pieces.
Taking time to cut the frame pieces accurately will make the stability stronger and ensure all parts fit together properly in the next steps.
3. Sand the Edges
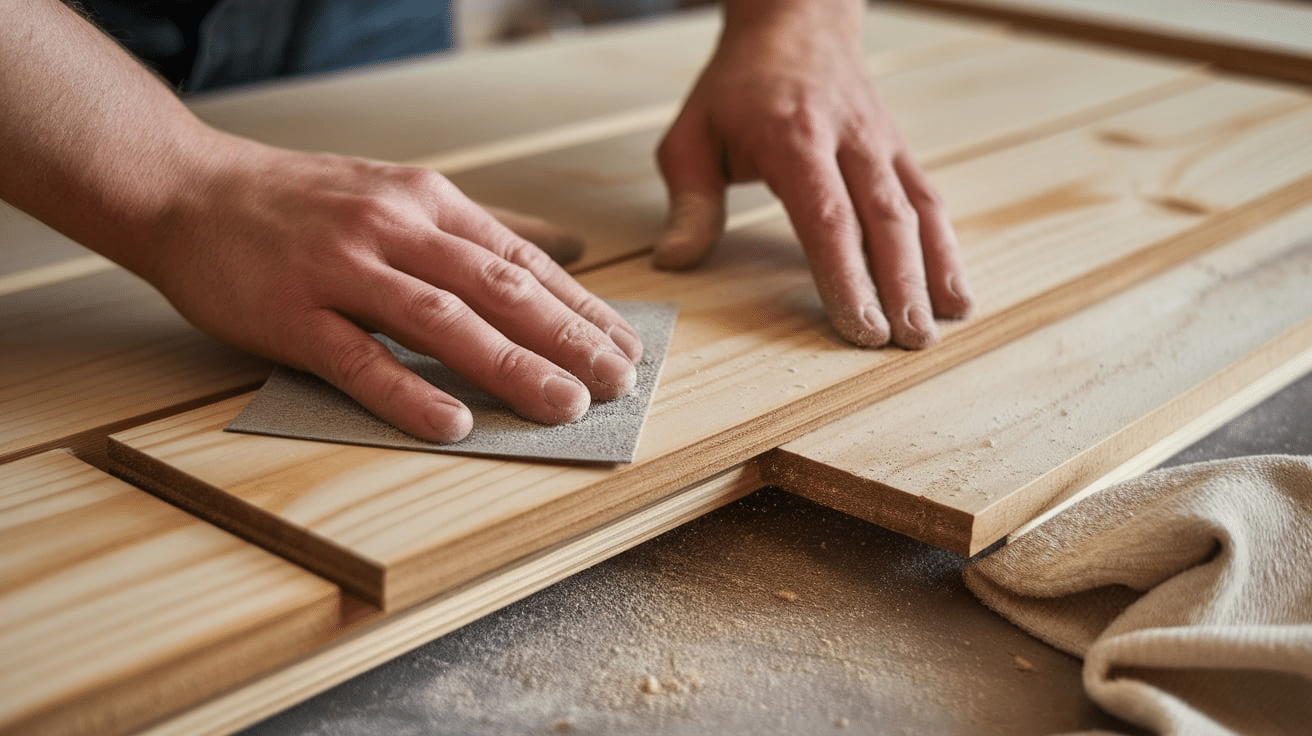
After cutting the wood pieces, sanding is an important step to remove rough spots and prepare the surface for assembly.
Use medium-grit sandpaper to smooth the edges and surfaces of each piece. Sand in the direction of the wood grain to avoid scratches. If the wood still feels rough, switch to fine-grit sandpaper for a smoother finish.
Pay extra attention to the edges and corners, as these areas may have splinters or uneven spots from cutting.
If the wood has any small cracks or holes, apply a little wood filler, let it dry, and sand again until the surface feels even.
After sanding, wipe off any dust with a dry cloth or a damp rag. Removing dust helps paint or stain go on smoothly later. A well-sanded surface also makes it easier to fit the pieces together when assembling the stable.
4. Assemble the Frame
Now that all the frame pieces are cut and sanded, it’s time to put them together. Start by attaching the back wall to the base using wood glue and finishing nails.
Hold it in place and let the glue dry before moving to the next step.
Next, attach the two side walls to the base and back wall. Apply wood glue along the edges where the pieces meet, then secure them with finishing nails. Make sure the walls stand straight before allowing the glue to dry.
If you are leaving the front open, attach two support posts at the front corners. These will hold up the roof while keeping the stable open for display. Check that everything is level before moving on.
A strong frame will help the stable stay in place and support the roof properly. Taking time to secure each piece will help the structure last longer.
5. Add the Roof Supports
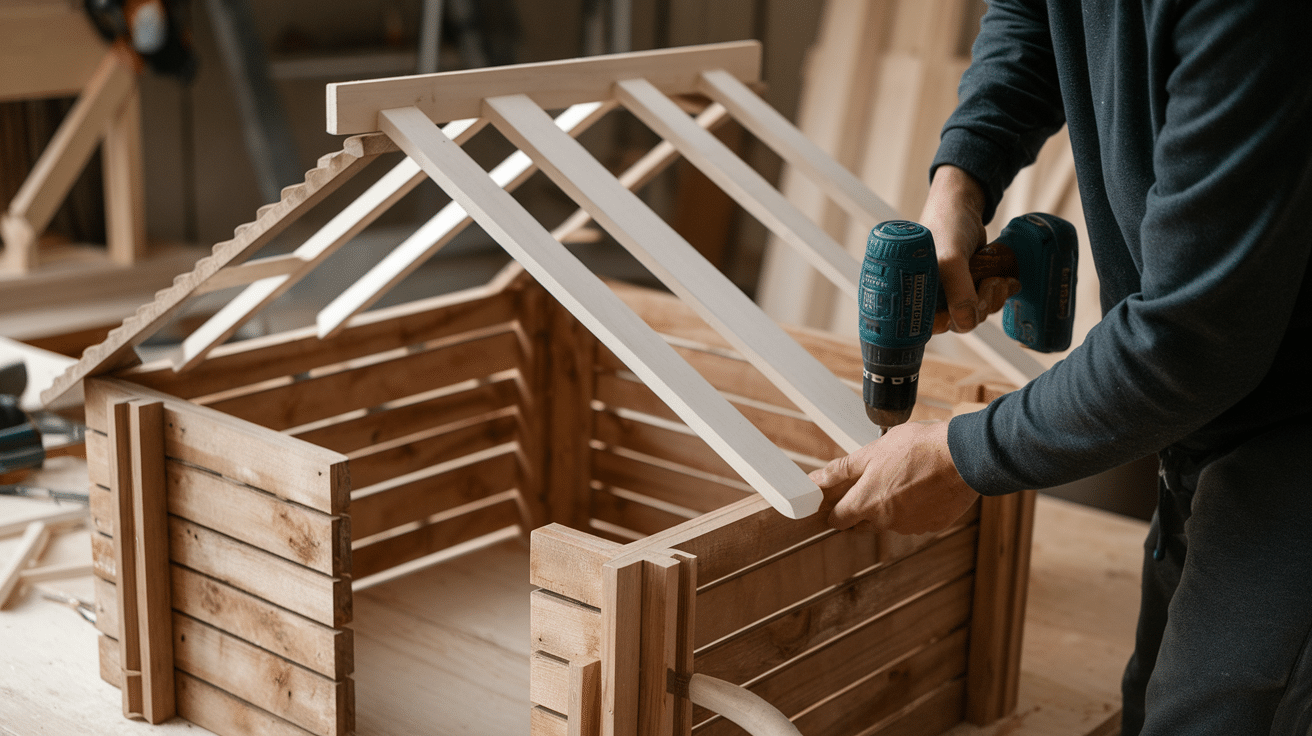
The roof supports hold the roof in place and give the stable its shape. Cut two roof support pieces that will connect the front and back of the stable. These should match the width of the stable so they fit properly.
Attach the support pieces to the top of the side walls using wood glue and nails. If you want the roof to slant, place the supports at an angle. Make sure both sides are even so the roof sits correctly.
Once the supports are attached, let the glue dry completely. These supports will help hold the roof in place and keep the stable strong.
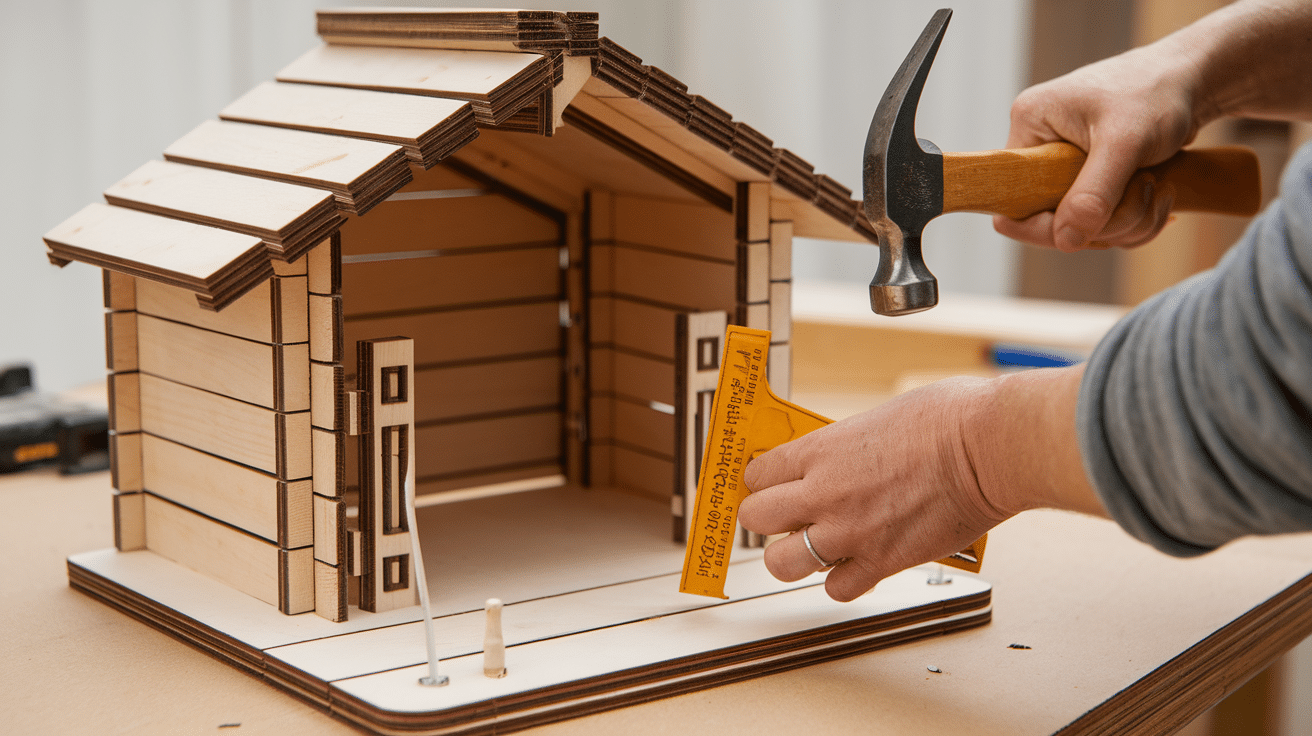
6. Cut and Attach the Roof
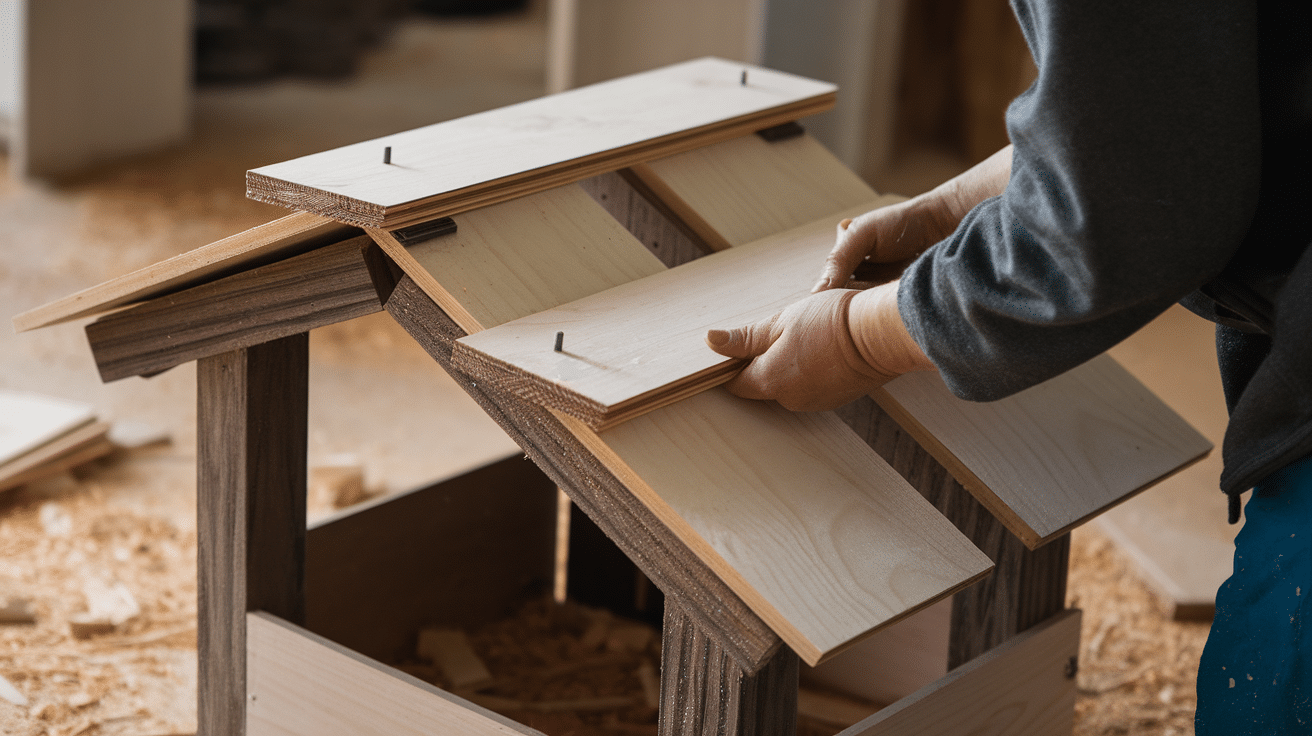
Now that the frame is in place, it’s time to add the roof. The roof will complete the structure and provide the right look for your nativity stable.
Start by measuring the top of the stable to determine the size of the roof panels. Use a measuring tape to mark the wood, then cut the panels with a saw. If you want a slanted roof, make one side slightly longer than the other.
Once the panels are cut, sand the edges to remove rough spots. Position the roof pieces on top of the stable and check that they fit properly. Apply wood glue along the top edges of the frame, then place the panels in position.
Secure the roof with finishing nails or screws. If needed, use clamps to hold the panels in place while the glue dries. Make sure the roof sits evenly before moving on to the next step.
After attaching the roof, check for any gaps or uneven edges. Sand lightly if needed to smooth out any rough areas. The stable is now ready for the next step.
7. Paint or Stain the Stable
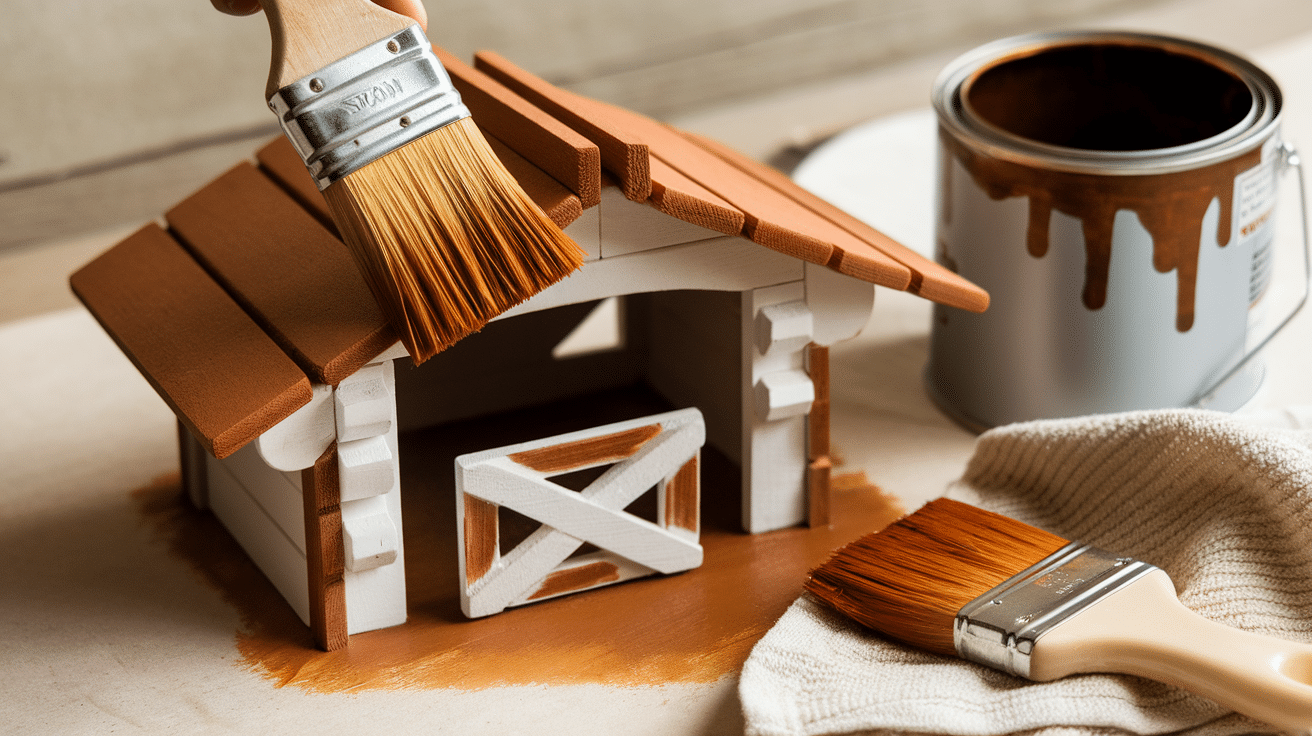
Now that the stable is fully built, you can apply paint or stain to enhance its look and protect the wood.
If you choose a stain, pick a shade that highlights the natural grain of the wood. Use a brush or cloth to apply the stain in the direction of the grain.
Wipe off any extra stain with a clean cloth to keep the color even. Let it dry completely before adding another coat if you want a darker finish.
If you prefer paint, apply thin coats with a brush or roller. Allow each coat to dry before adding another. Lightly sanding between coats can help create a smoother surface.
Choose a color that matches your decor or gives the stable a classic, simple look.
After staining or painting, apply a clear wood sealer to protect the surface. This helps the wood last longer and makes it easier to clean. Let the stable dry completely before adding any decorations or figures.
8. Add Decorative Details
Now that the stable is built, you can add simple details to make it look more natural.
If you want an old-style look, lightly sand the edges to soften them. You can also apply a thin coat of stain to bring out the wood grain.
For a faded effect, use a dry brush with white or gray paint. Lightly brushing over the wood will give it a worn look without covering the natural texture.
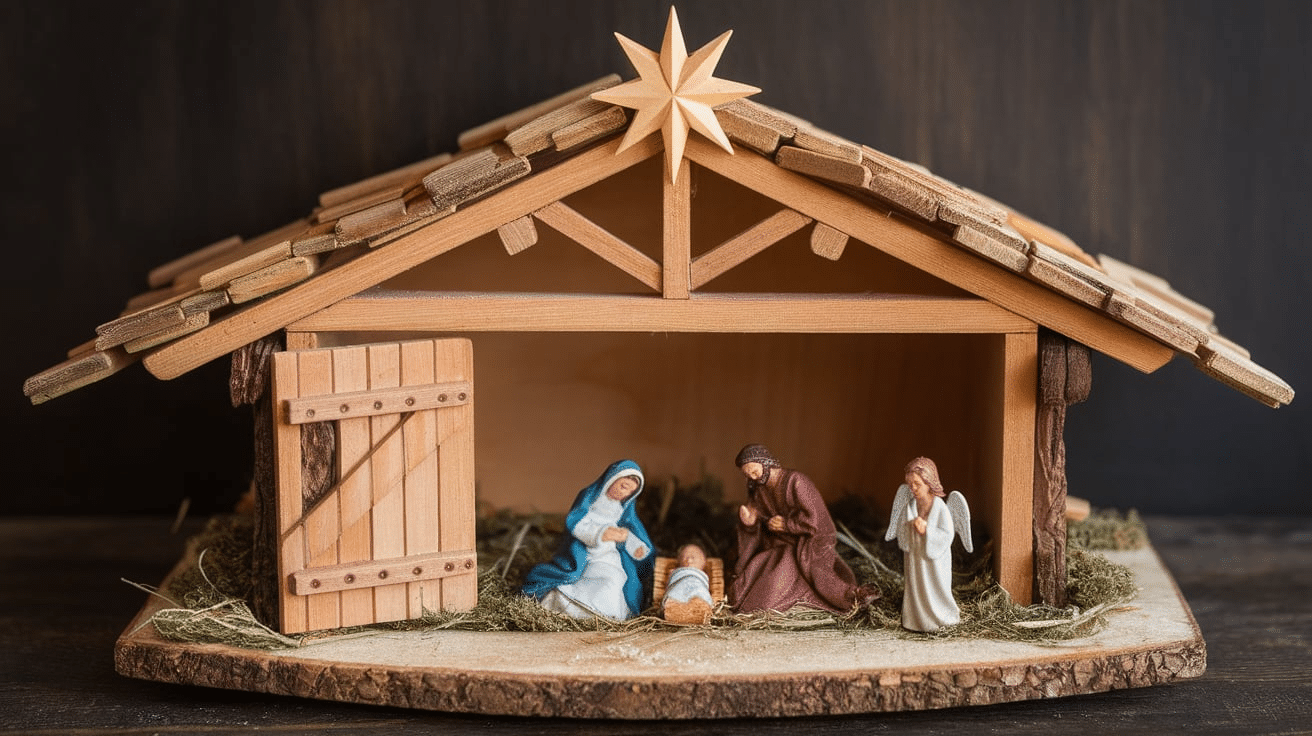
If you want to add extra details, glue small twigs or straw along the roof to make it look like an old shelter. You can also attach a wooden star or cross to the top for a simple finishing touch.
These small additions help the stable blend well with your nativity scene. Keep it simple or add more details based on your style.
Personalizing Your Nativity Stable
You can make your nativity stable more special by adding simple decorations. Small figurines like animals, stars, or a tiny manger can give it more character. Placing a little greenery around the base, such as pine branches, leaves, or straw, can make it look more natural.
If you want a warm glow, place small battery-powered candles or string lights around the stable. Soft lighting can highlight the nativity scene without being too bright.
For a handmade look, you can add twine or raffia around the edges or roof. A small wooden star or cross on top can also be a nice finishing touch. If you like a weathered look, lightly sand the edges or apply a thin coat of stain.
These small additions make your stable feel more personal and appropriate for the holiday season. Whether you keep it simple or add more details, these decorations will make your stable look complete.
Conclusion
Building your own DIY nativity stable is a simple and enjoyable project. It adds a personal touch to your holiday decorations and makes your nativity scene feel more special.
You can create a stable that will last for years with just a few basic materials.
By following the steps, you can build a stable that fits your space and style. You can keep it simple or add small details to make it stand out. Either way, the process is easy, and the final result is something you can proudly display.
Start today and enjoy making a piece that brings meaning to your holiday season.
Frequently Asked Questions
Do I need a lot of tools to build a DIY nativity stable?
You don’t need too many tools to build a DIY nativity stable. A basic saw (handsaw or miter saw), sandpaper, wood glue, and nails will do the trick.
If you have a power drill, that can help with screwing in pieces, but it’s not necessary. These basic tools are affordable and simple to use, so anyone can build a stable with minimal equipment.
Can I paint or stain my nativity stable?
Yes, painting or staining your nativity stable is highly recommended. Staining gives the wood a natural look, while paint can add color to your project.
Specific painting techniques can also create a distressed or aged effect, making it look more rustic.
Staining or painting gives the nativity stable a polished look while allowing you to customize it to match your style or décor.
How do I make sure my nativity stable is sturdy?
To make sure your stable is sturdy, use strong wood glue and secure the pieces with nails or screws.
Ensure that each piece is cut accurately and that the frame is square before attaching the roof and walls.
For added support, use a reinforced back wall to keep the structure steady.
A solid foundation and careful assembly ensure that the stable will stand strong and hold decorations without toppling over.
Can I make the nativity stable larger or smaller?
Yes, you can adjust the size of your nativity stable by changing the dimensions of the wood pieces.
Simply scale up or down depending on the size of the nativity figurines you plan to display.
This flexibility allows you to create a stable that fits your space or decor preferences while still following the same simple steps.


