Craft Your Own Headboard: A Step-by-Step DIY Guide
Want to transform your bedroom without spending hundreds of dollars on a store-bought headboard?
You can build a custom one that matches your style perfectly.
This guide breaks down the process into clear steps that anyone can follow. You’ll learn what tools and materials you need, how to measure correctly, and the basic steps to put everything together.
Even if you’ve never built anything before, you can complete this project in a weekend. I’ll cover tips also to help you avoid common mistakes.
By the end of this guide, you’ll have the know-how to create a sturdy, good-looking headboard that fits your style and space perfectly.
Let’s get started with the basics of headboard making.
Essential Materials and Tools for Building a Headboard
Materials List
Your basic materials will depend on the style you choose:
Basic Wooden Headboard:
- Plywood or MDF board (3/4 inch thick)
- Wood for frame (2x4s)
- Wood screws
- Wood glue
- Primer and paint or wood stain
Upholstered Version:
- Plywood backing
- High-density foam (2-3 inches thick)
- Batting material
- Your chosen fabric
- Buttons (if planning tufting)
- Staples
Tool Requirements
Must-have tools:
- Measuring tape
- Pencil
- Level
- Drill and drill bits
- Screwdriver
- Saw
- Sandpaper (medium and fine grit)
- Safety gear (goggles, work gloves)
For upholstered styles, add:
- Staple gun
- Scissors
- Fabric marker
- Utility knife
Money-Saving Tips
- Check local hardware stores for cut-offs or remnants
- Look for fabric store sales and clearance items
- Borrow tools from friends or family
- Use items you already own like old bedsheets, leftover paint, spare buttons.
- Split larger material packs with other DIY friends
Choosing the Right Style for Your Headboard
A headboard adds character to your bedroom while showing off your personal style. Let’s look at different types that suit various needs and room layouts.
Wooden Headboards
Basic wooden headboards work well in simple room settings. They bring warmth and a clean look to your space. You can make them with:
- Straight planks lined up side by side
- One solid piece of wood
- Simple geometric shapes
- Plain borders and clean lines
Upholstered Headboards
Soft headboards add comfort and style. They’re perfect for people who like to sit up in bed to read. Options include:
- Plain padded designs
- Button details
- Simple square patterns
- Smooth finish styles
Headboards with Shelves/Bookcases
Built-in storage makes these practical and good-looking:
- Spots for books and small items
- Places for bedside items
- Open or closed shelf options
- Fits well in tight spaces
Panel and Slatted Headboards
These offer clean lines and simple style:
- Vertical or horizontal boards
- Spaced or tight-fitting panels
- Mixed width options
- Basic grid patterns
Customization Options
Make your headboard match your room:
- Different paint colors
- Wood finish options
- Fabric choices
- Simple trim add-ons
- Basic pattern options
Step-by-Step DIY Instructions for Different Types of Headboards
Building a Wooden Headboard
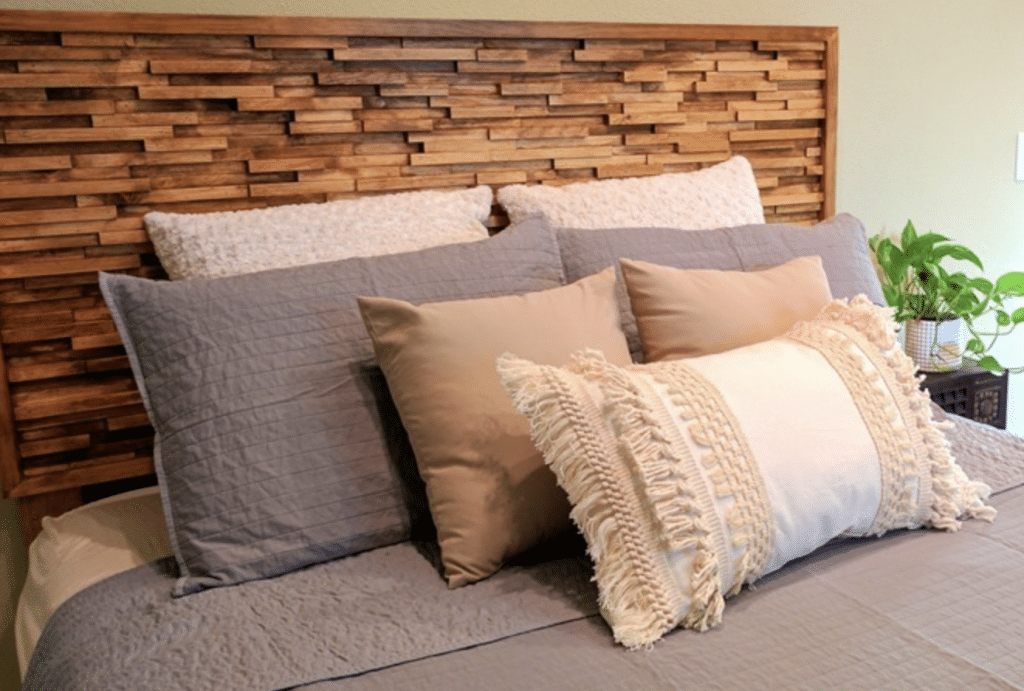
This textured wooden headboard project will take about 6-8 hours to complete. The steps below will guide you through making a unique piece for your bedroom.
Step 1: Measuring and Cutting Boards
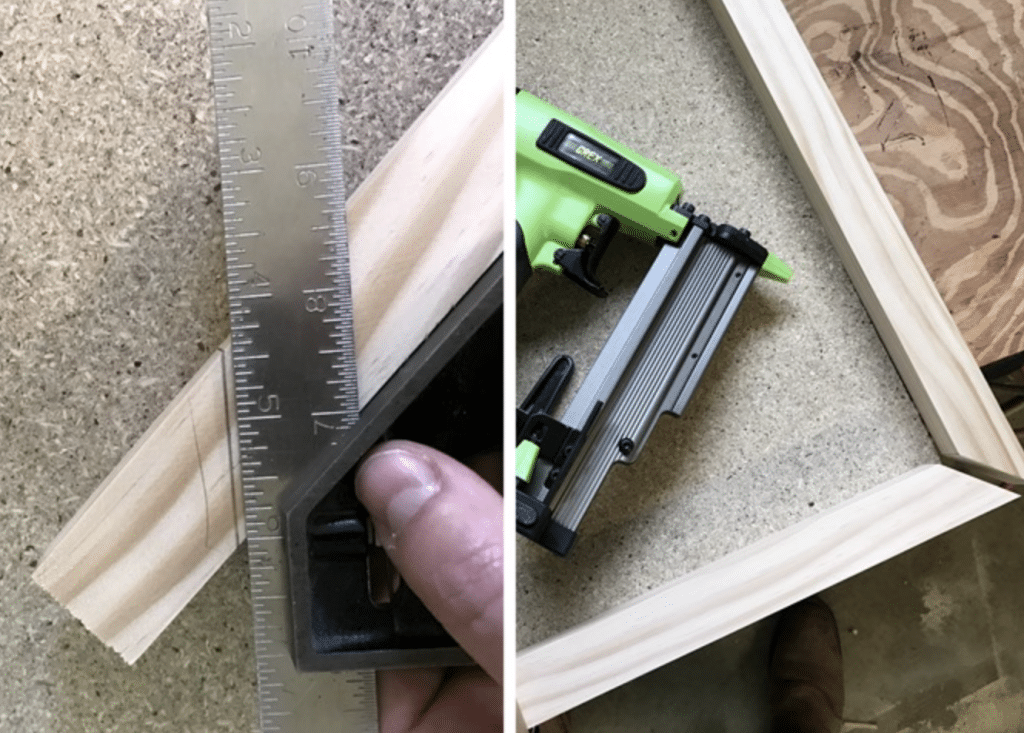
- Start by measuring your bed width to determine the size of your headboard. For a queen bed, cut your 1×6 boards to 65 inches in length.
- Leave an extra 4 inches of space on each side of the bed for a balanced look.
- Set your headboard height between 24 to 30 inches for good proportion above the bed.
- Purchase enough 1×6 boards to cover your planned height – typically 4-5 boards work well.
- Make sure each cut is clean and straight for proper fitting.
Step 2: Sanding and Surface Prep
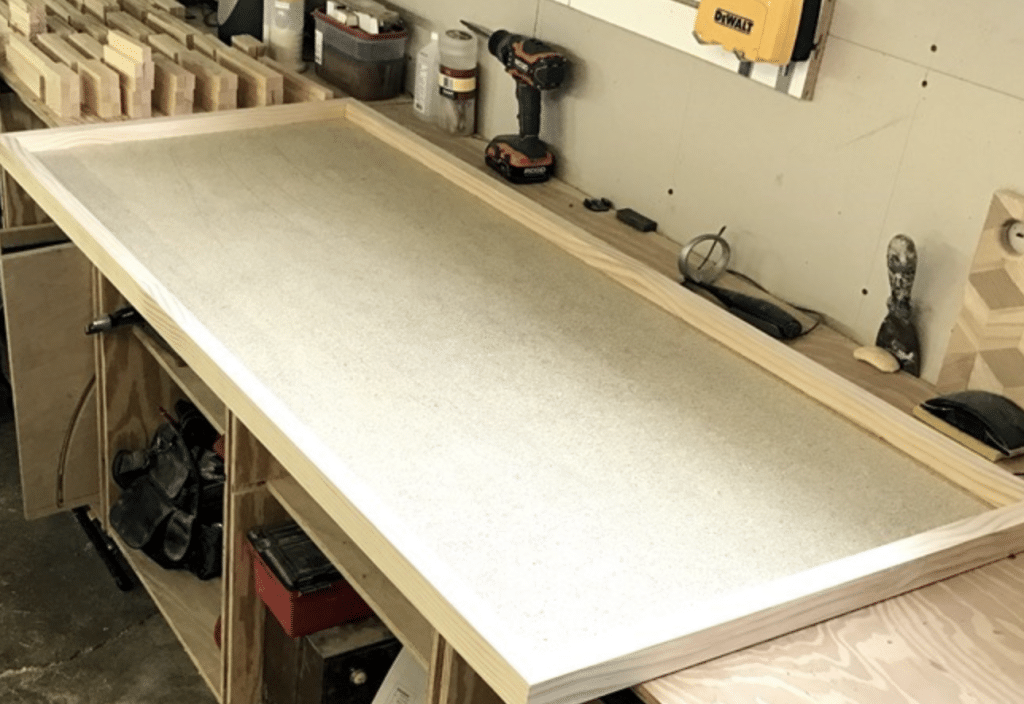
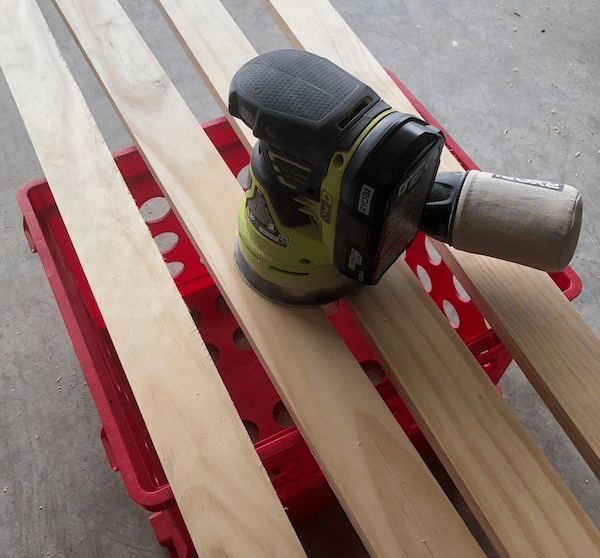
- Begin by sanding each board thoroughly with 120-grit sandpaper until smooth.
- Remove all dust from the boards using a clean, dry cloth.
- Inspect each board carefully for any remaining rough patches that need attention.
- Apply wood putty to fill any small holes or imperfections in the wood.
- Allow the putty to dry completely before moving to the next step.
Step 3: Creating Texture
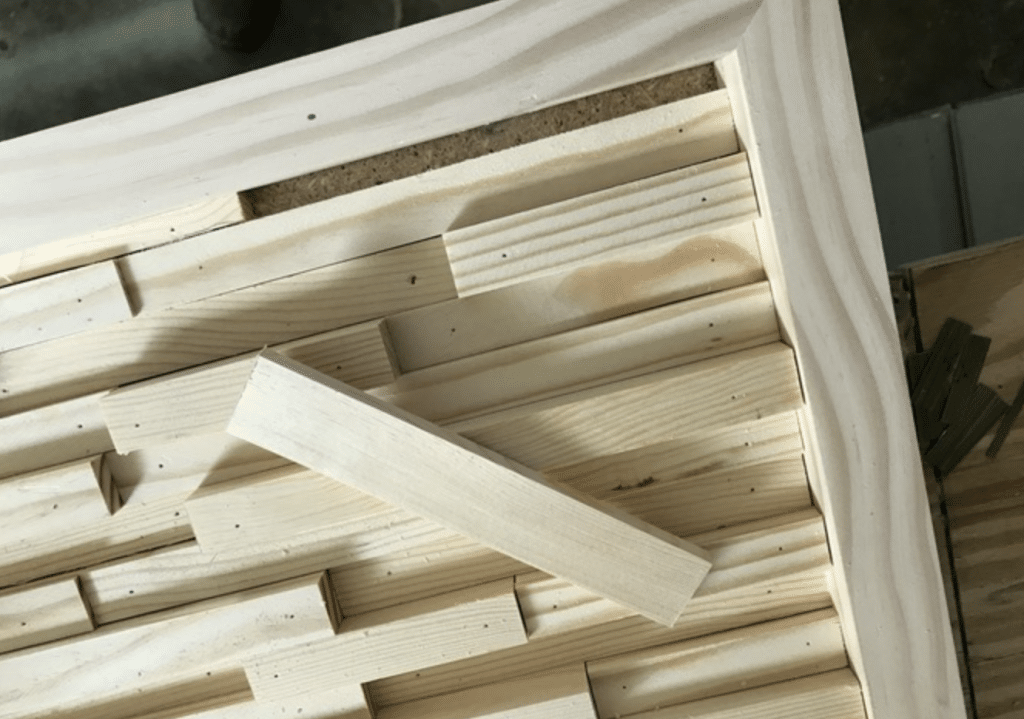
- Start by applying a coat of dark wood stain to all boards evenly.
- Let the stain dry fully for at least 2 hours.
- Mix equal parts white paint and water in a clean container.
- Apply this watered-down paint mixture across each board with a brush.
- Use a clean cloth to wipe the boards quickly while paint is still wet.
- Allow boards to dry for 30 minutes between coats.
- Add more layers of the paint mixture as needed for your desired look.
Step 4: Assembly
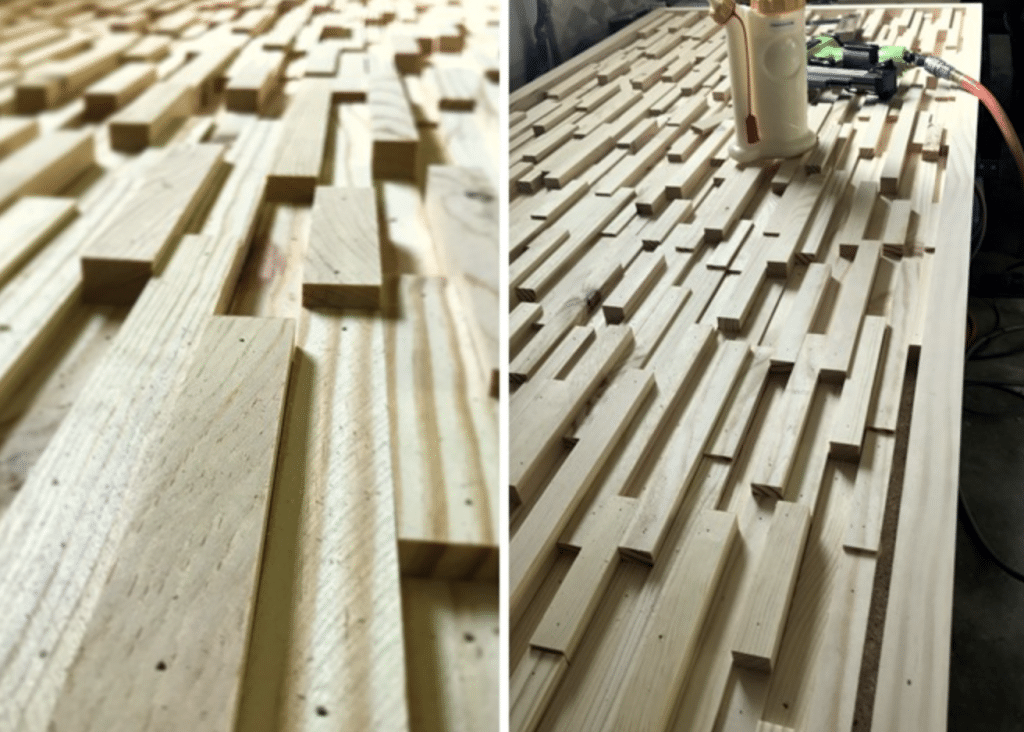
- Place all boards face down on a clean, flat surface.
- Position support boards across the back for stability.
- Keep support boards 16 inches apart for proper weight distribution.
- Attach all pieces using wood screws at each intersection point.
- Check that everything stays level during assembly.
- Make sure all joints fit together tightly.
Step 5: Finishing Steps
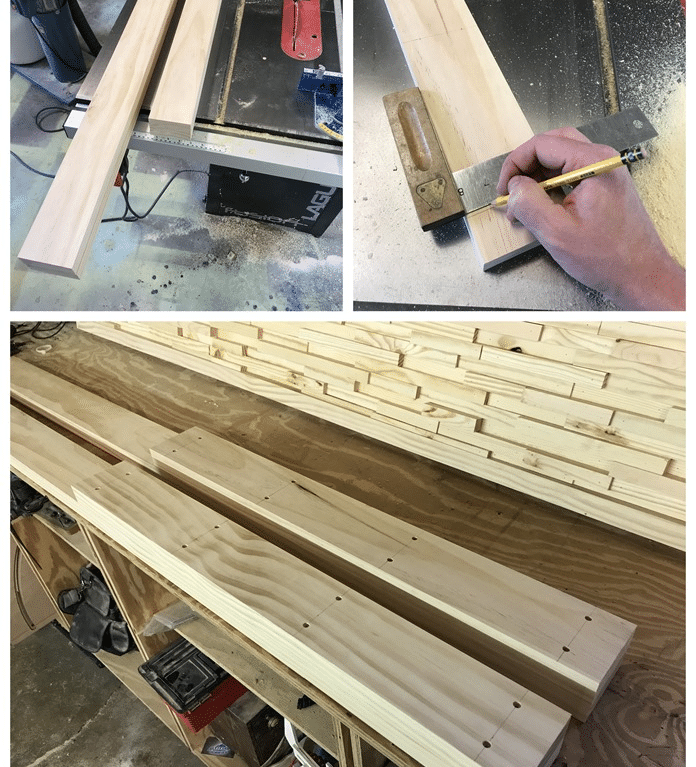
- Install sturdy wall mounting brackets on the back of your headboard.
- Place felt pads on the back corners to protect your wall.
- Clean off any remaining dust or marks from the surface.
- Double-check that all screws are tight and secure.
- Mark your wall mounting spots and take photos for reference.
Safety Tips:
- Always wear a dust mask while sanding to protect your lungs.
- Keep your safety glasses on throughout the project.
- Maintain a clean workspace to prevent accidents.
- Make sure you have proper lighting in your work area.
Click here to get proper in-depth process.
Making an Upholstered Headboard
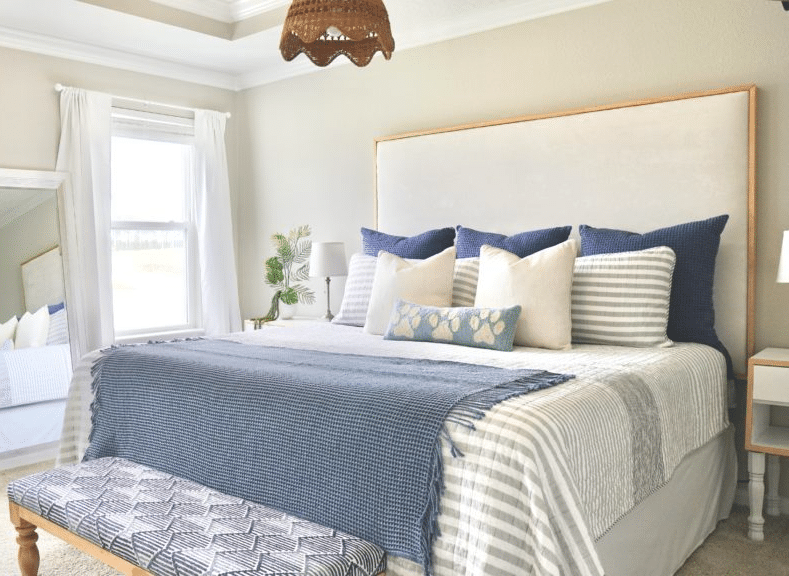
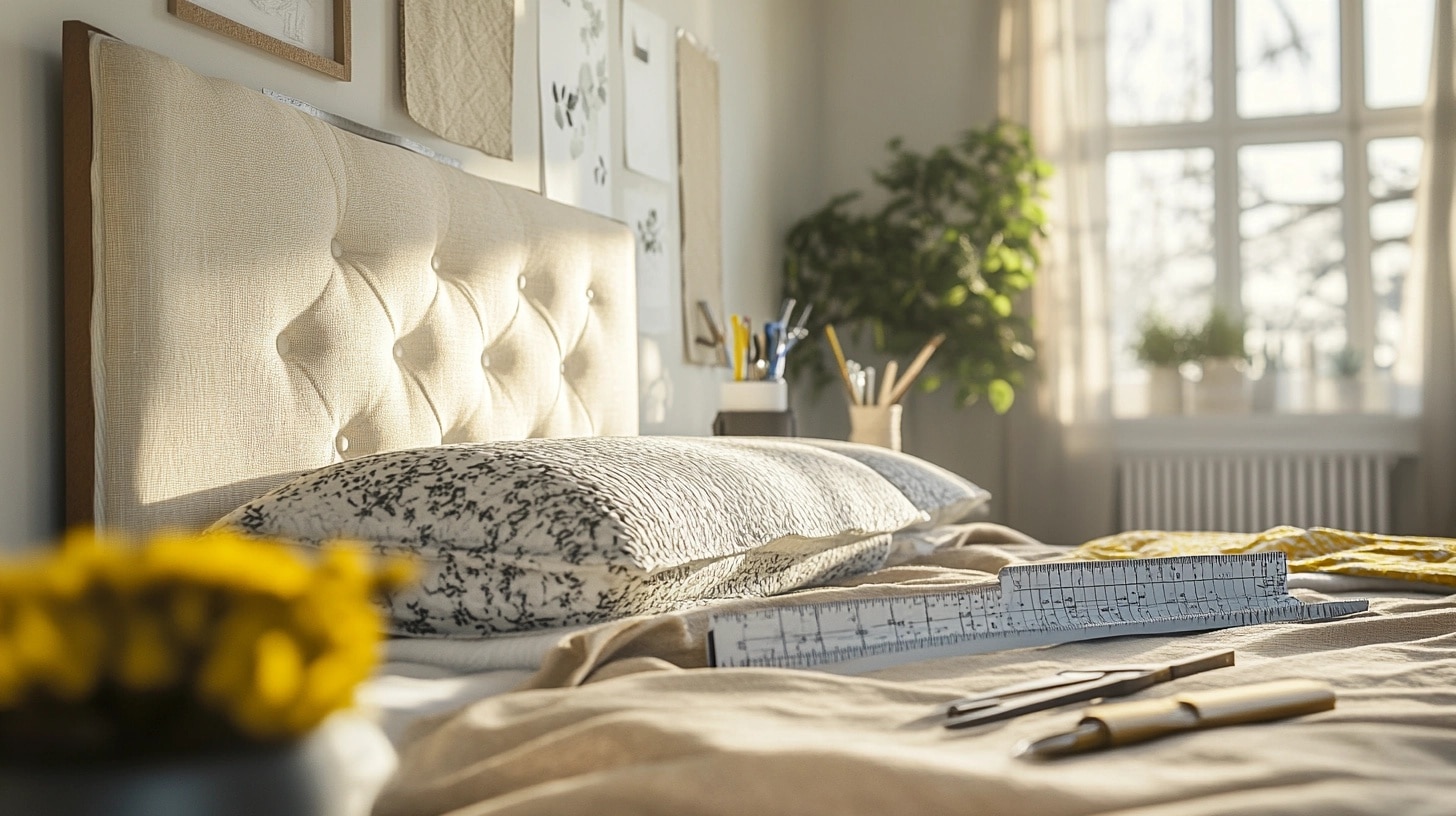
This project takes one full day to complete and helps you create a soft, comfy headboard that looks like it came from a high-end store.
Step 1: Materials and Base Setup
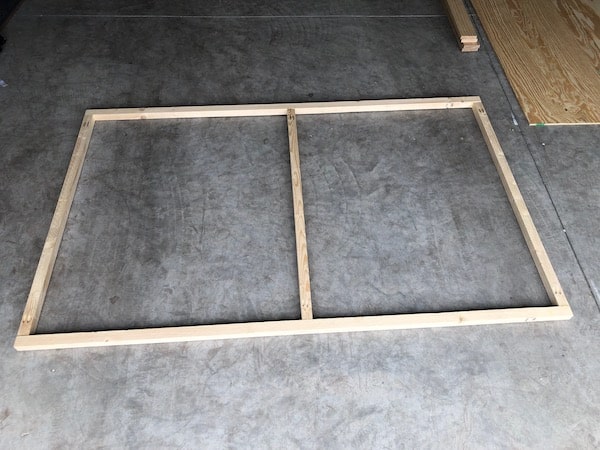
- Cut plywood to size: twin (41×24 inches), full (56×24 inches), queen (62×24 inches)
- Layer high-density foam across the entire plywood surface
- Make sure foam extends right to the edges
- Use spray glue to keep foam in place
- Trim any extra foam with a sharp blade for clean edges
- Put a piece of batting on your work surface
Step 2: Fabric Application
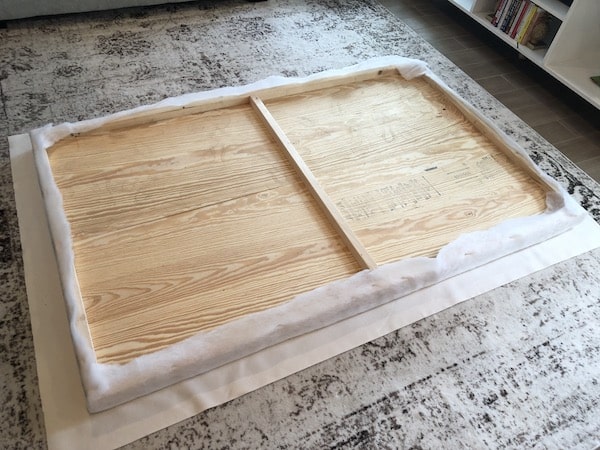
- Spread your chosen fabric flat, pattern side down
- Put batting on top of the fabric
- Place the foam-covered plywood on the batting
- Pull fabric tight at the center of each side first
- Work from the middle out to prevent wrinkles
- Keep checking the front as you go
- Use staples every 2-3 inches
- Make neat folds at corners like wrapping a gift
Step 3: Getting a Clean Finish
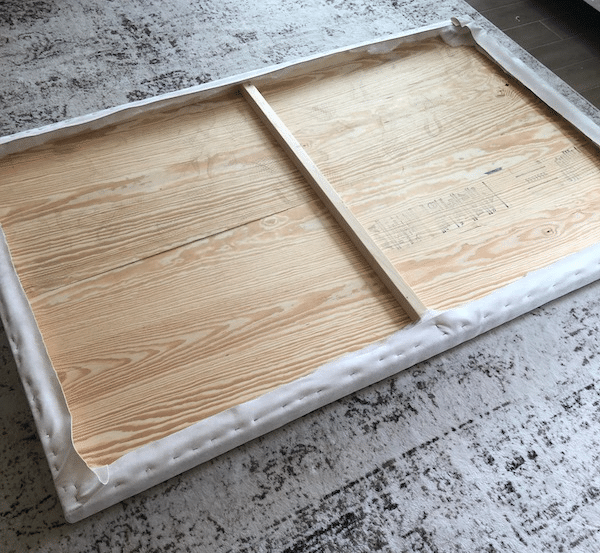
- Fix any loose spots by adding more staples
- Press the fabric with your hands to find bumps
- Fix any wrinkles by removing staples and redoing
- Make sure corners are tight and neat
- Add extra staples in high-stress spots
- Trim extra fabric leaving 1 inch from staples
- Fold raw edges under for a clean look
- Check the front often while working
Step 4: Adding Support and Mounting
- Attach wooden legs if making a standing headboard
- For wall mounting, add heavy-duty D-rings
- Space mounting hardware 16 inches apart
- Put wall anchors in spots without studs
- Add felt pads where headboard meets wall
- Test the mount before putting bed in place
- Make sure it’s level before final mounting
Pro Tips:
- Keep your staple gun straight while working
- Pull fabric with even pressure
- Work in small sections
- Double-check measurements before cutting
- Keep your workspace clean and flat
- Use a helper for large pieces
Click here to get proper in-depth process.
Building a Headboard with Storage and Pull-Down Trays
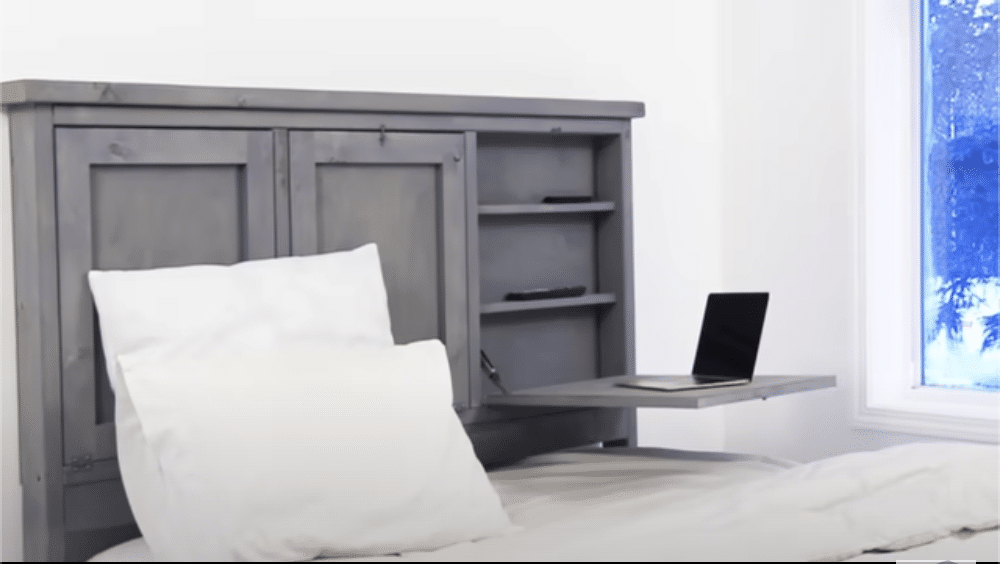
This design costs about $60 and takes a day to build. Perfect for small bedrooms that need extra storage and function.
Step 1: Preparing Your Materials
- Get five pieces of 2×4 lumber for the main frame
- You’ll need 1×3 boards for the fold-down sections
- Purchase 1/4 inch plywood for backing
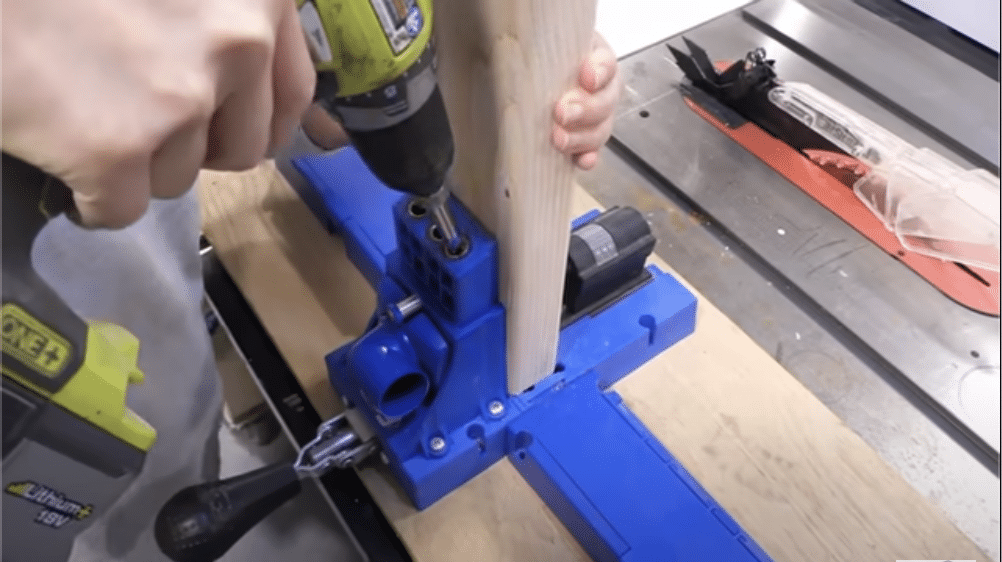
- Gather your screws, hinges, and pocket hole jig
- Make sure wood is straight and free from splits
- Plan your cuts on paper first to avoid waste
Step 2: Building the Frame
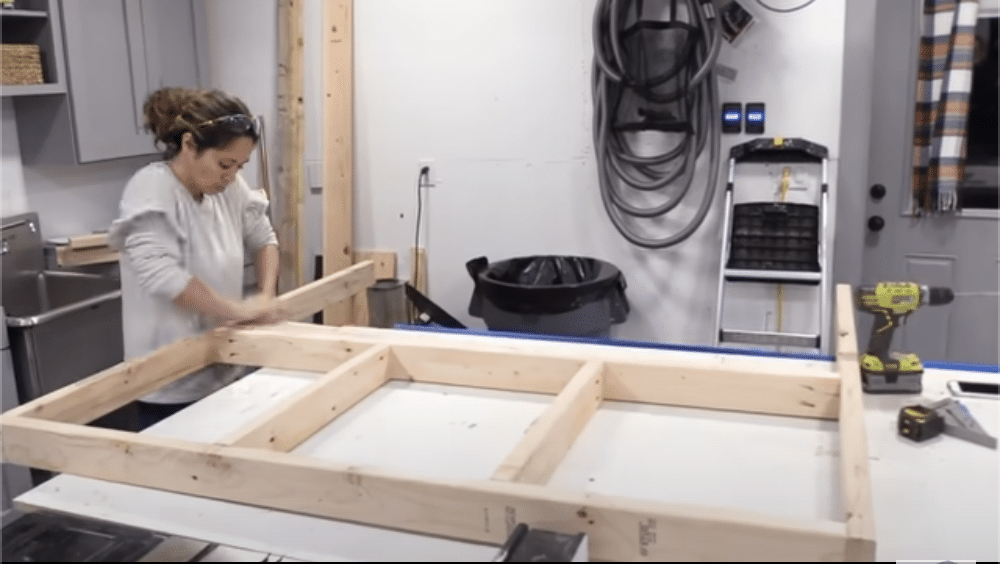
- Start with the middle section of the frame first
- Create a basic 2×4 outline that’s wider than your bed
- Place support pieces every 16-24 inches inside frame
- Add a lower support beam to hold trays at right height
- Check that everything stays square while building
- Make sure frame is sturdy with no wobble
Step 3: Adding Storage Areas
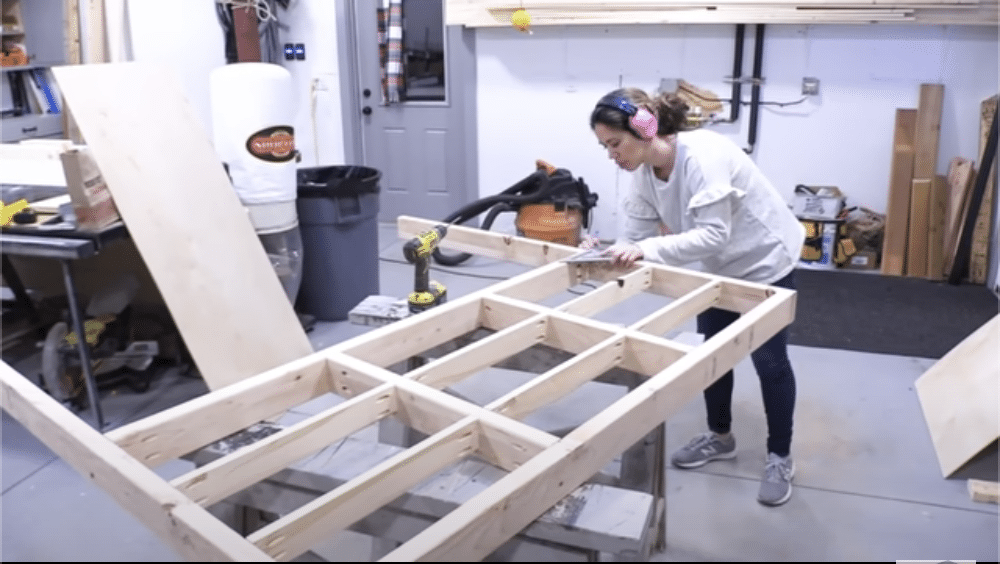
- Mark shelf spots on your frame for easy reference
- Keep shelves evenly spaced for best looks
- Put backing board on frame for stability
- Make storage spots wide enough for books or items
- Add small ledges to keep items from falling
- Check that shelves are level as you build
Step 4: Making Pull-Down Trays
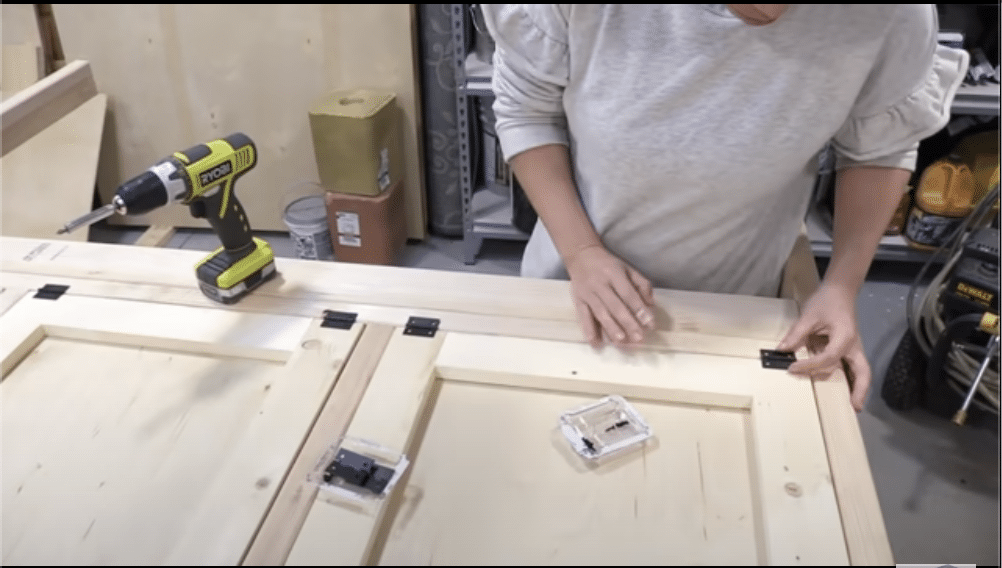
- Build tray frames from 1×3 boards
- Add plywood backing to each tray
- Put hinges where pillows will hide them
- Test tray movement before final install
- Make sure trays stay level when pulled down
- Add stops so trays rest at right height
Step 5: Finishing Touches
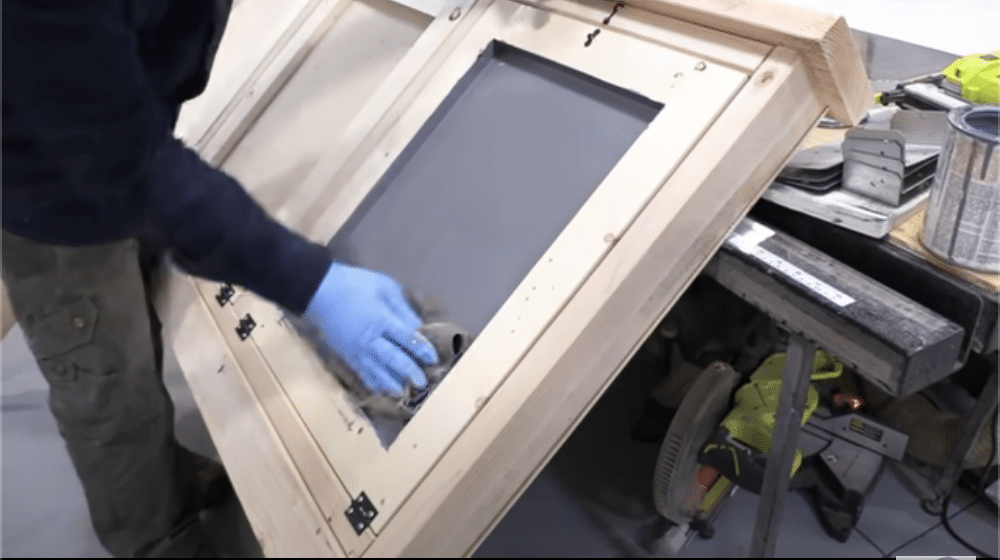
- Sand all parts well before staining
- Apply wood stain evenly
- Let each coat dry fully
- Add any final support pieces
- Test all moving parts again
- Put felt pads where needed
Safety Notes:
- Keep tools away from edges while working
- Check weight limits on trays
- Use proper breathing protection
- Secure headboard well to wall
Click here to watch proper in-depth process.
Creative Ways to Customize Your Headboard
Make your headboard stand out with these simple add-ons that won’t break the bank.
1. Smart Lighting Ideas
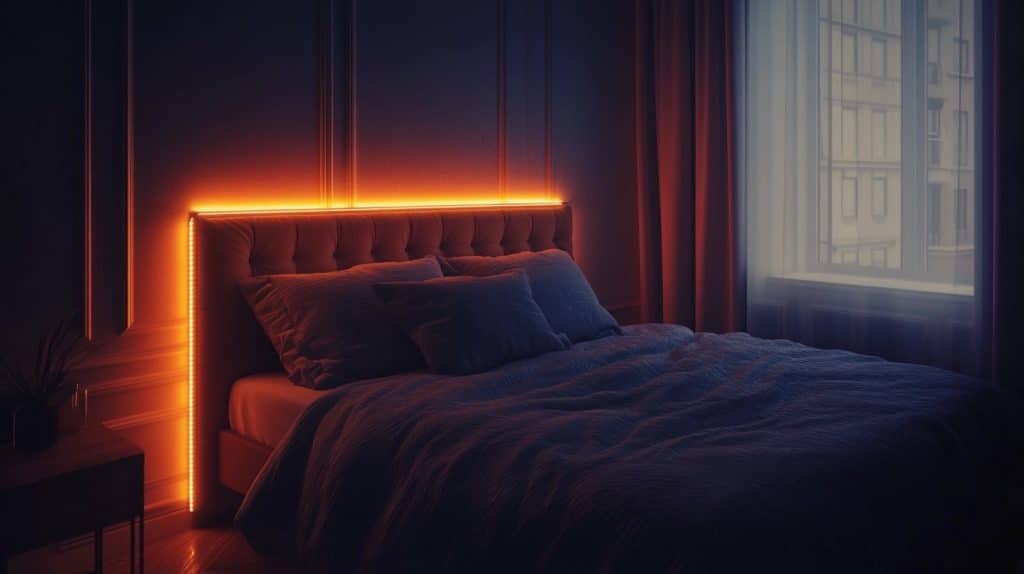
Hidden Strip Lights:
- Place LED strips 2 inches from edges
- Stick lights behind outer frame
- Keep wires out of sight in wood grooves
- Add small dimmer switch for light control
- Pick soft white lights for best glow
Reading Light Setup:
- Mount small lamps at shoulder height
- Put switches within arm’s reach
- Add clip-on book lights that bend
- Use lights with auto-off timers
- Keep cords tucked behind frame
2. Easy Design Updates
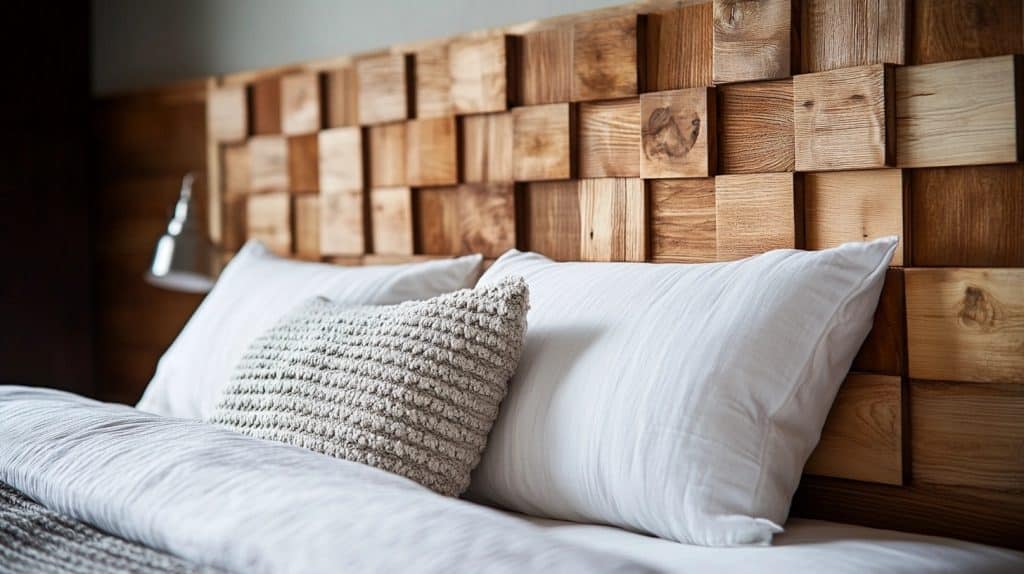
Paint Patterns Anyone Can Do:
- Split board into thirds for stripes
- Make diamond shapes using tape
- Paint simple squares in corners
- Try light color on dark base
- Do faded brush strokes for texture
Quick Wood Changes:
- Add thin trim for borders
- Put small blocks in patterns
- Make simple cross designs
- Stack thin boards for depth
- Create basic frame outlines
3. Colors and Feel
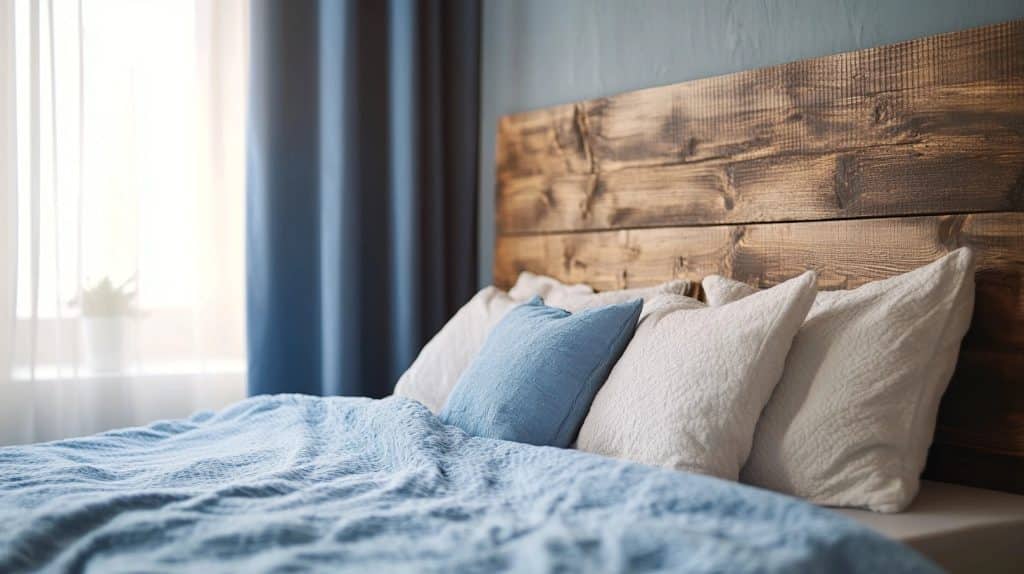
Paint Tips:
- Test colors on scrap wood first
- Put two thin coats, not one thick
- Let each layer dry fully
- Sand between paint layers
- Use foam rollers for smooth finish
Making Texture:
- Brush paint in one direction
- Leave some wood grain showing
- Mix sand with paint for grip
- Layer different paint shades
- Make small raised spots
Important Notes:
- Buy good painter’s tape
- Keep patterns simple
- Plan design on paper first
- Take time between steps
- Check all lights work properly
Time Needed:
- Painting takes 4-6 hours
- Light setup needs 1-2 hours
- Patterns take 2-3 hours
- Let dry overnight
- Plan for weekend project
Tips for Customizing Headboards to Fit Any Bed Size
Make your headboard fit perfectly by following these size guides and tips for each bed type.
Sizing Guide for Different Bed Frames
Standard Width Measurements:
- Twin: 41 inches wide
- Full: 56 inches wide
- Queen: 62 inches wide
- King: 80 inches wide
- Super King: 76 inches wide
Basic Height Rules:
- Minimum: 14 inches above mattress top
- Standard: 24 inches above mattress top
- Tall style: 30-36 inches above mattress top
Adjusting Heights and Widths
Making Width Changes:
- Add 2-3 inches on each side past mattress
- Keep extra width even on both sides
- Check wall space before going wider
- Make sure mounting spots match new width
Height Tips:
- Think about pillow sizes
- Look at room wall height
- Check window placement
- Consider ceiling height
- Match other room items
Personalization Ideas
Simple Add-ons:
- Paint simple shapes
- Put on wall letters
- Make basic patterns
- Add wood trim pieces
- Paint different sections
Pattern Tips:
- Start with pencil marks
- Use paper to test ideas
- Keep designs balanced
- Make patterns simple
- Test colors first
Extra Tips:
- Take room photos first
- Draw your ideas on paper
- Check all sizes twice
- Think about long-term style
- Keep changes simple
Budgeting and Cost Comparison – DIY vs. Buying
Let’s look at costs to help you decide between making or buying your headboard.
Breakdown of DIY Costs
Basic Wooden Headboard:
- Wood: $30-40
- Hardware: $10-15
- Paint/Stain: $15-20
- Total: $55-75
Upholstered Style:
- Plywood base: $25-30
- Foam: $20-25
- Fabric: $30-50
- Hardware: $15
- Total: $90-120
Storage Headboard:
- Wood: $60-70
- Hardware: $20-25
- Paint/Stain: $15
- Total: $95-110
Factors That Change Costs
Materials:
- Basic pine costs less than oak
- Plain fabric costs less than printed
- Simple handles cost less than fancy ones
- Basic paint costs less than special finishes
Tools:
- Borrow tools when possible
- Share costs with friends
- Look for tool rental options
- Buy only what you’ll use again
Money-Saving Tips:
- Check store sales
- Buy materials in bulk
- Use leftover supplies
- Share extra materials
- Look for store coupons
Making vs Buying
| Aspect | Making | Buying |
|---|---|---|
| Cost Savings | Save $200-400 on average | Set pricing with no extra expenses |
| Customization | Exact size, colors, and design to match preferences | Limited to available designs and sizes |
| Features | Option to add special features, such as lights or unique textures | Standard features as per model; custom options rare |
| Maintenance | Easy to fix or modify if adjustments are needed | Limited warranty; repairs might require extra costs |
| Convenience | Requires tools, time, and DIY skills | Ready to use, with no tool requirements |
| Setup Time | Longer setup and crafting time | Quick and easy setup |
| Return Options | No return option once customized | Often comes with return or exchange options |
Time Factors:
- DIY takes 1-2 days
- Buying takes 1 hour
- Setup same for both
- Learning time needed for DIY
- Shopping time needed for buying
Conclusion
A custom headboard does more than just finish your bed – it adds personality to your bedroom while saving you money.
Whether you choose a simple wooden design, a plush upholstered piece, or a practical storage headboard, you now have the know-how to build it yourself.
The steps are clear: pick your materials, follow the measurement guides, and take your time with assembly. Remember to put safety first and double-check all mounting hardware.
Ready to start your headboard project? The materials for a basic design cost just $60-100, compared to store prices of $300 or more.
Plus, you’ll get exactly what you want. Share photos of your finished headboard in the comments below – I’d love to see how you’ve used these tips to create your perfect bedroom centerpiece!
Frequently Asked Questions
Is It Cheaper to Make Your Own Headboard?
Yes. A DIY headboard costs $60-150 depending on materials, while store-bought versions range from $300-800. You save about 70% by making your own.
What Kind of Wood Should You Use for A Headboard?
Plywood or MDF work well for basic headboards. For solid wood options, pine is budget-friendly, while oak or maple offer better durability but cost more.
Do Headboards Attach to Any Frame?
Most headboards fit standard bed frames using mounting brackets or bolts. You can also mount them directly to the wall if your bed frame doesn’t have attachment points.

