How to Create DIY Shelf Brackets Under Budget
Are you tired of spending too much money on shelf brackets? I know how it feels. I once paid $50 for a pair of basic metal brackets, which made me think twice about my spending choices.
Good news – you can make strong, good-looking shelf brackets at home for less than $20. I’ve tested several methods, and I’m excited to share the best ones with you.
In this guide, I’ll show you three ways to build shelf brackets using simple tools and materials from your local hardware store.
I’ll walk you through each step, share money-saving tips, and help you pick the right method for your needs.
These brackets will work just as well as store-bought ones but at a fraction of the cost.
An Overview of Self Brackets
Shelf brackets are the hidden heroes that keep your shelves sturdy and in place. I’ve used them throughout my home to support everything from books to plants.
They’re those L-shaped supports that attach to your wall and hold up your shelves.
Types You Can Make at Home
From my experience working with different styles, here are three main types:
- Basic L-brackets: Simple, straight designs that work well for light items
- Triangle brackets: These offer extra support for heavier loads
- Decorative brackets: Perfect when you want your supports to stand out
Materials You Can Use
I’ve tried several materials, and here are the most practical options:
- Wood: Pine or oak work great and are easy to find
- Metal: Flat bars or angle iron from hardware stores
- Plywood: Good for basic designs and light loads
The best part? All these materials are budget-friendly. Depending on the design and material I choose, I usually spend between $5 and $15 per bracket.
Each type and material has its sweet spot for different uses, and I’ll help you choose what’s right for your project.
Step-by-Step Process for Building
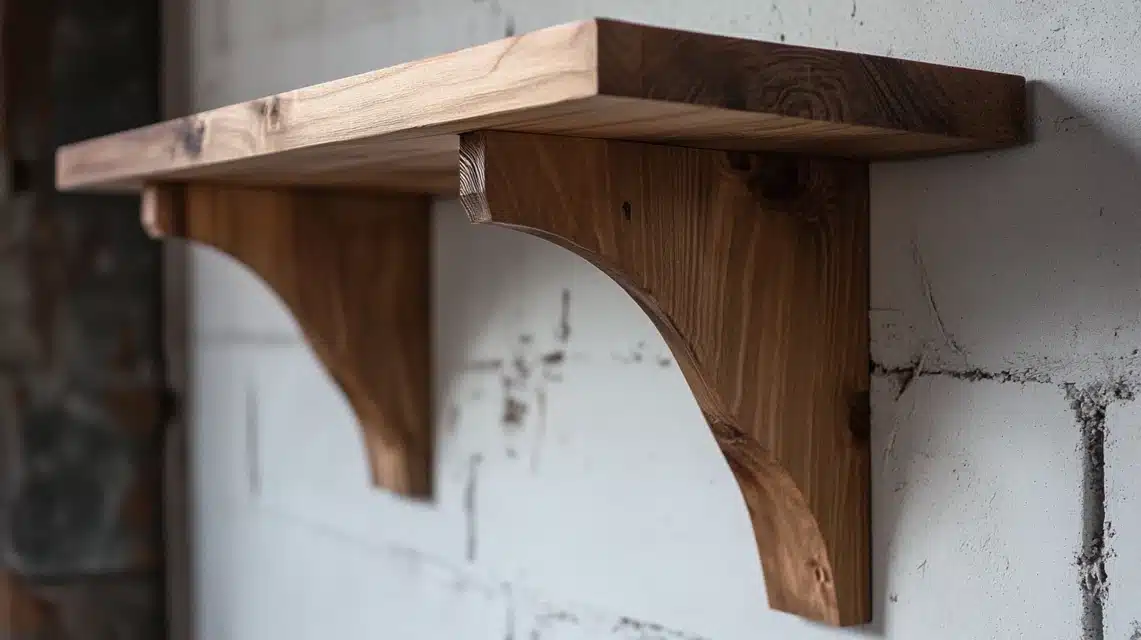
1. Simple Wooden Shelf Brackets from Scrap Wood
Materials and Tools Needed
- Scrap wood pieces (at least 12 inches long)
- Wood glue
- 1.5-inch wood screws
- Drill and drill bits
- Measuring tape
- Pencil
- Sandpaper (medium and fine grit)
- Wood finish or paint
- Safety glasses
- Face mask
Step-by-Step Instructions
- Cutting Pieces to Size: I start by cutting two pieces for each bracket – one vertical (12 inches) and one horizontal (8 inches). I make sure my cuts are straight by measuring twice.
Safety tip: I always wear eye protection when cutting wood. - Assembling the Bracket: First, I spread wood glue on the joining surfaces. Then, I position the pieces in an L-shape using a square tool. I pre-drill holes to prevent splitting, then secure them with three screws. This makes the bracket extra strong.
- Sanding and Finishing Tips: I begin with medium-grit sandpaper to smooth rough spots. Then, I switch to fine grit for a silky finish. After wiping off dust with a clean cloth, I apply two coats of finish, letting each dry fully.
2. Heavy-Duty Shelf Brackets Using 2x4s
Materials and Tools Needed
- 2×4 lumber
- 3-inch wood screws
- Drill
- Saw
- Level
- Measuring tape
- Wood glue
- Safety gear
Step-by-Step Instructions
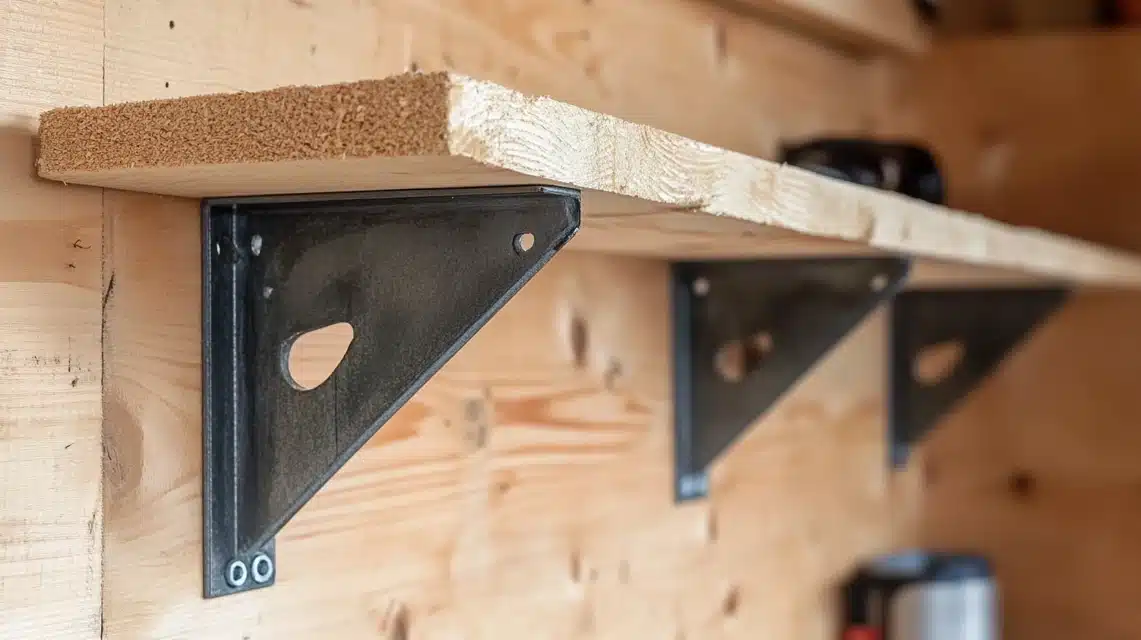
- Cutting Larger Supports: I cut one 16-inch piece and one 12-inch piece from the 2×4. These longer pieces give better support for heavy items. I make 45-degree cuts at the joining point for added strength.
- Adding Braces: I cut a 6-inch diagonal brace for extra support. I attach it using wood glue and screws from both sides. This triangle support can hold up to 100 pounds when properly mounted.
3. Floating Shelf Brackets Without Welding
Materials and Tools Needed
- Steel rods (1/2 inch thick)
- Metal drill bits
- Drill
- Level
- Stud finder
- Measuring tape
- Wall anchors
- Pliers
Step-by-Step Instructions
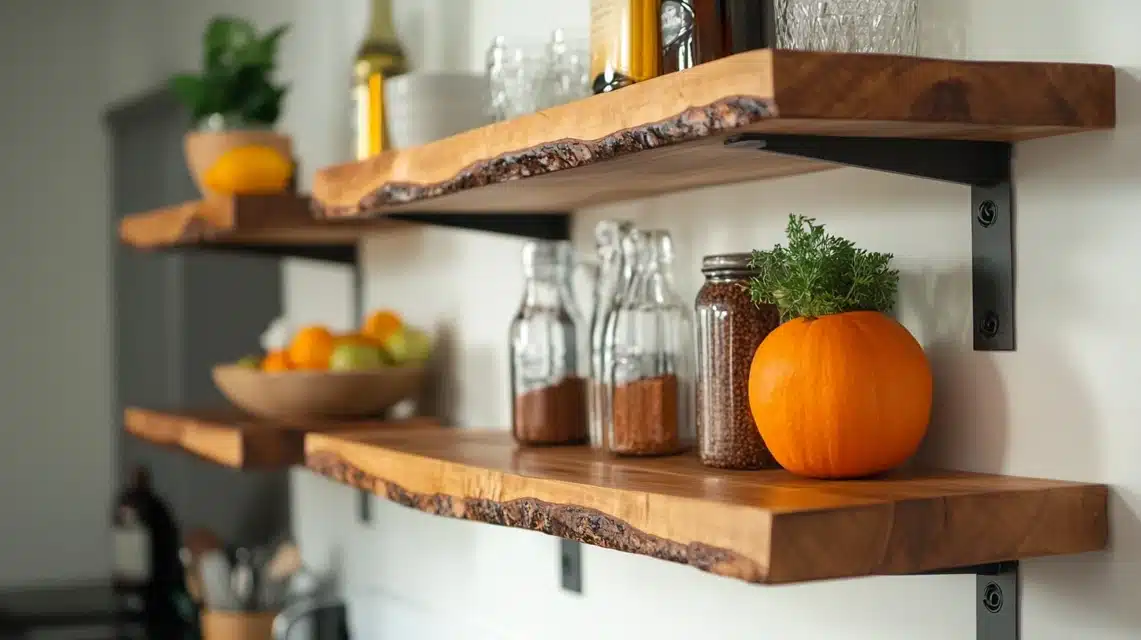
- Creating Hidden Supports: I drill holes in the back of the shelf piece, sized to fit the steel rods. I space them 16 inches apart to hit wall studs. The holes should go 3/4 through the shelf depth.
- Mounting Techniques: I mark rod locations on the wall using a level. Then, I drill into studs and insert the rods. I slide the shelf onto the rods, using wood glue in the holes for extra security.
4. Metal Shelf Brackets Using Basic Tools
Materials and Tools Needed
- Flat metal bars (1/8 inch thick)
- Metal file
- Drill and metal bits
- Measuring tape
- Metal screws
- Safety gloves
- Protective eyewear
Step-by-Step Instructions
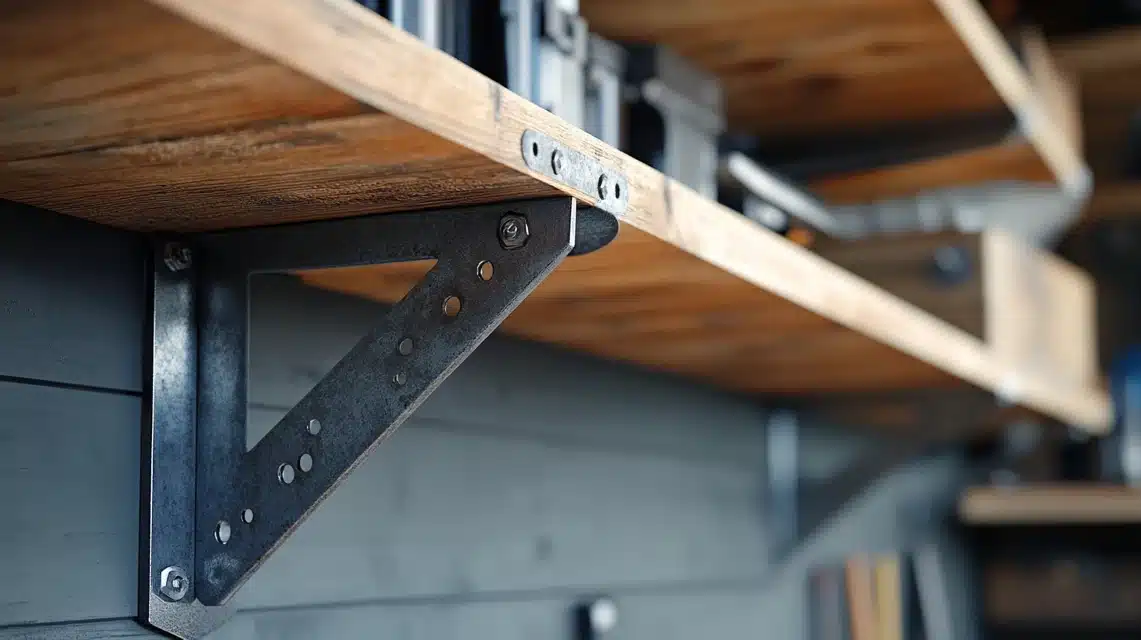
- Cutting and Bending Metal: I measure and mark my cuts at 12 inches and 8 inches. Using a metal cutting tool, I make clean cuts. I use a bench vise to bend and slowly create a 90-degree angle to avoid weakening the metal.
- Smoothing Edges and Finishing: I file all edges until smooth to prevent cuts. Then, I drill mounting holes—two on the vertical piece and two on the horizontal piece. After cleaning the surface well, I finish with metal spray paint.
For each method, I’ve shared costs under $20 per bracket. I’ve tested these personally, and they’re all solid choices depending on your needs and the tools available.
DOWNLOAD THE ENTIRE DIY SHELF BRACKET BUILDING GUIDE FROM THIS PDF
Approximate Investment for Building
| Bracket Type | Materials | Cost (Approx.) |
|---|---|---|
| Simple Wooden Brackets | Scrap wood (often free or $5), Wood glue ($3-4), Wood screws ($2-3 per pack), Sandpaper ($2) | $7-10 per bracket |
| Heavy-Duty 2×4 Brackets | 2×4 lumber ($5-6), Wood screws ($3), Wood glue ($3-4) | $12-15 per bracket |
| Floating Shelf Brackets | Steel rods ($8-10), Wall anchors ($3), Drill bits ($4-5) | $15-18 per bracket |
| Metal Brackets | Flat metal bars ($10-12), Metal screws ($3), Spray paint ($4) | $17-20 per bracket |
| Extra Tools You Might Need | Cost (Approx.) |
|---|---|
| Basic drill | $25-30 |
| Saw | $15-20 |
| Measuring tape | $5 |
| Level | $8-10 |
How to Choose the Right Design for Your Needs
1. Weight Needs Matter Most
For Light Items (Under 20 pounds):
- Simple wooden brackets work fine for books, small plants, or decor
- These cost about $5-10 to make
- Perfect for bedroom or living room shelves
For Medium Loads (20-50 pounds):
- Go with the 2×4 brackets
- Strong enough for kitchen items or tool storage
- They cost around $10-15 to build
For Heavy Items (50+ pounds):
- Metal brackets are your best friends
- Great for garage storage or large book collections
- These run about $15-20 to make
2. Space and Style
Limited Space:
- Floating brackets keep things clean and open
- Work well in small rooms
- Hide all hardware from the view
Open Areas:
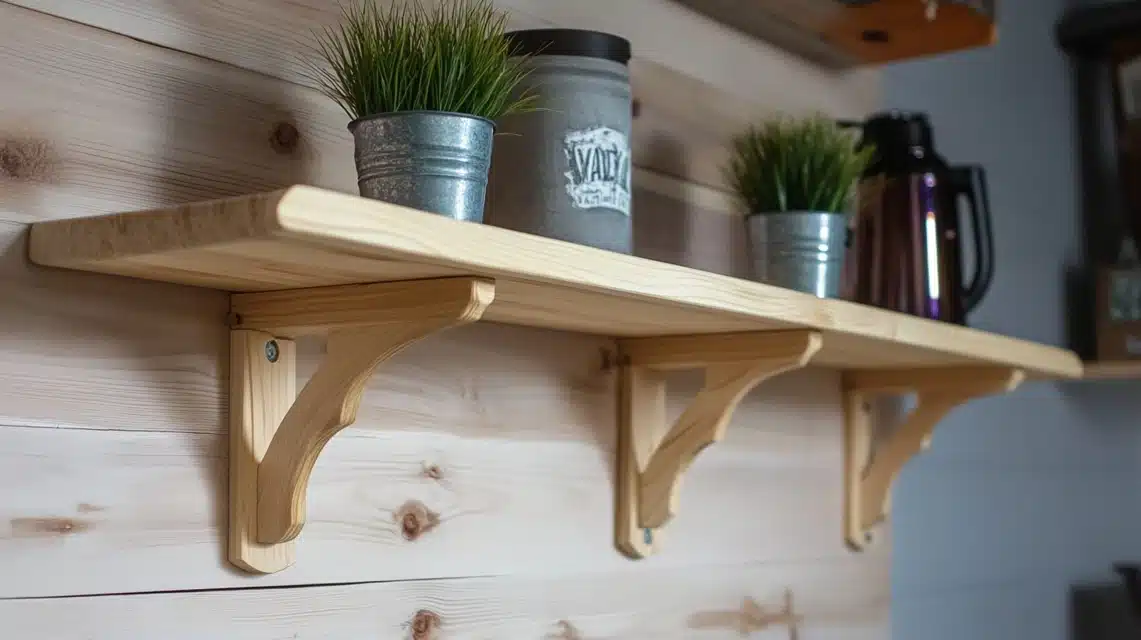
- Decorative wooden brackets add style
- Show off the bracket as part of your decor
- Work best in living spaces
3. Wall Type Matters
For Drywall:
- Use longer brackets to spread the weight
- Always find the wall studs
- Add extra support points
For Brick or Concrete:
- Metal brackets handle these surfaces best
- Use proper wall anchors
- Any design works with good mounting
Remember: The cheapest option isn’t always the best. Pick based on your real needs to avoid redoing the job later.
What are Some Cost-Effective or Cheap Ways to Make Shelf Brackets?
| Category | Tips/Ideas |
|---|---|
| Use Free Materials | – Old pallets (often free from stores) |
| – Leftover wood from other projects | |
| – Scrap metal from local shops | |
| – Unused pipes from home repairs | |
| Save on Tools | – Borrow tools from friends |
| – Share costs with DIY neighbors | |
| – Use basic hand tools instead of power tools | |
| – Look for tool rentals at hardware stores | |
| Smart Shopping Tips | – Buy damaged lumber at reduced prices |
| – Check clearance sections | |
| – Ask for offcuts at lumber yards | |
| – Visit thrift stores for used hardware | |
| Simple Design Ideas | – Make L-brackets from single boards |
| – Use wooden triangles for support | |
| – Create basic metal corner braces | |
| – Build box-style supports | |
| Material Substitutes | – Use PVC pipes instead of metal |
| – Try plywood instead of solid wood | |
| – Make brackets from recycled furniture parts | |
| – Use corner braces as mini brackets |
Each of these methods has helped me make sturdy brackets for under $5 each. Just remember to test weight limits before loading up your shelves.
Common Mistakes to Avoid
- Not Measuring Wall Studs First: Always find studs with a stud finder before mounting – drywall alone won’t hold your brackets.
- Skipping the Pre-Drill Step: Always make pilot holes to prevent wood splits and bent screws.
- Wrong Bracket Size for Weight: Pick bracket depth based on load – longer brackets for heavier items.
- Poor Material Choices: Match material strength to item weight – softwood for light loads, hardwood or metal for heavy stuff.
Best Customization and Finishing Touch Ideas
1. Paint Effects
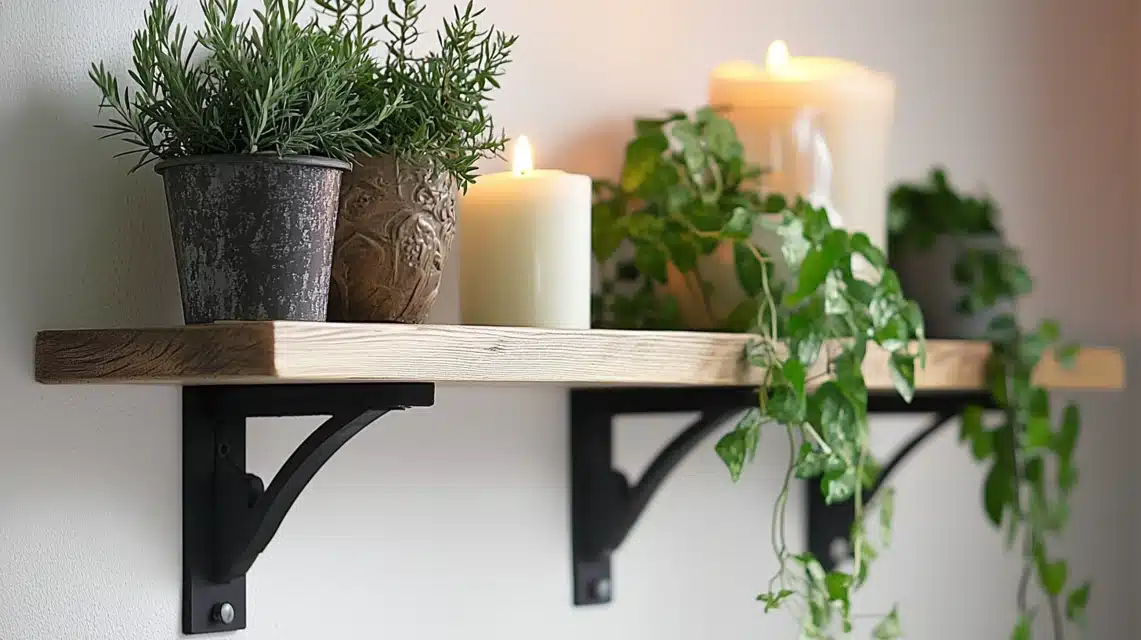
- Two-tone colors to match your room
- Clear coat for natural wood grain
- Chalk paint for a matte look
2. Adding Patterns
- Simple carved lines on wood brackets
- Small edge details with a hand saw
- Wood burning for basic designs
3. Protective Touches
- Clear varnish to prevent water spots
- Metal primer to stop rust
- Wood sealer for bathroom use
4. Easy Decorative Ideas
- Wrap with twine for a rustic look
- Apply stick-on wood trim
- Sand edges for a worn-in style
These changes cost under $10 but make store-bought brackets look basic in comparison. I always test finishes on scrap pieces first.
Keep designs simple – good brackets should blend with your shelves, not steal the show.
How to Install the DIY Shelf Bracket Easily
Gather Your Tools
- Level
- Pencil
- Stud finder
- Drill
- Tape measure
- Wall anchors
- Screws
- Helper (makes the job easier)
Basic Installation Steps
Mark Your Spots:
- Find wall studs with the stud finder
- Draw level lines where brackets will go
- Mark screw holes with a pencil
- Double-check all measurements
Prepare the Wall:
- Drill pilot holes into studs
- Put wall anchors in non-stud spots
- Clean up any dust
Mount the Brackets:
- Start with the top screws
- Check level again
- Add bottom screws
- Test bracket strength before adding shelf
Quick Safety Checks:
- Pull down on each bracket
- Push up from the bottom
- Wiggle side to side
Final Steps:
- Add your shelf
- Test with light items first
- Increase weight slowly
Maintenance & Safety Tips to Follow
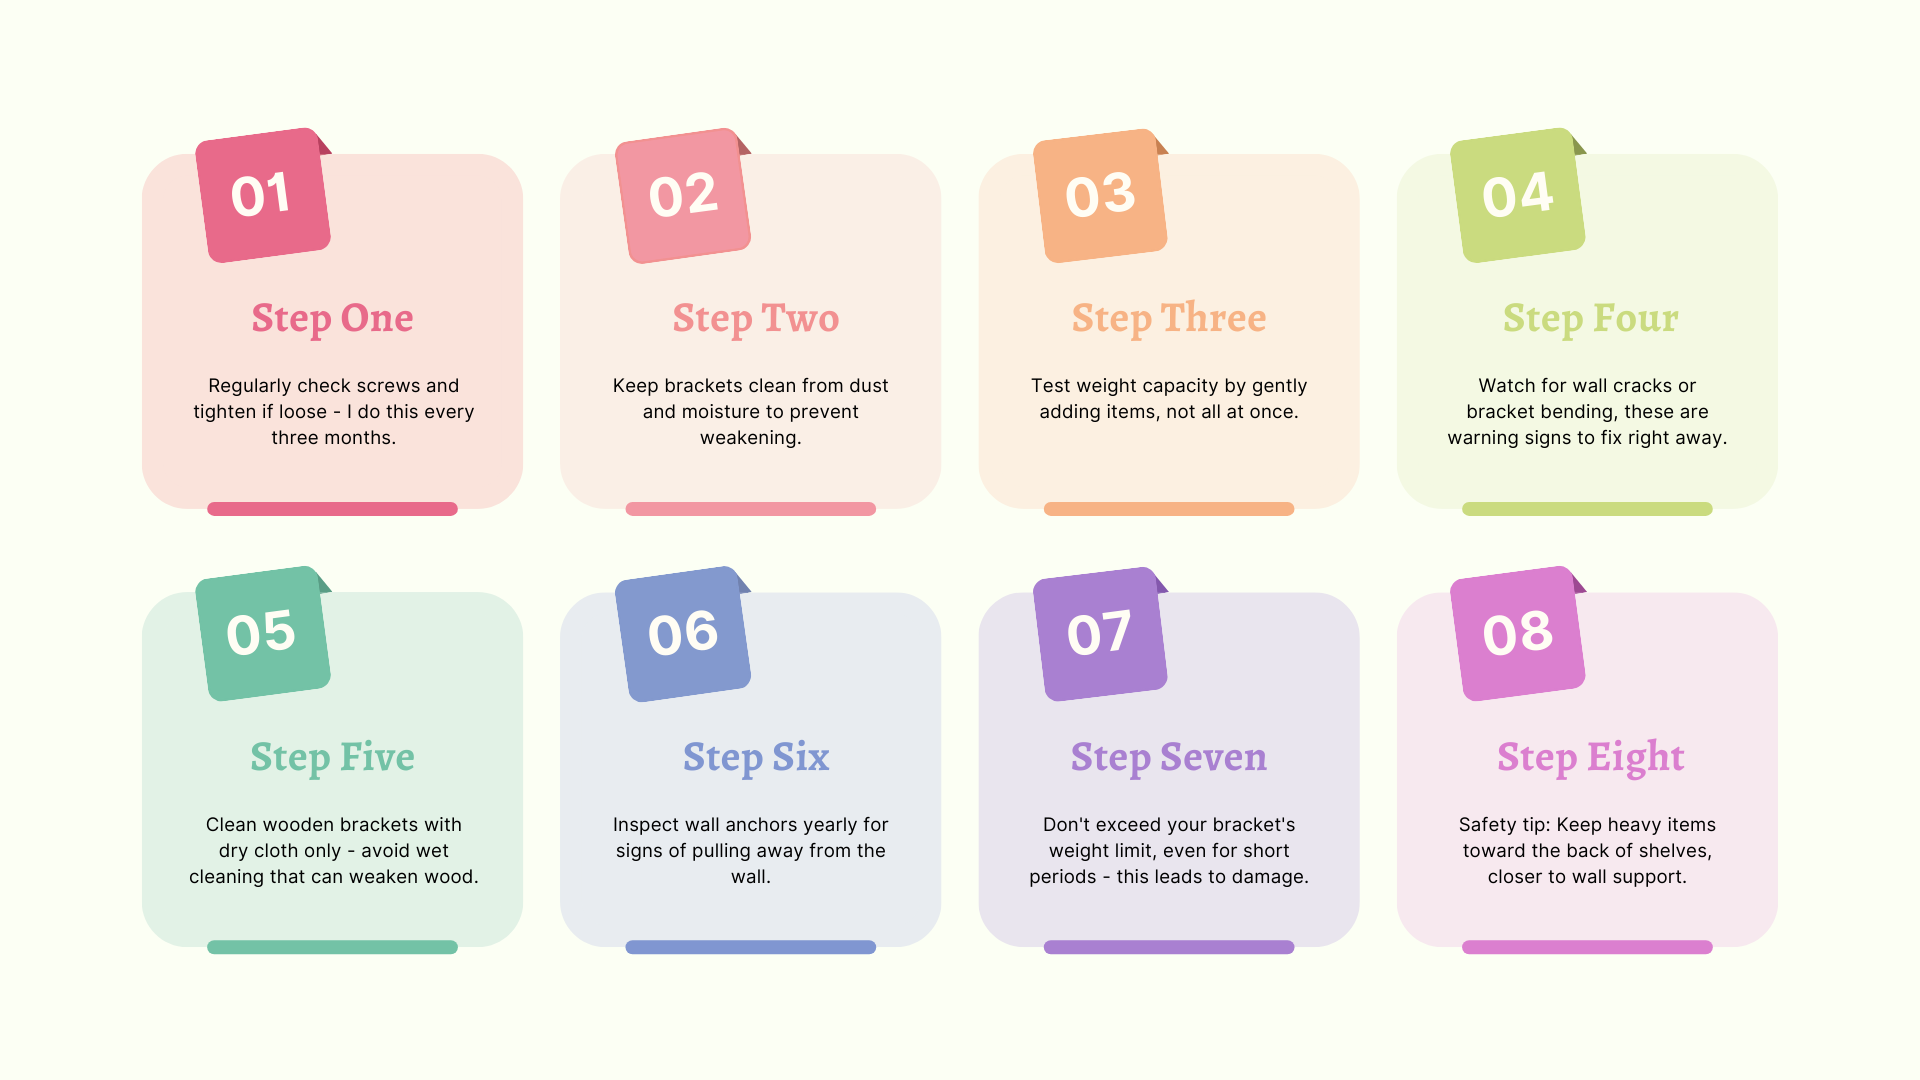
Conclusion
I started this DIY journey because I didn’t want to spend $50 on basic shelf brackets.
Now, I build my own for $10-20 each. More than saving money, I’ve learned that homemade brackets work just as well as store-bought ones.
Want to get started? Pick the design that fits your needs, gather your materials, and follow the steps I’ve shared. Take your time with measurements, and always put safety first.
Remember to check your local hardware store for materials – they often have great deals on supplies. If you make these brackets, I’d love to hear how it went!
Share your experience in the comments below or join our DIY community for more money-saving home projects.
Frequently Asked Questions
How Do I Cut the Correct Angles for Shelf Brackets?
Use a speed square to mark 45-degree angles. Place the wood on a flat surface, measure and mark your cuts, and double-check measurements before cutting. A miter box helps beginners.
Are There Simple Methods Suitable for Beginners Without Advanced Skills?
Yes! Start with basic L-shaped brackets using 90-degree cuts. Use a handsaw and measuring tape. First, practice on scrap wood. Pre-marked cutting guides work great.
Can I Make Floating Shelf Brackets Myself?
Yes, you can use steel rods inserted into wall studs. Drill matching holes in your shelf board. Space the rods 16 inches apart. Make sure the holes are level and straight.

