How to Build a DIY Picture Ledge
Need a simple way to show off your photos and art? I built a custom photo ledge last weekend, and it took me less than two hours. As someone who loves making things at home, I can tell you this project is perfect for beginners.
In this guide, I’ll show you step-by-step how to make your own photo ledge. You’ll learn which tools to grab, what wood to pick, and how to put it all together.
The best part? You can finish this project in one afternoon.
I’ll share my own tips from building several of these shelves in my home. By the end, you’ll have a beautiful spot to display your favorite photos and artwork.
An Overview of Picture Ledges
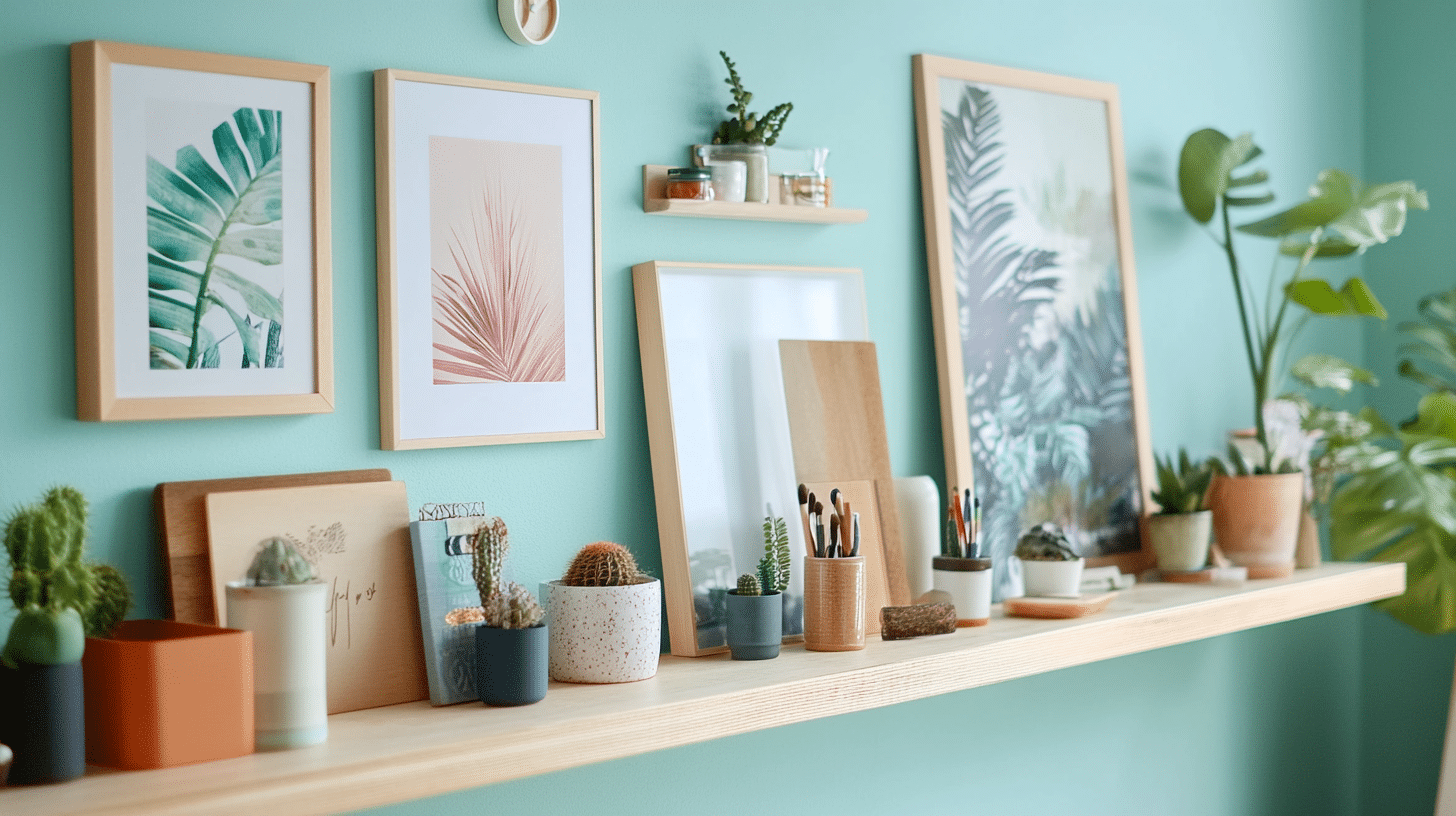
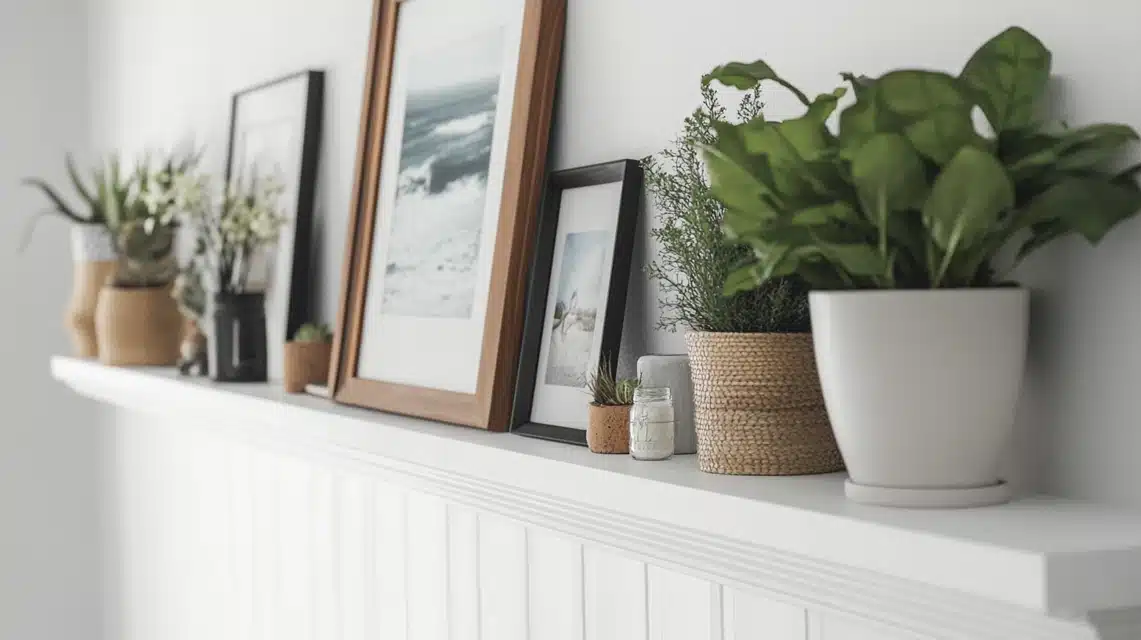
A picture ledge is a thin, narrow shelf with a small raised edge at the front. I like these shelves because they let me lean and layer my frames instead of hanging them. The lip on the front keeps everything from sliding off.
These shelves work well in many spots—above a couch, in hallways, or even in your home office. They’re much easier to use than traditional picture hangings.
When I want to switch up my photos or artwork, I just lift them off and rearrange them.
The best thing about picture ledges is their simplicity. They’re basically three pieces of wood joined together to form a small shelf.
This makes them an ideal project for anyone starting out with DIY. Plus, they cost much less to build than buying pre-made ones from stores.
How to Plan Your DIY Picture Ledge Project
Before picking up any tools, I always make a solid plan.
- First, think about where you’ll place the ledge. I check the wall space and measure the width I want my shelf to be. This helps me buy just the right amount of materials.
- Next, I decide what size frames I’ll display. For me, mixing 5×7 and 8×10 frames works best. This helps me choose the right depth for my ledge – usually 3 to 4 inches does the job nicely.
- I also consider the style of my room. Pine gives a casual look, while oak or maple suits formal spaces better. The finish matters, too. I might paint it white for a clean look or stain it to match other wood in my room.
This planning step saves time and money and helps avoid mistakes later on.
Dimensions and Measurements for An Effective Picture Ledge – A standard picture ledge works best at 3 to 4 inches deep, with a ¾-inch lip at the front, and you can adjust the length based on your wall space.
Step-by-Step Process of Building DIY Picture Ledge from Scratch
Tools & Materials Required
- Dressed pine wood planks:
- One 3-meter long, 64mm wide plank (for back and base)
- One 1.8-meter long, 42mm wide plank (for front lip)
- Construction adhesive
- Clamps
- Nail gun (or hammer and nails, or drill and timber screws)
- Spirit level
- Stud finder
- Screwdriver
- Wood putty
- Sandpaper (80 grit and 220 grit)
- Clearwater-based varnish
- Paintbrush
- Screws for mounting
- Measuring tape
- Painter’s tape
Stepwise Guide for Making This
1. Cut the Wood
-
- Cut the wider plank into two equal pieces for the back and base
- Cut the thinner plank for the front lip
- Make all pieces about 1.45 meters long
2. Create the Base
-
- Clamp one wide piece to the table
- Apply construction adhesive along the edge
- Join the second wide piece to form an L-shape
- Align edges and clamp together
- Let dry for 20 minutes
3. Add Support
-
- Use the nail gun to secure the L-shape
- Leave a gap between the edge and the nails
4. Attach Front Lip
-
- Apply adhesive to a thin piece
- Attach to create U-shape
- Clamp and let dry
- Secure with nails
5. Finish the Edges
-
- Clean excess glue
- Trim ends for even edges
6. Final Touches
-
- Fill nail holes with wood putty
- Sand all surfaces
- Apply first coat of varnish
- Light sand with 220 grit
- Apply second coat
7. Wall Mounting
-
- Mark the level line on the wall
- Use tape to mark the position
- Find and mark wall studs
- Pre-drill holes
- Mount with screws into studs
Approximate Cost Required for Building
| Item | Description | Cost Range ($) |
|---|---|---|
| Main Materials | ||
| Dressed pine plank | 3m x 64mm | 15-20 |
| Dressed pine plank | 1.8m x 42mm | 10-12 |
| Construction adhesive | 8-10 | |
| Wood putty | 5-7 | |
| Clearwater-based varnish | 15-20 | |
| Screws for mounting | 4-6 | |
| Basic Tools | (if you need to buy) | |
| Sandpaper pack | 5-7 | |
| Paintbrush | 5-8 | |
| Painter’s tape | 3-5 | |
| Total Cost Estimate | ||
| With basic tools | 70-95 | |
| Without tools | (if you have them) | 52-75 |
How to Install Your Picture Ledge
Step 1: Finding the Right Spot I start by checking my wall for the perfect height. Most people, including me, place picture ledges at eye level. Pull out your measuring tape and mark a spot about 57-60 inches from the floor.
Step 2: Marking the Wall I use a spirit level to draw a straight pencil line where I want my ledge. This helps me avoid ending up with a crooked shelf. I make the line as long as my ledge’s length.
Step 3: Locating Wall Studs I run my stud finder across the wall where I’ll mount the ledge. Whenever I find a stud, I mark it with a small pencil dot. These marks tell me where to put my screws for the strongest hold.
Step 4: Pre-drilling the Ledge, I flip my ledge over and mark spots for drilling that line up with my wall studs. Then, I make pilot holes through the back piece of the ledge. This stops the wood from splitting when I put in screws.
Step 5: Mounting Process Here’s my method:
- I hold the ledge against my marked line
- I check it’s level one more time
- I put a screw through the first pilot hole into a stud
- I add the rest of the screws one by one
- I make sure each screw sits tight but not too tight
Step 6: Final Check After mounting, I place a level on top of the ledge to make sure it’s perfectly straight. If needed, I can loosen or tighten screws to adjust the level.
Step 7: Testing the Hold I press down gently on the ledge to test its strength. A well-mounted ledge should feel solid and not wobble at all.
If you’re working with drywall and can’t find studs, use wall anchors rated for the weight you plan to put on the ledge.
How to Style & Arrange Your Picture Ledge
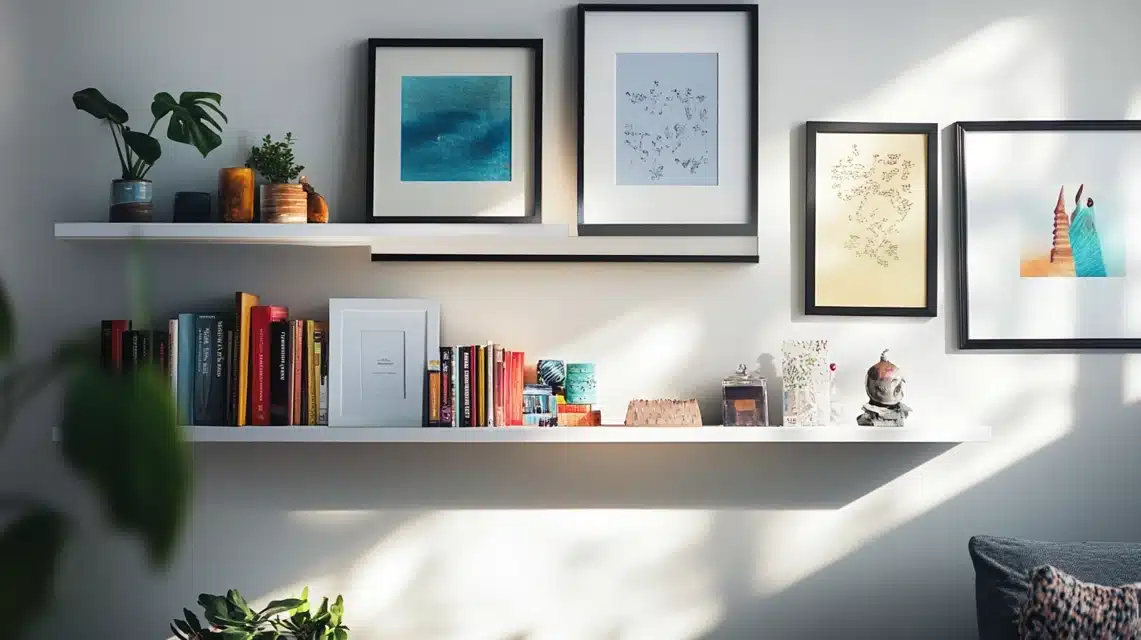
Start with a Clean Base
I always begin with a clean, empty ledge. This gives me a fresh view of the space I have to work with. I wipe down the surface to remove any dust from the installation.
Creating Layers
I use three rows to arrange my items:
- Back row: I put taller frames and artwork here
- Middle row: I place medium-sized pieces slightly in front
- Front row: I add small items and shorter frames
Size Variation
I mix up frame sizes to keep things interesting:
- I put large frames (8×10 or bigger) toward the back
- Medium frames (5×7) work well in the middle
- Small frames (4×6) fit nicely in front
Adding Different Items
I blend various pieces to make the display more personal:
- Photo frames in different finishes
- Small potted plants or tiny vases
- Art prints or postcards
- Small books standing upright
- Small decorative objects between frames
Color Balance
I pay attention to colors when placing items:
- I spread similar colors apart
- I mix light and dark frames
- I use odd numbers of items (3, 5, or 7)
Space Between Items
I leave small gaps between pieces:
- Not too crowded – each item needs room
- Not too sparse – gaps should be about 2-3 inches
- Items should slightly overlap for depth
Seasonal Updates
I change some items every few months:
- Fresh plants in spring
- Beach photos in summer
- Fall colors in autumn
- Holiday cards in winter
I step back often to examine the whole display. This helps me spot areas that need adjustment.
Certain Creative Customization Ideas I Have Tried
1. Multiple Ledges Setup ($90-120 total)
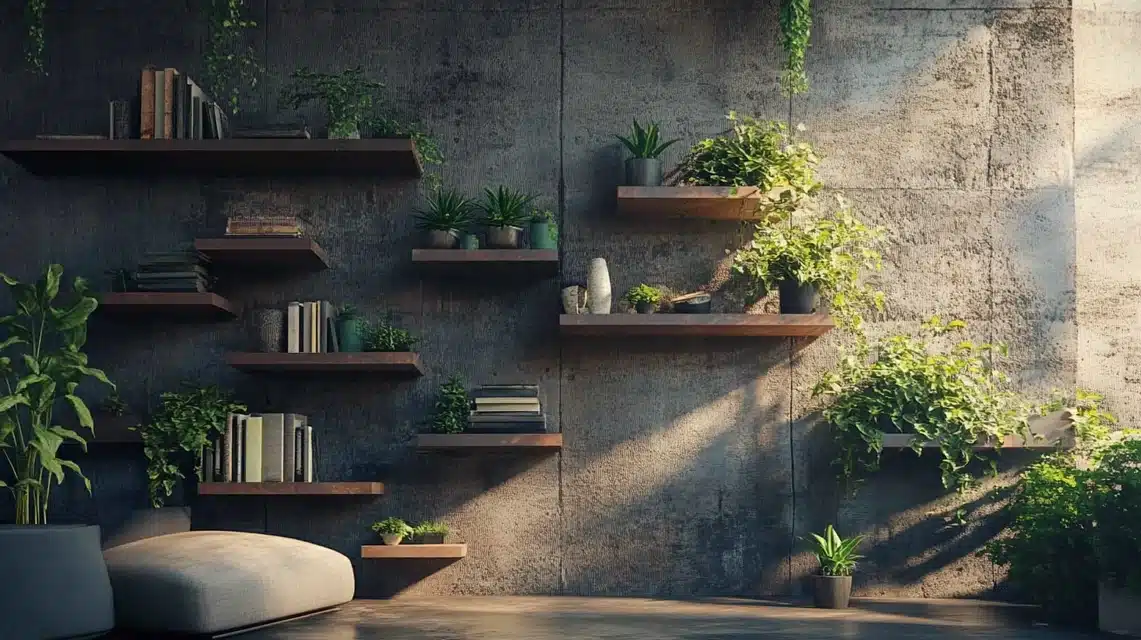
I installed three ledges at different heights on my wall. Each ledge is 12 inches apart. This creates a nice visual flow and gives me more space to show off my items.
2. Paint Effects ($15-25 per ledge)
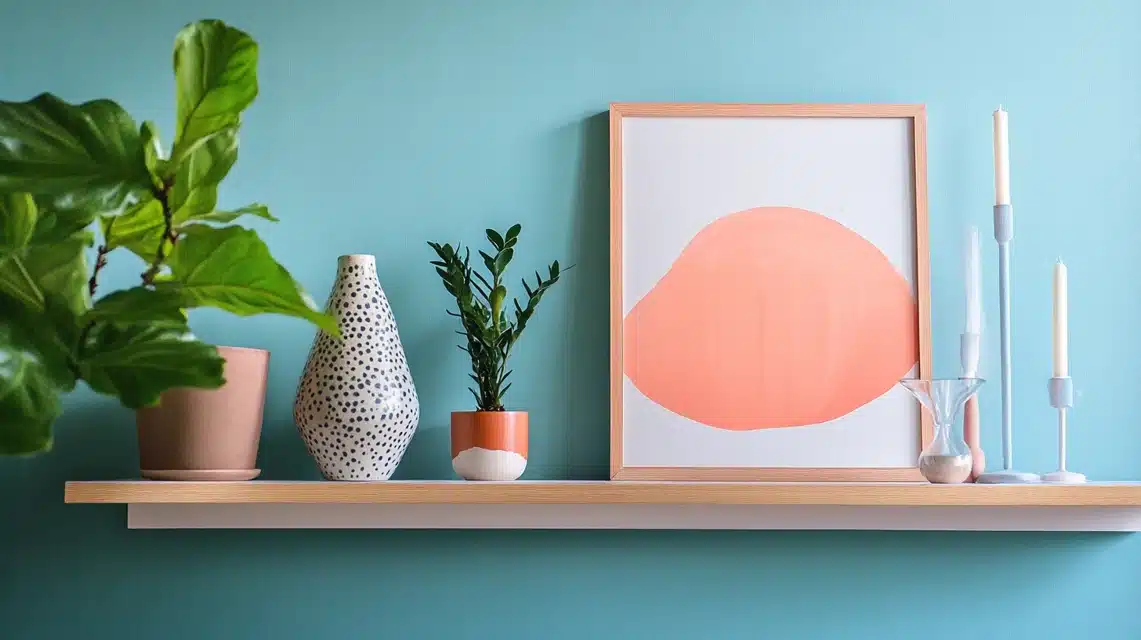
Here’s what I did with paint:
- I tried a two-tone look by painting the base one color and the lip another
- I used chalk paint for a soft, matte finish
- I left some wood grain showing through white paint for a rustic feel
3. Added Lighting ($20-40)
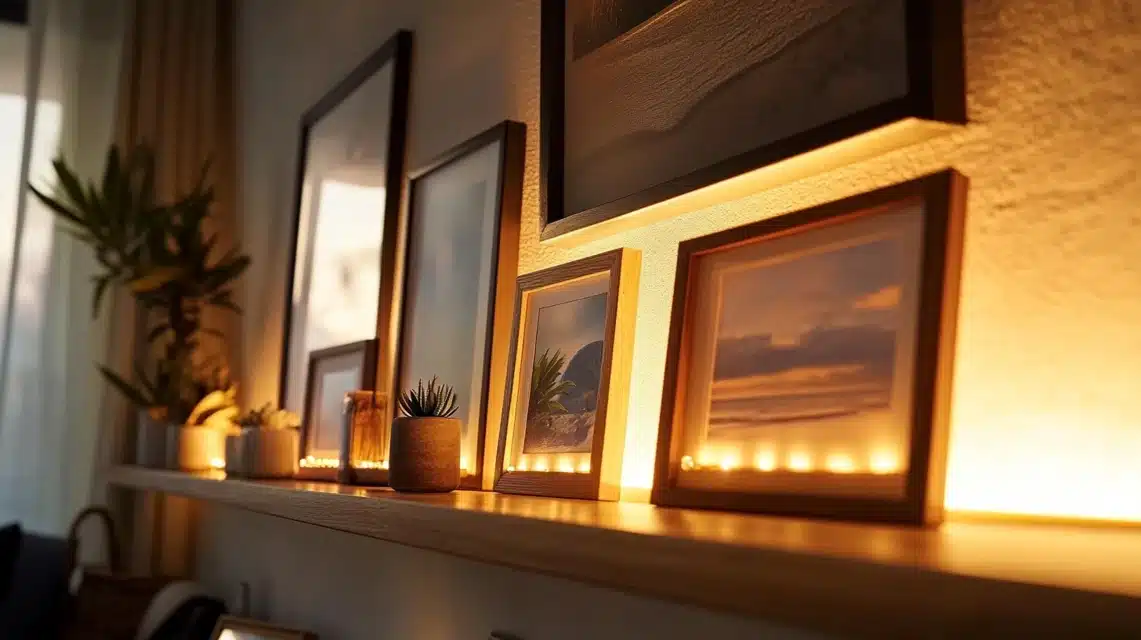
I made my display shine by:
- Putting small battery-operated spotlights behind certain frames ($10-15)
- Using stick-on LED strips under the ledge ($8-12)
- Setting up small clip lights to highlight special pieces ($12-15)
4. Corner Design ($40-60)
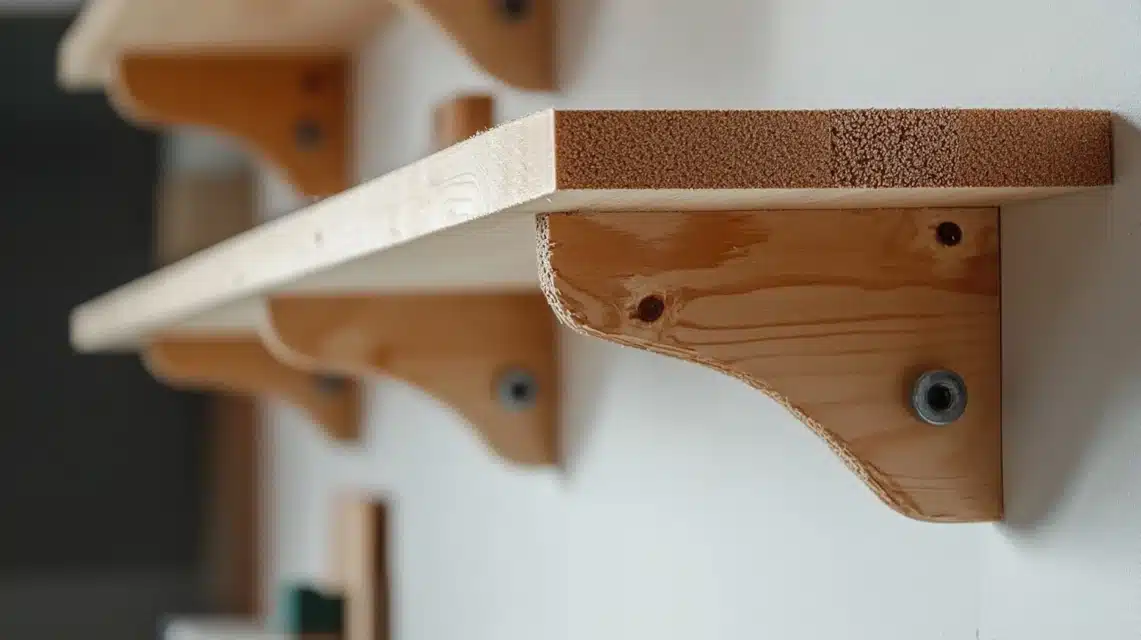
I made a corner setup by:
- Cutting the ends at 45-degree angles
- Joining two ledges to wrap around the corner
- Using corner braces for extra support
5. Extra Storage ($10-20 additional)
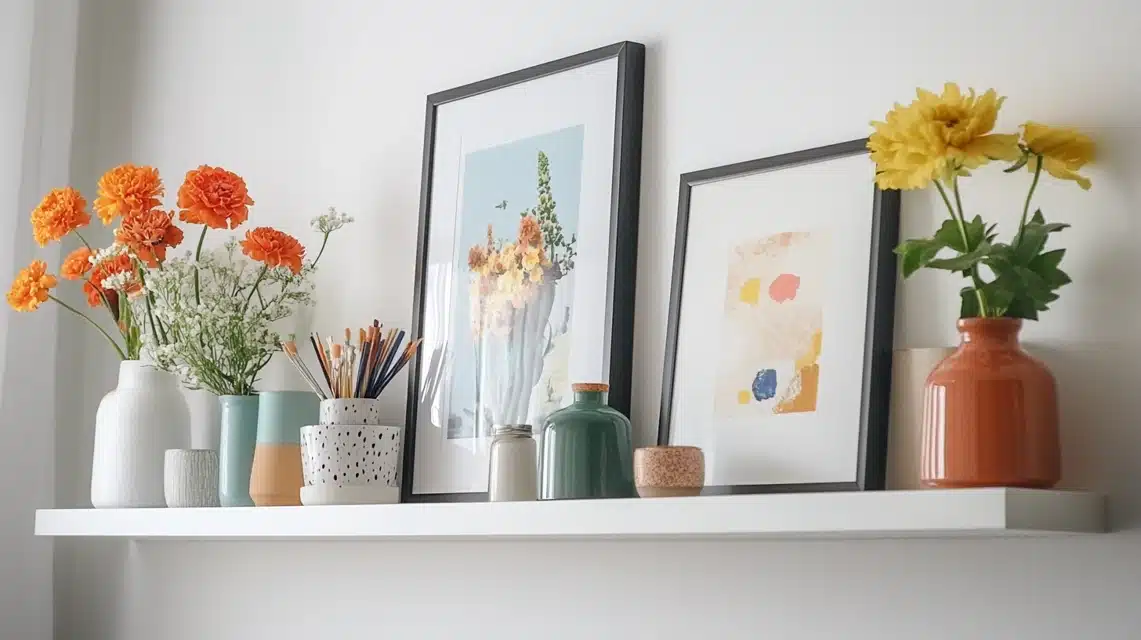
I added the function by:
- Making the lip slightly taller to hold more items
- Adding small hooks underneath for hanging light items ($5-8)
- Building a hidden compartment in the back
6. Different Materials Mix ($30-50)
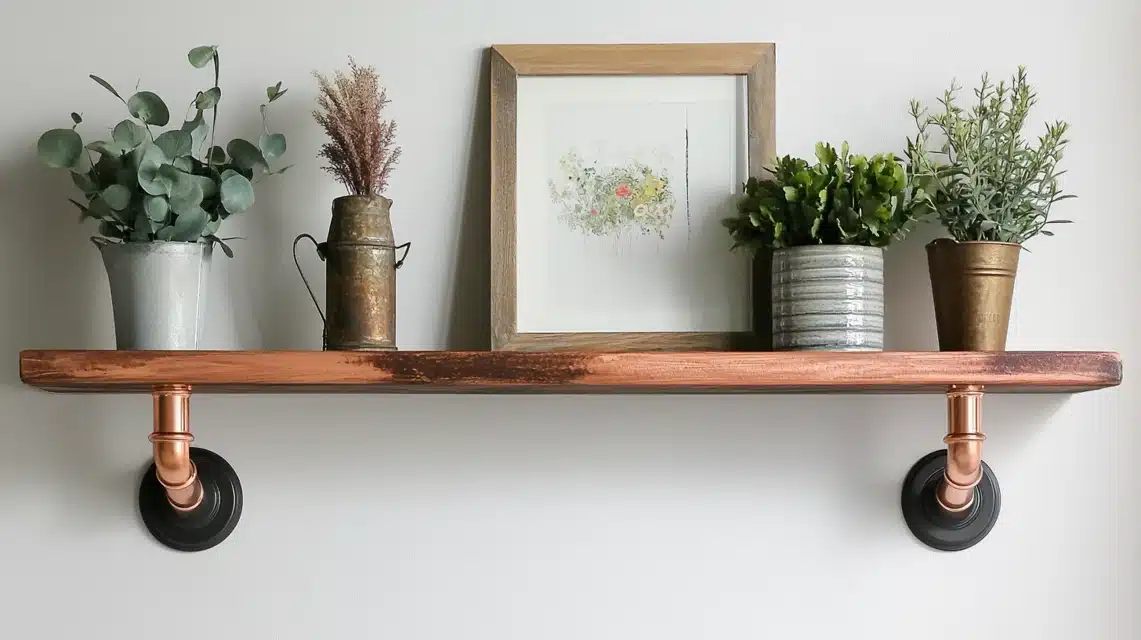
I combined materials like:
- Wood and metal brackets ($15-20)
- Copper pipe as the front lip ($10-15)
- Rope details on the edges ($5-8)
7. Width Variations ($35-45 per ledge)
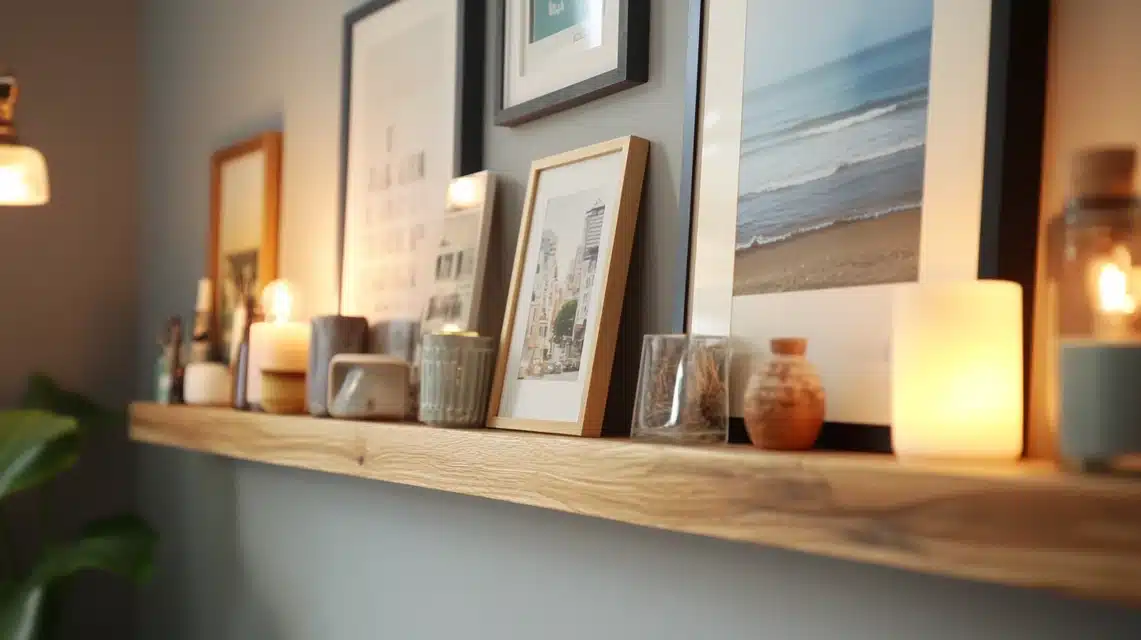
I played with different depths:
- Made wider ledges for books
- Built shallow ones for cards
- Created graduated widths for visual interest
Common Challenges That I Faced
| Challenge | Solution | Cost to Fix ($) |
|---|---|---|
| Cutting Wood Evenly | Cut pieces slightly longer, and trim ends after assembly | 0 (if you have tools) or 5-10 for a handsaw |
| Keeping Corners Square | Used a carpenter’s square and extra clamps to hold pieces while glue-dried | 8-12 for a carpenter’s square |
| Wall Mounting Issues | Used heavy-duty wall anchors between studs for extra support | 5-8 for wall anchors |
| Hiding Nail Holes | I mixed two putty colors to match the pine color | 10-15 for two putty colors |
| Level Issues | Used small shims behind the ledge to adjust | 3-5 for shims |
| Wood Movement | I used more clamps and waited longer before removing them | 15-20 for extra clamps |
| Finish Problems | Light sanding between coats of varnish fixed the rough texture | 4-6 for fine-grit sandpaper |
Conclusion
Building your own picture ledge is a fun weekend project that really pays off. I spent under $100 and now have a custom shelf that fits my space perfectly.
From picking the right wood to adding my own touches, each step taught me something new.
If you’re thinking about making one, take it step by step. Don’t worry if your first try isn’t perfect – mine wasn’t! The best part is that you can fix most mistakes along the way.
Want to start creating your own? Grab your supplies and follow the steps I shared. Soon, you’ll have a beautiful spot to show off your favorite photos and art pieces.
Share your results with me in the comments – I’d love to see what you create!
Frequently Asked Questions
What are the Best Wood Types for a Picture Ledge?
Pine is great for beginners – it’s light and easy to work with. Oak gives better strength and a fine finish. Cedar works well, too, as it resists warping and splitting.
How Do I Prevent Pictures from Falling Off the Ledge?
Make sure your front lip is at least ¾ inch tall. I add small clear rubber bumpers behind frames. The ledge should slope very slightly backward when mounted.
How Much Weight Can a Picture Ledge Hold?
A 4-foot picture ledge can hold 20-25 pounds when properly mounted into wall studs. I space my screws every 16 inches. Always check your specific wall type for weight limits.

