The Ultimate Guide to a DIY Christmas Lamp Post
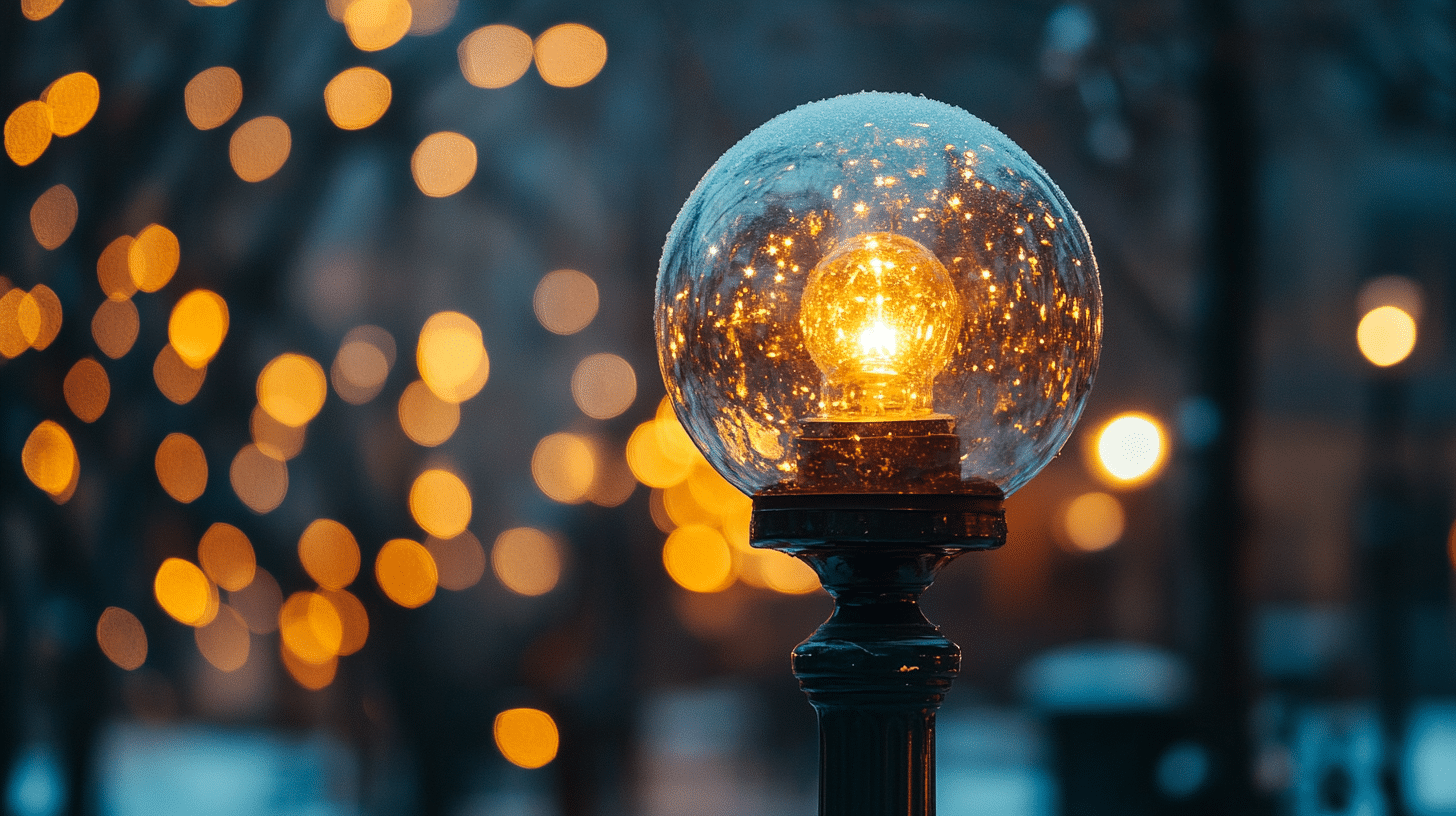
Want to add some holiday magic to your front yard? A DIY Christmas lamp post can make your home feel extra special this season. I spent years trying different ways to create the perfect outdoor holiday light display. Through trial and error, I found that decorating a lamp post offers the perfect mix of classic charm and festive spirit.
I’ll share my tested tips for creating a beautiful DIY Christmas lamp post in this guide. You’ll learn which materials work best, how to assemble everything safely, and some creative design ideas to make your display stand out. Plus, I’ll help you avoid common mistakes that can waste time and money.
Ready to create a winter wonderland right at your doorstep? Let’s start making your very own DIY Christmas lamp post.
Planning Your DIY Christmas Lamp Post: Getting Started
Hey there, fellow DIY enthusiast! Before we start creating your Christmas lamp post, let’s talk about what you’re getting into. I’ve made several of these, and I want to share some real talk about time, money, and what you’ll need.
How Long Will This Take?
Think of this as a weekend project – but don’t rush it! I’ve found that spreading it out over a couple of weekends makes it more fun and less stressful. Here’s how I break it down:
- First day: Shopping and planning (2-3 hours)
- Second day: Building the basic structure (4-5 hours)
- Third day: Adding all those pretty holiday touches (2-3 hours)
- Plus, there is some drying time in between!
Pro tip: If you, like me, love those end-of-day craft sessions, you can split them into evening chunks after work.
Let’s Talk Money
| Budgeting Aspect | Description |
|---|---|
| Cost Overview | Estimated total cost: $50 – $200 Includes materials, tools, and decorations. |
| Plan Ahead | Estimate costs before starting and keep track of expenses during the project. |
| Phase Purchases | Buy essential materials first; add decorations later to manage cash flow. |
| DIY What You Can | Repurpose existing materials and homemade decorations to cut costs. |
Can You Do This?
Good news! If you can use a glue gun and paint a wall, you have the skills for this project. You don’t need to be a master craftsperson. Here’s what helps:
- Basic painting skills (nothing fancy).
- Ability to use simple tools.
- Patience for letting things dry.
- An eye for placing decorations (but there’s no wrong way!).
Steps to Make DIY Christmas Lamp Post
Creating your DIY Christmas lamp post adds a special touch to your holiday decor. Here’s how to make one step by step:
First, get your materials ready. You’ll need:
| Material Category | Items Needed | Notes |
|---|---|---|
| Base & Structure | Dollar Tree water globe (clear) | Primary structure for the lamp post |
| Black plastic lid (recycled) | Used for the base or the finial | |
| Brass candlestick (or preferred style from a store) | Supports the globe | |
| Paint & Finishing | Flat black spray paint | For base color |
| Gold Folk Art paint (for dry brushing) | For decorative highlights | |
| Adhesives | E6000 adhesive | Strong, durable bond |
| Hot glue gun with glue sticks | For quick setting and hold | |
| Lighting | LED tea light candles (prefer white light) | To illuminate the lamp post |
| Decorative Elements | Christmas decorations (e.g., pine stems, bows, bells) | To embellish and theme the post |
| Tools | Small tools like wire cutters | For cutting and adjusting materials |
Step 1: Globe Preparation
Apply frosted glass spray to your clear globe. Work in thin, even layers. Let each coat dry for 15 minutes. Two coats should give you the right frosty finish.
Step 2: Paint the Base
- Start with a clean candlestick
- Apply flat black spray paint evenly
- Let it dry for 2 hours
- Lightly brush gold paint with a dry brush for an aged finish
Step 3: Bottom Assembly
- Turn the globe upside down
- Apply E6000 around the black lid’s rim
- Add three dots of hot glue for a quick hold
- Press the lid firmly onto the globe’s bottom
- Hold for 30 seconds
Step 4: Top Finial Creation
- Take your larger black lid
- Add gold paint touches if desired
- Attach the small-cap to the lid
- Use both E6000 and hot glue
- Center carefully and let set
Step 5: Globe Attachment
- Apply E6000 around the candlestick’s top edge
- Place globe centered on candlestick
- Add hot glue for immediate hold
- Keep steady until the initial set
Step 6: Decoration
- Wrap pine stems around the post’s neck
- Secure with thin wire
- Add small Christmas bows
- Include tiny bells for extra charm
- Adjust until balanced
Step 7: Light Installation
- Choose a white-light LED tea light
- Remove battery block
- Place inside globe
- Test light before final assembly
Step 8: Final Setup
- Let all adhesive dry overnight
- Check all connections
- Turn on light
- Place in your chosen spot
Safety Note: Keep your DIY Christmas lamp post away from heat sources and direct sunlight. Check the LED light regularly to ensure proper function.
Care Tip: Dust with a soft cloth when needed. Avoid using wet cleaners that might affect the finish.
Following these steps carefully will create a beautiful DIY Christmas lamp post for your holiday display.
Check out this YouTube video on DIY Christmas lamp posts for a more detailed tutorial!
Setting Up Your DIY Christmas Lamp Post
Finding the Perfect Spot Inside
Your DIY Christmas lamp post brings warmth to indoor spaces. A bright foyer welcomes guests with holiday spirit. Empty corners come alive with soft lamplight. Near the Christmas tree, it adds extra magic to your main display. Consider traffic patterns when choosing your spot. Leave room for people to move easily around it.
Creating Outdoor Magic
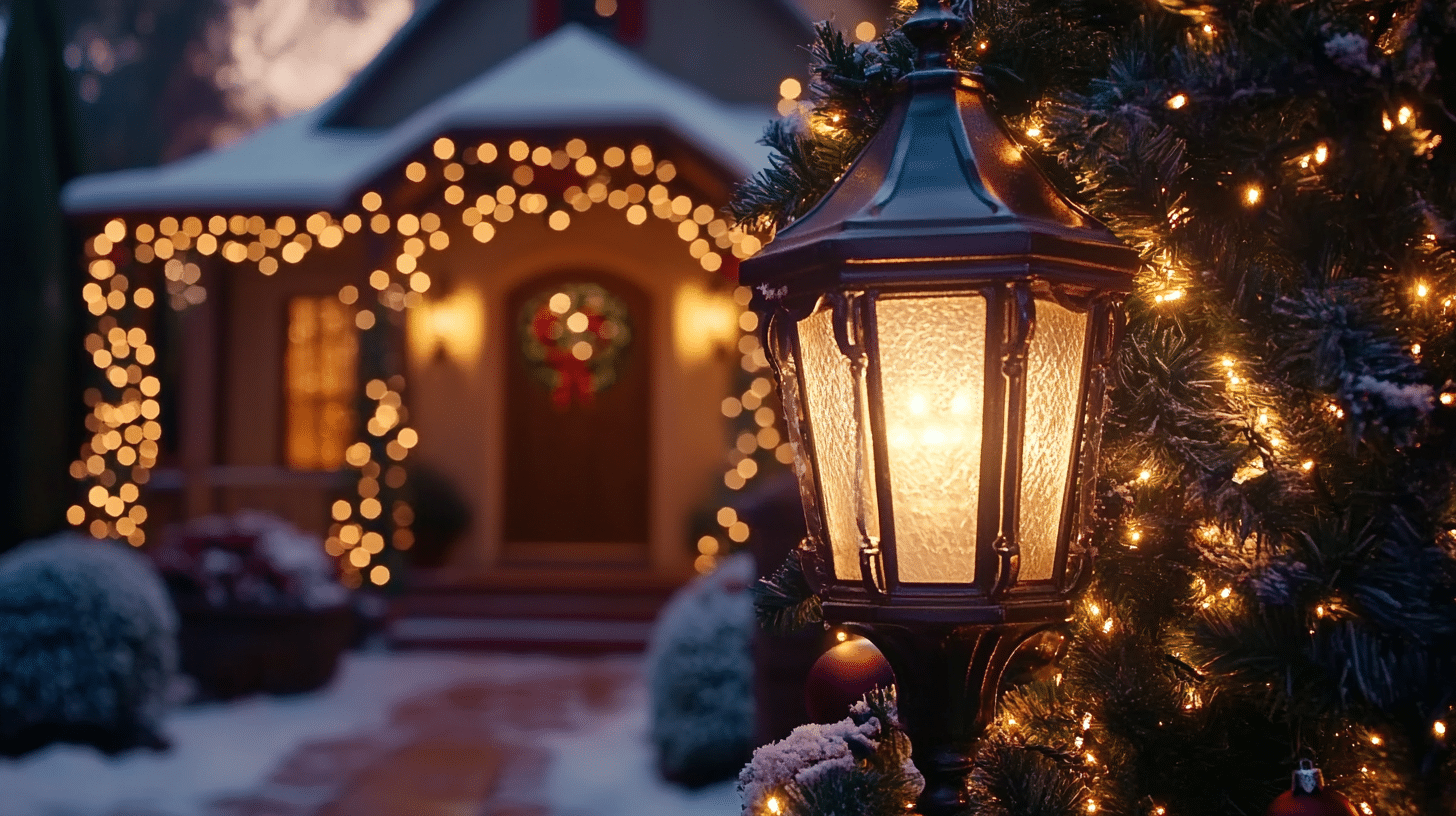
Lamp post lighting makes garden paths shine, driveways become grand entrances, and front yard displays draw admiring looks. Your lamp post marks special spots in your outdoor space. Weather affects placement choices. Think about wind patterns and rain exposure. A sheltered spot often works best.
Making It Stable Inside
Indoor stability starts with a solid base. Heavy materials prevent tipping, and flat surfaces keep everything straight. Test the stability before adding decorations. Small adjustments make big differences in safety, and regular checks keep everything secure.
Securing Outdoor Displays
Outdoor installations need extra care. Deep anchoring prevents wind damage, and strong mounting systems last through storms. Check the ground slope for proper drainage, and add support cables if needed. Good foundation work pays off all season.
Blending with Your Space
Match your lamp post style to your home. Indoor decor guides color choices, while outdoor architecture suggests scale and shape. Height matters in both spaces. Your lamp post should feel like it belongs, and small touches help it fit naturally.
Light and Power Planning
Indoor power needs extension cords. Hide them safely under rugs or along walls. Outdoor setups might need buried cables. Solar options avoid cord concerns. Battery power works anywhere. Plan your power source early.
Easy Access Design
Keep controls within reach—plan for bulb changes. Make decorating simple. Allow space for cleaning. Think about storage access—design for easy updates.
Your DIY Christmas lamp post needs thoughtful placement. Good planning prevents problems later. Take time with setup choices. Consider all seasons when deciding on spots. Remember, both beauty and practicality matter. Regular care keeps everything safe and lovely.
Keeping Your DIY Christmas Lamp Post Beautiful
Regular Care Matters
Your DIY Christmas lamp post stays beautiful with simple care. Wipe dust off weekly with a soft cloth. Check paint for small chips. Fix tiny problems before they grow. Clean decorations stay bright longer. Small touch-ups keep everything fresh.
Weather Protection
Winter weather tests outdoor displays. Add extra sealer before storms arrive. Check joints where water might enter. Cover exposed metal parts well. Good weatherproofing prevents rust. Seasonal checks catch problems early.
Smart Cleaning Tips
Gentle cleaning works best. Use soft brushes for tight spots. Avoid harsh chemicals on finishes. Clean decorations while checking them. Remove water spots quickly. Keep cleaning supplies nearby.
Protecting Decorations
Store decorations with special care. Wrap glass items in soft paper. Keep metal pieces from scratching. Sort by type and size. Stack larger items below smaller ones. Leave room for airflow.
Organizing for Next Year
Good organization saves future time. Keep similar items together—sort by use and season. Write clear labels on boxes—store instructions with parts. Make notes about improvements.
Seasonal Checks
Look over your lamp post monthly. Tighten loose parts right away. Replace worn decorations promptly. Check lights for problems. Keep spare parts handy. Fix small issues quickly.
Long-Term Protection
Think about years of use ahead. Choose sturdy storage containers. Keep water away from stored items. Check storage areas seasonally. Update protection as needed. Plan for lasting beauty.
Your DIY Christmas lamp post deserves good care. Simple maintenance keeps it special. Take time with storage prep. Think about next year’s setup. Keep everything clean and ready. Good care brings years of holiday joy.
Remember, careful storage protects your hard work. Well-kept decorations last longer. The organization makes next year easier. Your lamp post stays ready for many happy seasons. Simple care steps add up to lasting beauty.
Conclusion
Your DIY Christmas lamp post adds more than light to your home – it creates moments your family will cherish. From choosing the perfect spot to adding the final decoration, each step builds a piece of your holiday story.
The beauty of this project lies in its simplicity. With basic tools and materials, you can craft a lamp post that fits your style. Clean lines or fancy trim, classic colors or modern twists – the choice is yours.
Time spent on careful assembly and thoughtful decoration pays off in winter evenings filled with warm light. Your lamp post becomes part of your home’s holiday charm, greeting guests and family with its soft glow.
Simple care keeps your creation shining through many seasons of celebrations.

