Designing Your Perfect DIY Welcome Sign
Welcome to the wonderful world of DIY welcome signs! If you’re looking for a fun and creative way to greet guests and add a personal touch to your home, you’ve come to the right place.
Creating your custom welcome sign allows you to express your unique style, save money on expensive store-bought options, and experience the satisfaction of crafting something beautiful with your hands.
Whether you’re a seasoned DIY enthusiast or a beginner looking to tackle a new project, this comprehensive guide will walk you through designing and crafting your perfect welcome sign.
From choosing materials and tools to mastering different techniques and adding personal flair, you’ll find everything you need to know to create a one-of-a-kind sign that will make a lasting impression on all who visit your home.
Understanding Different Styles
When it comes to welcome signs, there are several popular styles to consider:
- Vertical porch signs: These tall, narrow signs are perfect for placing next to your front door or porch. They offer plenty of space for a warm message and decorative elements.
- Horizontal door signs: Hung directly on your front door; these signs greet guests at eye level. They work well with shorter messages or designs that fit a wide, rectangular format.
- Round signs: Circular signs add a playful touch to your entrance. They’re great for showcasing a monogram, family name, or a concise phrase surrounded by a border or wreath.
- Interchangeable and reversible signs: These versatile signs allow you to switch up your message or design for different seasons, holidays, or occasions. They often feature a main panel with attachable or reversible elements.
Creating a Design Concept
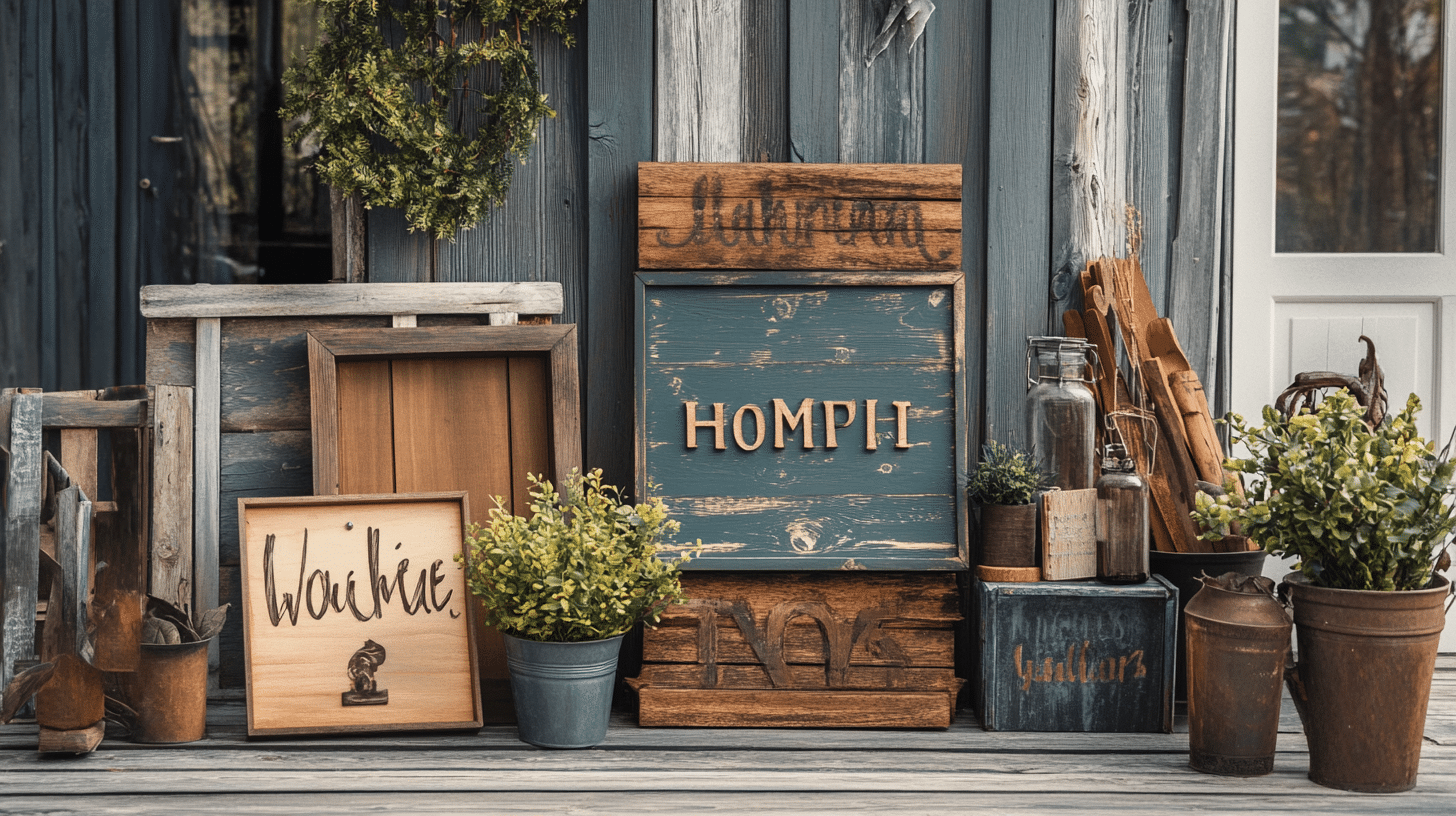
Once you’ve chosen a sign style, it’s time to develop your design concept. Consider the following factors:
- Selecting a theme: Decide on an overall aesthetic that complements your home’s style. Popular options include rustic, modern, farmhouse, beachy, or whimsical themes.
- Choosing fonts and graphics: Pick fonts that are easy to read from a distance and reflect your chosen theme. Mix and match typography styles for added visual interest. Incorporate graphics like flourishes, arrows, or icons to enhance your design.
- Incorporating family names or favorite quotes: Personalize your sign with your family name, initials, or a meaningful quote. This adds a special touch and makes your sign unique to your household.
Choosing Materials and Essential Tools

To bring your welcome sign vision to life, you’ll need to select the right materials and gather the necessary tools. Let’s break down the options and essentials.
Selecting the Right Materials
The material you choose for your sign will depend on your design preferences, budget, and whether you plan to display it indoors or outdoors.
- Types of wood: Popular choices include pine, cedar, and reclaimed wood. Pine is affordable and easy to work with, while cedar is naturally weather-resistant and ideal for outdoor signs. Reclaimed wood offers a unique, rustic charm.
- Benefits of each wood type for indoor/outdoor use: Consider each wood type’s durability and maintenance requirements. Cedar and pressure-treated pine are suitable for outdoor use, while untreated pine or softwoods are best reserved for indoor signs.
- Alternative materials: If you want to explore beyond wood, consider options like metal (aluminum or steel), acrylic (plexiglass), or chalkboard. These materials offer different aesthetics and can be easier to clean and maintain.
Gathering Essential Tools and Supplies
To craft your DIY welcome sign, you’ll need the following tools and supplies:
- Basic tools: Measuring tape, saw (hand saw, jigsaw, or circular saw, depending on your wood choice), sandpaper (various grits for smoothing the surface), and a drill (for hanging hardware).
- Painting supplies: Brushes (small for details, large for background), foam rollers (for smooth paint application), and sponges (for distressing or stippling effects). Choose brushes and rollers designed for your specific paint type.
- Lettering options: Decide on your lettering method. You can use stencils (reusable plastic or adhesive vinyl), transfer paper (to trace printed designs), or freehand painting (using a pencil sketch as a guide).
Step-by-Step Guide to Crafting Your DIY Welcome Sign
Now that your design concept and materials are ready, it’s time to start crafting your welcome sign. Follow these step-by-step instructions for a successful project.
Step 1: Preparing the Wood Base
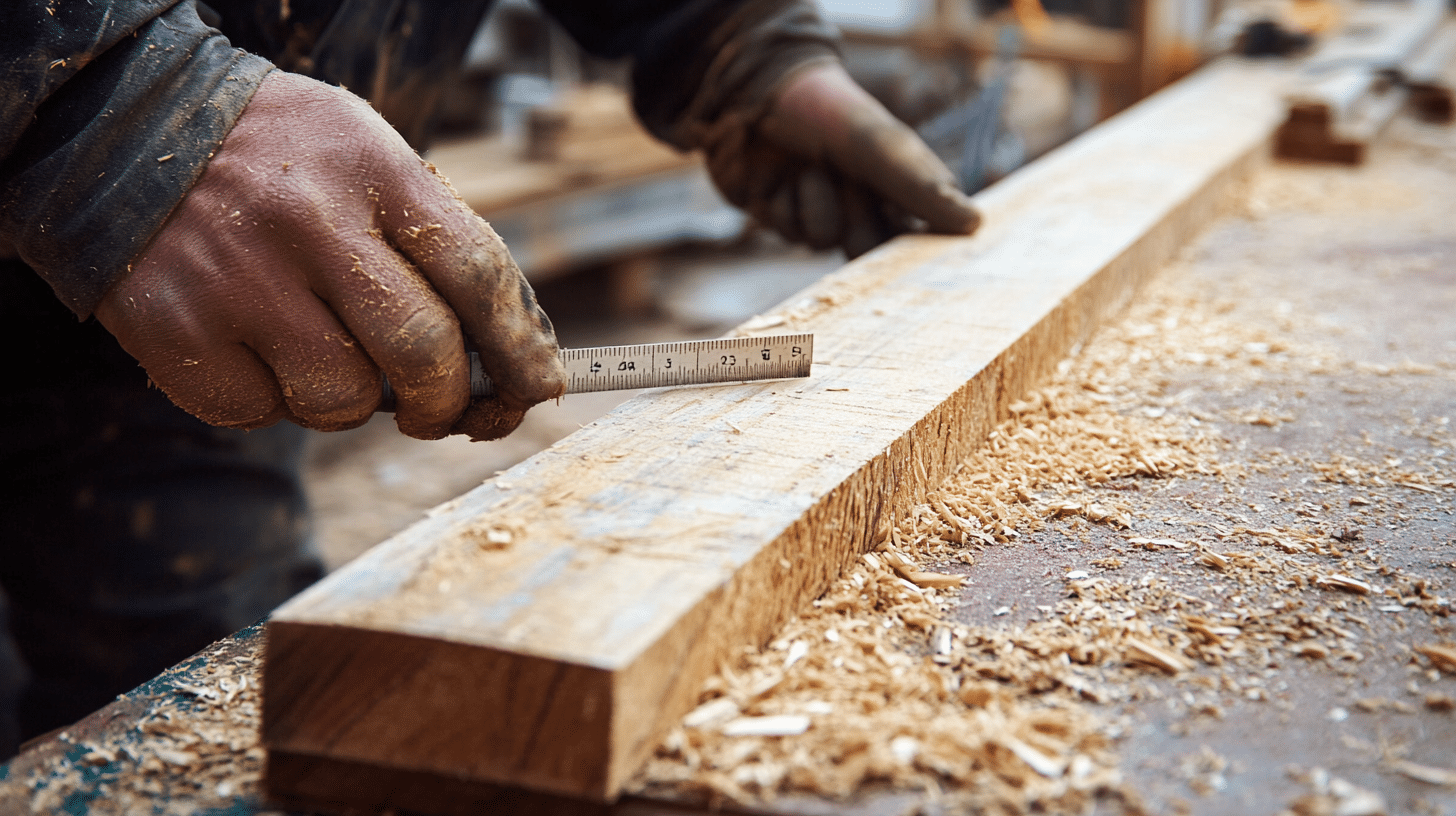
- Measuring and cutting the wood to size: Use your measuring tape and saw to cut your wood to the desired dimensions. Double-check your measurements before cutting to ensure accuracy.
- Sanding the surface for a smooth finish: Start with a medium-grit sandpaper (e.g., 120) to remove rough spots or splinters. Progress to a finer grit (e.g., 220) for a smooth, even surface. Wipe away dust with a tack cloth.
- Tips for dealing with reclaimed or pallet wood: If using reclaimed timber, inspect for nails, screws, or other hardware and remove them. Fill any cracks or holes with wood filler, let dry, and sand smooth. Pallet wood may require extra sanding to even out the surface.
Step 2: Applying the Background Finish
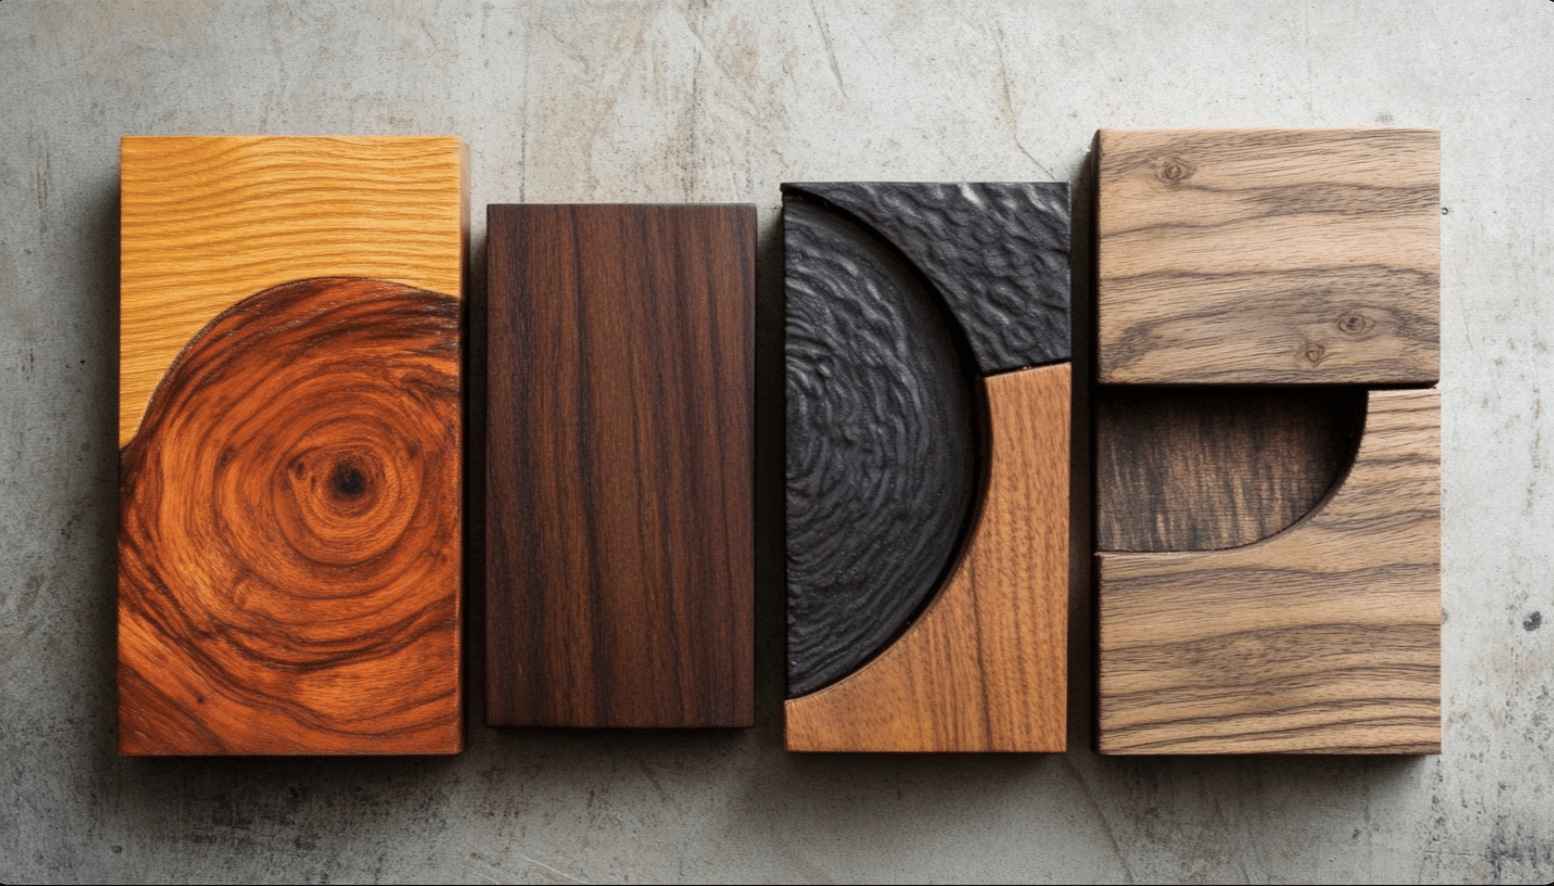
- Choosing between paint, stain, or natural wood: Based on your design concept, decide on your background finish. Paint offers a solid, opaque color, while stain enhances the wood’s natural grain. You can also leave the wood natural for a rustic look.
- Techniques for distressing or whitewashing: For a distressed look, apply a base coat of paint, let it dry, and lightly sand the edges and corners. For whitewashing, mix equal parts white paint and water, brush it on, and wipe off excess with a cloth.
- Drying times and best practices: Allow each coat of paint or stain to dry completely before applying the next. Work in a well-ventilated area and follow the manufacturer’s instructions for drying times and cleanup.
Step 3: Adding Lettering and Designs
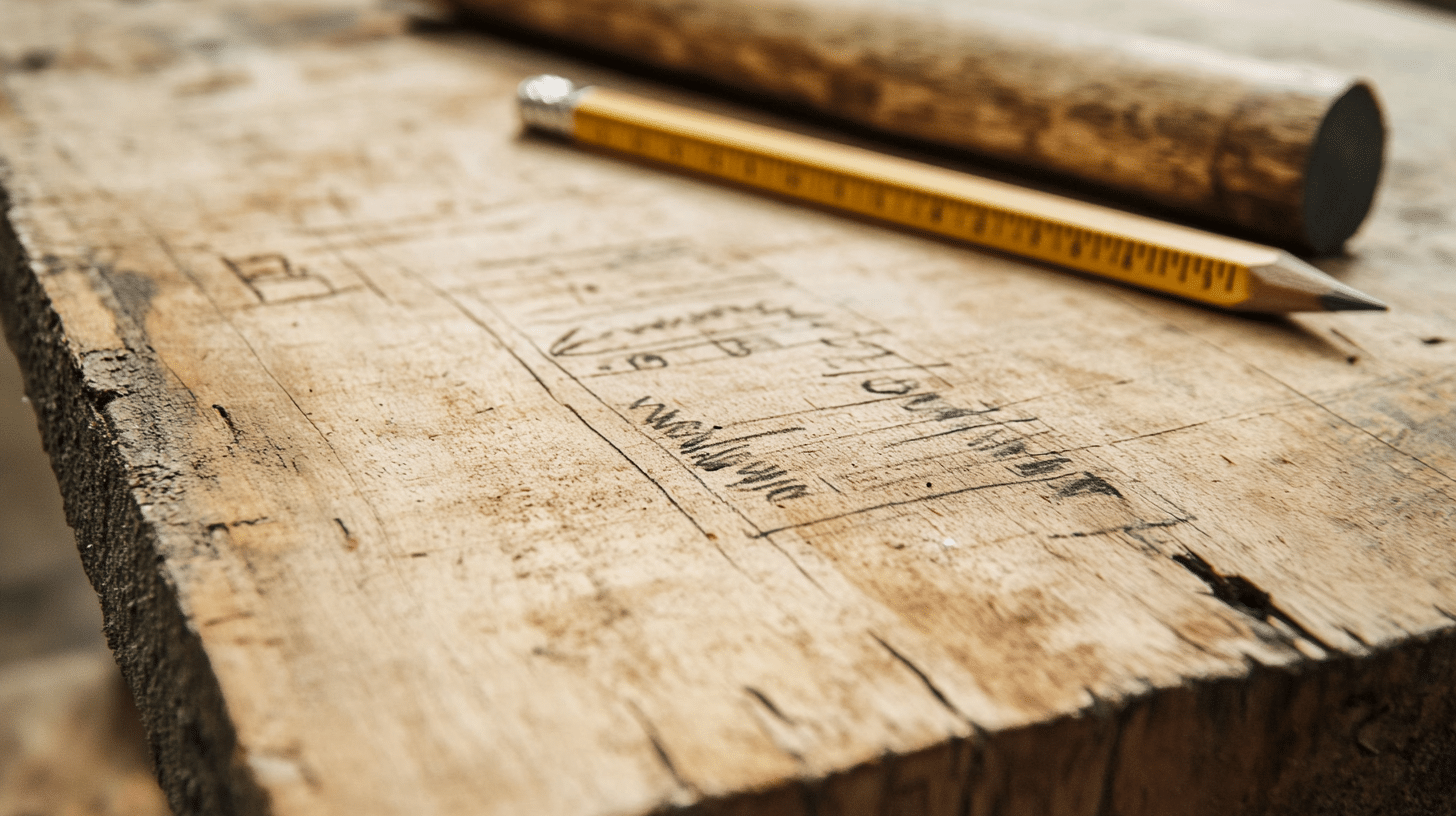
- Positioning your design on the sign: Use a ruler and pencil to mark the placement of your lettering or design lightly. Double-check the spacing and alignment before proceeding.
- Methods for transferring images or text: For stencils, secure them in place with painter’s tape and dab paint with a sponge or stencil brush. For transfer paper, print your design, trace it onto the transfer paper, then flip and trace it onto the wood. For freehand, sketch your design lightly with a pencil, then paint over it.
- Painting tips for crisp lines and edges: Use a small, angled brush for lettering and details. Load the brush with paint, then gently wipe off excess on a paper towel for better control. Take your time and steady your hand for clean lines.
Step 4: Decorating and Embellishing
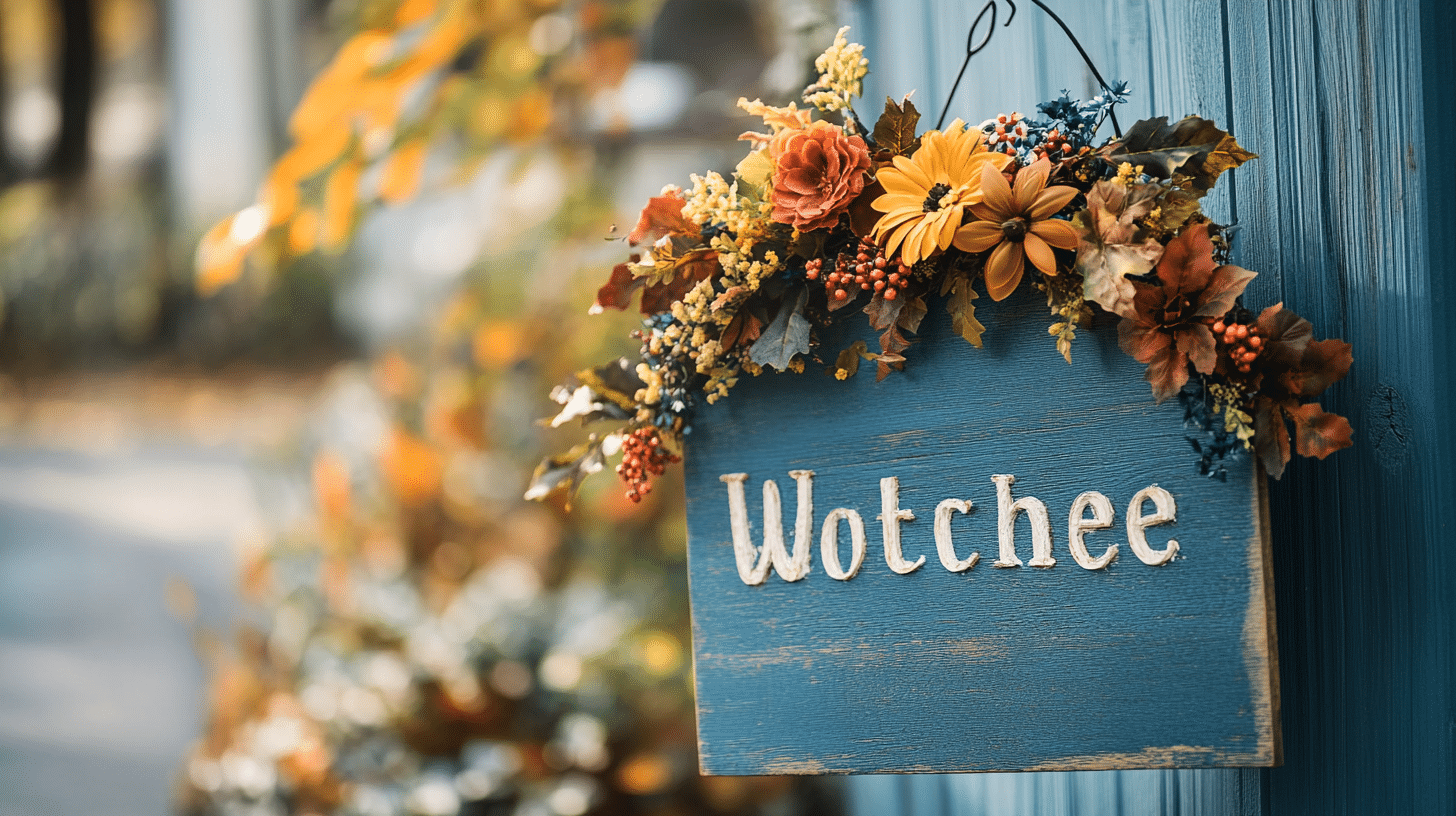
- Adding floral arrangements, ribbons, or other accents: Once your lettering is dry, add decorative elements like artificial flowers, ribbons, or bows. Secure them in place with a hot glue gun or strong craft adhesive.
- Ideas for seasonal decorations: Create interchangeable seasonal accents, such as a wreath for fall, holly for winter, or flowers for spring and summer. Attach them to your sign with removable adhesive strips or Velcro.
- Making interchangeable pieces with hooks or Velcro: Add hooks or Velcro to the back of your decorative pieces for a changeable sign. Attach the corresponding hooks or Velcro to your sign, allowing you to switch out the elements easily.
Step 5: Sealing and Protecting Your Sign

- Selecting the right sealant for indoor or outdoor use: Choose a clear, protective sealant based on your sign’s location. Use a weatherproof, UV-resistant sealant like exterior polyurethane or spar varnish for outdoor signs. For indoor signs, a regular polyurethane or polyacrylic will suffice.
- Application techniques to ensure longevity: Apply the sealant in thin, even coats using a brush or spray can. Follow the manufacturer’s instructions for drying times between coats and the recommended number of coats for optimal protection.
- UV protection considerations: If your sign is exposed to direct sunlight, look for a sealant with added UV protection to prevent fading and discoloration.
Video Tutorial
For more details, watch this detailed video tutorial by Laci Jane DIY.
Customization and Personalization
One of the joys of creating a DIY welcome sign is the opportunity to customize it to your liking. Here are some ideas for adding personal touches and creating interchangeable elements.
Interchangeable Seasonal Elements
- Crafting decorative pieces for holidays and seasons: Make separate decorative elements for various holidays and seasons, such as pumpkins for Halloween, snowflakes for winter, or suns for summer. Use weather-resistant materials like painted wood or outdoor-grade fabric.
- Storage solutions for your interchangeable items: Keep your seasonal pieces organized and protected when not in use. Store them in a labeled box or bin in a cool, dry place. Consider using dividers or small bags to keep them separated and easy to find.
Adding Personal Touches
- Incorporating monograms or family crests: Add a personal touch by including your family’s monogram, initials, or crest on your welcome sign. You can paint them directly onto the sign or create a separate attachable piece.
- Adding house numbers or important dates: Incorporate your house number or special date (like a wedding anniversary or the year your home was built) into your sign design for a unique, personal element.
- Using unique color schemes: Choose colors that reflect your style or complement your home’s exterior. Don’t be afraid to mix and match unexpected hues for a one-of-a-kind look.
Troubleshooting Common Issues

Even with careful planning and execution, your DIY welcome sign project may encounter some challenges. Here are some common issues and how to address them.
Common Challenges and Solutions
- Fixing paint bleeds or smudges: If paint bleeds under your stencil or you smudge your design, wait for it to dry completely, then sand the area lightly with fine-grit sandpaper. Touch up with your background color, then re-stencil or repaint the design.
- Correcting blurry lettering: If your lettering appears blurry or uneven, sand it down and start over. Use a finer brush, load less paint, and practice your technique on scrap wood before attempting it on your sign.
- Solutions for warped or cracked wood: Prevention is key – start with a high-quality, straight piece of wood and store it properly. If warping or cracking occurs, try weighing down the wood or using clamps to straighten it. Fill any cracks with wood filler, sand smooth, and touch up with paint or stain.
Tips for Success

Before you jump into your welcome sign project, review these final tips for success and safety.
Best Practices
- Time-saving hacks: Prep all your materials and tools before starting, use painter’s tape for crisp lines, and work in a clean, well-organized space to streamline your process.
- Budget-friendly material alternatives: Repurpose scrap wood, use acrylic paint instead of pricier options, and shop for supplies at discount or dollar stores to keep costs down.
- Enhancing durability and aesthetic appeal: Invest in high-quality materials, take your time with each step, and use sealant sparingly to ensure your sign looks great and lasts long.
Safety Precautions
- Proper tool usage: Read and follow all instructions carefully when using saws, drills, or other power tools. Wear safety goggles and gloves, and work in a well-ventilated area.
- Working safely with paints and sealants: Wear gloves and a dust mask when sanding, painting, or applying sealants. Work in a well-ventilated area and clean up any spills promptly to avoid slips or accidents.
Fun Facts about Welcome Signs

- The world’s largest welcome sign is in Las Vegas, Nevada, USA. It measures 40 feet tall and 80 feet wide.
- In ancient Rome, welcome signs often featured images of dogs and the words “Cave Canem” (Beware of the Dog).
- In Victorian England, elaborate welcome signs made of cast iron were popular among the wealthy.
- The “Aloha” sign at the Honolulu airport in Hawaii is one of the most photographed welcome signs in the world.
- The iconic “Hollywood” sign in Los Angeles originally read “Hollywoodland” as an advertisement for a housing development in the 1920s.
Final Thoughts
Crafting your DIY welcome sign is a fantastic way to add a personal touch to your home while expressing creativity.
By following this step-by-step guide, you’ll be well-equipped to design and create a beautiful, one-of-a-kind sign that reflects your style and makes a wonderful first impression on guests.
Remember to have fun throughout the process and not be afraid to experiment with different materials, designs, and techniques.
The joy and satisfaction of displaying a welcome sign you made yourself are truly unmatched. So gather your supplies, free your imagination, and start crafting your perfect DIY welcome sign today!
We can’t wait to see what you create and hope you’ll share your finished project with our community. Happy crafting!
Frequently Asked Questions (FAQs)
What Kind of Wood Do You Use for a Welcome Sign?
Pine, cedar, and plywood are popular choices for welcome signs. These woods are durable, easy to paint, and affordable, making them ideal for indoor and outdoor use.
Can I Make a Welcome Sign Without a Vinyl Cutter?
You can make a welcome sign without a vinyl cutter using stencils, hand-painting, or transfer methods. These techniques allow for creative and personalized designs without specialized tools.
What Size Board Do I Need for a Welcome Sign?
Common sizes for welcome signboards range from 10″x 24″ to 12″x 48″. Choose a size that complements your space and design, ensuring it’s visible but not overpowering.


