How to Make Budget-Friendly DIY Bench Cushion
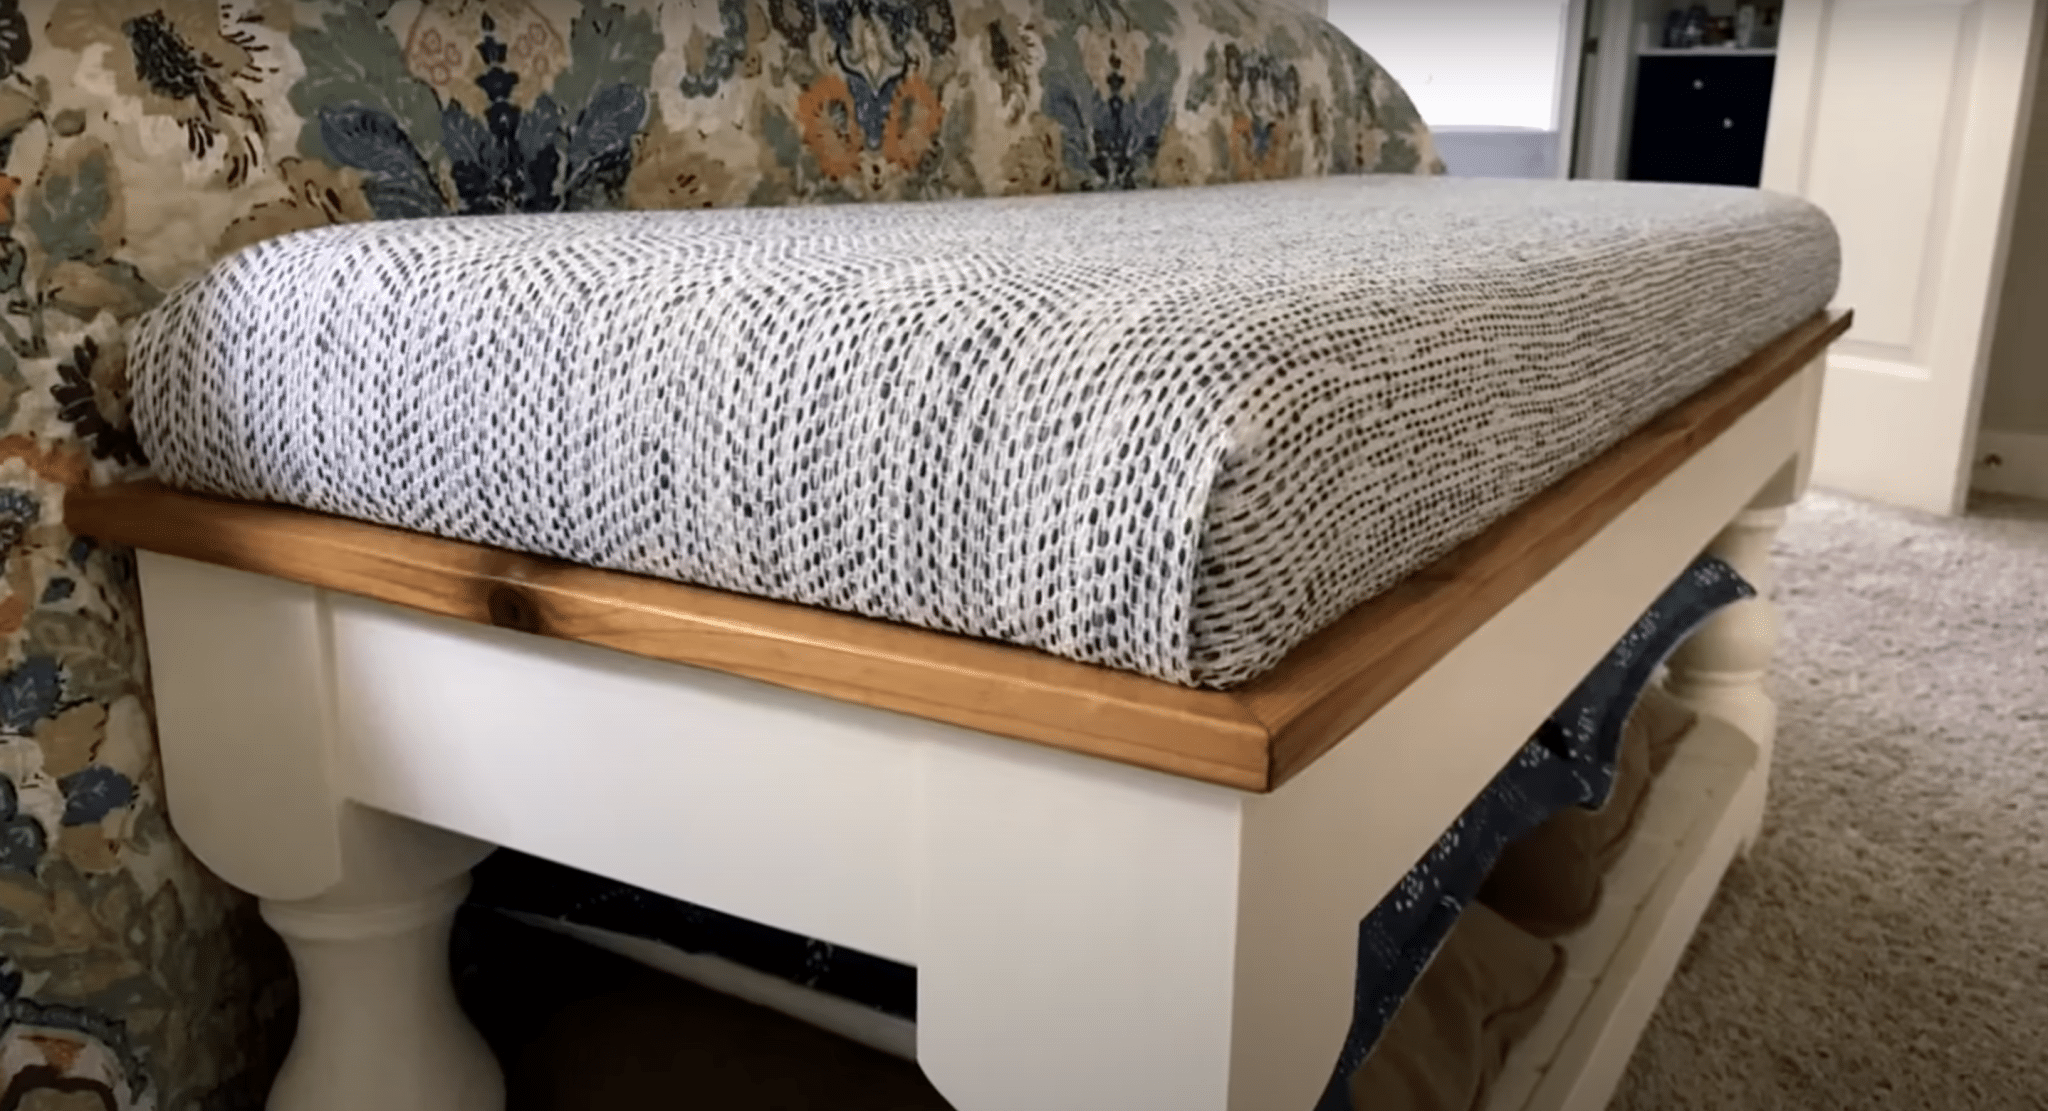
Making a bench cushion might seem costly, but I know a different way. I’ve spent years trying store-bought options until I found that making them home saves money without losing quality.
The good news is that you can create comfy bench cushions that look great without spending much. With basic supplies and simple steps, you’ll have a custom cushion that fits your space perfectly.
In this guide, I’ll show you how to make a bench cushion that saves you money. I’ll walk you through the needed materials, share money-saving tips, and give you clear steps to follow.
Let’s start making your budget-friendly bench cushion!
How to Make DIY Bench Cushion
Tools & Material Required
- Plywood or MDF board (1/2 inch or 3/4 inch)
- Foam (3 inch thick, or thinner based on preference)
- Extra loft batting
- Fabric of choice
- Heavy-duty stapler (manual or electric)
- 3/8-inch staples
- Serrated knife or electric knife
- Spray adhesive
- Needle-nose pliers (optional for removing staples)
- Hammer (for securing staples)
Step-by-Step Process
1. Board Preparation
- Cut plywood/MDF board to match your bench size
- Make sure measurements are exact for your space
2. Foam Fitting
- Cut foam to match board size
- Use a serrated knife for clean cuts
- Apply spray adhesive to attach foam to the board
3. Batting Layer
- Cover foam and board sides with extra loft batting
- Use spray adhesive to secure the batting
- Trim extra batting at corners for a smooth finish
4. Fabric Setup
- Place fabric face down on the flat surface
- Position the cushion face down on the fabric
- Center the cushion carefully
- Leave 2 inches of extra fabric on all sides
5. Initial Stapling
- Start from the middle of one long side
- Pull the fabric tight while stapling
- Place staples every 1 inch
- Leave 3 inches untapped near corners
- Repeat on the opposite side
6. Corner Work
- Fold corners like wrapping a gift
- Tuck fabric under for clean edges
- Remove excess fabric to reduce bulk
- Start with long sides and finish with short sides
- Add extra staples in corners
7. Final Touches
- Hammer down staples for security
- Check all sides for smoothness
- Fix any loose or uneven areas
- Test the cushion for stability
Approx. Budget Analysis While Creating the DIY Bench Cushion
| Item | Cost Range ($) | Notes |
|---|---|---|
| Basic Materials | ||
| Plywood/MDF board (4×2 ft) | 15 – 20 | |
| Foam (3-inch, standard size) | 25 – 35 | |
| Extra loft batting | 8 – 12 | |
| Upholstery fabric (2 yards) | 20 – 30 | |
| Spray adhesive | 8 – 10 | |
| Box of staples | 4 – 6 | |
| Materials Subtotal | 75 – 113 | |
| Tools (One-Time Investment) | ||
| Heavy-duty stapler | 15 – 25 (manual) or 30 – 40 (electric) | |
| Serrated knife | 0 or 5 – 8 | Likely have at home |
| Measuring tape | 0 or 3 – 5 | Likely have at home |
| Scissors | 0 or 5 – 8 | Likely have at home |
| Tools Subtotal | 28 – 81 | |
| Total Estimated Cost | 103 – 174 | Including tools |
| Materials Only | 75 – 113 |
Money-Saving Tips
- Use thinner foam to cut costs
- Check fabric store sales and coupons
- Use tools you already own
- Buy materials in bulk if making multiple cushions
- Look for remnant fabric pieces at discount prices
Store-Bought Comparison: Similar custom bench cushions often cost $200-300, making this DIY option a smart choice for saving money.
Best Customization Ideas to Check Out
1. Piping Details
- Add cord piping along the edges
- It makes edges look clean and finished
- Can match or contrast with the main fabric
- Easy to apply with hot glue for a no-sew option
2. Pattern Mixing
- Use different fabrics for the top and sides
- Try stripes with solid colors
- Mix complementary patterns
- Keep one pattern small and one large
3. Tufting Options
- Create simple button tufts
- Space buttons 6-8 inches apart
- Use matching thread colors
- It makes the cushion look more high-end
4. Storage Solution
- Add a zipper to one side
- Create a hidden pocket underneath
- Perfect for small items
- It keeps extras out of sight
5. Seasonal Covers
- Make slip-on covers
- Change colors for different seasons
- Use velcro for easy removal
- Save money on multiple cushions
6. Comfort Upgrades
- Layer different foam densities
- Add memory foam top layer
- Use waterproof foam for outdoors
- Include support padding for firmness
7. Shape Variations
- Round the front corners
- Create a curved front edge
- Make the seat tapered for style
- Add built-in lumbar support
8. Easy-Clean Features
- Use outdoor fabric for durability
- Add Scotchgard protection
- Make a removable top layer
- Choose stain-resistant materials
Some Common Mistakes to Avoid
| Category | Common Mistakes |
|---|---|
| Wrong Material Measurements | |
| Not adding extra inches for wrapping. | |
| Cutting foam too small | |
| Using fabric pieces that are too tight | |
| Forgetting to match patterns before cutting | |
| Poor Quality Materials | |
| Picking thin fabric that tears easily | |
| Using regular craft foam instead of upholstery foam | |
| Skipping the batting layer | |
| Buying weak staples that pull out | |
| Construction Errors | |
| Not pulling fabric tight enough. | |
| Putting staples too far apart | |
| Starting from corners instead of center | |
| Not checking pattern alignment. | |
| Foam Selection Issues | |
| Using foam that’s too soft | |
| Not considering the weight of users. | |
| Picking wrong thickness | |
| Mixing different foam densities poorly | |
| Tool-Related Problems | |
| Using office staplers | |
| Not securing staples fully. | |
| Cutting foam with regular scissors | |
| Not using enough spray adhesive. | |
| Corner Treatment Mistakes | |
| Making bulky corner folds | |
| Not trimming extra fabric. | |
| Stapling corners first | |
| Leaving loose edges | |
| Preparation Oversights | |
| Not cleaning the work surface. | |
| Skipping material checks | |
| Working on uneven surfaces | |
| Not measuring bench space twice. | |
| Safety Issues | |
| Not wearing safety gloves. | |
| Working without proper lighting | |
| Using dull cutting tools | |
| Rushing through steps |
7 Major Tips For Your DIY Bench Cushion Project
- Pattern Layout Control: Always lay out and center your fabric pattern on a flat surface before cutting to keep designs straight and matched.
- Foam Selection Strategy: Pick one inch thicker foam than you want since it will compress about an inch after regular use.
- Corner Management: Start stapling from the middle of each side and work your way to corners for smooth, wrinkle-free edges.
- Long-term Planning: Put two layers of batting instead of one to prevent the foam shape from showing through the fabric over time.
- Tool Preparation: Keep your staple gun clean and well-oiled to prevent jams and ensure staples go in straight every time.
- Practical Usage Checks: Before final assembly, test your cushion height and firmness by sitting on the foam and batting layers.
- Cost Control: Make a full supply list before shopping and buy everything at once to save on multiple shipping costs or store trips.
Conclusion
Making your own bench cushion isn’t just about saving money – it’s about creating something that fits your space perfectly.
I’ve shared the steps, tools, and tips for making a cushion you’ll love using every day.
Remember to take your time with each step, especially when working on corners and pattern matching. If something doesn’t look right, it’s okay to undo and try again.
Why not start your project this weekend? All you need is basic tools and materials to create a custom cushion that would cost much more in stores. Plus, you’ll gain skills you can use for future projects.
Share your finished cushion photos in the comments below – I’d love to see what you create!
Frequently Asked Questions
Can I Make a Cushion without Sewing at All?
Yes, you can create a no-sew bench cushion using foam, fabric, and fabric adhesive or staple guns. Wrap the fabric around the foam and secure it without stitching.
What is the Best Fabric for a DIY Bench Cushion?
Durable fabrics like outdoor canvas, duck cloth, or upholstery fabric are ideal. These materials are robust, easy to clean, and can withstand regular use on a bench cushion.
How Do I Prevent the Cushion from Sliding?
To keep the cushion from sliding, attach non-slip rubber pads underneath, use Velcro strips between the cushion and bench, or tie the cushion securely with fabric ties or ribbons.

