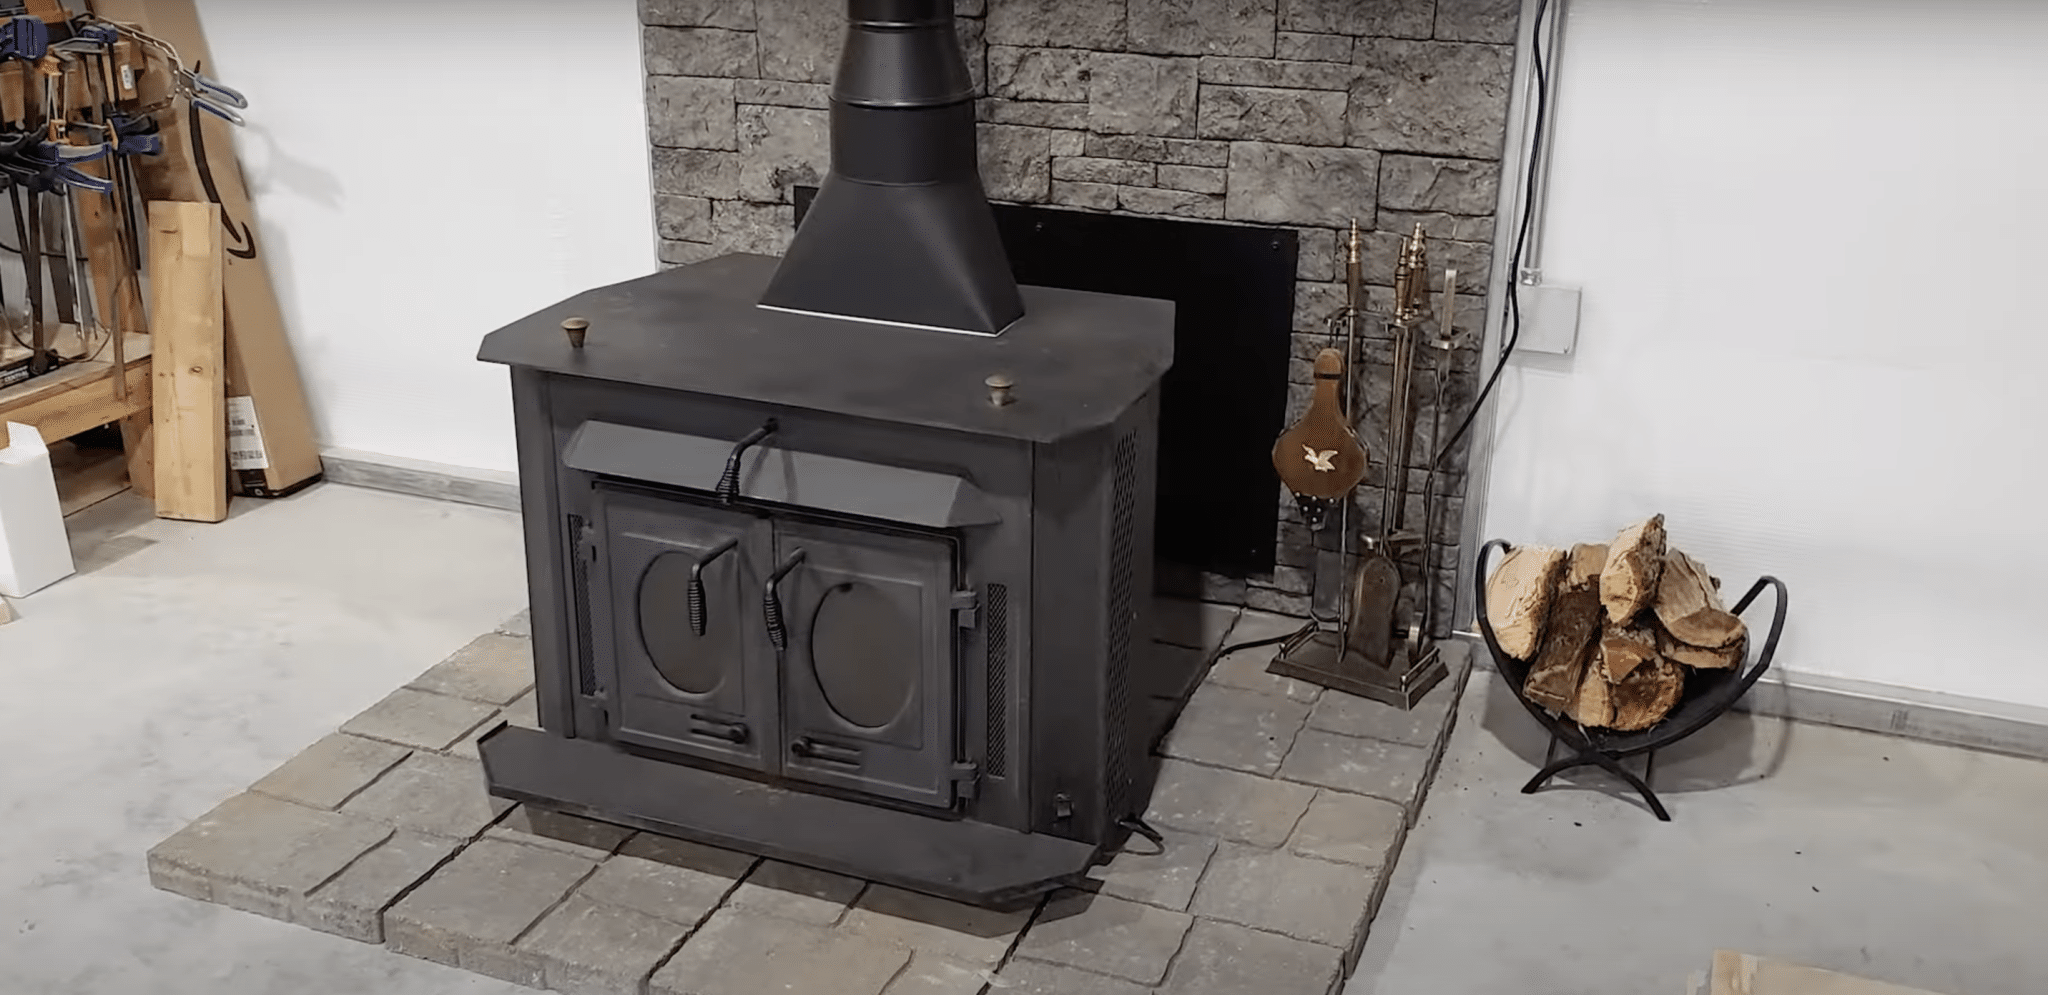
How to Install DIY Stone Veneer Step by Step
Want to add stone walls to your home but worried about the cost? I get it. Professional stone installation can cost thousands of dollars. But here’s good news – you can do it yourself!
I’ve put stone veneer on my own walls, and I can tell you it’s easier than you might think. In this guide, I’ll show you each step of installing stone veneer.
You’ll learn what tools you need, how to prep your wall, and the right way to put up the stones.
By the end of this post, you’ll have all the know-how to transform your walls with beautiful stone veneers, saving money while getting the exact look you want.
Understanding Stone Veneer
A stone veneer is a thin layer of stone used to cover walls. Think of it as a stone “skin” that gives you the look of real stone without the heavy weight. There are two main types I can tell you about:
Natural Stone Veneer
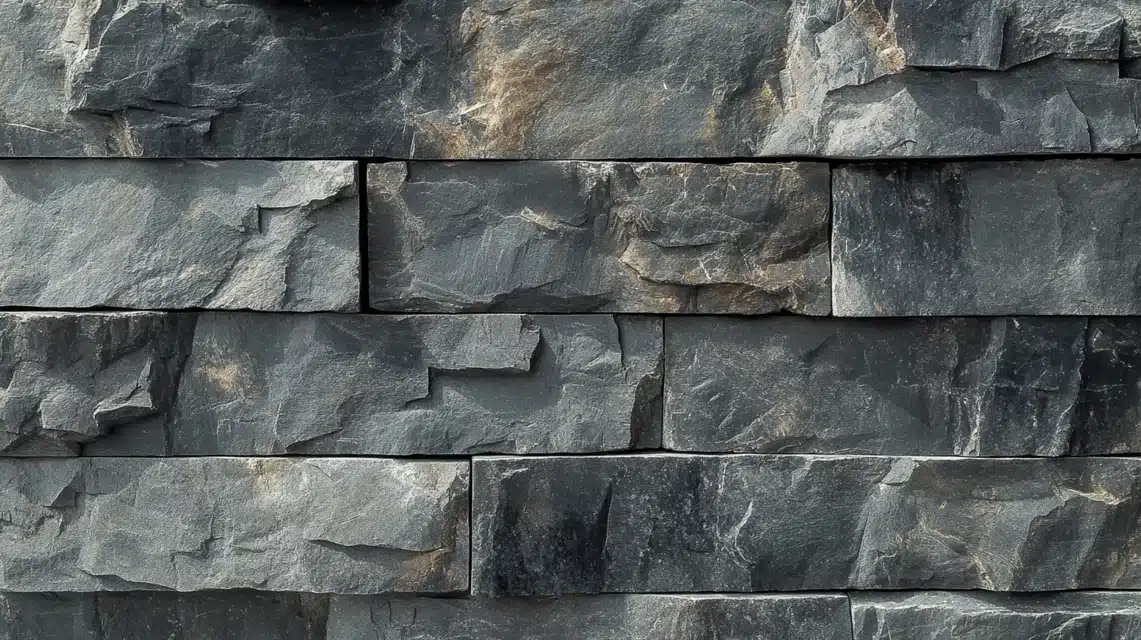
- Made from real stones cut into thin pieces
- Each piece is unique in color and shape
- Heavier and more costly
- Needs expert handling
Manufactured Stone Veneer
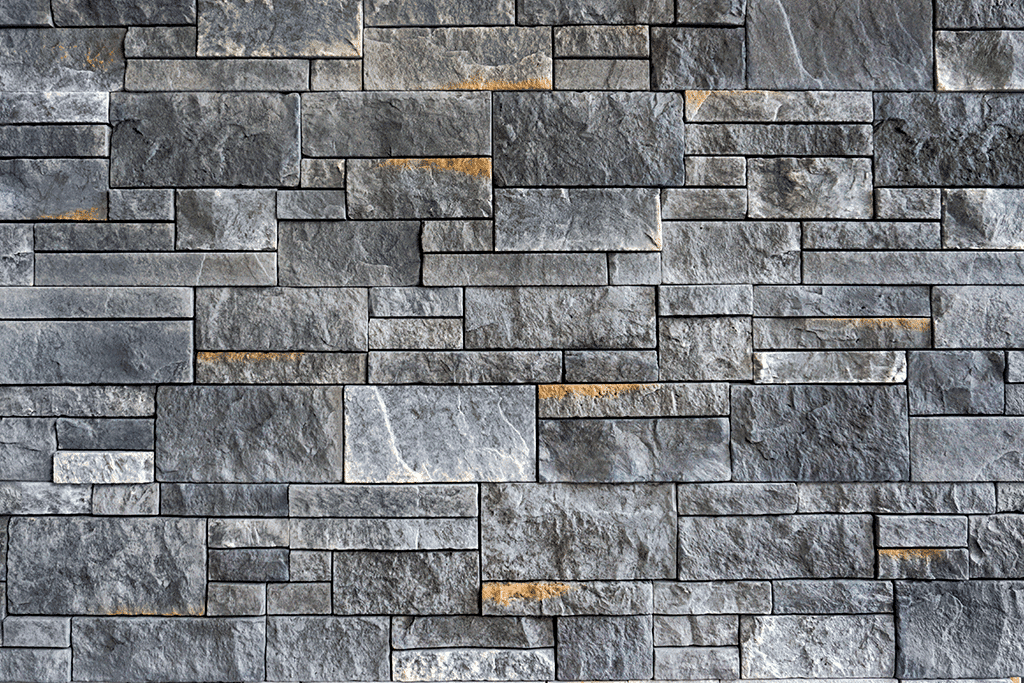
- Made from concrete molded to look like stone
- Lighter than natural stone
- More even in size and color
- Costs less
- Easier to cut and fit
For DIY projects, I strongly suggest using manufactured stone veneer. Here’s why:
- It’s about 40% lighter, making it easier to handle
- The pieces fit together more easily
- You can cut it with basic tools
- It costs less if you make mistakes
I went with manufactured stone veneer for my first DIY project. The lighter weight made the whole job much simpler, and the results looked just as good as natural stone.
How to Install DIY Stone Veneer
Tools & Materials Required
- Stone veneer pieces
- Nail gun (18-gauge brad nailer or finish nailer)
- Either cordless or pneumatic (pneumatic works better)
- 2-inch brad nails
- Cement board (if installing near heat sources)
- Basic cutting tools (for trimming veneer)
- Measuring tape and pencil
- Snips (to trim any protruding nails)
- Heat shield (if installed near a heat source)
- Lag screws and 1-inch standoffs (for heat shield)
- Drill (for pre-drilling holes)
Step-by-Step Process for Installation
1. Wall Preparation
- Install cement board if needed (recommended for heat-prone areas)
- Clean the wall surface
- Install heat shield if required (keep the 1-inch gap from the wall)
2. Planning Phase
- Lay out stones on the floor
- Plan your pattern
- Make sure you have enough pieces
3. Installation
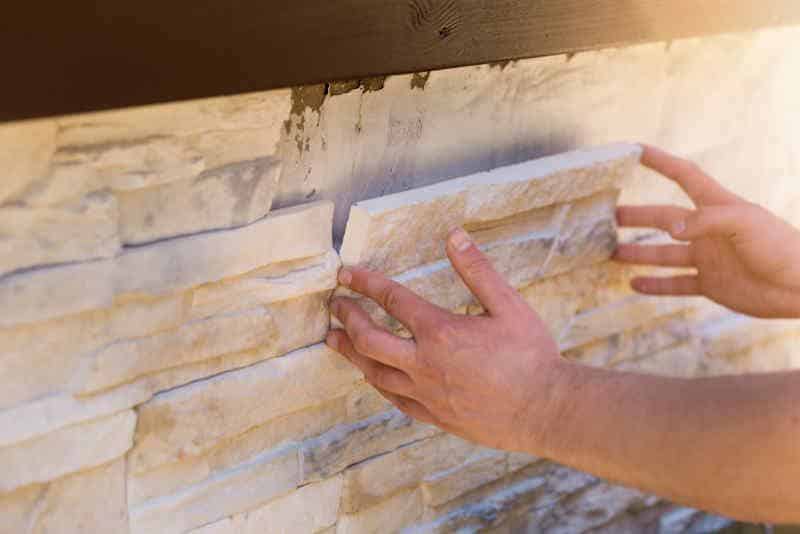
- Start from the bottom corner
- Use the nail gun to secure each piece
- Space stones evenly
- Check the level as you go
4. Cutting and Fitting
- Mark stones that need trimming
- Cut stones to size using basic tools
- Fit cut pieces into gaps
5. Final Touches
- Check for loose pieces
- Trim any protruding nails
- Make sure all stones are secure
Note: For areas near heat sources, always use fire-rated stone veneer products.
Approximate Cost Required for Installation
| Category | Item | Cost Range ($) |
|---|---|---|
| Main Materials | Manufactured stone veneer | 500 – 700 |
| Cement board (if needed) | 150 – 200 | |
| Heat shield (if needed) | 100 – 150 | |
| Tools (If Needed) | Nail gun | 100 – 200 |
| Basic cutting tools | 30 – 50 | |
| Measuring tools | 15 – 25 | |
| Snips | 10 – 15 | |
| Extra Materials | Brad nails (500 count) | 10 – 15 |
| Lag screws and standoffs | 20 – 30 | |
| Total Cost Ranges | With existing tools | 650 – 900 |
| Including new tools | 800 – 1,200 |
Money-Saving Tips From My Experience
- Rent tools instead of buying
- Buy 10% extra stone to allow for cuts
- Look for end-of-season sales
- Compare prices at different stores
This is much less than the $2,000-3,000 you’d pay for professional installation in the same area!
A Complete Stone Veneer Installation Process
Safety and Preparation
- Put on safety glasses and work gloves
- Get all your tools ready
- Clear your work area
- Cover the floor with drop cloths
Wall Prep Steps
- Check your wall is clean and flat
- Put up cement board if you’re near the heat
- Make sure the surface is dry
- Fix any cracks or holes
Starting the Installation
- Begin at the bottom corner
- Work up in rows
- Keep checking your first row is level
- Mix stones from different boxes for a better color blend
Setting the Stones
- Hold each stone against the wall first
- Press firmly as you nail it
- Keep gaps between stones even
- Use 2-inch nails at each corner
Working Around Obstacles
- Mark stones that need cutting
- Cut one stone at a time
- Test fit before nailing
- Leave space around outlets
Making Clean Cuts
- Mark your cutting line
- Cut from the front side
- Wear eye protection
- Keep cuts smooth
Finishing Up
- Check all stones are secure
- Remove any loose bits
- Clean the surface
- Let everything settle for 24 hours
Remember: Take your time with each step. It’s better to work slowly and get it right than rush and make mistakes.
Common Tips and Tricks from the Experts to Follow
| Category | Tips |
|---|---|
| Layout Tips | • Lay stones on the floor first to plan your pattern • Mix up stone sizes as you go • Keep the look random—avoid obvious patterns • Use bigger stones at the bottom row |
| Time-Saving Tricks | • Sort stones by size before starting • Keep your tools within easy reach • Cut multiple similar pieces at once • Work in small sections |
| Common Mistakes to Skip | • Don’t rush your wall prep • Don’t line up vertical joints • Don’t forget to check for level • Don’t use too many small pieces together |
| Cutting Tips | • Mark cuts with a pencil • Cut on a stable surface • Keep spare pieces for practice cuts • Make cuts slightly bigger than needed |
| Installation Secrets | • Check each stone fits before nailing • Press firmly while nailing • Keep nail heads hidden in the stone texture • Step back often to check your work |
| Clean-Up Hints | • Clean as you go • Brush off dust between rows • Keep a small brush handy • Wipe down finished areas daily |
These tips come from real experience. They’ll help you do the job right the first time!
Common Problems and Simple Solutions
White Spots Showing Up
- Cause: Water getting behind stones
- Fix: Wipe with a damp cloth
- When to call pro: If spots keep coming back
Loose Stones
- Quick check: Press gently on the edges
- Fix: Add new nails in firm spots
- Stop it early: Check stones monthly
Uneven Gaps
- Why it happens: Stones shift over time
- Fix: Adjust nearby pieces
- Smart tip: Mark problem spots for watching
Color Changes
- Normal vs. not normal changes
- Fix: Clean with a soft brush
- Good news: It often needs cleaning
Cracking Sounds
- What to check first: Wall behind stones
- Fix: Look for loose pieces
- When to worry: If sounds keep happening
Temperature Issues
- Signs of heat damage
- Fix: Check spacing near heat
- Smart move: Add heat shields if needed
Major Safety Considerations to Look After
Let me share some key safety points I’ve learned while working with stone veneer. These will help keep you safe throughout your project.
1. Tool Safety
- Test nail guns away from walls first
- Keep fingers clear of nail paths
- Store tools safely when not in use
- Check power cords for damage
2. Personal Protection
- Wear safety glasses all the time
- Use work gloves when handling stones
- Put on a dust mask while cutting
- Keep sturdy shoes on your feet
3. Work Area Safety
- Keep your space well-lit
- Clean up trip hazards right away
- Have good air flow when cutting
- Keep children and pets away
4. Ladder Safety
- Use a stable ladder, not a chairs
- Keep three points of contact
- Don’t reach too far sideways
- Place ladder on flat ground
5. Material Handling
- Lift with your legs, not back
- Move small stone amounts at once
- Keep boxes close to the work area
- Ask for help with heavy loads
6. Heat Safety (Near Stoves)
- Follow fire codes exactly
- Leave proper gaps near the heat
- Use only fire-rated materials
- Check local building rules
If you feel tired or rushed, take a break. Safety comes before speed every time!
Some Post-Installation Care and Maintenance Tips to Follow
| Category | Tips |
|---|---|
| Regular Cleaning | • Dust with a soft brush weekly • Use plain water for basic cleaning • Wipe spills right away • Clean from bottom to top |
| What to Avoid | • High-pressure water sprays • Strong cleaning chemicals • Wire brushes or rough tools • Harsh scrubbing motions |
| Seasonal Checks | • Look for loose stones twice yearly • Check joints in spring and fall • Watch for water stains • Feel for wobbly pieces |
| Quick Fixes | • Push loose nails back in • Clean dirty spots with a damp cloth • Fill small gaps if needed • Fix issues when they’re small |
| Protection Tips | • Keep heat sources at a safe distance • Stop water from sitting on stones • Move furniture slightly from walls • Watch for signs of wear |
| Long-Term Care | • Write down the stone brand used • Keep spare pieces if you have them • Take photos when done • Note any special cleaning tips |
Conclusion
Stone veneer can transform the appearance of your home, and I hope this guide helps you tackle the project with confidence.
From my experience, the key is taking time with each step, especially the wall preparation.
You don’t need to be a building expert to get good results.
With basic tools and careful planning, you can create professionally designed walls. Just follow the steps, keep safety in mind, and watch your new stone walls come to life.
Got questions about your stone veneer project? Drop them in the comments below. I’d love to hear about your plans and share more tips.
You can also check out my guide on choosing the right stone patterns for different rooms.

