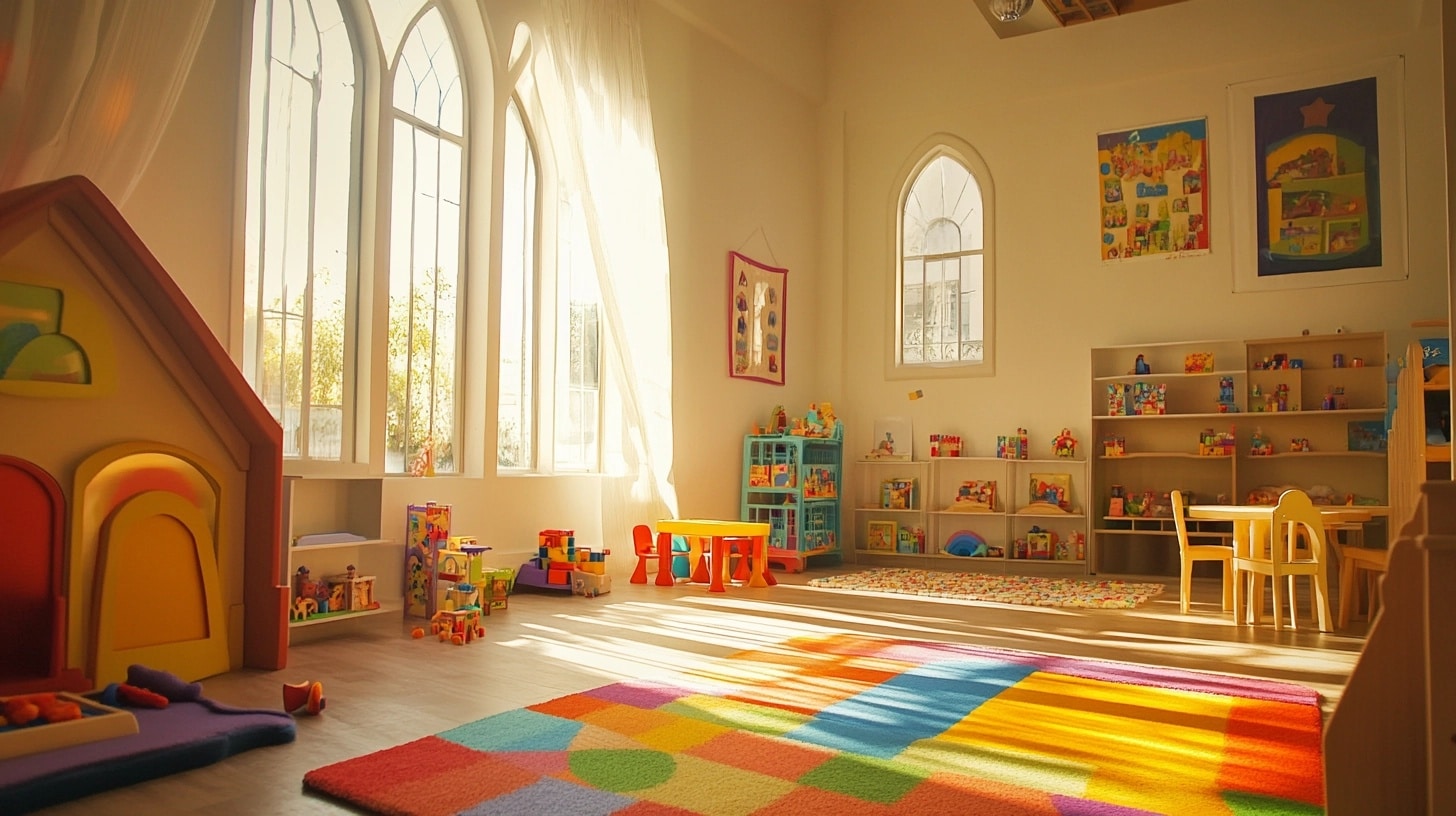
20 Budget-Friendly Playroom Ideas: Create a Fun Space Without Overspending
Want to set up a playroom that’s both fun and budget-friendly? I’ve got you covered. Making a space where kids can play, learn, and grow doesn’t mean you have to spend a lot of money.
In this guide, I’ll show you simple ways to create a playroom that keeps kids happy without putting stress on your wallet.
From smart storage ideas to easy DIY projects, these tips help you make the most of what you have.
I’ll focus on practical solutions that work for any room size and budget. You’ll learn how to organize toys, set up activity areas, and add fun touches that spark creativity.
Ready to turn that empty space into a kid-friendly zone without breaking the bank? Let’s get started with these money-saving ideas.
Planning Your Budget-Friendly Playroom
Before buying anything, let’s look at smart ways to plan your playroom. Good planning helps you spend money on things that matter most and avoid costly mistakes.
Assessing Your Space
- Start by measuring your room’s length, width, and height.
- Look for spots that could work for storage, like empty corners or unused wall areas.
- Check which spots get natural light – these work well for reading or craft areas.
- Write down power outlet locations for any lights or electronic items you might add.
- Make note of doors and windows to keep those areas clear.
Setting a Budget
- Make a list of must-have items first. Start with basic storage and safety items.
- Set aside some money for low-cost items like bins and baskets.
- Look for sales at discount stores and second-hand shops.
- Keep track of spending in a simple notebook or phone app.
- Remember to save some money for future additions your kids might want.
Involving the Kids
- Ask your children what activities they like most.
- Let them pick colors for their space (from options that fit your budget).
- Show them pictures of simple playroom ideas and note what catches their eye.
- Have them help sort their toys to understand what storage they need.
- Make them part of DIY projects like decorating storage boxes or picking spots for their favorite items.
Creative Small Space Solutions
Smart use of small spaces helps create perfect play areas. Here are simple, low-cost ideas to make every inch count while keeping toys neat and floors clear for playtime.
Vertical Storage with Shelves and Hooks
Put those walls to work!
- Install simple floating shelves at different heights – lower ones for kids to reach their daily toys, and higher ones for less-used items.
- Add a pegboard where you can hang baskets and hooks for light toys and art supplies.
- Use clear plastic containers on shelves to sort small toys – they’re cheap and let kids see what’s inside.
- Command hooks work great for storing dress-up clothes and backpacks without damaging walls.
Foldable Play Areas
Small spaces need flexible setups.
- Get a fold-down table that attaches to the wall for art time – it tucks away when done. Use floor cushions instead of bulky chairs.
- Pop-up play tents pack flat when not being used.
- Roll-up play mats give kids a soft spot to play, then store easily under furniture.
Multi-Functional Furniture
Pick items that work extra hard in your space.
- Try storage benches that open up to hold toys and offer seating.
- Use cube organizers as room dividers – they hold toys on one side and create play zones on the other.
- Get side tables with baskets underneath for quick cleanup.
- Bean bags with built-in storage keep stuffed animals handy but hidden.
20 Budget-Friendly Playroom Ideas
1. Chalkboard Wall
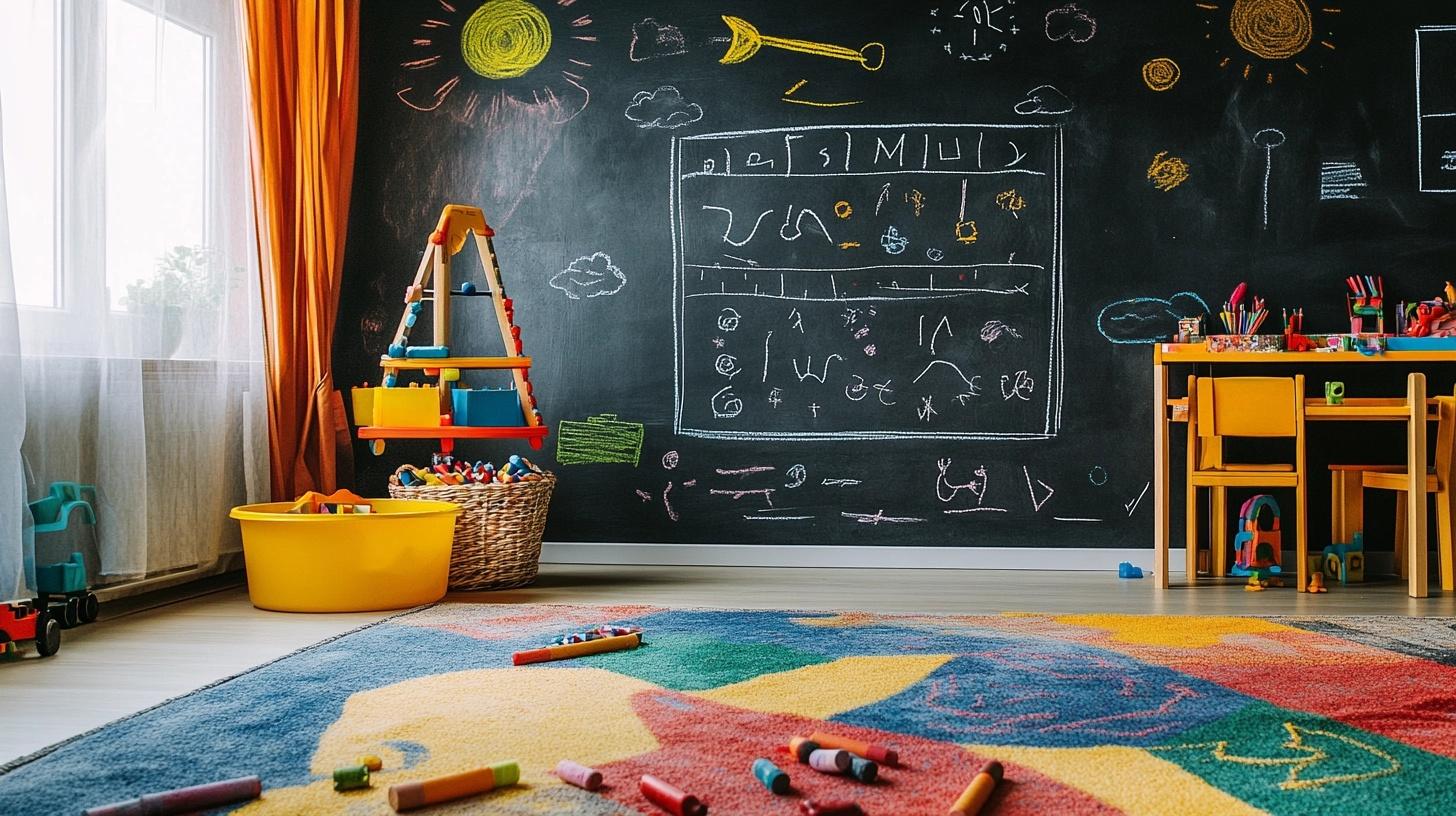
Paint a section of your wall with chalkboard paint to give kids a big space for drawing. This simple addition turns any wall into an art spot where children can write, draw, and express themselves freely. Add a small shelf below for chalk and erasers.
Setup Tips:
- Clean wall surface before painting
- Apply 2-3 thin paint coats
- Let paint dry for 24 hours
- Season surface with chalk dust
Key Features:
- Low-cost wall paint
- Easy to clean with damp cloth
- Promotes creativity
- Works in any room size
- Cost-saving: Paint costs under $20 and lasts for years
2. Floor Cushions
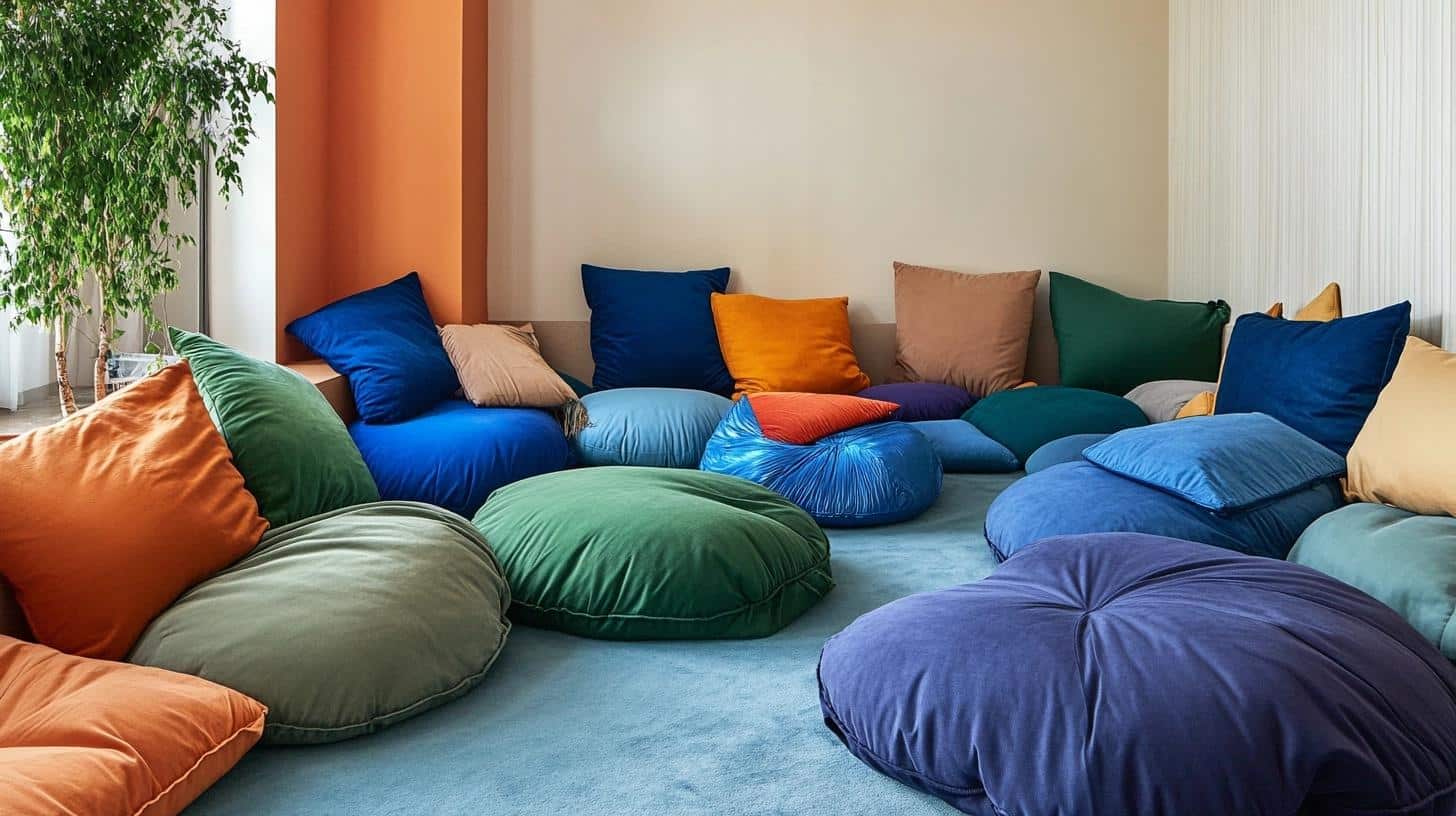
Make comfy seating with large cushions covered in bright, washable fabric. Perfect for reading, playing games, or just lounging. Stack them in corners when not in use to save space. Choose sturdy materials that can handle daily use.
Setup Tips:
- Use foam padding for filling
- Pick tough, washable covers
- Make different sizes
- Add handles for moving
Key Features:
- Simple to maintain
- Flexible seating options
- Space-saving design
- Kid-friendly comfort
- Cost-saving: Make from old pillows or discount store foam
3. DIY Tent
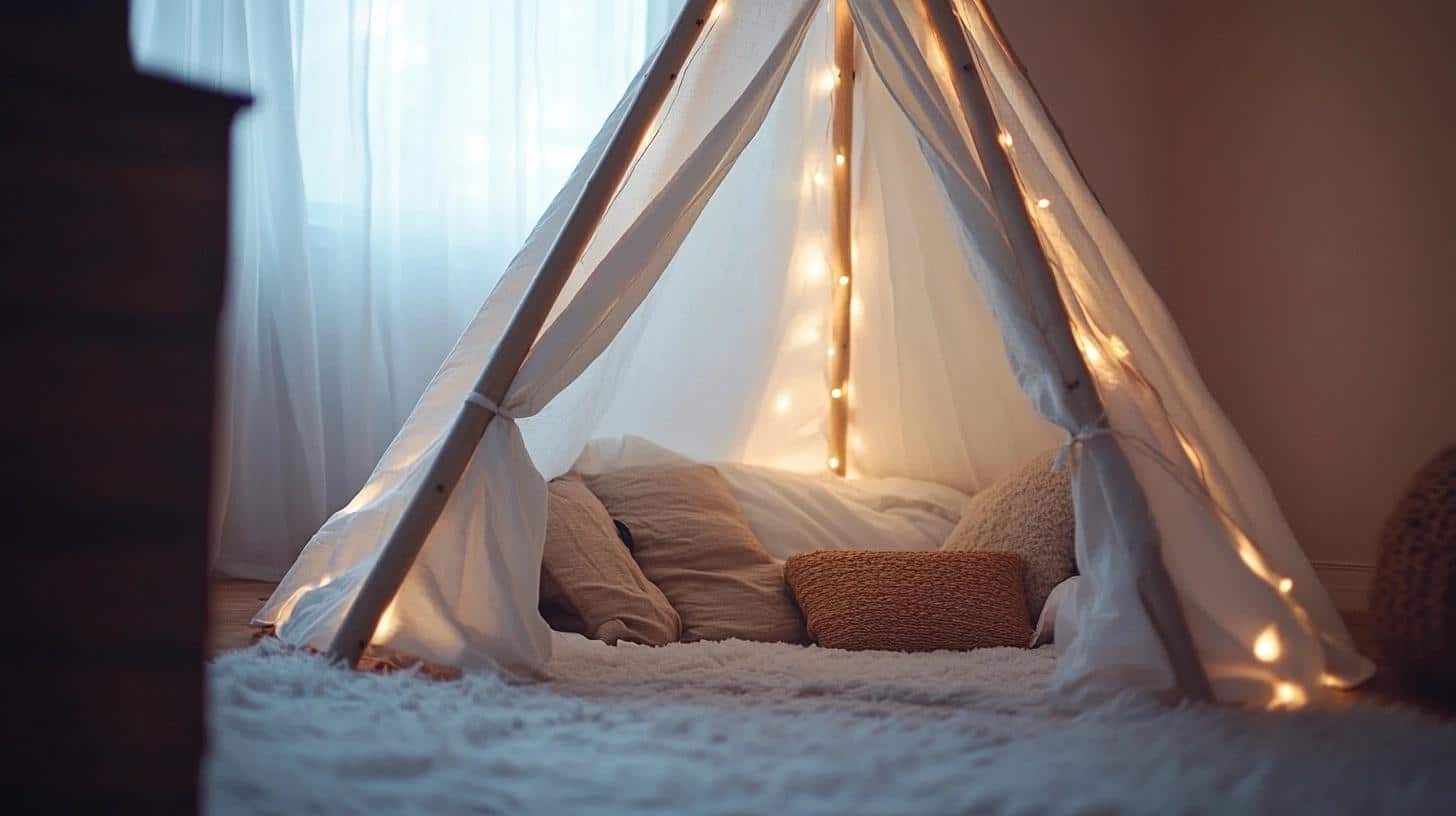
Create a cozy spot using PVC pipes and cotton fabric. This simple structure gives kids their own special space for reading or quiet play. Paint the pipes or leave them plain, then drape with your chosen fabric.
Setup Tips:
- Cut PVC to size
- Secure joints firmly
- Choose light, safe fabric
- Add soft floor padding
Key Features:
- Easy to move
- Fits small spaces
- Washable materials
- Quick assembly
- Cost-saving: PVC pipes and basic fabric total under $30
4. Magnet Wall
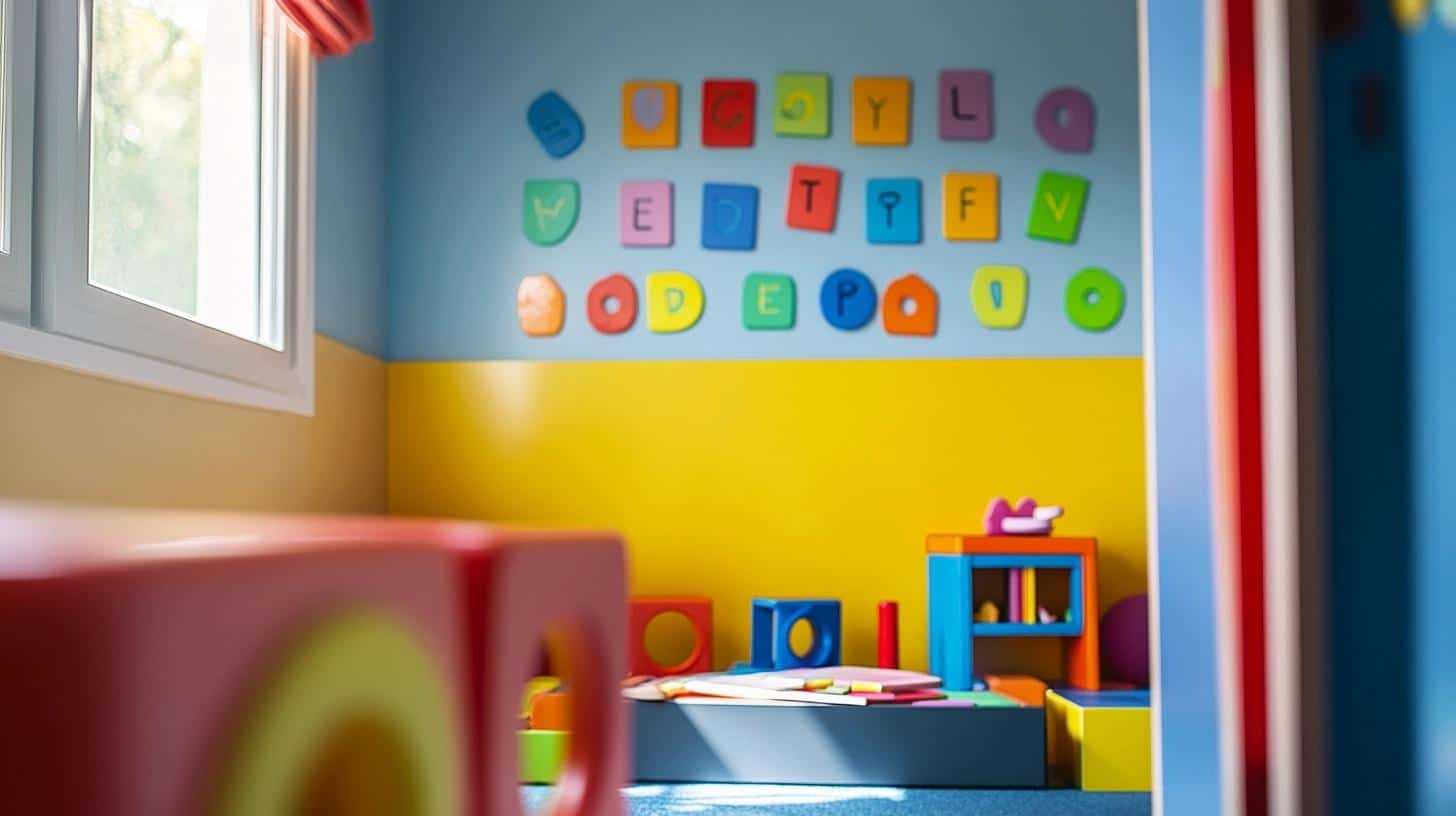
Add a metal sheet to create an interactive play space. Kids can use magnetic letters, numbers, and shapes to learn while playing. Paint the metal sheet to match your room or leave it plain.
Setup Tips:
- Secure metal firmly to wall
- Round sharp edges
- Add border trim
- Test magnet strength
Key Features:
- Learning through play
- Easy to update
- Simple cleanup
- Multiple activities
- Cost-saving: Sheet metal from hardware stores costs $15-20
5. Indoor Swing
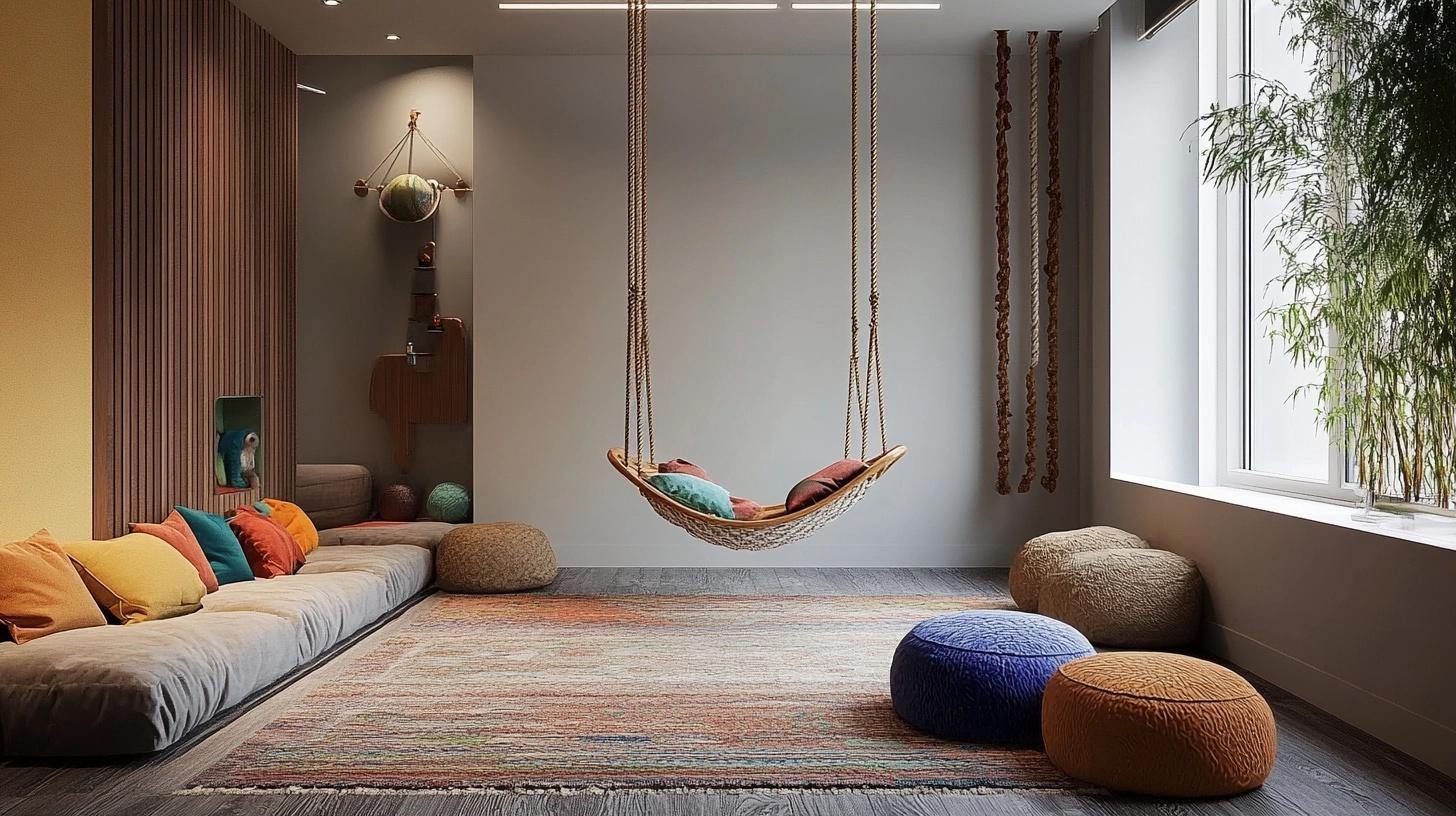
Install a simple rope swing or fabric seat to add movement to playtime. Check weight limits and install securely into ceiling joists. Keep the swing height low for safety.
Setup Tips:
- Find ceiling studs
- Use proper hardware
- Test weight capacity
- Add safety mat below
Key Features:
- Active play option
- Small space needed
- Height adjustable
- Safe exercise spot
- Cost-saving: Basic rope swing sets start at $25
6. Storage Bins
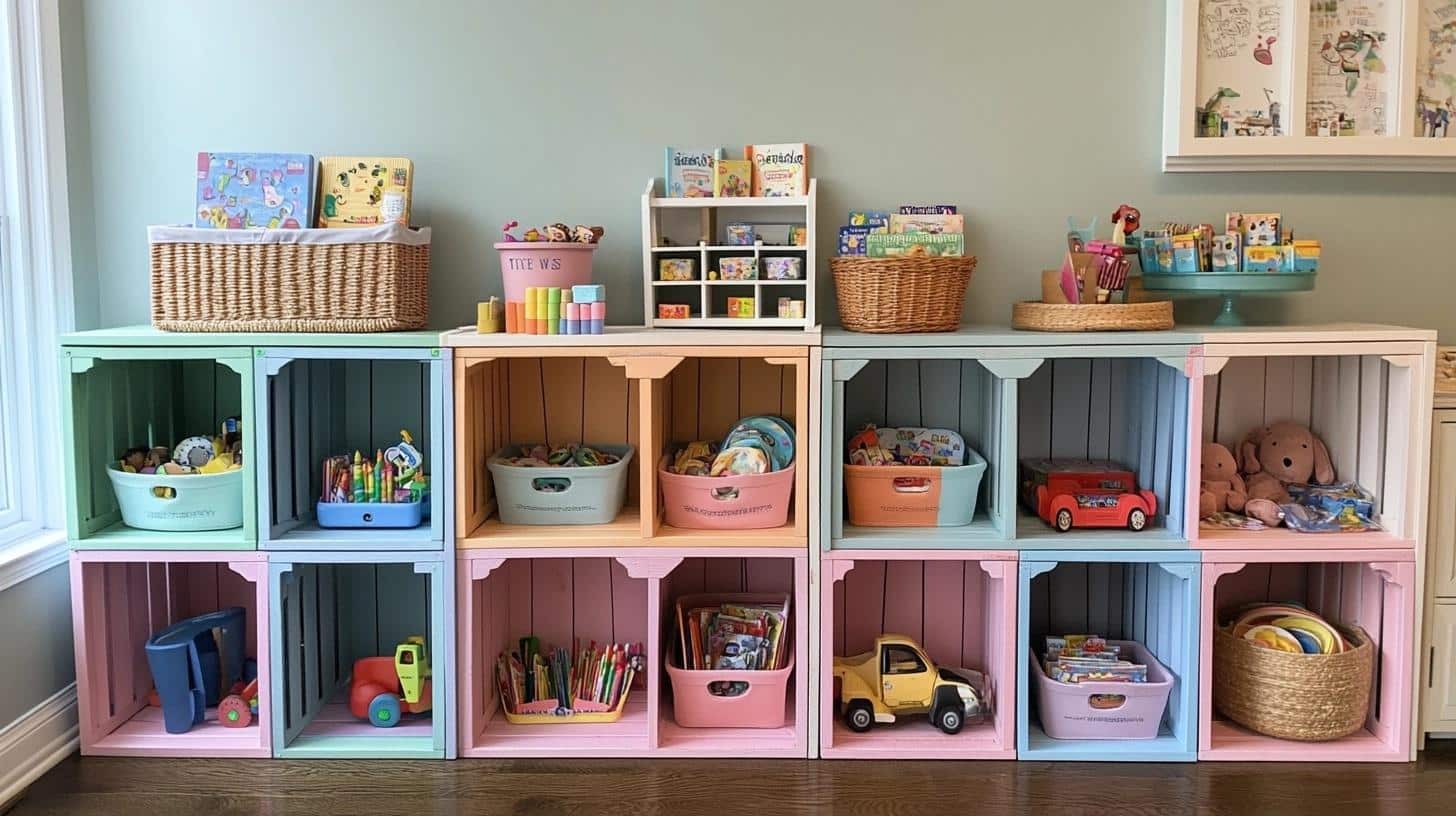
Turn wooden boxes into toy storage. Paint them in bright colors or leave natural. Stack them, add wheels, or mount on walls. Label each bin to help kids organize their toys.
Setup Tips:
- Sand rough edges
- Add safe paint
- Install wheels if needed
- Make clear labels
Key Features:
- Easy organization
- Kid-height access
- Movable design
- Cost-saving: Free boxes from stores, just add paint
7. Art Display
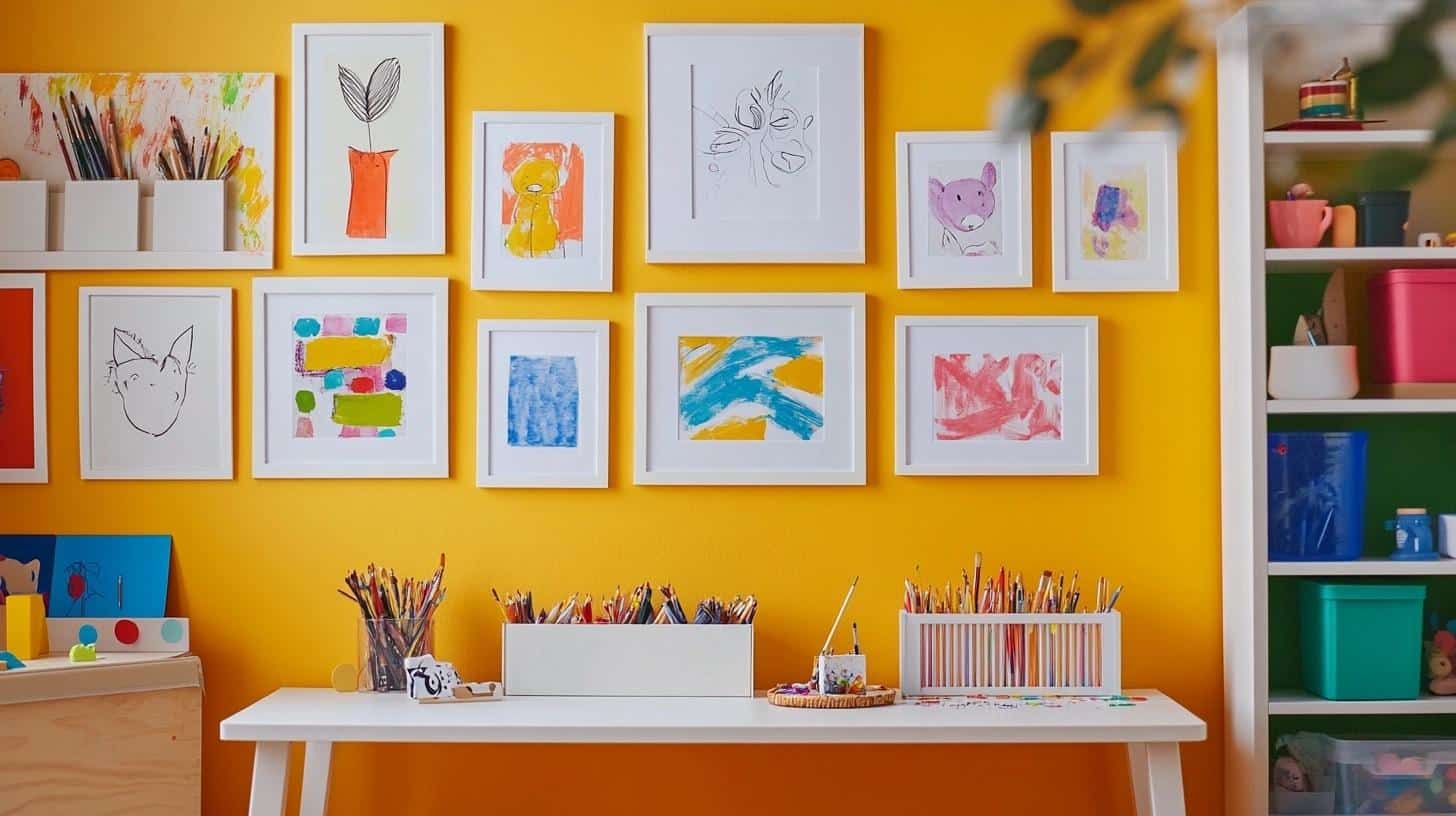
Show off kids’ artwork using basic frames or string and clips. Rotate pieces to keep the display fresh. Create a gallery wall at child height for easy viewing.
Setup Tips:
- Use light frames
- Install at kid height
- Add easy-change clips
- Make straight lines
Key Features:
- Personal touch
- Simple updates
- Budget display
- Clean look
- Cost-saving: Dollar store frames or twine and clips under $10
8. Touch Wall
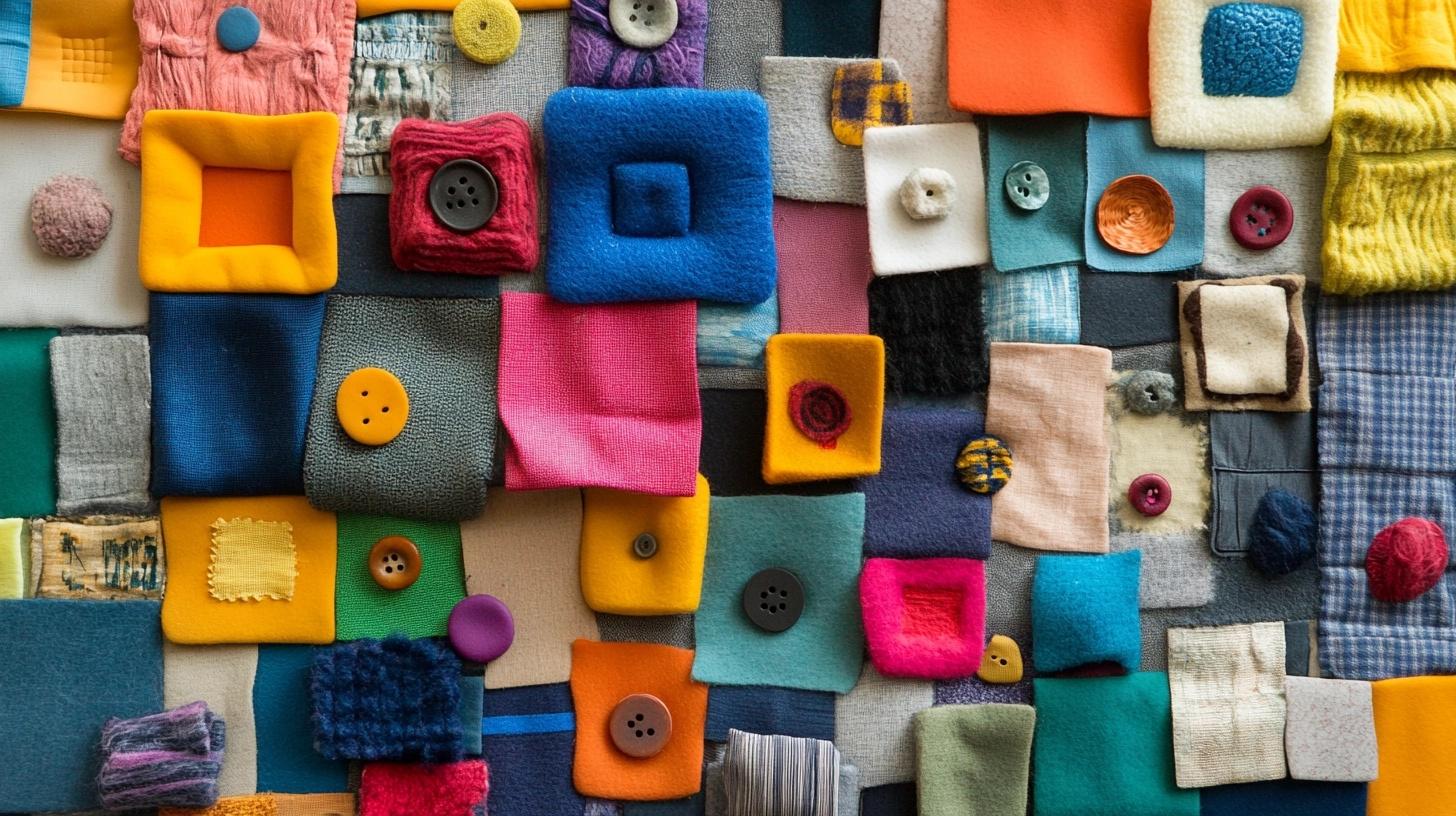
Make a wall panel with different textures for sensory play. Include safe items like soft fabric, smooth plastic, and bumpy surfaces. Keep all items firmly attached.
Setup Tips:
- Test all attachments
- Mix many textures
- Keep items clean
- Check daily
Key Features:
- Sensory learning
- Safe materials
- Easy cleaning
- Long-lasting fun
- Cost-saving: Use items from home or thrift stores
9. Puppet Stage
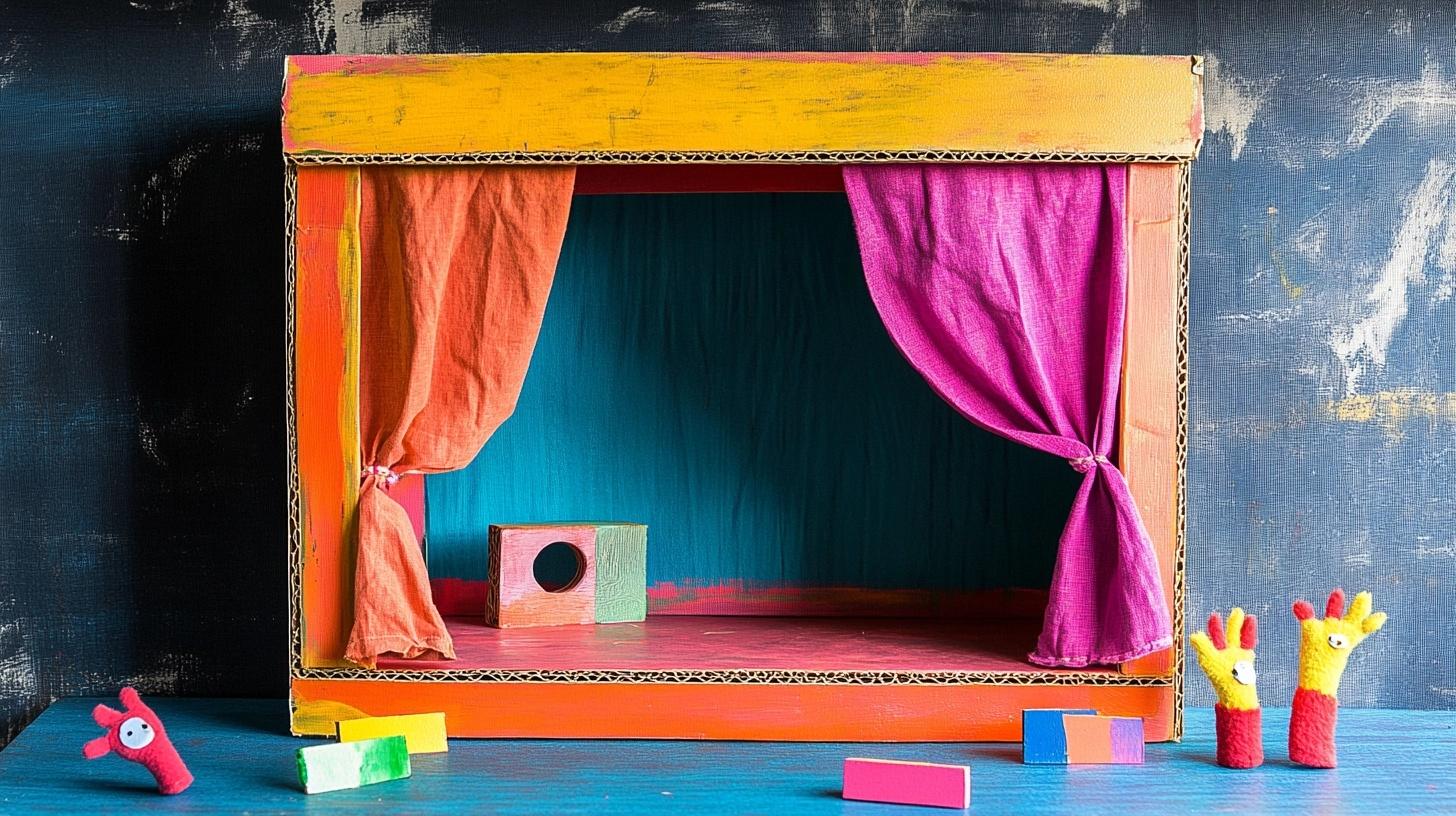
Build a simple stage from a large box or hang curtains between two points. Add fabric for curtains and basic decorations. Make it easy to fold away when not in use.
Setup Tips:
- Cut viewing window
- Add curtain rod
- Make stable base
- Paint exterior
Key Features:
- Small footprint
- Store-away design
- Simple setup
- Sparks pretend play
- Cost-saving: Free cardboard boxes and scrap fabric
10. Mini Climb
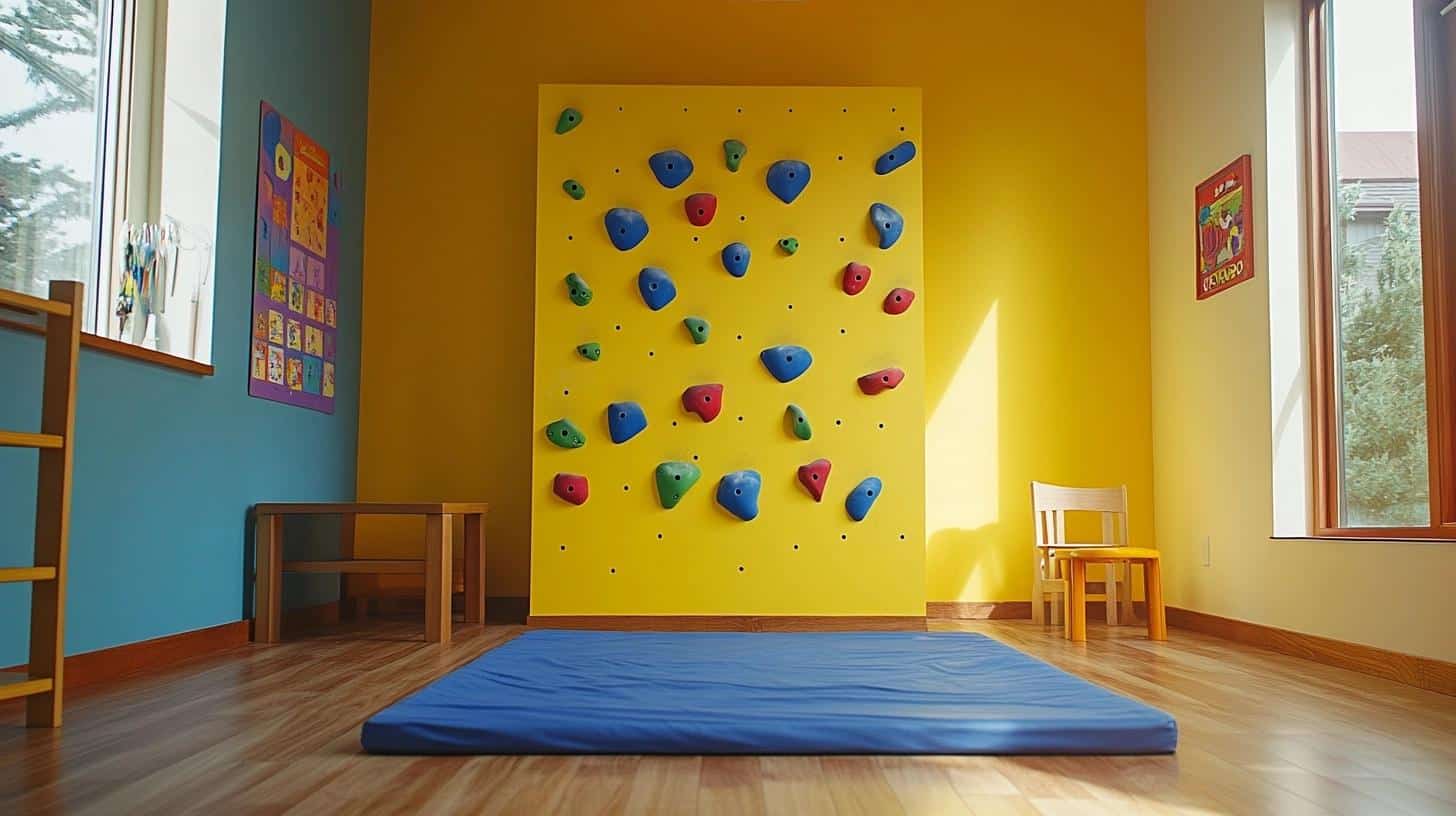
Create a small climbing area with proper safety mats below. Use basic climbing holds and test all attachments. Keep the height suitable for young kids.
Setup Tips:
- Find wall studs
- Install safety mats
- Check holds daily
- Set clear rules
Key Features:
- Physical activity
- Safe design
- Basic equipment
- Small space use
- Cost-saving: Basic climbing holds set starts at $30
11. Play Mat Roads
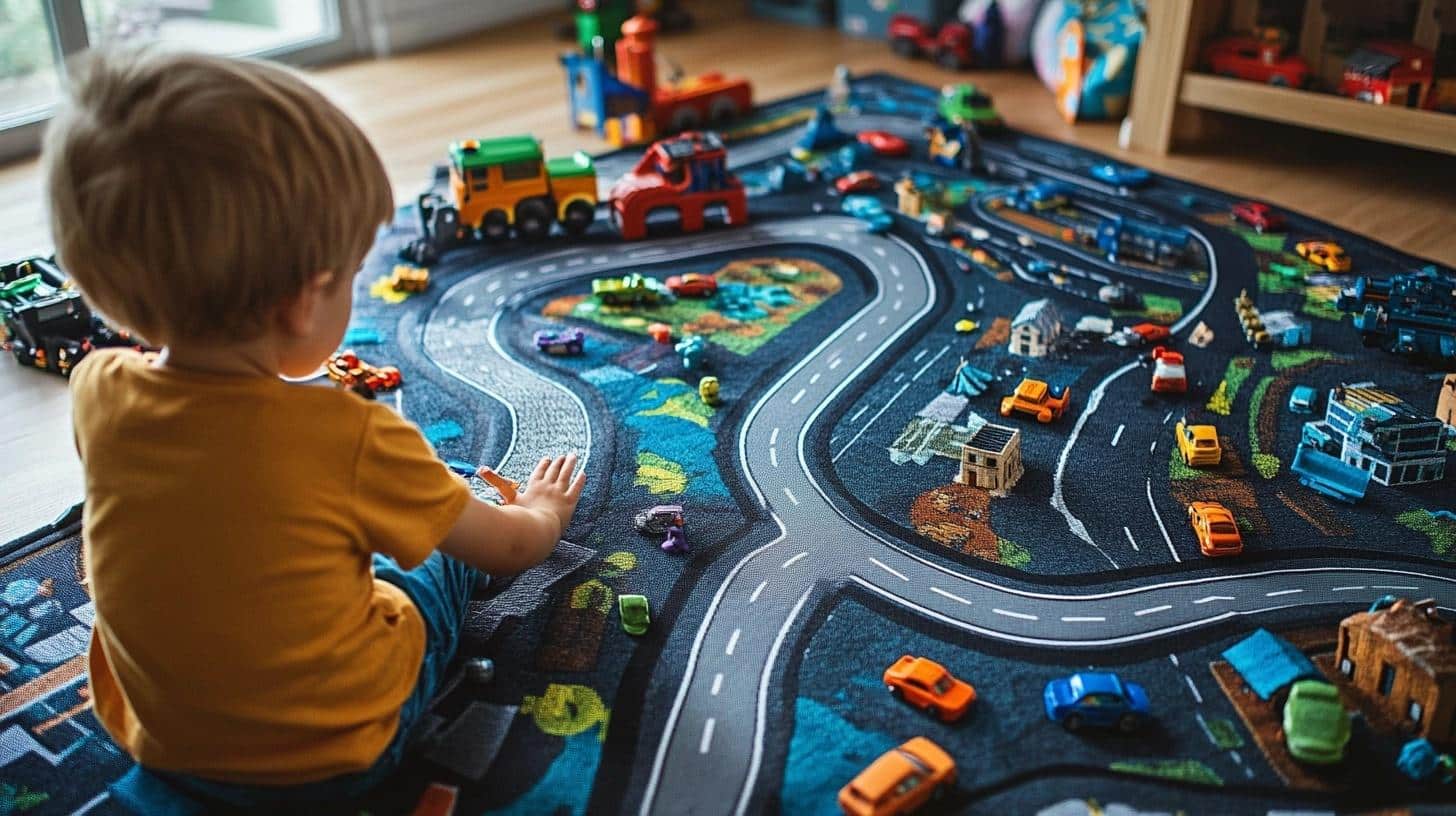
Set up a floor mat with printed roads for toy cars. Paint your own design on a plain mat or find an affordable printed one. Add small buildings or trees made from blocks to create a mini city.
Setup Tips:
- Choose non-slip backing
- Add town markers
- Create parking spots
- Make intersections
Key Features:
- Easy to clean
- Portable design
- Promotes story play
- Multi-use surface
- Cost-saving: Paint your own on a plain mat for $15
12. Craft Station
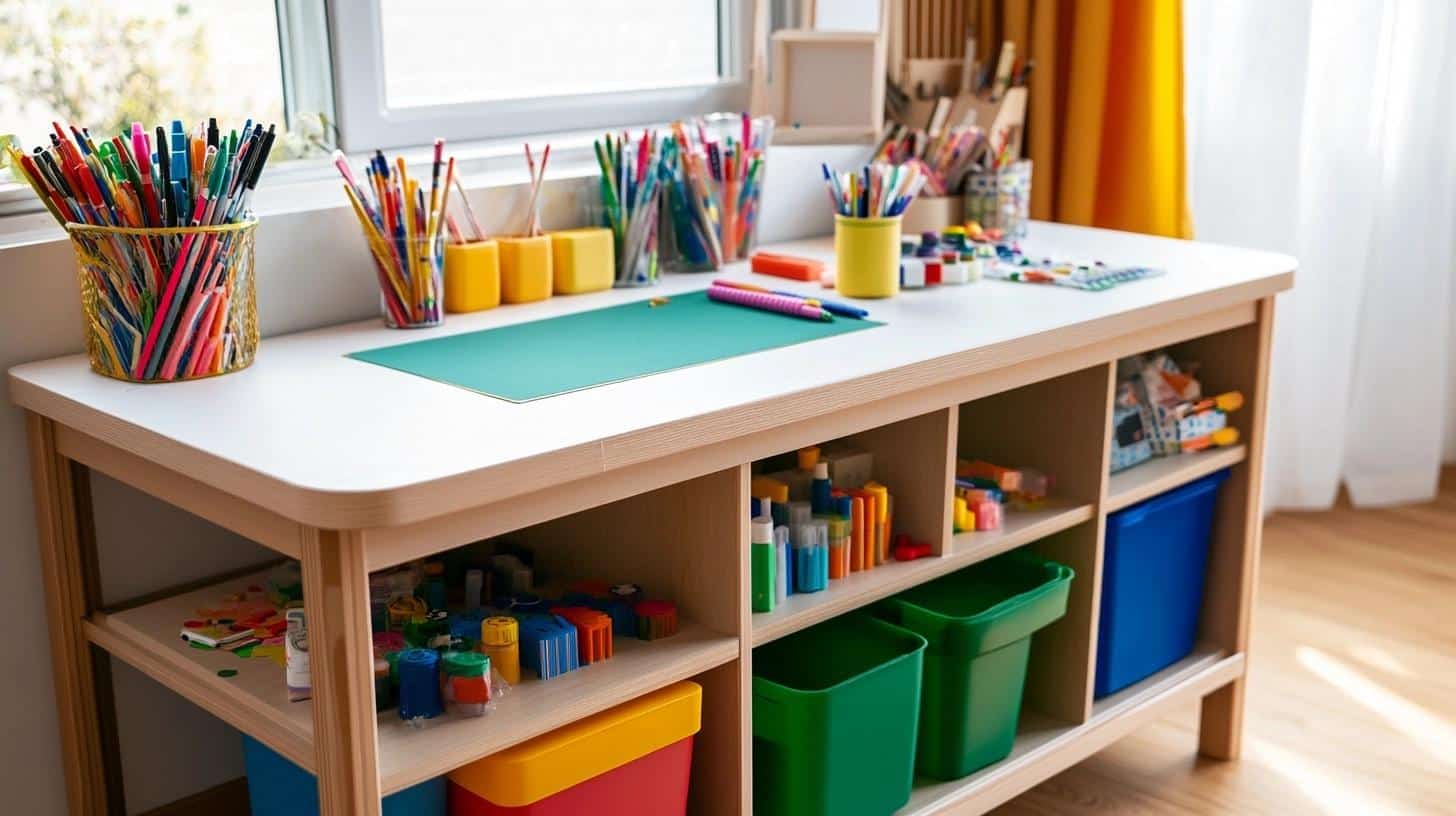
Build a simple table with storage spots for art supplies. Use a solid flat surface at kid height. Add bins underneath to hold paper, crayons, and other materials.
Setup Tips:
- Set proper height
- Add supply holders
- Make cleanup easy
- Label storage spots
Key Features:
- Work space
- Built-in storage
- Easy access
- Mess control
- Cost-saving: Use old table or build from scrap wood
13. Ball Area
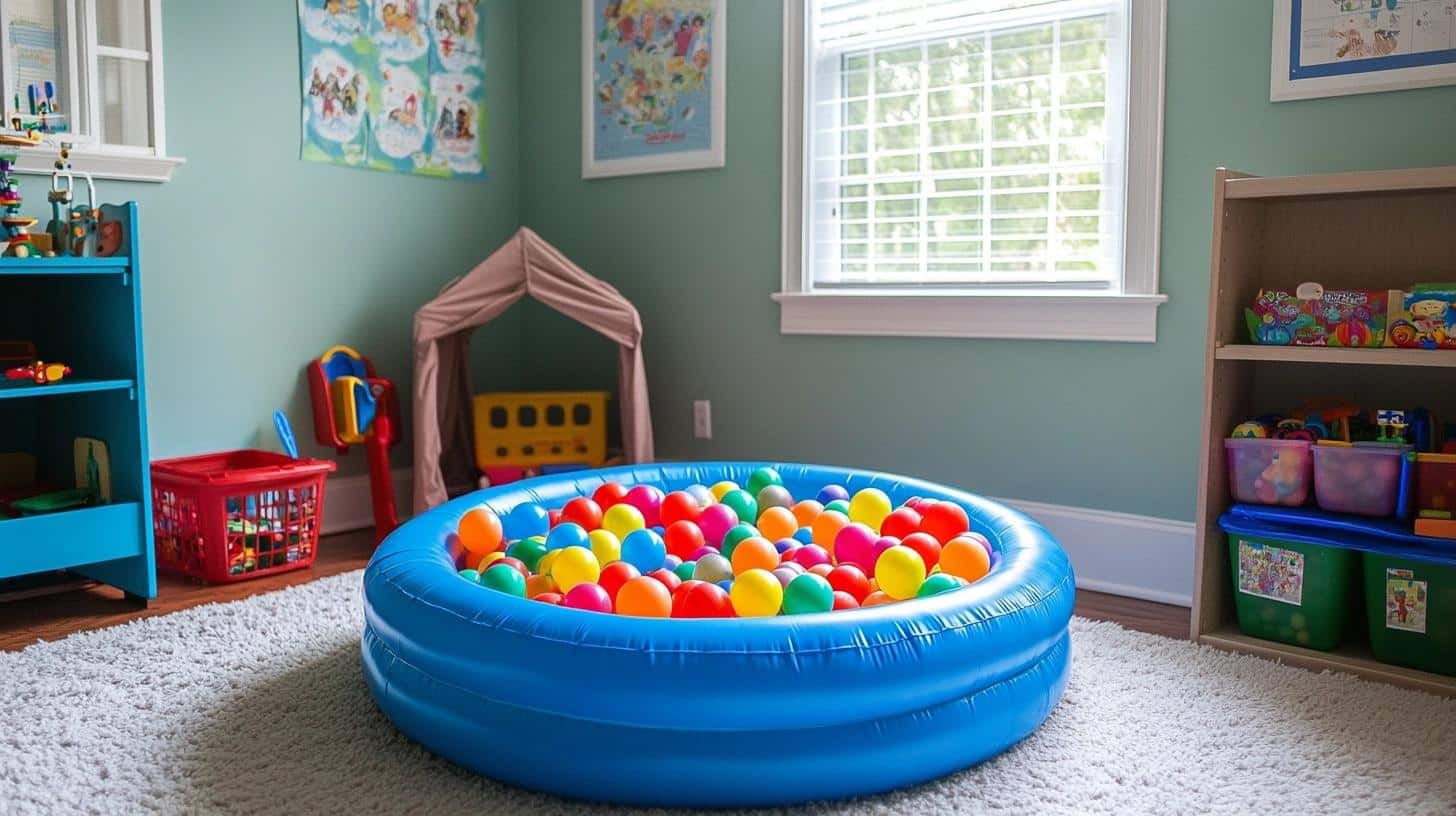
Create a small ball play space using a pool or box. Fill with plastic balls for safe play. Make sure the walls are high enough to contain balls but low enough for kids to climb in safely.
Setup Tips:
- Add soft bottom
- Check for tears
- Count balls often
- Set play rules
Key Features:
- Safe boundaries
- Easy setup
- Simple cleanup
- Active play space
- Cost-saving: Small pools on sale cost $10-15
14. Stick-On Wall
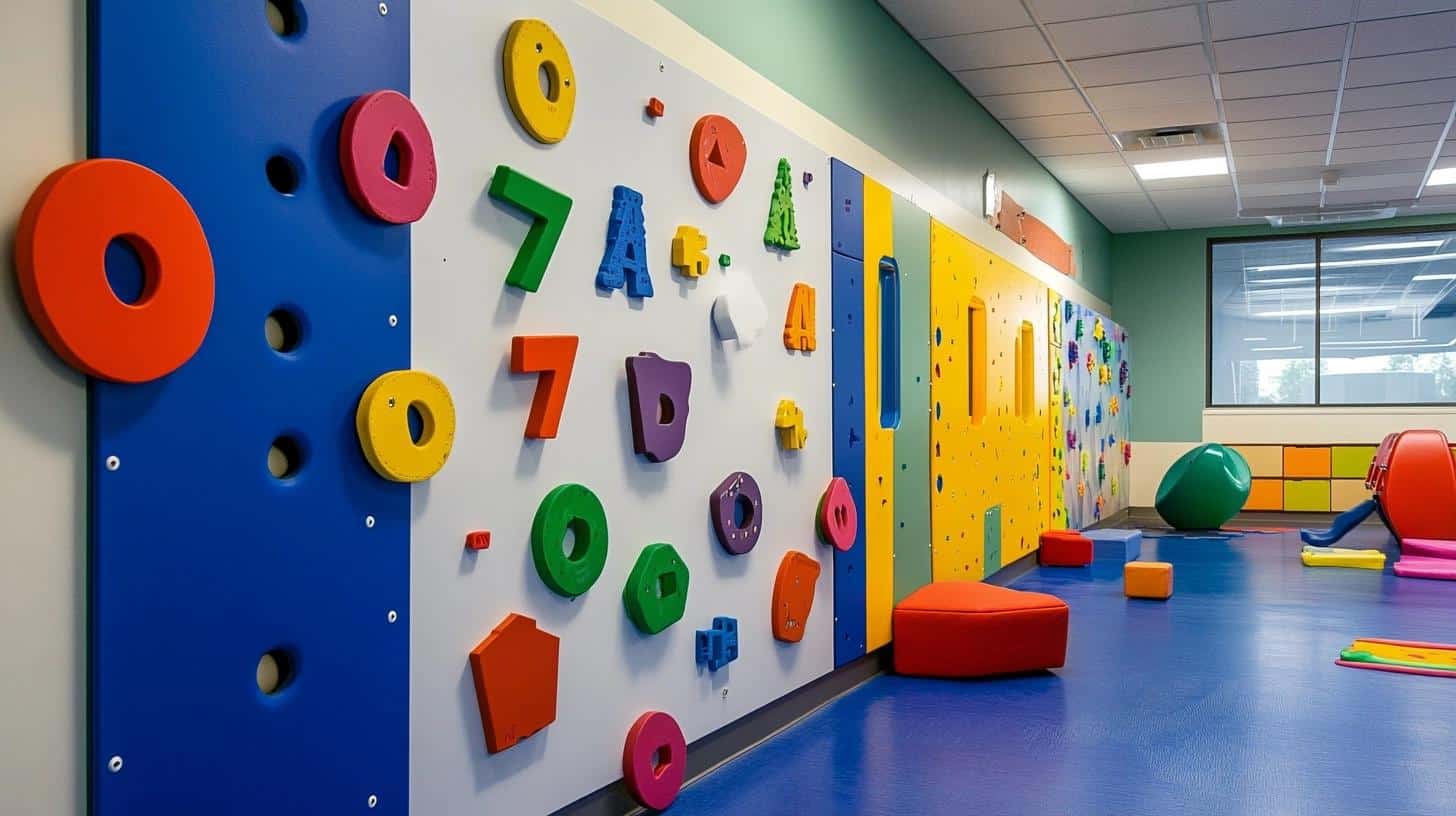
Make a play wall with hook-and-loop strips. Create shapes from felt that stick to the wall. Change items often to keep interest high.
Setup Tips:
- Clean wall first
- Space strips well
- Make many shapes
- Test stick strength
Key Features:
- Quick changes
- No damage to walls
- Many play options
- Simple storage
- Cost-saving: Hook-and-loop strips in bulk cost under $20
15. Box Castle
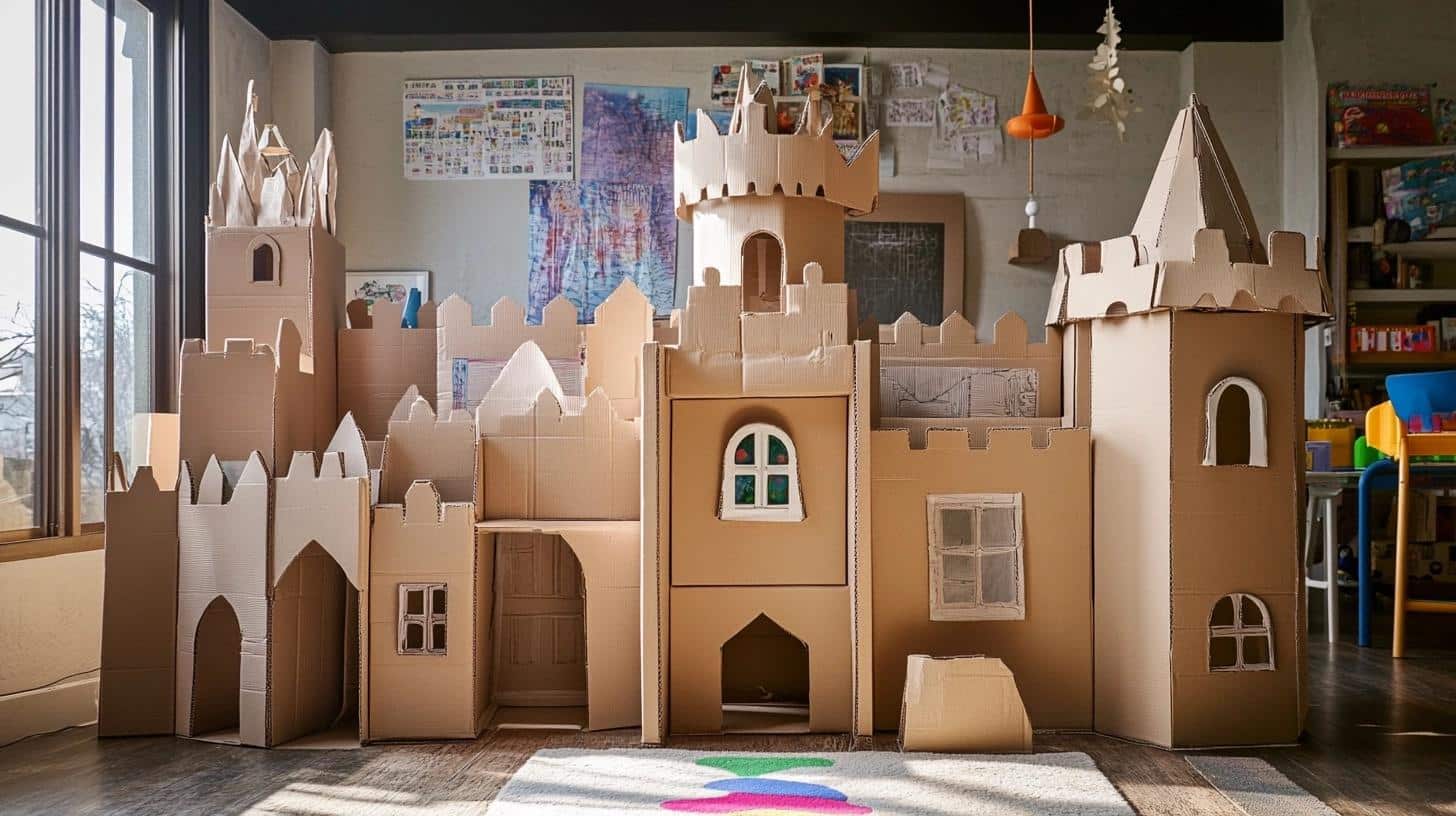
Turn big boxes into a play castle. Cut windows and doors, then paint the outside. Add simple details like flags or paper stones.
Setup Tips:
- Secure box joints
- Make safe openings
- Add air holes
- Paint all sides
Key Features:
- No-cost build
- Easy to replace
- Size options
- Safe materials
- Cost-saving: Free boxes, just need paint and tape
16. Costume Corner
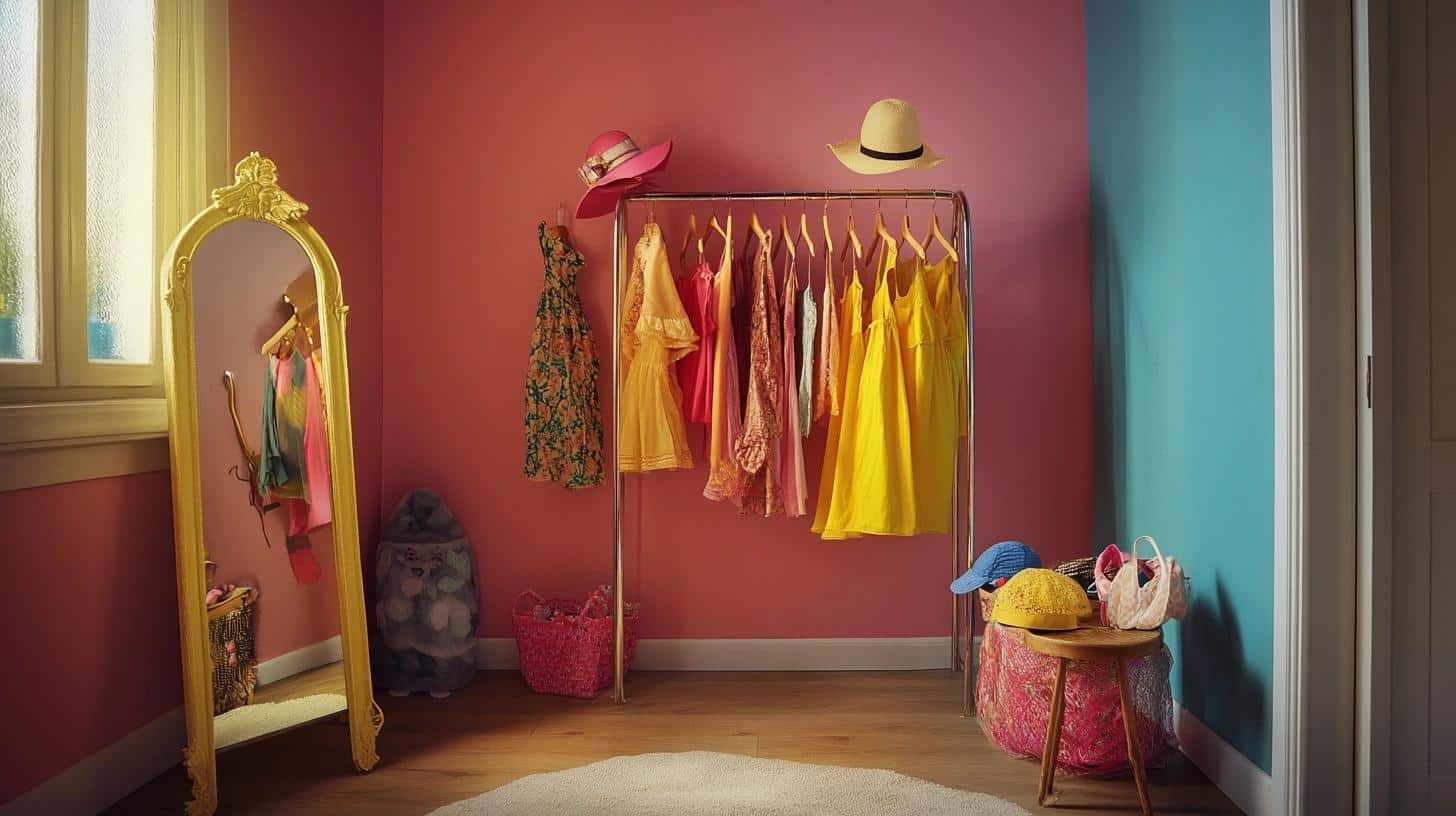
Set up a small space for dress-up clothes. Use a low rod or hooks for costumes. Add a safe mirror at kid height.
Setup Tips:
- Install strong hooks
- Sort clothes by type
- Keep mirror safe
- Make item list
Key Features:
- Easy reach
- Simple setup
- Quick cleanup
- Safe mirror
- Cost-saving: Use second-hand clothes and basic hooks
17. Book Space
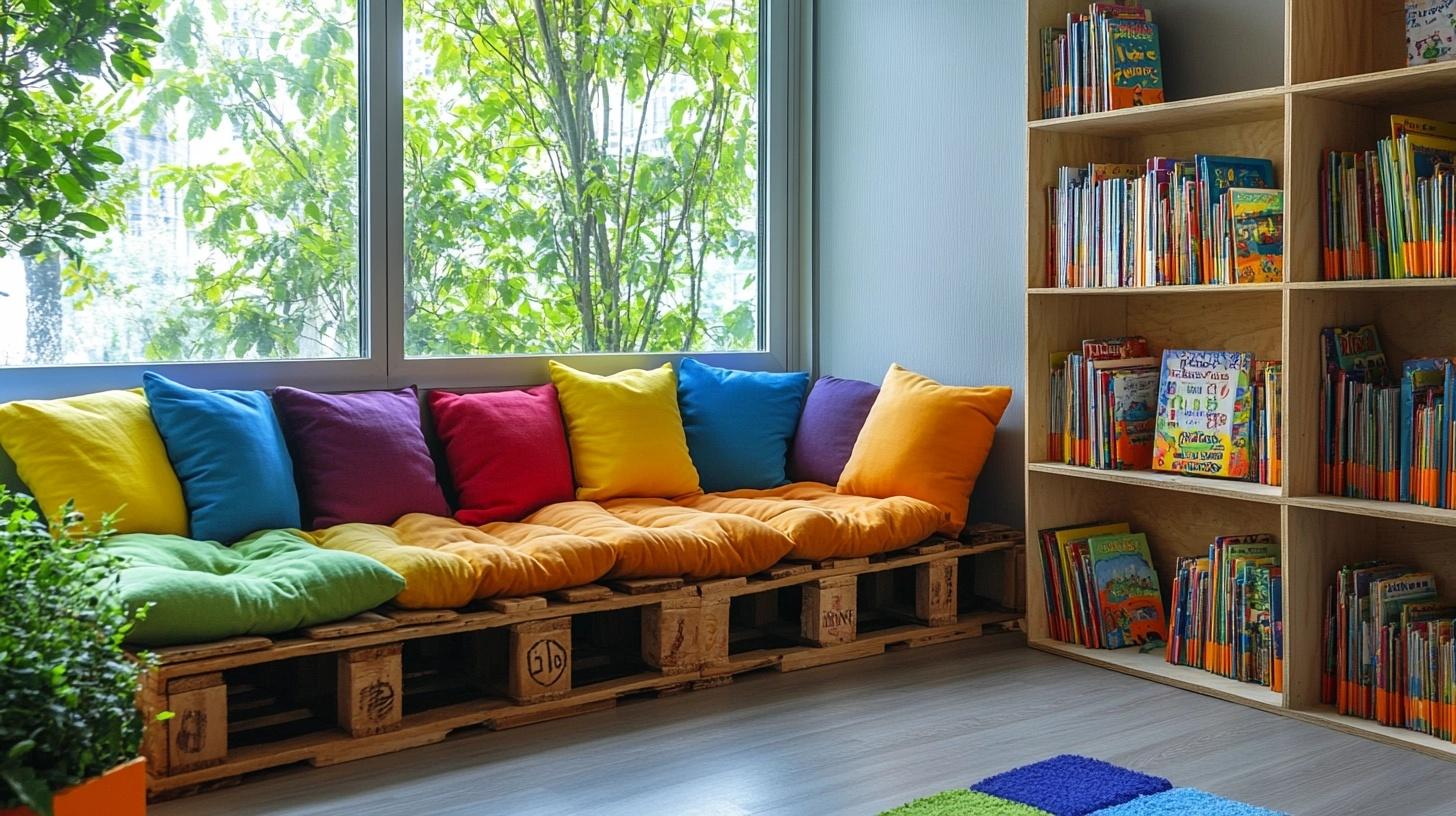
Make a cozy spot for reading using floor pads and pillows. Add low shelves for books. Create good lighting for reading.
Setup Tips:
- Add soft seating
- Install book shelves
- Set up lights
- Make book zones
Key Features:
- Comfy seating
- Book storage
- Good lights
- Quiet zone
- Cost-saving: Build shelves from crates or find at yard sales
18. Light Stars

Put glow stars on the ceiling to create a night sky. Place them in patterns or spread randomly. Use good sticky pads for safety.
Setup Tips:
- Clean ceiling first
- Plan star layout
- Test stick power
- Add big stars
Key Features:
- Night light
- Easy install
- Long-lasting glow
- Safe items
- Cost-saving: Basic star pack costs under $10
19. Play Course
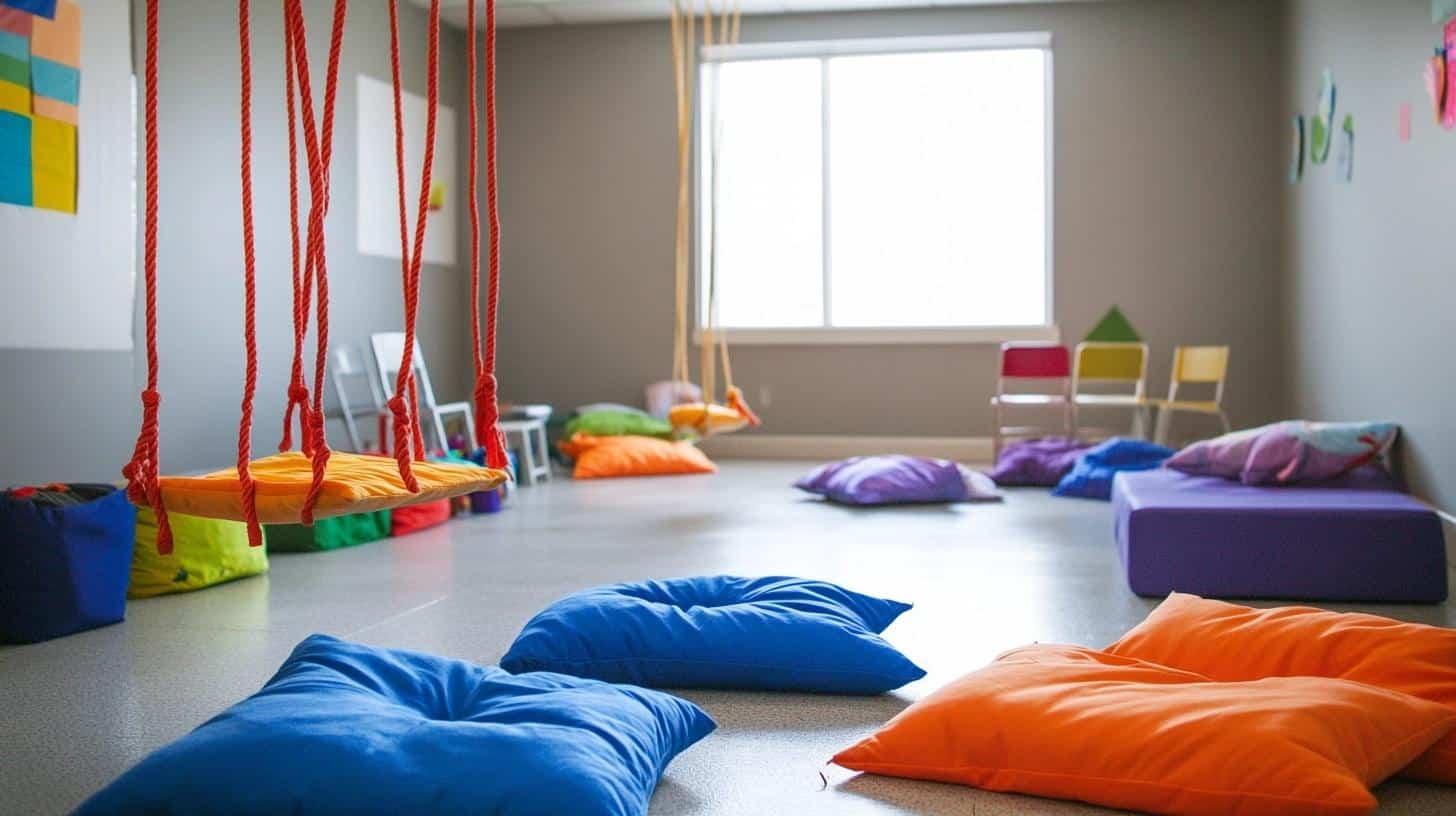
Set up fun obstacles using home items. Make paths with cushions, playground turf, tunnels with boxes, and bridges with boards. Change layout often.
Setup Tips:
- Check item safety
- Make clear path
- Add direction signs
- Set time limits
Key Features:
- Changes often
- Uses home items
- Fits any space
- Active play
- Cost-saving: Use items you already own
20. Nature Space
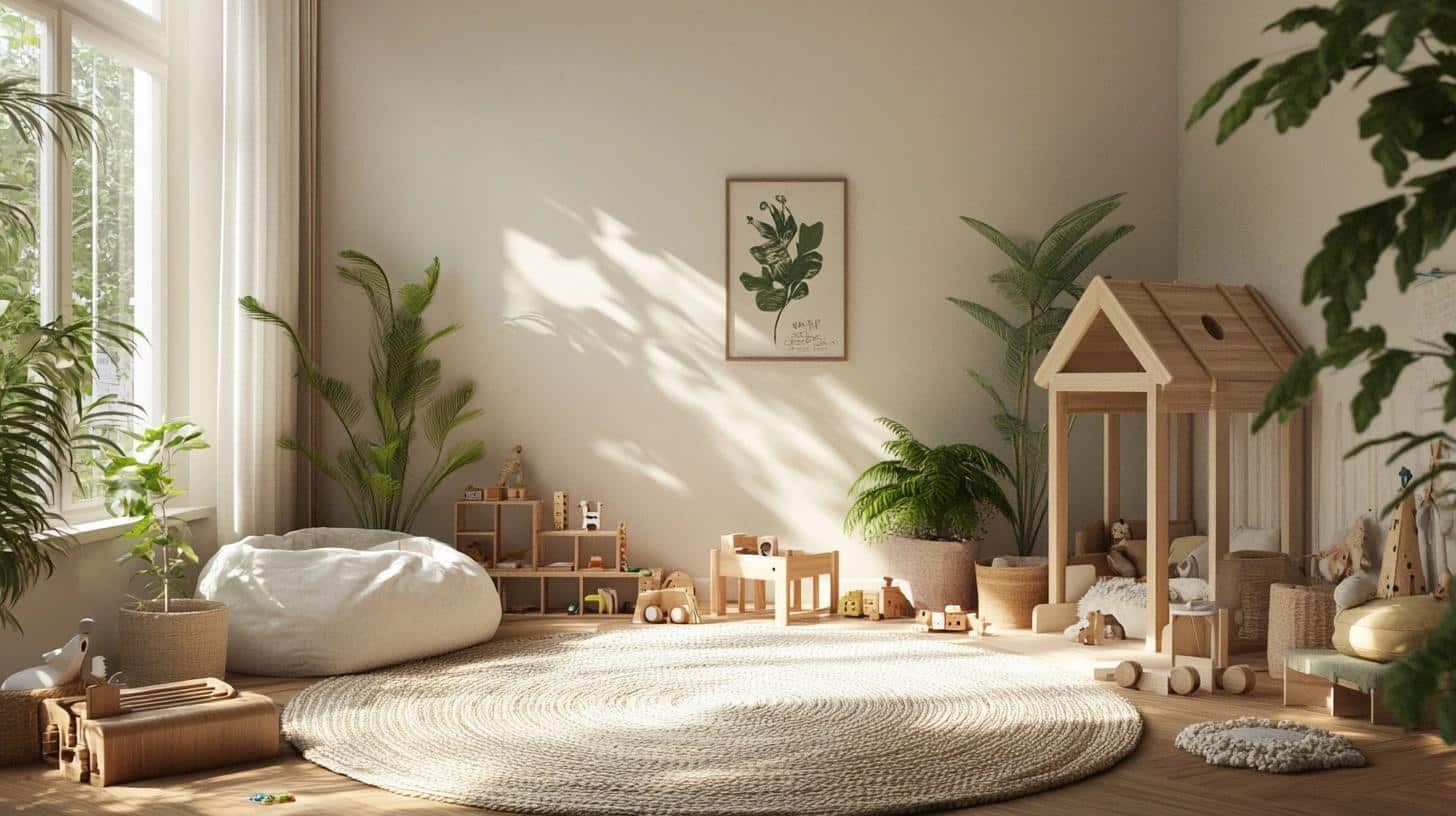
Add wood toys and safe plants to create a calm play area. Use natural colors and materials. Keep all items safe for kids.
Setup Tips:
- Check plant safety
- Use real wood
- Add soft items
- Make clean rules
Key Features:
- Safe plants
- Natural items
- Calm space
- Easy upkeep
- Cost-saving: Collect items from outside, buy plants on sale
DIY Playroom Ideas
1. Chalkboard Wall
A chalkboard wall gives kids a big space to draw and write, making any playroom more fun. Follow this guide to make one at home:
What You’ll Need:
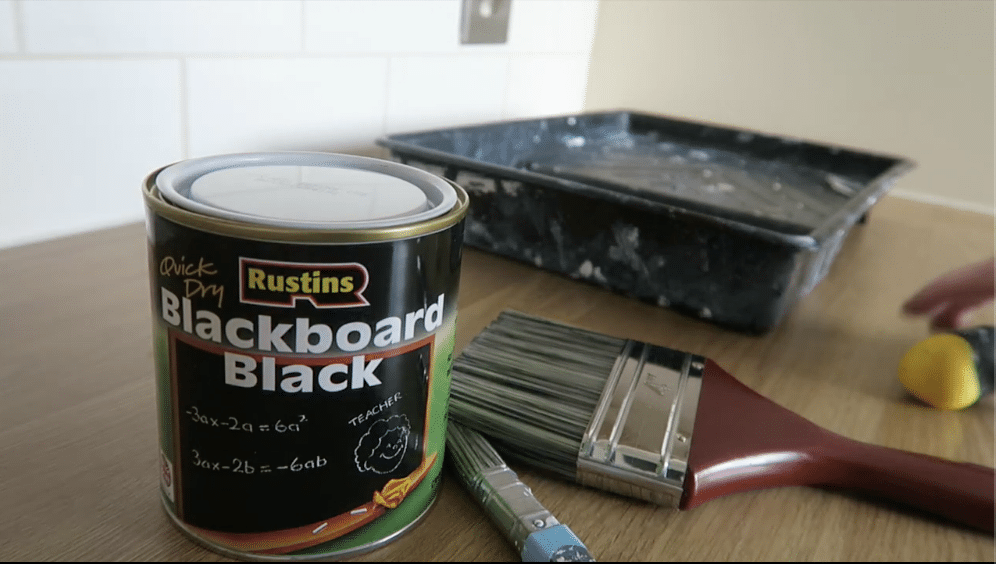
- Chalkboard paint
- Painter’s tape
- Small roller brush
- Chalk
- Damp cloth
Step-by-Step Guide:
Step 1: Pick Your Wall Space
- Choose a flat, clean section of wall – Look for a spot away from windows to reduce glare
- Make sure the surface is smooth – Sand any bumps or rough patches
- Clean the area with soap and water – Remove all dirt and oils for better paint stick
- Let it dry completely – Wait at least an hour after cleaning
Step 2: Mark Your Area
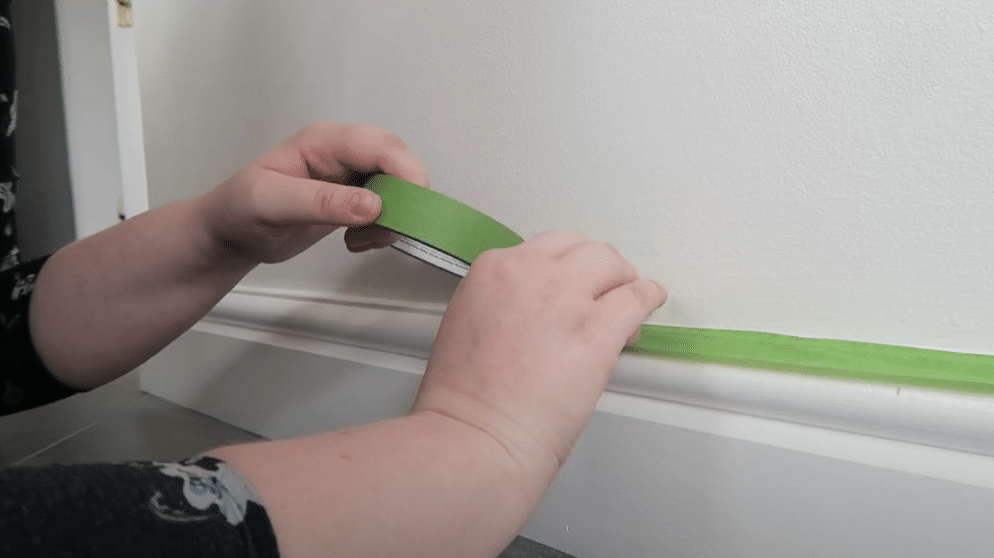
- Put painter’s tape around the edges – Make straight lines using a level as guide
- Press tape firmly to prevent paint leaks – Run your fingers along the edge to seal
- Double-check your lines are straight – Step back to look from different angles
Step 3: Paint Your Wall
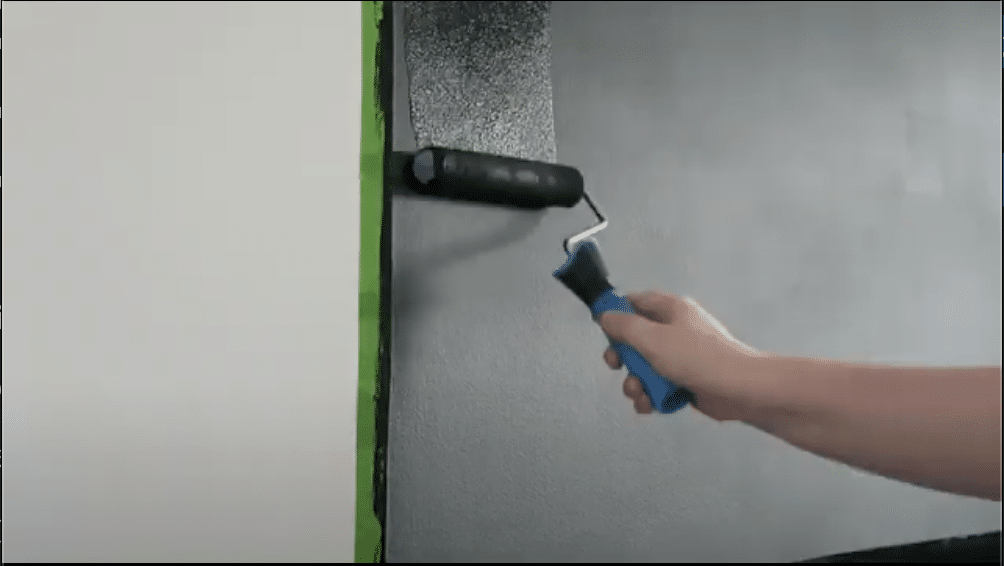
- Stir the paint well – Mix for at least two minutes to blend properly
- Use your roller for even coats – Roll in W patterns for best coverage
- Apply 2-3 thin layers – Thin coats dry better than one thick coat
- Wait 2-3 hours between coats – Feel the surface to make sure it’s not tacky
Step 4: Let It Set
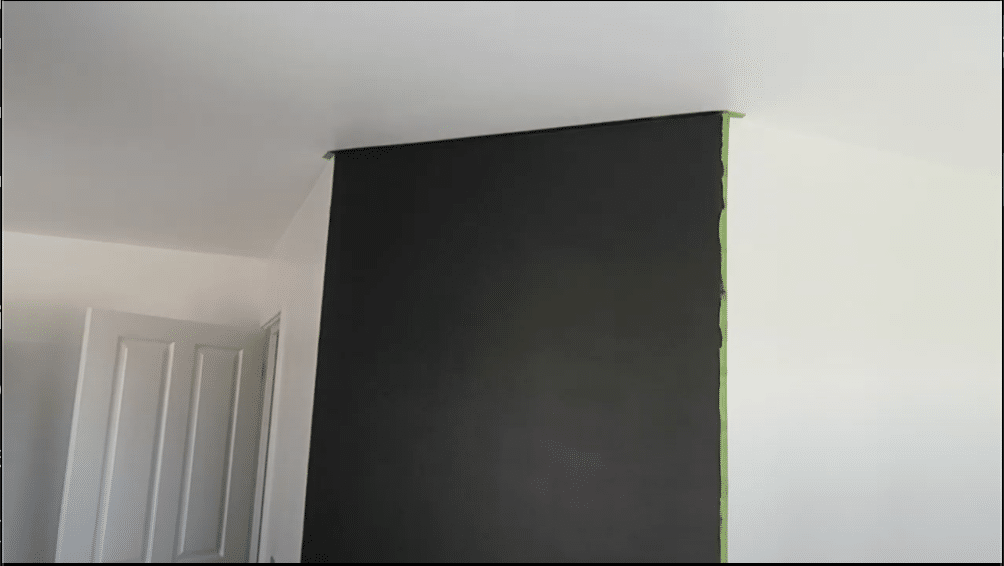
- Give it 24 hours to dry fully – More time means better results
- Keep the room well-aired – Open windows or use fans for good air flow
- Don’t touch the surface – Even small marks can show up later
Step 5: Prepare for Use
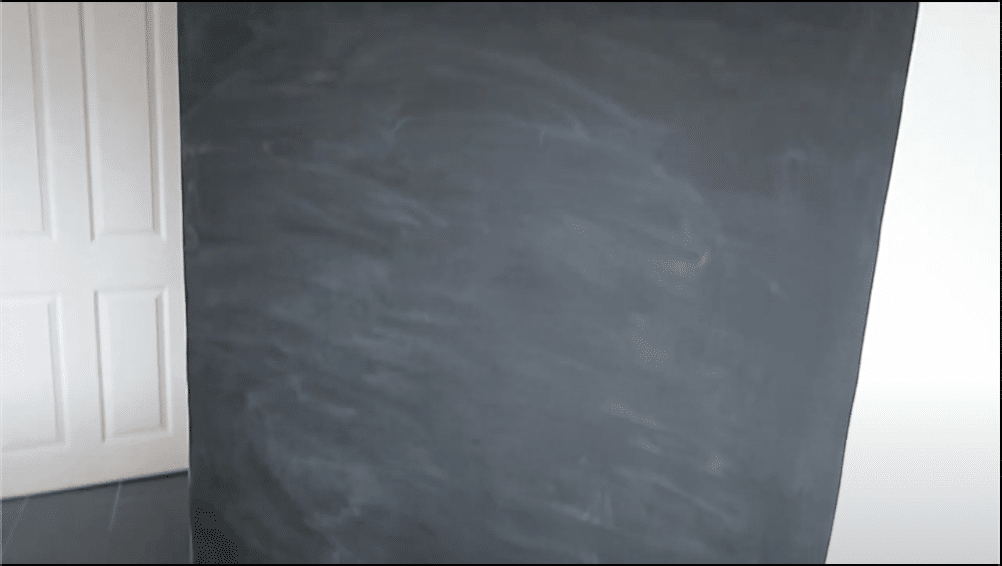
- Take a piece of chalk – Hold it flat against the wall
- Rub it over the entire surface – Cover every inch of the painted area
- Wipe with a damp cloth – Use light pressure to avoid scratching
- Let it dry for 1 hour – This step makes writing smoother
Step 6: Start Drawing
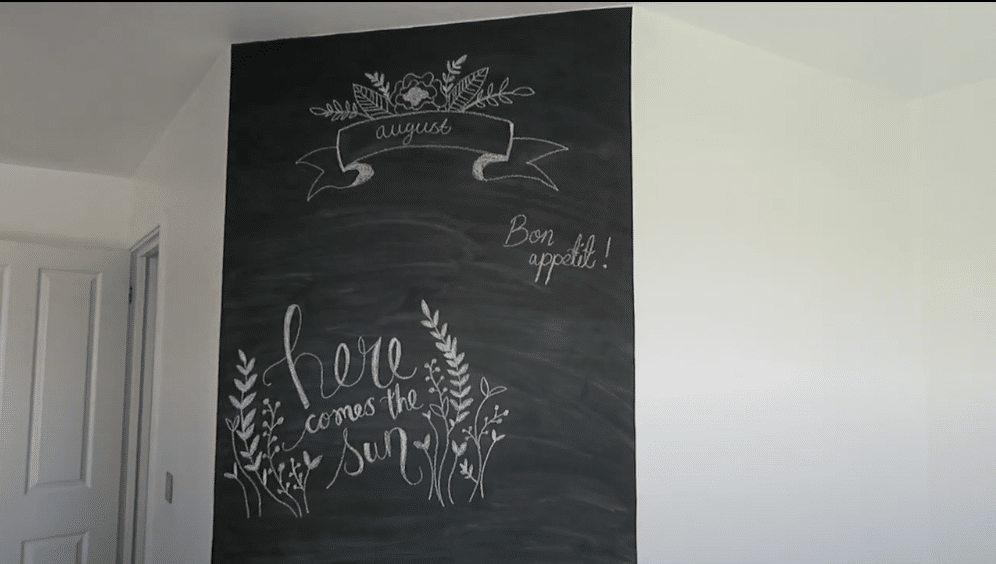
- Remove the tape carefully – Pull at an angle to prevent paint peeling
- Test with chalk in one spot – Write in a small corner first
- Keep a damp cloth nearby for cleaning – Regular cleaning keeps the surface nice
Tips:
- Paint in good light to see missed spots
- Keep kids away until fully dry
- Clean with water only – no harsh cleaners
- Replace chalk often for best results
Watch this, if you want to know about this process in depth.
2. DIY Play Tents or Forts
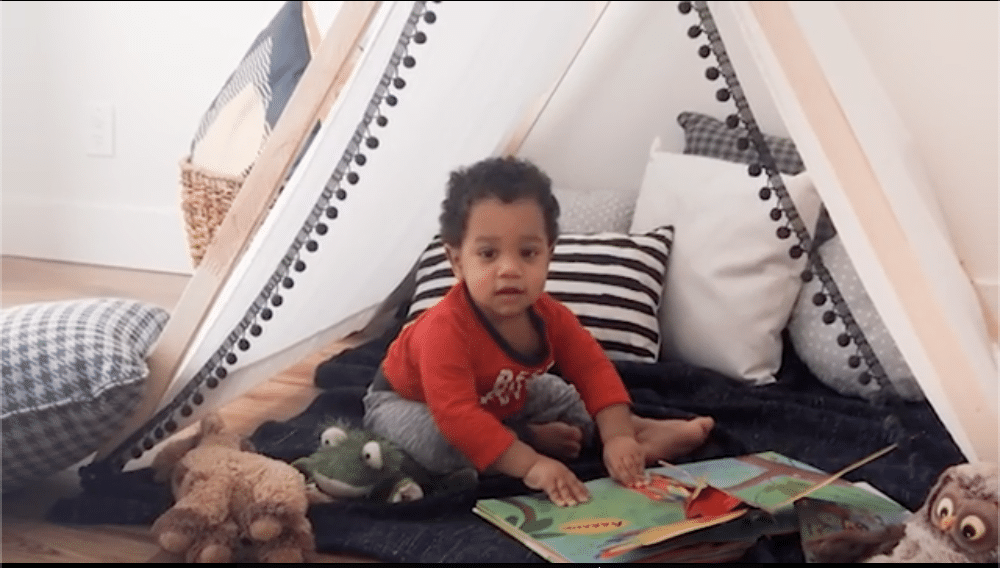
Make a cozy spot where kids can read, play, and rest. Here’s a step-by-step guide to create a play tent:
What You’ll Need:
- Bamboo sticks or PVC pipes
- Old bedsheets or fabric
- Rope or string
- Scissors
- Clips or Velcro
Step-by-Step Guide:
Step 1: Build Your Frame
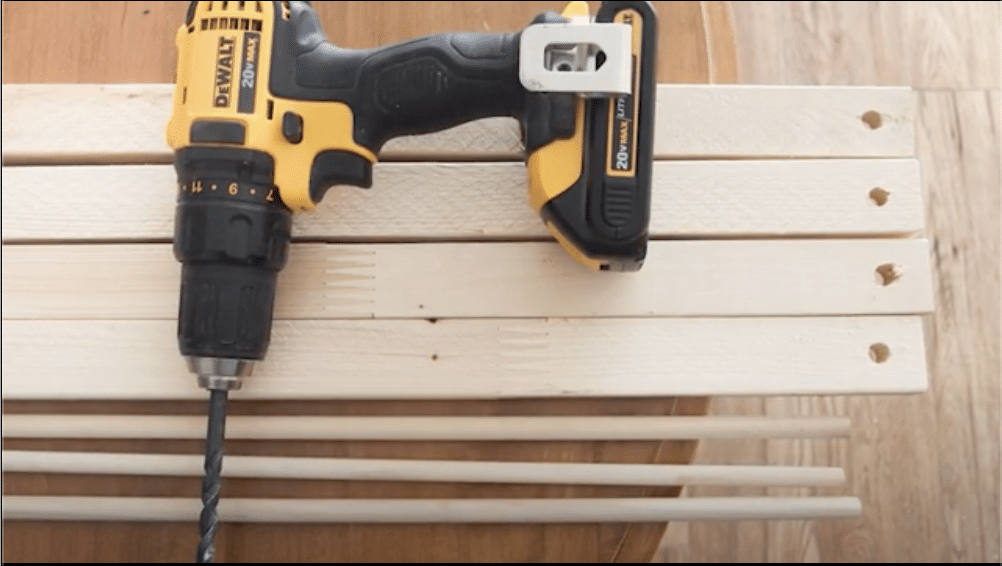
- Lay out your poles in a circle – Space them evenly for good balance
- Bring poles together at the top – Form a cone shape
- Tie poles firmly with rope – Make several loops for extra strength
- Check stability on floor – Adjust pole spacing if needed
Step 2: Add Your Cover
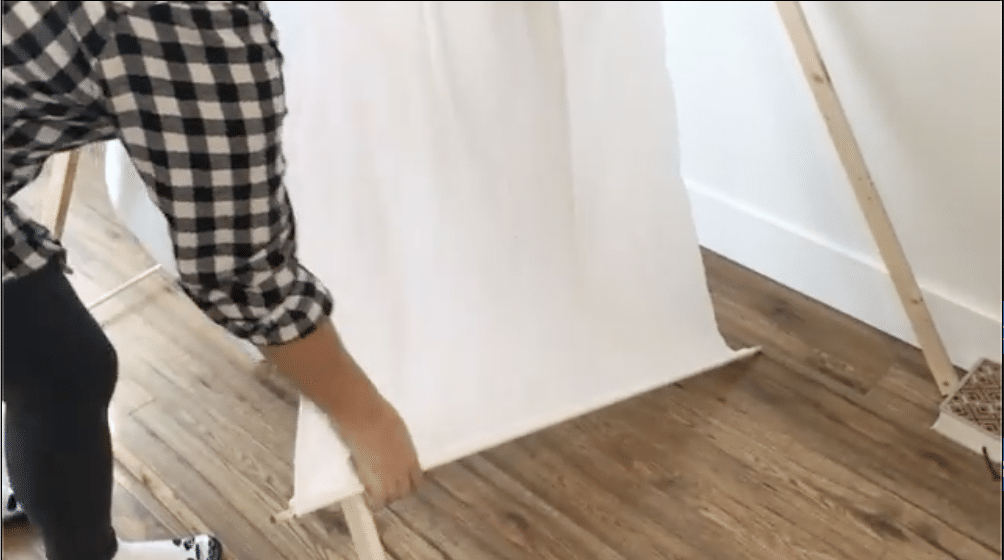
- Spread sheet over the frame – Start from the top center
- Let fabric fall naturally – Watch for even draping
- Mark where openings should go – Leave space for a door
- Cut any excess material – Keep edges neat
Step 3: Make It Secure
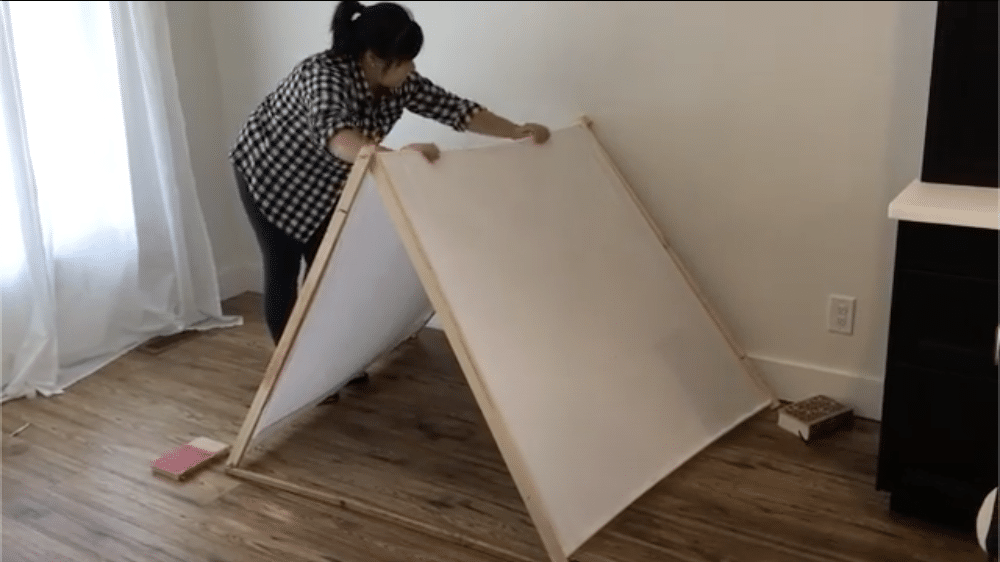
- Clip fabric to frame – Space clips every few inches
- Add Velcro strips if wanted – Makes cover easy to remove
- Secure bottom edges – Weigh down with books if needed
- Test all connections – Pull gently to check strength
Step 4: Create Comfort Inside
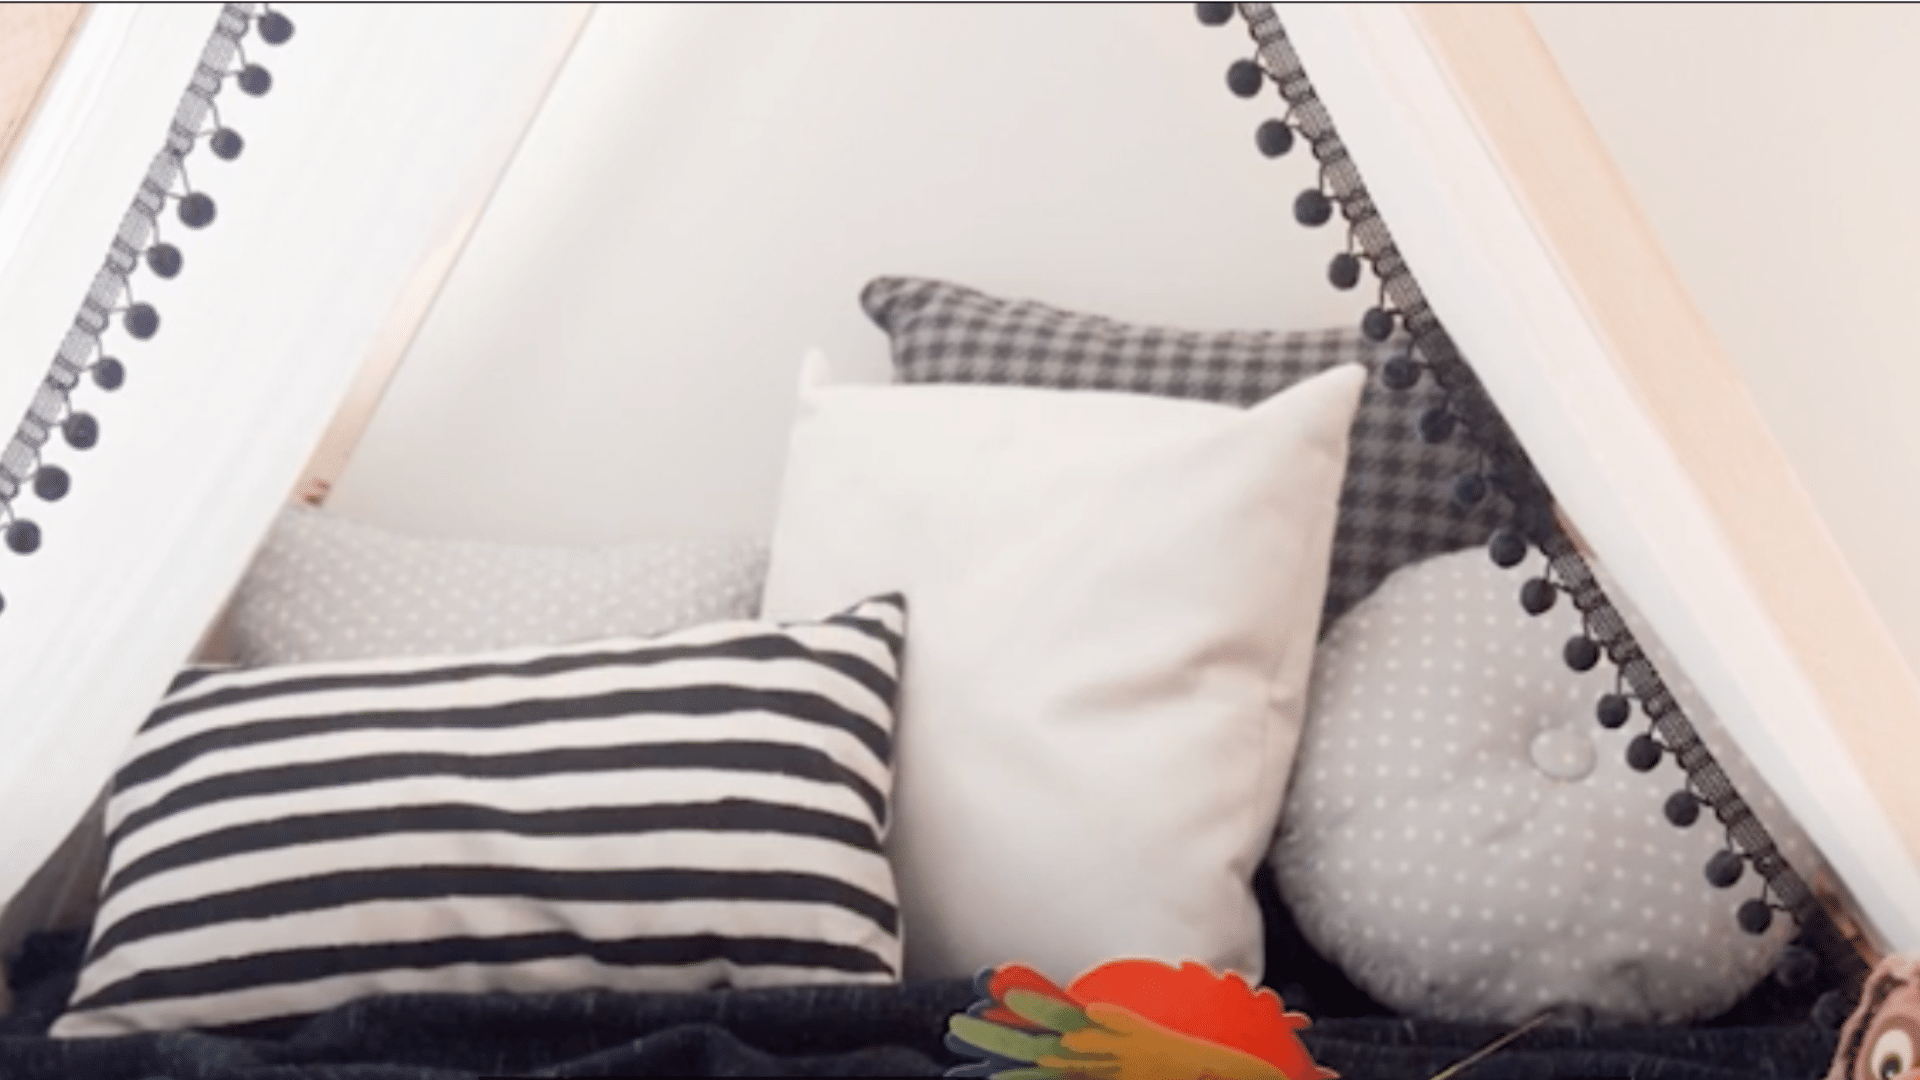
- Add soft pillows – Pick washable covers
- Put down blankets – Layer for extra comfort
- Place battery lights – Keep away from fabric
- Add a small mat – Makes floor sitting comfy
Step 5: Add Final Touches
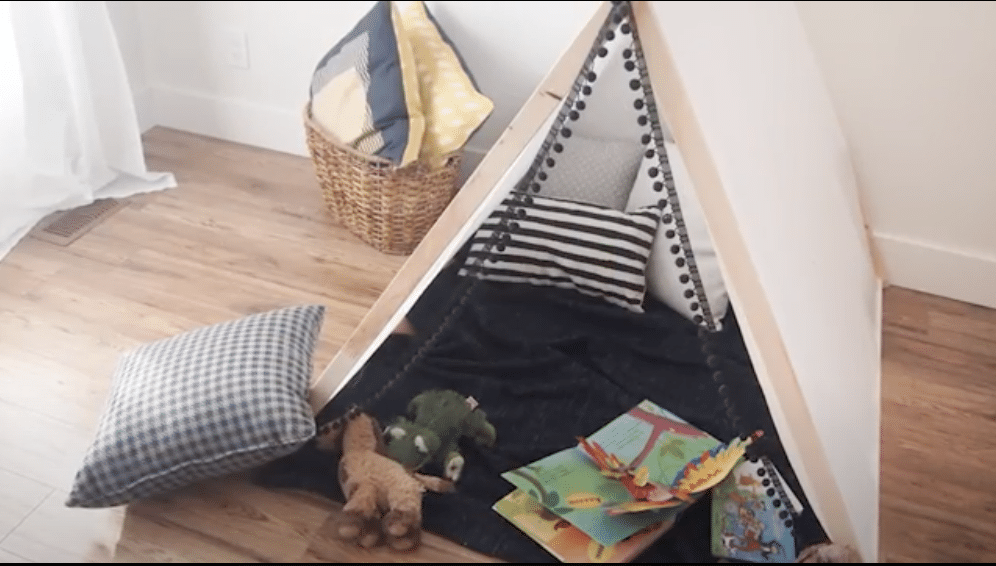
- Hang safe decorations – Keep them light
- Make a door tie-back – Use ribbon or rope
- Set up a book corner – Add a small basket for books
- Put toys inside – Choose quiet play items
Tips:
- Set up on flat ground – Carpet works better than hard floors
- Keep decorations light – Heavy items can pull tent down
- Make sure exits stay clear – Kids should move in and out easily
- Check ropes weekly – Tighten if they get loose
Click here for a detailed guide.
Making the Playroom Fun and Educational
Mix fun and learning in your playroom without spending much. Simple setups can help kids grow their skills while they play and have fun.
Interactive Learning Areas
- Set up spots that make learning feel like play.
- Put letter cards on a string for spelling games.
- Make a simple math center with buttons and ice cube trays.
- Create a writing spot with paper and pencils in cups.
- Set up a science area with magnifying glasses and nature items.
- Use dollar store items for counting games.
- Store flash cards in decorated shoe boxes.
- Make letter matching games with index cards.
Imaginative Play Zones
- Help kids create their own stories and games.
- Hang a sheet for a simple puppet show spot.
- Make a play store with empty food boxes.
- Set up a post office using old envelopes and papers.
- Create a kitchen area with cardboard boxes.
- Use a sheet over chairs for a fort.
- Make paper crowns and wands for story time.
- Set up a doctor’s office with toy medical tools.
Tech-Free Play Ideas
- Keep kids busy without screens or costly toys.
- Set up board games on a low table.
- Make puzzles from old magazine pictures.
- Create an art station with paper and crayons.
- Add building blocks for structure play.
- Put out play dough and cookie cutters.
- Make musical instruments from household items.
- Set up a simple ball-toss game with baskets.
- Create pattern games with colored paper clips.
Making Your Playroom Safe and Comfy
Let’s look at ways to create a safe, comfortable space without spending too much. Small steps can make a big difference in keeping kids safe while they play.
Safe Flooring Options
- Choose floors that protect kids during play.
- Buy foam puzzle mats from discount stores for soft landings.
- Layer old blankets under rugs for extra padding.
- Look for rubber-backed rugs to stop slips.
- Pick up carpet squares at outlet stores.
- Use foam camping mats for play areas.
- Put non-slip mats under all rugs.
- Clean floors with basic soap and water to keep them safe.
Cozy Seating
- Add soft spots to sit without big costs.
- Fill old pillowcases with foam pieces for floor pillows.
- Stack flat cushions for reading spots.
- Make no-sew floor poufs with old blankets.
- Find basic bean bags at discount stores.
- Use old couch cushions with new covers.
- Put sleeping bags down for movie time.
- Add washable covers to all seating for easy cleaning.
Child-Proofing Tips
- Keep kids safe with simple fixes.
- Cover outlets with basic plastic covers.
- Put cabinet locks on storage units.
- Round off sharp corners with edge guards.
- Use door stoppers to prevent pinched fingers.
- Get basic first-aid supplies for quick fixes.
- Add rubber bands to cabinet handles.
- Keep cleaning supplies in locked spots.
- Use zip ties to secure tall furniture to walls.
- Check items often for loose parts.
Conclusion
Making a fun playroom doesn’t need big spending – just smart planning and simple ideas.
With basic items like foam mats, storage bins, and DIY solutions, you can build a space your kids will love.
Start small with the must-have items: safe flooring, basic storage, and comfy spots to sit.
Add learning areas with simple craft supplies and reading spaces. Split the room into zones using what you have, and work your way up as your budget allows.
Remember, the best playrooms grow with your kids. Keep checking what works and what doesn’t.
Switch things around when needed. Ask your children what they like – their input helps create a space they’ll use more.
Ready to start? Pick one area to work on first. Your budget-friendly playroom is just a few simple steps away.
Frequently Asked Questions
How can I create a playroom in a small space?
Use wall storage, fold-up tables, and floor cushions. Split the area into small zones. Add mirrors to make the space feel larger. Keep bulky items to a minimum.
How do I make the playroom appealing to different ages?
Put older kids’ items on high shelves and younger kids’ toys at their height. Include basic craft supplies, building blocks, and reading spots that work for all ages.
Should a playroom have seating for adults?
Yes. Add one or two floor cushions or a small chair. Parents need to sit during playtime, reading sessions, or when watching young children.

