Virtual Event Success: How to Set Up a Professional-Looking Home Studio
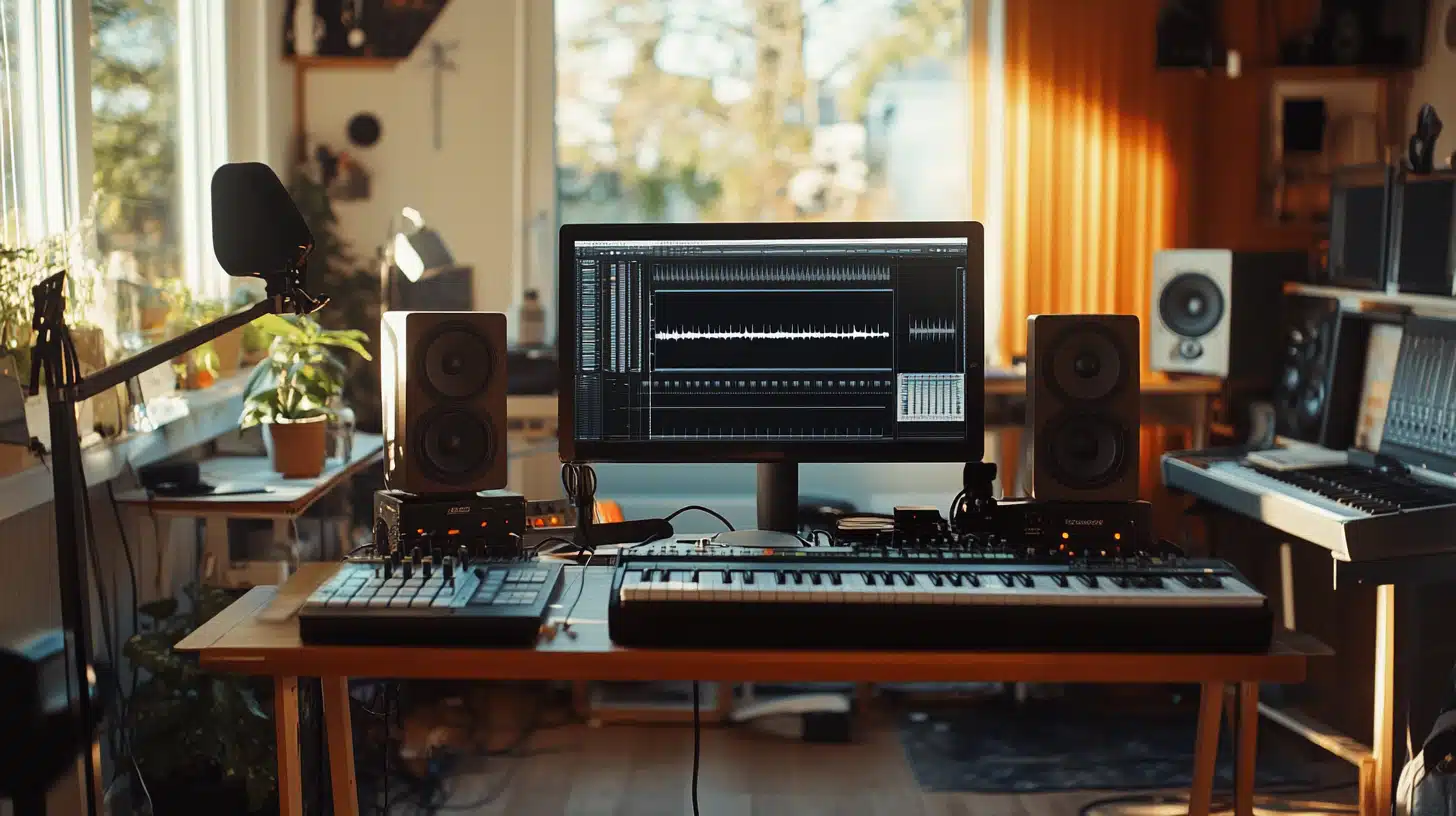
With the surge in virtual events, having a professional-looking home studio has become more crucial than ever.
A well-designed setup not only enhances the quality of your presentations but also leaves a lasting impression on your audience.
Professional speakers understand the value of a high-quality setup, which is key to delivering impactful and engaging virtual experiences.
Choosing the Right Space
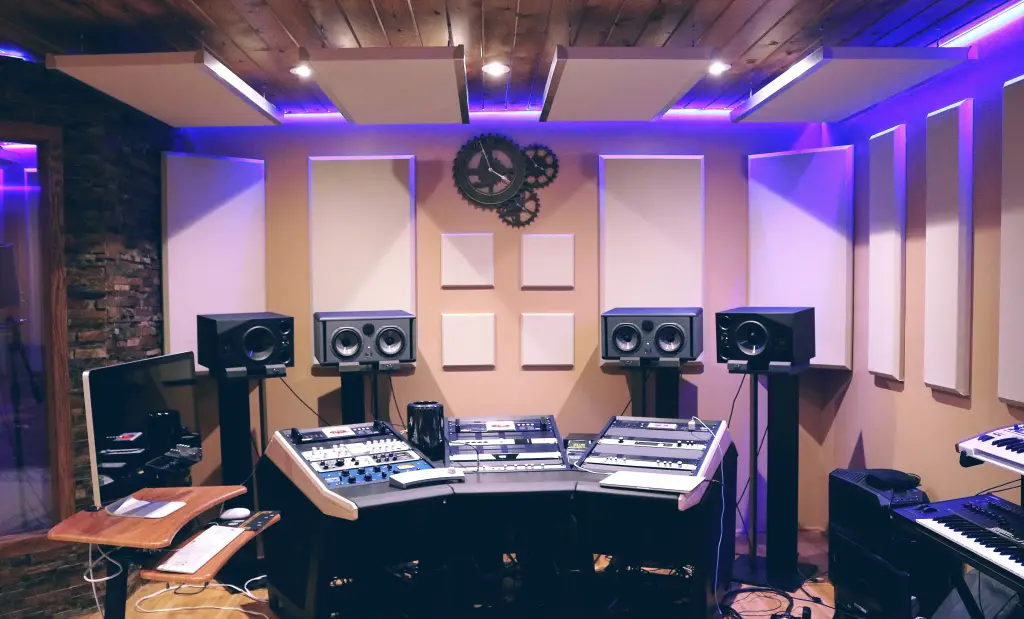
The first step in creating a professional home studio for virtual events is selecting the right space. Your choice of location can significantly impact the quality of your broadcasts. Consider the following factors to ensure your space is conducive to a polished presentation:
1. Lighting
Natural light is ideal, but it can be inconsistent. Choose a space with ample light, preferably near a window. If that’s not an option, ensure the room can accommodate artificial lighting setups like softboxes or ring lights.
2. Sound Control
A quiet environment is crucial. Opt for a room away from high-traffic areas and outside noise. If possible, add sound-absorbing materials, like rugs or curtains, to minimize echoes.
3. Space and Background
Select a room with enough space to move around comfortably and position your equipment. Ensure the background is clean and clutter-free—this will help maintain a professional appearance during your virtual events.
By carefully considering these aspects, you’ll lay a solid foundation for a professional-looking home studio that enhances your virtual presence.
Must-Have Equipment
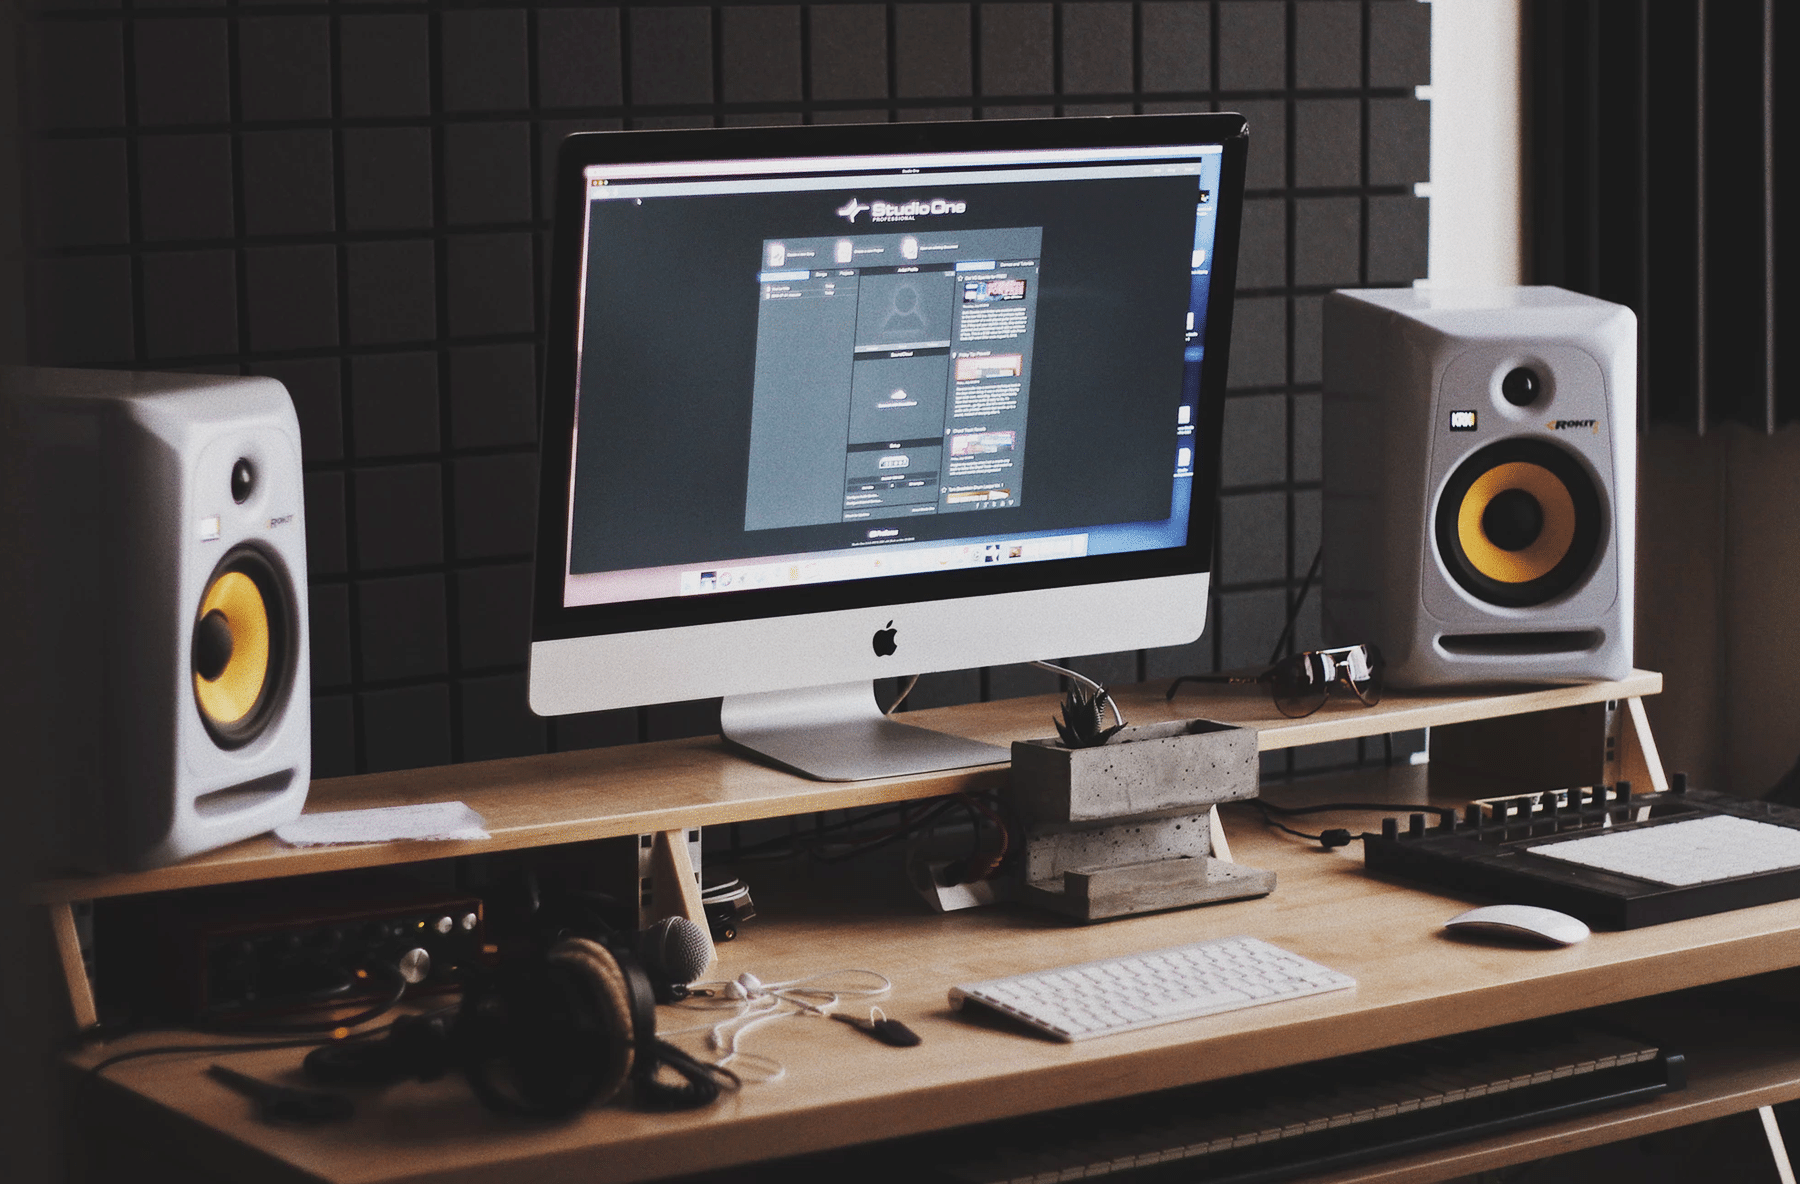
Creating a professional home studio requires investing in the right equipment. The tools you use will directly impact the quality of your virtual events, so it’s essential to choose wisely. Below are the must-have items for a polished and effective setup:
1. Camera and Lighting
A good camera is the cornerstone of any professional setup. While built-in laptop cameras may suffice for casual meetings, a high-definition webcam or a DSLR camera will provide a clearer, more detailed image. Position your camera at eye level to maintain natural eye contact with your audience.
Lighting is equally crucial. Poor lighting can create unflattering shadows or leave your face in the dark. Consider the following lighting options:
- Ring Light: Provides even lighting and reduces shadows.
- Softboxes: Offer diffused lighting, ideal for eliminating harsh shadows.
- LED Panels: Versatile and adjustable for different lighting conditions.
2. Microphone and Sound
Clear audio is non-negotiable. A poor microphone can detract from your message, making it difficult for your audience to engage. Here are some top choices:
- USB Microphones: These are easy to set up and offer superior sound quality compared to built-in laptop mics.
- Lavalier Microphones: Compact and ideal for those who prefer a hands-free option.
- Shotgun Microphones: Great for reducing background noise, focusing on your voice.
Additionally, soundproofing your space can significantly improve audio quality. Simple solutions like adding a rug or hanging curtains can reduce echo and background noise.
3. Backdrop and Background
Your background sets the tone for your presentation. A cluttered or distracting background can pull focus away from your message. Consider these options:
- Physical Backdrops: Simple, solid-colored backdrops are effective and professional.
- Green Screens: Allow for virtual backgrounds, giving you more flexibility.
- Virtual Backgrounds: Platforms like Zoom offer built-in options, but ensure they complement your brand and don’t distract from your presentation.
Investing in these essential tools will transform your home studio into a professional-grade space, setting you up for success in any virtual event.
Fine-Tuning Your Setup
Once you’ve gathered your equipment, the next step is to fine-tune your setup. Small adjustments can make a significant difference in how professional and polished you appear during virtual events. Here’s how to get the most out of your setup:
1. Camera Positioning and Framing
Proper camera positioning is essential for a flattering and professional look. Place your camera at eye level to maintain natural eye contact with your audience. This simple adjustment creates a more engaging and personable experience. Additionally, ensure that you’re centered in the frame with some space above your head and not too much empty space around you. Avoid positioning the camera too low or too high, as this can distort your appearance.
2. Lighting and Audio Adjustments
Lighting can make or break your on-screen presence. Position your lights to eliminate shadows on your face, aiming for soft, even lighting. If you’re using natural light, try to face the light source directly. When using artificial lighting, experiment with different angles to find what works best for you.
Audio is equally important. Before going live, do a quick sound check to ensure your voice is clear and free of background noise. If you notice any issues, adjust your microphone position or use noise reduction settings on your recording software.
3. Testing and Rehearsing
Finally, test your entire setup before your virtual event. Record a short video to review how you look and sound. This step helps identify any issues that need tweaking, whether it’s adjusting the lighting or repositioning the camera.
Top business motivational speakers understand the importance of perfecting these details to engage their audiences effectively. By fine-tuning your setup, you’ll ensure a professional appearance that commands attention and leaves a lasting impression.
Conclusion
Investing time and effort into creating a professional home studio can significantly enhance your virtual presence and the impact of your presentations. By carefully choosing your space, selecting the right equipment, and fine-tuning your setup, you’ll be well-prepared to impress any audience.

