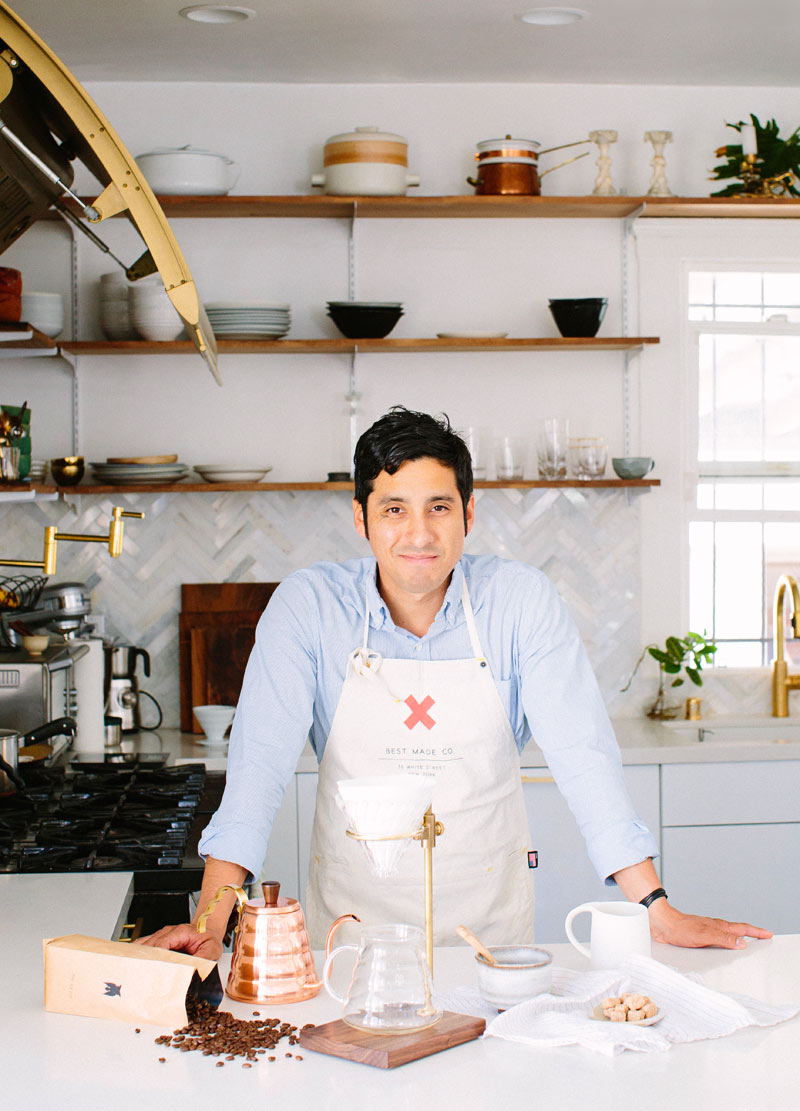
As you may know, we moved in with friends after we sold our last house and before we closed on our current home. For 6 weeks we lived with Farra, Juan and their baby (you’ve seen them all over our vacation photos and my Instagram). And that’s Juan in the photo! He’s the co-owner of A Miho Experience- a southern CA catering & bar company with some of the best food I’ve eaten and cocktails that make me wanna dance! Farra and Juan are pretty much the kindest, most generous souls we’ve ever been so lucky to call friends. Living with them in a 600 something sq ft. two bedroom house as a family of 5 (with animals bringing that tally up to 17) will forever be such a happy memory of mine! It was chaos. Perfectly beautiful chaos and I wouldn’t trade a minute of it. It cemented our already solid friendship and turned us into family.
Every day I watched Juan make coffee for the household using what’s called a “pour over” method- a style of coffee brewing that allows you to have complete control over your coffee, and the ability to make every cup your perfect cup. What I loved most about it though is the ritual. It’s a beautiful process, and such a great way to start the day. It’s a routine that forces you to slow down. And, the components of it are just lovely. I mean: that coffee brewer, that copper kettle, that glass server! I love it all. So for my coffee aficionados, lovers of process, kitchen nerds, folks looking for an excuse to pick up some pretty gadgets and readers who love a good looking man in an apron – this post is for you! I asked Juan to break it all down for us. Below you’ll find links to everything you need to get started, as well as detailed instructions on how to master this brewing process. I promise it’s way less complicated than it looks and so much fun! Hope you love! xx- Sarah
Sources/Supplies: pour over coffee brewer, hario range server, hario copper pour over kettle, coffee, grinder, digital kitchen scale, electric tea kettle, coffee filters, sugar cube dish
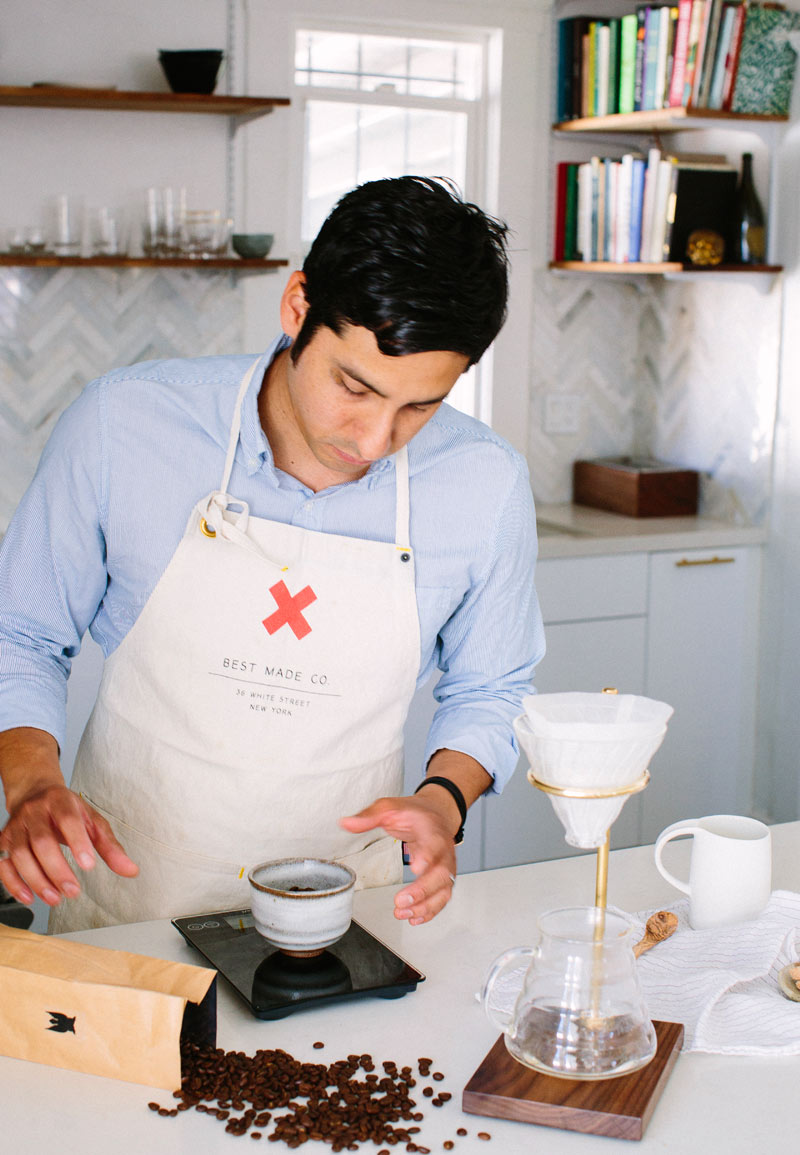
Step one: Weigh the coffee on a digital kitchen scale- you’re looking for 28 grams of whole beans for roughly (2) 10 oz mugs of coffee. Tip: for weighing the beans in a container, put the empty container on the scale, press the “TARE” or “Zero” button which brings the weight back to zero and then add your beans.

Step two: Grind them beans! Typically grinders will have a scale of 1-10 and beans should be ground at about a level 4- roughly to the consistency of course table salt or raw sugar. Set aside. Note: a high quality grinder will produce a better brew- and you’ll at least need one that can grind to the consistency needed. I linked to Juan’s recommendation above.
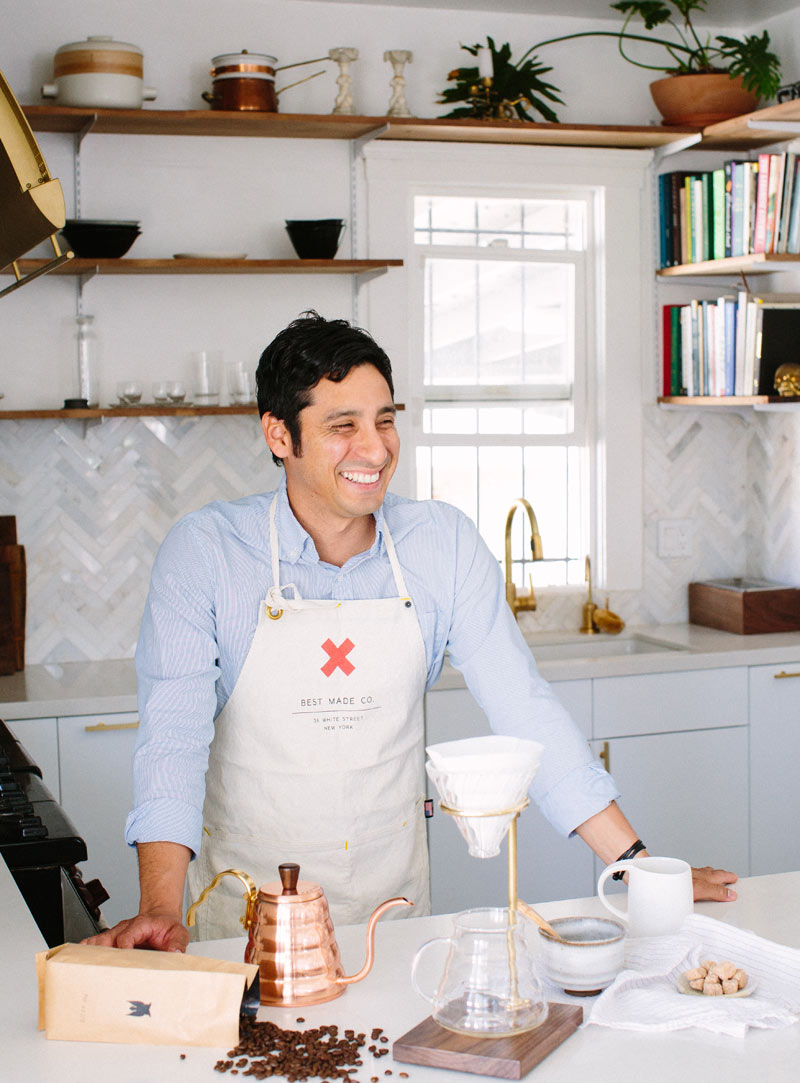
Step three: Bring roughly 2 cups of water to just before the boiling point (approximately 205°F). Juan uses this electric kettle which consistently brings water to the perfect temperature. Transfer hot water to a pour over kettle- the design of pour over kettles ensures that water will soak the coffee at just the right speed and amount, and allows for absolute control over water flow. Note: It’s possible to heat water directly in the pour over kettle, but Juan uses the electric kettle for the ease and consistency.
An aside: I actually fell in love with using an electric kettle when we lived there and bought one as soon as we moved out. I never understood the appeal but I love mine more than my regular tea pot now!
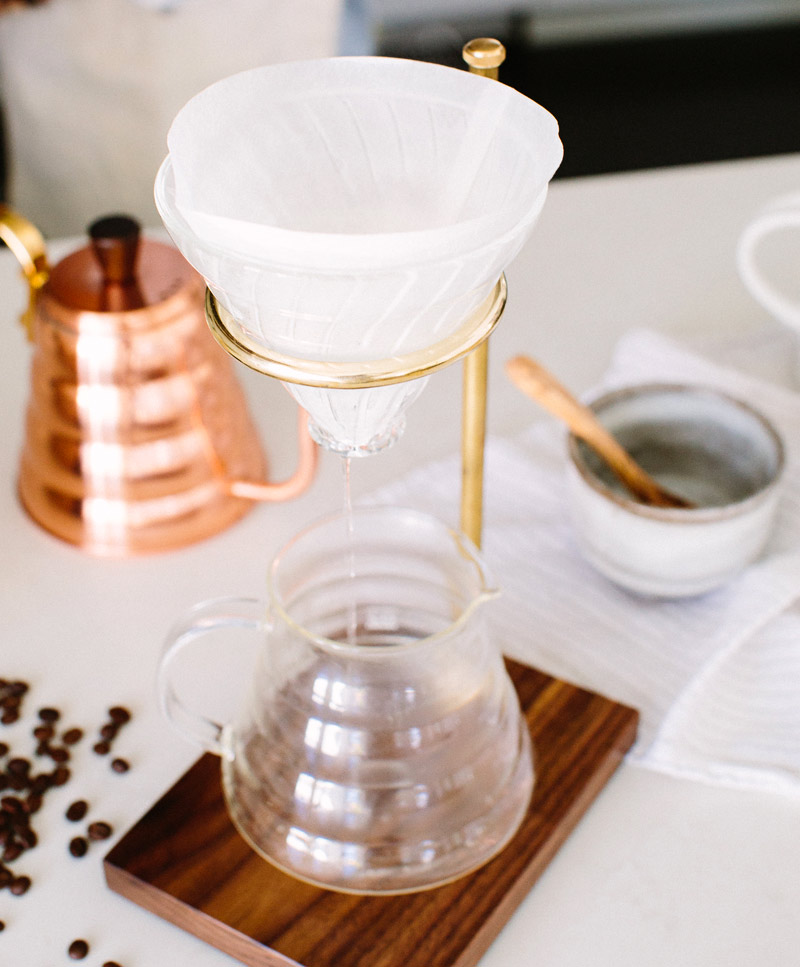
Step four: Add a filter to the pour over brewer and pour hot water over it. This pre-heats the brewer and gets the paper taste & smell out of the filter. Discard water (or use to warm your mug and then discard before serving!). Note: Melitta #4 cone filters are necessary for this brewing style!
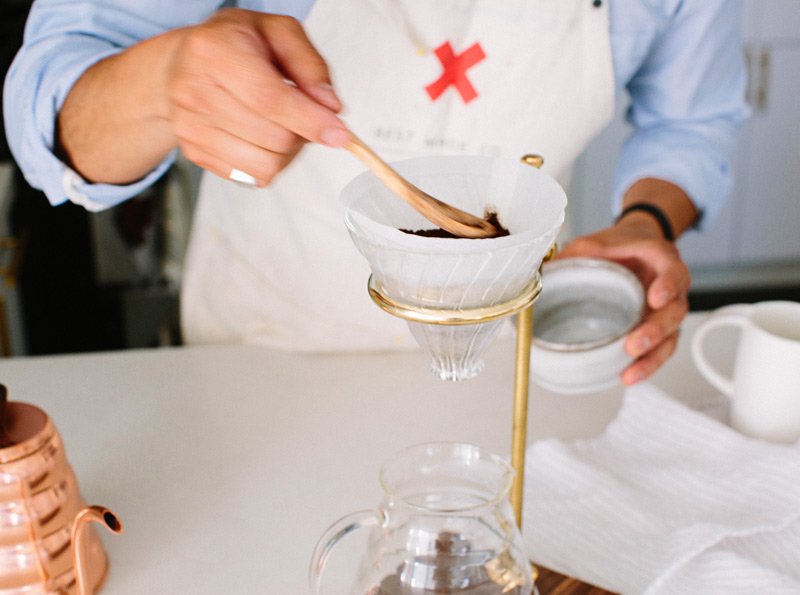
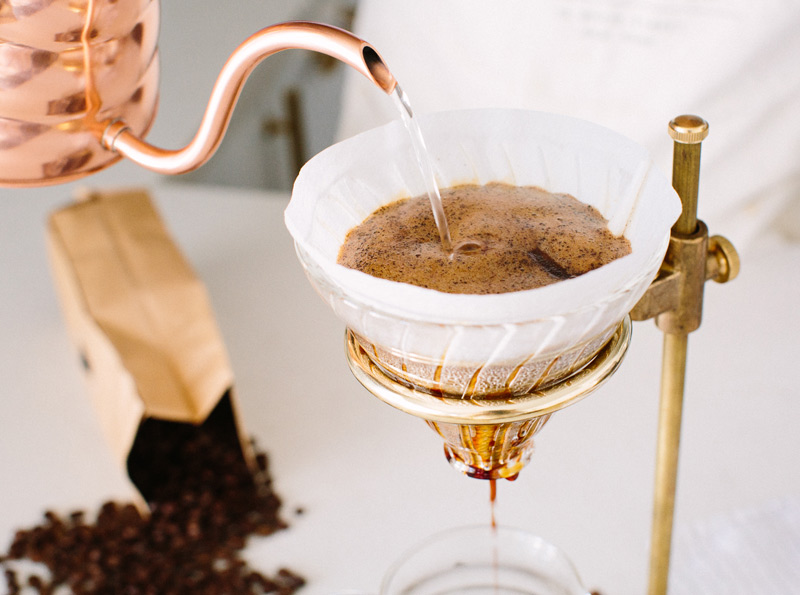
Step Five: Scoop ground coffee into the filter and give it a shake or use a spoon to level the surface- you want the water to hit the coffee as evenly as possible.
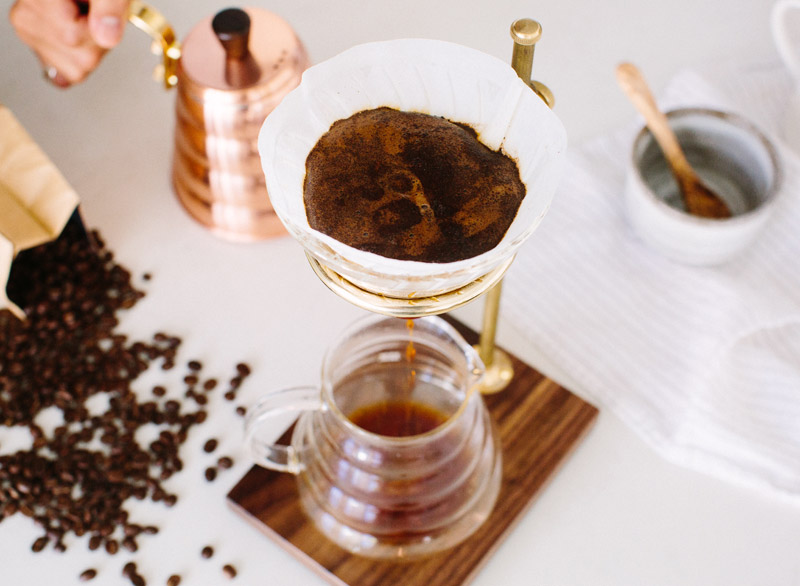
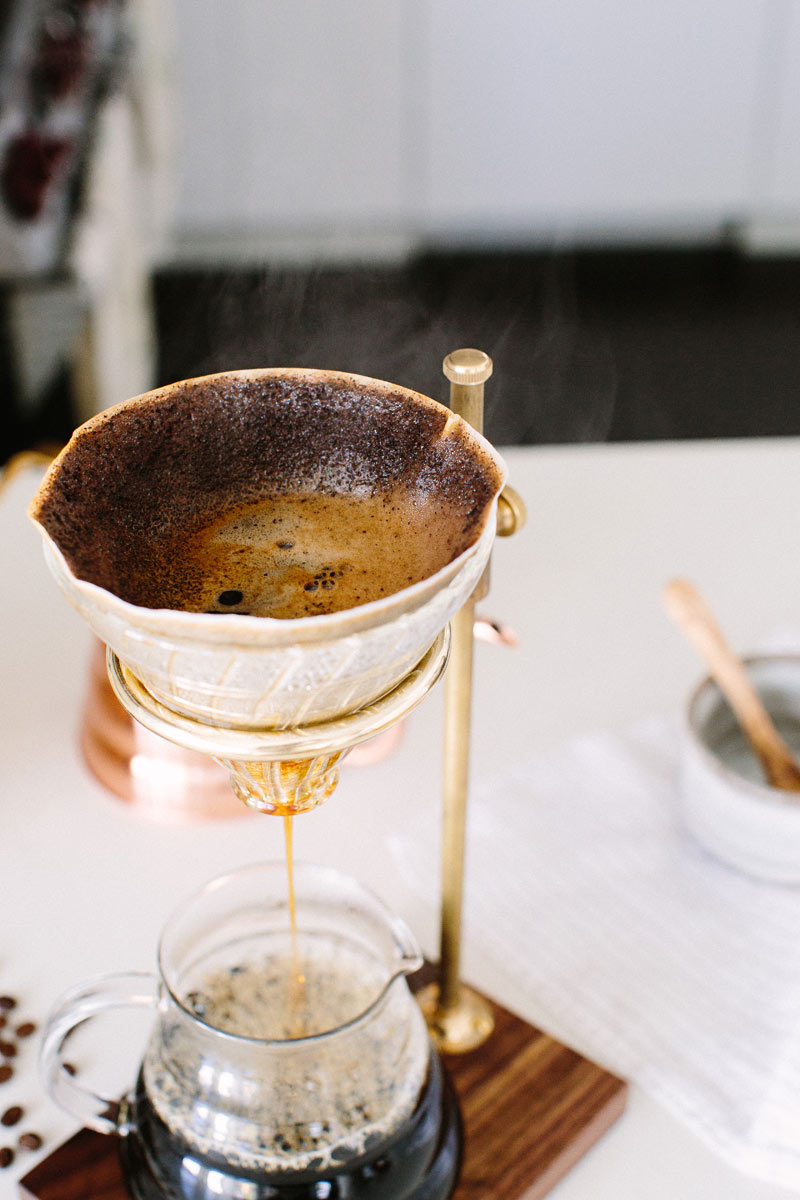
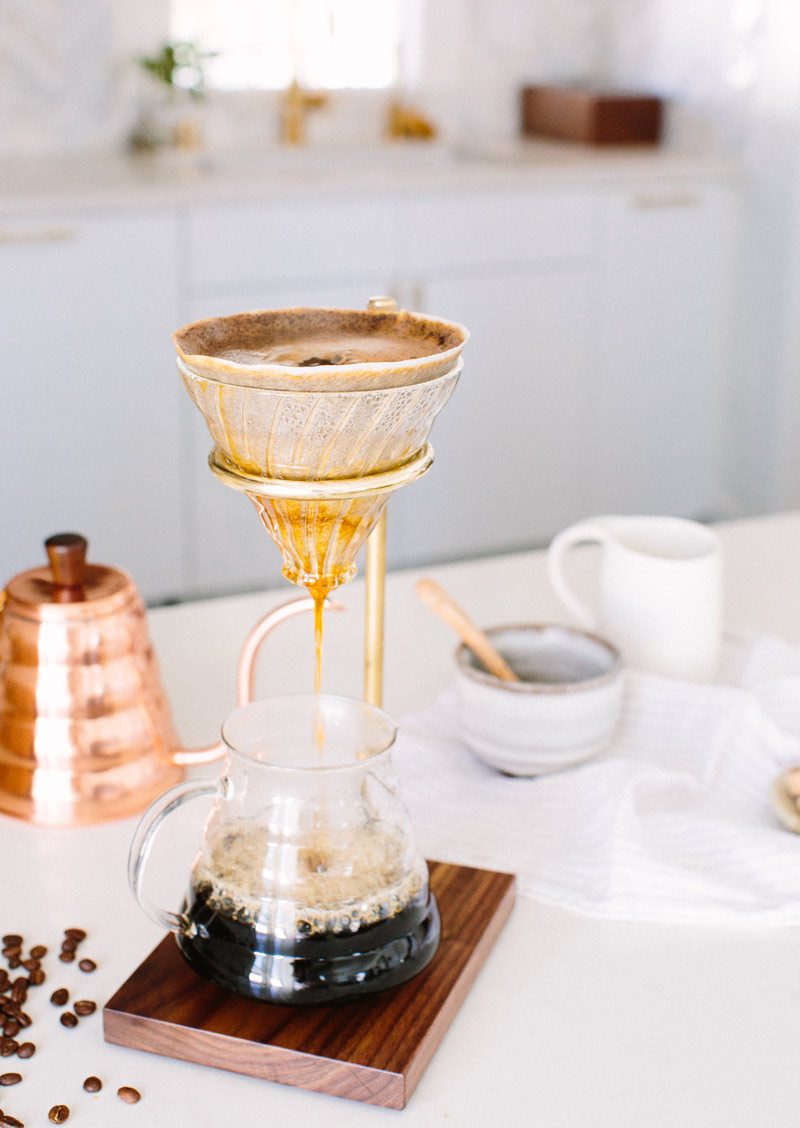
Step Six: Start pouring the hot water in the middle of the coffee. Continue outwards until all coffee is evenly wet, using as little water as possible. This will create what is called the “bloom” – the bubbles that show that the coffee has been aerated. Let sit for 30-45 seconds until bubbles, or the “bloom” are developed and then continue to pour the remaining water, in small quarter-sized circles, around the coffee. Pay attention to areas that are lighter, or less wet, and add water to those areas. Conversely, avoid darker areas that are thoroughly saturated. * Adjusting the amount of water added will make your coffee stronger/less strong and you will tweak this process to your exact tastes over time- that’s the brilliance of pour over coffee brewing!


Step Seven: Wait for the water to drip through- it will take several minutes. Transfer grounds to compost (or dispose of them otherwise) and pour coffee into mugs! Serve as you please and enjoy!


Okay, this is just what I need to see here at 6:30 am! This is the best looking coffee I’ve ever seen. Your images capture the essence perfectly. We have used an electric kettle on vacation in Europe and they are very handy. Love your story about how friends became family! We are off to Los Cabos and I’m thinking we need to try this coffee recipe.
Cheers, Heather @ Stylemindchic Lifestyle
Thanks so much Heather! Have a great time in Cabo, and you know where to find the coffee recipe when you return!
what a beautiful way to prepare coffee!
I agree, it’s the prettiest! I love everything about it.
I want to move in if it means I get that delicious looking coffee!
http://chelseascollection.com
RIGHT?! I want to move BACK in.
I want to live with them!! Yum! Also, does an electric kettle boil faster than a regular tea kettle? I’ve also wanted one, but haven’t really known what the benefits are!
Yes, living with the Mirons has it’s perks! haha (no pun intended). The electric kettle heats up SO much faster, and stays warm longer. And it’s just more pleasant to use in general. Plus it turns off automatically, which is good for a space cadet like me who forget to put the top down on the teapot whistle and then forgets that I’m making tea. Scorched bottom teapots are kind of my specialty.
This post was so good! And everything looks so well out together
Thank you Corina! So happy you liked!
NEED this set up and coffee in my life!! Having a birthday soon and sending the hubs here!
Woot Woot! Happy (early) birthday Kelly! xx
Wonderful post but I’m obsessed with the tile back splash! Any way to find out where it’s from ?
?
I second that! I’m java-obsessed, but maybe even more so about the tile backsplash. It’s gorgeous!!!!
OMG…I would have never moved out of Juan’s nest! I could get used to his coffee every morning! Thanks for sharing…I will share with my husband…maybe we can do this on weekends sans tournaments and he can call him for catering for office events! Happy Nesting.
Somehow my Kuerig seems less interesting now. That looks like a tasty, rich cup of coffee full of flavor. It reminds me of what my grandfather used to do. Love your site!
I just love this method <3 thank you so much for the tutorial. On the heels of this post – I have decided to retire my French Press that I have coveted for some time now…and ordered a similar vessel.
You are always such a delight xoxox
I turned on my Keurig and forgot about it while I perused my favorite blogs… I’m definitely NEEDING coffee now (although I wish it was a pretty pourover)!
this looks so good! im going to make a coffee right now
but it’s definitely not as good as this one :/
http://nurielfashion.blogspot.co.il/2015/03/prints-are-backo.html